
Tutorial & Free Pattern: Pleated Patch Pocket
I made a pair Emily Culottes for myself last week for the Style Maker Fabrics Spring Canvas Blog Tour. I didn’t get to put any pockets in, because I couldn’t decide the type of pockets to add. But I really miss having some pockets to put my hands and my things in. Luckily, it’s not too late to add them now. I want to use patch pockets, just like my first pair of Emily Culottes, but I wanted to add some twist to the pockets.
Pleats are “in” for Spring 2016, at least that’s what I’ve read. I am not a particularly trendy person. My style tends to be timeless. But I do like pleats. It adds some intricacy and interest to the garments. So I decided to add pleats to my patch pockets.
Even though I am adding pleats to pockets in this tutorial, you could add pleats to many other parts of a garment, such as a yoke or a bodice; the principles are the same. Here I use the Emily Culottes pattern as a demonstration. For those of you who have the pattern, you know that the top of these patch pockets are slanted. But of course you could use a regular symmetrical patch pocket too. I have these pleats vertical and centered on the pocket, but you could even create diagonal pleats using the same method if you’d like.
(If you don’t want to slice and tape your pockets to create pleats, you can download my ready-made one at the end; however, you will still need to read below for instructions on how to put the pleated pocket together.)
I also want to mention that, a while back, I wrote a tutorial for sewing the patch pocket. It explains what these pattern pieces are for and how to construct the pocket.
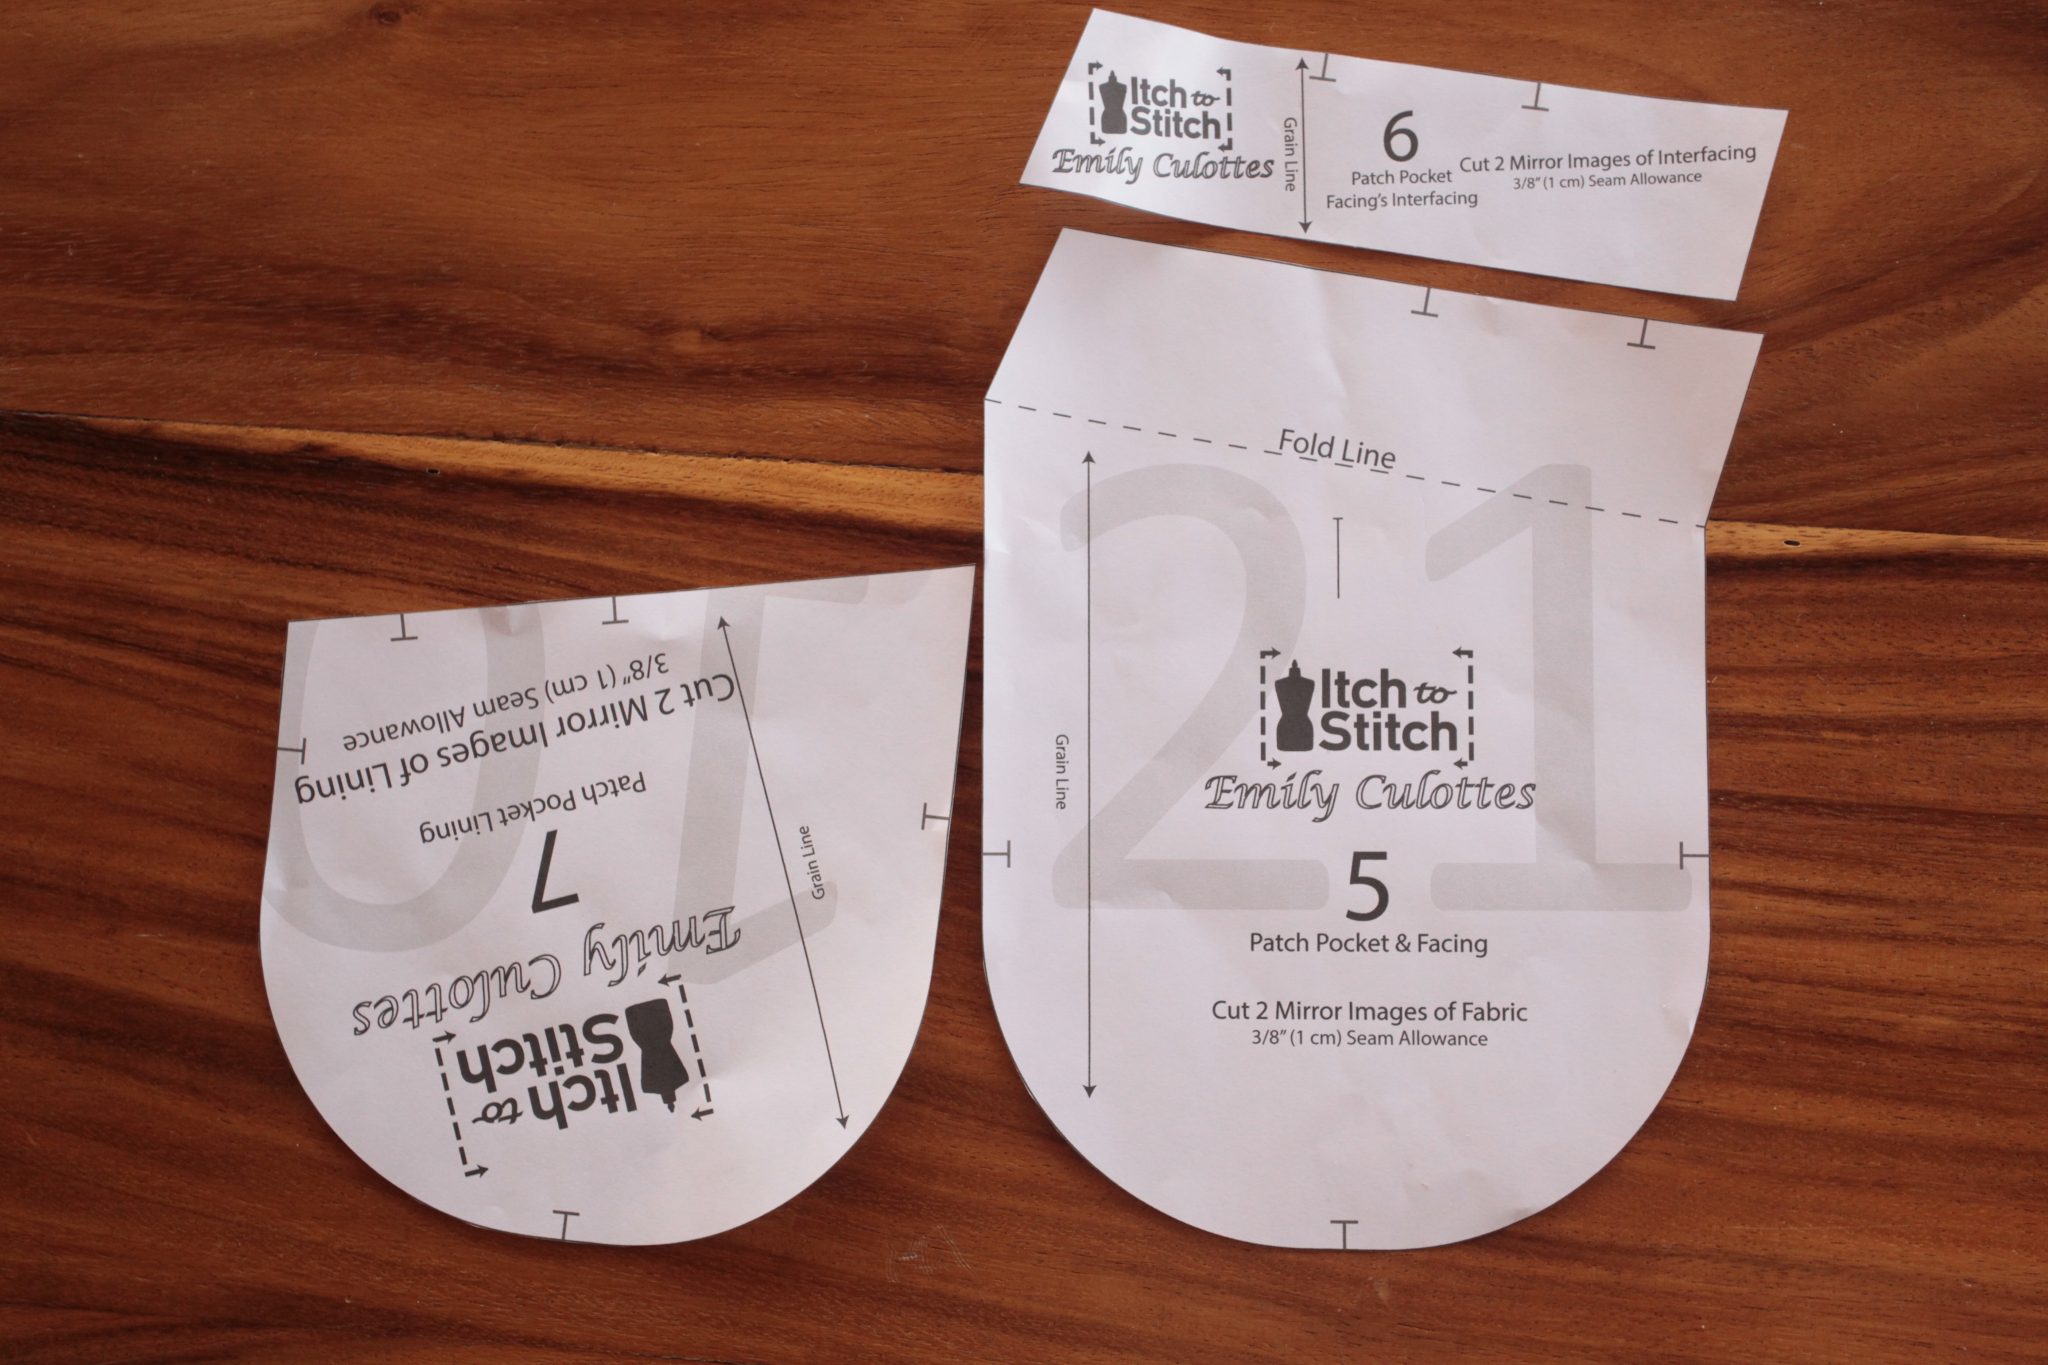
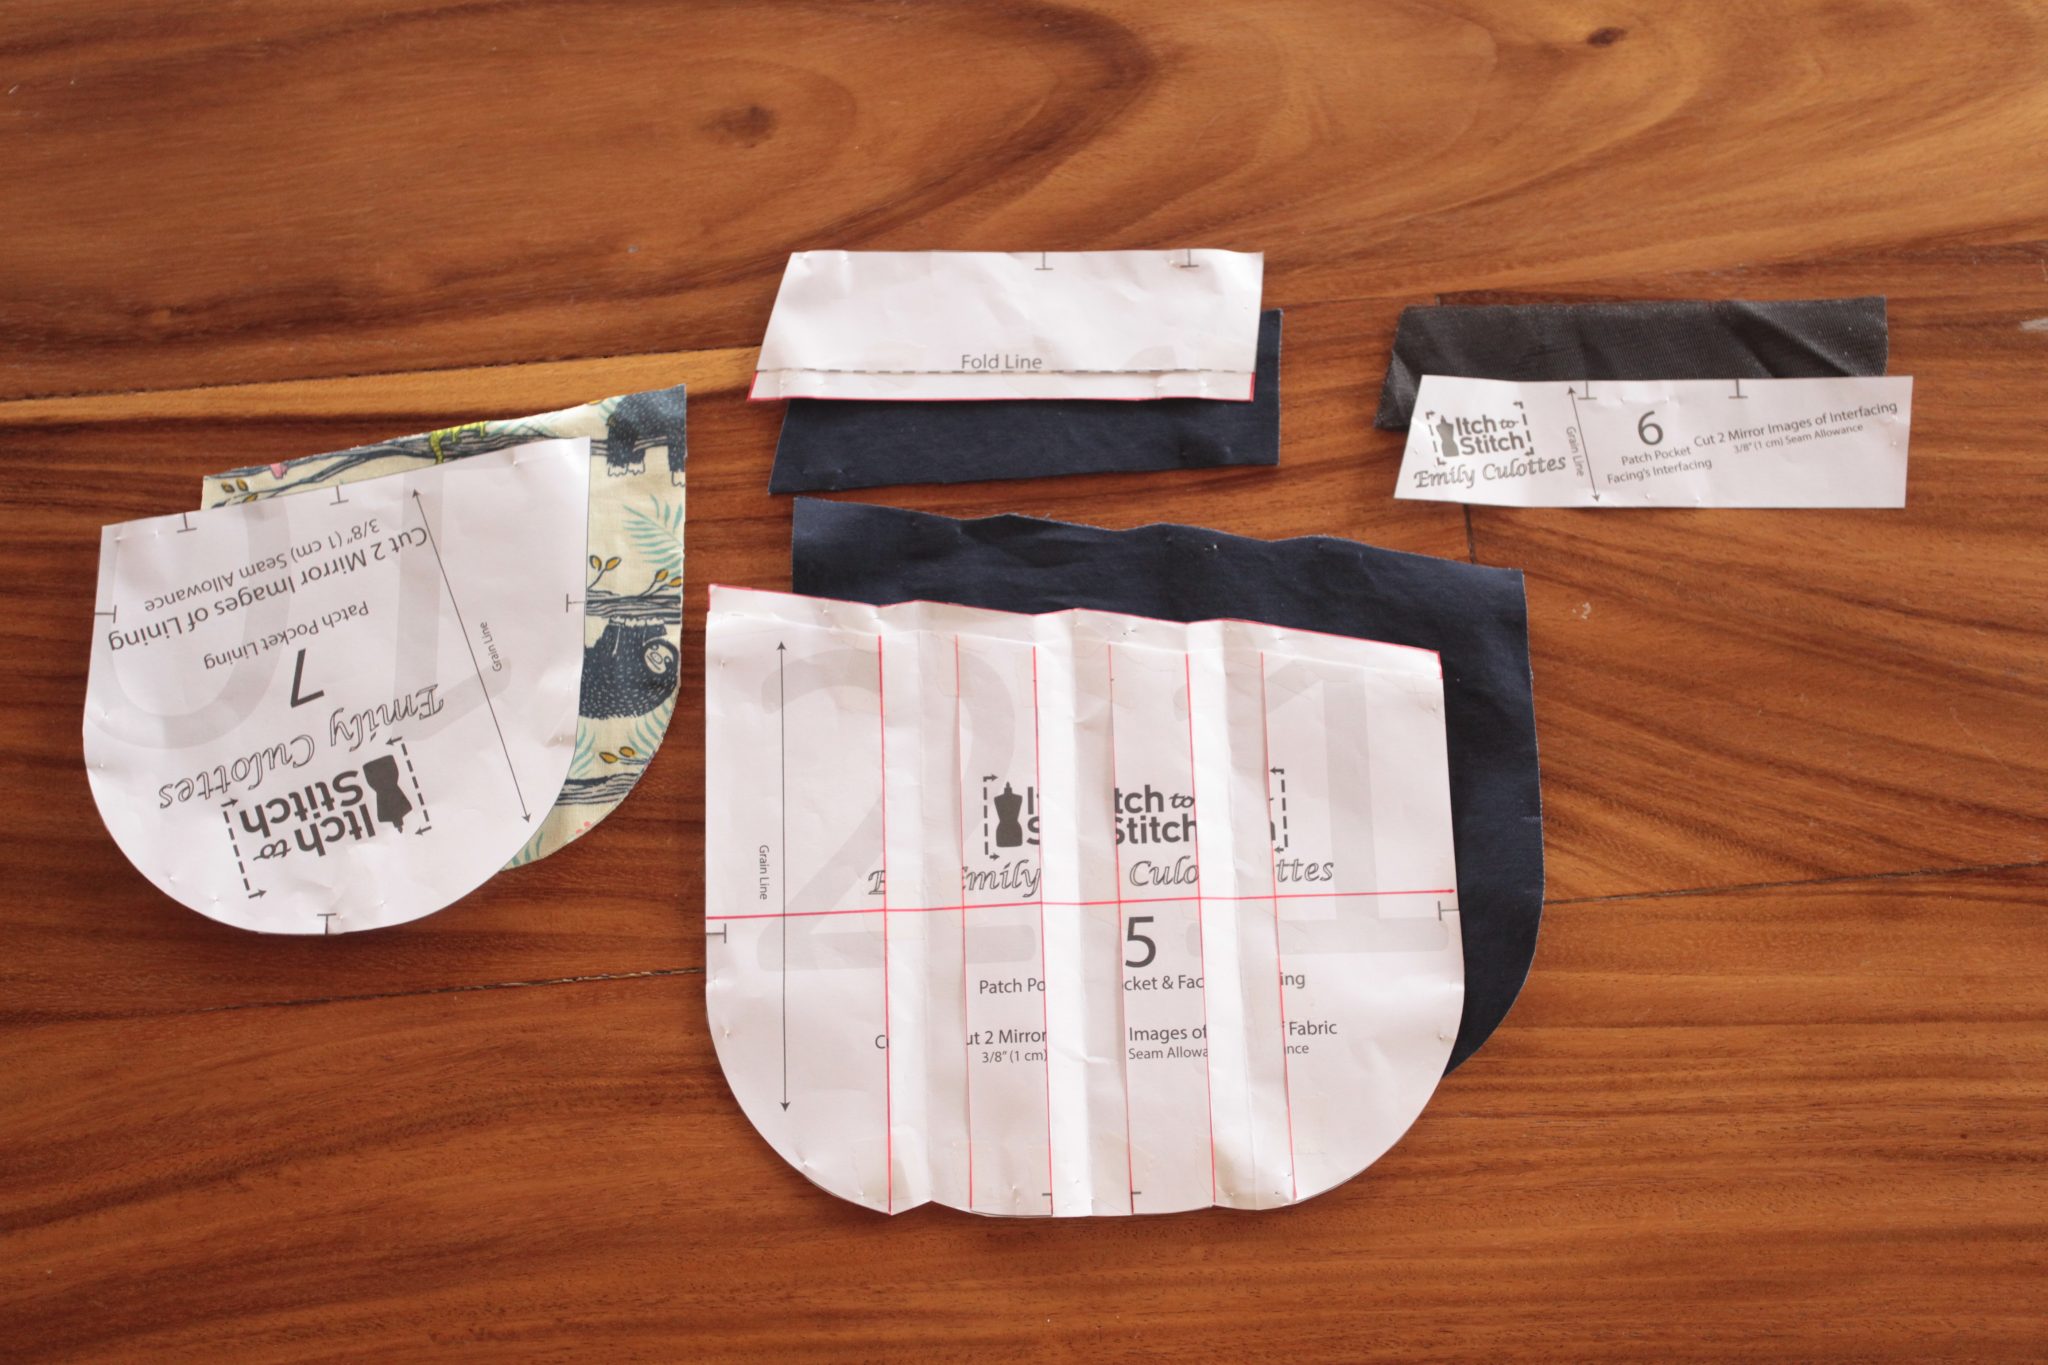
These are the pieces to create the patch pockets. Pattern #5 is the main piece with an integrated facing. Pattern #7 is the lining, and pattern #6 is used for the interfacing that gets applied to the facing portion of pattern #5.
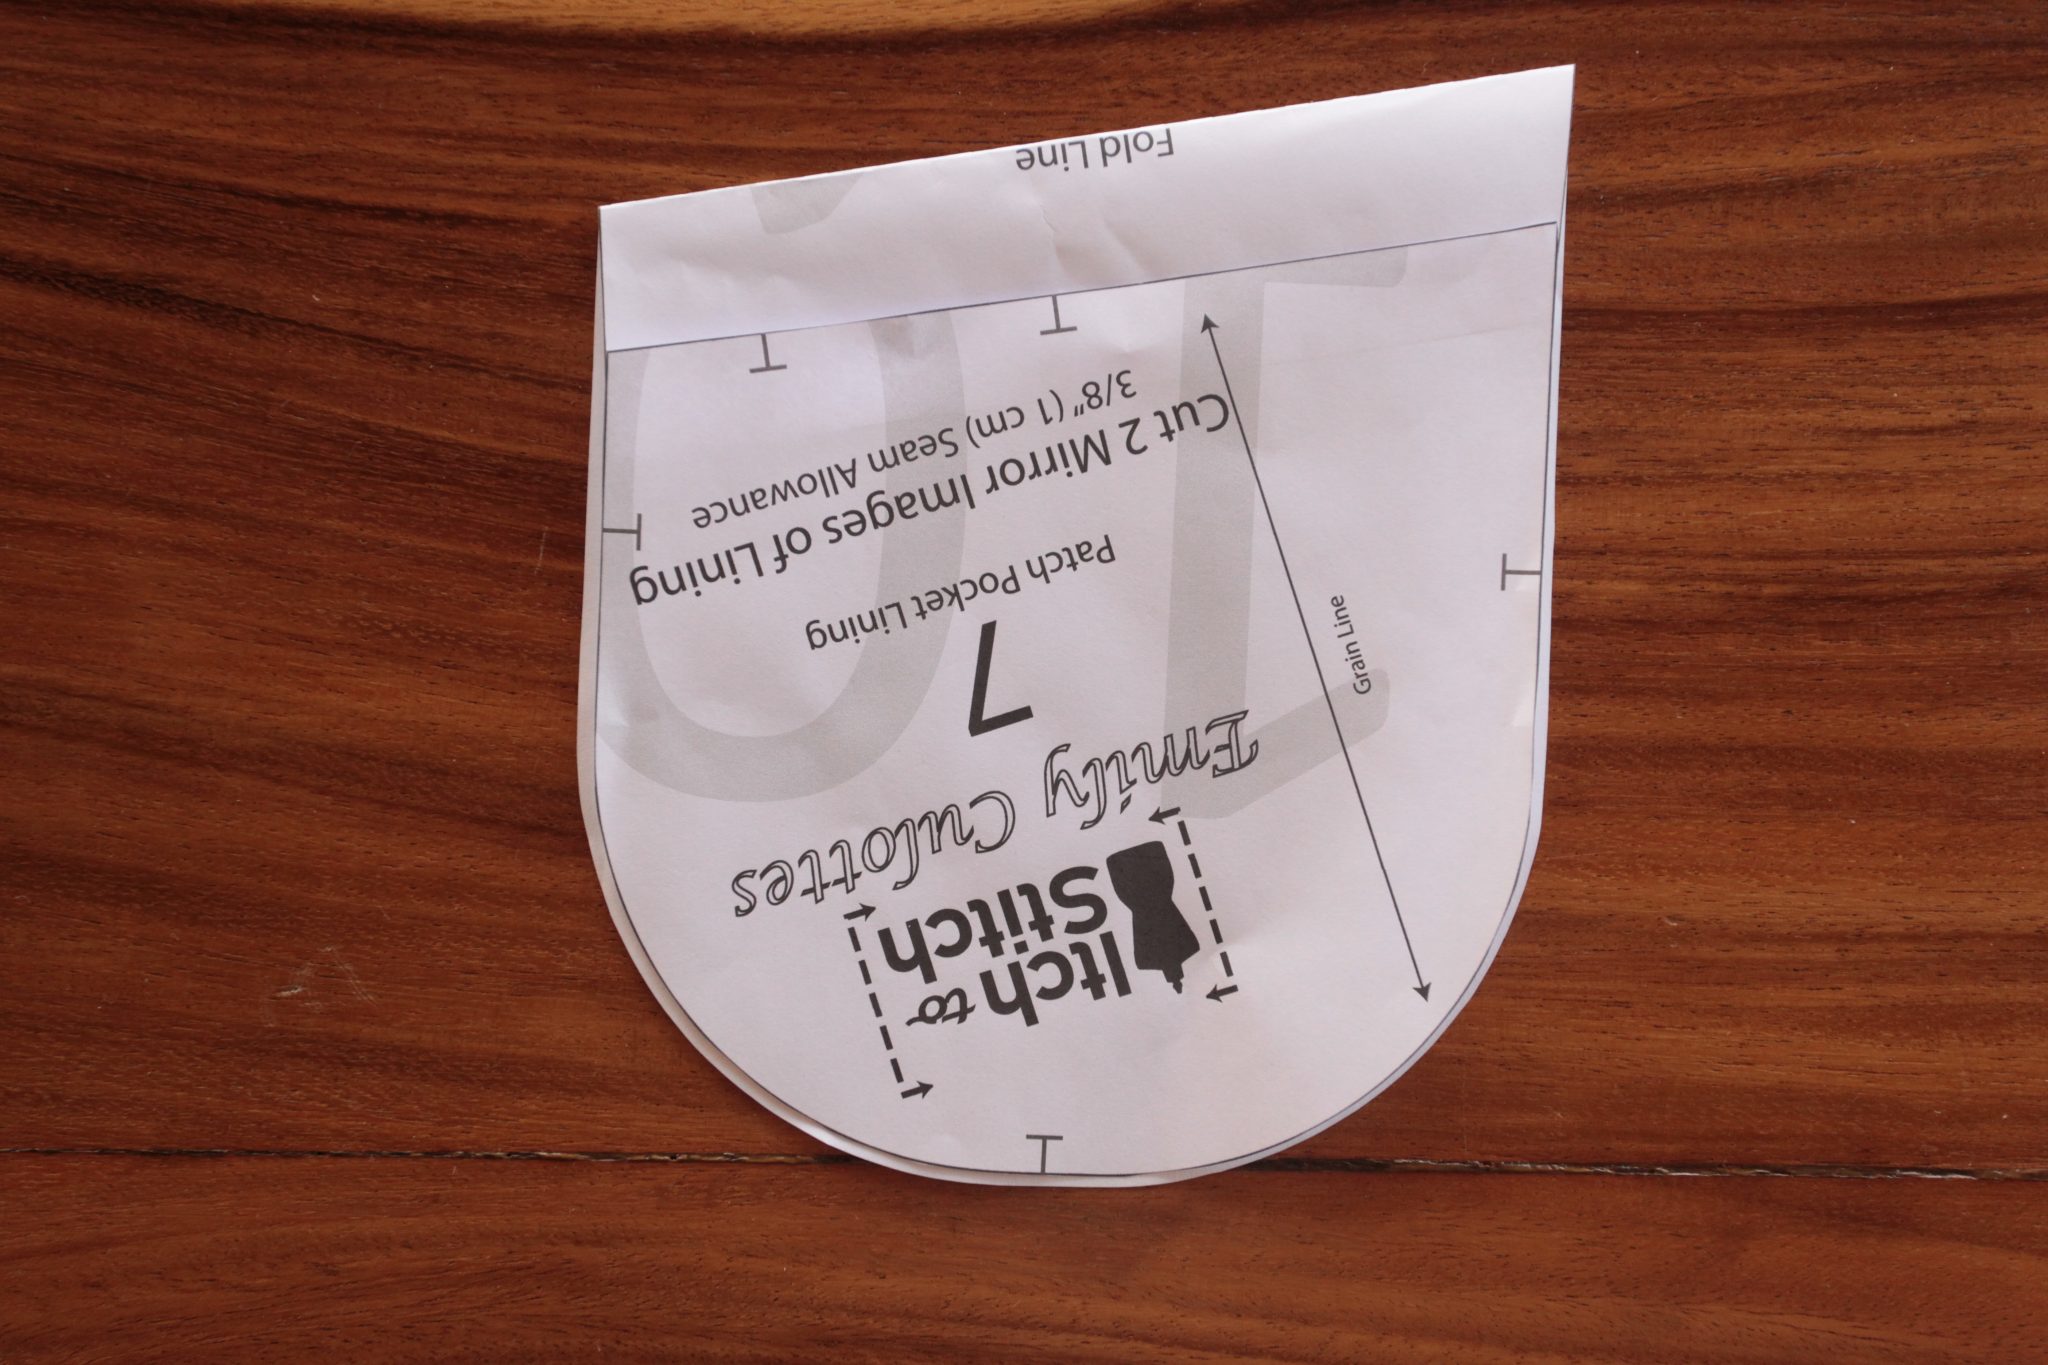
This is how the pieces fit together. The previous post will tell you in detail too. Pattern #5 is folded as marked (on the Fold Line), and the lining (pattern #7 that gets sewn to the facing). Note that the lining/facing portion is smaller than the outward facing side of the pocket. It is to ensure that the seam will roll toward the lining side.
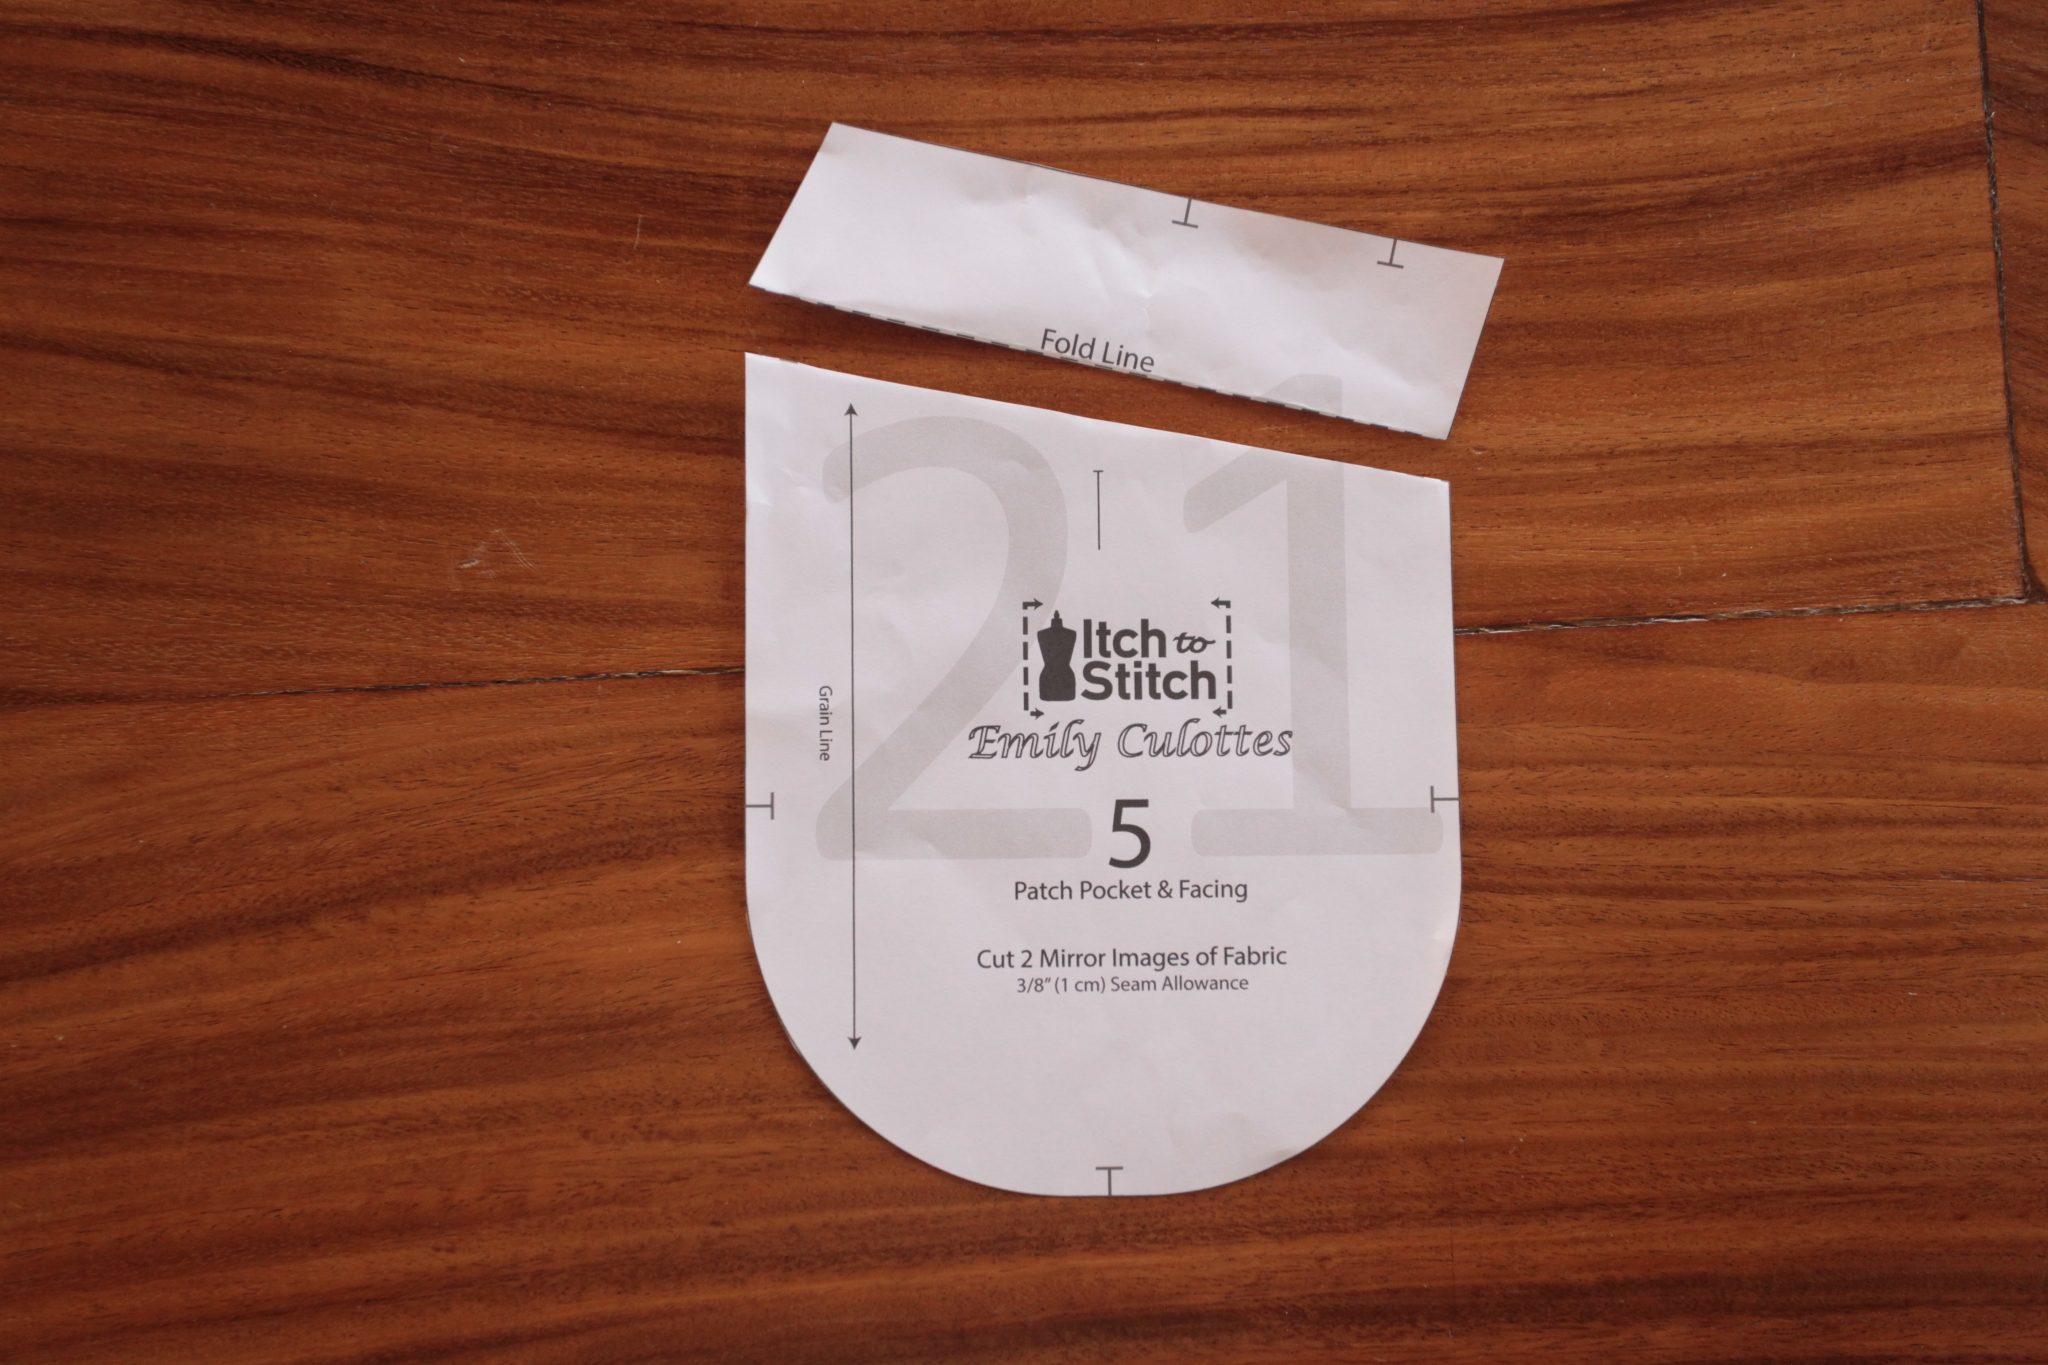
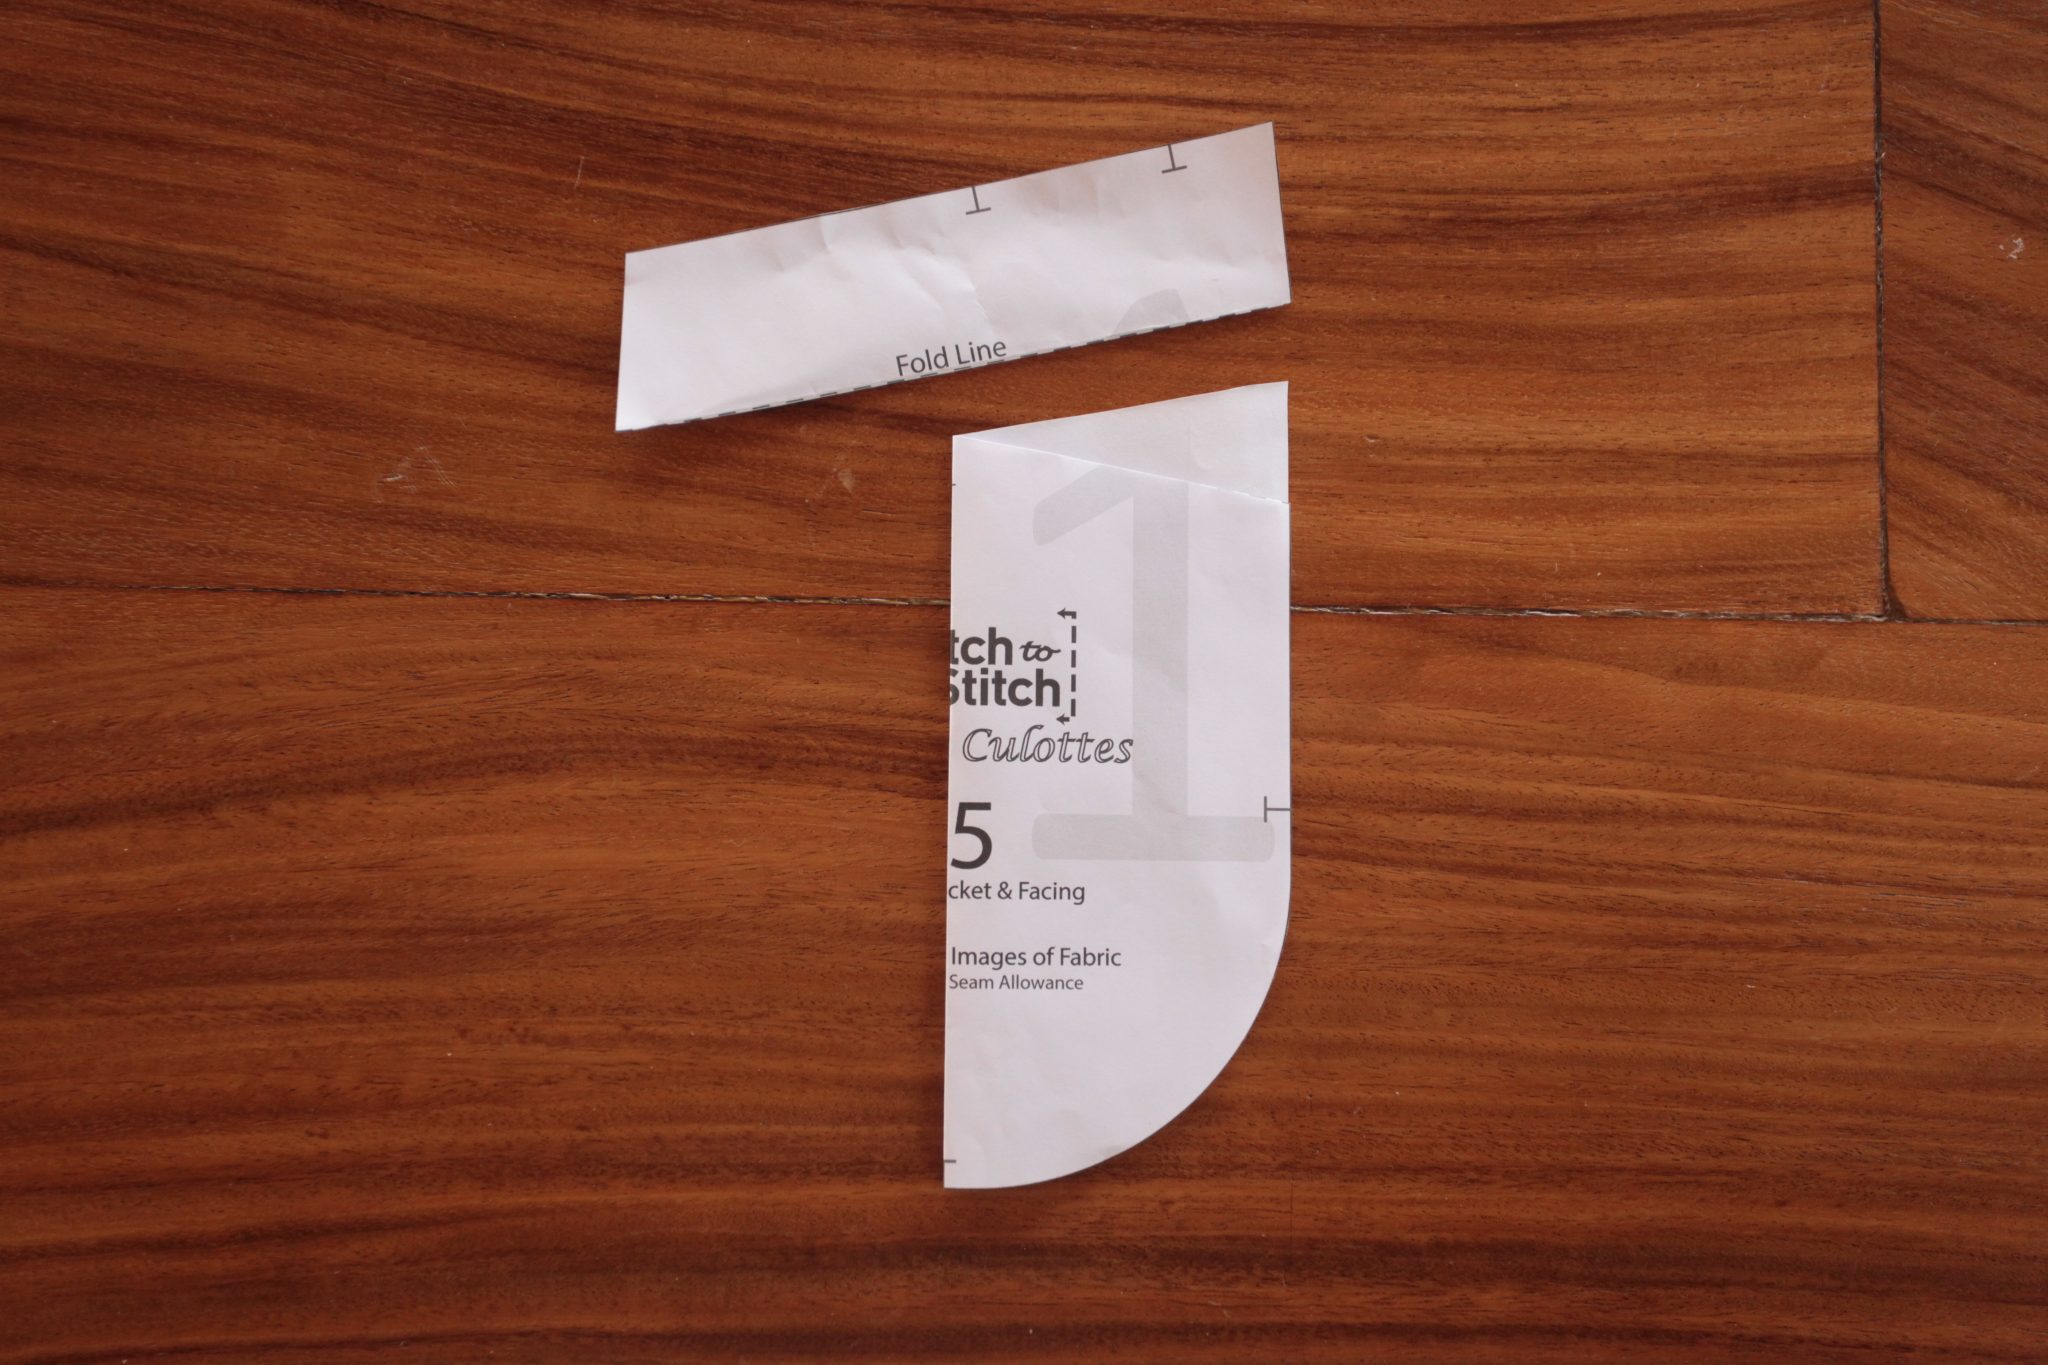
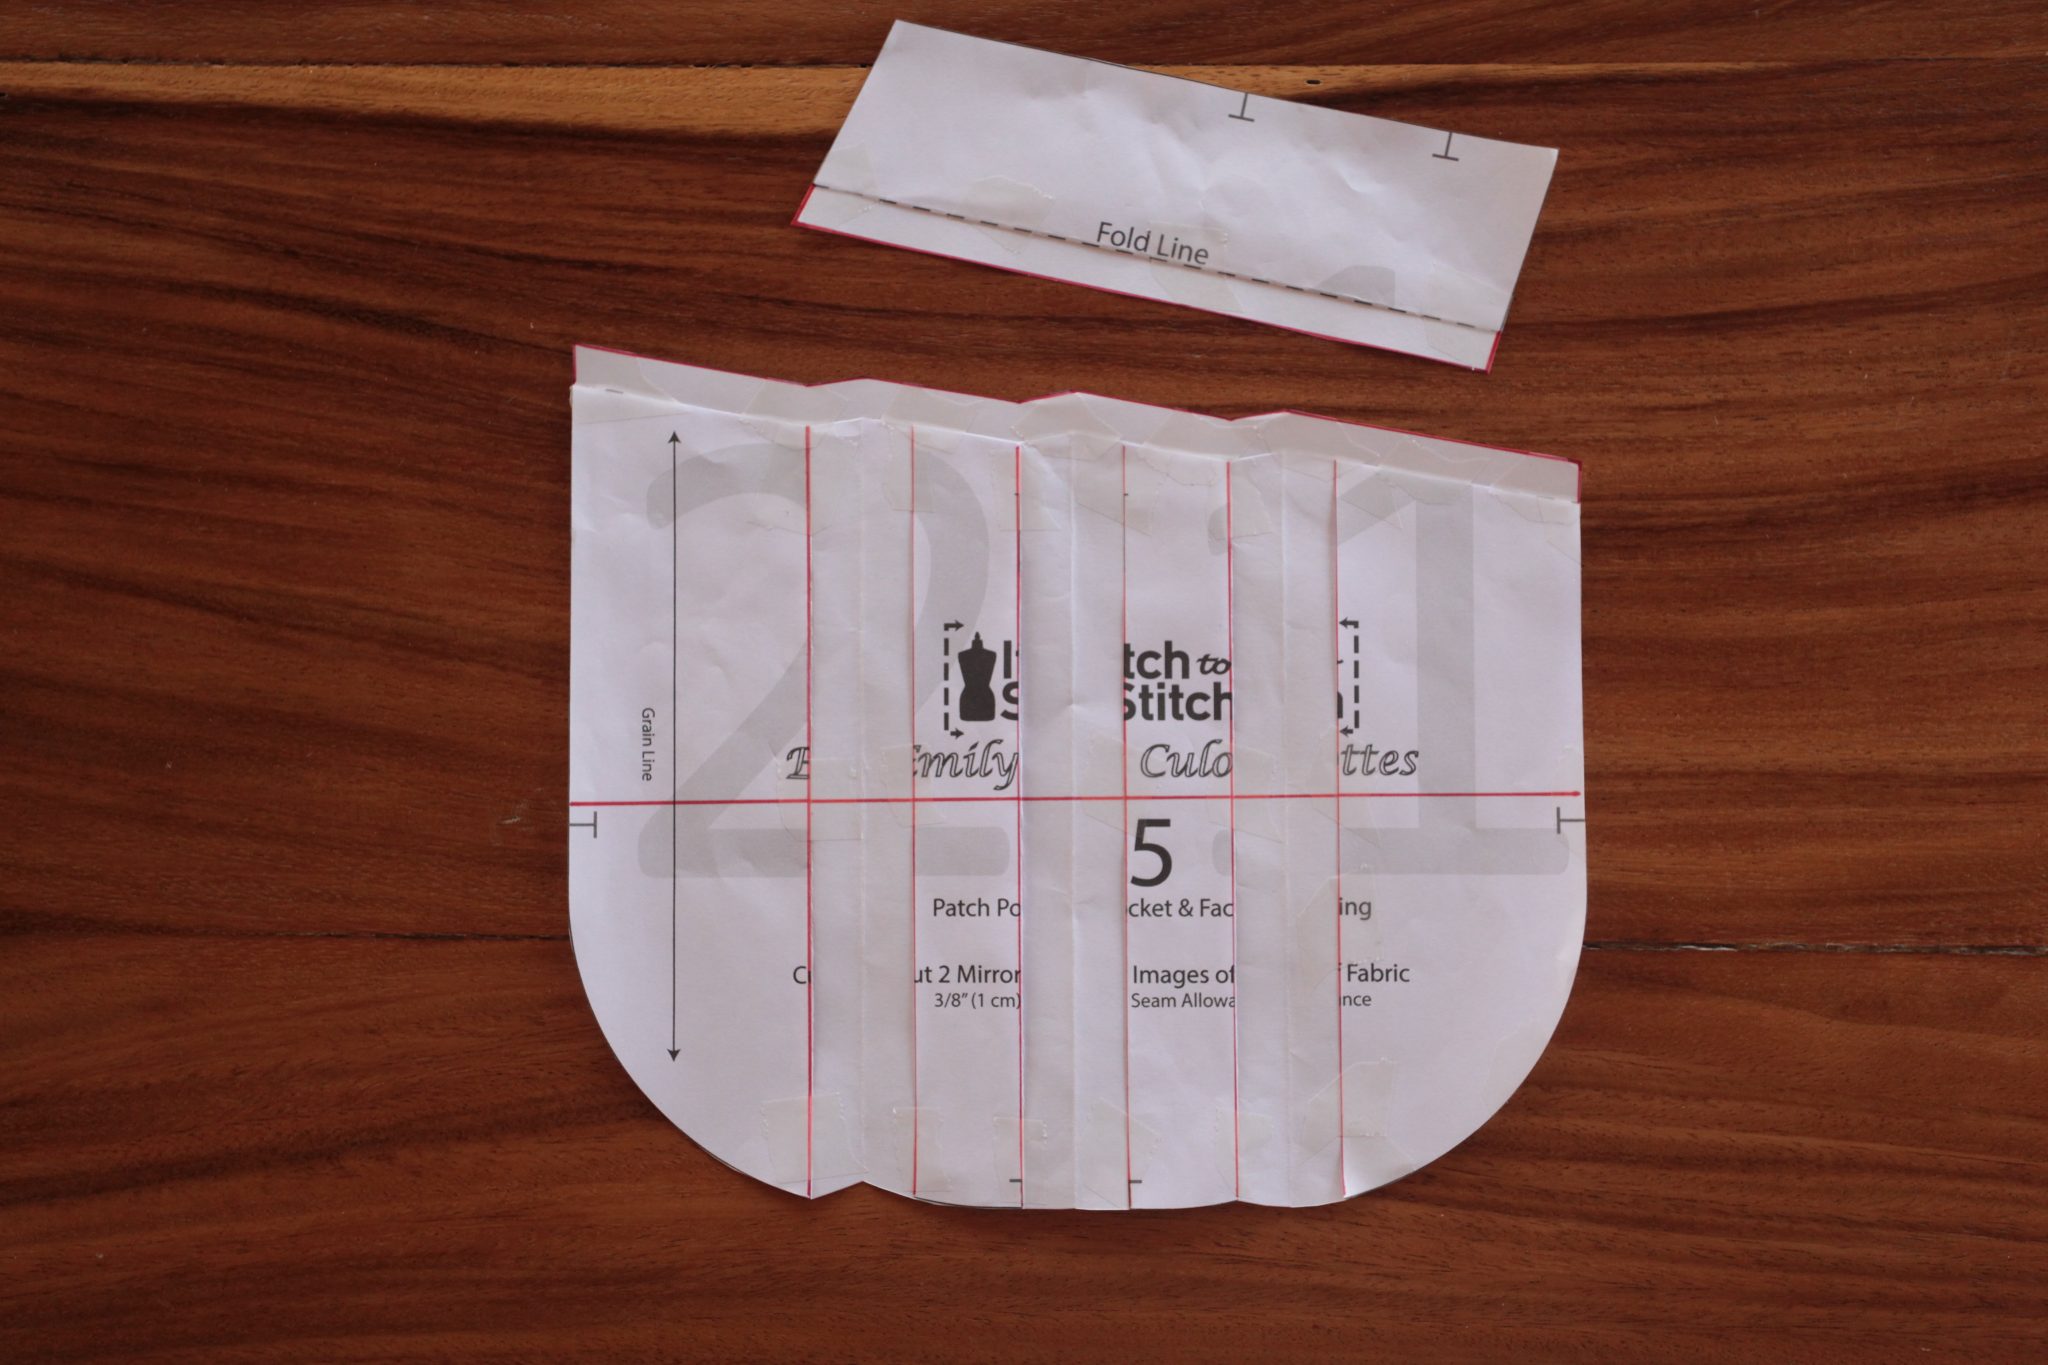
To add pleats, we need to slice up pattern #5. We are not going to change the facing portion, so I am cutting it off.
Then I fold the pocket in half to find the middle point.
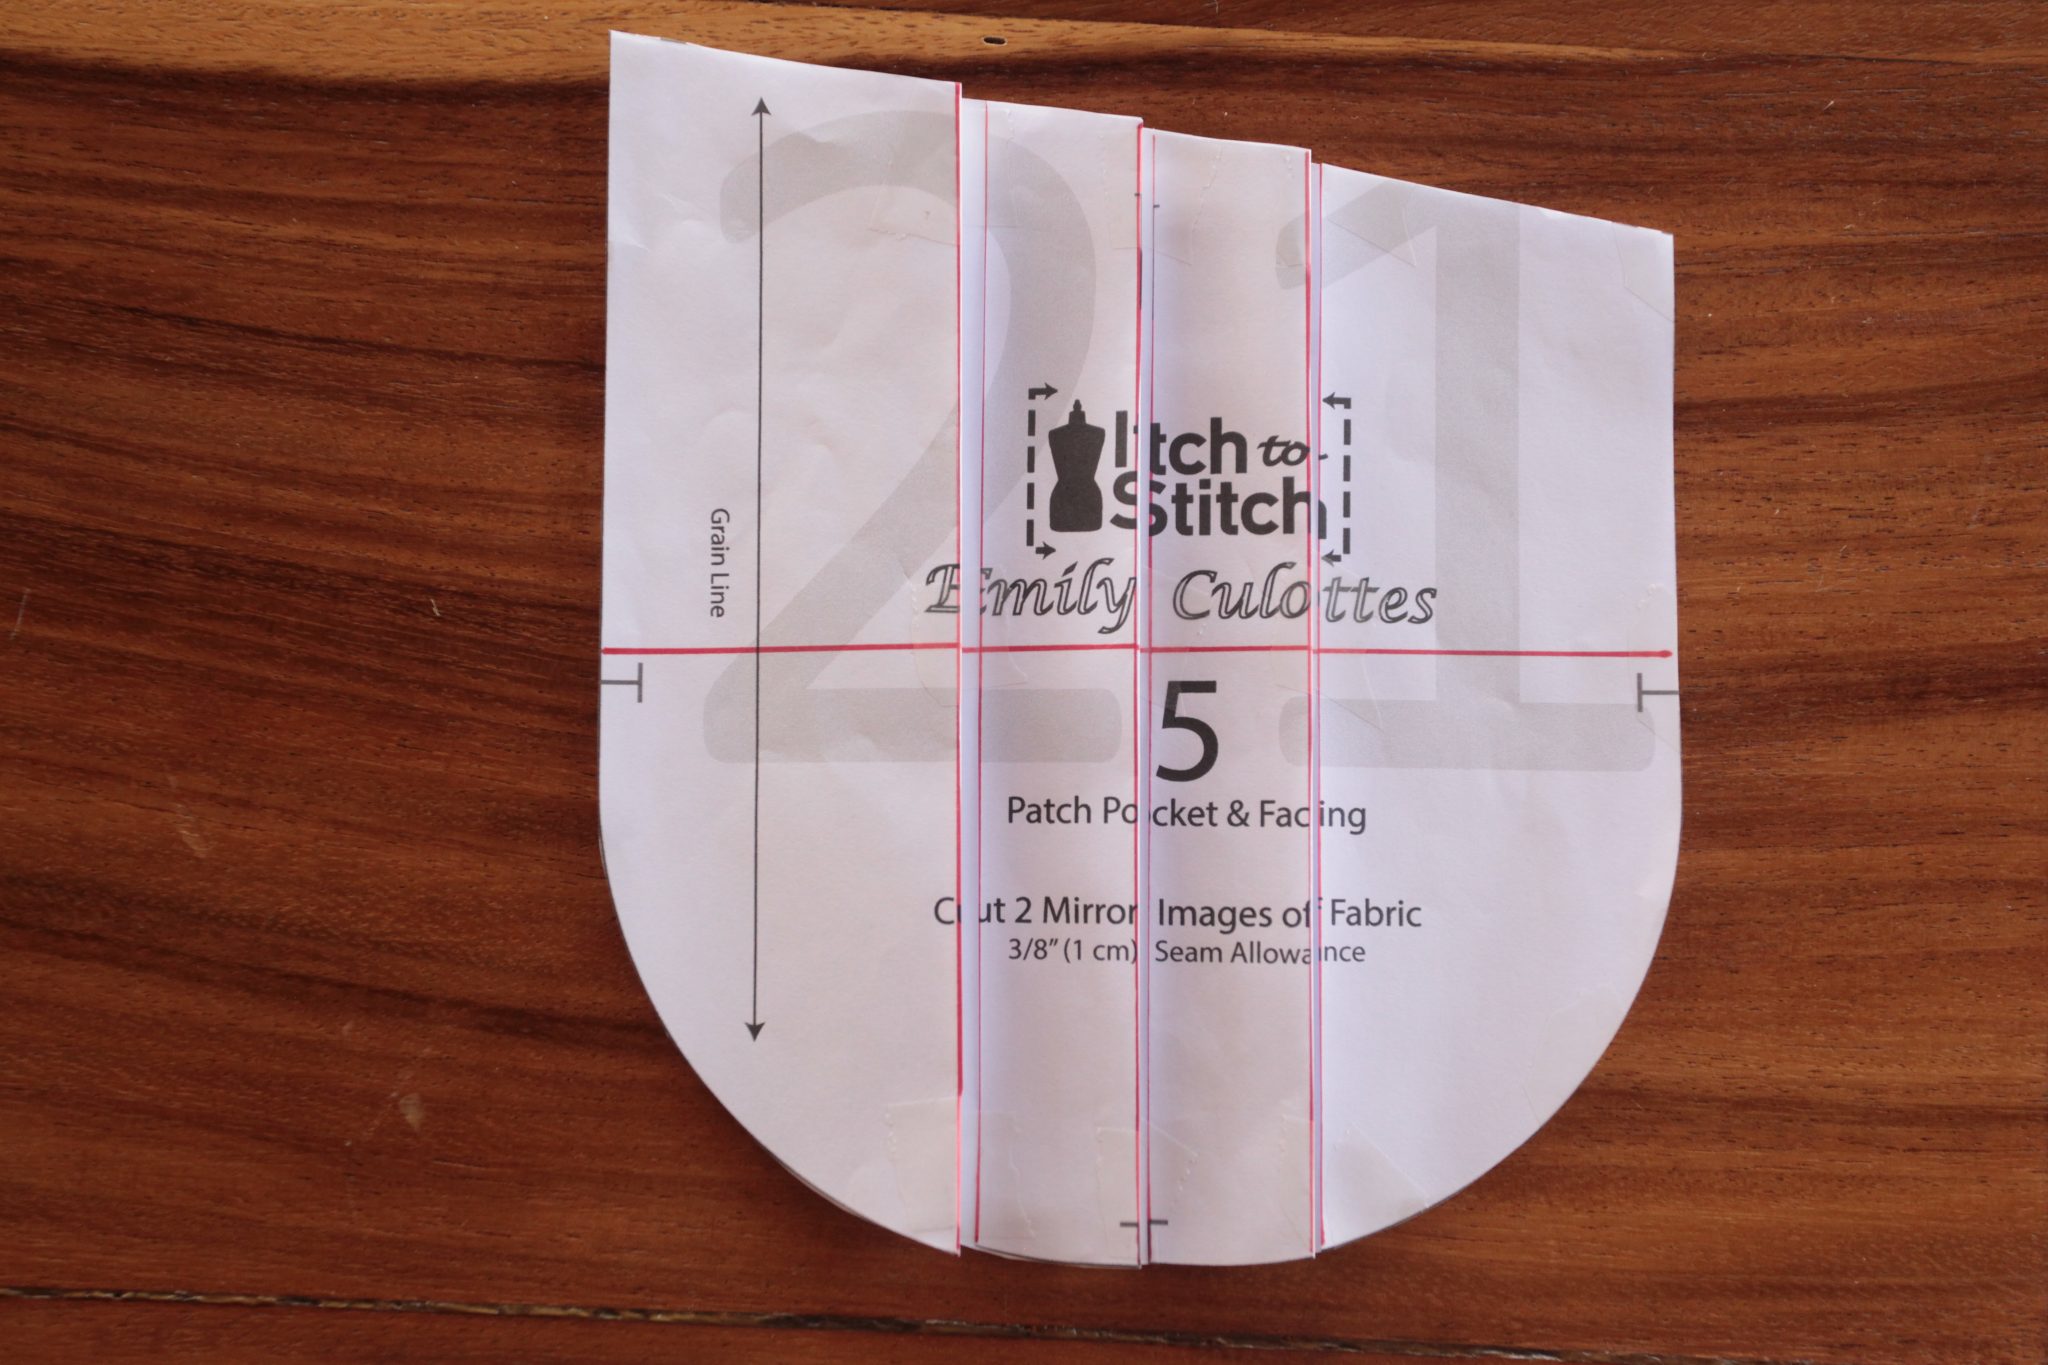
Unfold the pocket and you’ll see the middle point. So I mark the middle line, as well as 1″ (2.5 cm) on each side of the middle line.
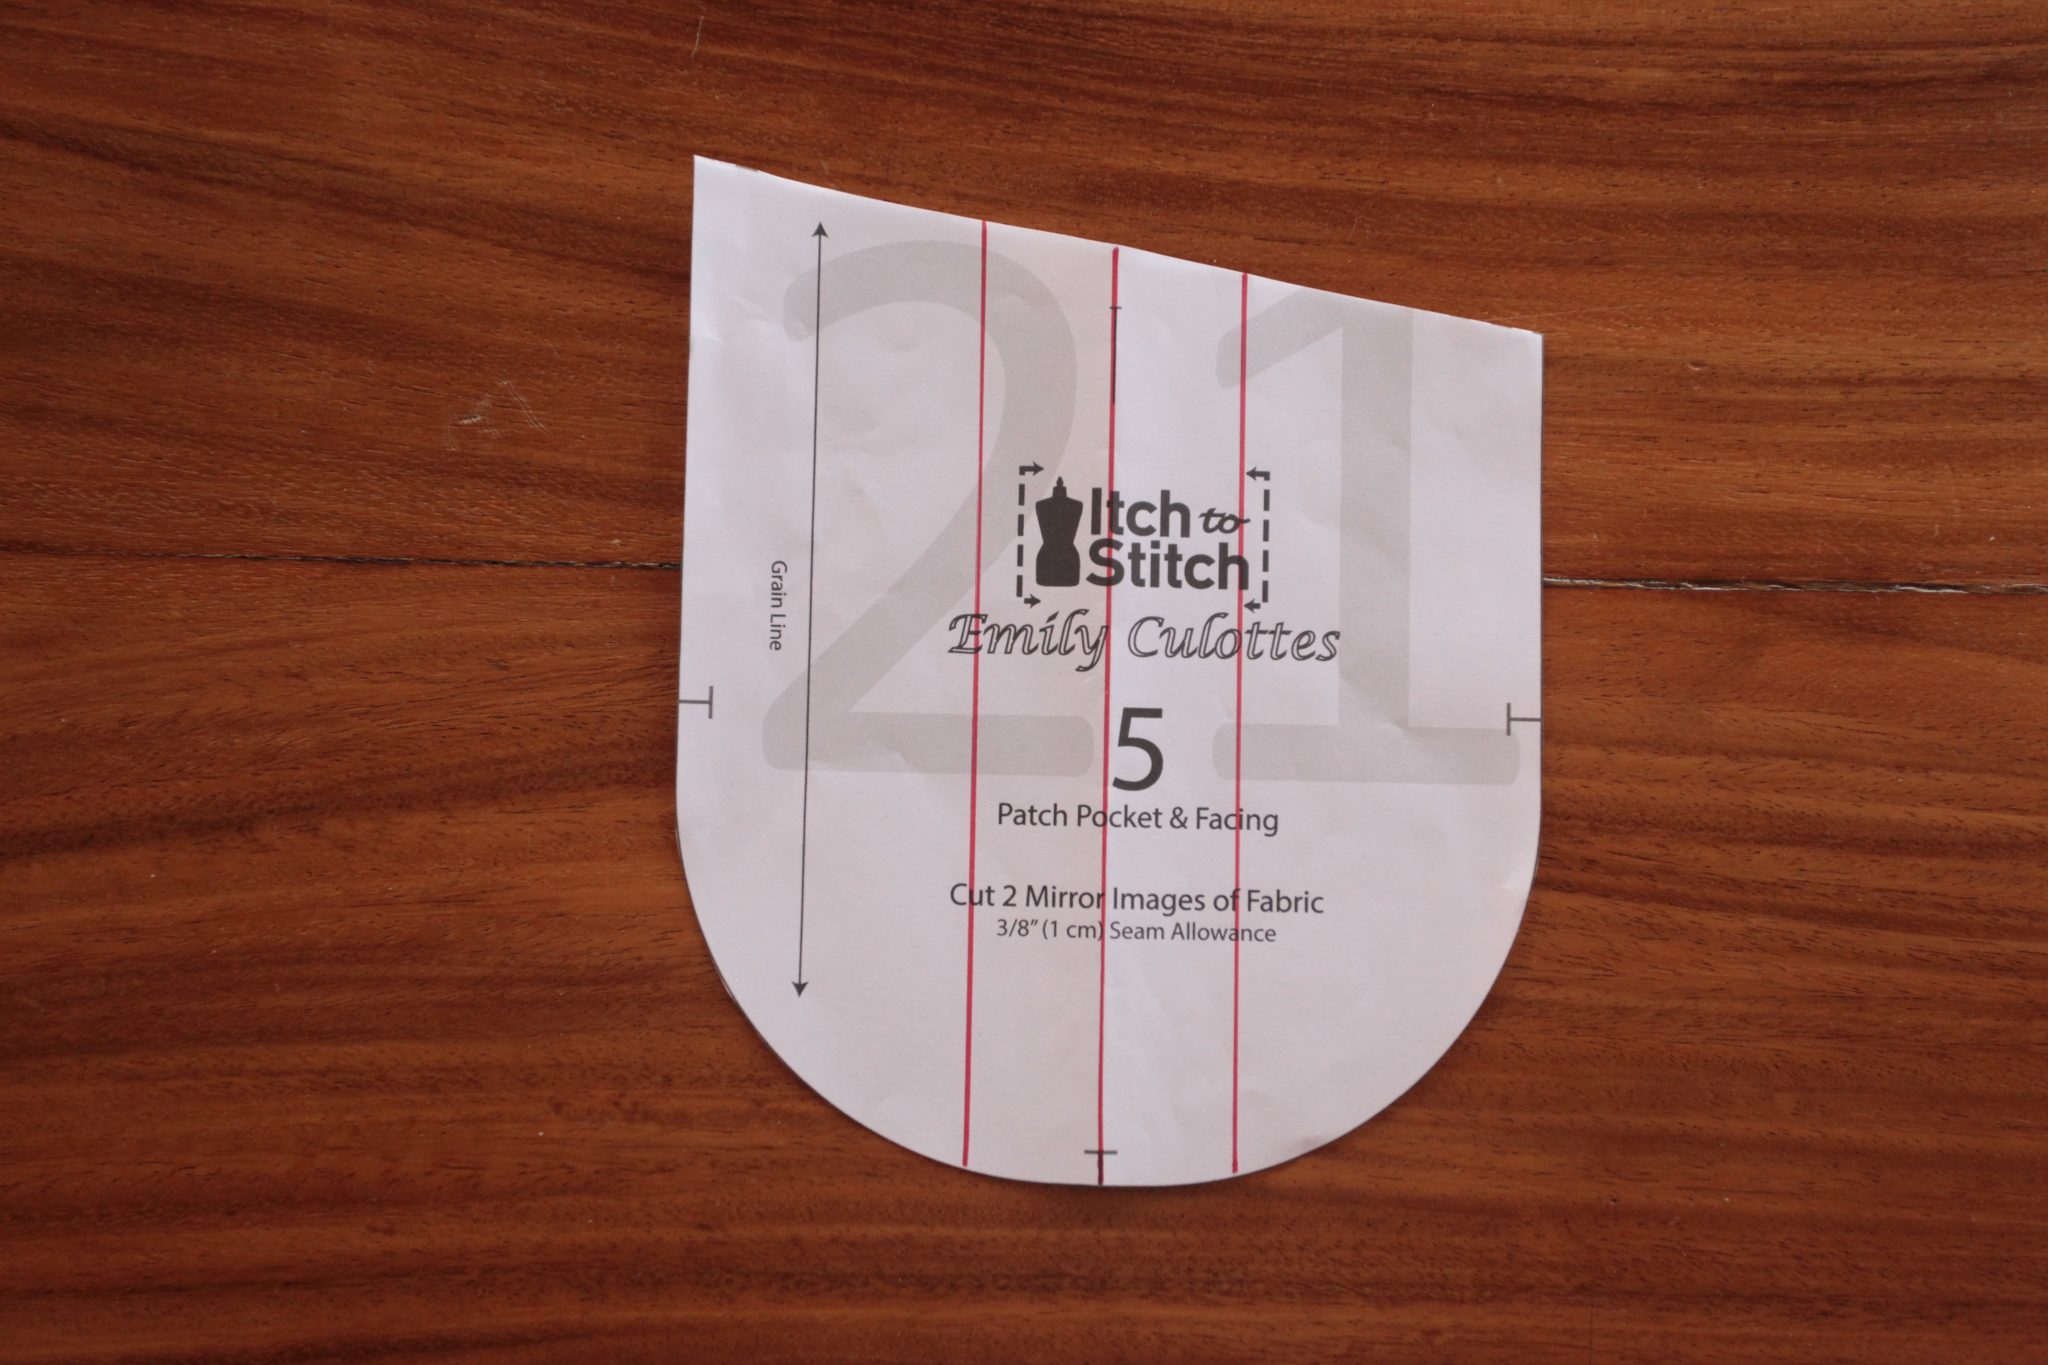
I also draw a horizontal line perpendicular to the three lines. It’s roughly in the middle of the pocket, but the exact position is not that important, as long as it is perpendicular to the three lines.
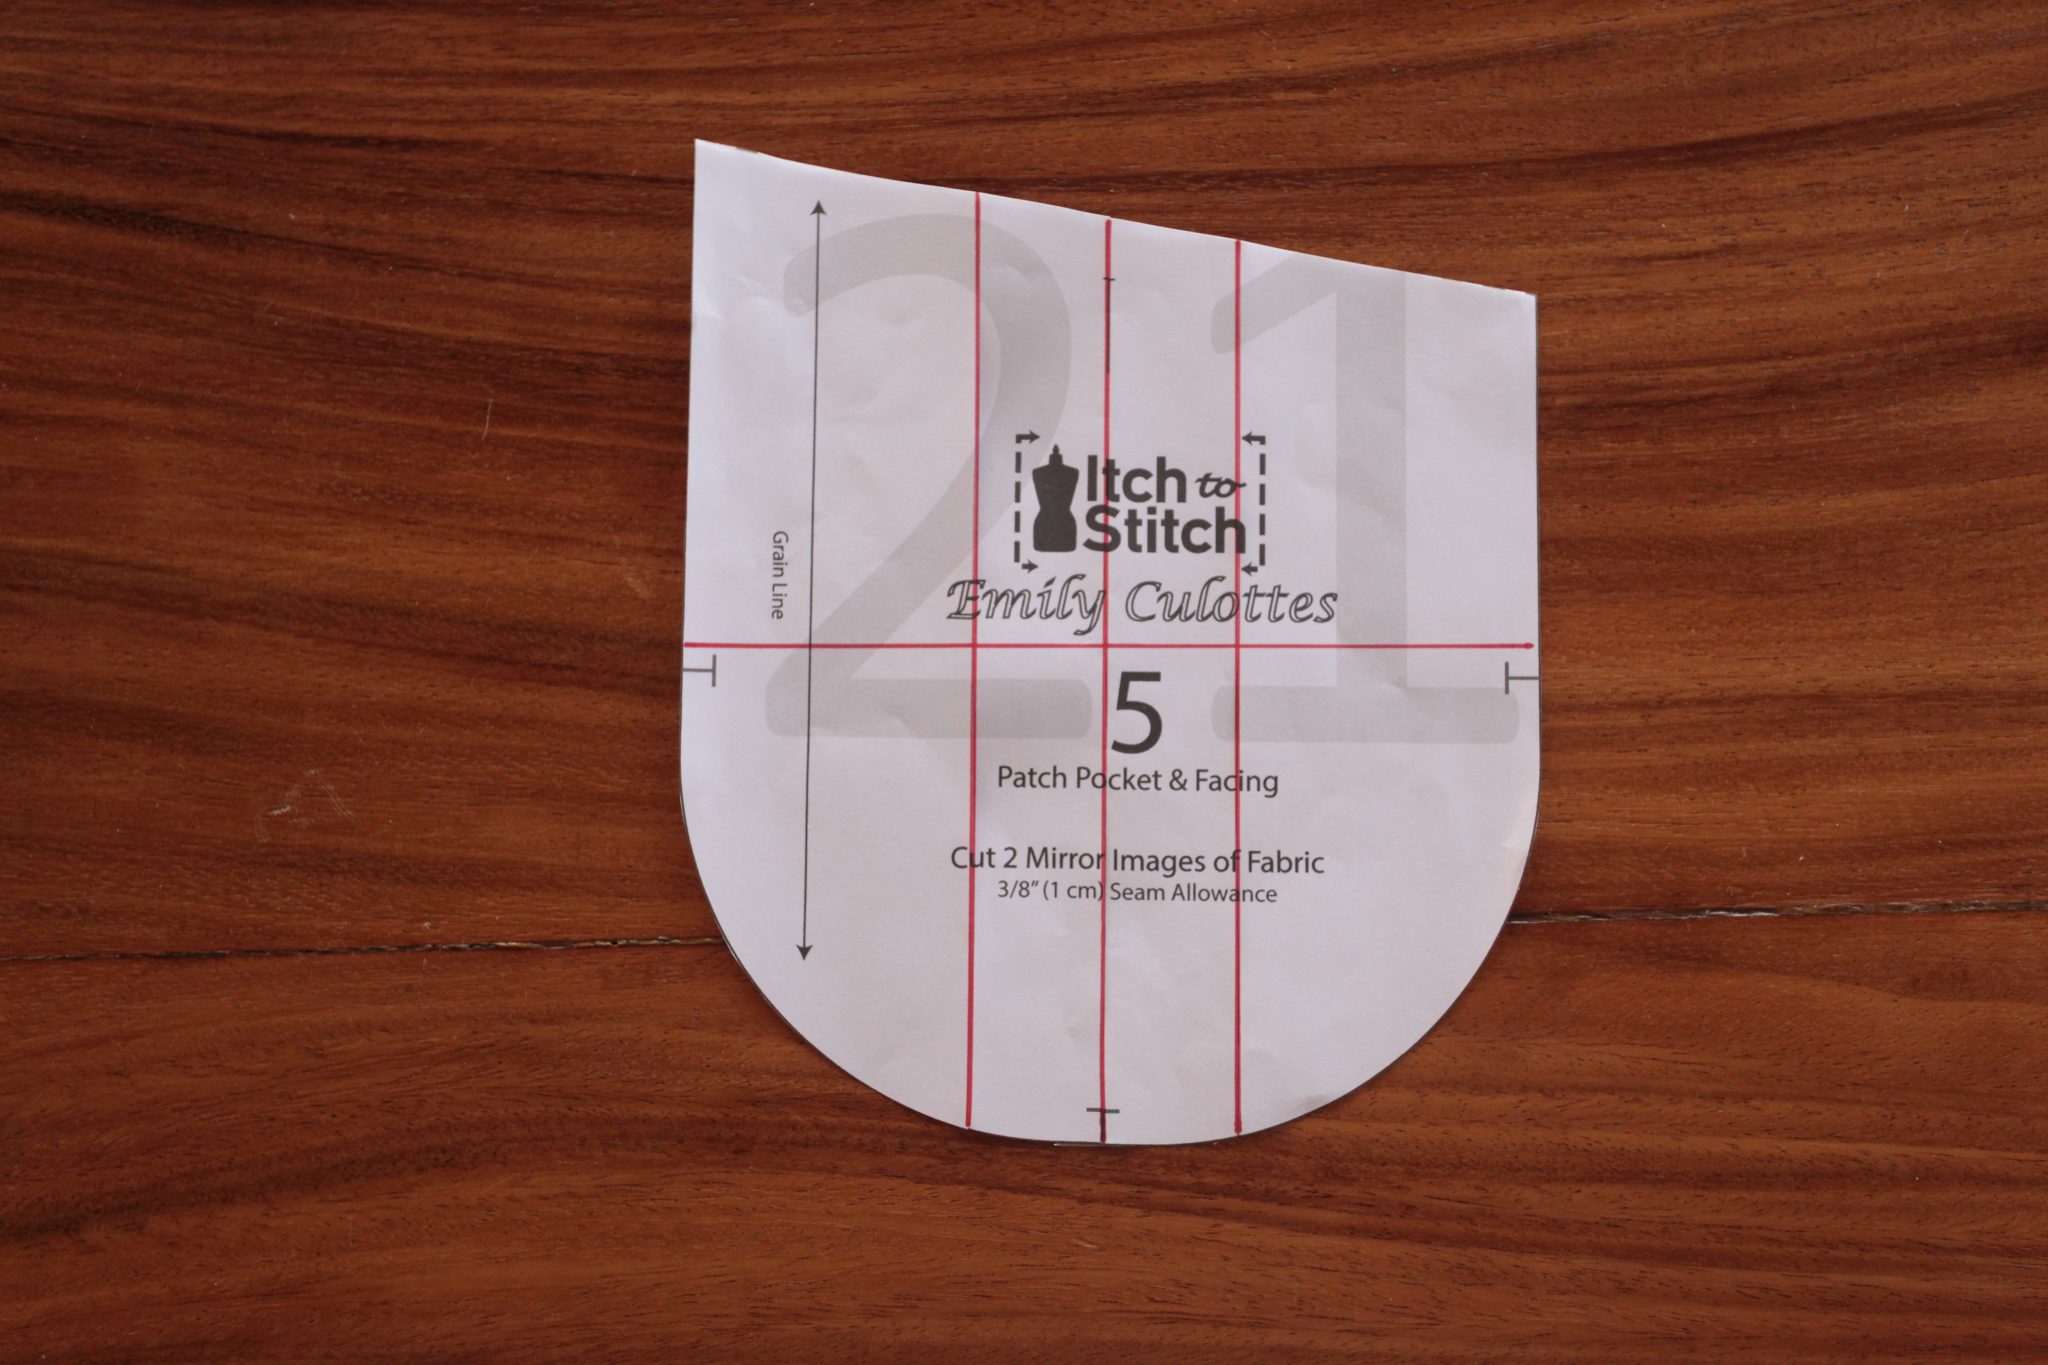
I cut the pattern using the three vertical lines. I now have four pieces.

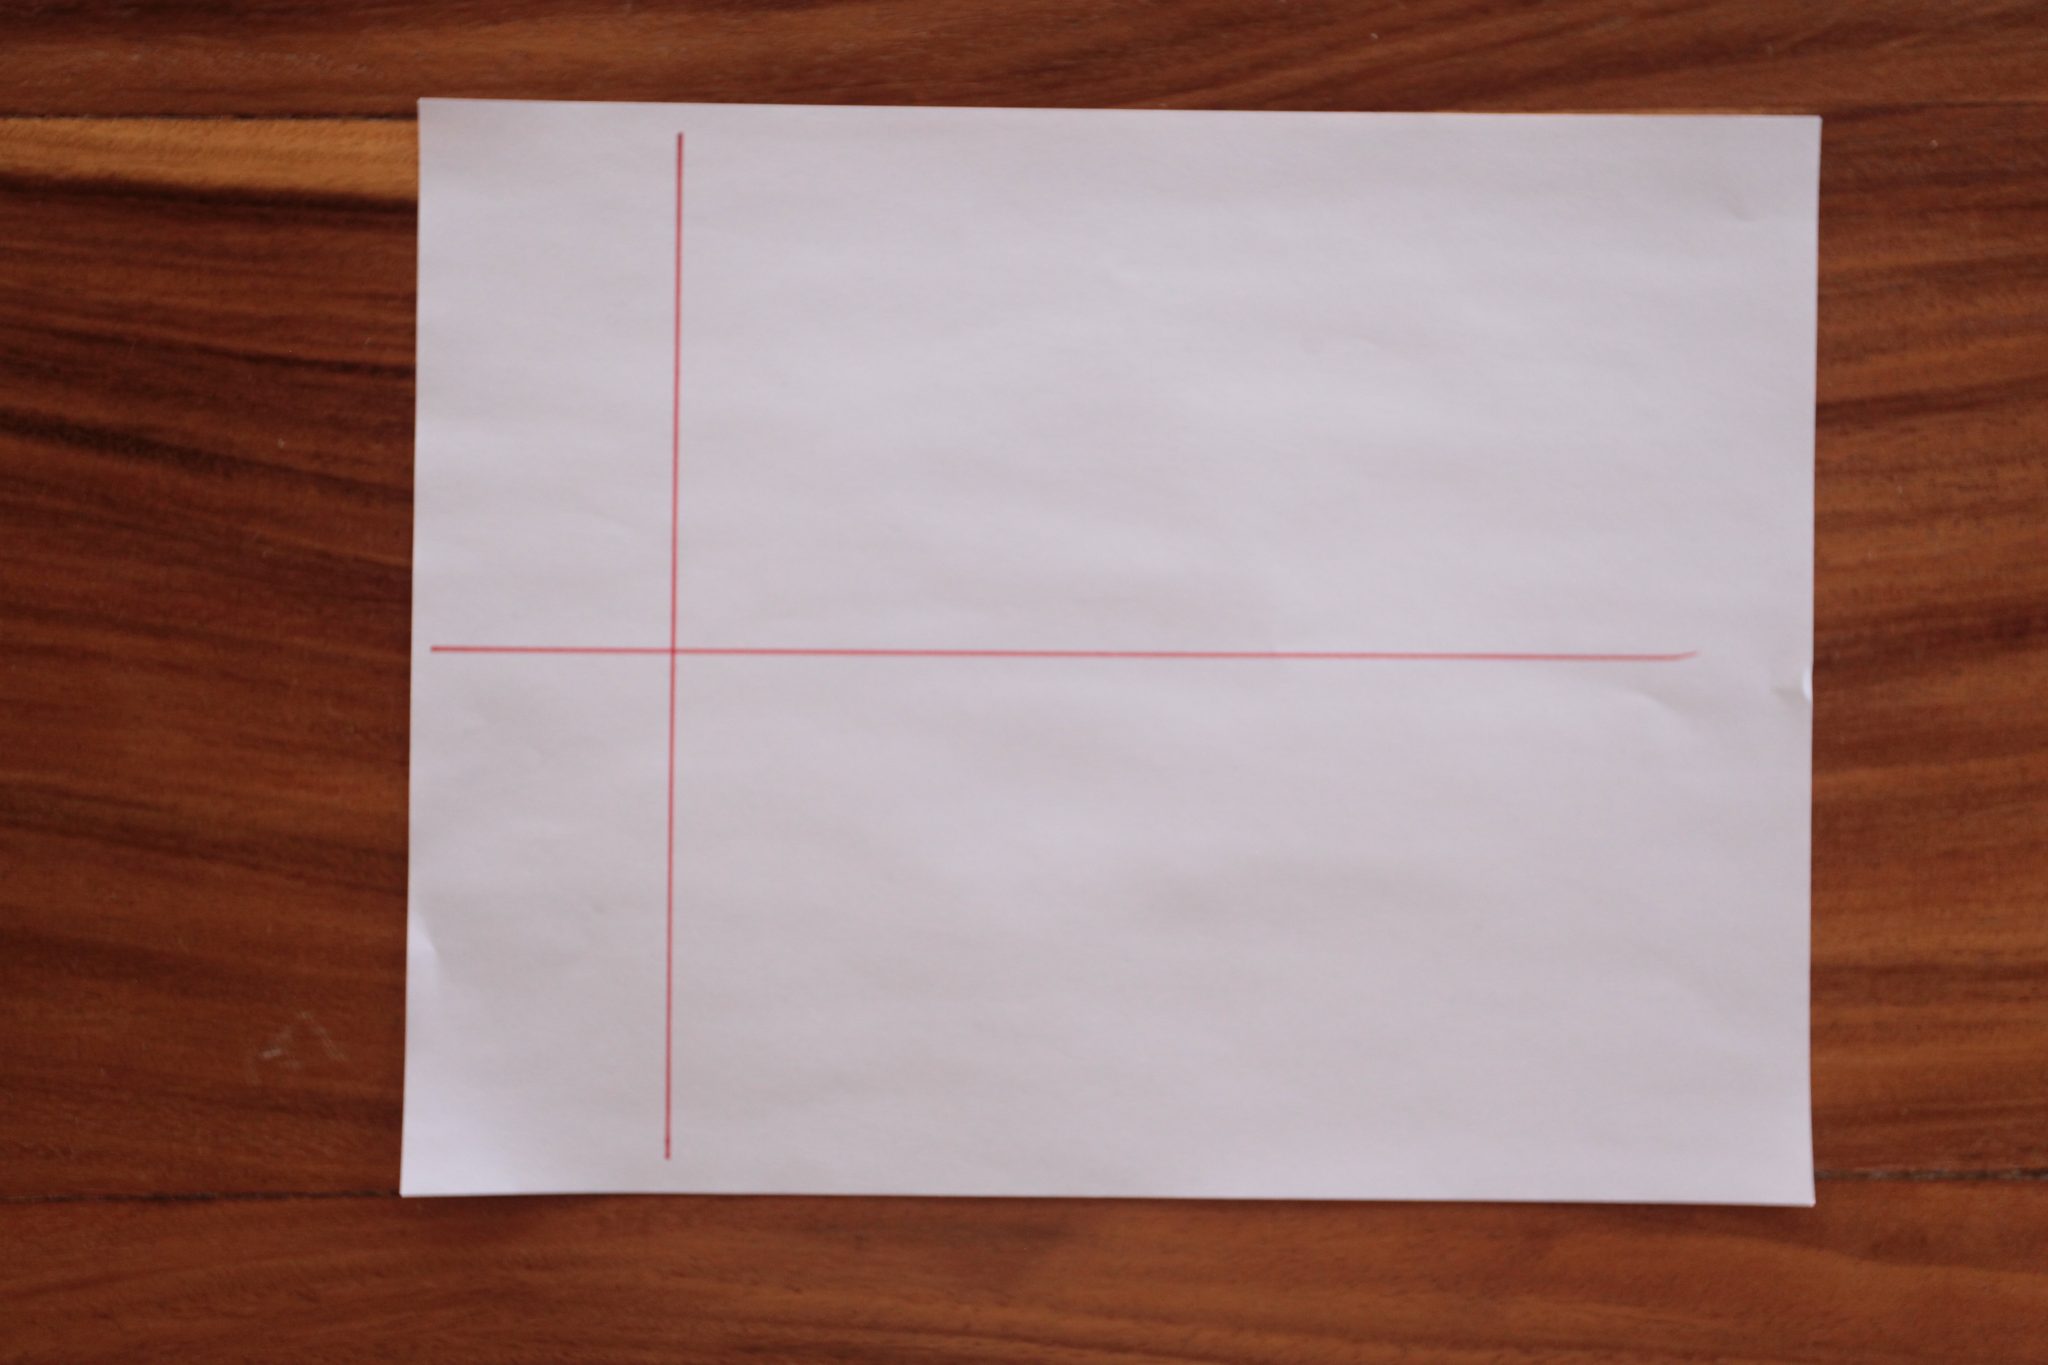
On another piece of blank paper, I draw a vertical line on the leftish side, and a horizontal line in the middle, making an uneven cross. Again, exact positions are not important as long as the two lines are perpendicular to each other.
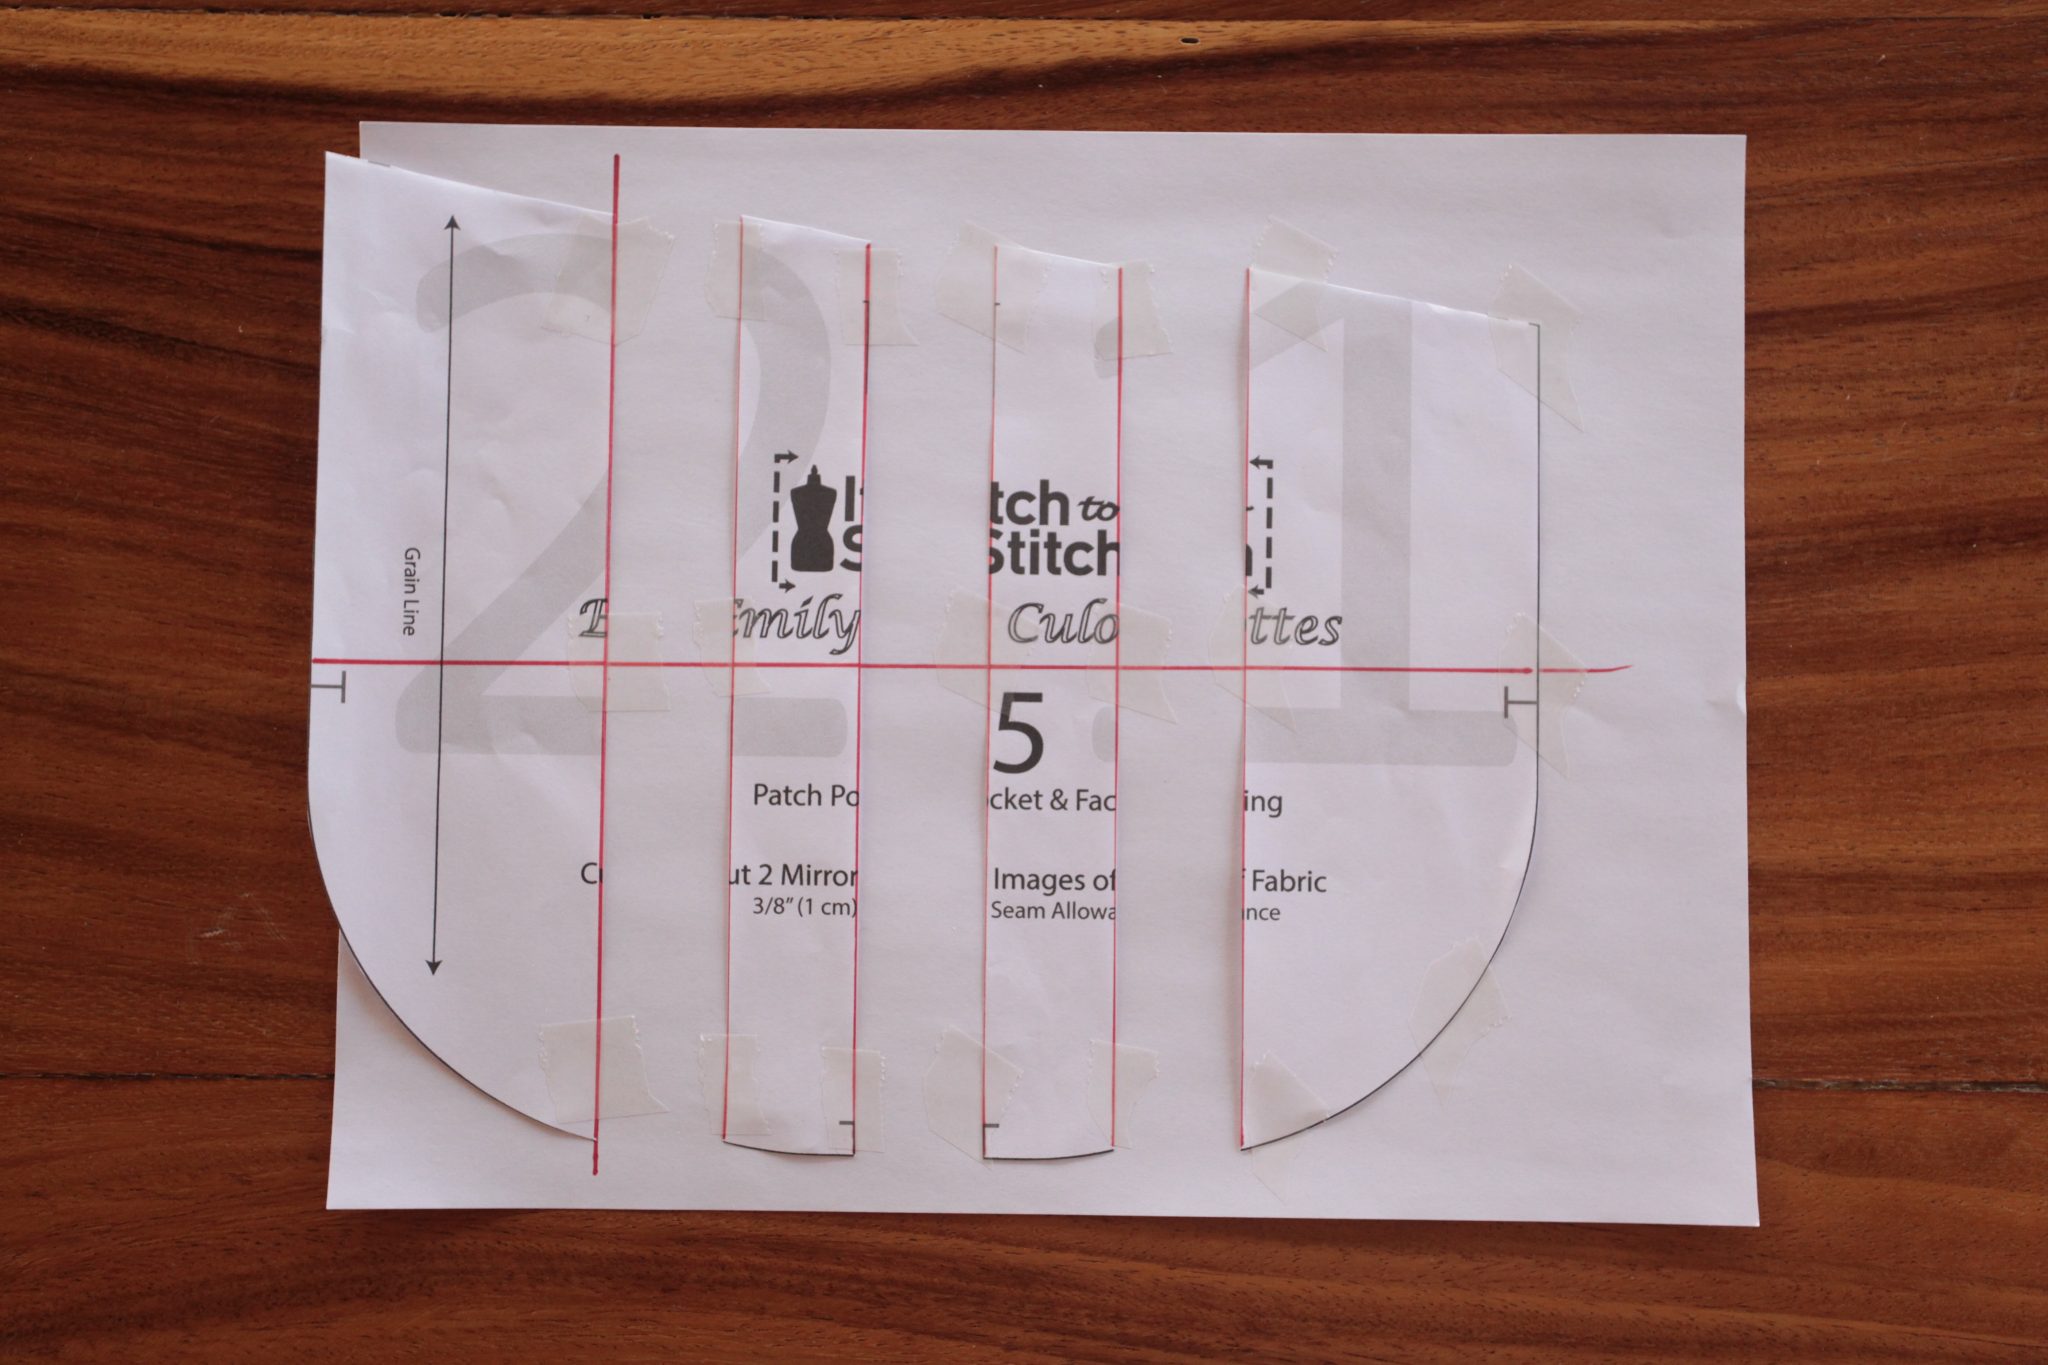
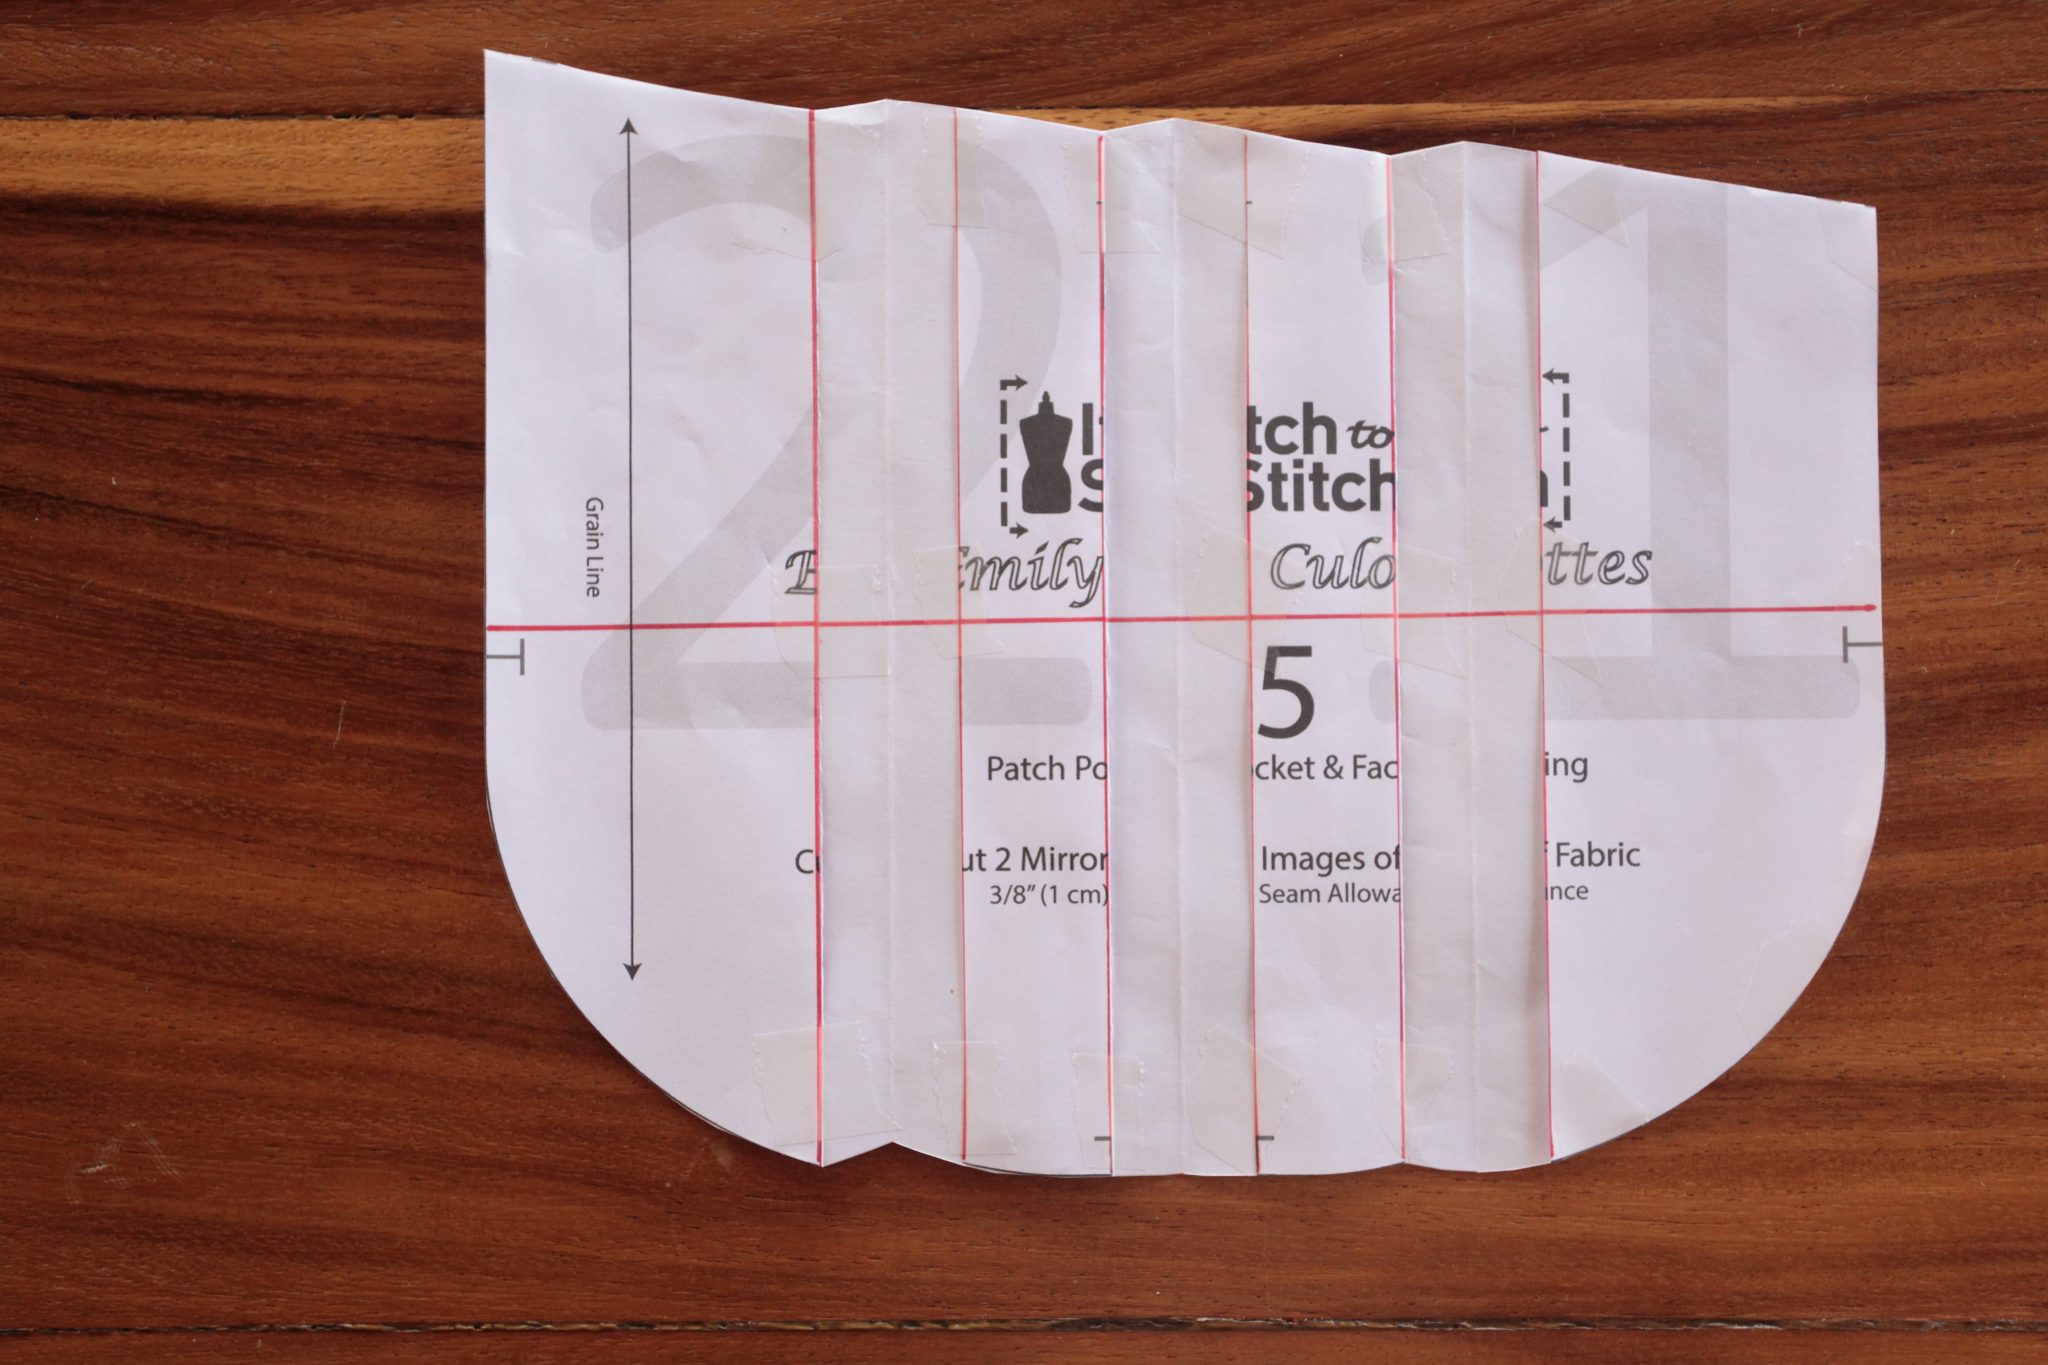
I tape the four pieces of pocket on this piece of paper. The cut edge of the first piece is aligned vertically and horizontally with the uneven cross. One inch (2.5 cm) from the cut edge, I tape the second piece of the pocket, making sure that the horizontal middle line is aligned with the paper’s. I repeat the same procedure for the third and four pieces of the pocket. Essentially, you end up with three 1″ (2.5 cm) gaps in the pocket.
Now I need to cut out the pocket, and at the same time “true” the pocket. To do that, I need to fold the pleats like I would on the fabric. You can fold the pleats all toward the left or all toward the right; either way would work. But the shape of the trued edges will look different depending on which side you are folding the pleats. Here I am folding the pleats toward the right-hand side.

The pleats are all folded.

And now I can cut the pocket out.
When you open the pocket piece back up, you can see the jagged edges of the pleats, which is exactly what we want.
Remember I cut the facing from the pocket earlier? We will have to sew them back together later, hence, we need some seam allowance in order to do that. I add 3/8″ (1 cm) of seam allowance to the top of the pocket, as well as the bottom of the facing. Note that I could have added the seam allowance before I cut the pockets into four pieces; the result would be exactly the same whether I add the seam allowance now or earlier. Yes, there’s a lot of tape! I used to buy scotch tape by the dozen, but now I draft digitally, so I don’t use as much.

I cut out the pocket and the facing with the seam allowances.
I am ready to cut out all the pieces! On the left side is my lining (sloth fabric), the top is my facing, the bottom is my main pocket, and the right-hand side is my interfacing.
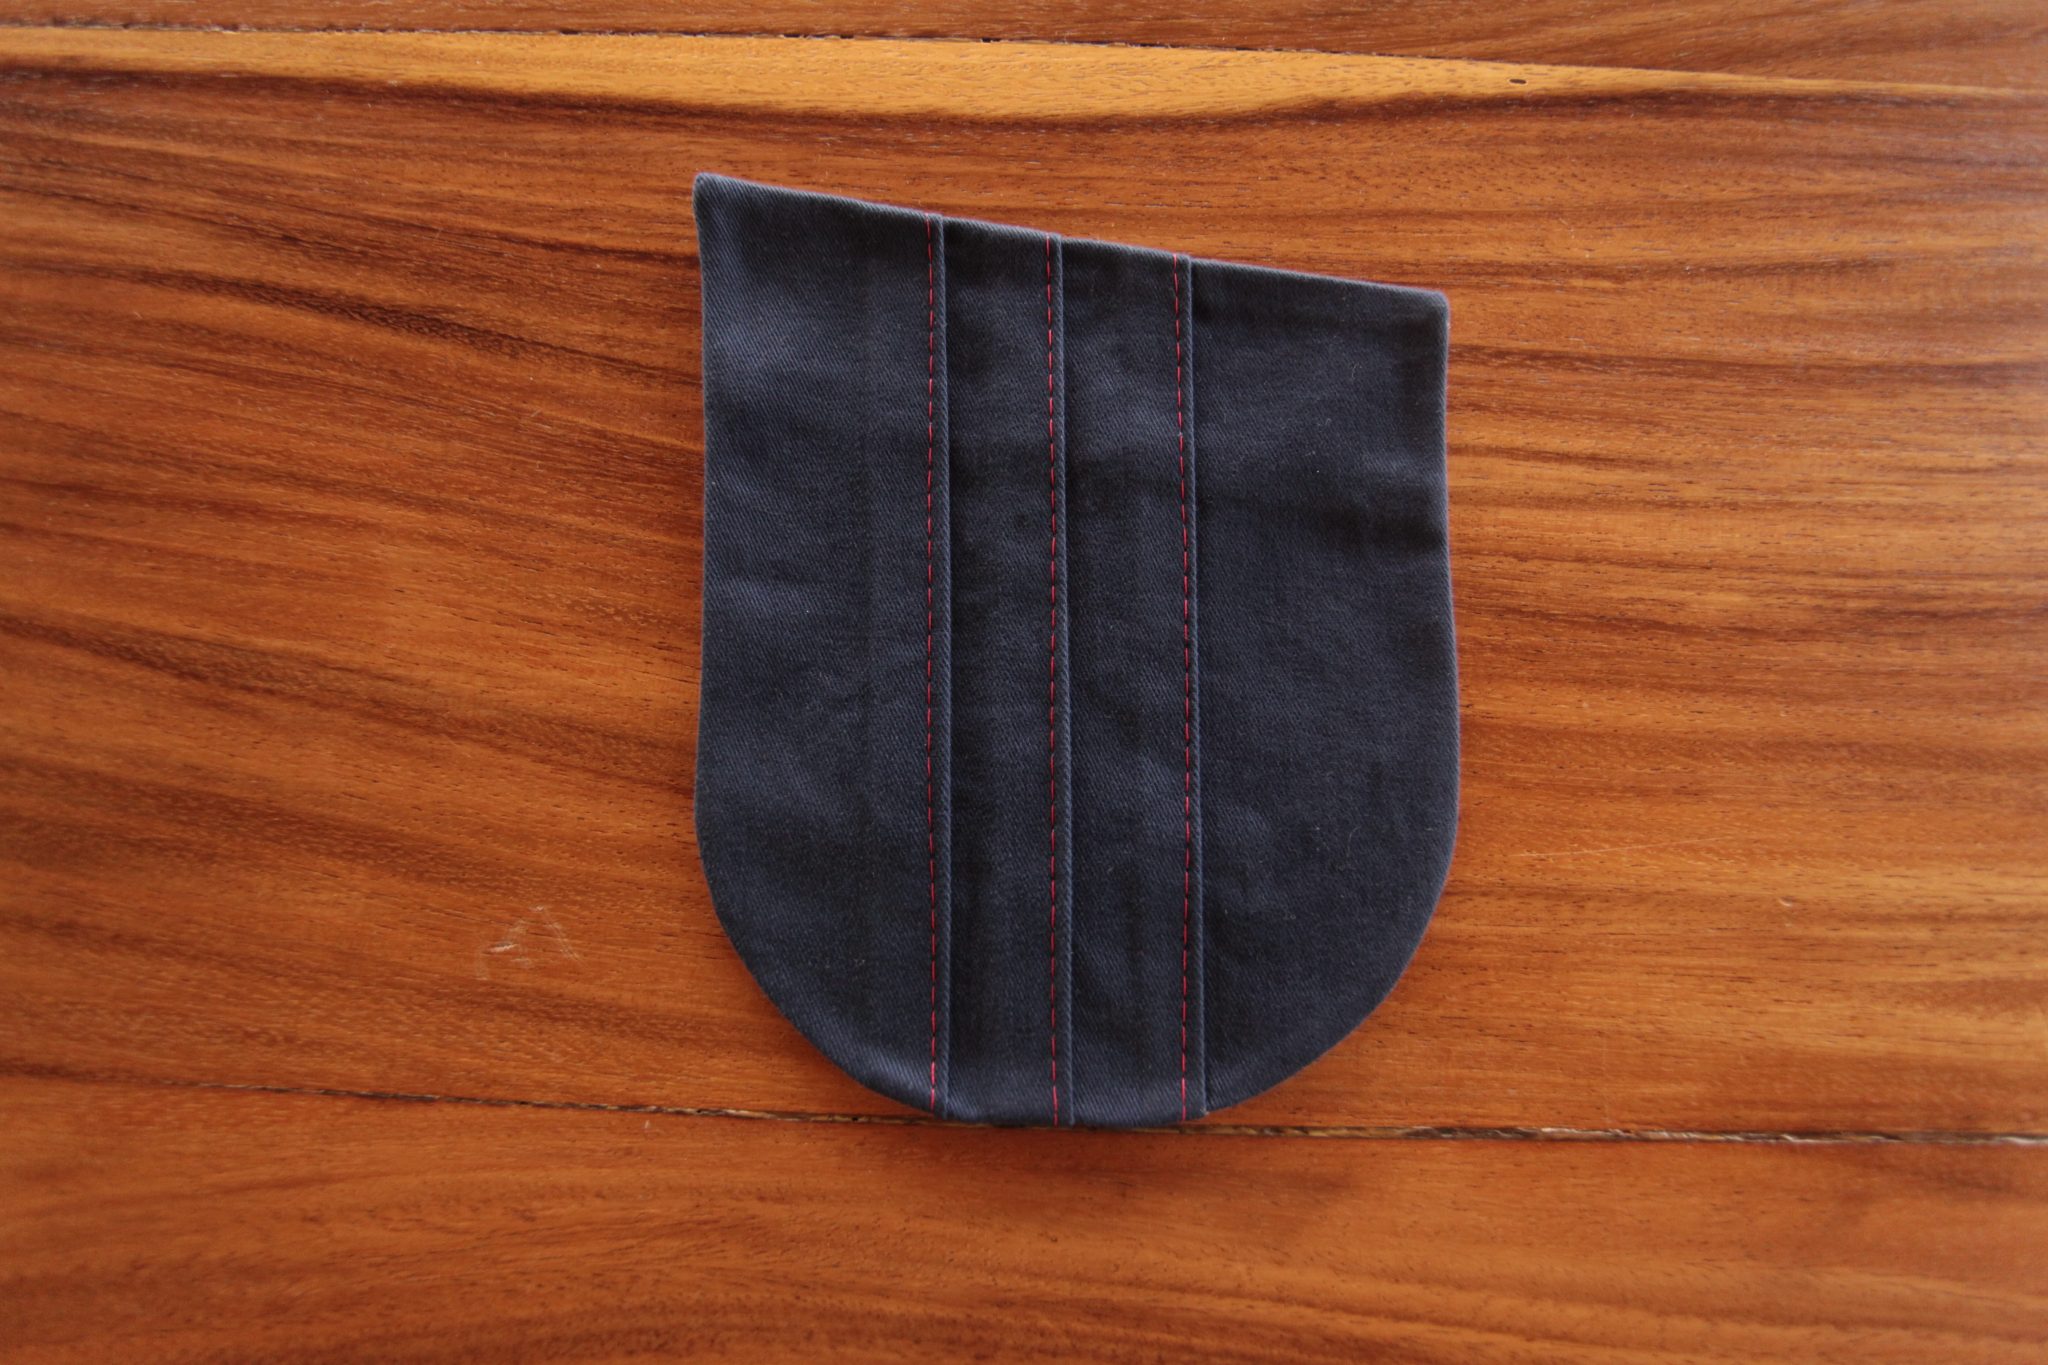
I folded the pleats, just like the way I folded the paper pattern earlier. I also baste the pleats closed at this point. Note that you can choose to actually sew the pleats shut. The decision is yours. Mine is only basted and I will remove them later on.

I apply the interfacing to the facing. The interfacing will not cover the seam allowance that we just added.
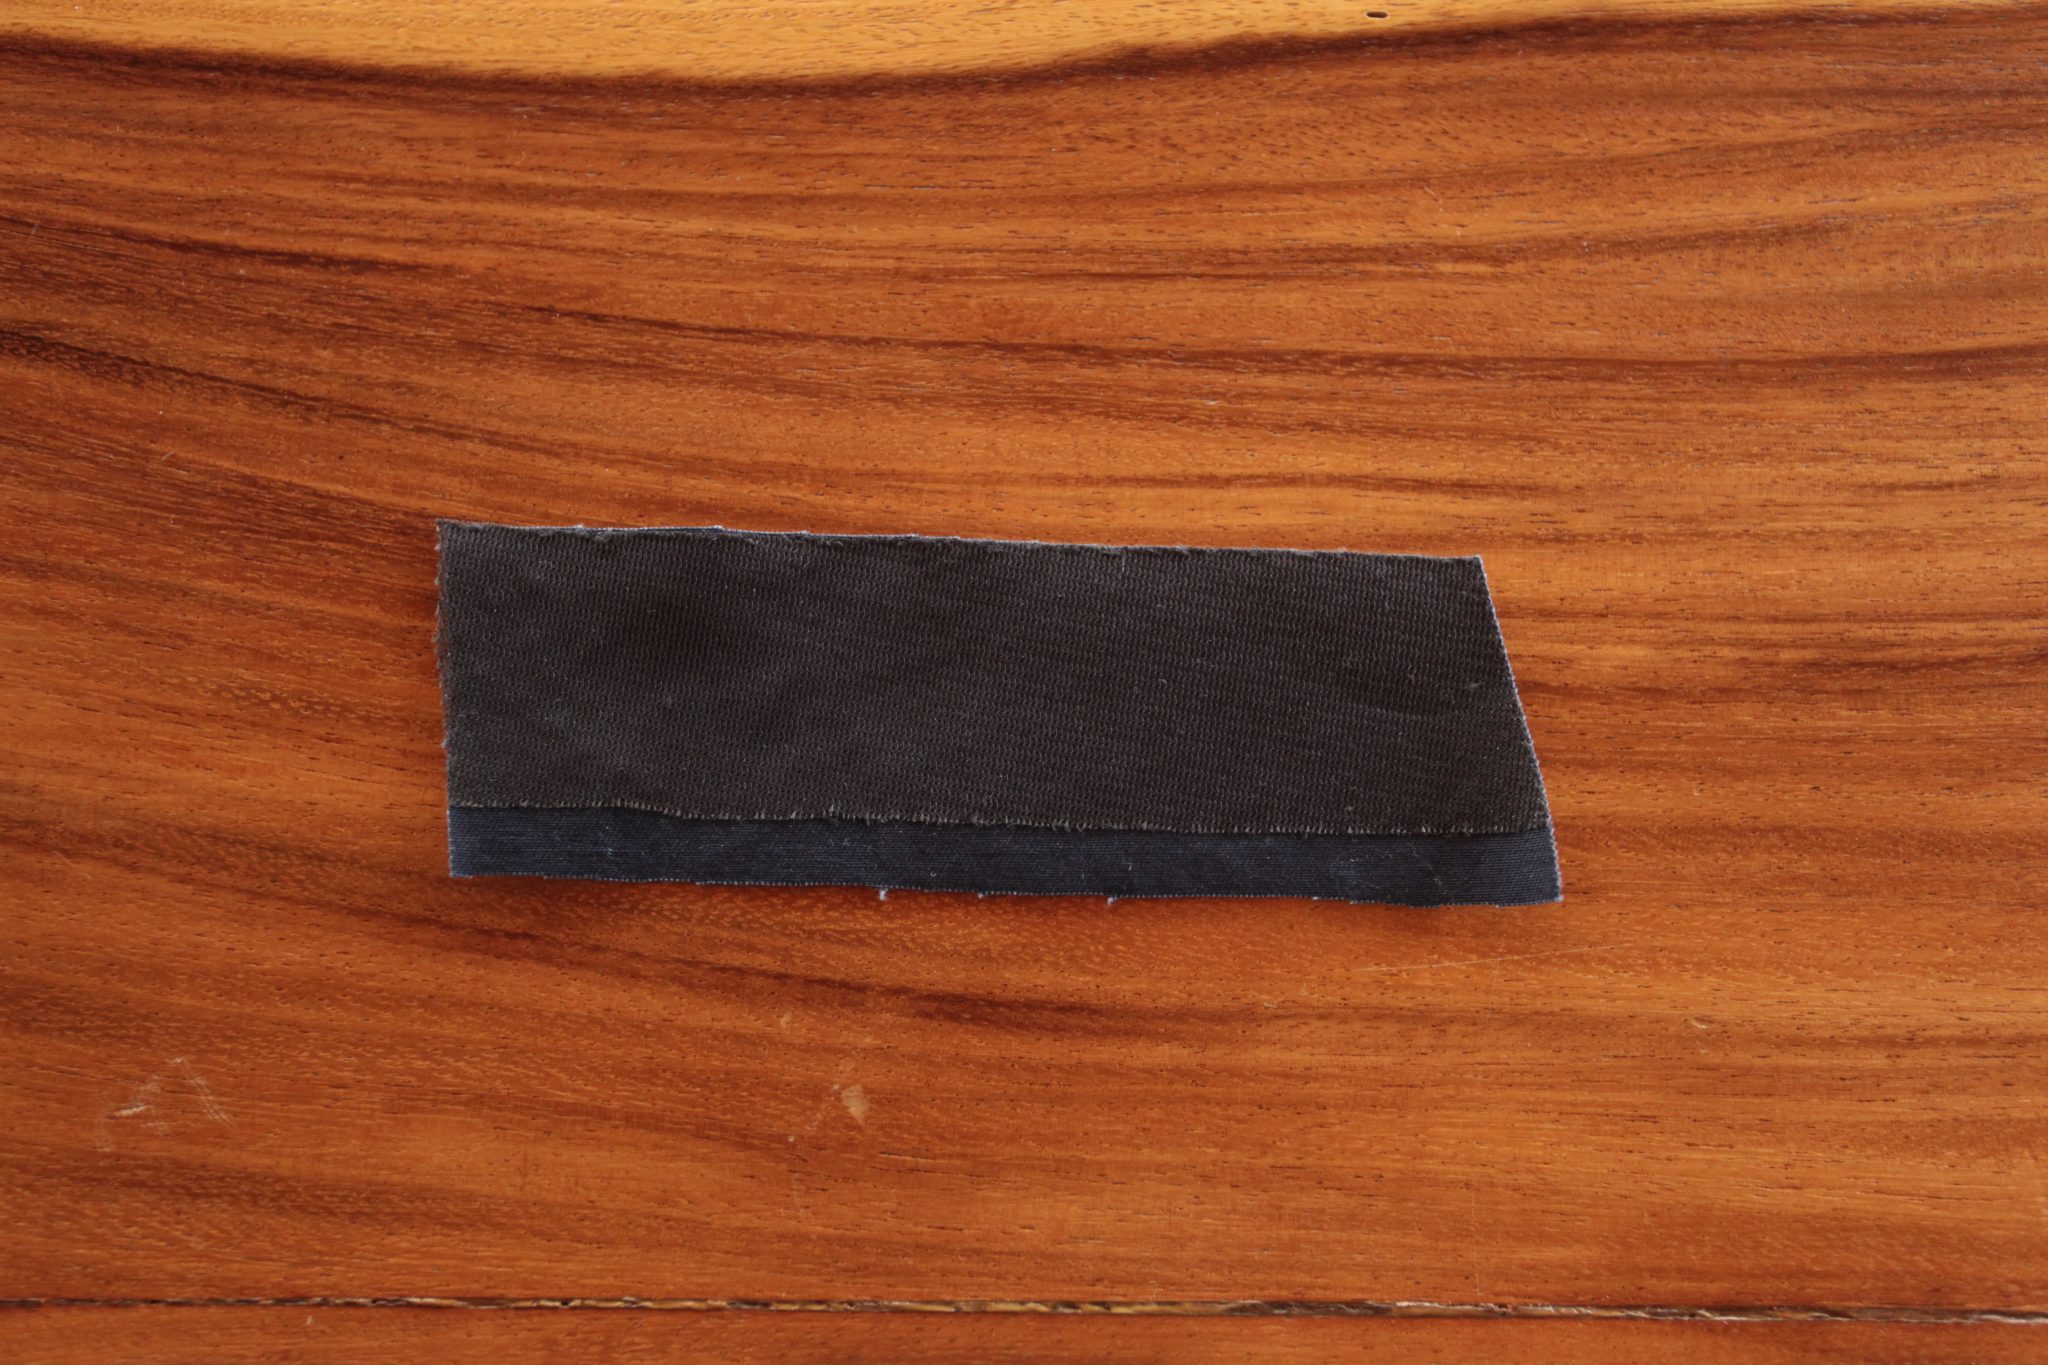
Now the pocket and the facing are stitched back together. If you are using the Emily Culottes slanted top pocket, the facing would look like this (or the mirrored image for the other pocket).

In addition, I understitch the facing (the seam allowances are pressed toward the facing and a line is stitched through the facing and two layers of seam allowances). This way, the seam will slightly roll toward the facing and will not be visible on the public side.

See? When the facing is folded back, the seam is not visible.

From this point on, the piece is treated as before, and you can follow the instructions of the pattern, or my previous tutorial, to continue with the pocket construction.
And you pocket will look like this.
Lining side:

Topstitch to the garment, and it’s done!!
I think that it’s good to know how to do this, so you could add pleats to other parts of your garment. If you don’t feel like creating a pleated pocket on your own, here’s an already-made pattern for you.
Enjoy!

Thanks for all your tutorials! I was just wondering..at the risk of using more fabric, would it work to pleat the fabric first, and then pin the pattern piece on top of the pleated fabric and cut? Thanks for answering!
Sure, you can do that!
Thanks so much. Love your patterns.
This would be a fantastic way to make something formal / work wear look a bit more exciting. Thanks for sharing 🙂
What a cool easy detail! Thanks for the idea, tute AND the freebie 🙂
BTW, wondering if you removed the topstitching on each pleat, or just photographed a different pocket? I like it both ways 😀
Genevieve
Thanks for dropping by Genevieve 🙂 Those red stitches are actually my basting stitch, so I removed them for the final photos. You can certainly do some topstitching there. I think that would loo pretty cool.
Love the look of those pockets! Look forward to trying them! Thanks!
Thanks Jan! 🙂