Description
See Pattern Release Announcement for more photos.
US$12.00
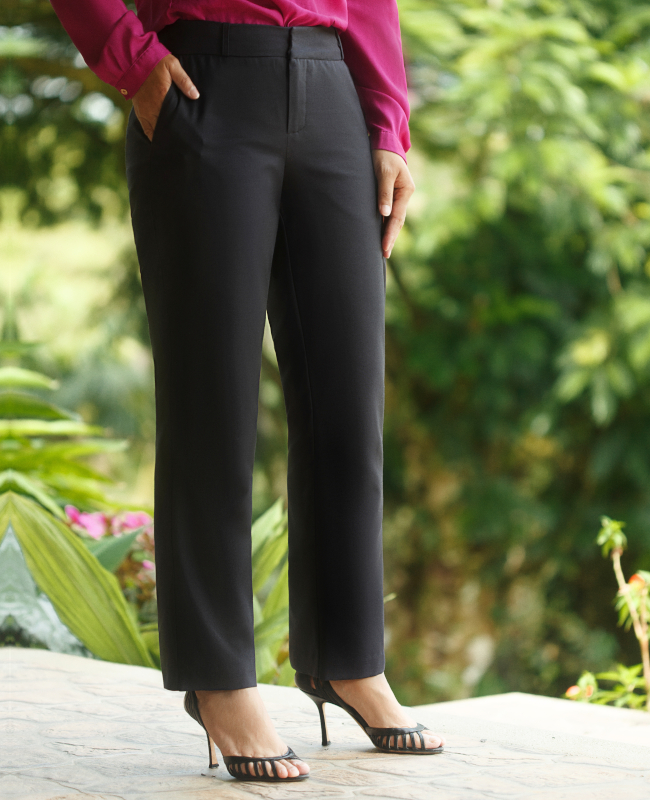
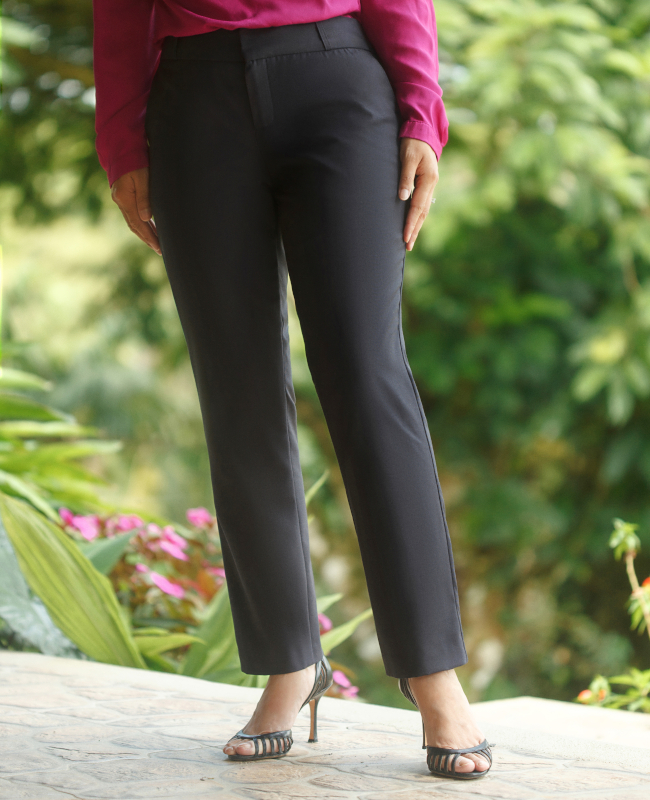
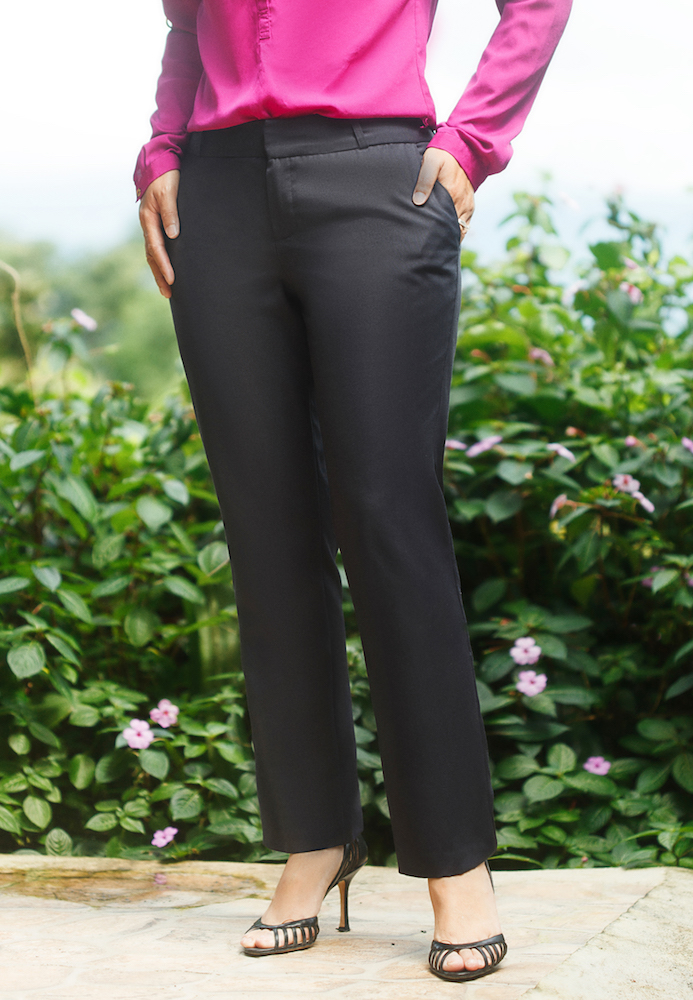
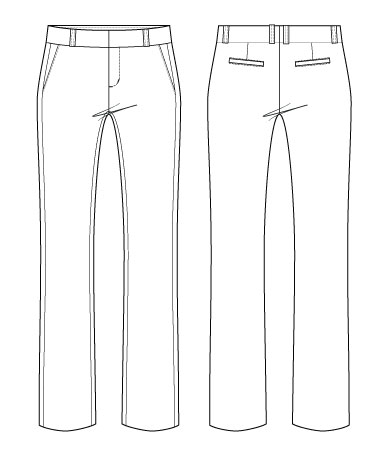
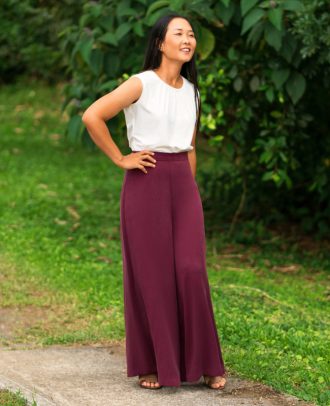
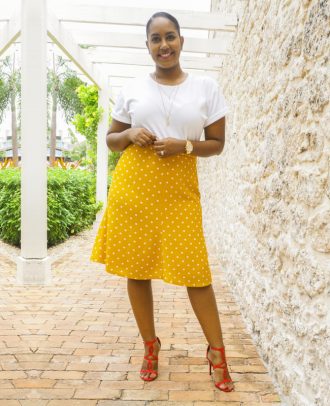
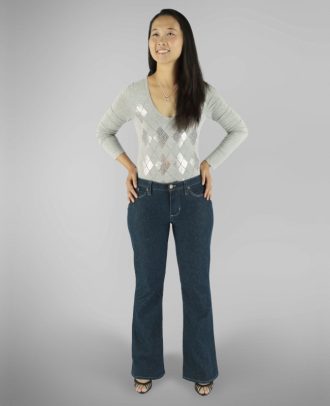
A pair of well-fitting trousers is gold—that’s why you need to make yourself a pair of North Point Trousers! The North Point is modeled after ready-to-wear trousers, with the superb details and instructions that you expect from any Itch to Stitch pattern. Designed to use a stretch woven fabric, the North Point Trousers are also comfortable. You won’t regret making this pair of classic trousers, and they will be a staple of your wardrobe.
North Point Trousers Feature:
Skill Level: Intermediate++
Sizes: 00 – 20 (See “Size Chart” tab below for detailed measurements)
Don’t want to print and tape paper together? The North Point Trousers pattern now includes an additional large format file (size A0 paper) that you can send to your print shop to print!
| Buy More Save More Spend US$20 or more, get 15% off your entire cart Spend US$30 or more, get 20% off your entire cart Discount applies in cart automatically |
|---|
See Pattern Release Announcement for more photos.
| Sizes | 00 to 20 |
|---|---|
| Skill level | Intermediate+ |
| Knit or woven | Woven |
| Format | Digital download |
| File | A0, A4 / US Letter |
| Layers | Included |
| Seam allowances | Included |
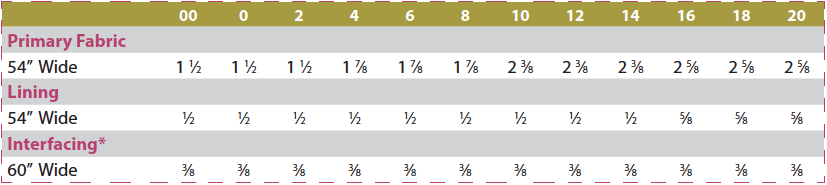
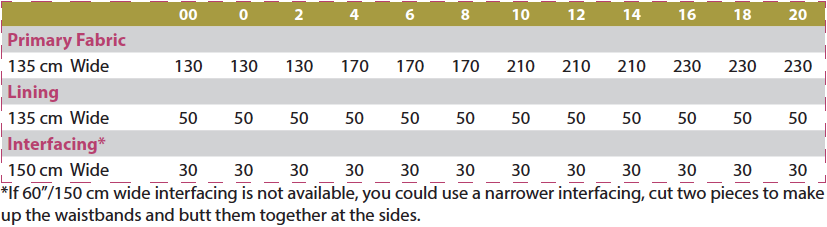
Primary Fabric Bottom-weight woven fabric with stretch (1% to 2% Lycra/spandex content)
Lining Lightweight non-stretch lining fabric (for pocket lining)
Interfacing Medium-weight fusible woven interfacing
Most natural fibers shrink in the wash; be sure to have enough fabric. The requirements below assume that the fabric is already pre-shrunk.
Only logged in customers who have purchased this product may leave a review.
| inch cm |
00 | 0 | 2 | 4 | 6 | 8 | 10 | 12 | 14 | 16 | 18 | 20 |
|---|---|---|---|---|---|---|---|---|---|---|---|---|
| Waist | 253⁄8 64.5 |
263⁄4 68 |
281⁄8 71.5 |
291⁄2 75 |
307⁄8 78.5 |
321⁄4 82 |
335⁄8 85.5 |
35 89 |
363⁄8 92.5 |
373⁄4 96 |
391⁄8 99.5 |
401⁄2 103 |
| Hip | 331⁄8 84 |
341⁄2 87.5 |
357⁄8 91 |
371⁄4 94.5 |
385⁄8 98 |
40 101.5 |
413⁄8 105 |
423⁄4 108.5 |
441⁄8 112 |
451⁄2 115.5 |
467⁄8 119 |
481⁄4 122.5 |
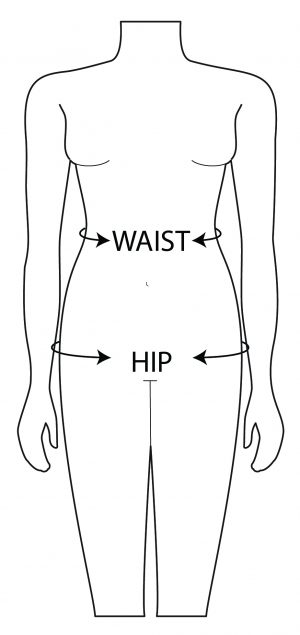
How to choose your size

Ingrid –
This is a lovely pattern. Lots of pattern pieces with all of the pockets, but the instructions are perfect and everything fits together just as it should. A person could easily make these without the back pockets and save several pieces and many steps, but the pockets are beautiful. I cut out a size 14. I added 1/2″ to both the front and back to accommodate a long crotch depth. I also used smaller seam allowances on the waistband to make it just a small amount deeper. After adjusting the pattern pieces for my body I simply put the pants together and the fit was perfect. This pattern will be made again.
Anna –
This was a great pattern for me. I liked the advice on how to make a toile for the trousers.
I made the trousers without the welt pockets or belt loops and lengthened the rise to get the waistband on to my natural waist. I forgot to lengthen the pocket but it didn’t matter because the pockets were so generous.
The instructions were easy to follow and I will be making another pair of trousers using this pattern, this time with back pockets.
One minor thing is that the grain line was missing from pattern piece 1 (trousers front) on my download so I had to draw it in but otherwise I was very happy with the end result.
Jolene –
Final thoughts regarding the exquisite North Point Trousers pattern. I have actually sewn TWO Pairs. Both are comfortable, classy new favorites.
The waistband construction is sensational. I love the flat, smooth Hong Kong finish in dealing with inside waistband. The end result is that the pants do not have all that excess thickness going around your midsection. Plus it is so much easier to sew without “bunching” or fabric “pucker “ trying to turn under, then on the right side , sew in the ditch, trying to sandwich it all in, on the first try, without having to go back with a seam ripper to fix the sections that didn’t get sewn in. The final results are fluid and flawless. Lovely. And, such a great tip about using the salvage edge of your lining fabric to utilize for the twill tape.
The zipper installation is easy. Not the “horrible nightmare”, as some zipper installs turn into. Soooo confusing…you end up with slidder / tab puckers, and spend too much time with the seam ripper trying to fix the mess. This was quick and painless, with perfect results.
The belt loop design is genus as well. A few of my girlfriends noticed how flattering they looked, floating about the waistband. Didn’t look sloppy or home-made. The truth is, it was extremely easy ! I’m using this technique on everything forevermore.
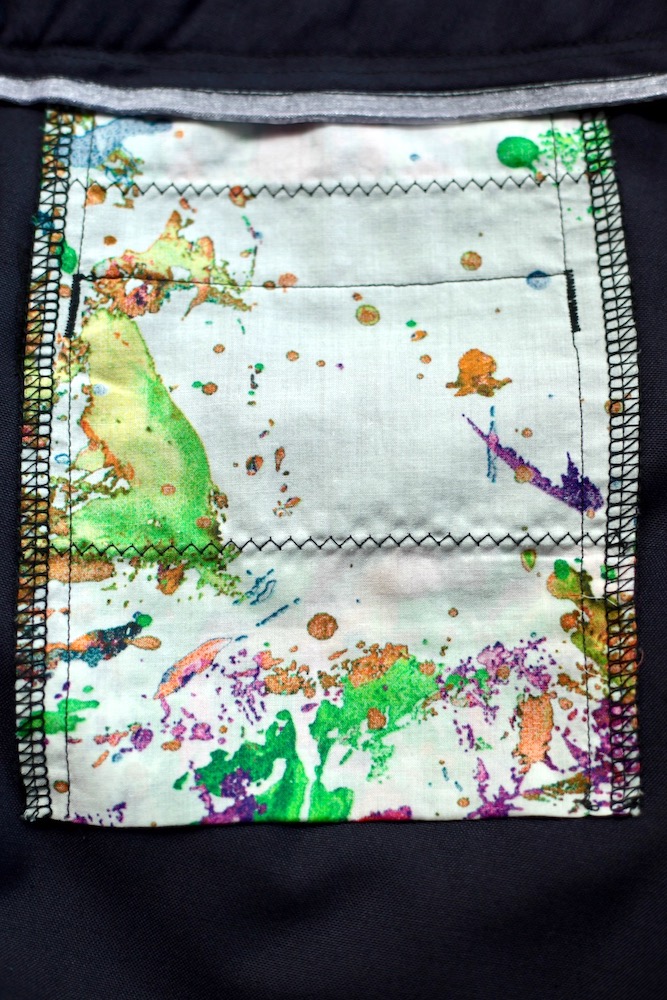
The front slash pockets are wonderful. They are so big, I can actually get my whole hand in them. They are actually functional. Yet, they do lay smoothly flat.
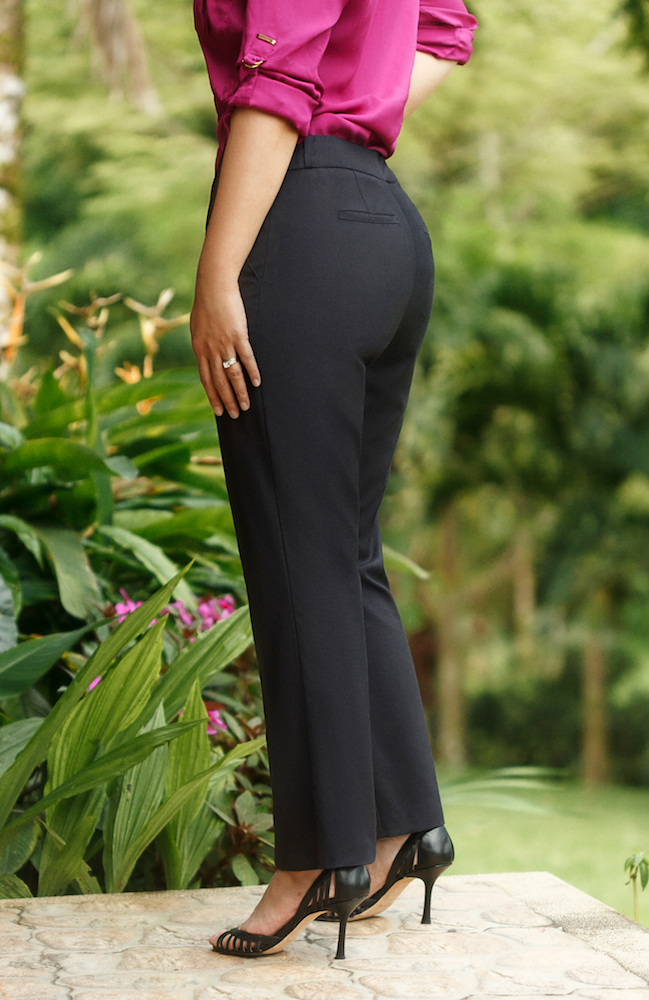
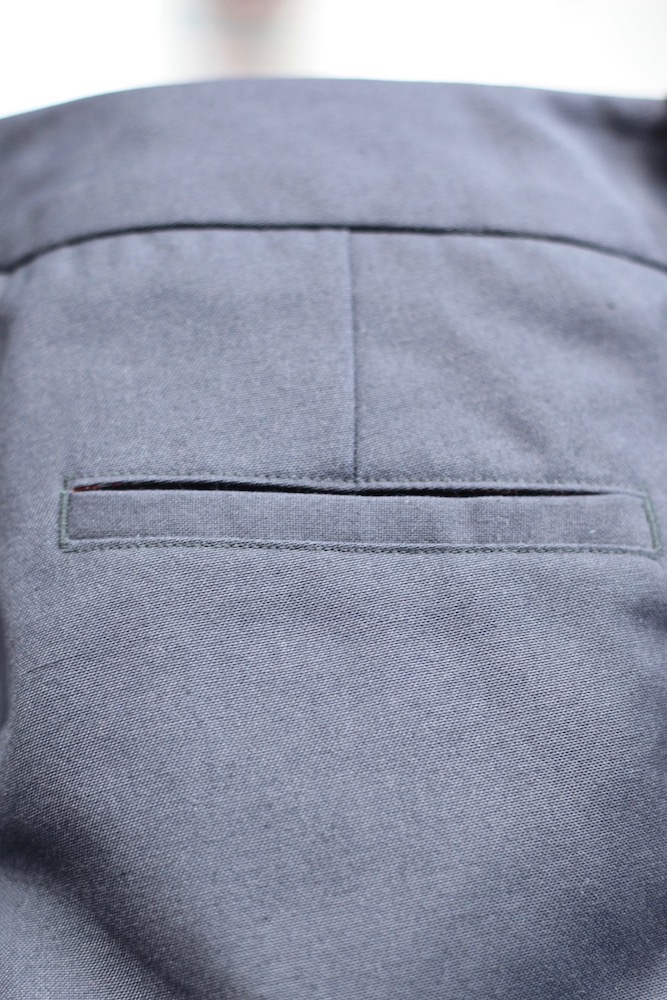
I am feeling more confident in making welt pockets now. My second pair were easy, and they looked nice. Just follow the instructions step-by-step. They are sturdy too, I literally test rode them on a horse back ride. They don’t gape open . They are the perfect size to slip my phone in.
Once last thought. I was amazed how easy it was to add one inch to the torso rise. On my second pair of pants, I decided to make a size 2, but keep the comfort of a longer rise. I was a little hesitant, looking at that slanted cutting line, front and back pieces, but it turned out beautifully.
Thank you for the well drafted pattern, with the wonderful clear detailed instructions. I have been sharing with my friends the new-to-me line of easy to sew, or learn to sew Itch-To-Stitch patterns .
Hello again. An update on my experience sewing a pair of North Point Trousers. My pair turned out nicely. I’m making a second pair now.
One thing I do struggle with making pants, especially jeans : getting the slider / pull tab to lay nicely closed , at top of the waistband with NO Pucker. To remedy this issue, and it’s done by other’s long before me, is to do two things. 1. Use the top of the zipper, cutting any excess off at the bottom. 2. When basting in fly side of the zip, leave a little room around the tape – seam area to accommodate the bumpy slidder tab. Instead of a straight seam, it will look a little like a small V. Or you could think of it as a Y. As in at the top of the waistband the stitch is not close to the zipper teeth, but you are stitching on the tape, then after you get around stitching the pull tad, you stitch close to the teeth .
I do have a photo of this if you are interested.
I’m in the process of finishing these dressy slacks, have the waistband to finish. So far, I’m very happy with the fit and the ease of the clear directions. Followed the sizing chart, choose the size 4, and it is a good fit and look. So that is spot on, no guessing, or worries there. Because I do have a size 9 1/2 shoe and I am trying to preserve my lower back, I don’t wear high heels 👠 that much, so I did tweak the width of the lower leg a tad, adding a couple of inches so my big feet are less noticeable. It’s a personal vanity thing . The inseam length was perfect, no changes there.
The welt pockets are a new challenge for me. They’ve always scared me for some reason. I picked this pattern out the multitude of patterns out there because of your clear tutorial. That , with the trust built from completing other patterns from your line with fine results. I also picked this pattern because it has a contour waistband, which fits much better, gives a nicer end look.
I going to enjoy wearing these pants. Plus seeing if they truly don’t have gaping front slash pockets. BTW, my test pair are being made in a fine, not too heavy, brown twill cotton .
Maxime –
A perfect fit with small pattern adjustments (size 00)
Anonymous –
Lovely pattern perfect classic trousers. Fit was great
Kathleen –
Perfect trousers pattern. Why buy pants in the store that do not fit correctly when you can sew these up? Not a detail has been left out. Style, fit and timeless. Kennis gives detailed step by step instructions on how to complete each component of the pants. Definitely worth the time to sew. An experienced beginner with determination can make pair to be proud to wear!
Only note: at just around 5’5″ I found these just barely long enough. Be sure to check the inseam measurement and add on as needed.
Danielle Morand –
Fit very well.
Melanie –
Absolutely LOVE this pattern! If you’re looking for a stylish pant pattern, you’ve come to the right place. You won’t be sorry if you make these beautiful pants as part of your work wardrobe.
Claire –
Love them. Perfect work trousers.
Oyin –
The pattern may have just been made for women with slimmer thighs. I tried using the pattern on a person with 42” hips and the hip fit snugly but the thighs down to the knees were too tight. I had to add as much as 3” to each leg
Catherine –
Basic trousers that we all need
Mary –
I am working on this pattern at the moment and I can see it will work out well for me .I like the slimmer style of this one, perfect for shorties like me.