
How to buy, download, print & assemble PDF Patterns—Part 5—Assemble at Home
In case you want to jump to a specific topic, here's a list of posts for the How to buy, download, print & assemble PDF Patterns series:
Part 1—Shopping cart
Part 2—Payment
Part 3—Download
Part 4—Print at home
Part 5—Assemble at home (this post)
Part 6—Print at a print shop
In the last post, you printed the pattern pages at home. Now let’s move onto the assembling!
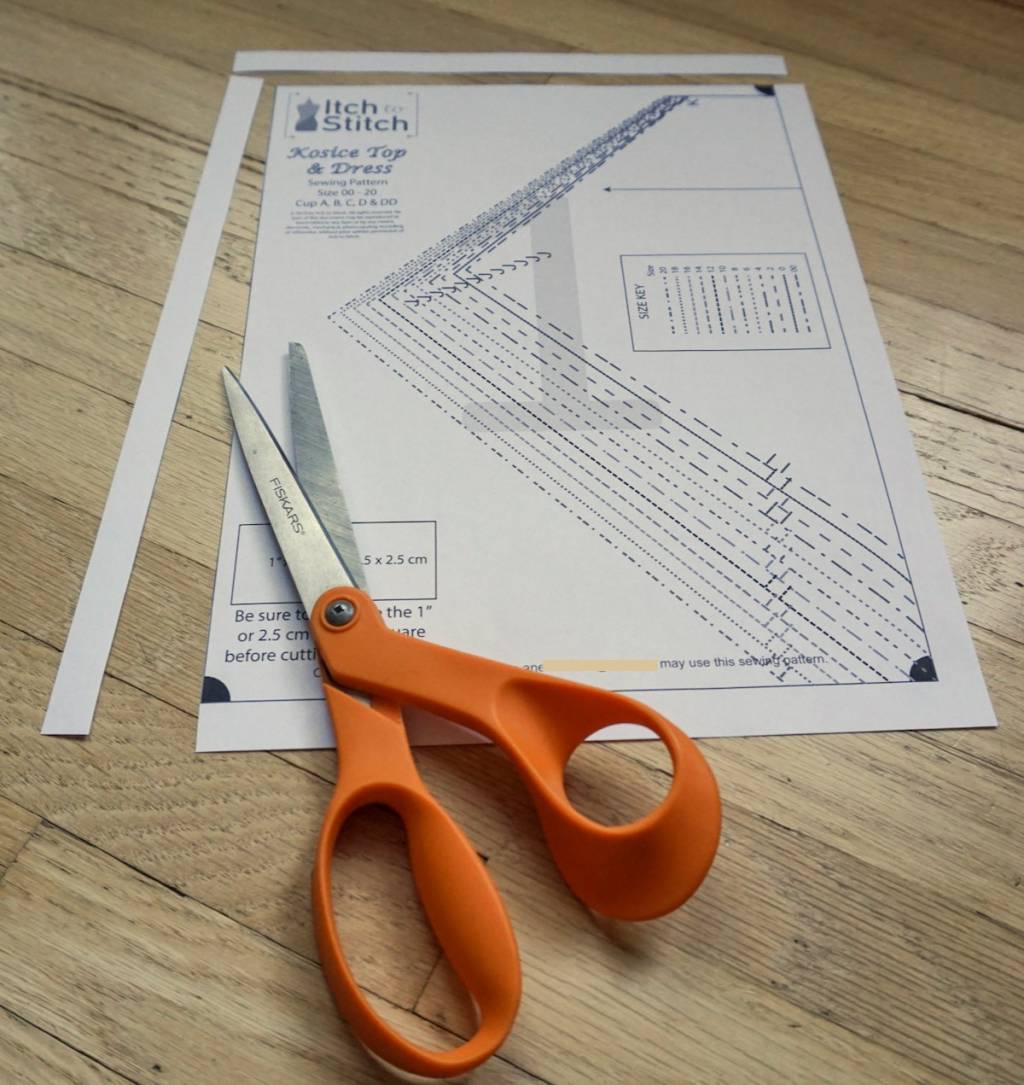
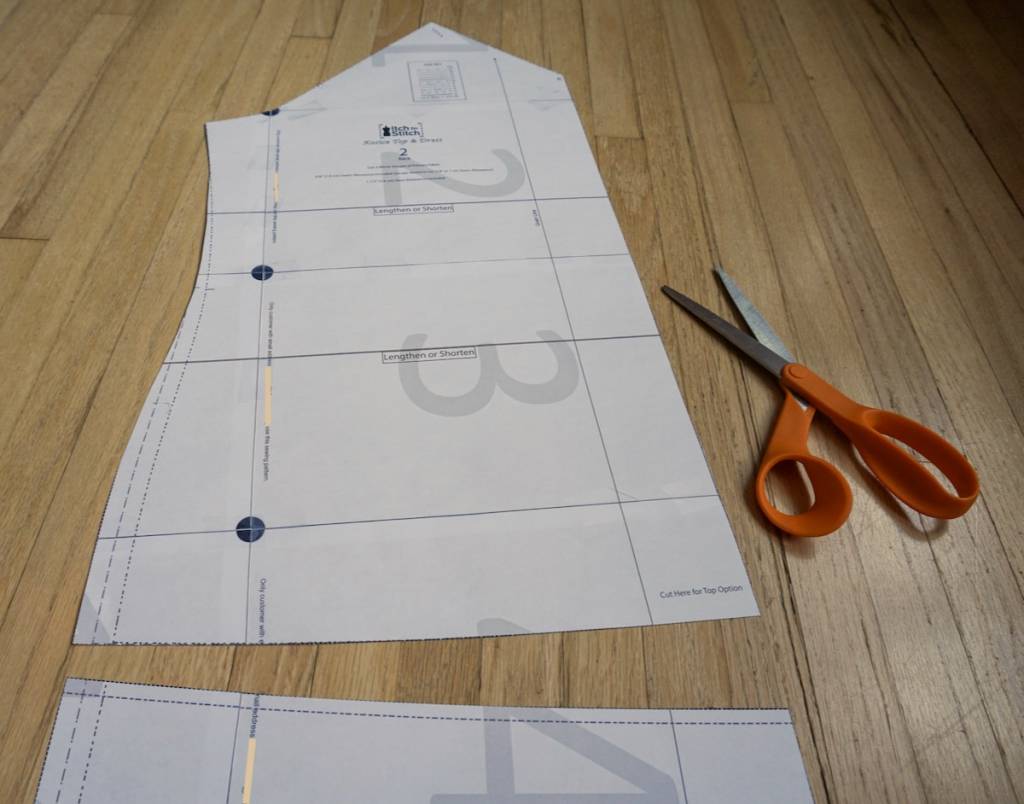
To assemble the pattern tiles you just printed you will want to trim 2 sides of the “tiles” you printed. Cut off both the top and left margin of each pattern page at the box outlining the pattern tile. You can use scissors or for trimming several pages at once a quilting ruler with a rotary cutter or a paper guillotine work great!
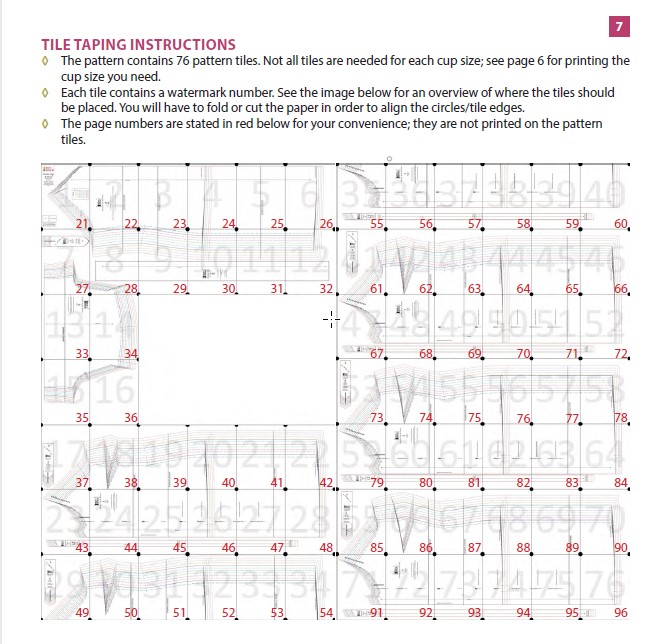
When you have your pages all trimmed you will want to assemble them following diagram for “Tile Taping Instructions” shown in the pattern instructions.
You can use either glue or tape to join pages together. Tape is my preference but I know some people prefer gluing which allows them to adjust the page for a short time before it sets.
Start with the first page in and lay the 2nd page over the margins of that first page, aligning the edges of the boxes around each pattern tile. The circles in the top and bottom corners will help you align the pages.
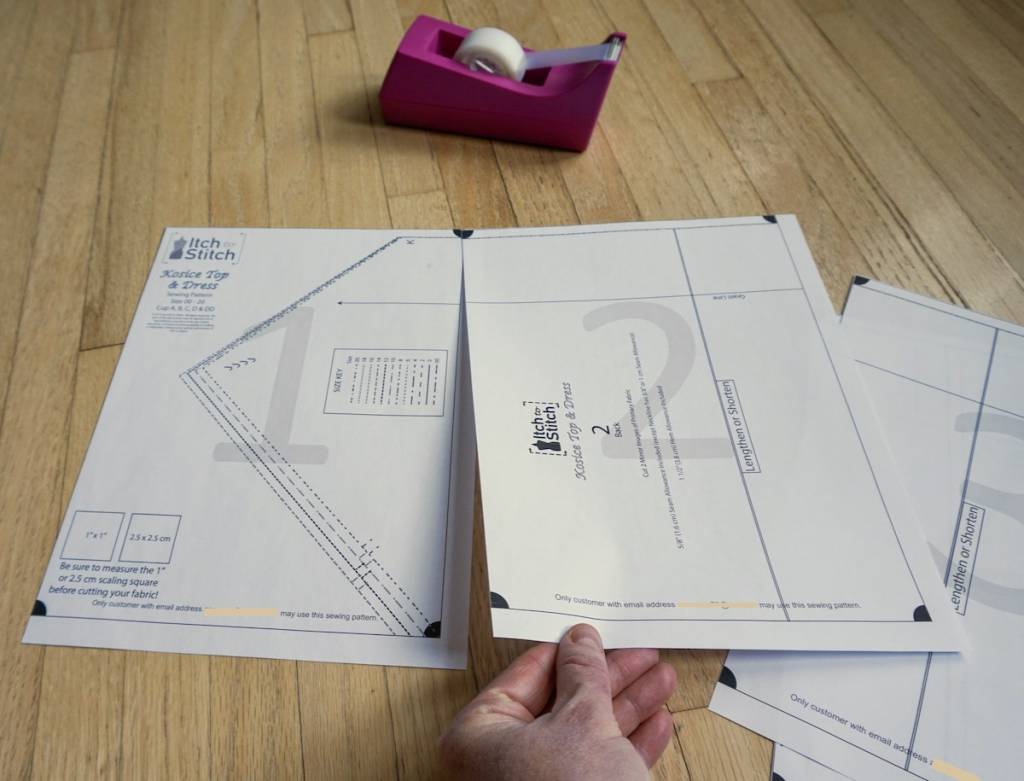
Secure pages in place with tape or glue. Proceed to join the next page in the row in the same manner.
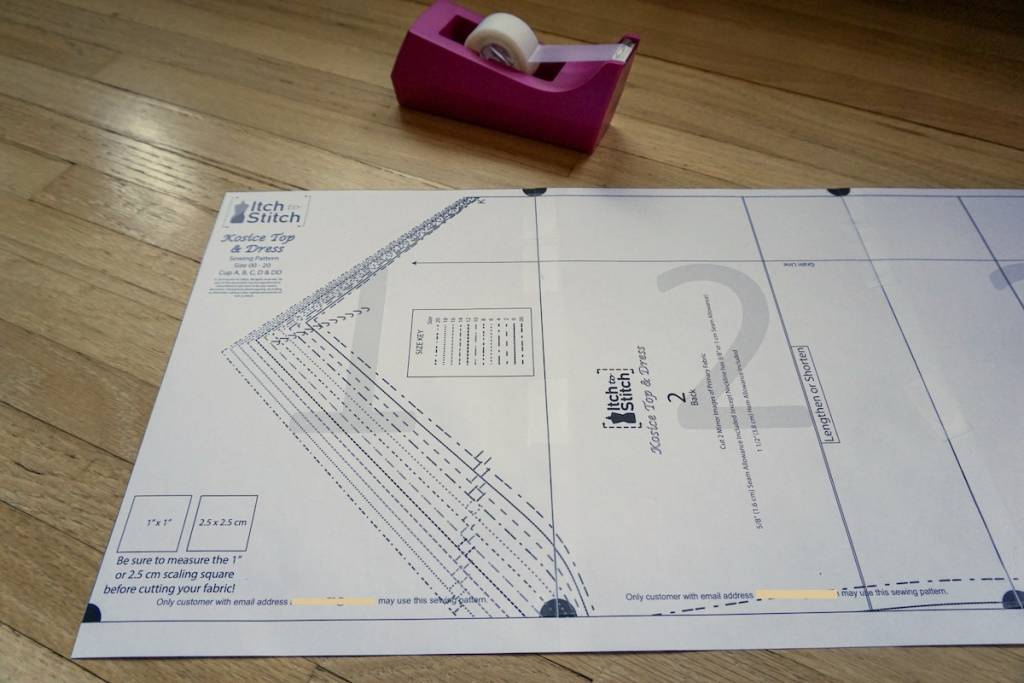
Continue joining pages, following the “Tile Taping Instructions” assembly diagram so you know when to move to the 2nd row for placing “tiles”. Pay attention to the numbers on the tiles in comparison to the assembly diagram. Remember, you may not have printed every pattern page if they did not apply to the view or size you are making.
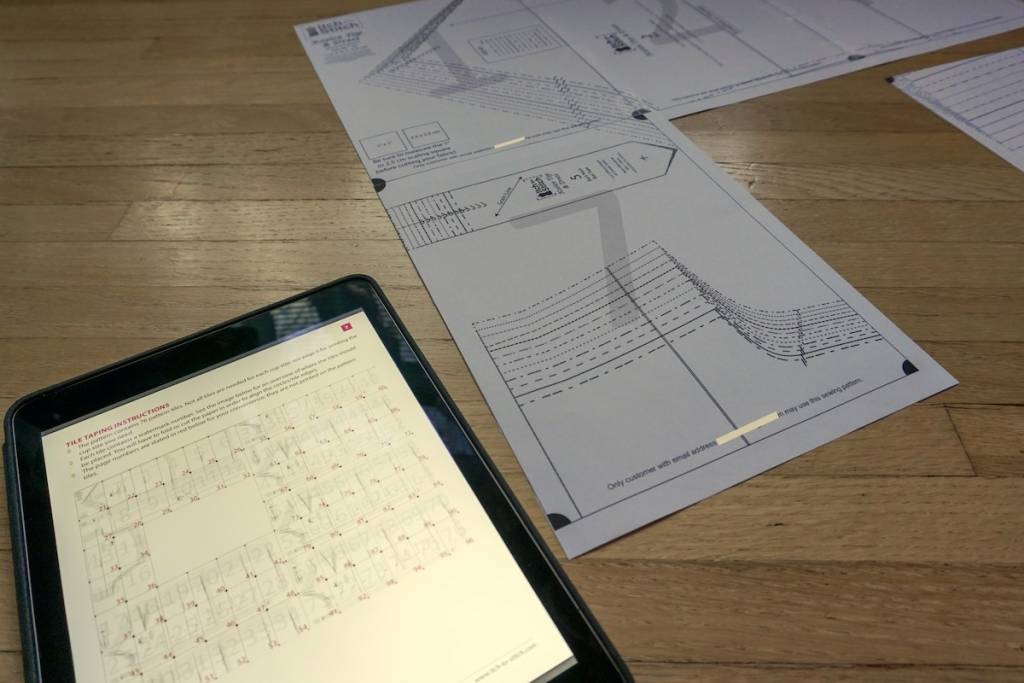
When you begin the 2nd row of tiles you will lay pages over the row above, once again aligning the boxes and corner circles.
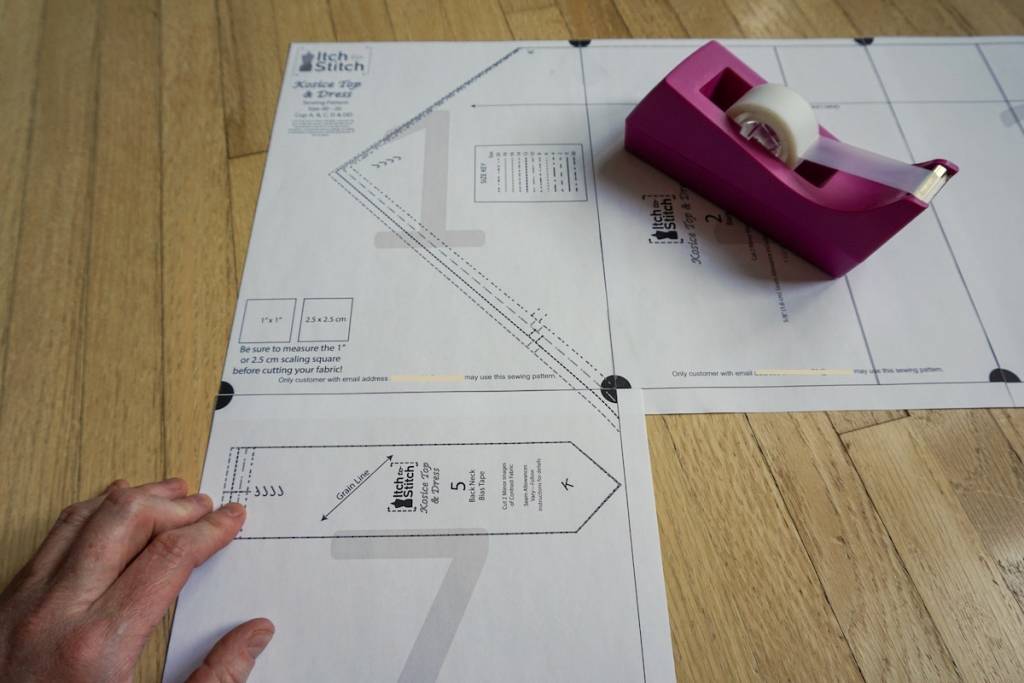
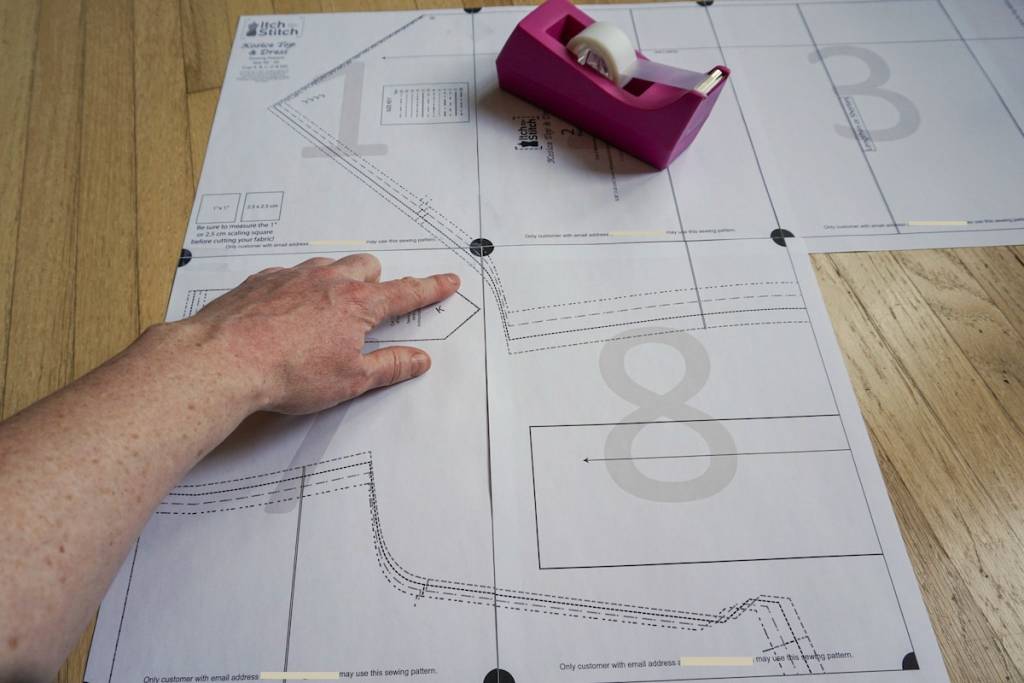
Continue joining pages in the 2nd, 3rd, etc rows in the same manner.
When you have all your pages taped together you can choose to cut or trace your pattern just like you would any paper sewing pattern!
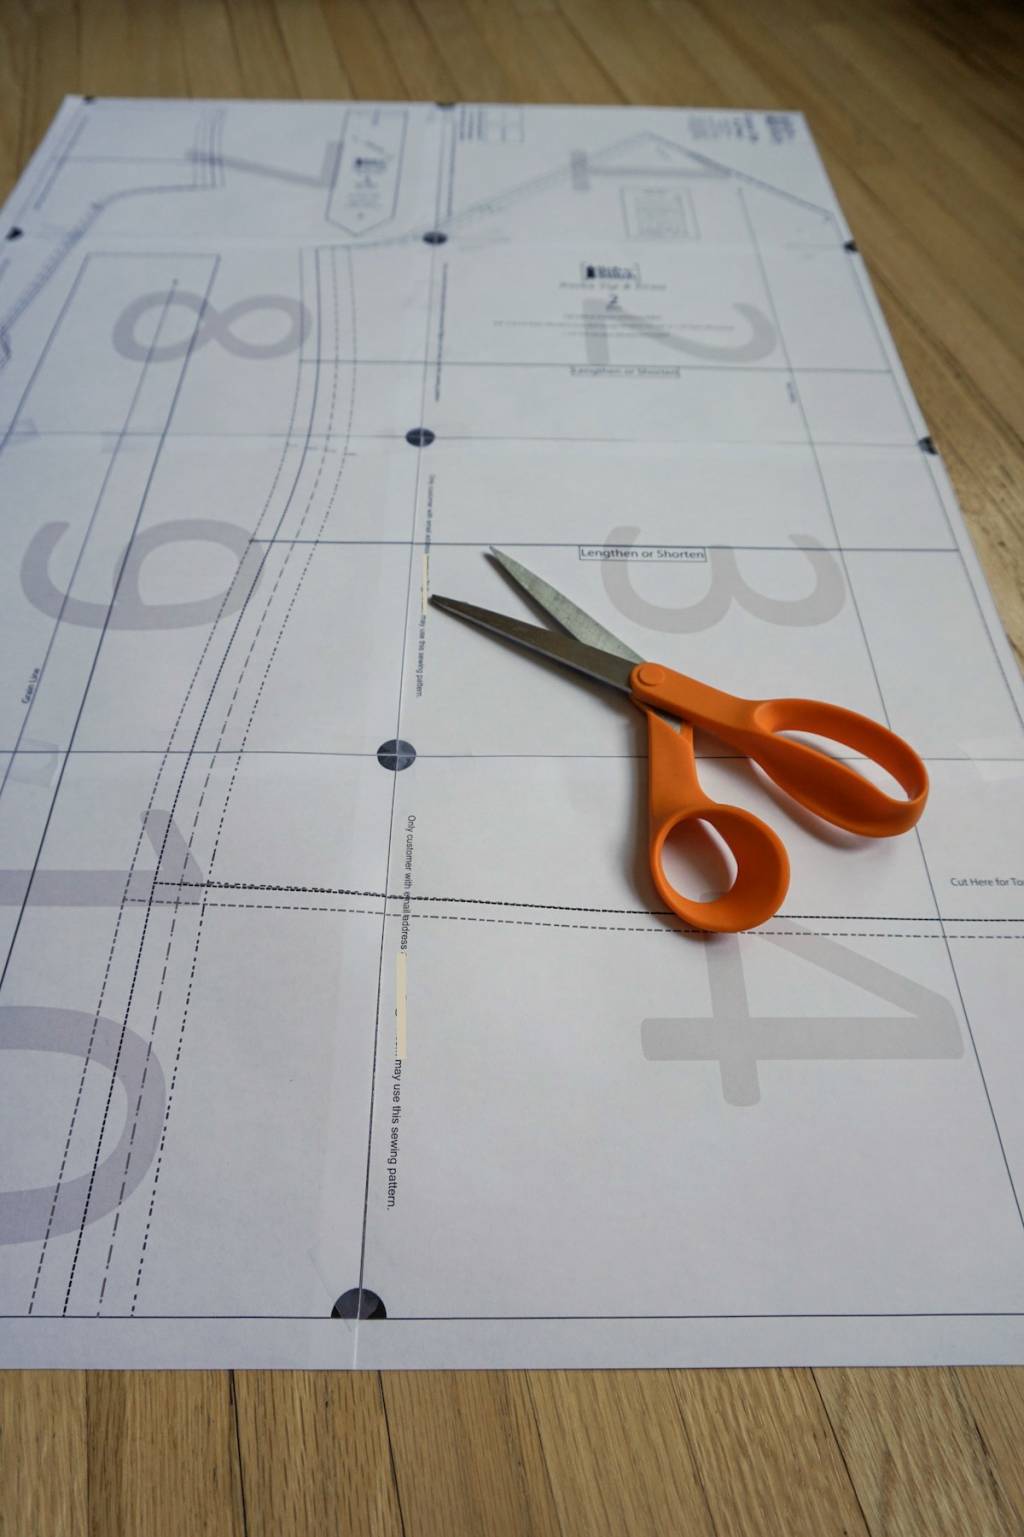
I love being able to skip tracing and just cut out my pattern pieces. If I ever need a different size I can always re-print my PDF file!
Now that I have shown you the proper way to assemble the pattern pages, I can also refer you to a shortcut shown in one Itch to Stitch blog post. A shortcut may or may not be the best fit for you (it has some pros and cons). But you can be your own judge after taking a look at it.
If you are printing and assembling the pattern at home, then you are done here! However, if you prefer to use the service of a print shop (and not having to tape the pages together), then you can keep going to the next blog post.


Where can I find the “tile taping instructions”?. I have the Kashi tshirt pattern and can’t find them. Thanks for your help. Connie
Hi Connie, for the Kashi, it’s on the first page of the pattern file itself (the A4/US Letter file),
I printed pages for 2 different sizes to fit me better. One size for bust and hips, and another for waist. I have no clue to how arrange them. I’m afraid I’ll have to go back to full patterns.
Hi Suzanne, the instructions tell you how to arrange the tiles. There is a watermark on each tile, and you order them accordingly.
When I don’t need all the pages, how can I print just the pages I need. I try to select pages by # and cannot.
In the print dialog box, you enter the page number that you want to print. For example, you can enter 1-20 to print page one to page 20. Or you can enter 1, 3, 5, 7, 9-20 to print those pages only.
How do I print off the instructions for constructing pattern? I have an HP laptop and when I go to print just the instruction pages, it wants to save it. When I open up that saved file, and go to print, it wants to save it again to the same file. I’m using acrobat PDF so I’m not sure what I might be doing wrong.
That is not normal behavior. I suggest that you make sure that you are selecting the correct printer because it is possible to “print” to a PDF, which essentially is saving as a PDF.