
Hacking Zamora Blouse – Remove Front Tie
In the last post, I discussed how to raise the V-neck on a pattern. My sneaky motive is really to hack the Zamora Blouse into a different look.
A couple of ladies asked me about how to remove the front tie on Zamora. And I thought it’s a great idea. I love it when a pattern produces drastically different looks with only a few modifications. Without the bow in the front, I think Zamora will look quite different.
(This post contains affiliate links.)
To remove the front tie, the front V of Zamora will need to be raised. That is because, to a certain degree, the front tie controls how high or low the V-neck can be; if you tie it tighter, the V-neck will be higher, and vice versa. Without the front tie, the neckline will certainly be too low. But we got that all figured out in the last post.
With that out of the way, the only thing we need to do is to finish the neckline. The front tie served double duty of enclosing the raw edge of the neckline. It also helps control the stretching of the neckline that is cut on the bias.
Without the tie, I need to take care of these issues.
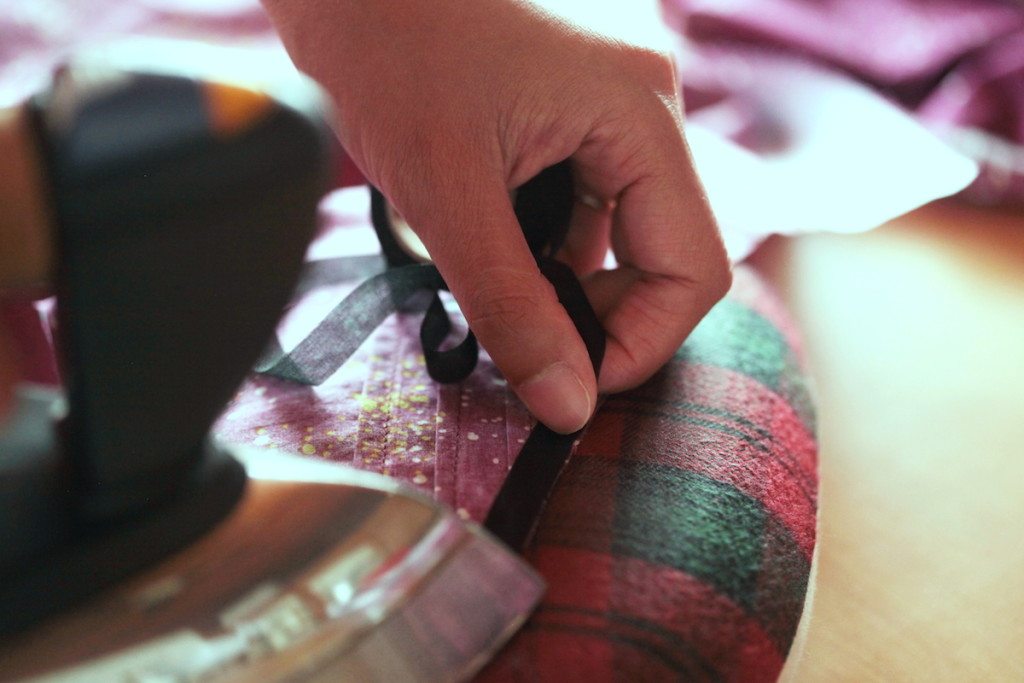
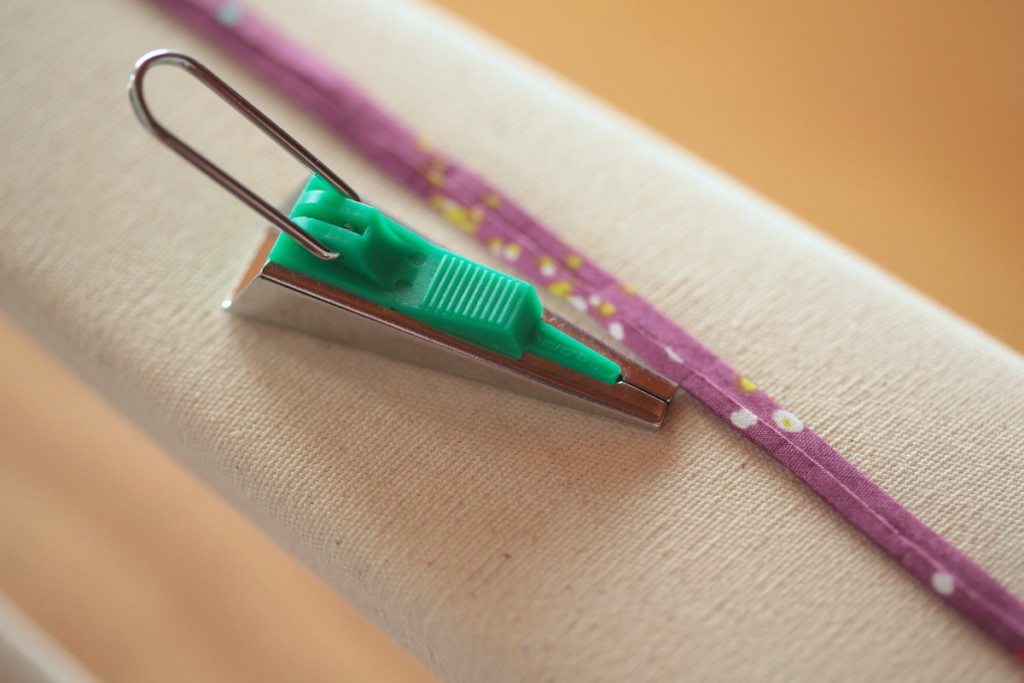
First, to control the potential stretch of the neckline, I opt for using straight fusible stay tape. I love this stuff. I can’t get enough of it. I own almost every type they have – black and white, bias and straight, super fine and regular, as well as single and double-sided. But anyway, for this instance, I use the straight, super fine, single-sided variety. If you don’t have any straight fusible stay tape, you can cut your own out of ultra-light fusible interfacing. Remember to cut it on the straight grain. Note that I finish the front tucks before I apply the stay tape.
I pull the stay tape every so slightly as I fuse it on. It eases the neckline a bit, which helps hugging the body.
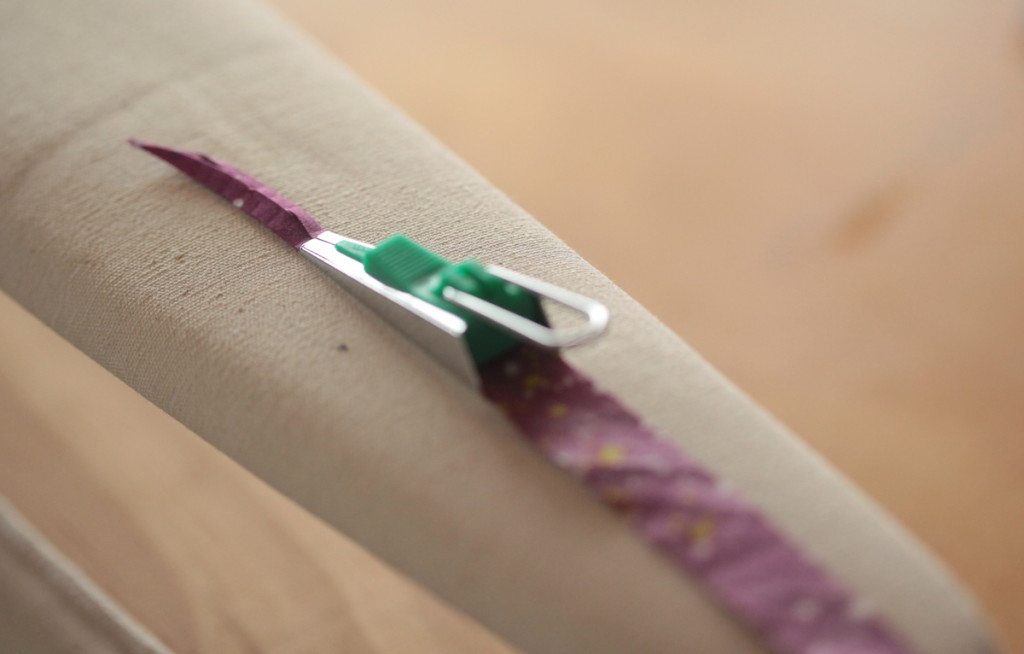
With the stay tape done, I make my own bias tape using the same fabric. You could use purchased single-fold bias tape, but I don’t like it so much because 1) it’s a lot stiffer than my fabric, 2) it’s wider than I like. By making my own, I can make the bias tape much narrower.
I use the 1/4″ (6 mm) bias tape maker. Have you used this? I also own the 1/2″ (12 mm) one. It makes bias tape making so easy – you slip the pre-cut fabric in the slot, and as you pull the fabric strip out, you press the tape.
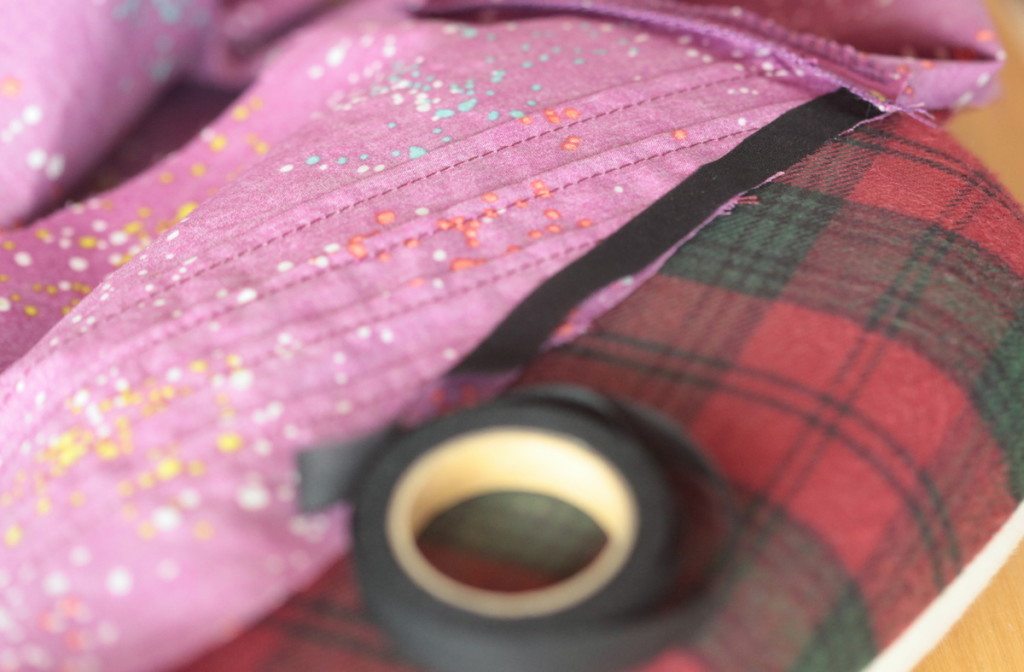
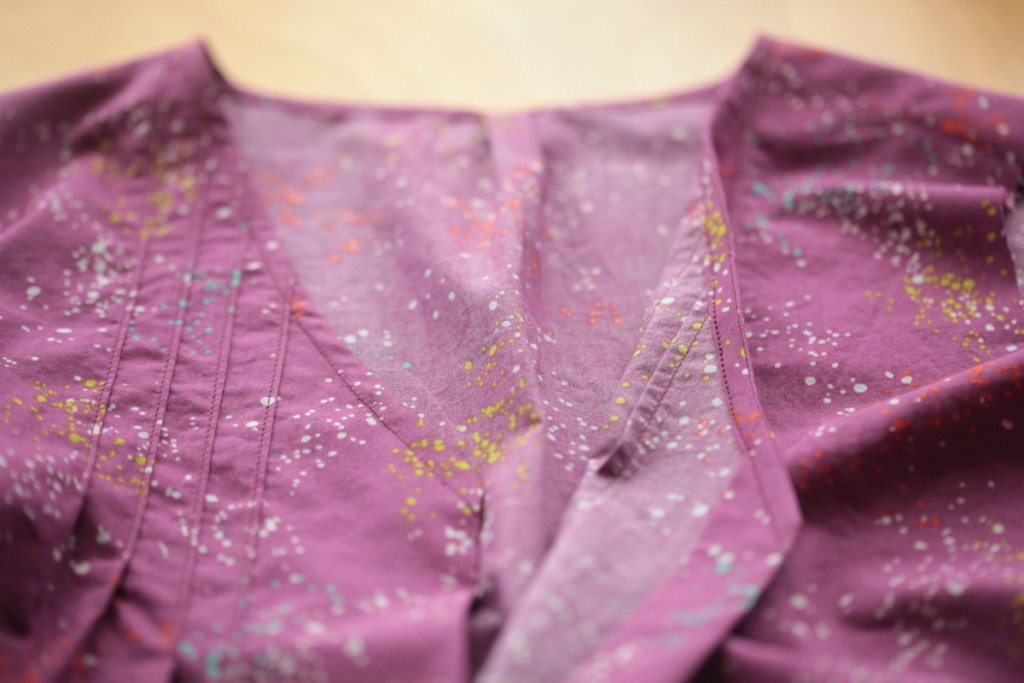
Now it’s time to put the bias tape on the neckline. The crease that is closest to the raw edge should be placed 3/8″ from the raw edge, which is actually the seam line.
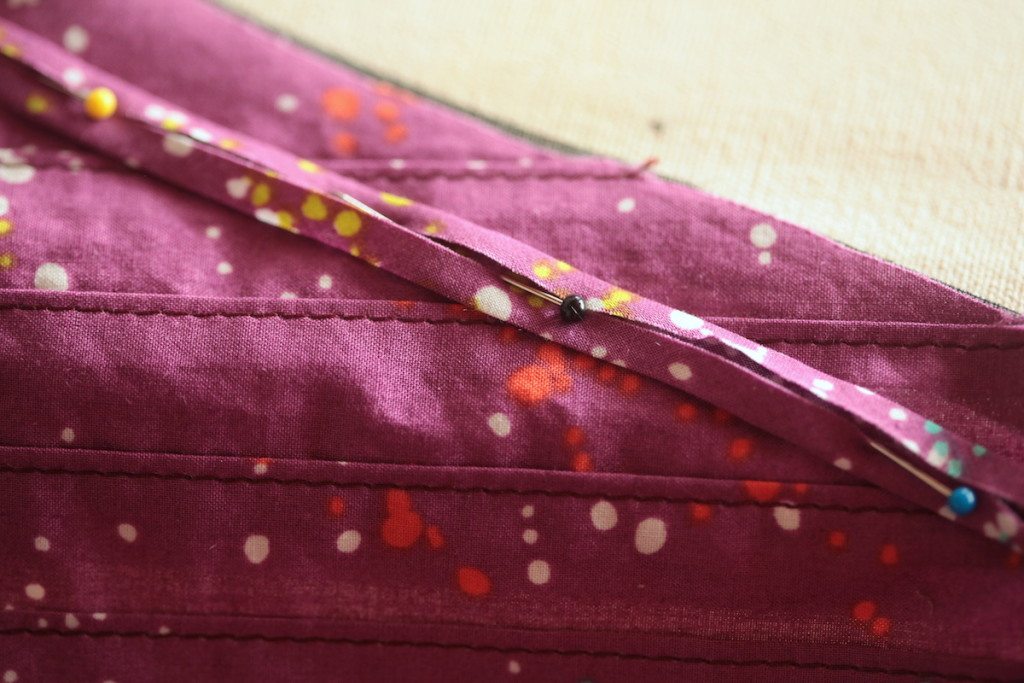
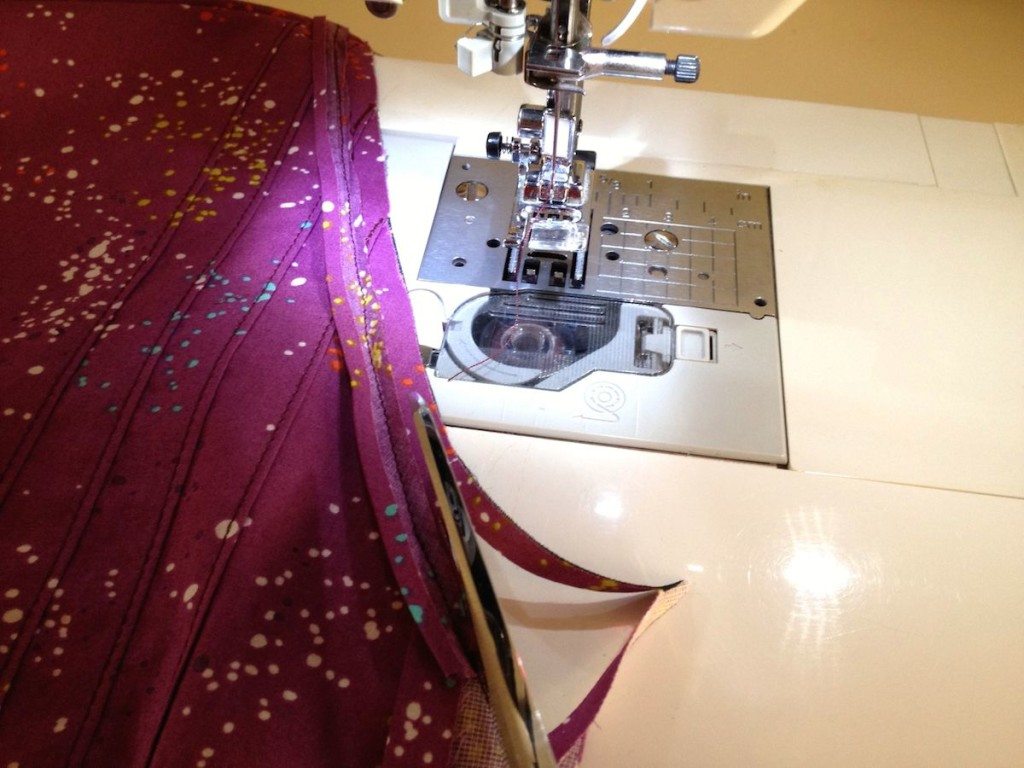
The only thing you need to pay attention to is that the self facing at the center front of the blouse needs to be folded back. The bias tape should be on top of the facing. You see that once the bias tape reaches the facing portion, I cut it off. You will see later that when I turn the facing right side out, the end of the bias tape will be covered. I stitch the bias tape on the crease closest to the neckline raw edge, and the stitching goes over the facing too.

Trim and grade the seam allowances.
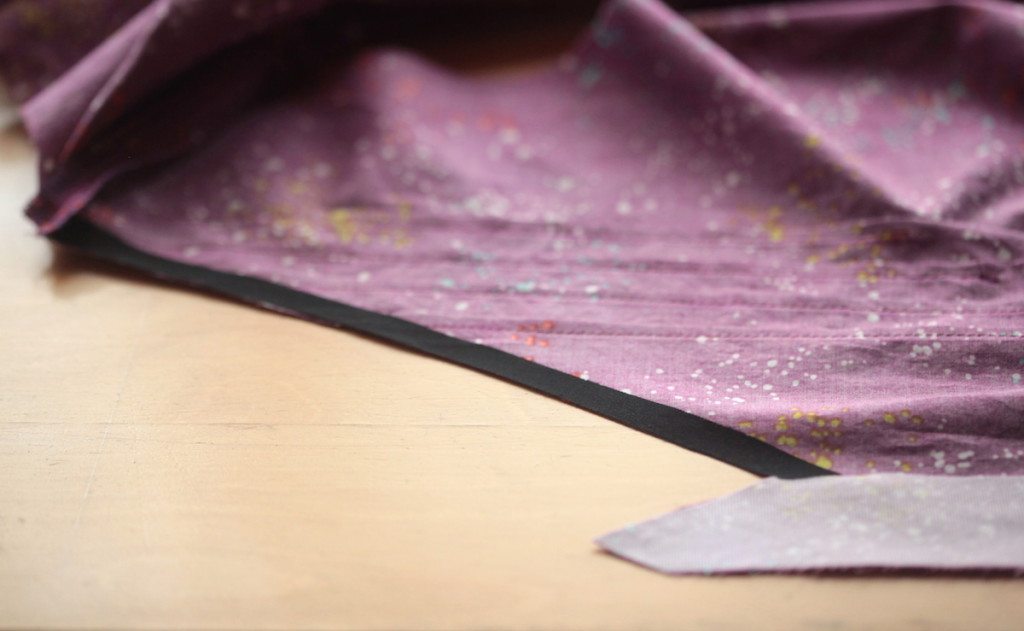
Now turn the facing right side out and the bias tape to the wrong side of the blouse. Give it a good press.
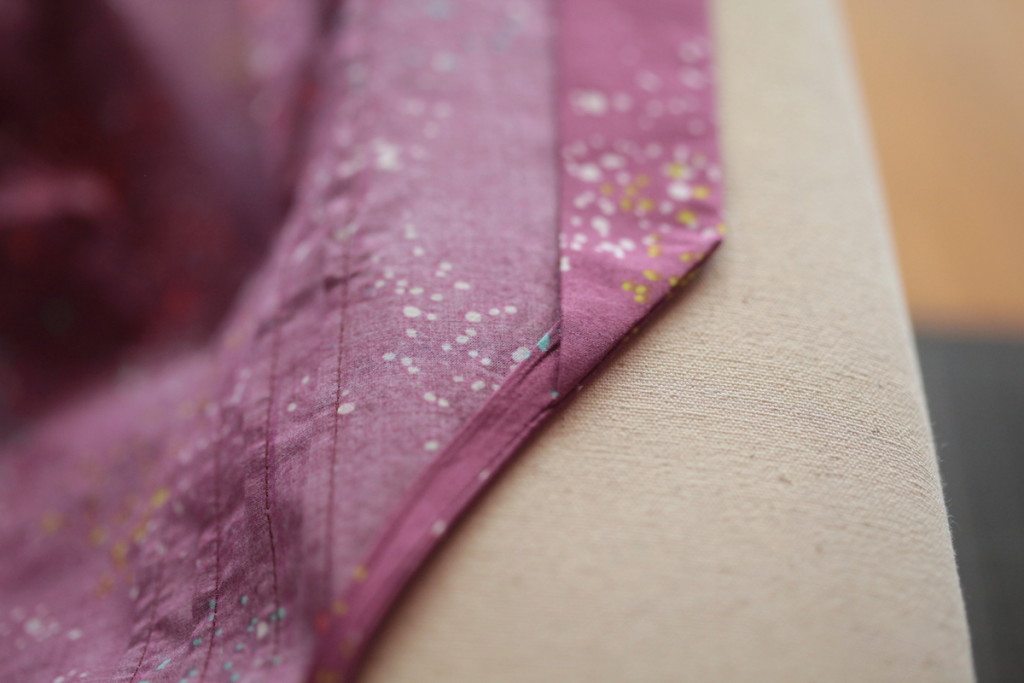
Some people would choose to understitch first, but you could also just stitch along the bottom fold of the bias tape, and you are done with the neckline!
Easy breezy, right?
The neckline is not the only hack I have for my Zamora Blouse. Next I will tackle the waist. Stay tuned!

How do you get rid of tie knot front off blouse
Don’t like the knot in the front
This blog post is entirely about getting rid of the tie.
Adorable! Thank you for the awesome hack. When I left a comment about changing the tie on your facebook page, I didn’t really think you would respond. You’re amazing!
Well, I really like your idea, so… 🙂
really nice and better for me not having a tie that tends to hang in my soup
Haha! Or you could just view it as an extra napkin. lol
I love this hack! Thanks for sharing it.
my pleasure!