
Hacking Zamora Blouse – Drawstring Waist
In the previous posts, we raised the V-neck and removed the front tie of Zamora Blouse, let the hacking continues!
Today, I am going to change the waist of Zamora Blouse too. In its original form, Zamora comes in front and back waist darts. In the pattern instructions, I mentioned that if you so desire, you could skip the darts to have a loose fitting blouse. This would be very pretty in some flowy, semi sheer fabric.
However, for this particular case, I decide to use drawstring instead. I think it creates quite a different look. Also, it will be comfortable for everyday wear.
I choose to create my own casing and drawstring, but you could certainly use single-folded bias tape as the casing and use purchased drawstring (ribbon or twill tape). That would make the whole process faster.
Though it takes more time, making them are not necessarily difficult. Here is the process.
Create Drawstring Casing
Cut a strip of fabric that is 2 3/4″ (7 cm) wide. The length will be the length of the waist. Don’t measure your own waist though; measure the waist on the blouse, and it should be from the edge of the button placket to the edge of button placket on the opposite side. Don’t forget to add 3/4″ (1.9 cm) seam allowances to the length.

With right side together, fold the strip lengthwise in half. Leave a 4″ (10 cm) or so opening the middle for turning later. Now the strip of fabric looks like a tube.
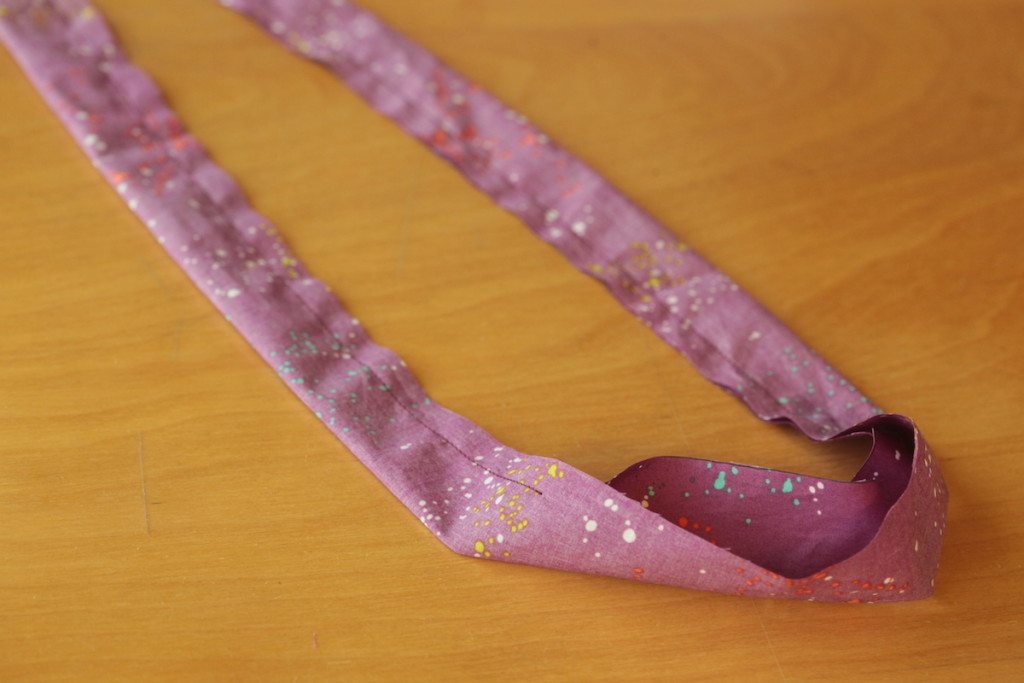
I move the seam to the center of the tube. Then I stitch across the short ends (with the seams open) to close them.
I use a loop turner to turn the tube right side out using the middle opening. It is possible to turn without the loop turner though, albeit slower.
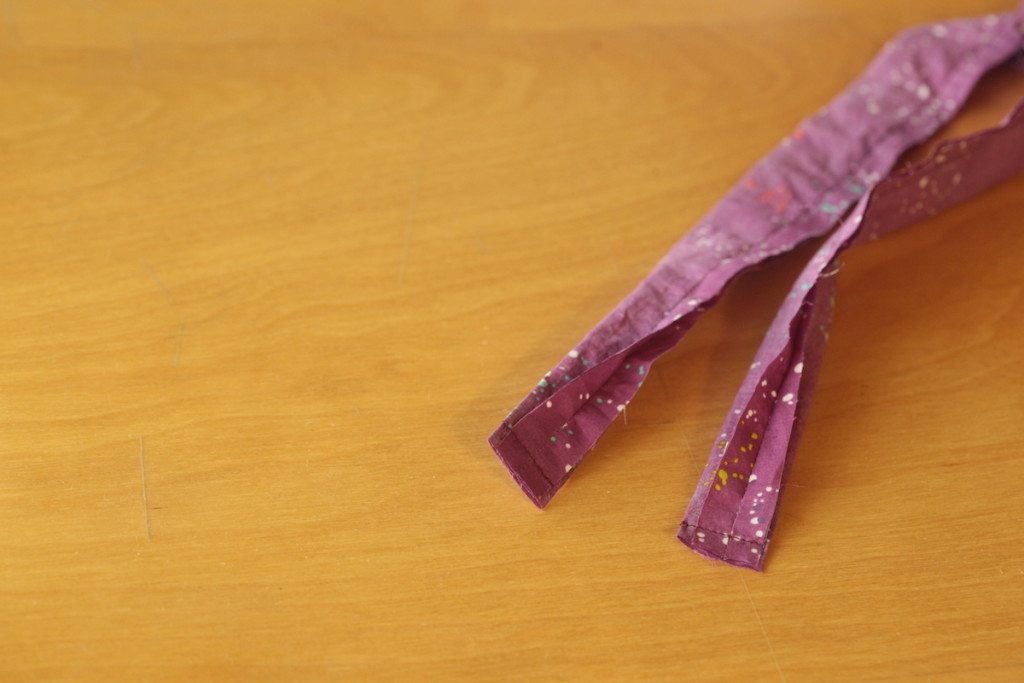
Give everything a good press.
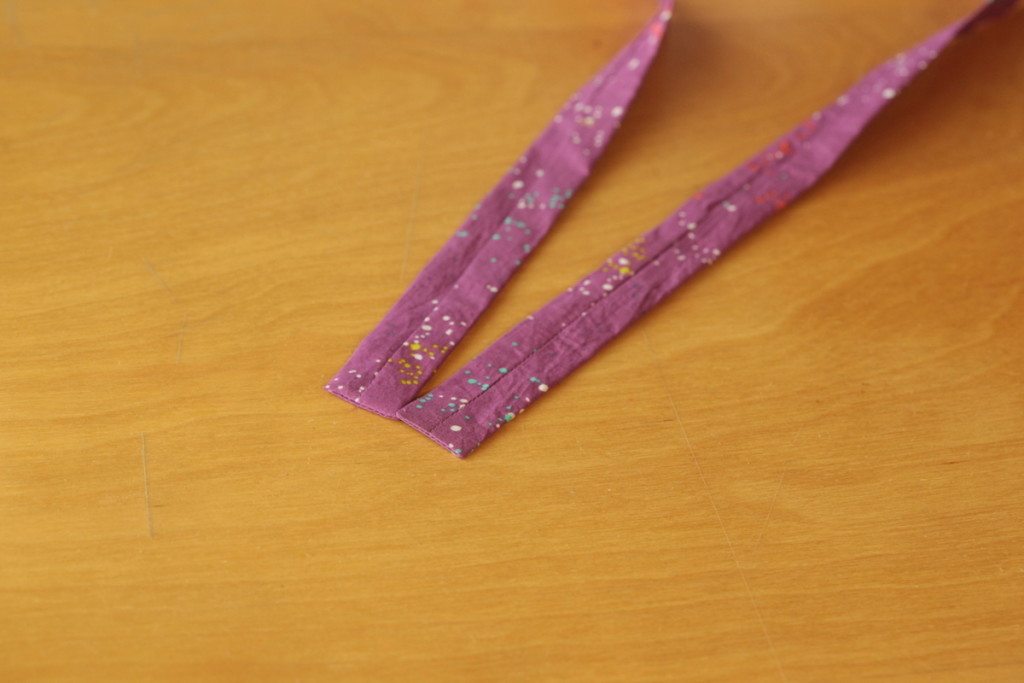
Now I have to close the middle opening. Since the seam will be hidden later on, I am not too worry about how it looks. I edge stitch the opening closed. Give it another press; again, the seam should be centered.
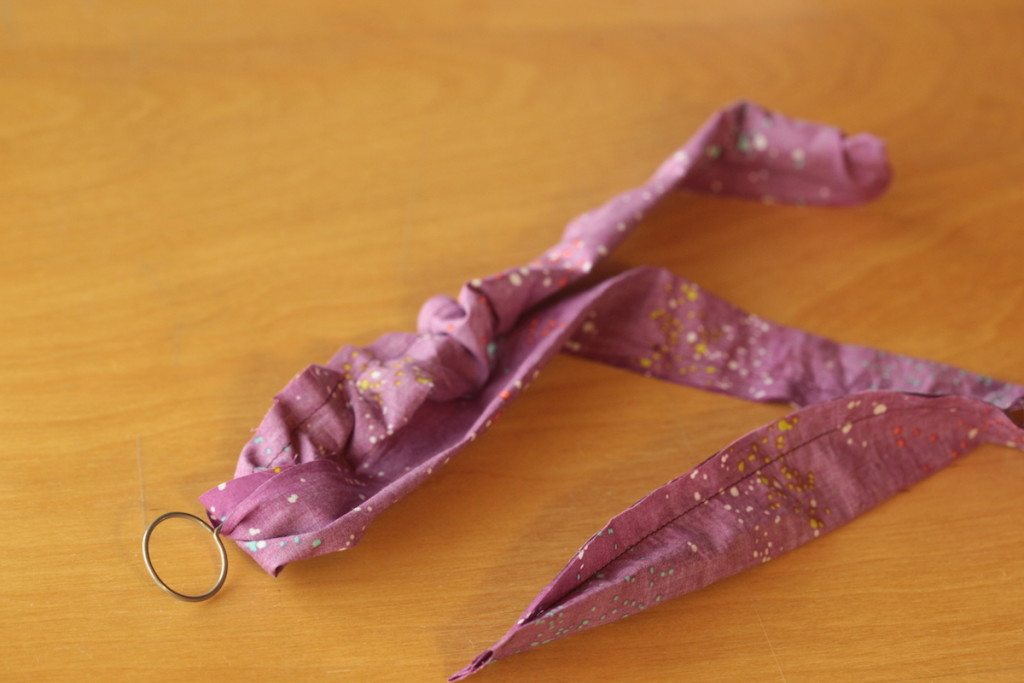
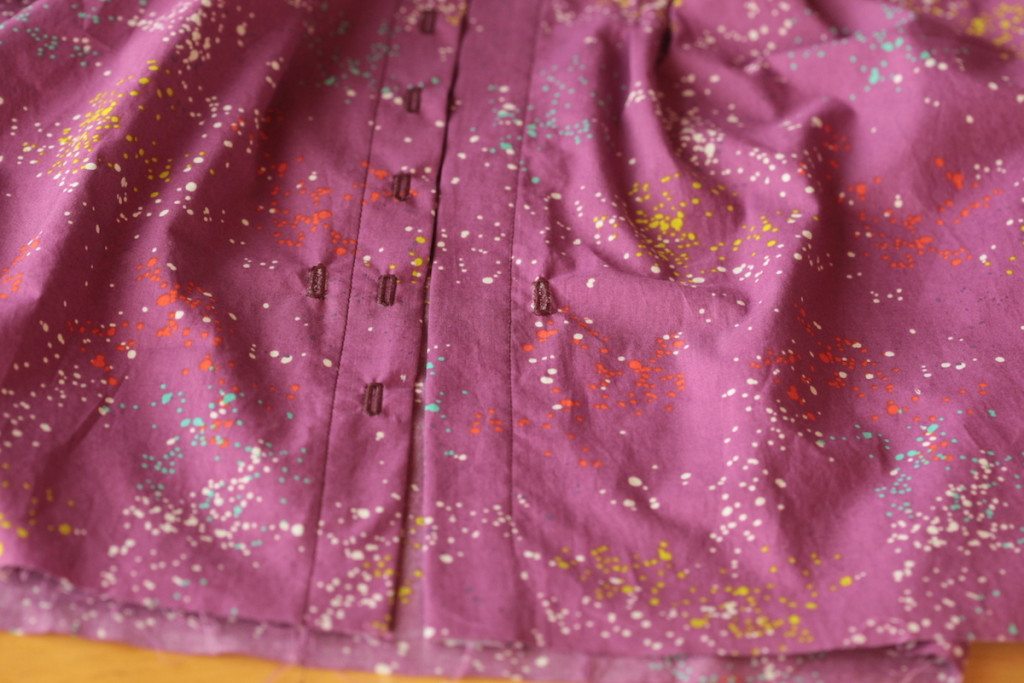
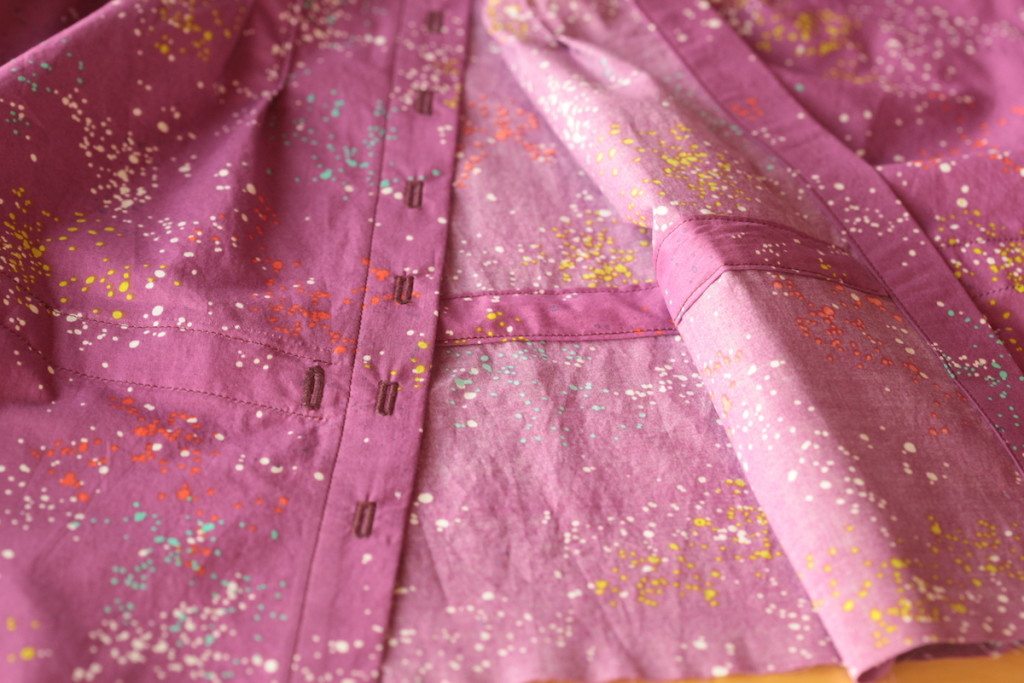
Try on the top to be sure where the waist is. I make two small buttonholes at the waist level on either side of the placket. They are for the drawstring to come out later. My drawstring will be 1/4″ (6 mm) wide, so I make my buttonholes 1/2″ (1.25 cm).
I pin the drawstring casing along the waist. Make sure that the casing covers the small buttonholes.
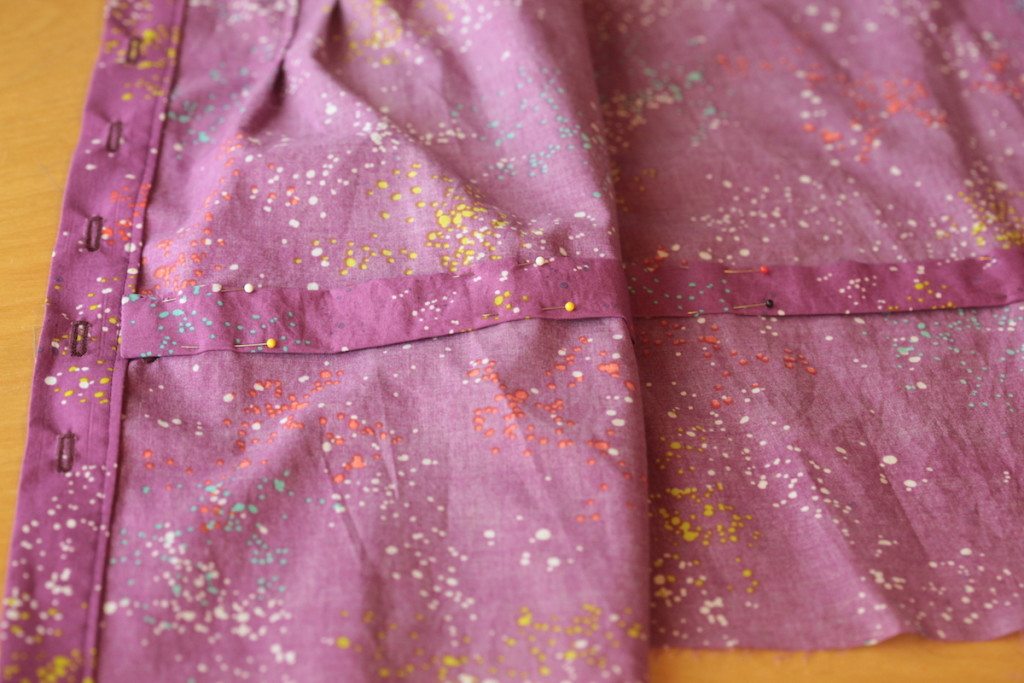
Stitch the top and the bottom of the casing to secure it. You notice that there is no exposed raw edges on the casing? Even the drawstring will not be caught by any raw edges inside. My fabric is pretty lightweight, so I am able to do it like this.
That’s all for the casing. Let’s go onto the drawstring.
Create Drawstring
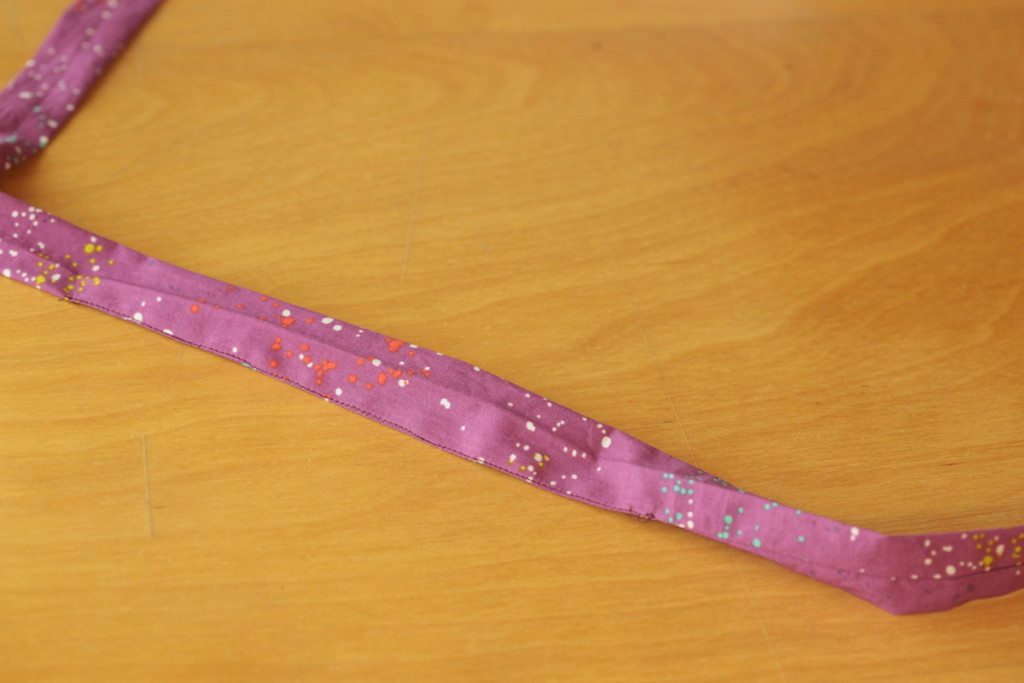
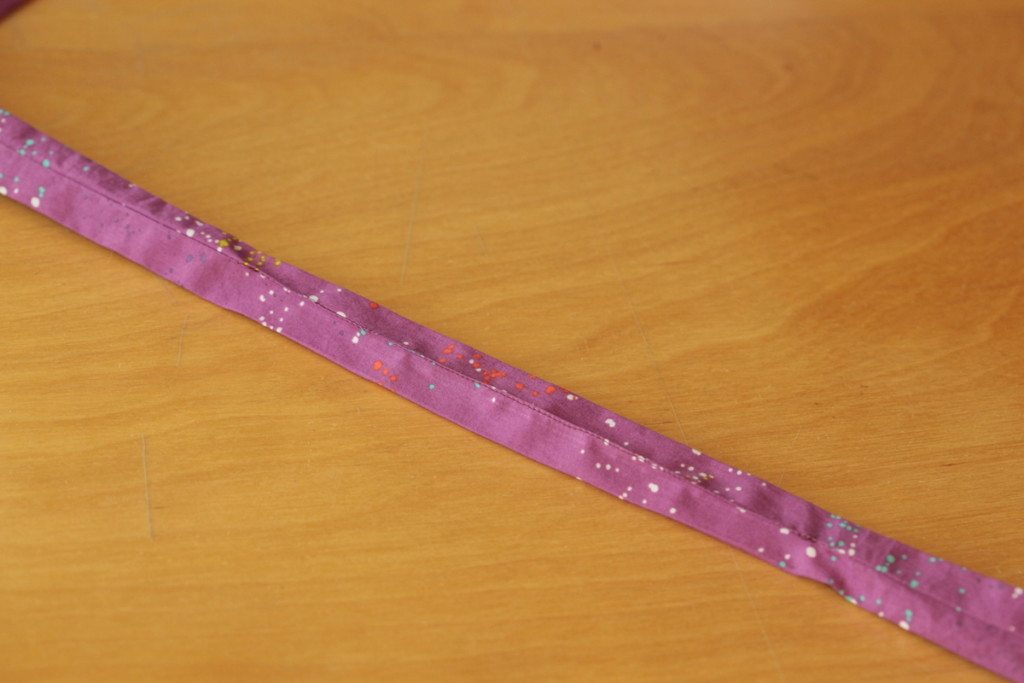
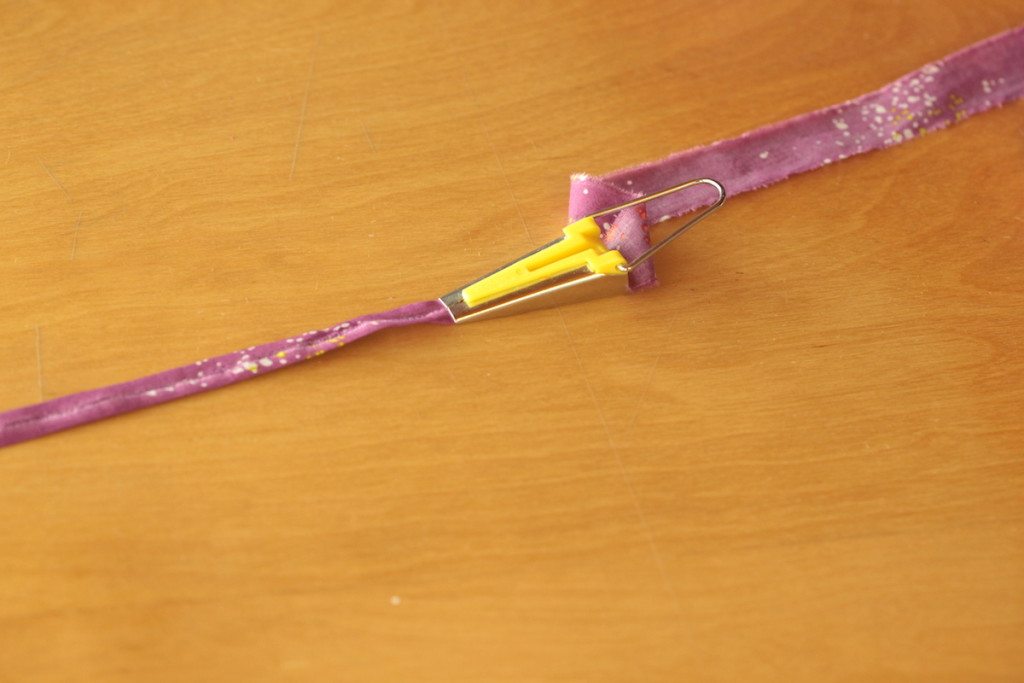
I use a bias tape maker to create a bias tape first. This particular one is the 1/2″ (12 mm) version. All I have to do is to cut a 1″ (23 mm) wide strip to feed the maker. I only estimated the length of the strip. I figure that it’s going to be the length of the casing plus something long enough for me to tie. It doesn’t have to be precise. I am not even ashamed to admit that I totally winged it. And you could also cut it later if it’s too long (so it’s better to err on the long side).
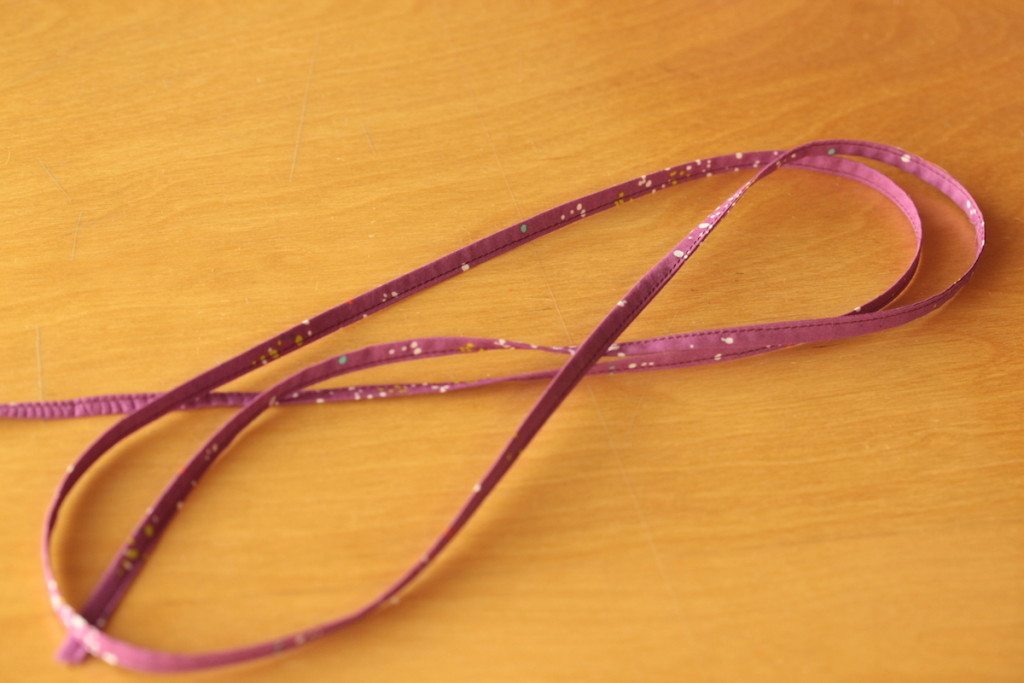
Fold the bias tape lengthwise in half and stitch it closed. I did tuck the short ends in so that the raw edges are not exposed.
Use a safety pin (or your favorite tool) to put the drawstring through the casing. Each end should come out of the small buttonholes created earlier.
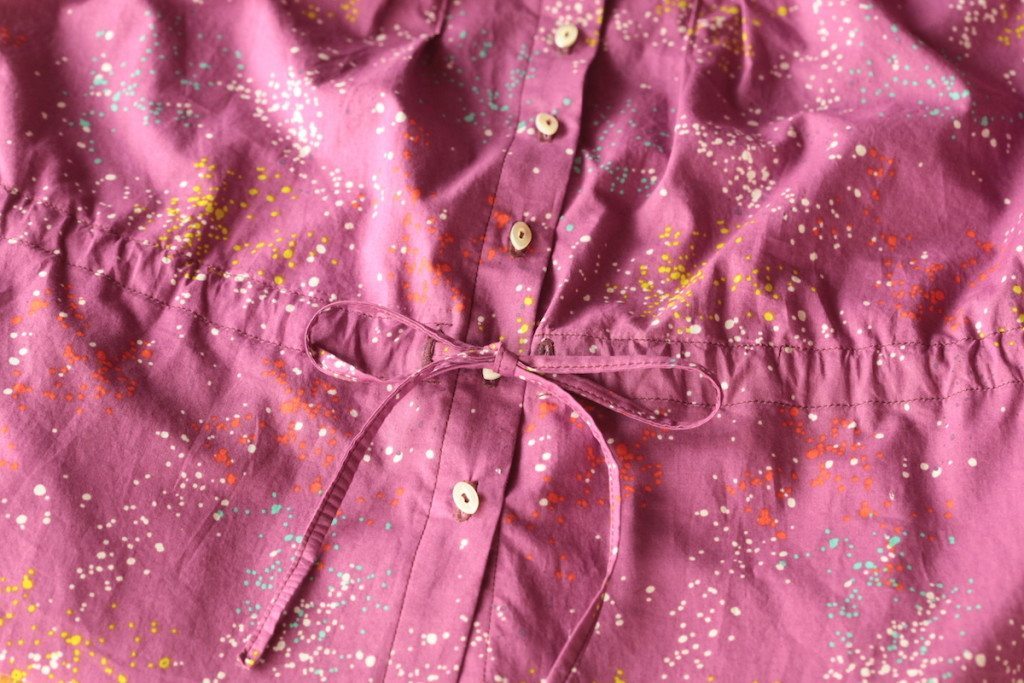
Note that you actually could choose to put the casing on the right side; then you wouldn’t need those two small buttonholes to get the drawstrings out. But I really like the streamlined look without the visible casing.
That’s all! As you see, I already put all the buttons and buttonholes on the placket. I also finished the hem too. All I have left to do is the sleeves. I am going to tease a little. You just have to wait till my next post to see what sleeves I am going to put on this blouse.
Stay tuned!

No comments yet.