
Hacking Zamora Blouse – Create Your Own Petal Sleeves
Today is the big reveal! The hacking of the Zamora Blouse is done with this final touch following the previous posts of raising the V-neck, removing the tie and adding the waist drawstring. Separately, Cassy also created her sleeveless version of the Zamora Blouse.
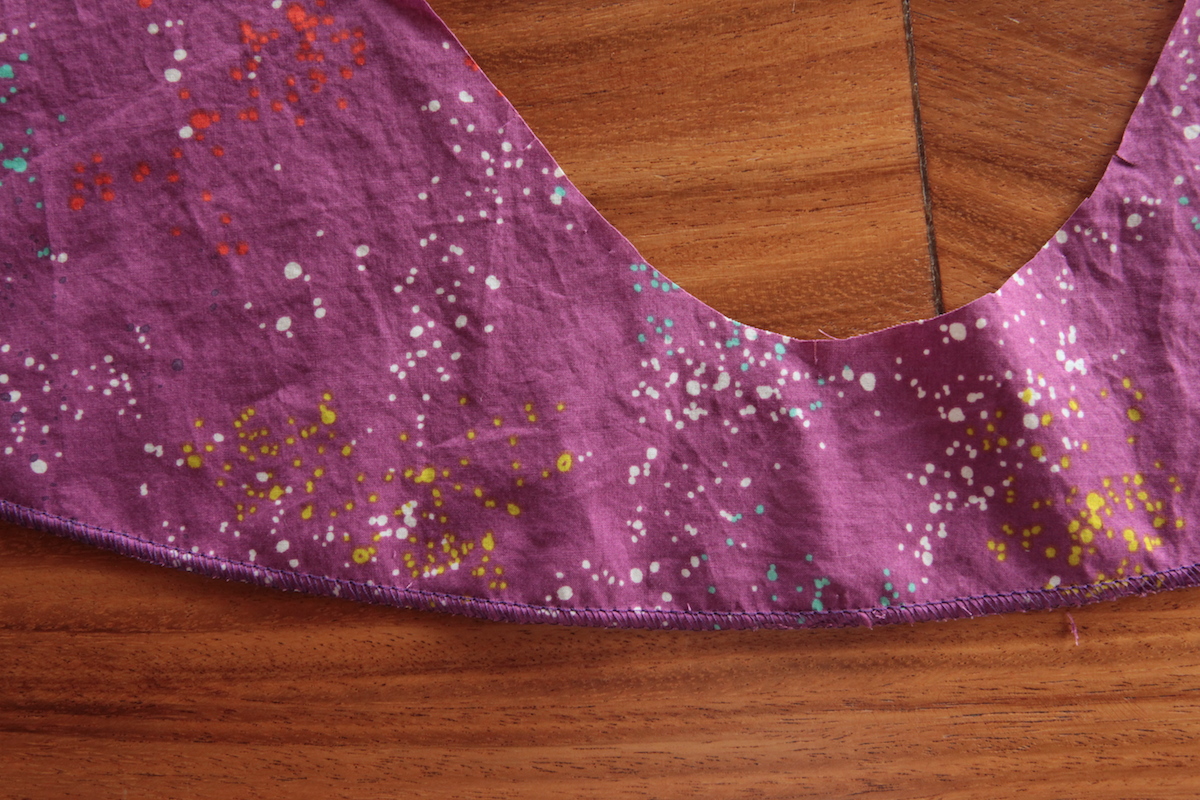
As for mine, a set of petal sleeves are added to the bodice. I know I will wear this blouse a lot in this increasingly warm weather.
I think petal sleeves are flattering for many women. Diagonal lines have elongating effect, so they make the arms look more slender.

Once you know how they are made, they are really not very difficult. The Zamora Blouse comes in gathered sleeves, so these petal sleeves retain the same gathered sleeve head. But if you can certainly use the same process to create non-gathered sleeves too.
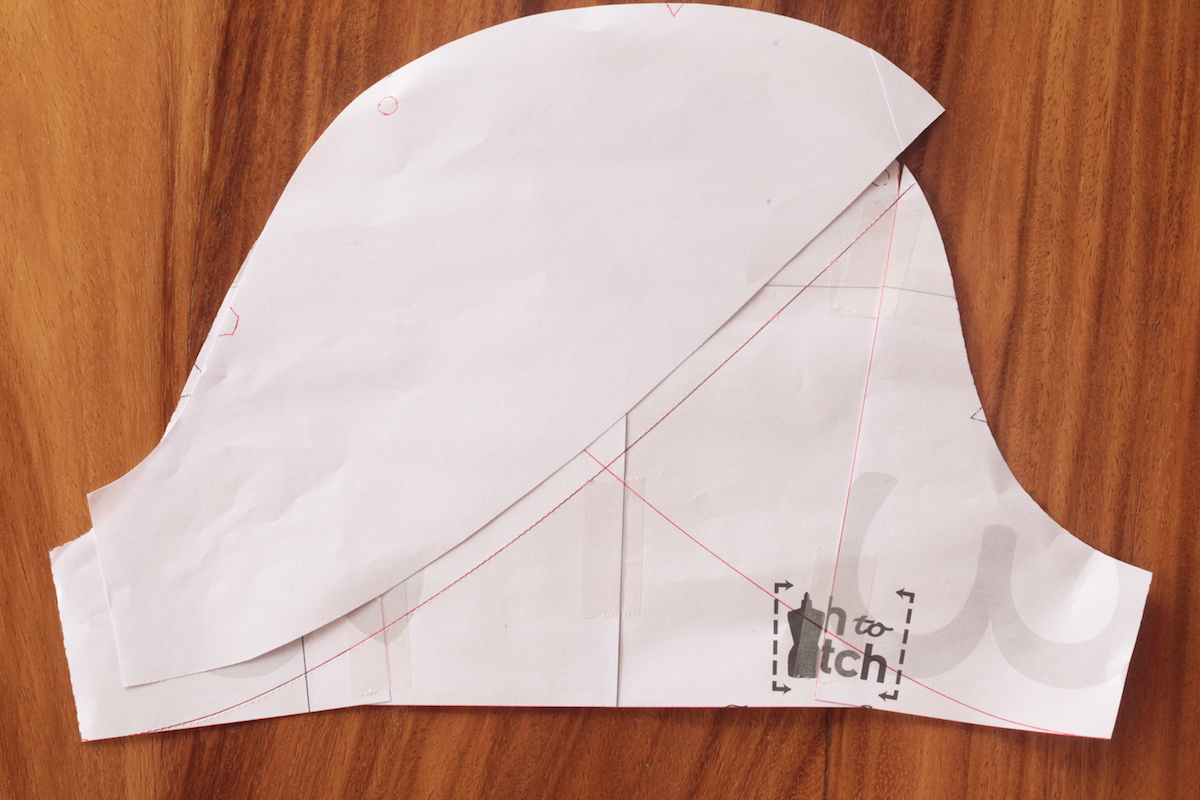
Let’s begin. I print out the sleeve pattern of Zamora Blouse. I didn’t bother to print the bottom part because I’d be chopping it off anyway.
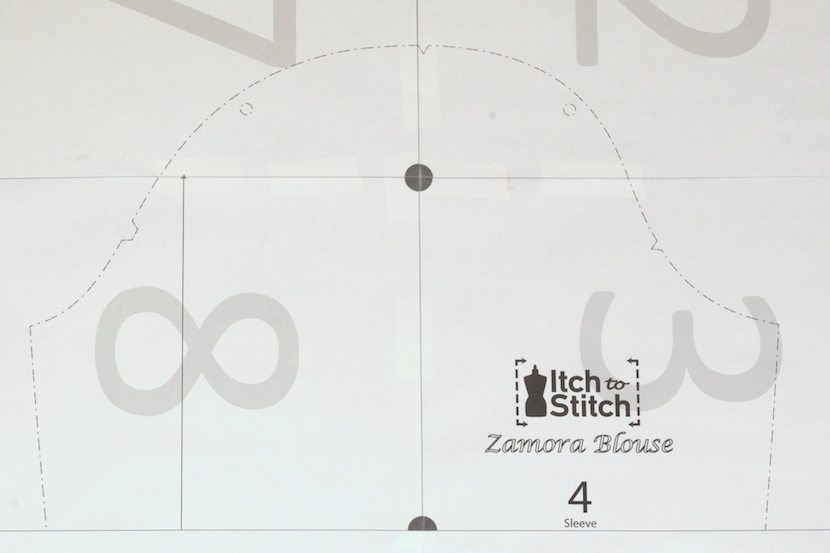
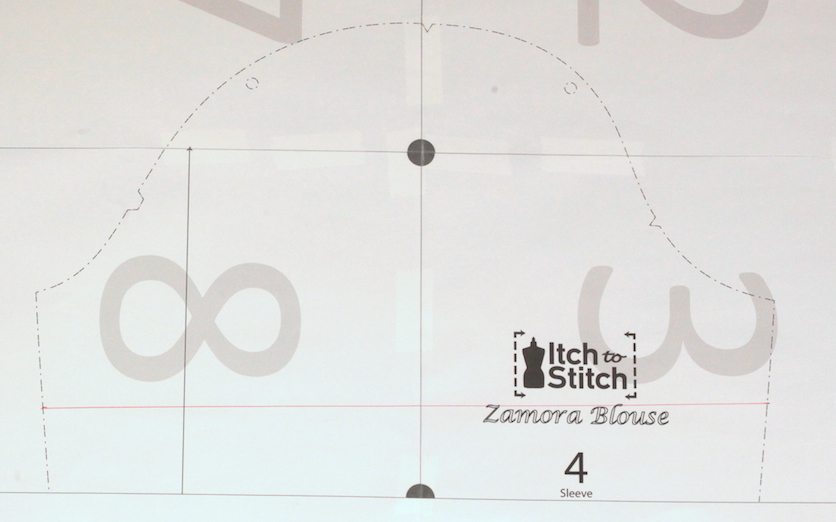
I determine how long I want the petal sleeves to be. They really can be as short or as long as you want. Keep in mind that there are 3/8″ (1 cm) seam allowances around the pattern. I decide to have my petal sleeve 2 1/2″ (6.3 cm) long (including seam allowances). I measure out that amount on each side and draw a straight line connecting them.
This is an optional part: I cut out the sleeve in preparation for taking some width out of the bicep area. Most of sleeves (that are to be made in woven fabric) have ease built in the pattern, and petal sleeves don’t need as much ease because of its ability to open up. So I think it’s nice to take out some ease.
I draw two vertical lines on the sleeve on both sides. If you visualize drawing three lines to quarter the sleeve vertically, these two lines would be the first line and the third line. For the Zamora, I draw them in front and and behind the circles (those are to be used for gathering). I leave a hinge at the seam line too on each line. Cut on the lines.
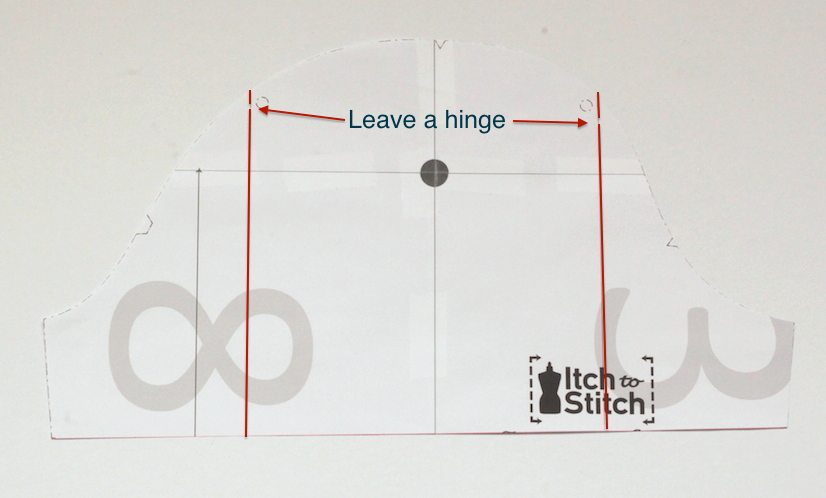
I pivot the pieces so that each part has 1″ (2.5 cm) overlap. So totally, I am taking out 2″ (5 cm). You can double check the circumference of your own bicep. Measure it and measure your sleeve to decide how much you want to take out. For me, I didn’t completely take out all the ease, I left about 1″ (2.5 cm) ease in.
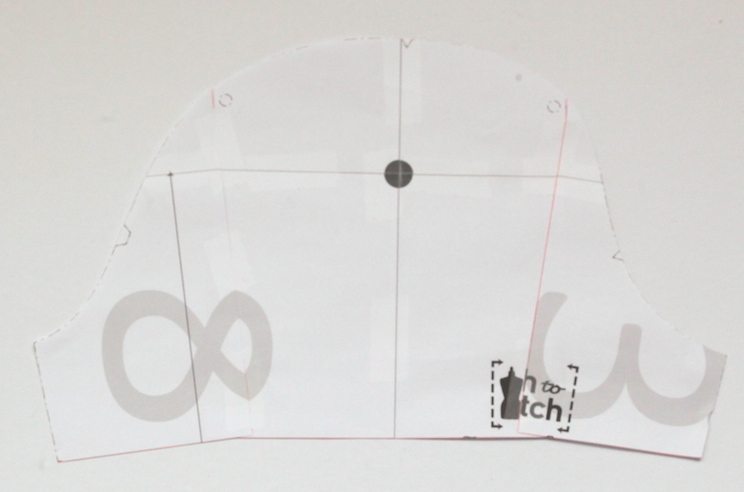
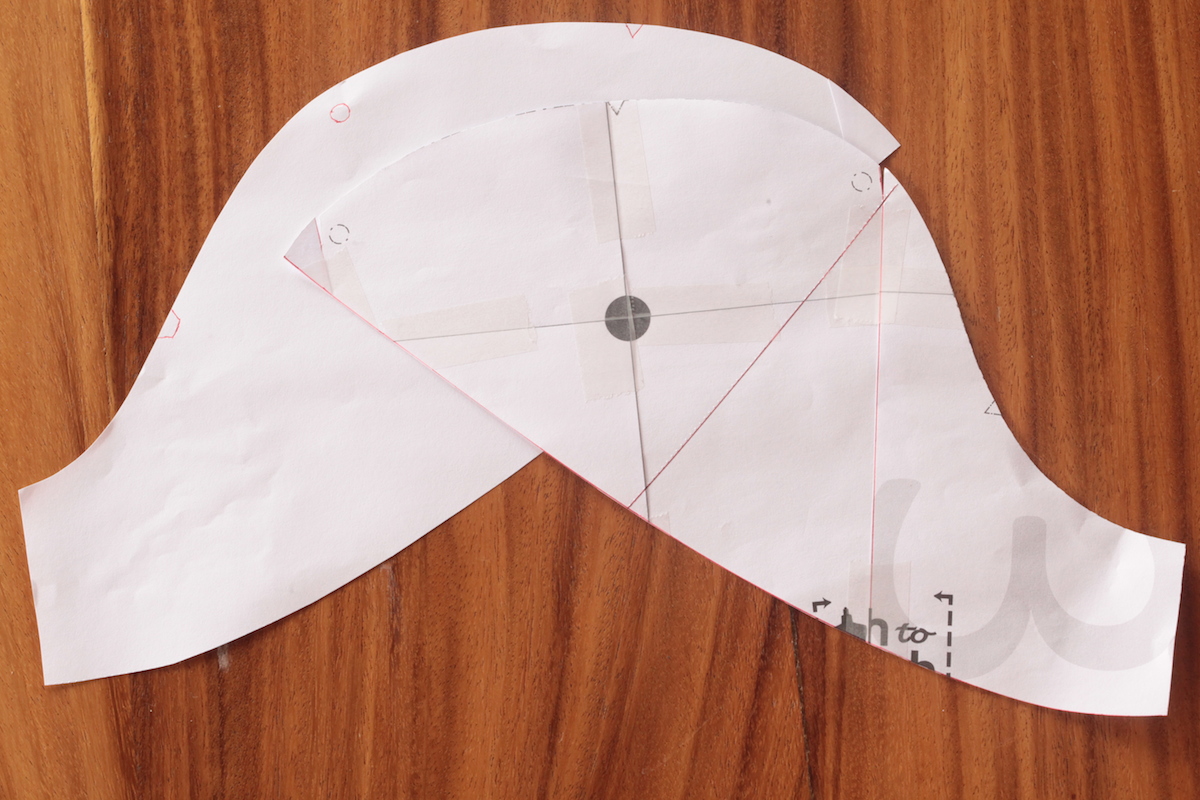
Now let’s draw the petals. Draw a curve line from the bottom of the sleeve at the side to the sleeve head. My end points are close to the circles. These points are somewhat arbitrary, so a bit more or less wouldn’t hurt anything, so feel free to put your designer hat on.

Now I trace the back of the sleeve out. Don’t forget to trace the markings too.
For the front of the sleeve, I directly cut the pattern. I don’t need to save the pattern, but you are free to trace it out too if you have any reason to preserve the pattern.
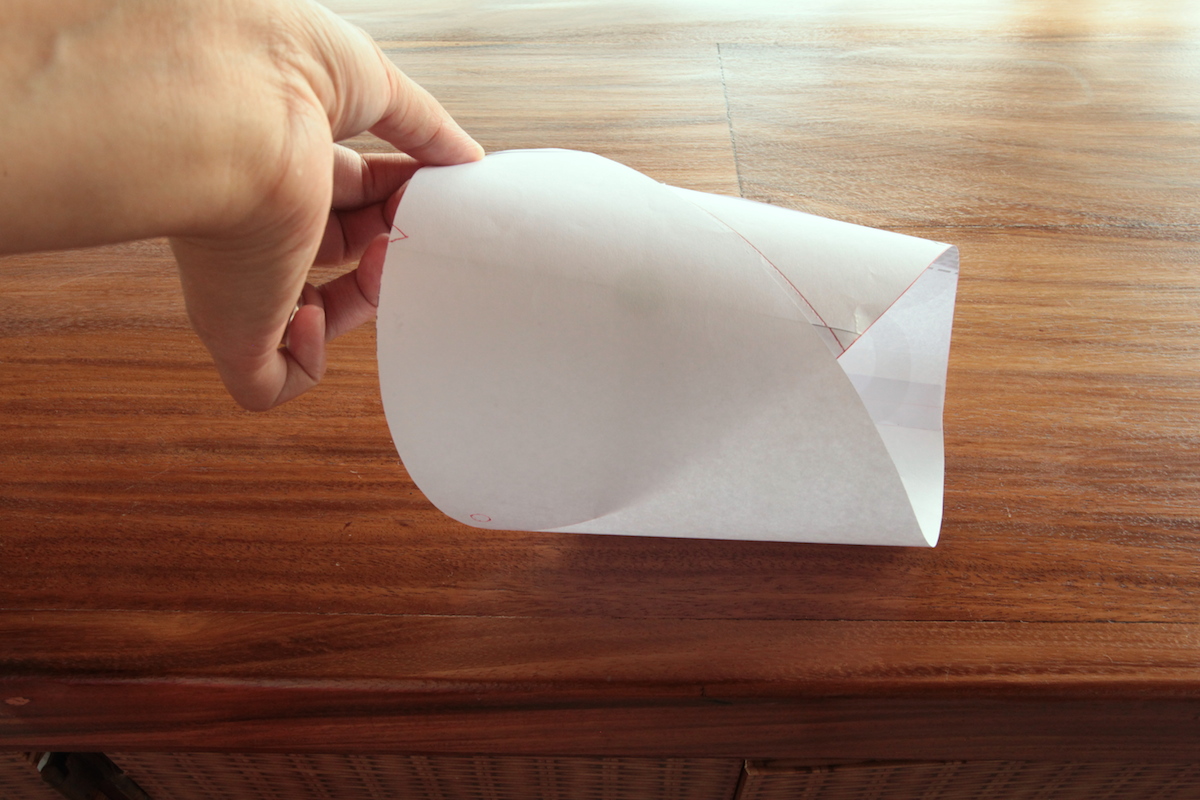
These pattern pieces can be used already. You would cut a set of mirrored images of each pattern piece using the original grain line.
But I decide to take one step further. I am connecting the underarm seam, so that I will not have to sew it. And by doing that, I am changing the grain line slightly to that new connecting line. Note that I overlap the pieces to account for the seam allowances (we don’t need the seam allowances anymore because there will be no seam.)
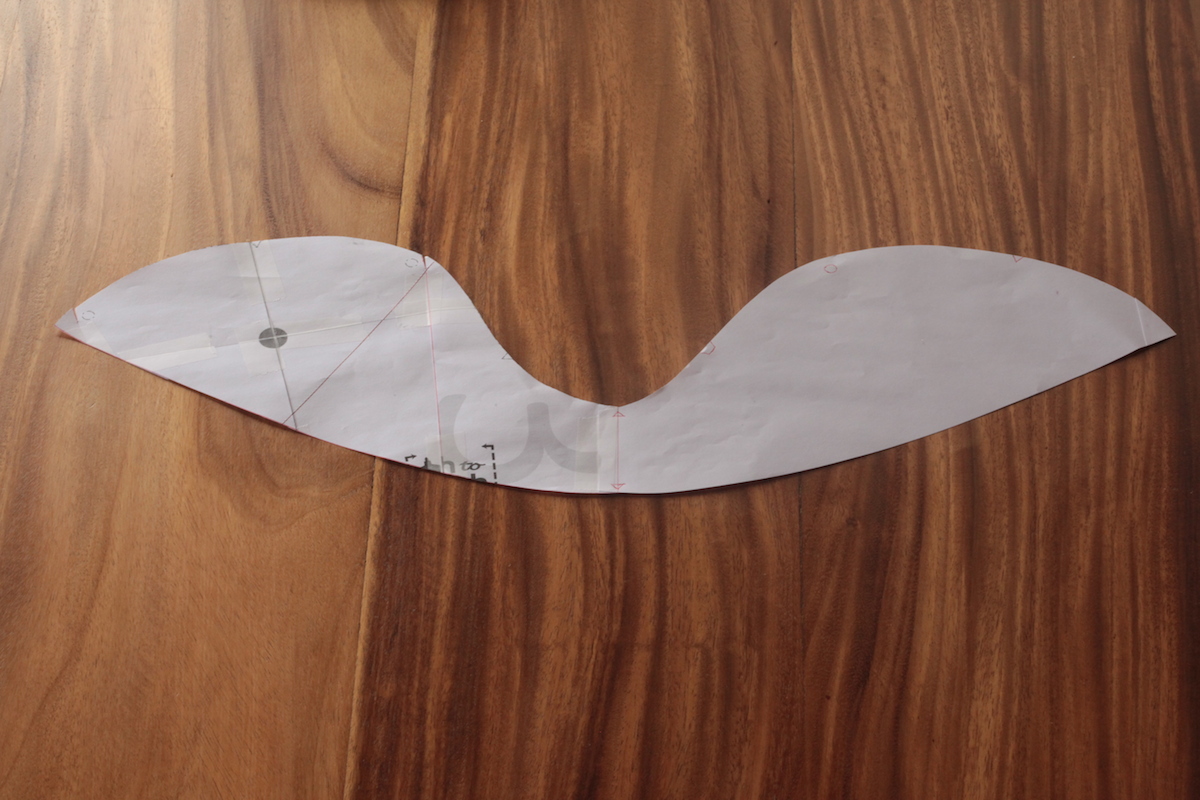
What an odd looking pattern piece, isn’t it? It can actually get a bit confusing after you cut out the fabric, so I encourage you to overlap the pattern piece as if you are to create that petal sleeve from the paper. Observe and get a feel on how it’s supposed to overlap. Marking all the notches and circles clearly also helps. If you are connecting the front and back sleeve patterns like I do, then you would cut a set of mirror images of that pattern.
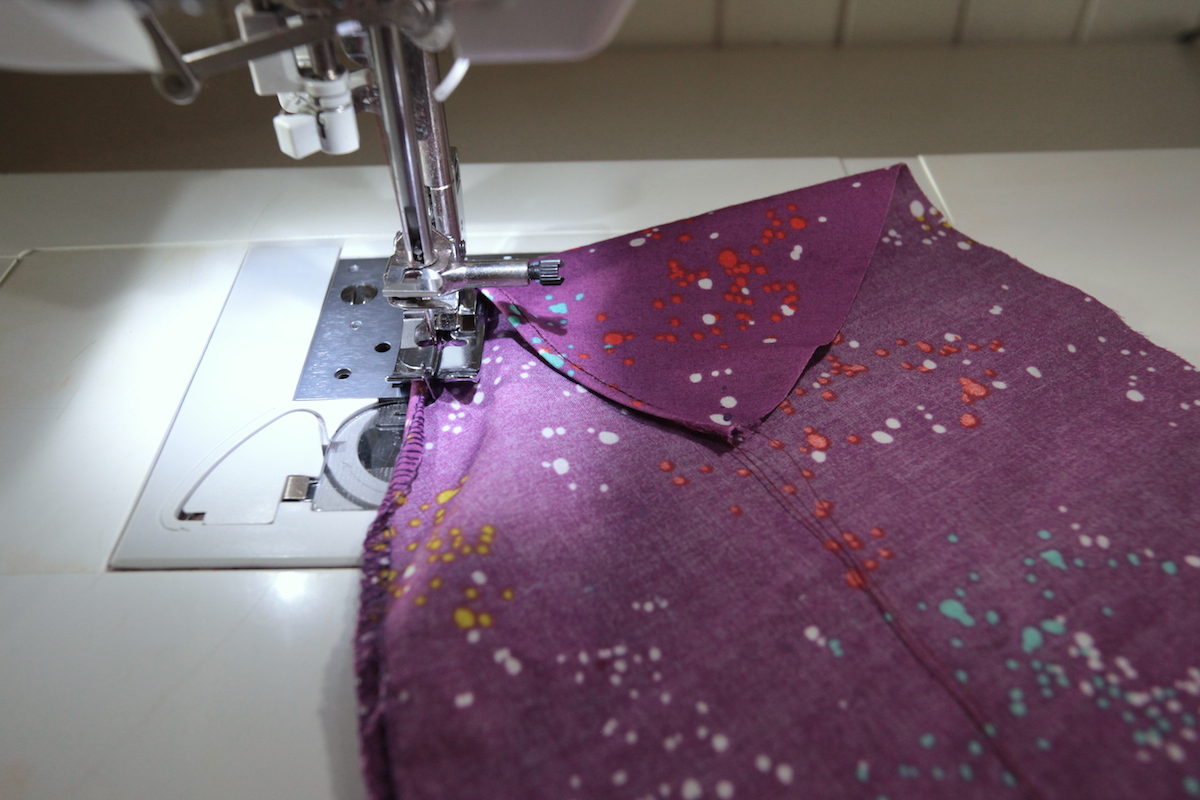
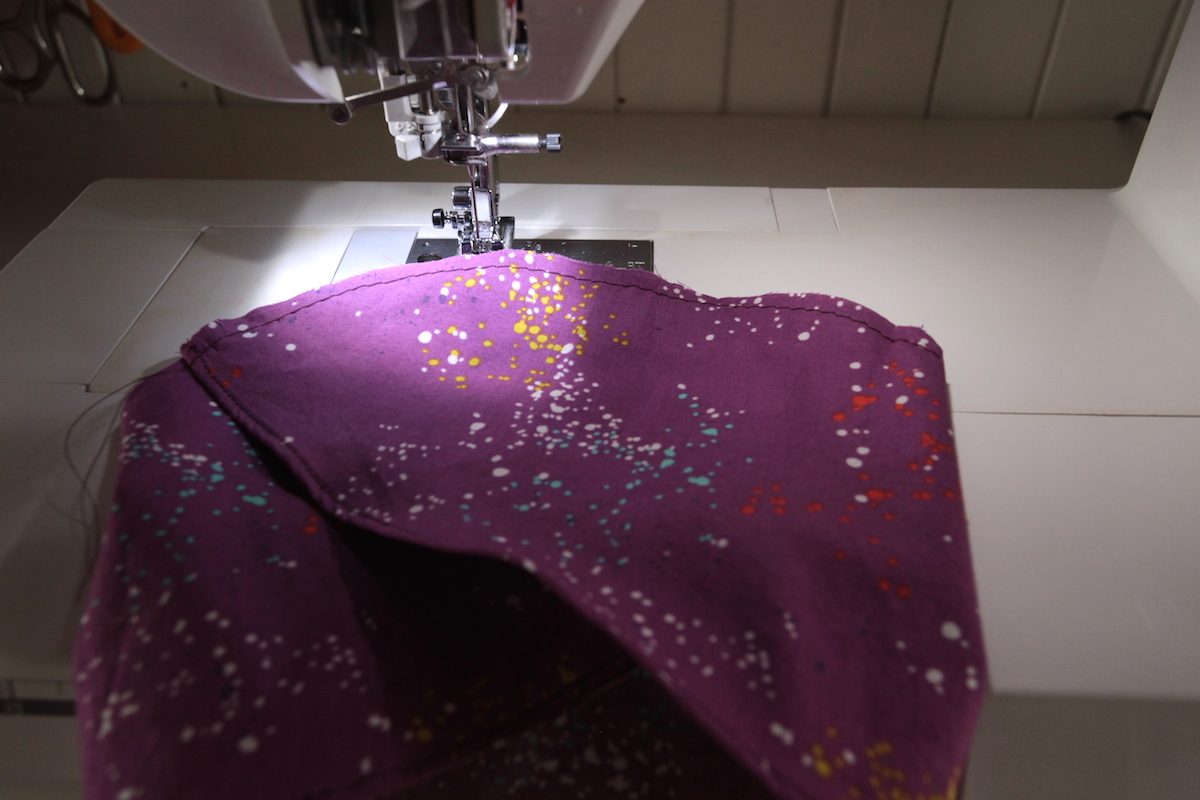
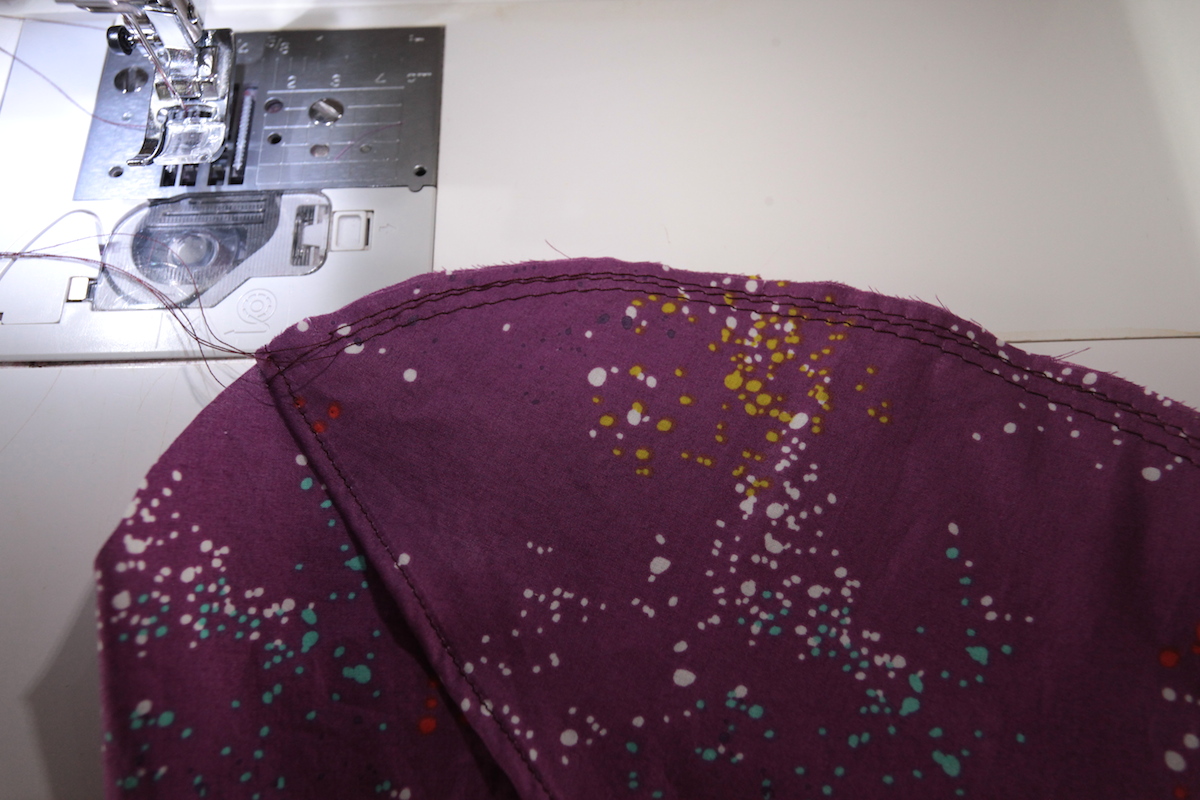
Use the pattern piece of cut out your fabric. I have a decision to make at this point. Originally, I thought about cutting a lining for the sleeve. That way, I wouldn’t have to finish the curves of the petal (the hem). But eventually I want to have a lightweight sleeve, so I decide against the lining. I use my favorite method for creating a very narrow hem. First I serge the bottom edge.
Then I leverage the little bit of bulk to fold the hem twice and topstitch through all layers.
Pretty little hem, isn’t it?
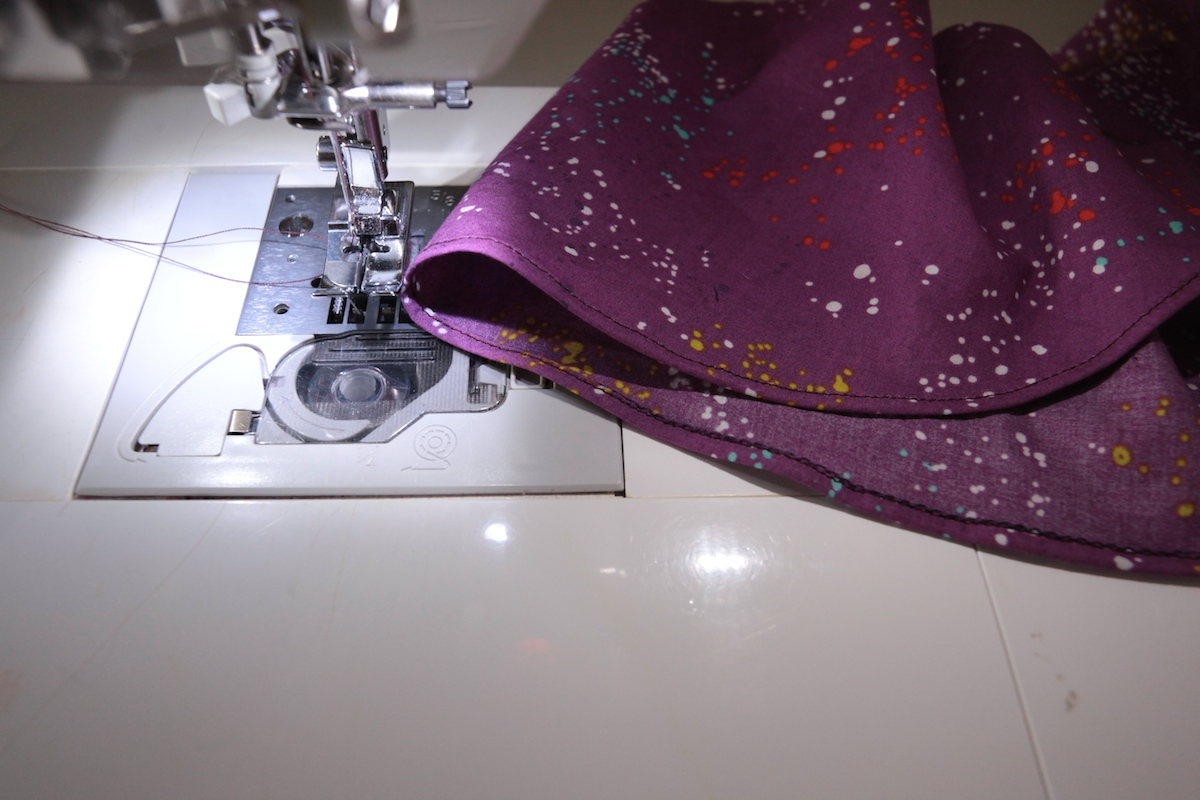
I overlap the front and back of the sleeve, matching all notches and circles. I baste the layers in place.
Now I pretty much proceed as normal. I stitched two lines in preparation for gathering the sleeve head as instructed. If you are using a sleeve pattern without the gathering, obviously you would skip that.
Set in the sleeve like you normally would following the pattern instructions. And you will have the beautiful petal sleeves!

Don’t you love being able to change a pattern slightly and have a drastically different look?
The original Zamora Blouse:

The hacked Zamora Blouse:

I hope this inspire you to make changed to your patterns and create multiple versions that you love.

I love the petal sleeves and the drawstring waist on this. The neckline is great with and without the tie too! It’s lovely.
Thanks Cassy. 🙂 I love the more casual look on this version too!
Hi,
Thank you for sharing, I absolutely love those petal sleeves! So very pretty and feminine.
Thank you Caroline. The sleeves are quite comfy too. I like that they provide some coverage, yet they are not restrictive.