
How to Easily Add Piping to Your Next Sewing Project
Hi Itch to Stitch Readers!
Who here has ever added piping to a sewing project? For years I was intimidated to try this sewing technique, thinking it required a special presser foot and advance skills, but once I tried it for the first time, I was shocked by how easy it was to use!
Piping is one of those finishing touches that can take your sewing project to the next level, adding a professional and store-bought look to your garments. Today I would like to share with you how you can easily add piping to your next project. I promise once you learn this technique, you’ll want to add piping to every seam!
Here’s what you’ll Need to Add Piping to your Garment:
- A piping foot, or a regular zipper foot
When sewing piping, we need to use a special sewing foot that allows us to sew as closely to the cording as possible. While there is a specialty foot made for sewing piping, you can get great, professional results using the zipper foot on your sewing machine. For this tutorial, I will be outlining how to use your zipper foot since it comes with most new sewing machines. I wouldn’t recommend using your standard sewing machine foot; you just won’t be able to sew close enough to the cord.
- Piping
Piping can be bought from your local fabric store, or made at home by sewing bias cut fabric strips around a piece of firm cording. Whether you choose to make or buy, you should be able to find all the supplies you need in store, since it is a fairly common notion. For this tutorial, we will be using store-bought piping.
- A seam
Piping is typically sewn within a seam so that only the cording shows from the right side. If you want to add piping to a part of your garment that doesn’t already have a seam, such as down the center front, you’ll want to create a seam on your pattern before cutting out your fabric. Don’t forget to add seam allowances!
How to sew Piping:
1) Pin the Piping.
When sewing piping, the goal is always to sew as close to the inner cording as possible without catching it into the seam. If you take a look at your piping, you will see that there is a line of stitching that attaches the bias strip around the cording. We’re going to refer to this as the piping seam. This seam will be our guiding sewing line for the rest of the tutorial, since it marks the absolute closest we can sew to the piping without catching the cording. In short, always try and sew on top of the piping seam.
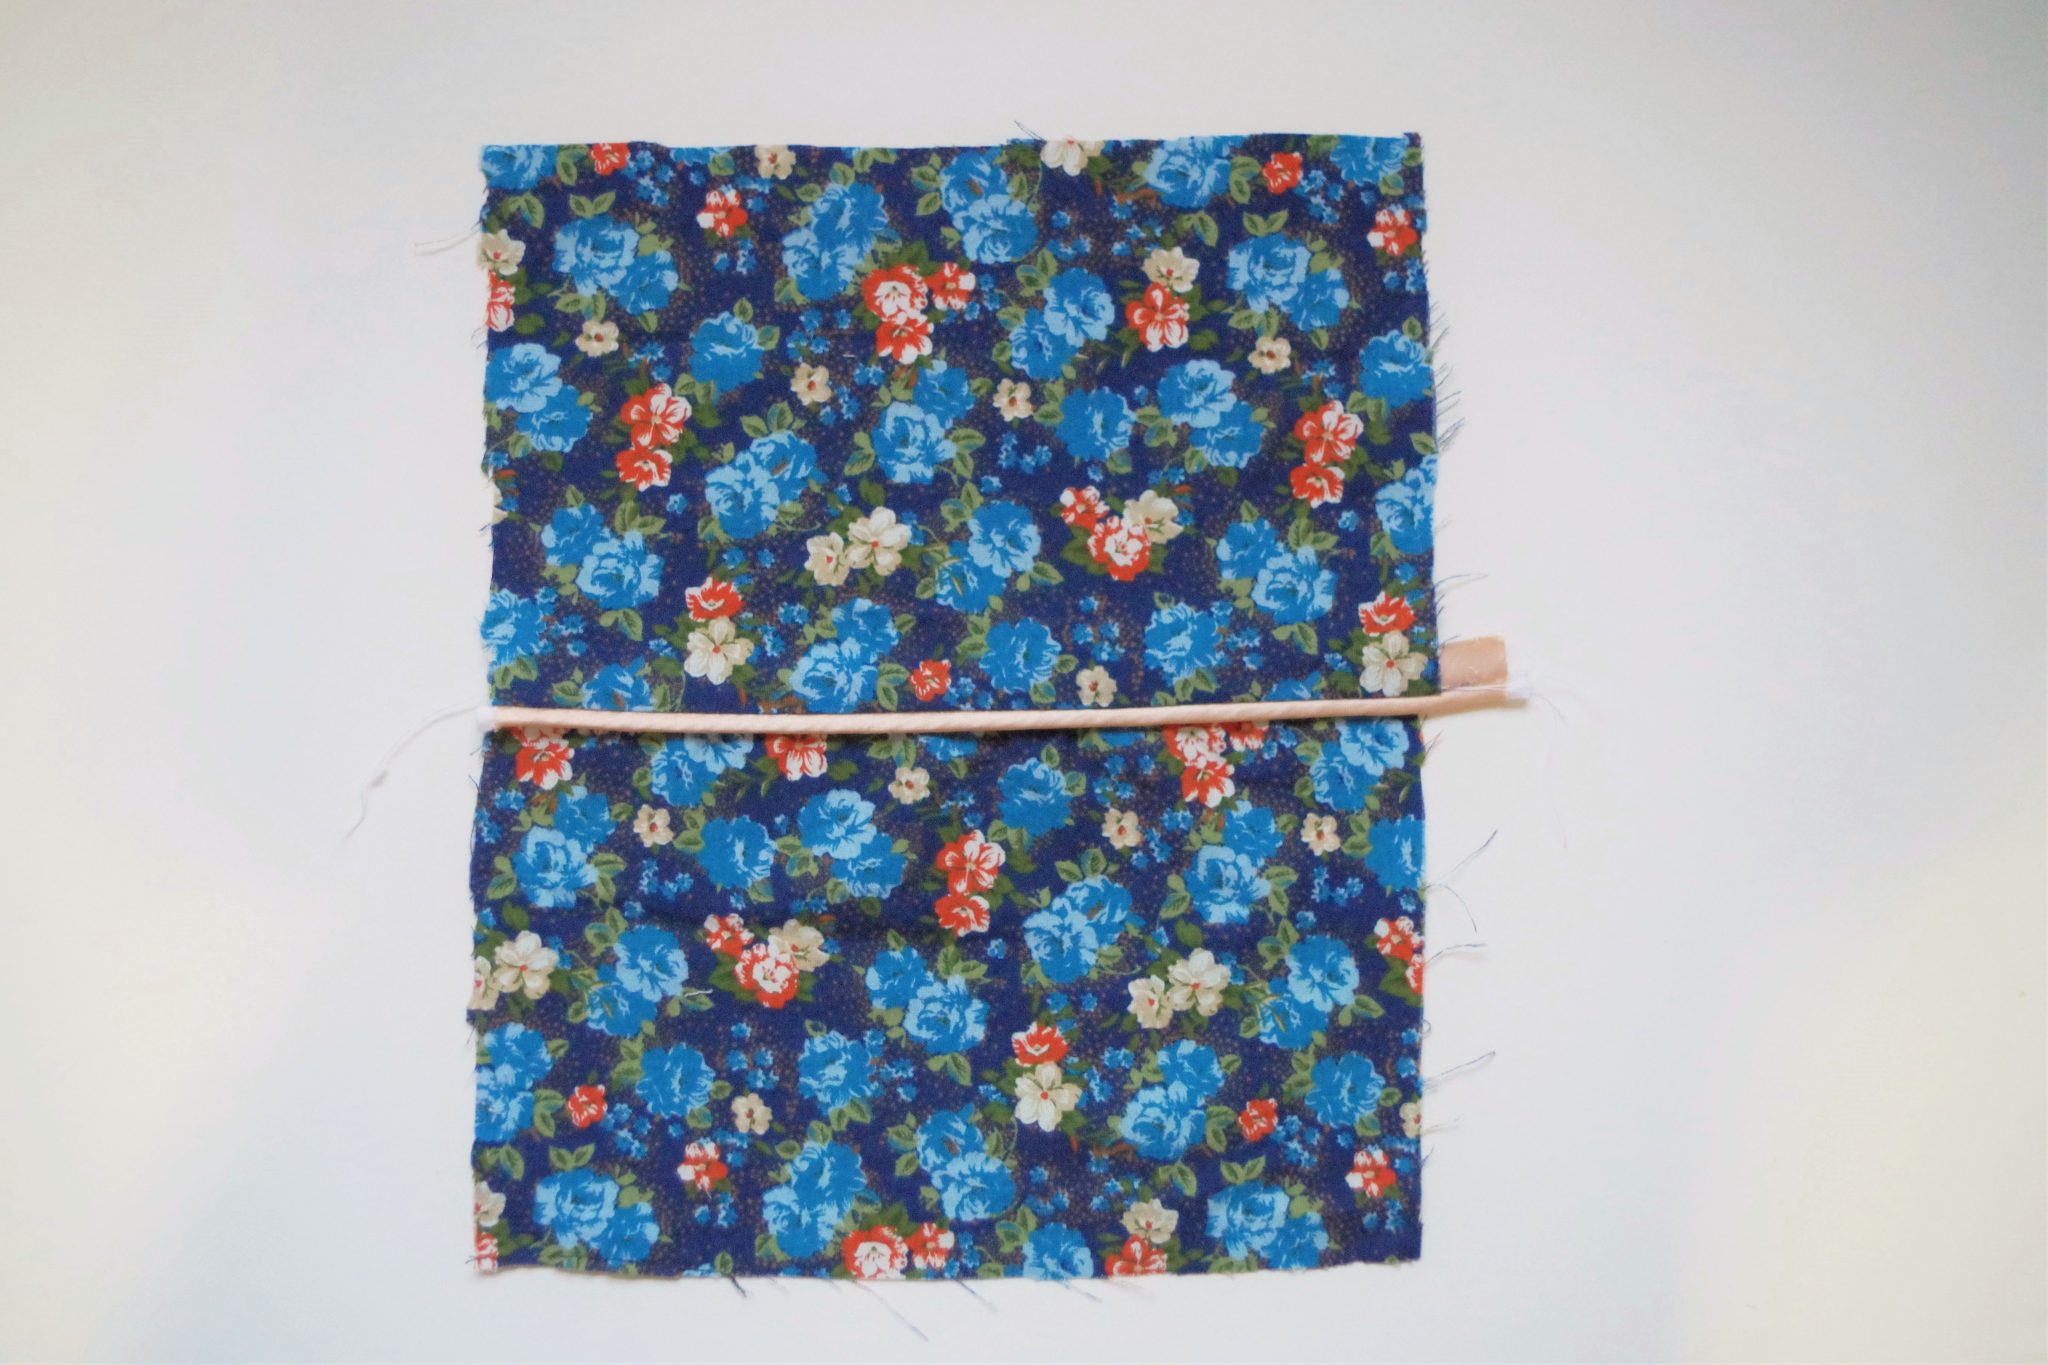
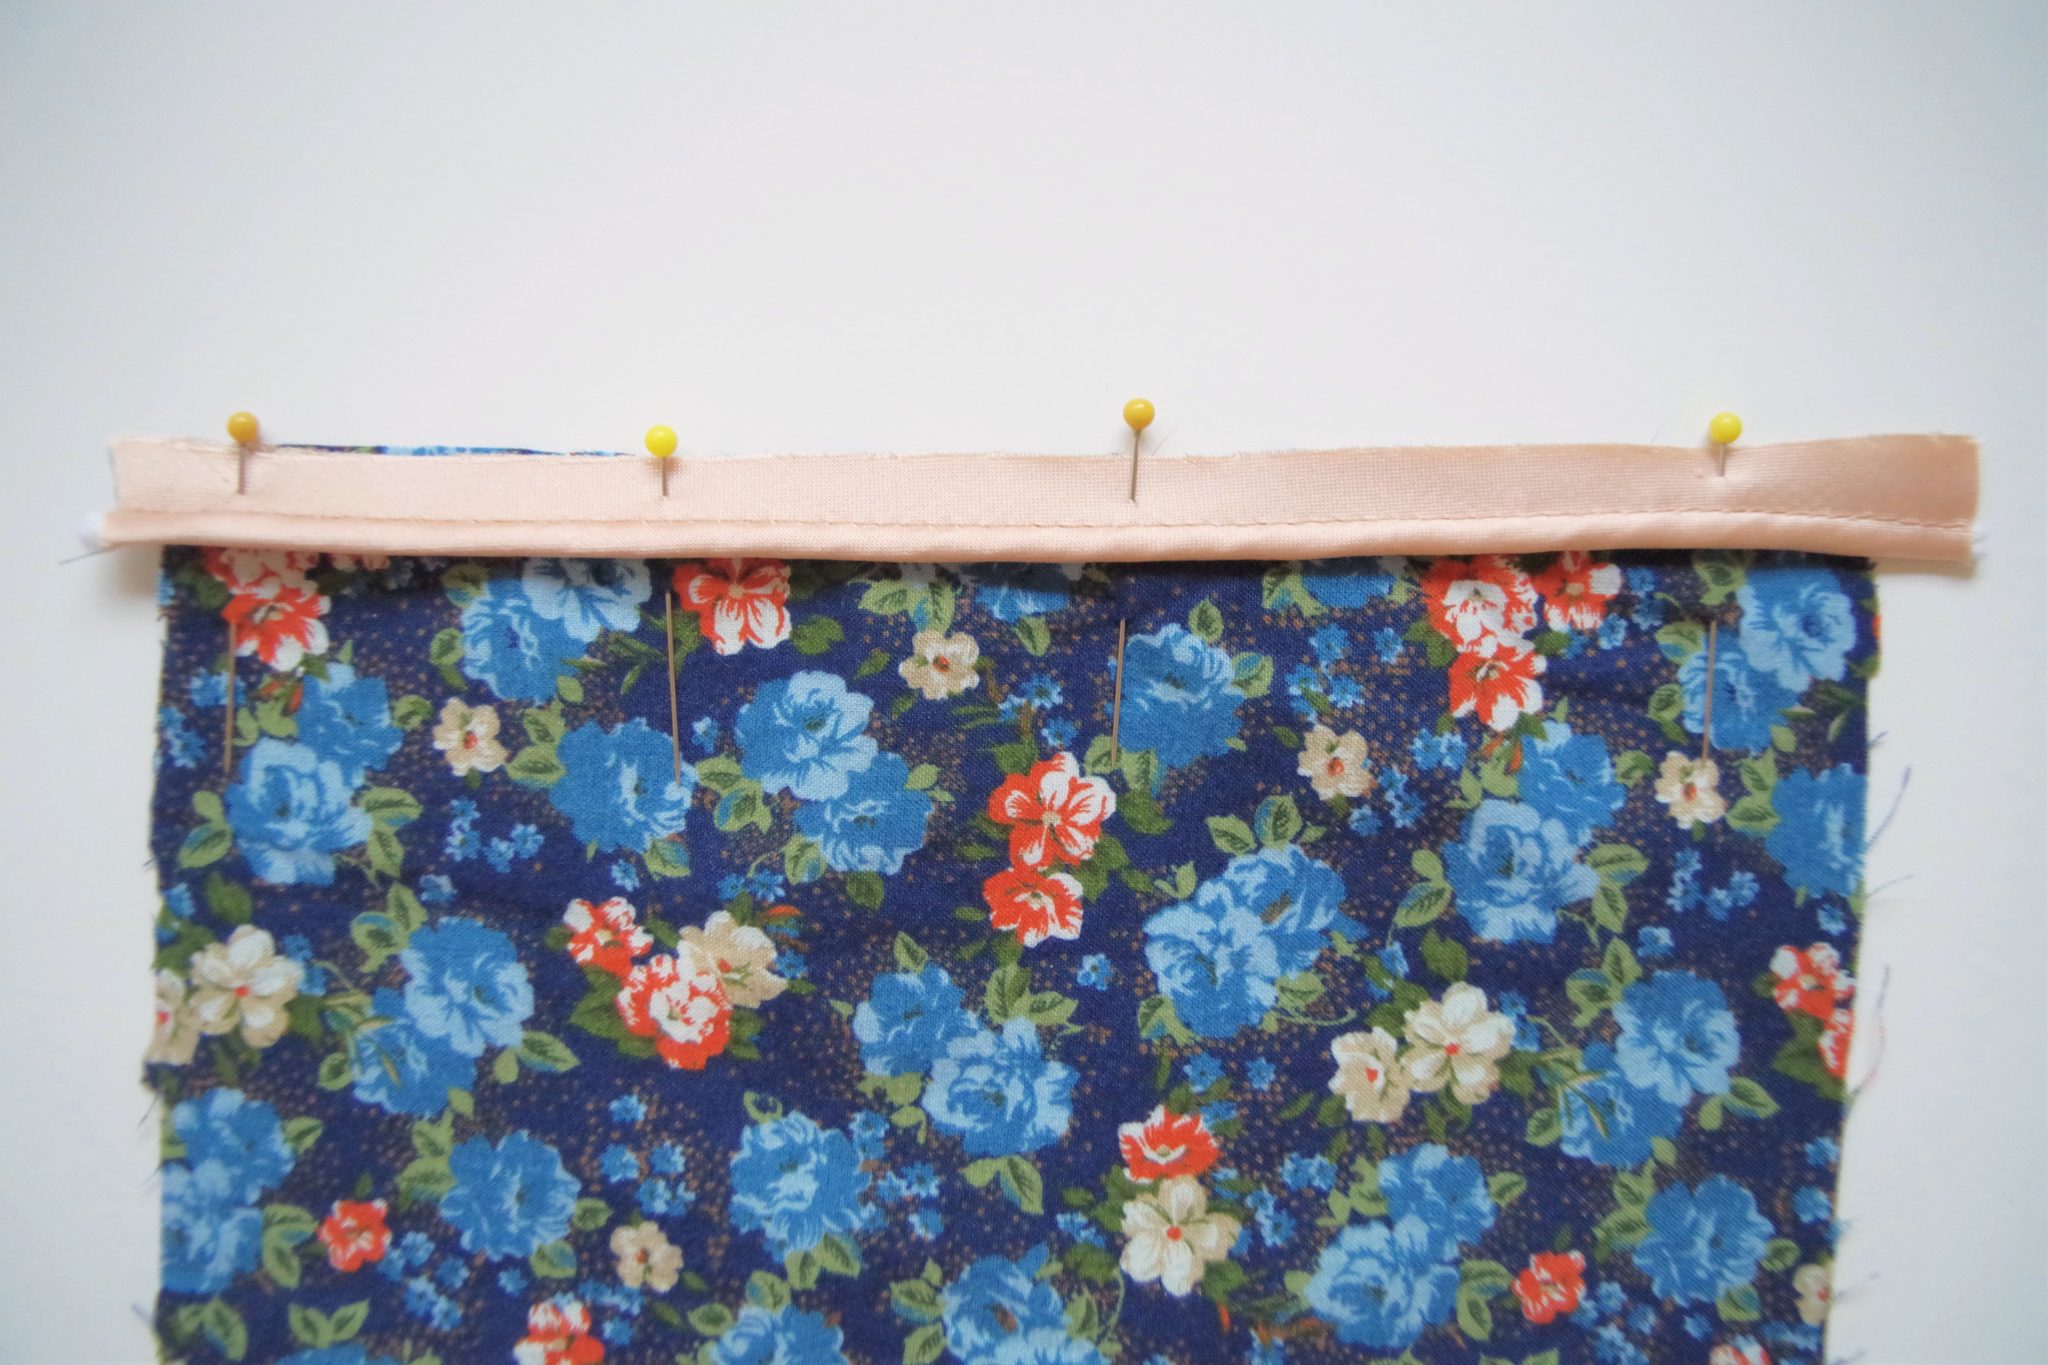
We’re going to start off by only pinning the piping to one side of our fabric, right side facing up.You’ll want to cut a piece of piping that’s just slightly longer than your seam. When pinning the piping to your garment, you’ll want to match the piping seam to the seam line of garment so the cording is facing away from the seam allowance. This means we’re pinning the piping seam exactly where we would want to sew the garment seam together.

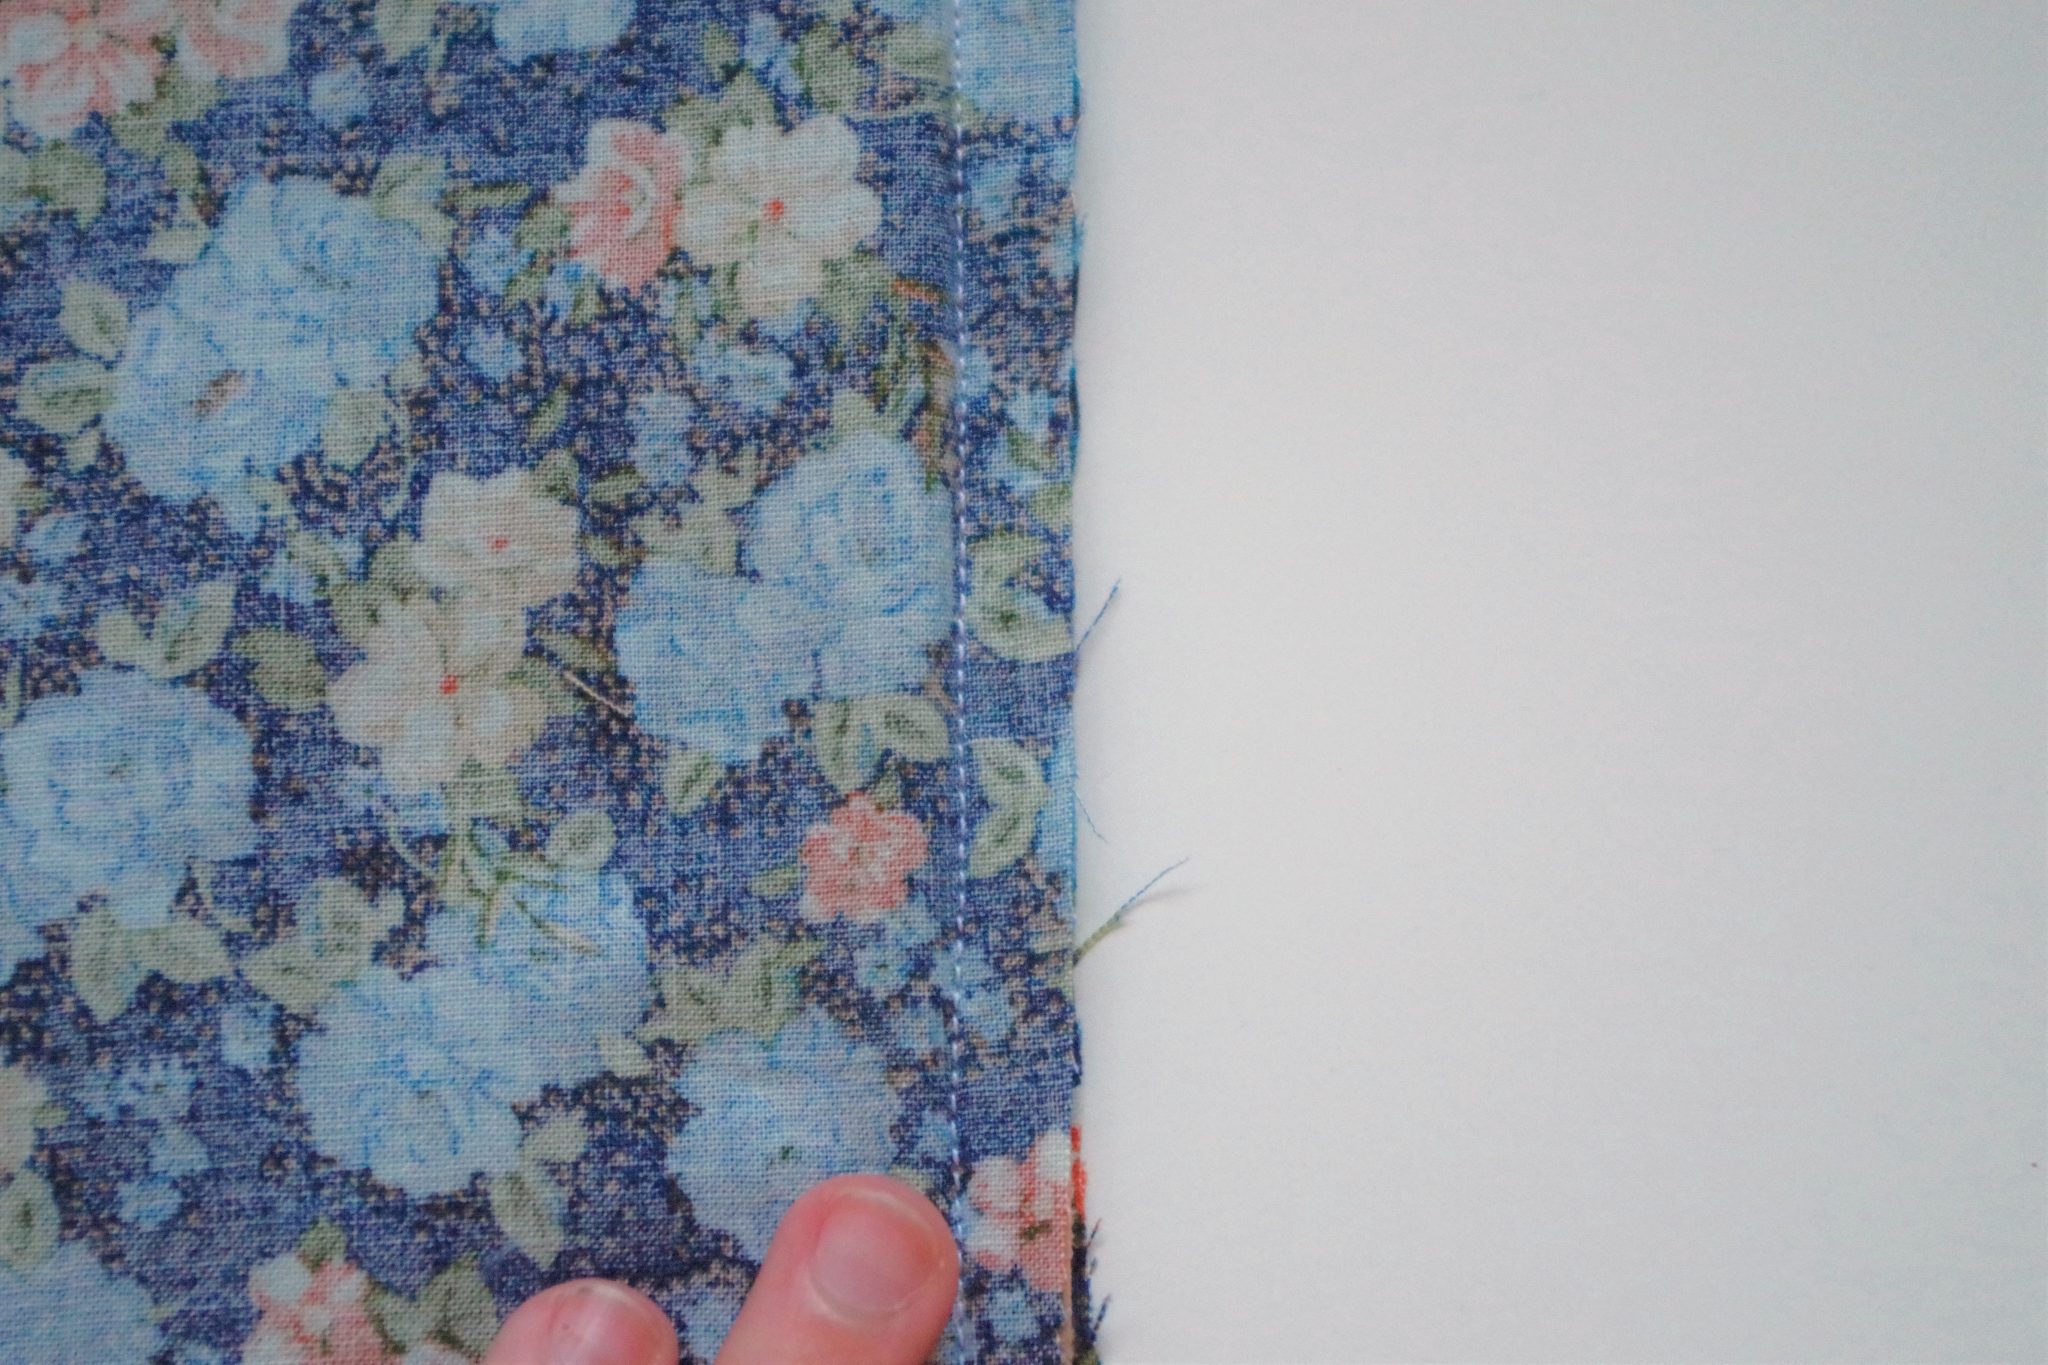
2) Baste the Piping in Place.
Using the zipper foot on your sewing machine and a basting stitch length, sew the piping to your first piece of fabric along the piping seam. Depending on the size of your piping, you may want to adjust the stitch width you are using to move your needle closer to the piping seam. Remember, the closer you can sew to this piping seam, the more professional your piping will look!

3) Assemble the Seam, Right Sides Together.
Next, place the second layer of fabric on top of your seam with right sides together and pin in place.
4) Sew!
Stitch the second layer of fabric to the first, pressing your presser foot as close to the cording as possible. Although you can’t see the piping since it is sandwiched between the two layers, you should be able to feel a pronounced bump in the fabric from the cord. Just like when basting in step two, pay careful attention to sew closely to the piping and adjust your stitch width if necessary.
What if you didn’t sew close enough to the piping seam? Don’t worry! Just sew the seam again until you get it right.
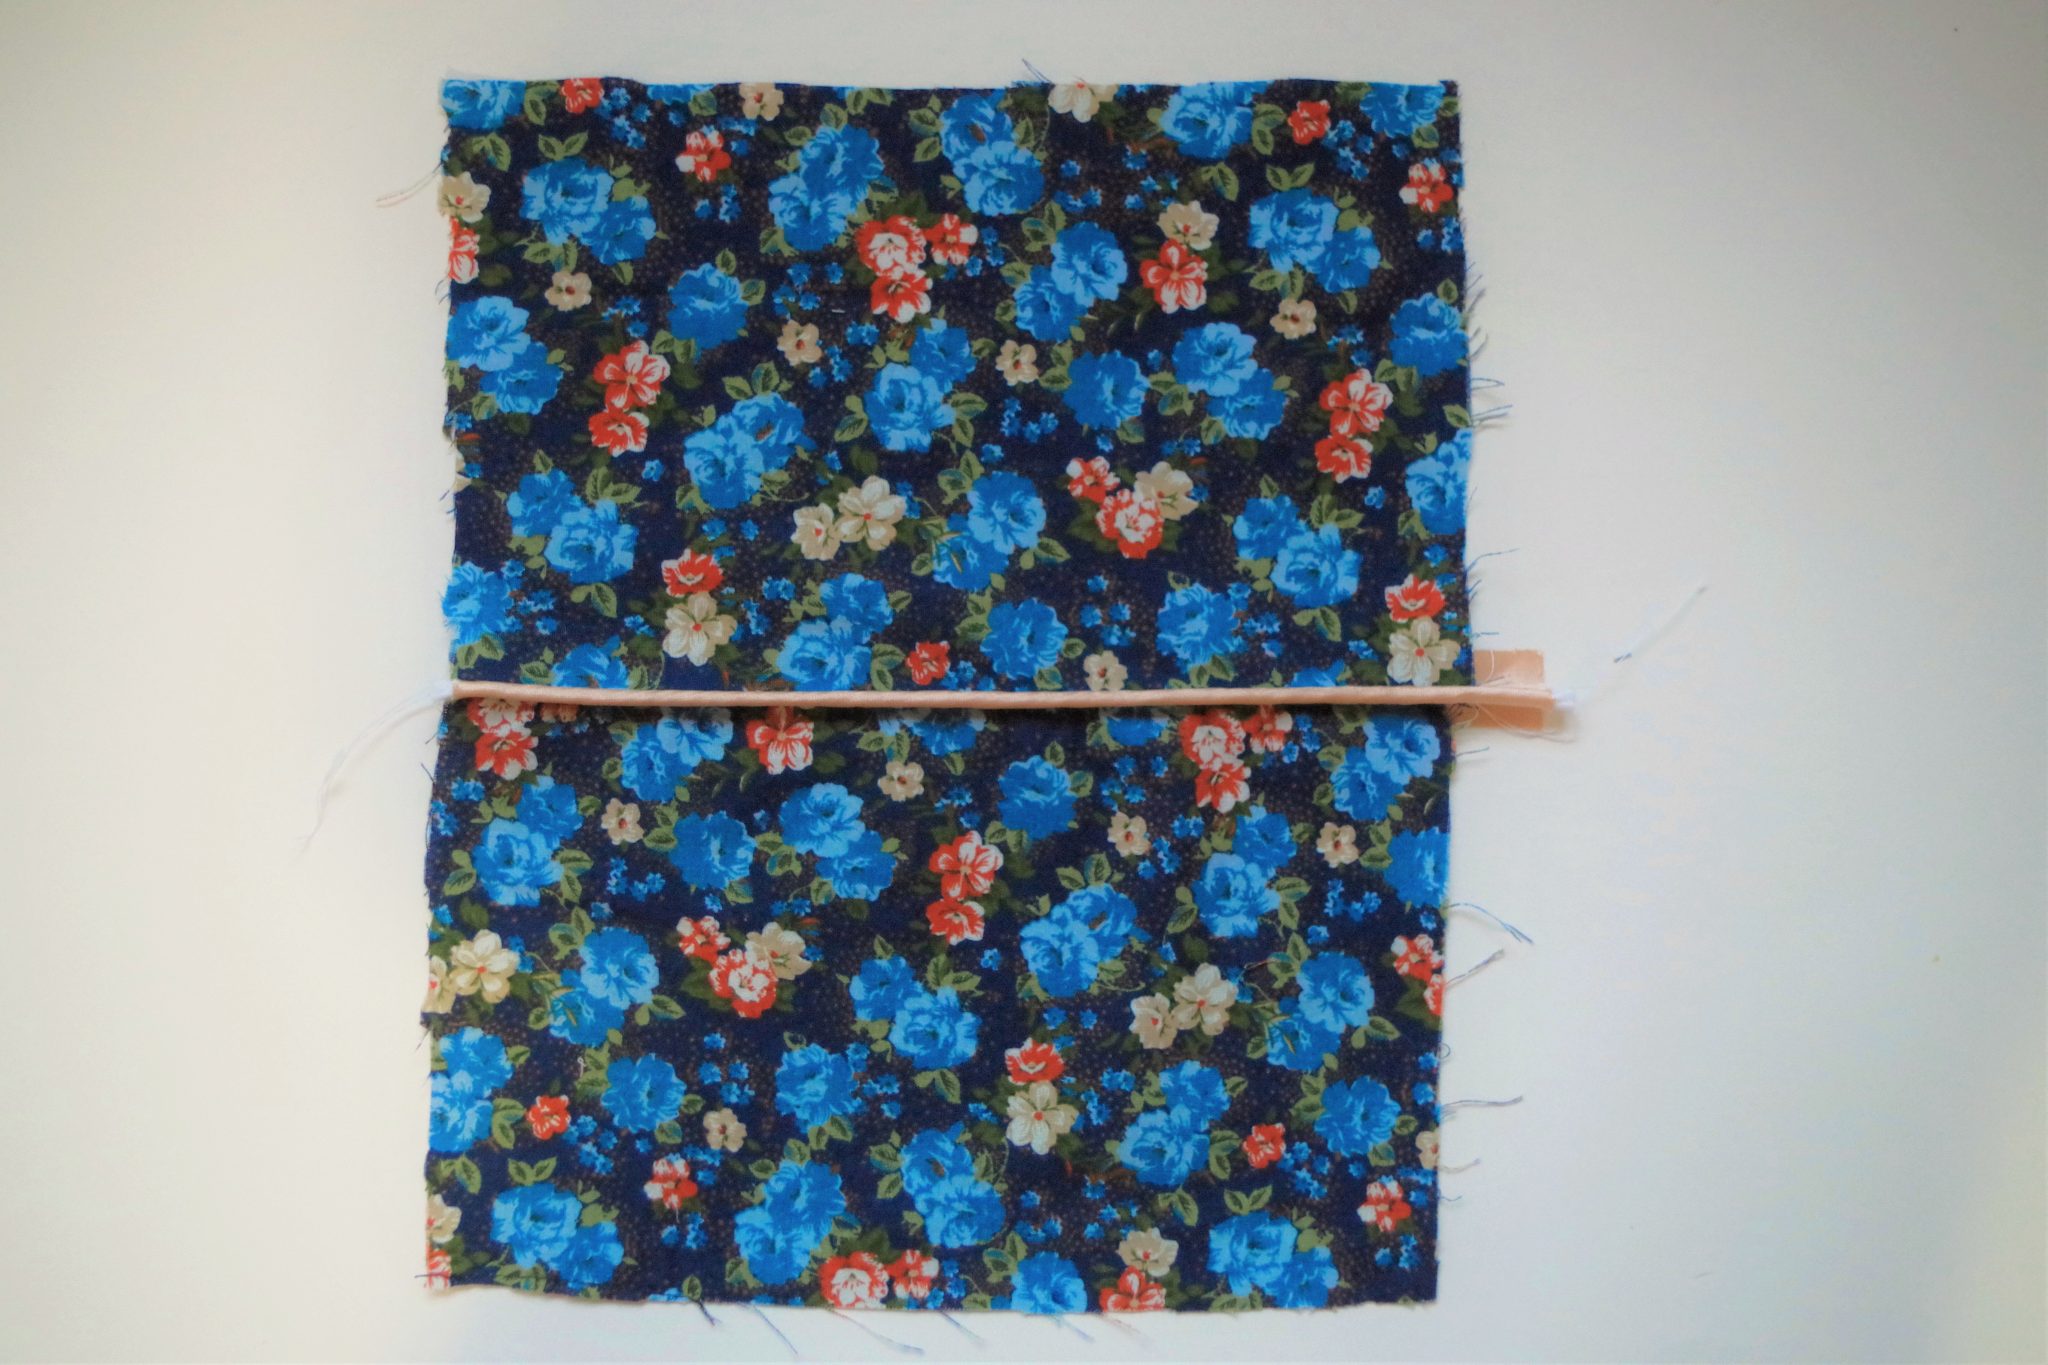
5) Press in Place.
At this point in the tutorial, you should have a beautifully piped seam that just needs a little pressing before it’s perfect. There are two ways that you can press the piping, either to the side, or split down the center. Each method will give your garment a unique look.
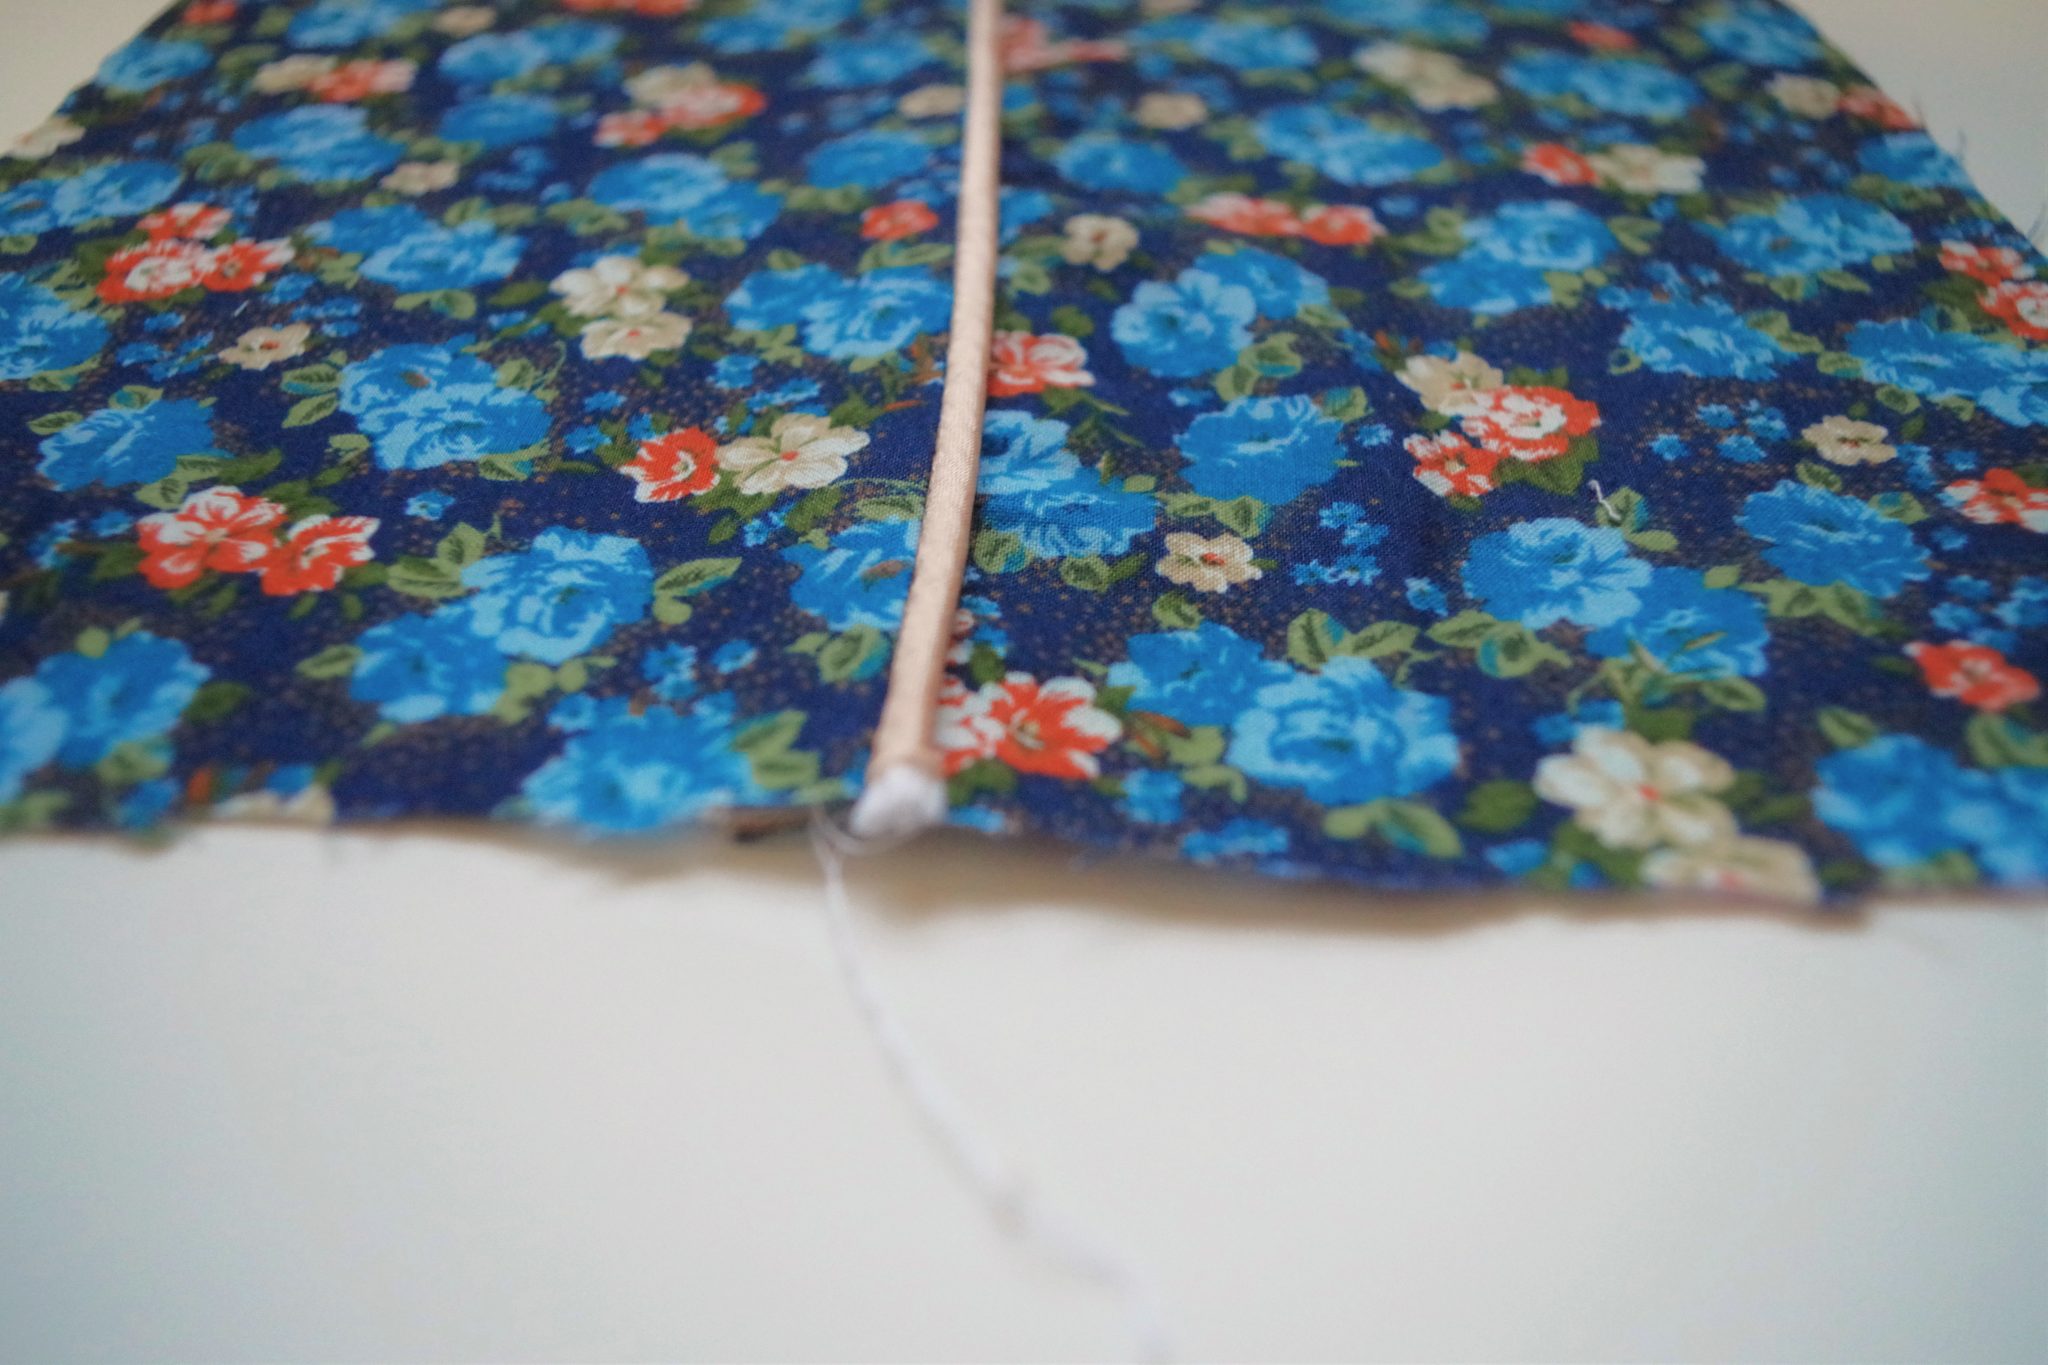
If you press the piping towards the side, either facing up or down, the piping will lay on its side giving your garment a flatter profile. It’s a little more subtle, but still extremely elegant.
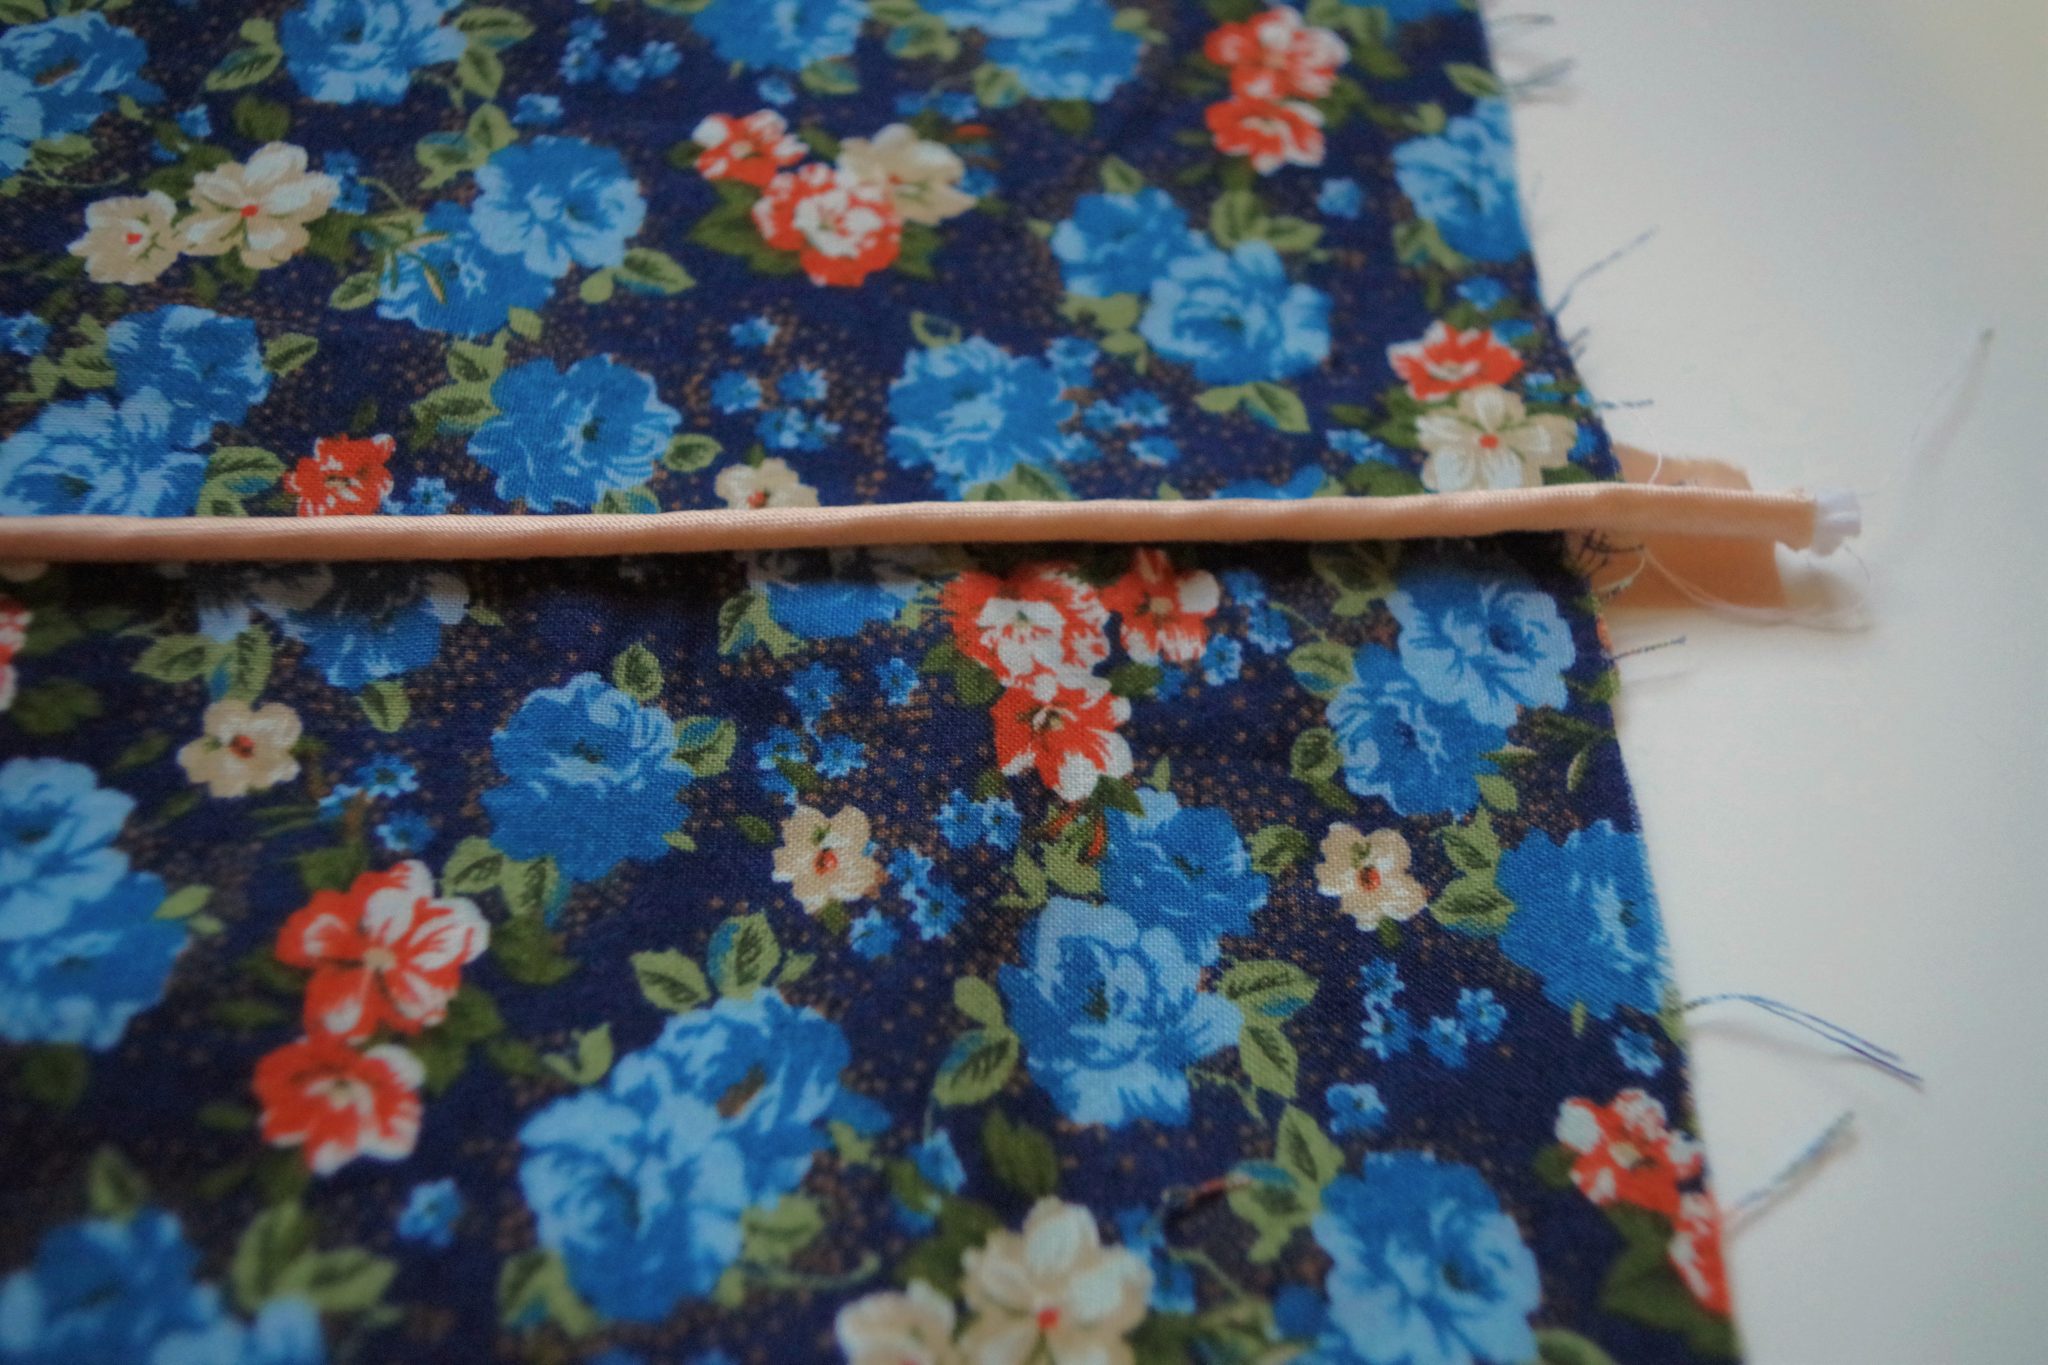
If you press the piping down the center, splitting the seam in half on either side, the piping will stick out more. This is a fun, bold look that I think would look great on bags and children’s clothes!
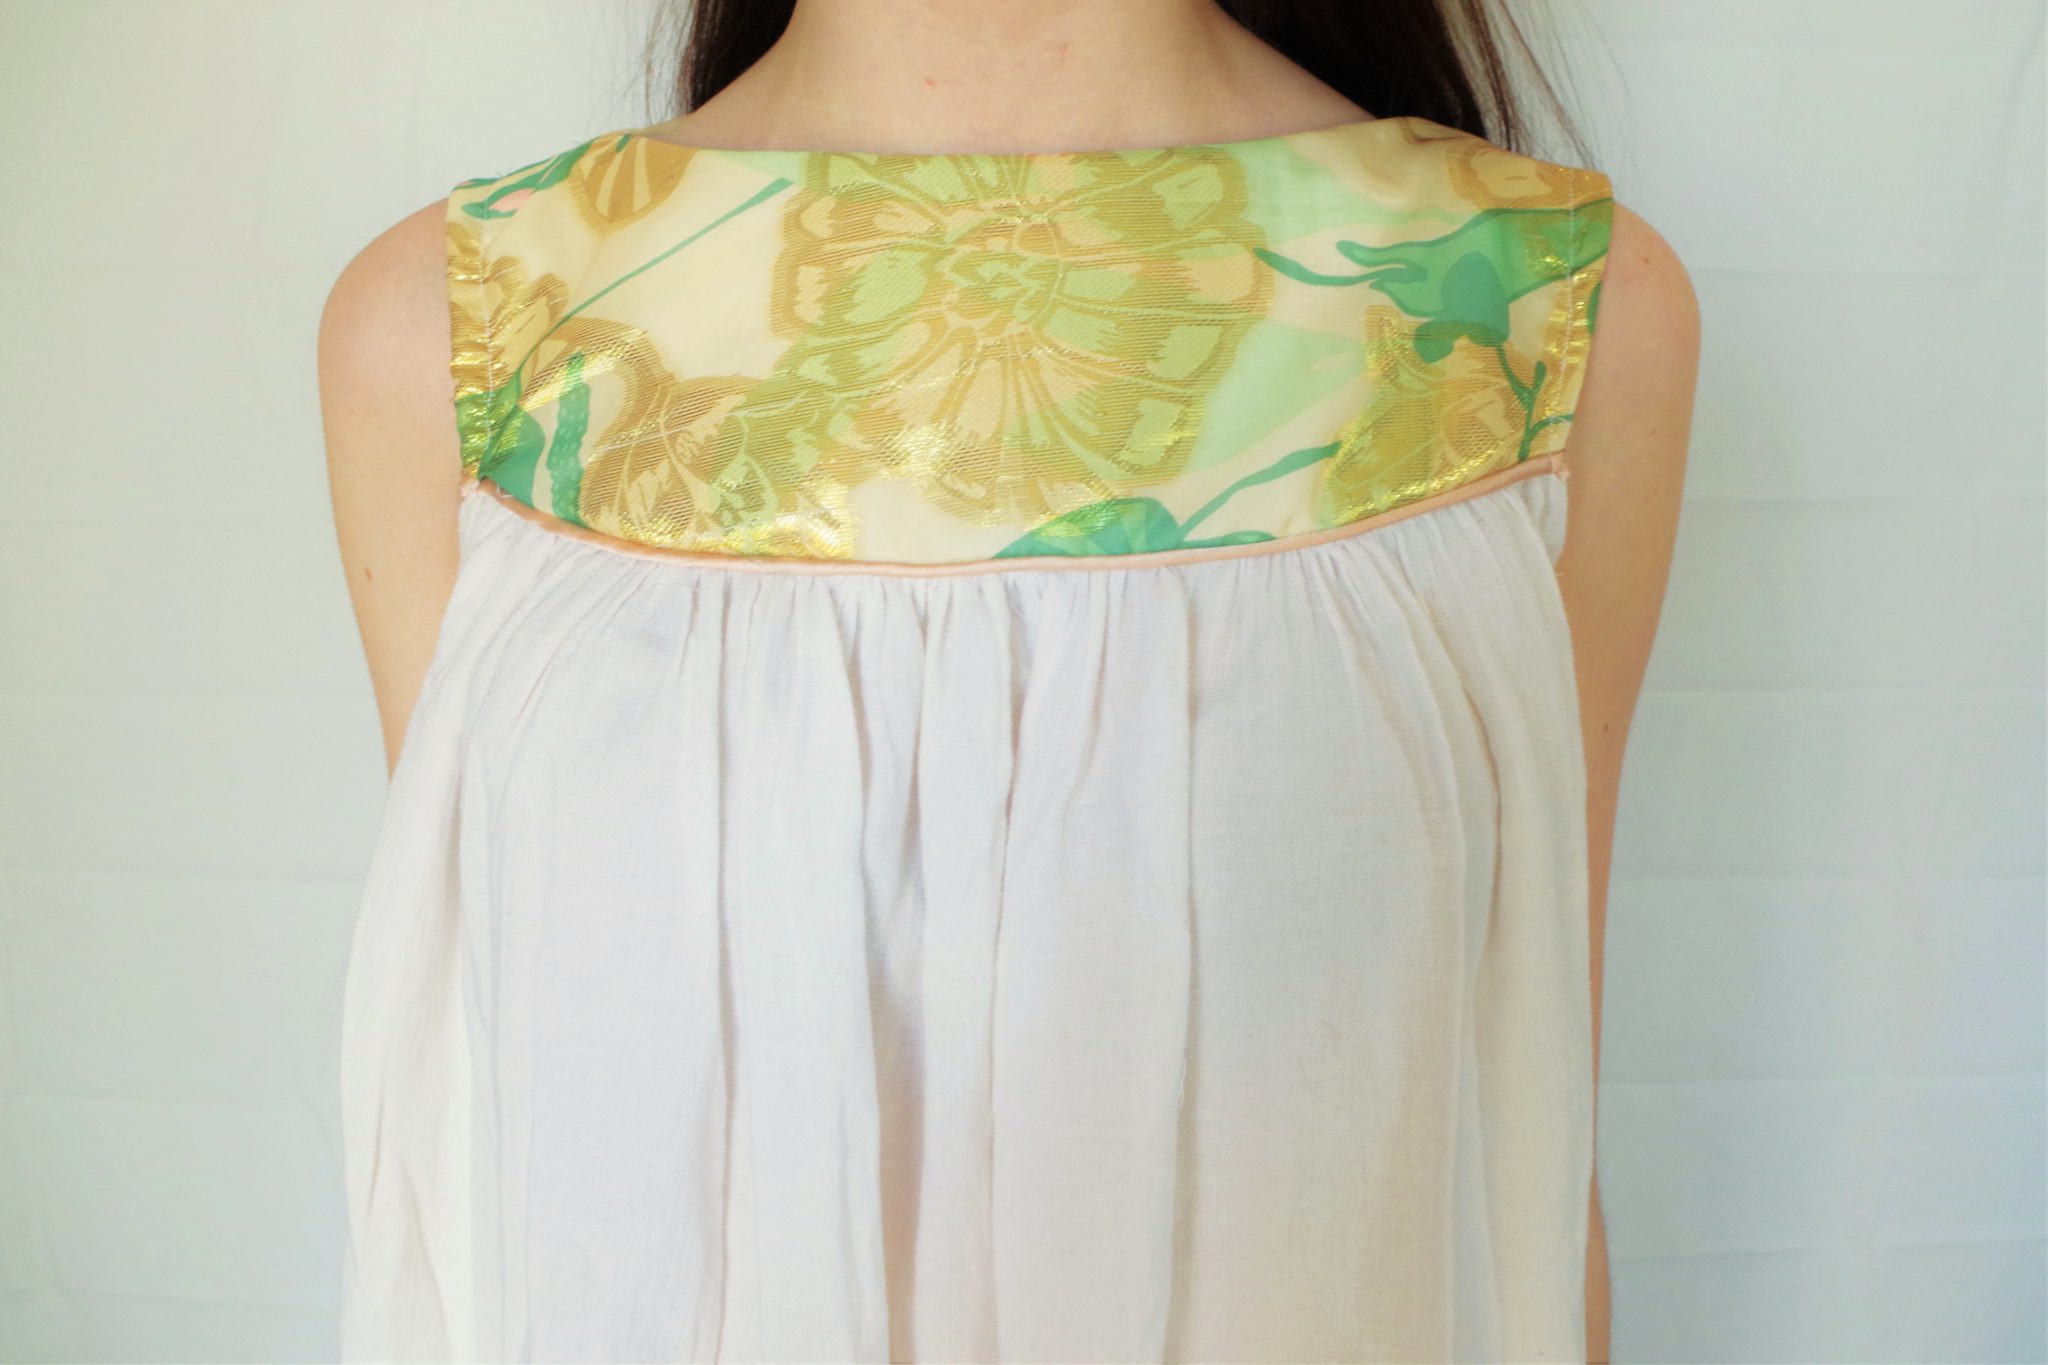
How can I Incorporate Piping into my Next Project?
For the garment showed above, I decided to add some piping to the Marbella Dress yoke. I love how even though I kept this dress simple by substituting the princess seams for a gathered skirt, it still looks elegant because of the piping.
Other ITS patterns that would look beautiful with some piping added are the Salamanca Jacket, the Angelia Shorts, and the Emily Culottes.
I hope you enjoyed learning how to easily add piping to your next sewing projects! Do you have a favourite way to use piping, let us know down below!
– Rachel
About the Author: Hi! I’m Rachel, the creative lifestyle blogger behind The Wild Stitch. I love inspiring others to get in touch with their inner maker.

Thank you for this!! You saved me so much frustration.
I want to make my own piping. The cord used how thick should that be?