
Strong and Beautiful Back Welt Pocket Tutorial
I have been admiring the strong and beautiful back welt pockets that store-bought trousers/slacks have. They are different from the (single) welt pocket that you find in the front. They are also different from what we usually see in sewing tutorials.
What’s different about them? They are attached to the waistband in the back and are finished very nicely. I was quite determined to figure out how to draft and sew the pocket. Since then, I found that sewing tutorials for such pockets do exist, though not very wide spread. For example, some Vogue Patterns and the Craftsy class, Essential Guide to Tailoring: Construction, (aff.) do cover it. I was also told that Making Trousers for Men & Women (aff.) by David Page Coffin also covers it. I highly recommend the Craftsy class and DPC’s book (they have much more than the tutorial for welt pockets).
Or you can just follow the steps here. It seems long because I took a gazillion photos, but hopefully they make things clearer for you.
First of all, let’s take a look at what are needed.
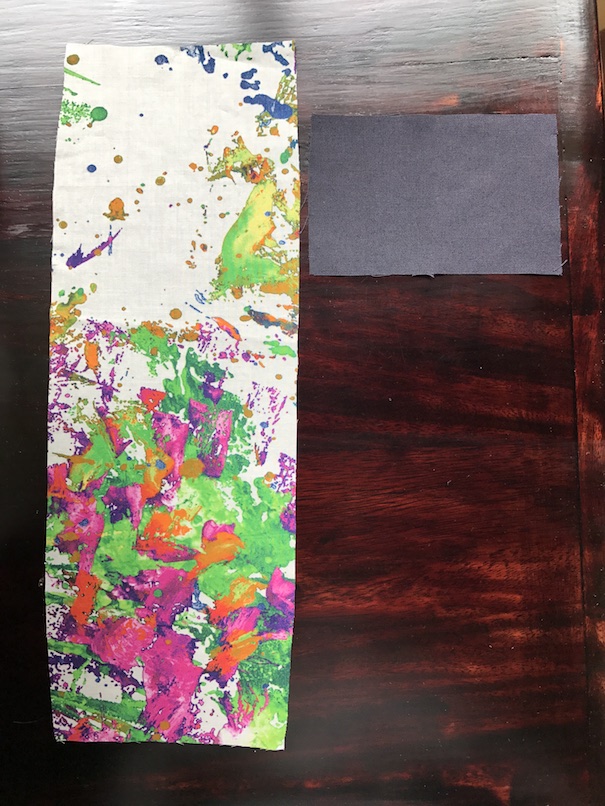
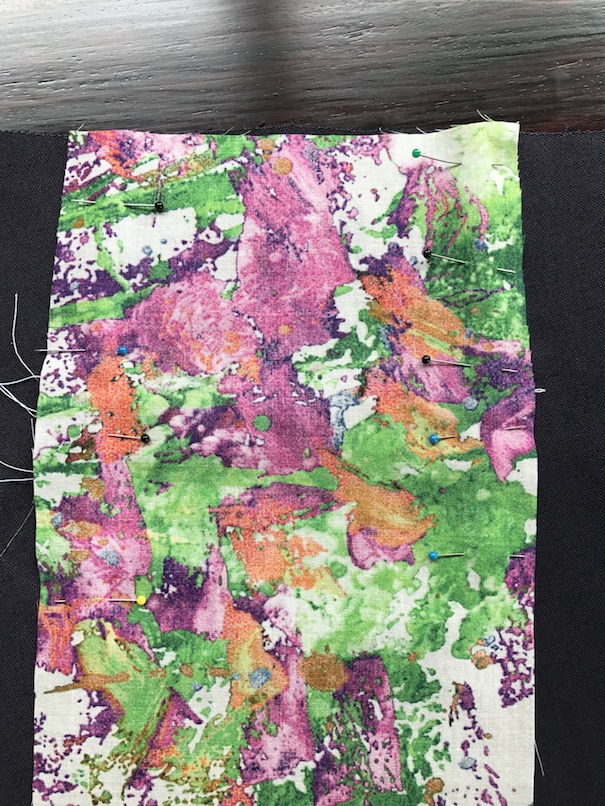
- Pocket Bag Fabric—you can use some very lightweight fabric for the pocket bag; lining fabric is perfect, and here I have a cotton lawn, which is also nice. The piece I have here is from the North Point Trouser pattern. You see that it is shaped toward the top and bottom. If you are making your own pattern, a rectangular piece of fabric is perfectly fine. The width of the fabric is the width of your welt pocket plus 1″ (2.5 cm) extra on each side. The length is the length from your back waistband to the bottom of the pocket times 2. If you are in doubt, you can make it extra long, because it doesn’t hurt anything to cut to size later. The one I have here is 5 1/2″ (14 cm) wide by 15 1/2″ (39 cm) long.
- Back Pocket Facing—this should be cut using the primary fabric. This little piece is visible when you slip your hand into your back pocket. It’s a little hard to explain, but you’ll see where it goes later. It should be the width of your pocket bag by about 3 1/2″ (9 cm) long.
- Welt—this should be cut using the primary fabric (or if you want some contrast, you could use some fun color that is different from the trousers’ fabric too). The width should be the same as the pocket bag, and the length is four times the finished welt. It is 1 1/2″ (3.8 cm) in this example. You only need one piece for one pocket.
- Welt Interfacing—yes, the welt needs to be interfaced. You want the use some fusible woven interfacing. It should be exactly the same size as the welt.
- Trousers or Skirt—of course you need some trousers or skirt (with a waistband) to put this pocket on.
- More interfacing—you will need another piece of woven interfacing to be applied on the trousers/skirt. The welt interfacing is actually the perfect size for that; you can just cut another piece of interface from the pattern piece.
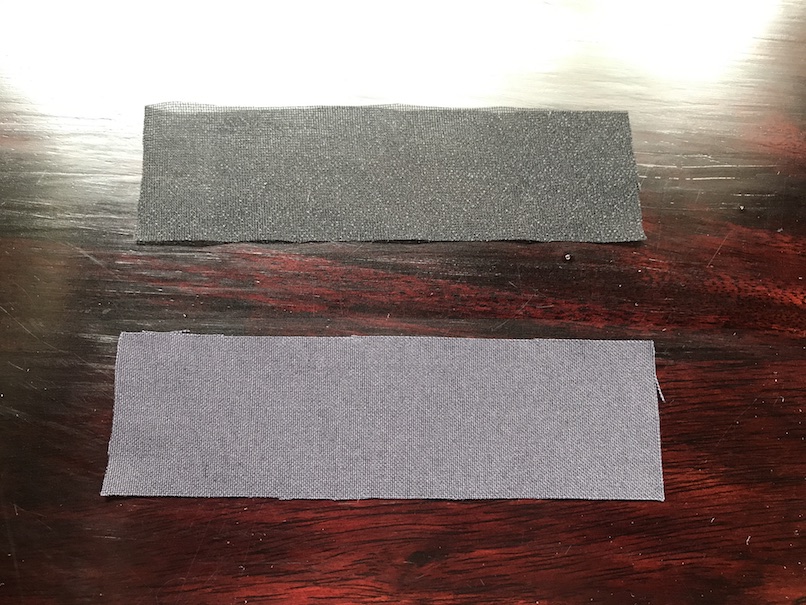
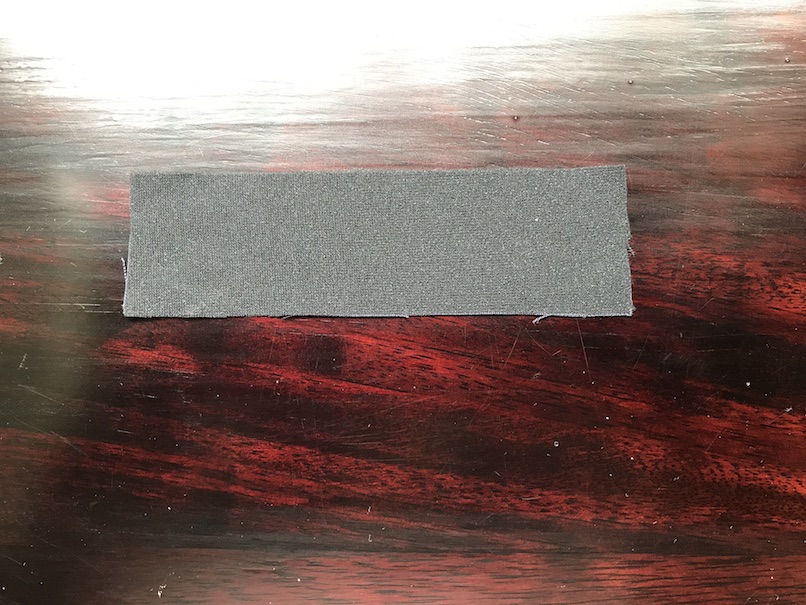
Let’s apply the welt interfacing to the wrong side of the welt.
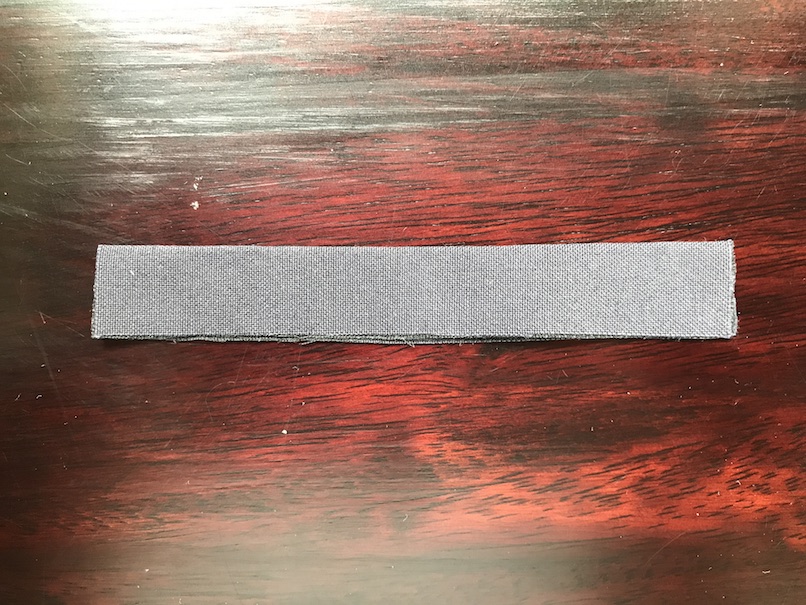
Then press the welt lengthwise (wrong side inside). Now the welt in its current state is two times the length of the finished welt.
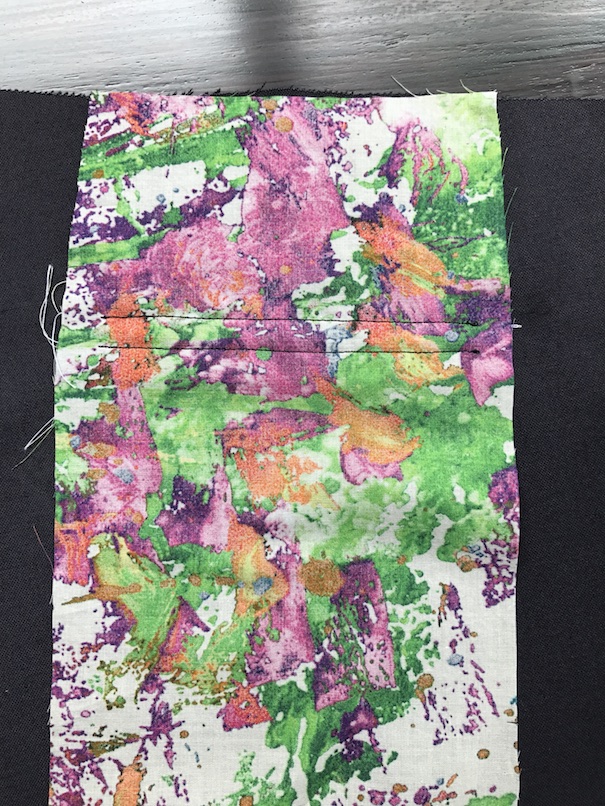
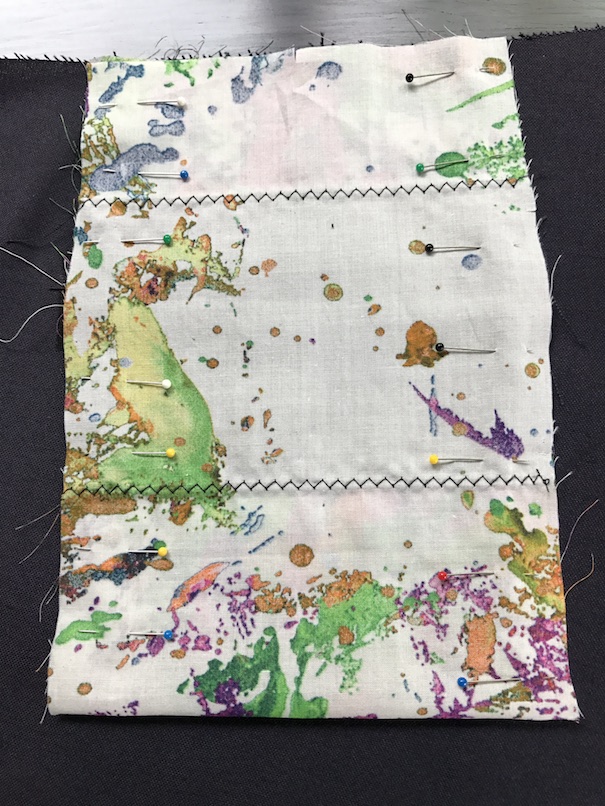
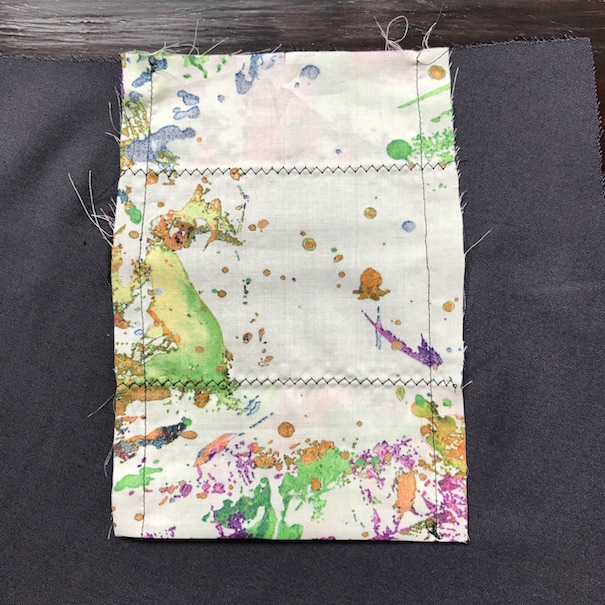
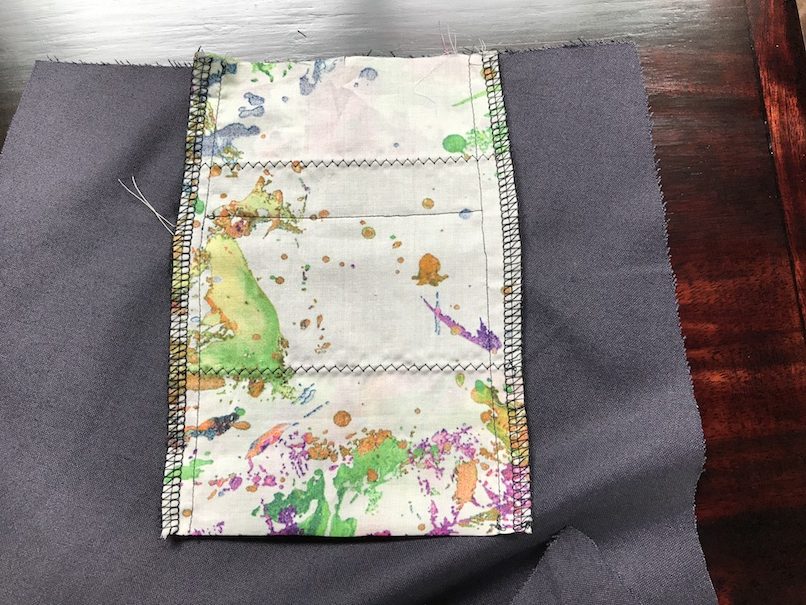
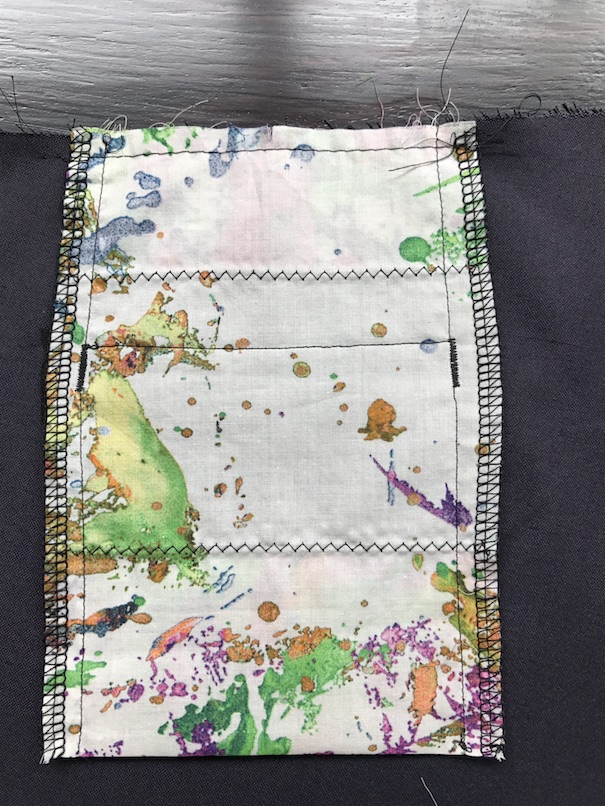
We also need to prepare the pocket bag. In my pattern pieces, the location of the back pocket facing is marked (by four notches), so you know where to place it. You want to place the wrong side of the back pocket facing on the right side of the pocket bag. You can also do this step later if you are just drafting the pieces on your own, and don’t know exactly where it should be placed yet.
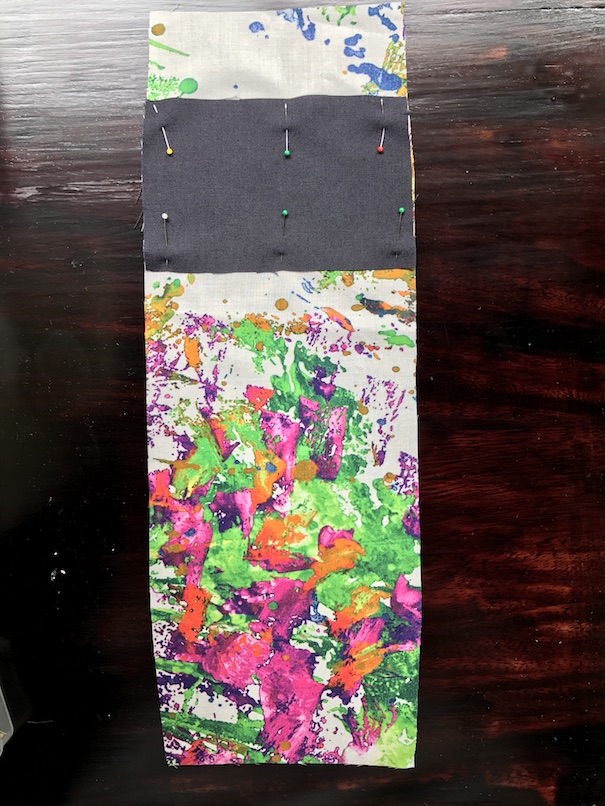
I use a zigzag stitch to stitch the back pocket facing to the pocket bag. Zigzag stitch is very flat and also covers the raw edges.
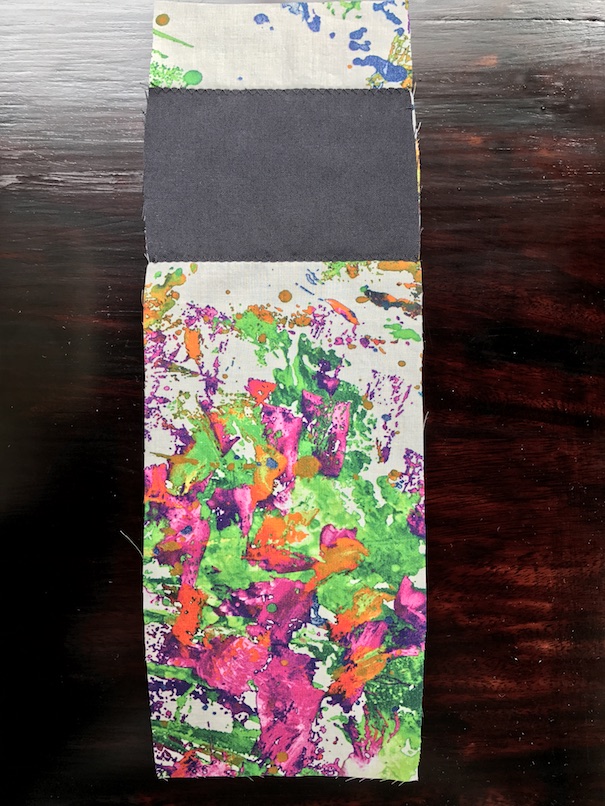
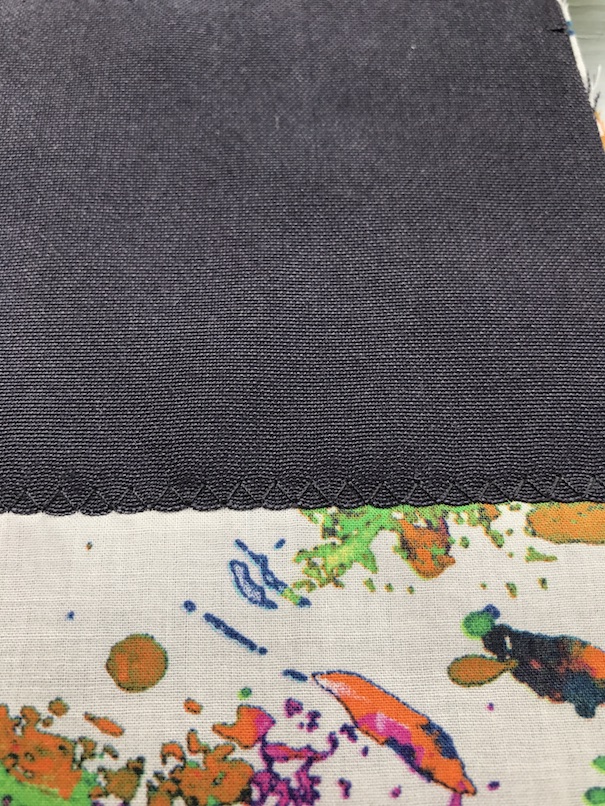
Here’s a closeup. It’s kinda pretty, isn’t it?
Now we switch our attention to the trousers (to simplify things, I am assuming you are putting the pocket on your trousers).
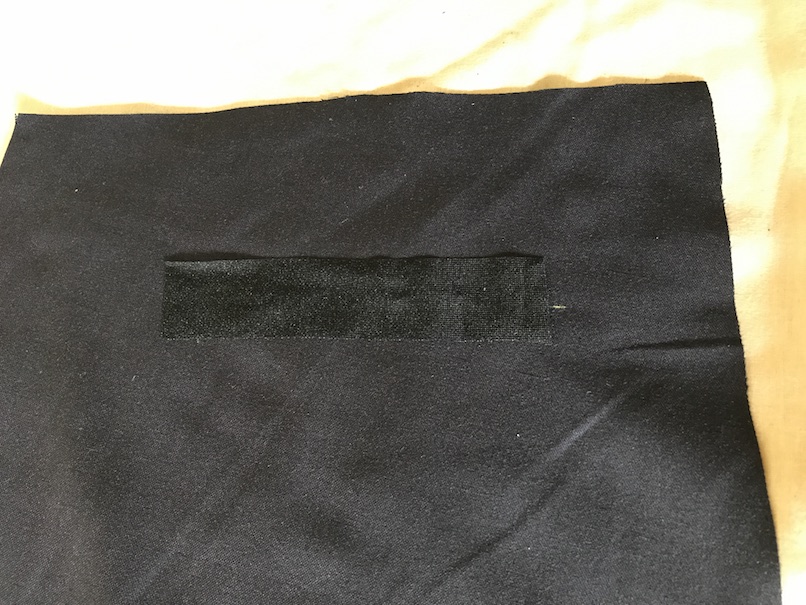
First we need to mark where the welt will be on the trousers . The marking on the North Point Trousers is 3/4″ by 4 3/4″. This rectangle is parallel to the top of back trousers (hence it’s slanted).
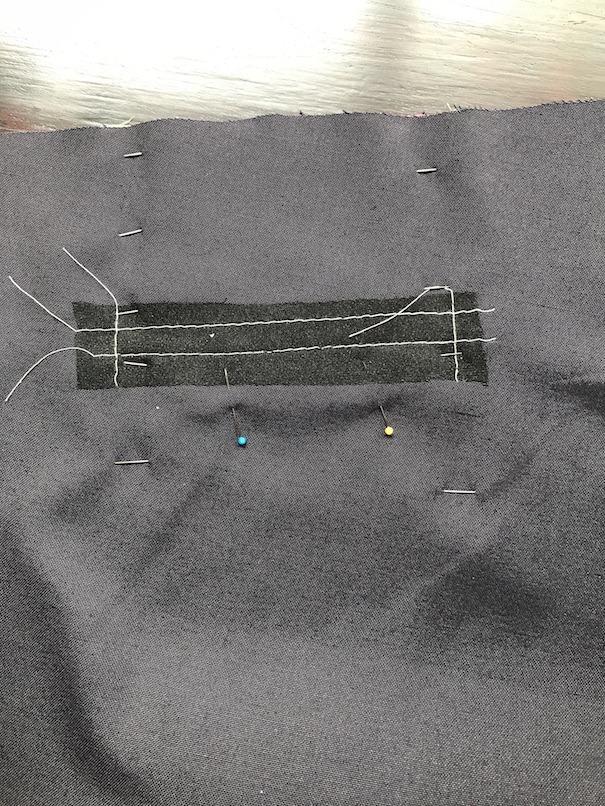
Here the interfacing is applied on the WRONG side of the trousers over the marking (I didn’t do a good job applying it, but I did press it again).
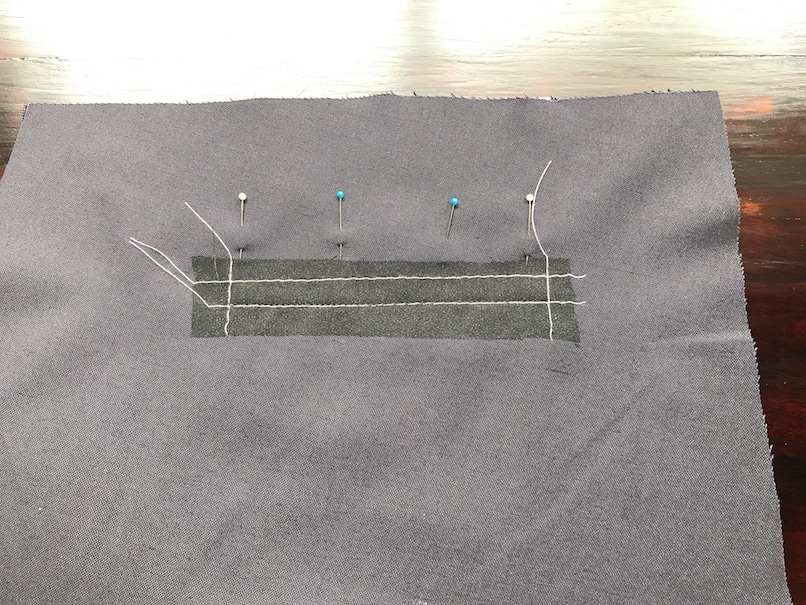
I need to mark the pocket placement twice, because the interfacing now covers the initial marking, so I mark it again using some chalk.
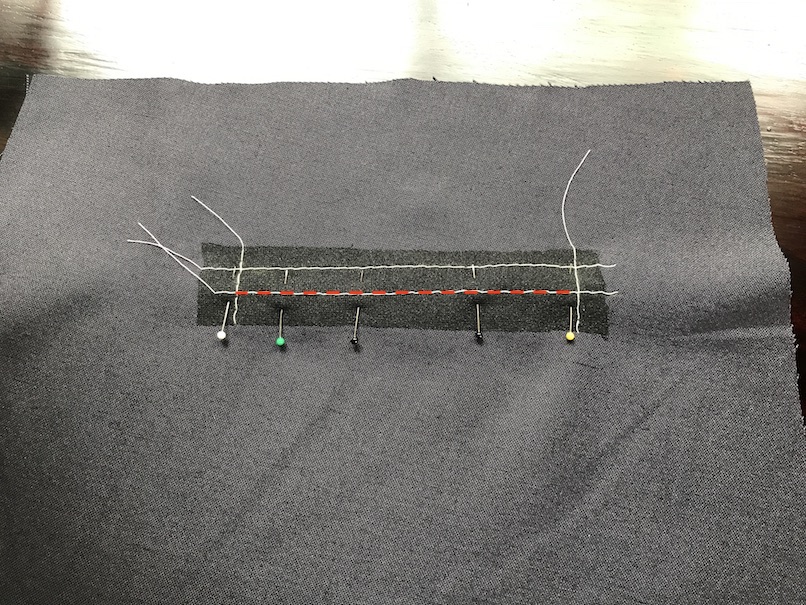
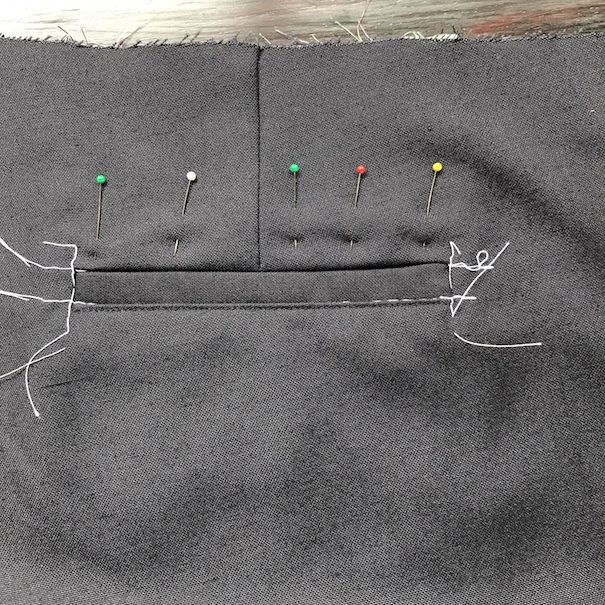
Then I machine baste the outline of the pocket placement on the trousers. This way, we will be able to see the marking from both the right side and the wrong side. Note that I didn’t pivot at the corners of the rectangle? You want to extend the basting beyond the rectangle and it will be easier to see later.
Pin the welt to the placement on the RIGHT side, with the raw edges against the top basting (hence the fold edge is pointing down). You see that I also center the welt vertically, hence the short ends of the basting are covered by the welt. Note that the folded edge of the welt that extends below the bottom basting is the same length as the finished welt.
I flipped the assembly over to the wrong side. This way I can see the basting stitch better. However, it does mean I have to re-pin on this side (the accuracy is worth it though).
I baste on the bottom basting.
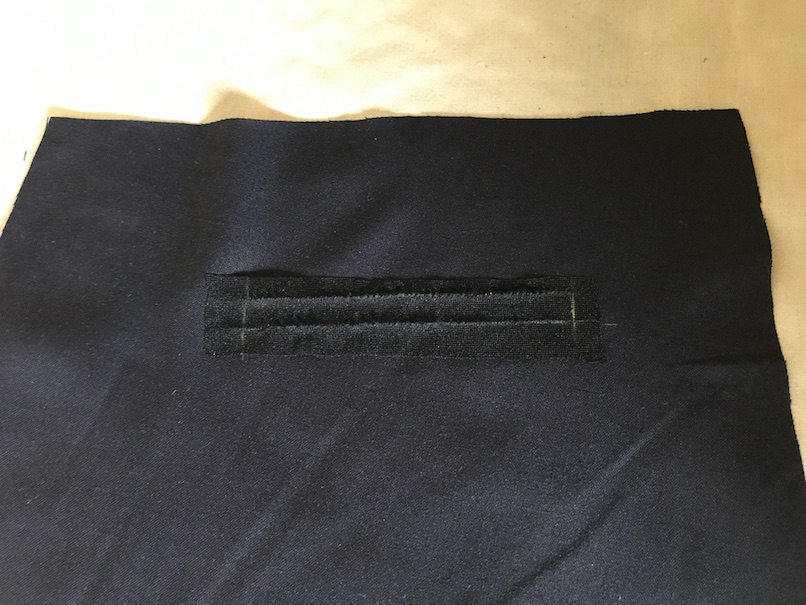
This is what it looks like on the right side.
I trim about a third or half of the seam allowances. But don’t trim anything else! Now you can see the top basting stitch.
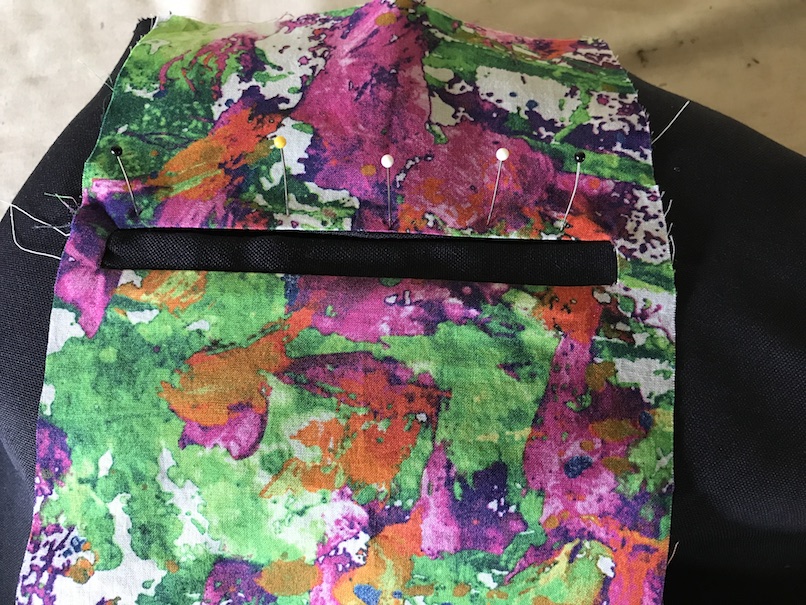
Now place the pocket on the trousers, right sides together. The pocket bag should cover the welt entirely.
I also want to show you that the top center of pocket is aligned with the top of the trousers.

Just to clarify, I peel it back half way to show you the welt is in between. Also, note that the back pocket facing is toward the bottom; that’s the orientation you are going for.

Now pin them together, I pin on the sides of the pocket bag so they are kinda out of the way.
But I actually need to stitch on the other side (the wrong side), so I flip the assembly over. I am a bit paranoid, so I pin again from this side.
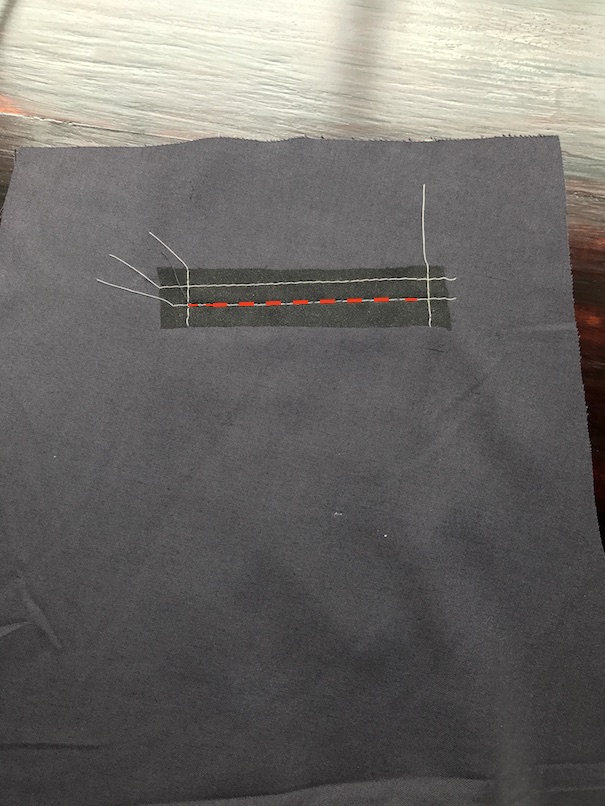
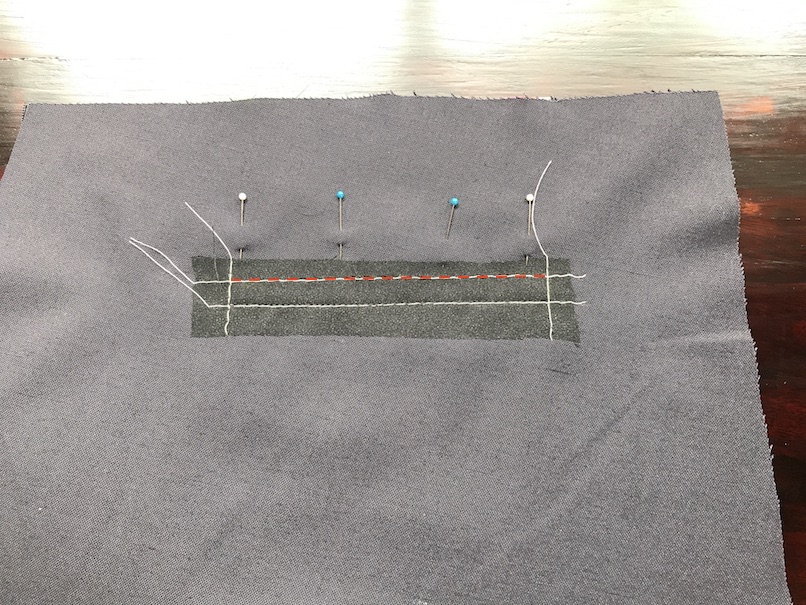
I am stitching along the bottom basting stitch. Note that the stitch line starts from one edge of the rectangle to the other edge of the rectangle. You want to be very precise here. Also, use a short stitch length at the beginning (1 mm or so), and you can use a regular stitch length, then go back to the short stitch length at the end of the line. The purpose of this is to anchor the stitch line, but without the bulk (albeit tiny bulk). And when we trim later, this will prevent things from raveling. Note that the stitch line goes through the trousers, two layers of welt and pocket bag.
On the flip side (right side of the trousers), it looks like this.
I flip the assembly back over, and pin approximately above the top basting stitch. Do make sure the pocket bag is still flat and smooth underneath.
Now we are stitching along the top basting stitch. Again, accuracy here is paramount. We need to start stitching at one side of the rectangle to the other side of the rectangle. Again, use a short stitch length (1 mm or so) first, switch to regular stitch length, and then go back to the short stitch length before ending the line. This line is through the trousers and the pocket bag only (remember that we trimmed the welt? This is why we trimmed it, so we don’t catch the welt at this step).
The flip side (right side) now looks like this.
Now it’s time to stitch the back dart. Other tutorials have you stitch the back dart above the welt pocket before you begin. However, I think it’s easier to work when everything is flat. Now that we get accurate stitching out of the way, we can proceed with the back dart.
In my case, the dart point touches the center of the welt. So to make it easy on myself, I fold the welt in half to find it. Oh, by the way, make sure the dart bulk is on the wrong side! The side with the interfacing! Ask me how I know… I I press the dart bulk toward the center back.
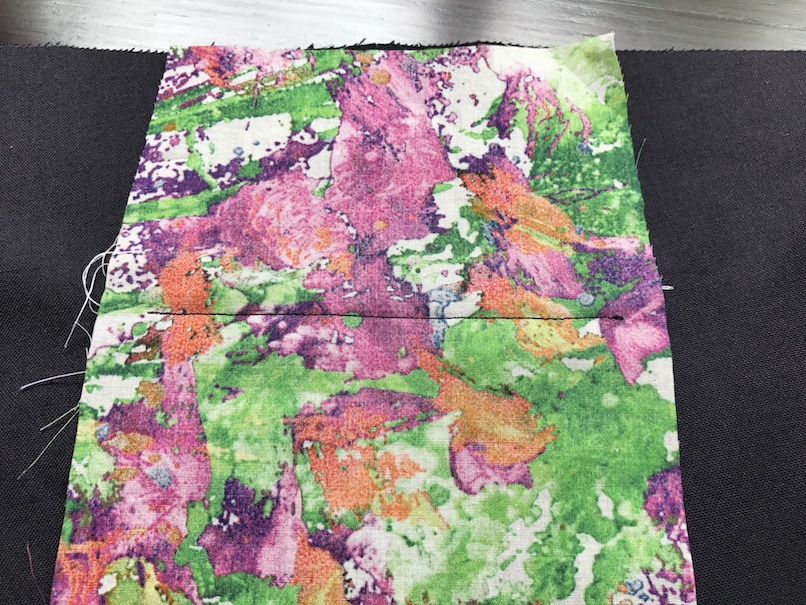
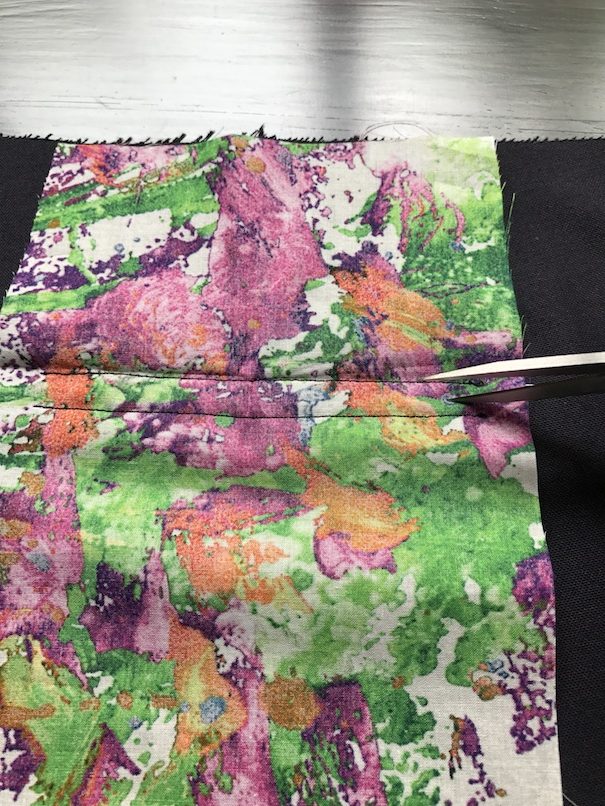
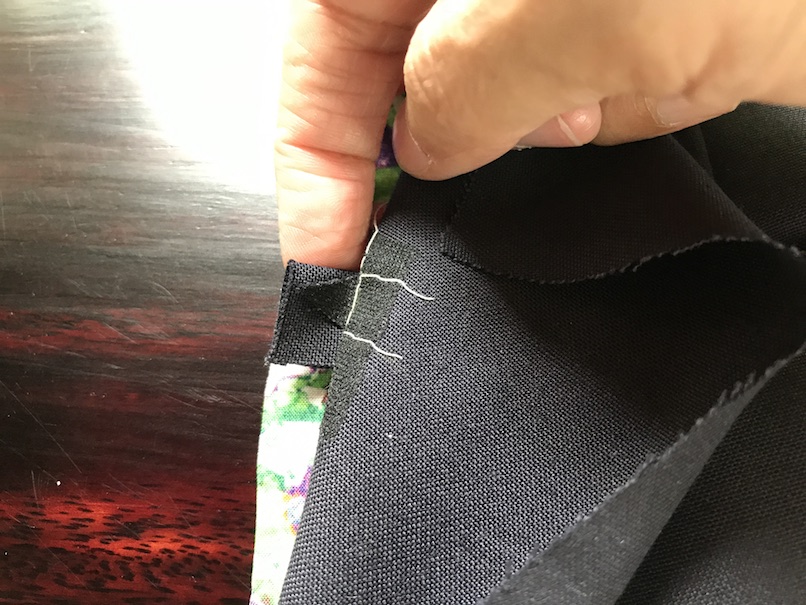
Now the “scary part” begins; don’t chicken out! You can do it. We are about to go slashing happy. First, we are slashing the pocket bag and only the pocket bag. Cut right between the two lines of stitching, but you have to create a triangle on each end using the “split cut” reaching the stitch lines.
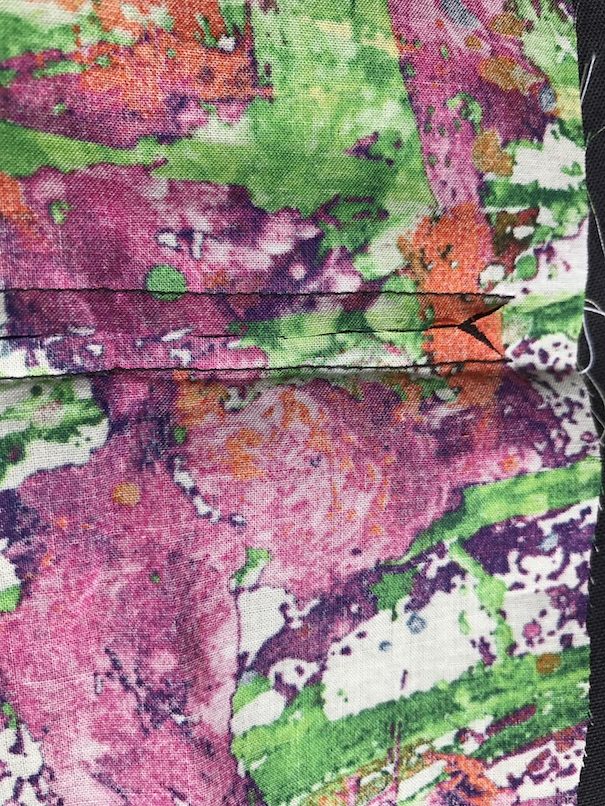
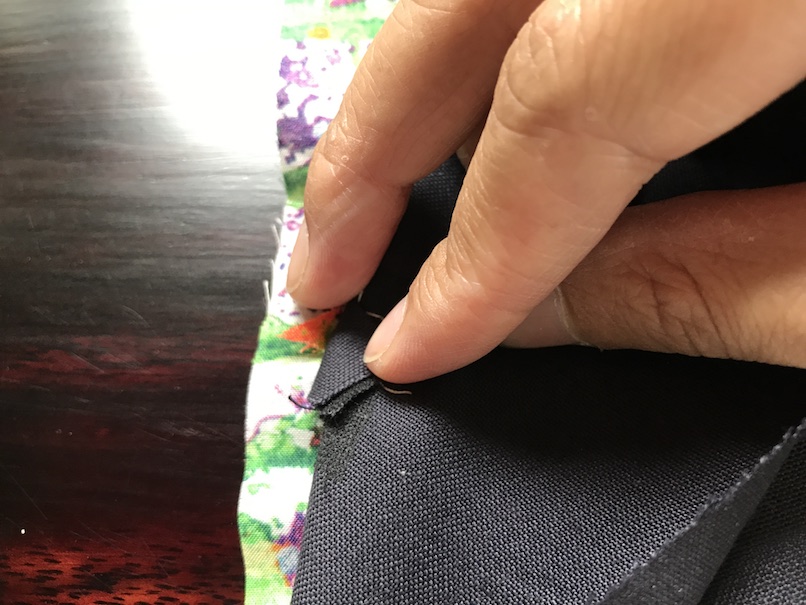
Here’s a closeup of the “split cut”. Note that I cut to EXACTLY the stitch lines. If you don’t, you will end up having a pocket with puckered corners. You need a pair of good pointy scissors. A pair of regular fabric cutting scissors don’t really have the accuracy. (I can’t say enough good things about my Kai embroidery scissors (aff.); they are truly the bomb. Way better than any scissors I have ever owned, including my Ginghers.) Remember to do this on both ends. And by the way, having the triangle nice and long will make the later steps easier, so make sure your triangle is not too stubby.
Now we will flip the assembly over and slash the trousers. Same drill here—we slash the trousers (not the welt!) and do a “split cut” toward the stitch lines.
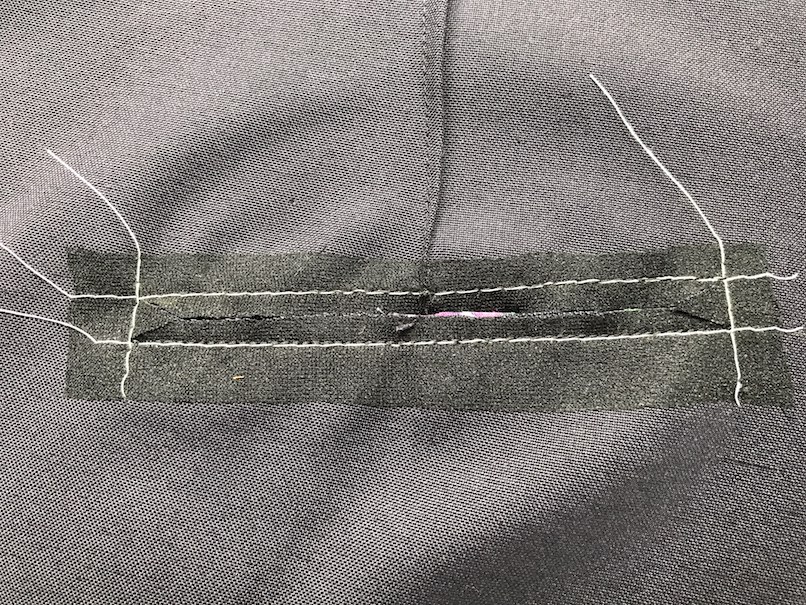
Now the hole goes all the way through.
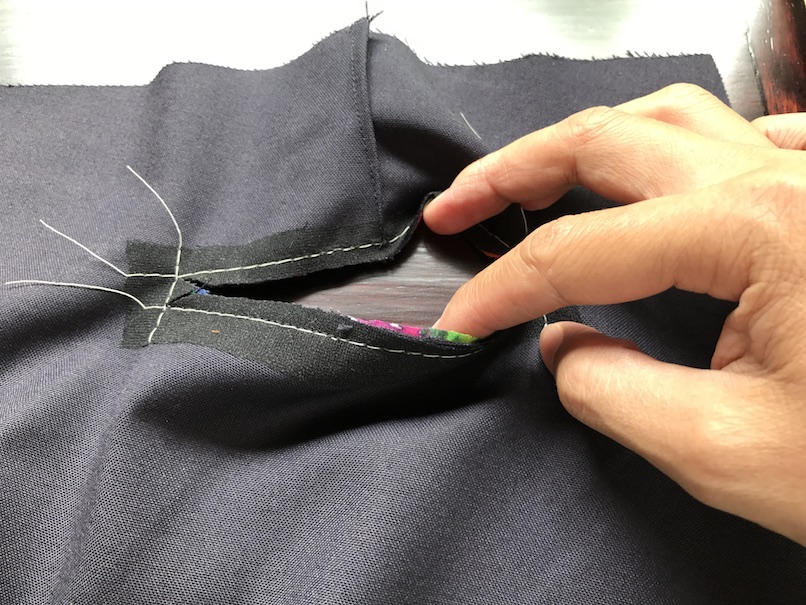
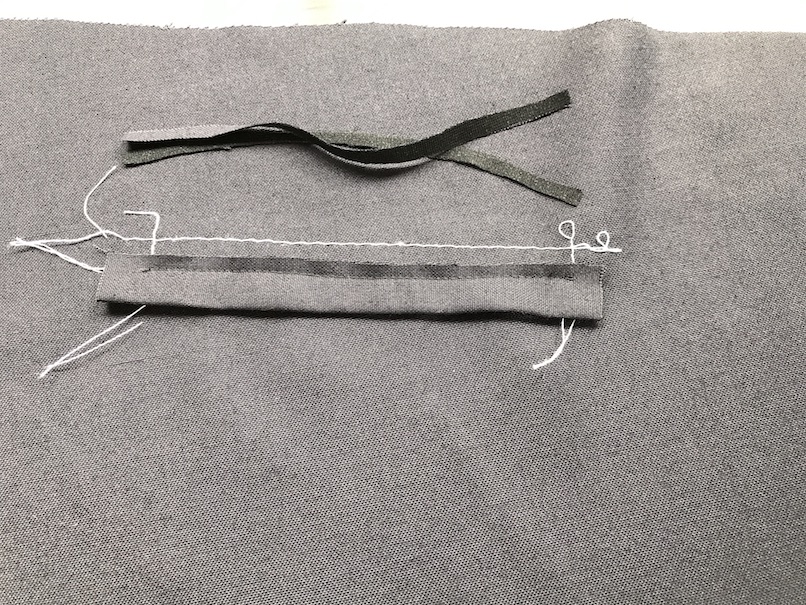
And you can turn the pocket bag through the hole to the wrong side.
It’s going to look pretty crappy before you press it.
The welt is turned as a result.
And the end of the welt needs to go between the pocket bag and the trousers (the triangles) on each end. You will need to pull a little to get that in there.
Then you press everything in place. The pocket bag will have a tendency to peek through the top of the opening, so I use some pins to anchor the pocket bag while pressing (though I don’t press on the pins).
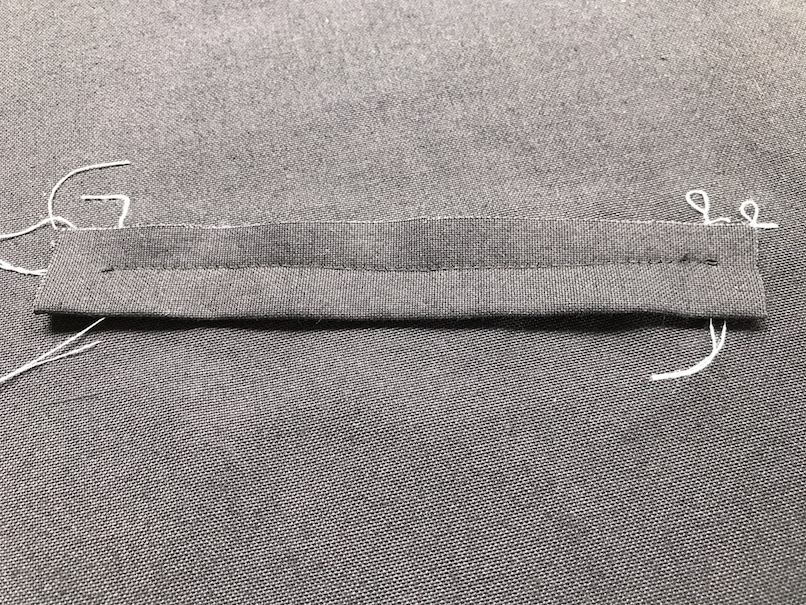
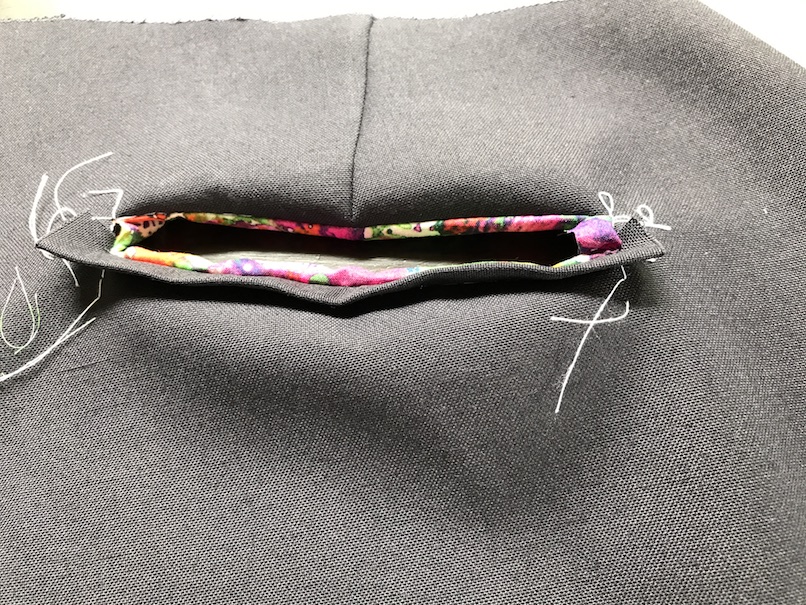
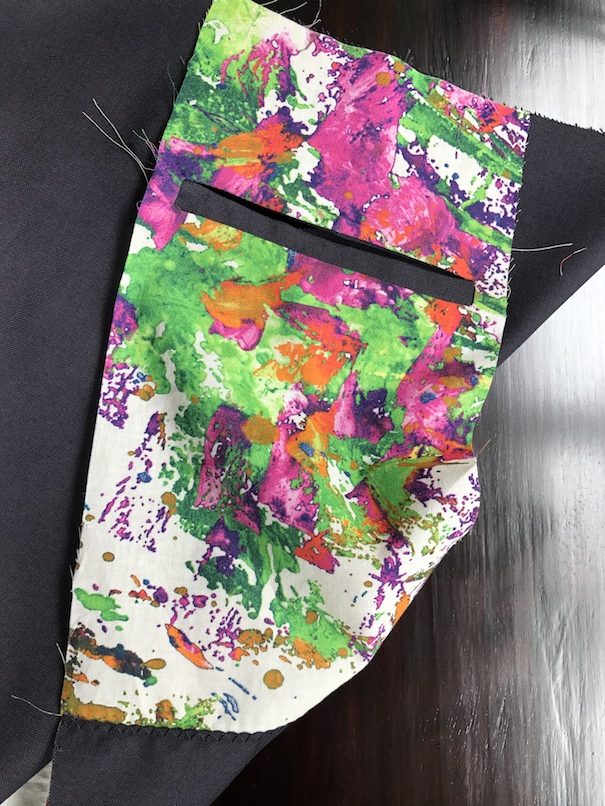
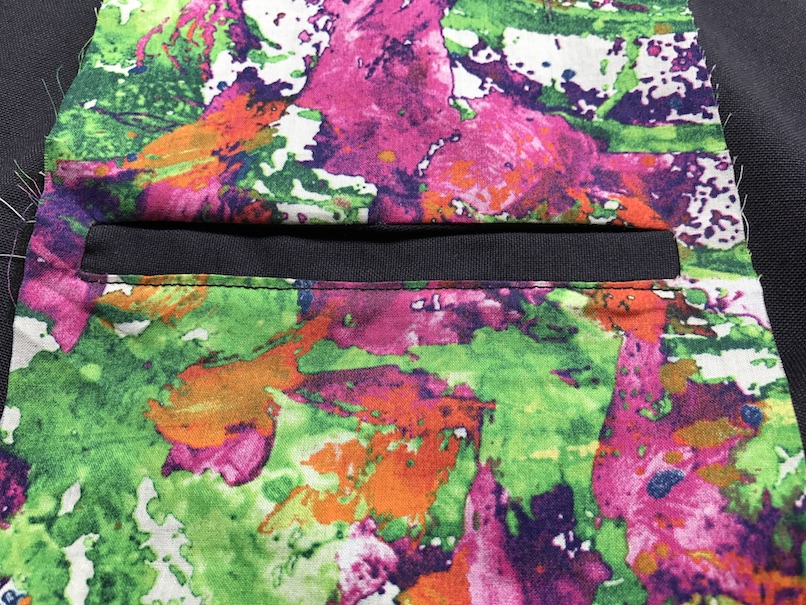
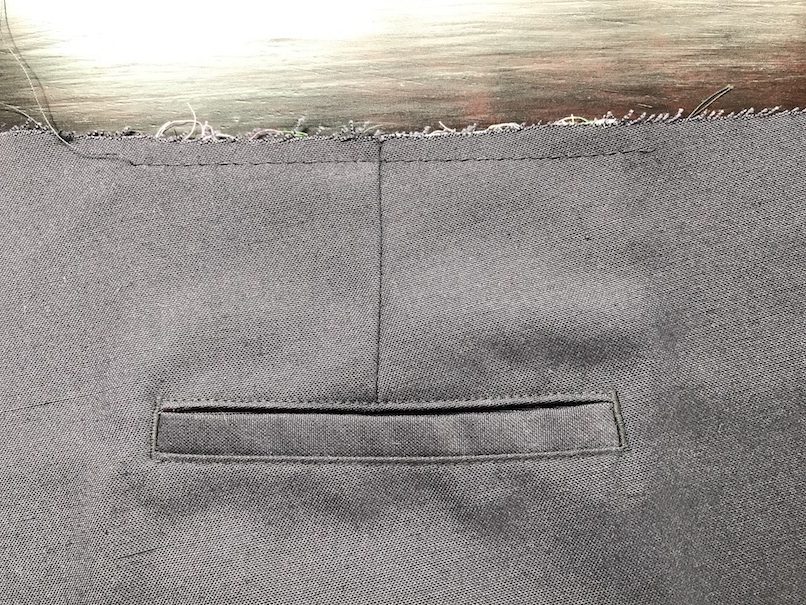
This is how the right side looks like.
Here’s how the wrong side (of the trousers) looks like.
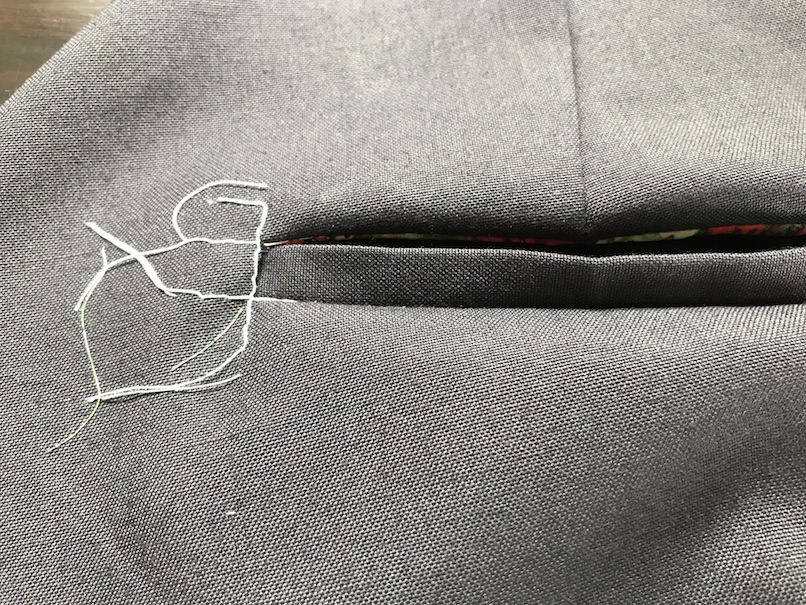
From the right side of the trousers, we need to edge stitch a line right below the welt through all layers. This line is not absolutely necessary, but it does add durability and make the seam nice and flat.

It looks like this on the wrong side of the trousers.
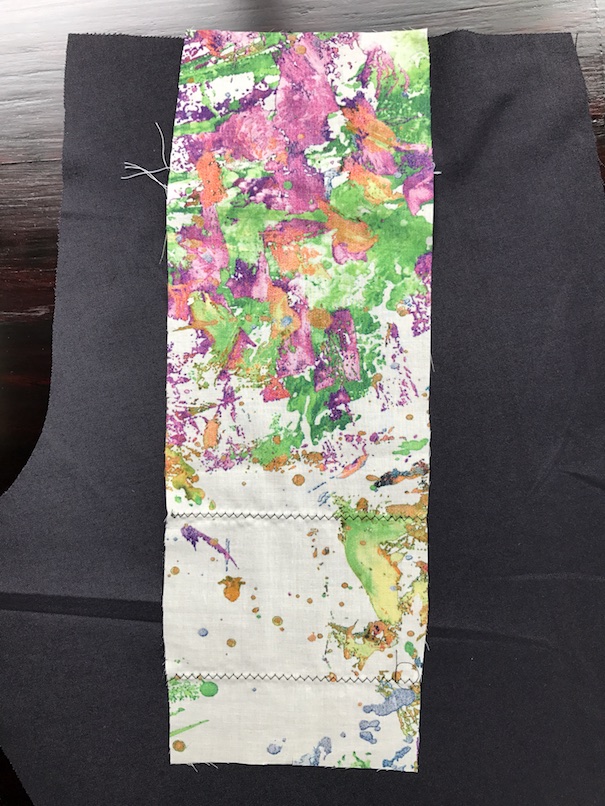
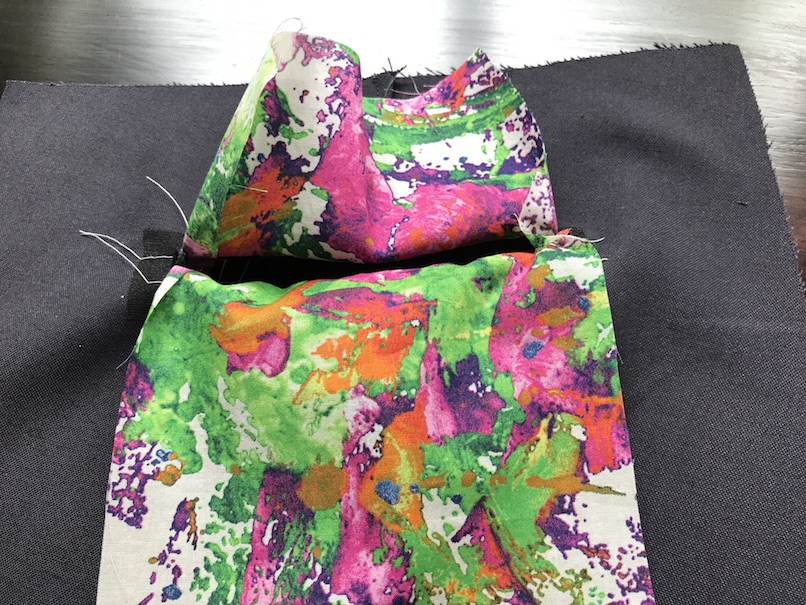
At this point, let me zoom out so you see the entire pocket bag.
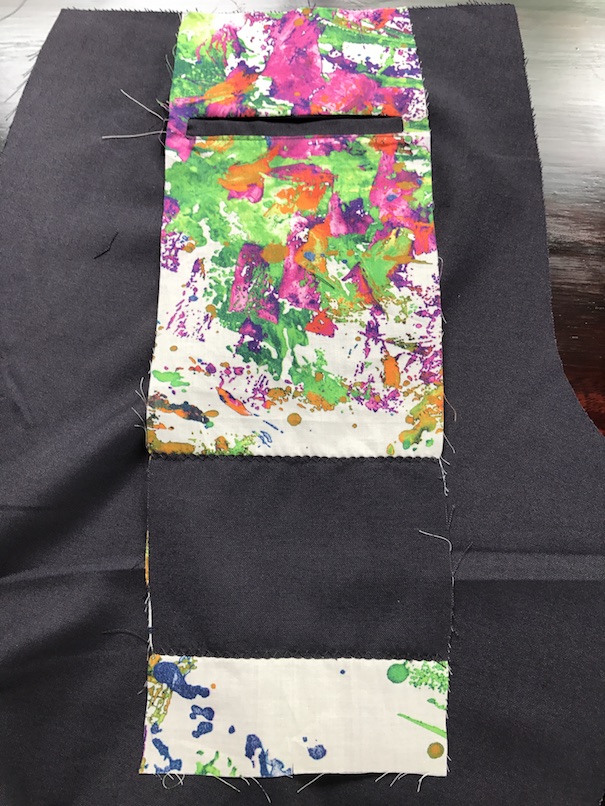
We are folding the pocket bag in half and up. In the North Point Trousers, there’s a fold line. But you are just folding in half if you are drafting your own. Do you see that the pocket facing covers the area of welt opening? That’s of course intentional. If you didn’t sew the pocket facing on earlier because you didn’t know the exact position, now you can see it and sew it on the pocket bag (yes, it’s easier to sew before; but you pick your battle—ease or accuracy? The ideal is that the pattern already did the hard work for you! <wink wink>)
Now we pin the two layers of pocket bags together at the sides.
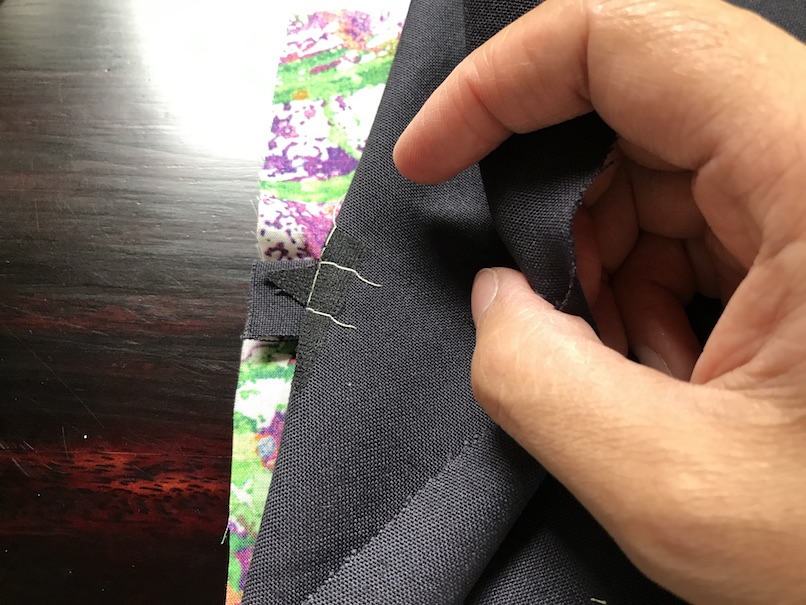
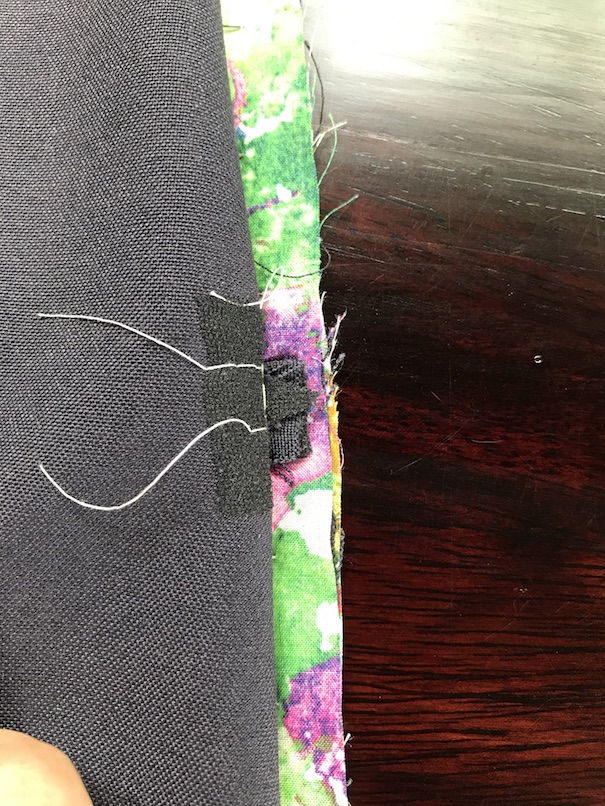
If you peek below the pocket bag, you can see the triangles.
Position the assembly in a way that you can sew the side of the pocket and see the triangle—that would be to put the trousers right side up and then peel the side out of the way.
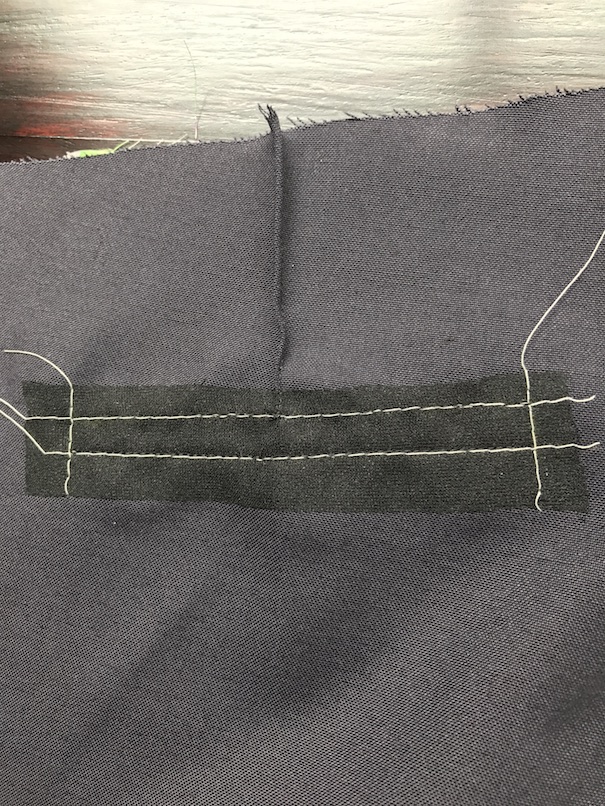
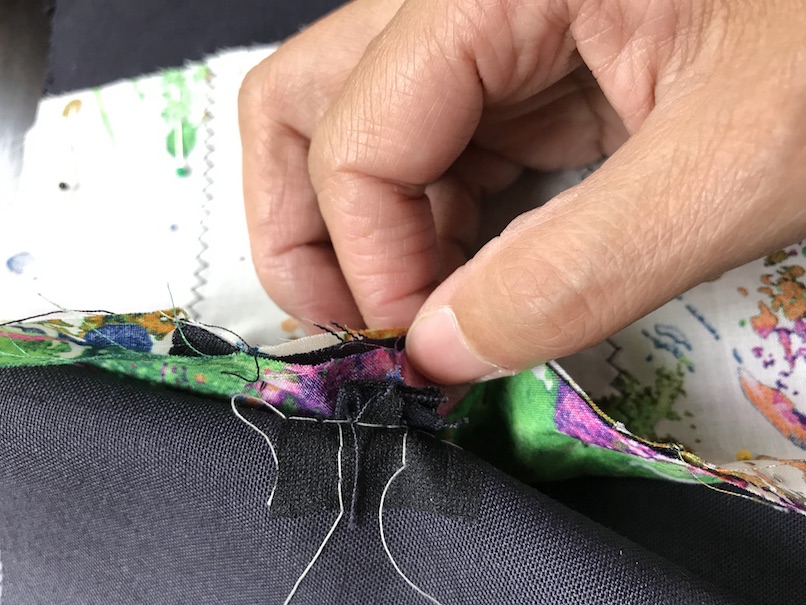
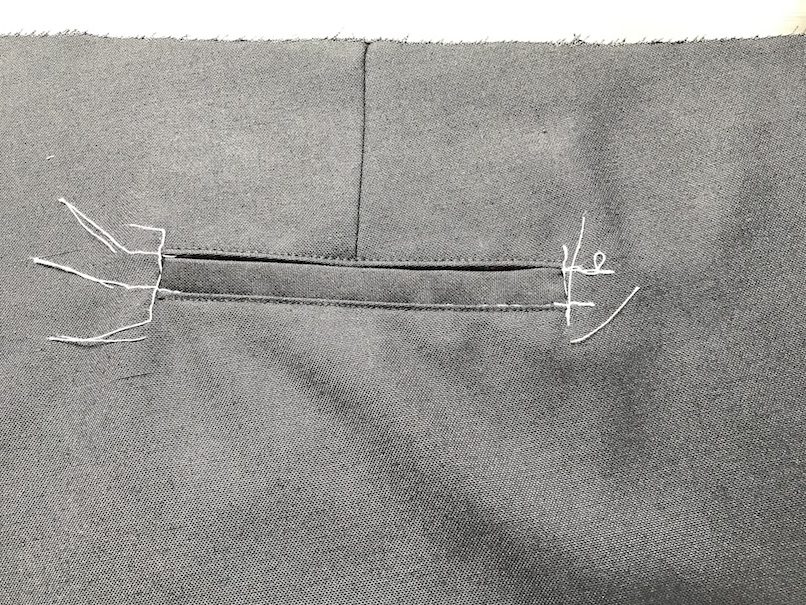
Stitch from the top to the bottom of the pocket bag, catching the base of the triangles and welt ends. We need to repeat for the other side of the pocket bag.
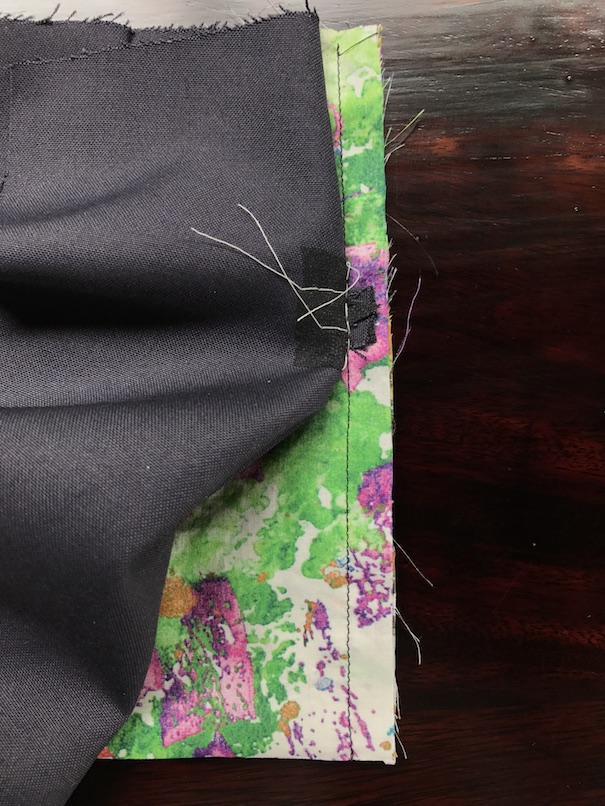
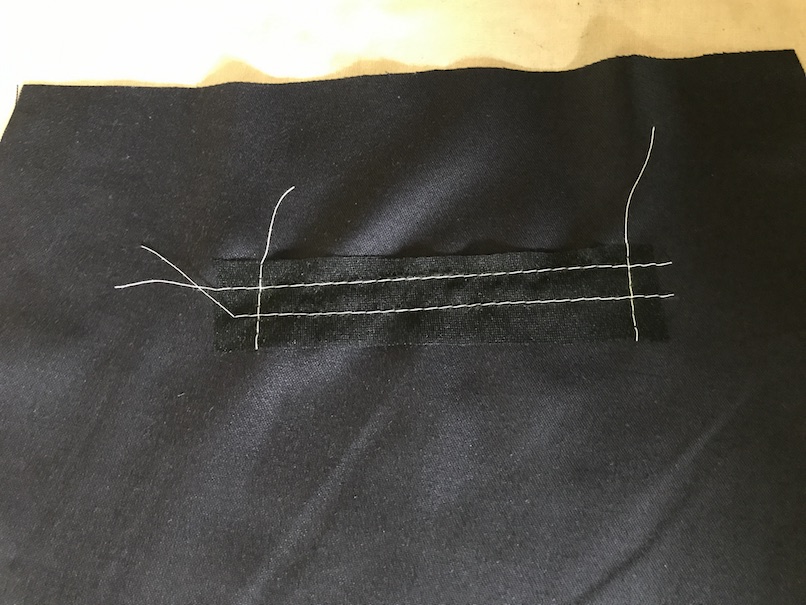
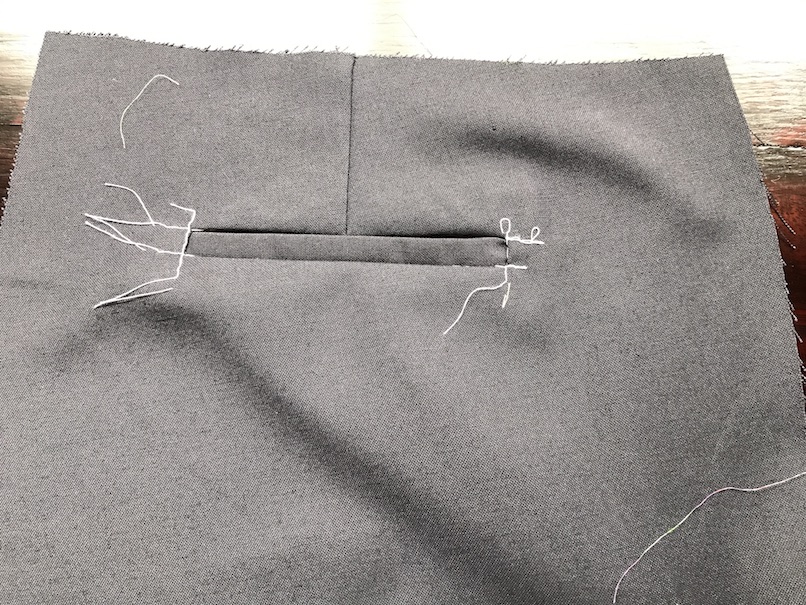
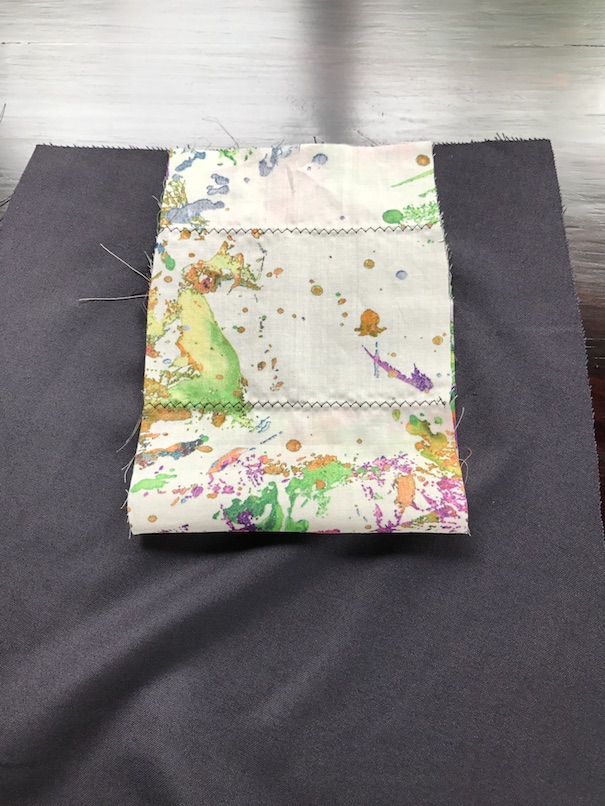
When you are done, you have two lines that look like these.
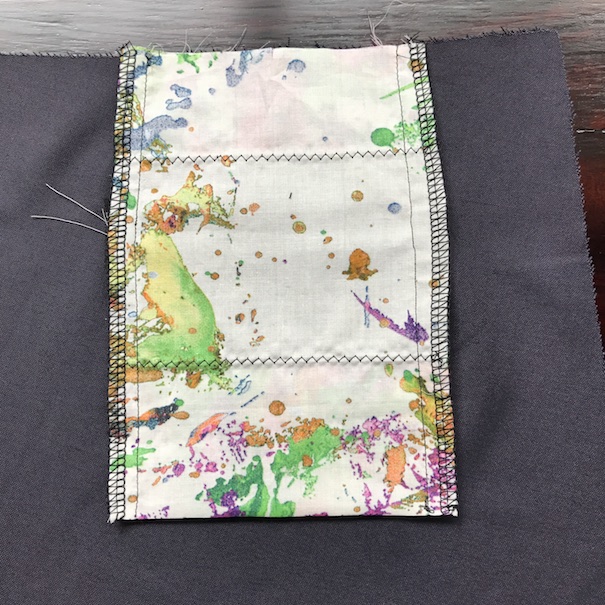
If you are serging or zigzaging to finish the raw edges, it’s time to do it now.
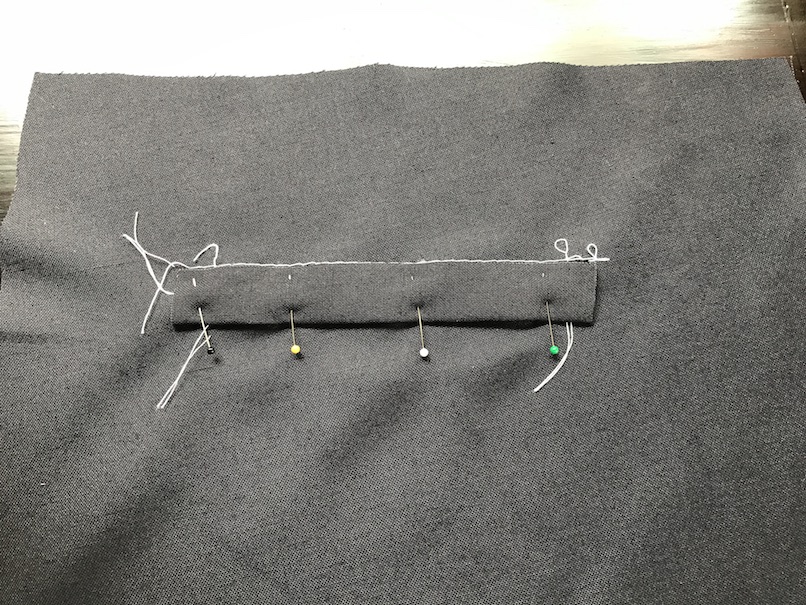
Now flip the assembly back to the right side. I put several pins above the welt to make sure the pocket bag doesn’t peek out.
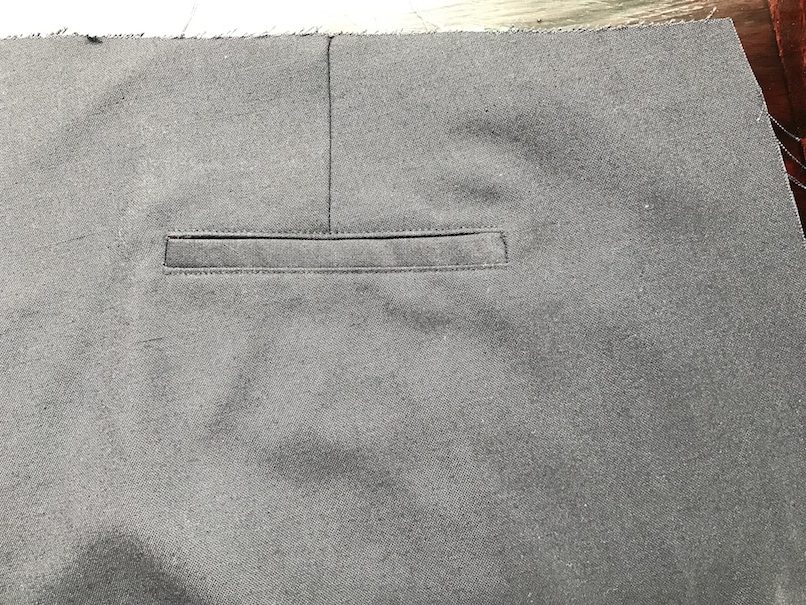
Then I edge stitch right above the welt.
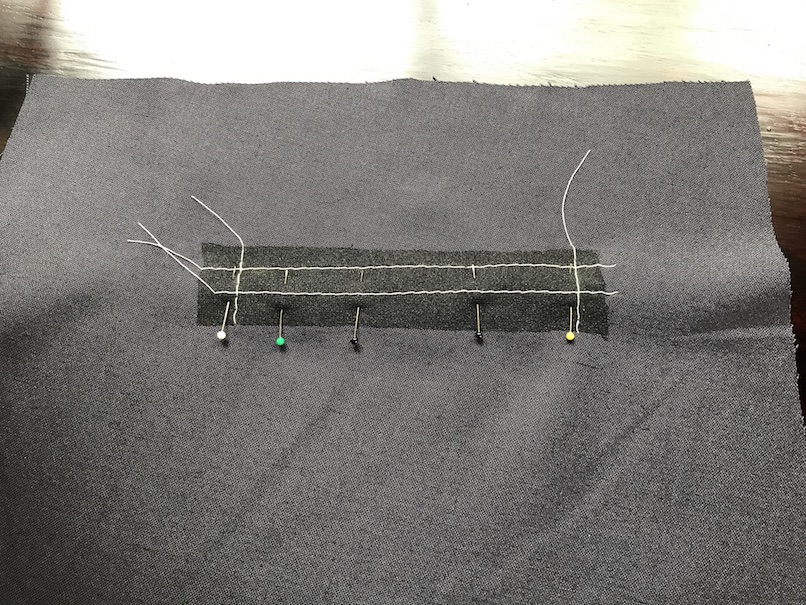
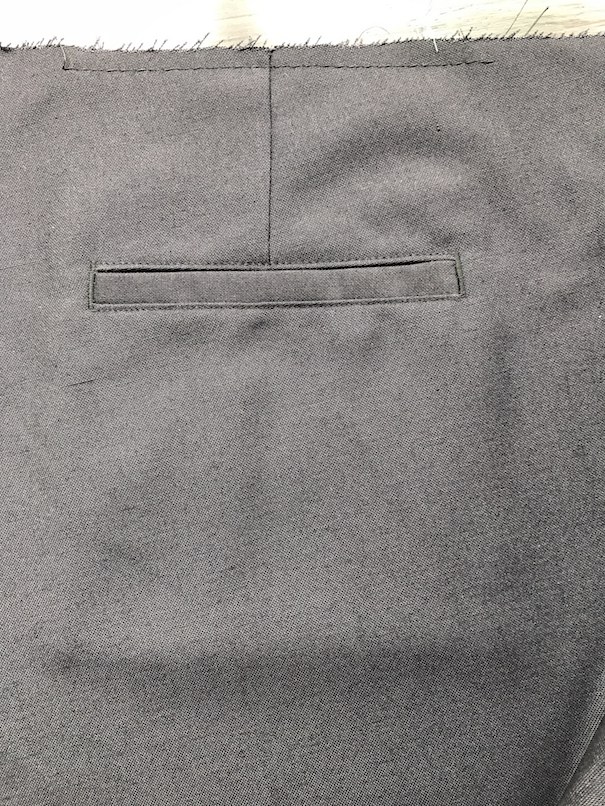
This is how the back looks like.
We are almost there. Now let’s remove all visible basting stitch.
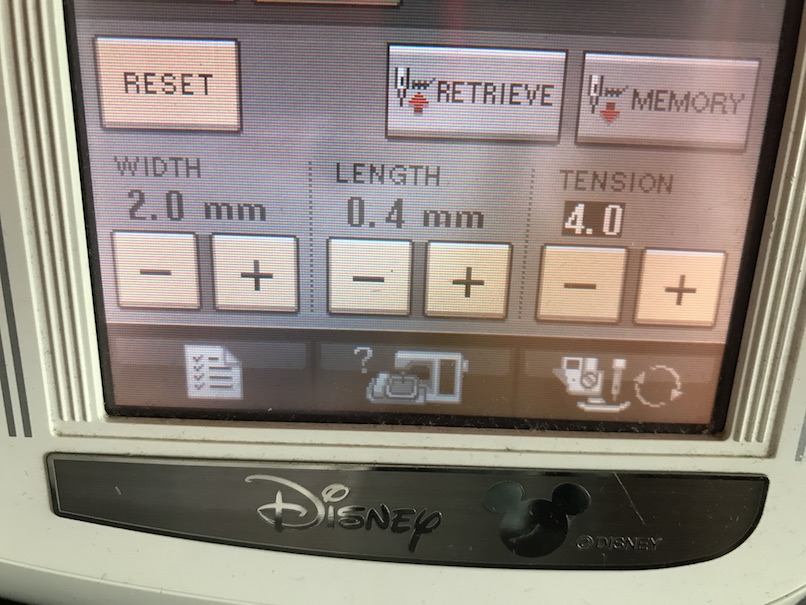
We need to do a narrow zigzag stitch on each side of the welt. I use 2 mm wide and 0.4 mm long zigzag stitch.
Here’s the zigzag.
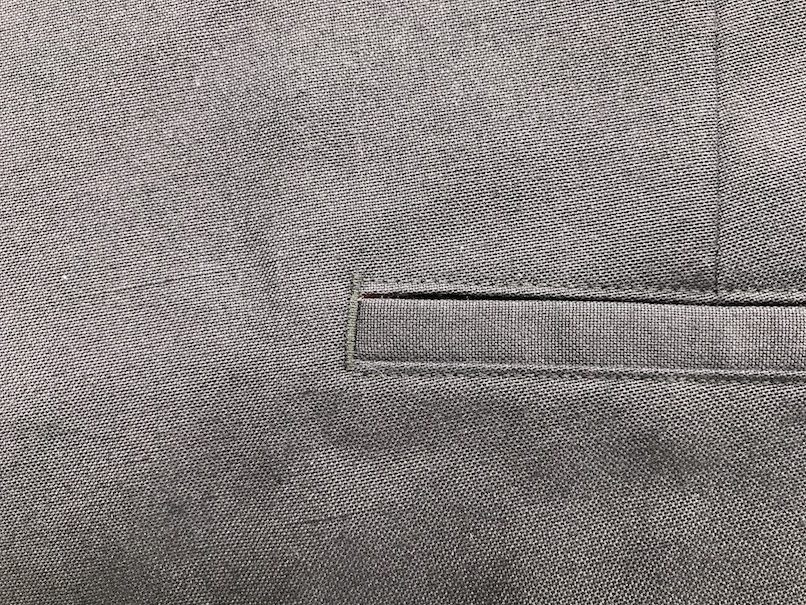
Do it on the other side too and that’s what the whole welt looks like. I also machine baste the top so that the pocket bag layers are not flapping around.
Here’s how the pocket looks like on the wrong side.
There you have it! That’s a strong and beautiful welt pocket for the back of your trousers. When you make the waistband, the top of the pocket will be tucked inside it.
Now you can make the other one!
Happy sewing!

Best welt pocket tutorial I have ever used! Thank you
Thank you so much for a very detailed tutorial. I actually want to make a welt pocket in a blouse. I have so many that don’t come with pockets and it is so frustrating.
Would you change anything for a shirt or blouse? Two are fleece and I would first see how they go before attempting others.
Thank you so much for writing this detailed tutorial with excellent pictures. I’ve been using this ever since for making welt pockets. I just recently wrote a post referring to your tutorial. https://sewingunwind.com/2020/03/10/diy-pleated-shorts-luau-outfit/ I appreciate it so much. Again, thank you for upping my sewing game!
Just replaced the slit pocket in Aime comme Mince Alors! with a welt pocket sewn after your directions and it came out wonderfully. Thank you so much for the meticulous documentation! Especially showing both sides after most of the steps made it foolproof for me.
There was one tiny struggle for me: Like in your demonstration the end of my dart touched the upper end of the welt. After placing the welt fabric and sewing the dart the whole upper border of the pocket was tilted in half and I had trouble straightening the welt and the line. What can I do next time to keep it as straight as yours?
You can check out the work before proceeding to the next step. But it’s supposed to be tilted somewhat because it’s a 3 dimensional piece at that point.
Hi Kennis, I, too, wish to make welt pockets on my Liana pants/jeans. However, I have two issues that I’m not sure how to overcome. The first is that I am sewing with a stretch woven, and the other issue is the back yoke. Any suggestions on how I can adapt your tutorial to deal with them? Any support/ideas will be gratefully received. Thank you…
Hi Carol, if I were you stitching with a woven, I would stabilize the fabric with interfacing on the part that will be contacting the welt pocket. Are you planning to put the pocket below the yoke? I assume so. Then you treat the yoke seam as the waistband in the tutorial. I would finish making the welt pocket before attaching the yoke.
I’m confused – when you’re cutting the welt piece, is it four times as long as the welt, or four times as wide? The tutorial says four times as long as the welt, but it doesn’t look that long, and I can’t see why you would need it to be four times as long. I would have thought it would be the length of the welt, plus seam allowances, no?
Hi Melinda, in this post, I use the term “wide” to mean any horizontal measurements and the term “long” to mean vertical measurements.
That makes a bit more sense. I’ve always seen the longest measurement as the length, and the shortest side as the width, rather than directional. Sorry, I probably would have worked that out eventually, it just didn’t make sense late at night!
This is a great tutorial. I haven’t sewn a welt pocket for a while. In fact, I’ve avoided it because the past results haven’t been so good and commercial pattern instructions don’t always cut it. Thank you so much for the clarity and many pictures; I’m encouraged to try welt pockets once again.
You should try again ?. Practice will definitely help to improve.
Amazing tutorial. Thank you!
Thank you so much for this detailed tutorial, Kennis! I love it!
Greetings
Julia
Thank you so much for this. I have just made my son a pair of trousers with two double welt pockets from an advanced Vogue pattern. Their method, which I followed, is not a patch on your instructions!! It was a nightmare to try and get the welts on straight once the dart was done. Also the actual trouser was not stabilised behind the pocket opening. Since I have another pair to make in the next week, in my head I had sort of done what you have and it is refreshing to see that work above. I had actually told him that the next trousers would not have back pockets, but having now saved your instructions, I will be using them and he will get them after all, although I might just stick with the single rather than double welt!! Thank you again.
I am glad this is helpful, Trudy. 🙂