
How to Sew a Sharp Corner Without Clipping
If any of my pattern instructions involves stitching a corner, inevitably one or more of my testers would tell me, “you forgot to say ‘clip seam allowance’ in the step.” That’s what I love about my testers. These ladies are detailed and diligent. I cannot express my appreciation enough for their help.
(This post contains affiliate links.)
However, back to the topic, I don’t actually clip seam allowance when I stitch a corner in some circumstances. It is because sometimes the corner is sharper without clipping, especially when there is only one seam involved (no intersecting seams).
This is the process I go through, demonstrated using the Lisbon Cardigan, which will be released very soon! In this case, I am using a knit fabric and a serged seam, but it’s equally valid using a woven fabric with a regular stitched seam.
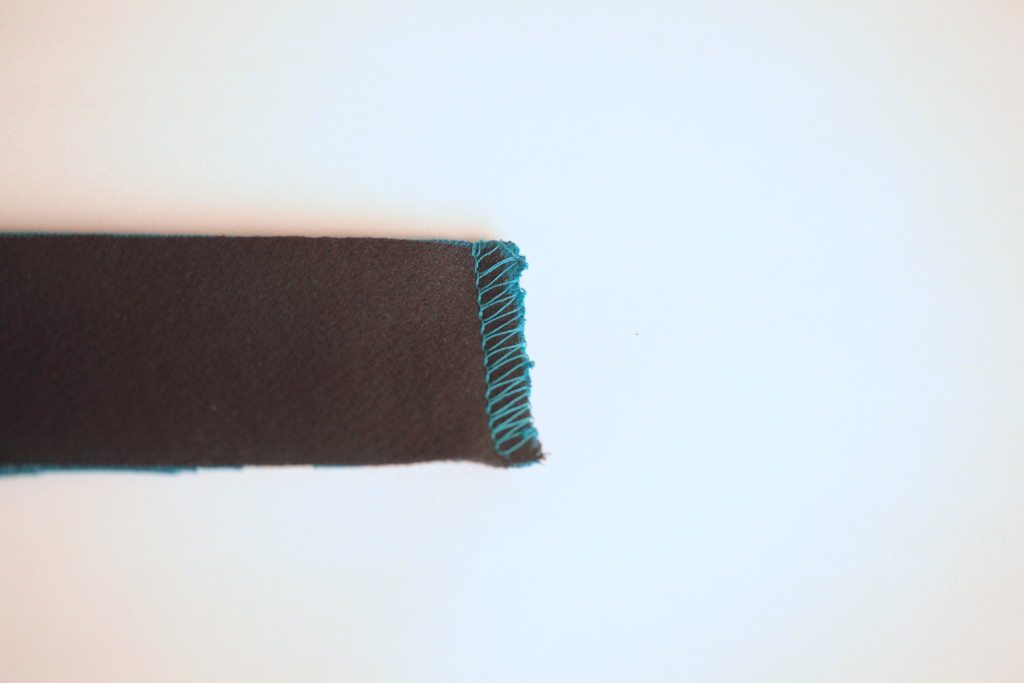
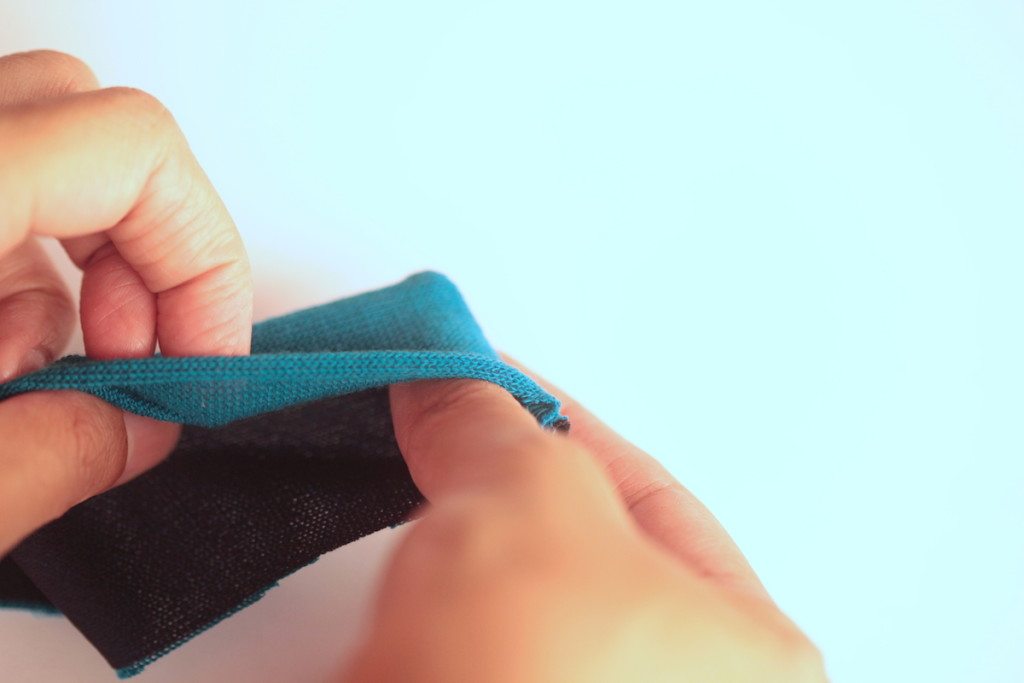
Here is one seam. It is currently folded over itself with right sides together.
Fold the seam allowance in.
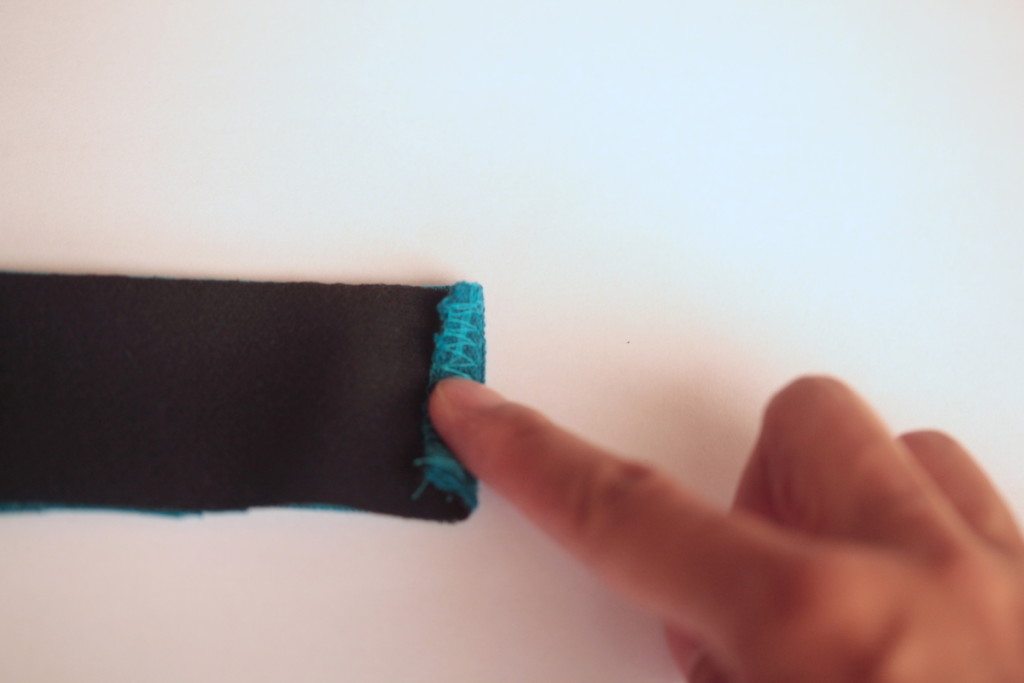
Use your thumb to hold the folded seam allowance while putting your index finger between the two layers of fabric, like you are pinching the layers of fabric.

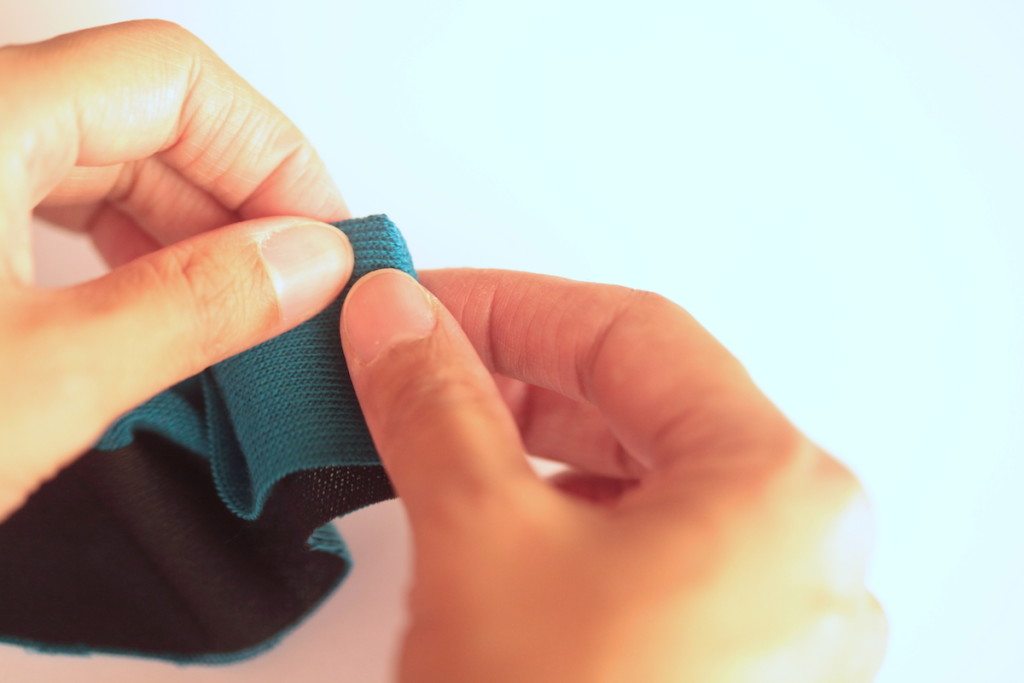
Turn the fabric right side out. Here’s the slow mo.
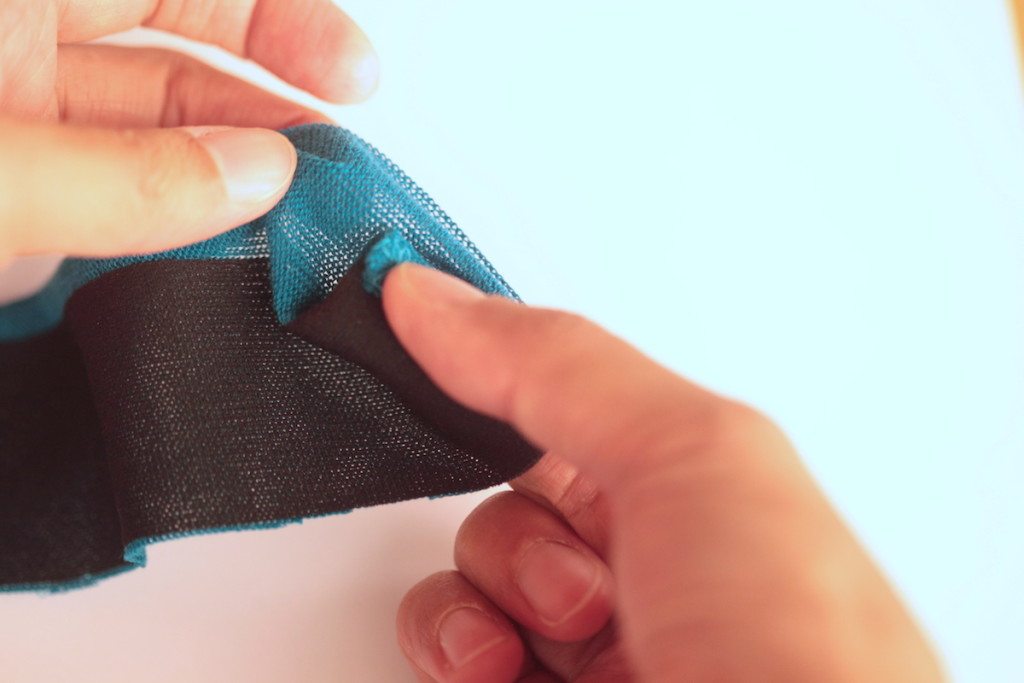
Turn more.
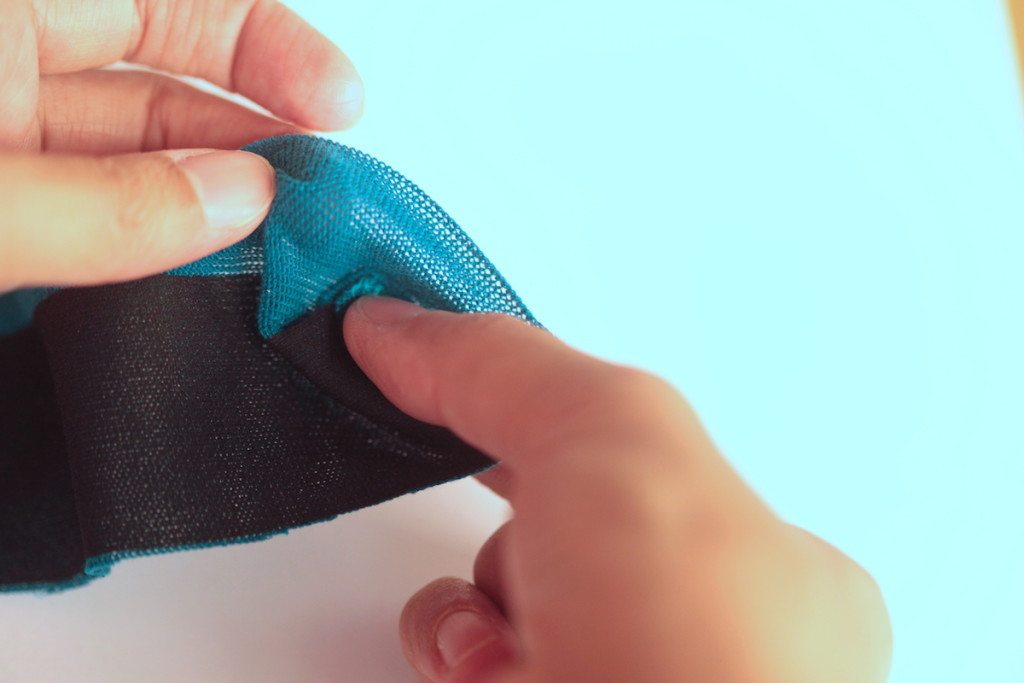
Turn even more.
Tidy it up a bit. The seam allowance acts as something more sturdy to “push” the corner into something shaper.
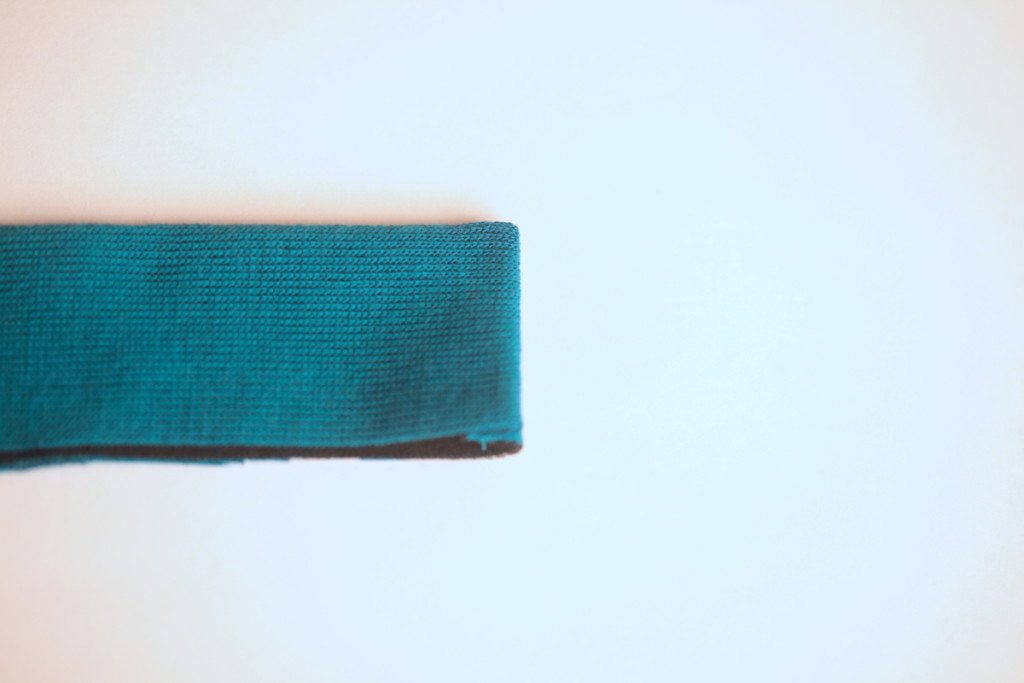
Here you go! You have a sharp corner.
Some seamstresses do not even clip the collar points on their shirts. In his book, Shirtmaking: Developing Skills For Fine Sewing, David Page Coffin, talked about the method that Adriana Lucas uses in her custom-shirt workshop (page 106). There’s no clipping of the corner involved, even at a corner as tight as the collar point. This handy tool called the hemostats is used to facilitate the process. Here is David Page Coffin’s post about this method.
When you clip a corner, you remove some fabric so that the stitch line is very close to the raw edge. There’s the danger of poking through the stitch line when you turn the collar. The beauty of this method is that, with the seam allowance intact, that risk is low.
I tried this method and it produced great result. However, I don’t continue to use it because it uses sewn-in interfacing that you cut away at the seam allowance. I use fusible interfacing that goes all the way to the cut edge. Without being able to trim the interfacing, the corner is more bulky. Also keep in mind that David/Adriana uses 1/4″ seam allowance for the collar.
But I do learn something. The underlying reason for a dull corner is that the seam allowance is unruly inside. If you can manage to straighten and maintain folded and orderly seam allowances after turning, you can have a very sharp corner.
I am not against clipping though; in fact, I do that all the time. I evaluate the situation, and go with the method that gives me the best result. To me, that’s what sewing should be. It’s not about following instructions strictly, but thinking and experimenting.
Hope this is helpful!

I learned this recently, and it is now my favorite way to turn a sharp point with no fuss
http://off-the-cuff-style.blogspot.ca/2012/10/perfect-collar-pointsa-shirtmakers.html
When I sew corners using different techniques, one corner comes out near perfect, but the other corner does not. I cannot figure this out. Do you know why this might be happening?
Perhaps the inside of the second corner wasn’t completely tidy.
So true! A few months ago my husband gifted me Coffin’s book & DVD. I am enjoying it so much, and learning a lot.
When you say, “I evaluate the situation, and go with the method that gives me the best result”, how do you determine which is best? Is it best with certain types or weights of material or do you do a test corner on a scrap?
Do you ever need to trim the seam allowance to reduce bulk?
When you fold the seam allowance to the inside, do you press or is that unnecessary?
Very helpful tutorial. The clear photos and detailed instructions make me feel like I am in the same room and you are talking just to me. Thanks!
I try it without clipping first. Usually I don’t need to test a corner on a scrap because it doesn’t hurt to try it on the actual corner (since I am not clipping anyway). If there is too much bulk, even after I try to fold the seam allowances very nicely, then I’ll clip. It goes the same for trimming seam allowances around the corner. When I work with 1/4″ seam allowance (as in some patterns for collars), or even 3/8″, on shirting and light-weight material, then I could do it without trimming. But again, trying it first is the key. For thick fabric, if I do decide to trim the seam, I’d grade the seam allowances (different width for each layer) too. I don’t press before turning; I only do it after turning, but I think it doesn’t hurt to press before either. It may even help. Hope it helps!
This is how I do mine but if I’m being lazy I just cut the corner, turn and poke the inside a bit to get the corner in place.
When I use fusible interfacing, I always clip off a full half inch before I sew my 5/8 seam. So that the seam isn’t as bulky. I do it by ironing *nearly* all the way to the edge, then clipping the interfacing, and then finishing the ironing process to fuse my interfacing to my fabric. 🙂
I’m, of course, not saying that anyone *has* to do it this way, but saying that you can’t clip out the seam allowance because you’re using fusible interfacing isn’t quite true. You just have to do it before, not after.
That’s a good way to work around it. Thanks for the comment.
This is how my pattern making teacher taught me to do it and it is brilliant. She doesn’t clip curves either as it weakens the seam, she trims the seam down a bit. Thanks for the reminder Kennis.
Thanks, Kennis – I’ll definitely try this! Love your tips and tutorials!!
This is a great post! I was taught/learnt myself that I should always clip my corners, but so many times even with perfect clipping they didn’t turn out right. Or looked like they are too flimsy to stand up on their own. I like this method and it makes sense. I will definitely keep that in mind in the future and evaluate each clipping situation on it’s own 🙂