")
How to Raise a V-Neck Neckline (Basic + Advanced)
Everyone has their own level of comfort when it comes to how high or low a neckline should be. Fortunately, raising a low neckline on a pattern is a really straightforward thing to do. It literally takes 5 seconds. However, some of you may not be used to modifying patterns and would like some confirmation. And after you see how it is done, you will probably think, “that’s exactly what I had in mind.”
I will show you two examples of how to raise a V-neck neckline. The first one is on a very simple V-neck; no bells and no whistles. The second one is more complicated, but for sure it’s still something that you can handle.
First example – Davina Dress

A perfect LBD by Judy.
The neckline of the Davina Dress is one of my favorite features of the pattern. Its curve creates a soft and feminine look. Personally, I am quite comfortable with the level of that neckline. But again, that is personal preference. I use this pattern as an example because that is the easiest form of the adjustment.
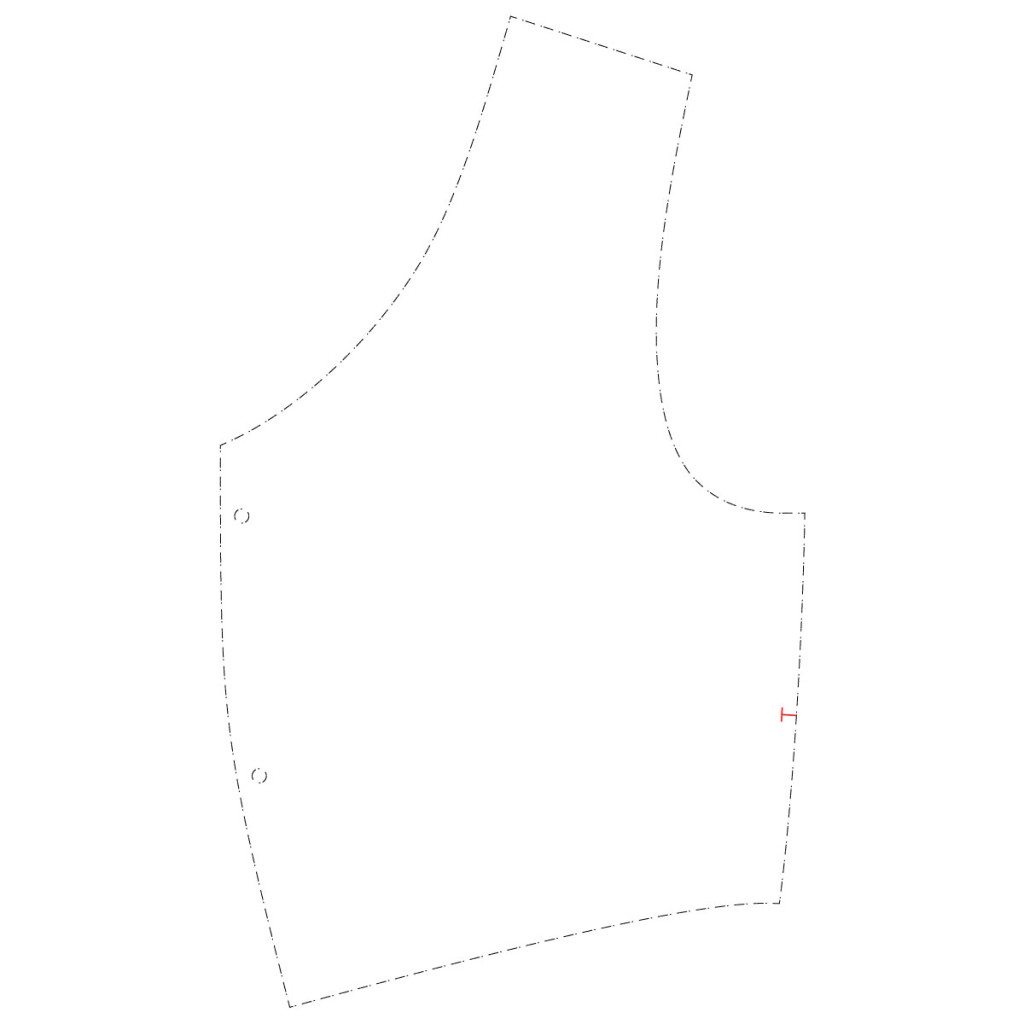
Here is the Davina Dress front bodice.
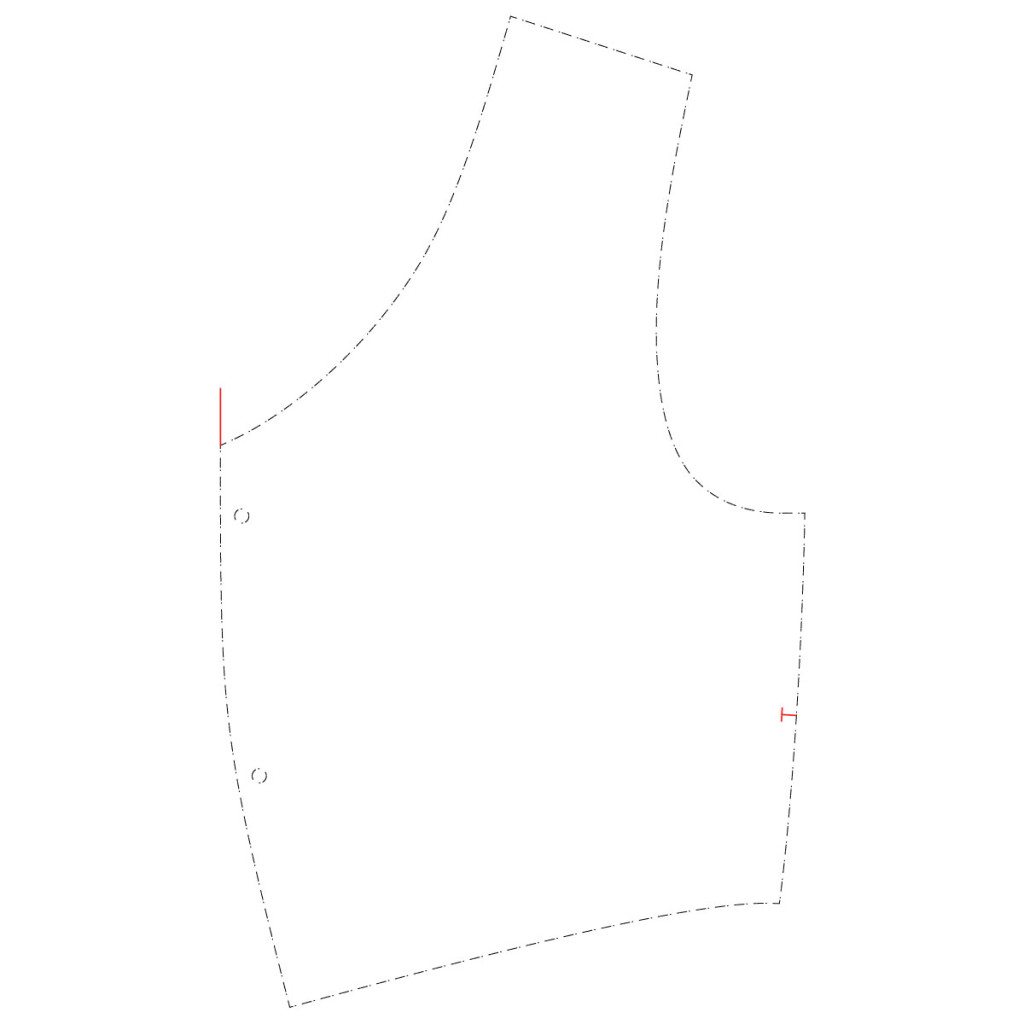
As an example, I am raising 1″ (2.5 cm) of the neckline. So I draw a 1″ (2.5 cm) straight line above the original v-neck at the front edge.
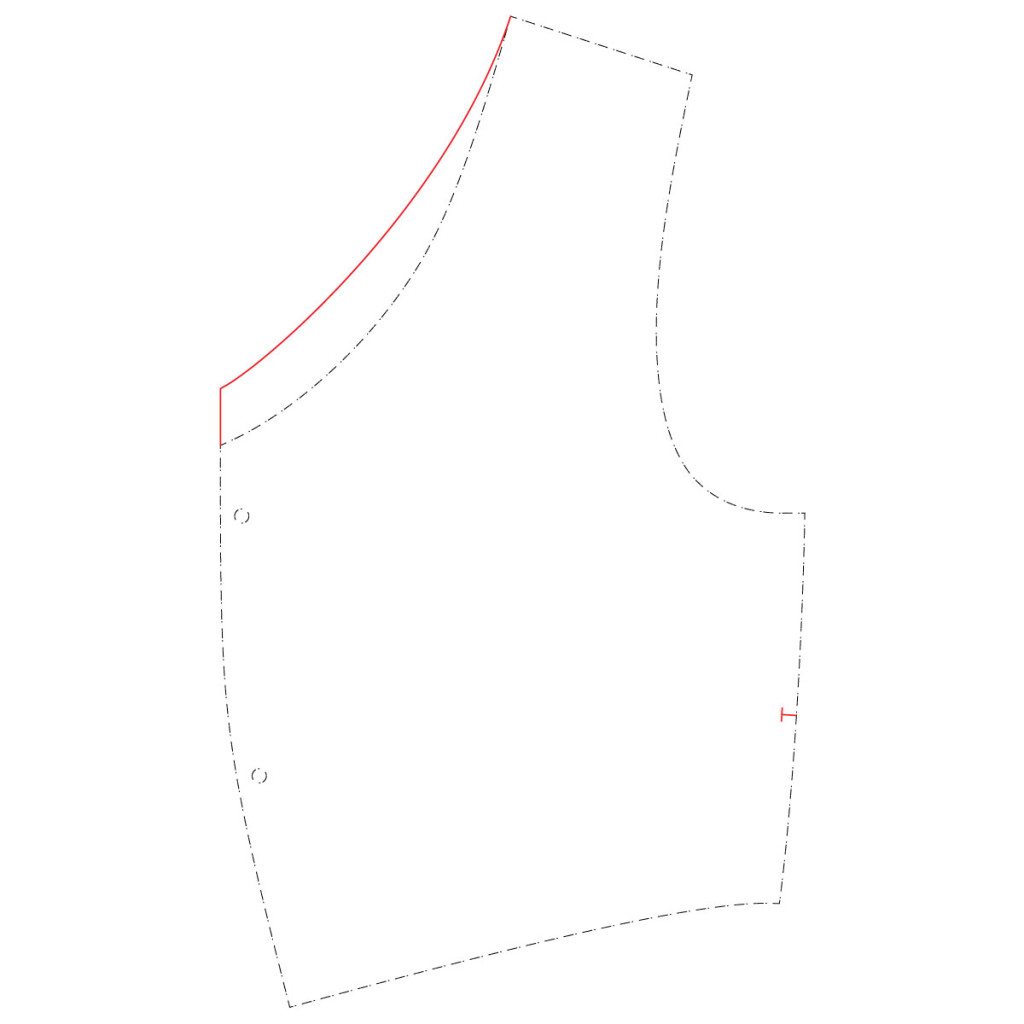
Now I redraw the curve from the top of the straight line to meet up with the original shoulder/neck point. Don’t worry too much whether you have the “right” curve. That curvature is really up to you. You could even change it to a straight line. I won’t be angry. Promise.
That’s all! Did you say “duh!” in your head?
Maybe you think, “is it always this easy?” If you are only raising an inch or two (1.25 cm to 2.5 cm), that’s really all you have to do. However, you can’t raise a large amount (e.g., from a plummeted V-neck up to the base of your neck) using the same method. I am not going to go into the reason (because I’d have to go way off on a tangent), but the small amount you need to raise is just this simple.
Second Example – Zamora Blouse
The Zamora Blouse is really why I want to do this tutorial. A couple of you asked me about how to remove the tie on the Zamora Blouse. So I decide to do several hacks on the Zamora Blouse pattern, including removing the tie.

The front tie of the Zamora Blouse has some control over how high or low the neckline can be. If you tie it tighter, the neckline is higher, and vice versa. If the tie is eliminated altogether, the neckline will be too low. Therefore, raising the neckline is the first step in order to remove the tie.
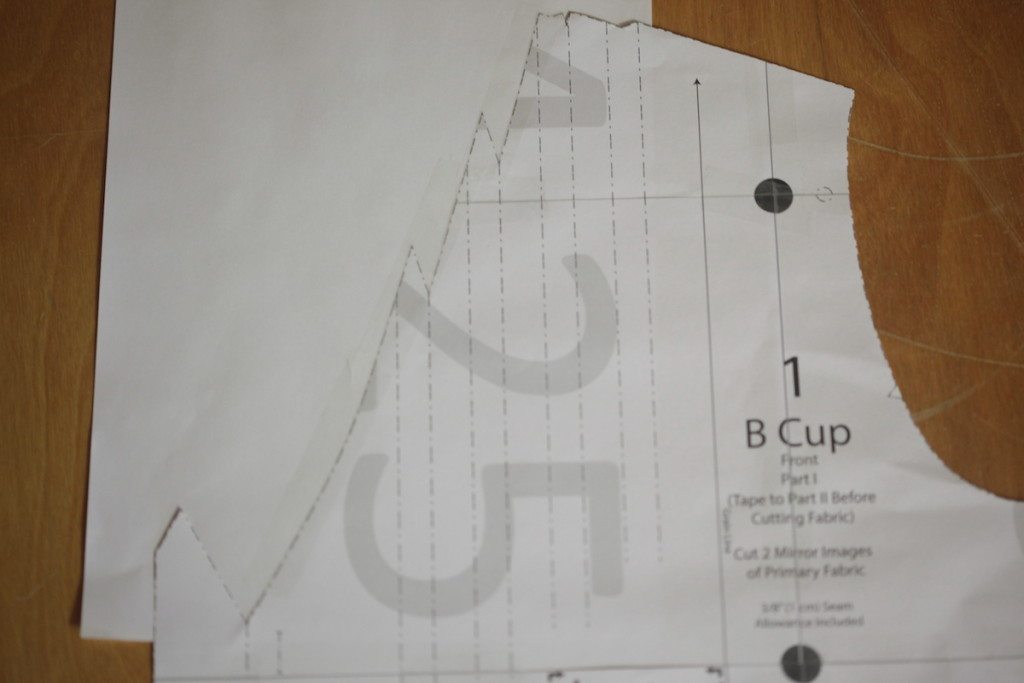
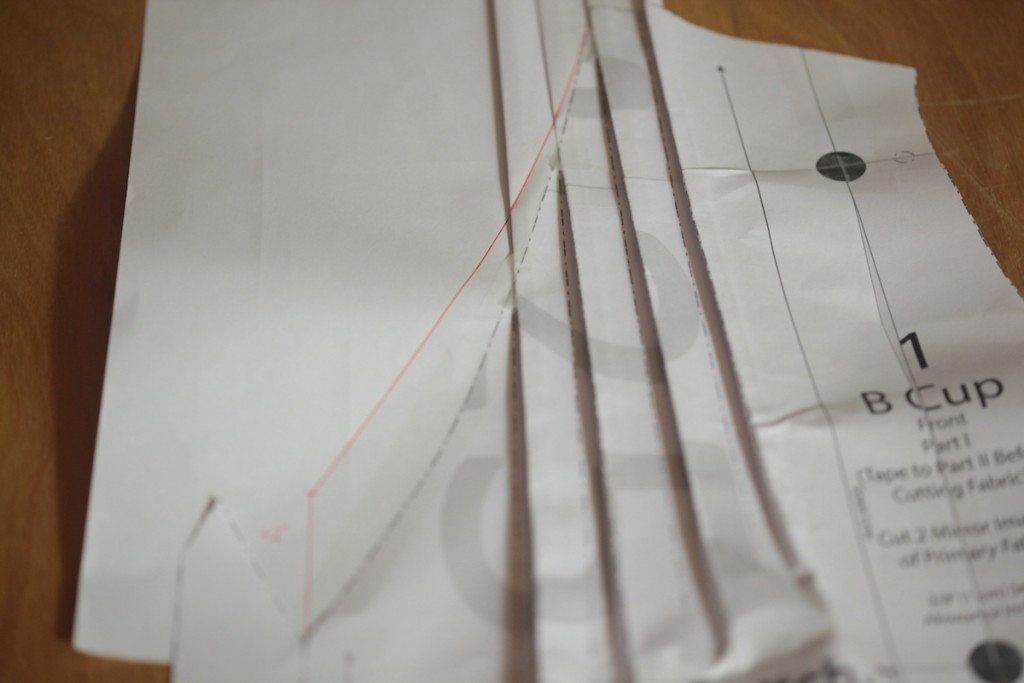
For those of you who have made the Zamora Blouse, you know that there are some released tucks along the neckline, as well as a self facing on the center front. Here is how the pattern piece look like.
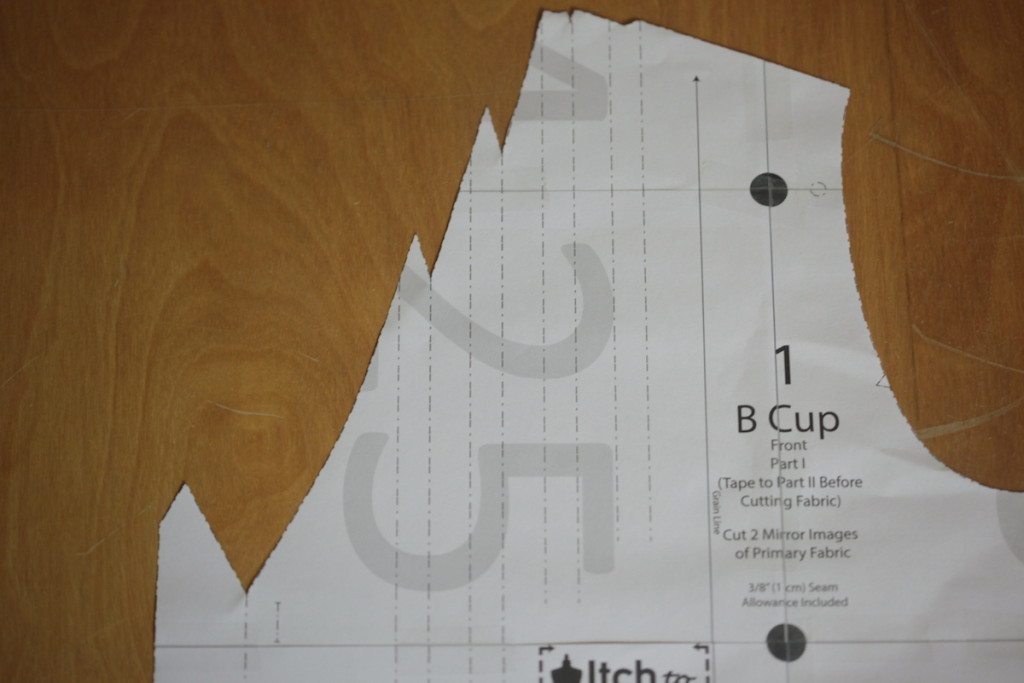
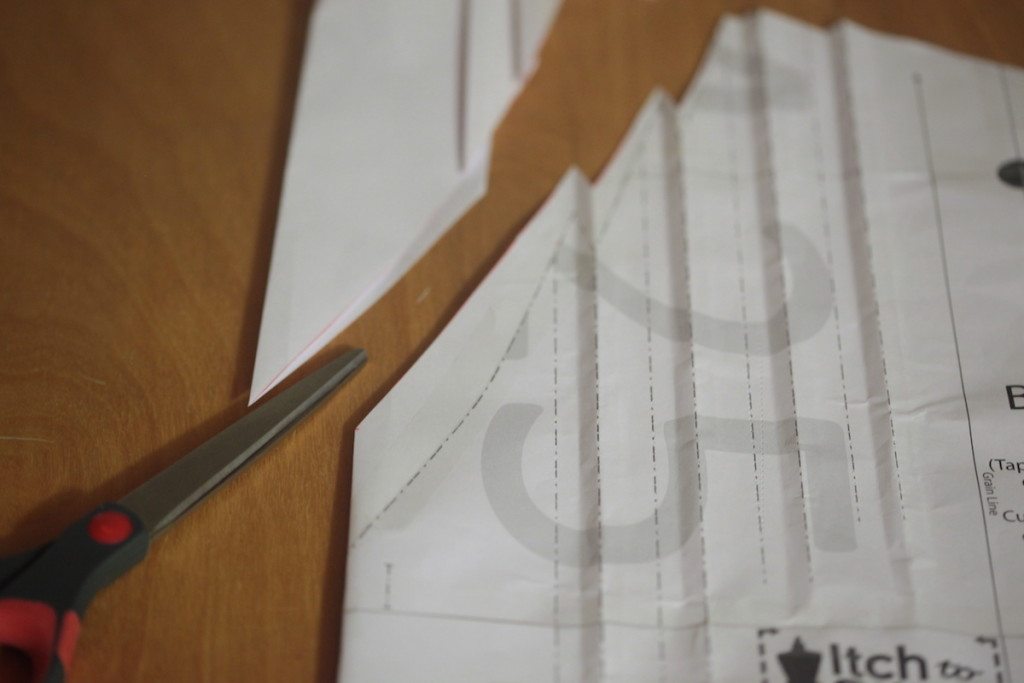
We will have to deal with the “jagged” line. Let’s get started by taping a sheet of paper behind the neckline.
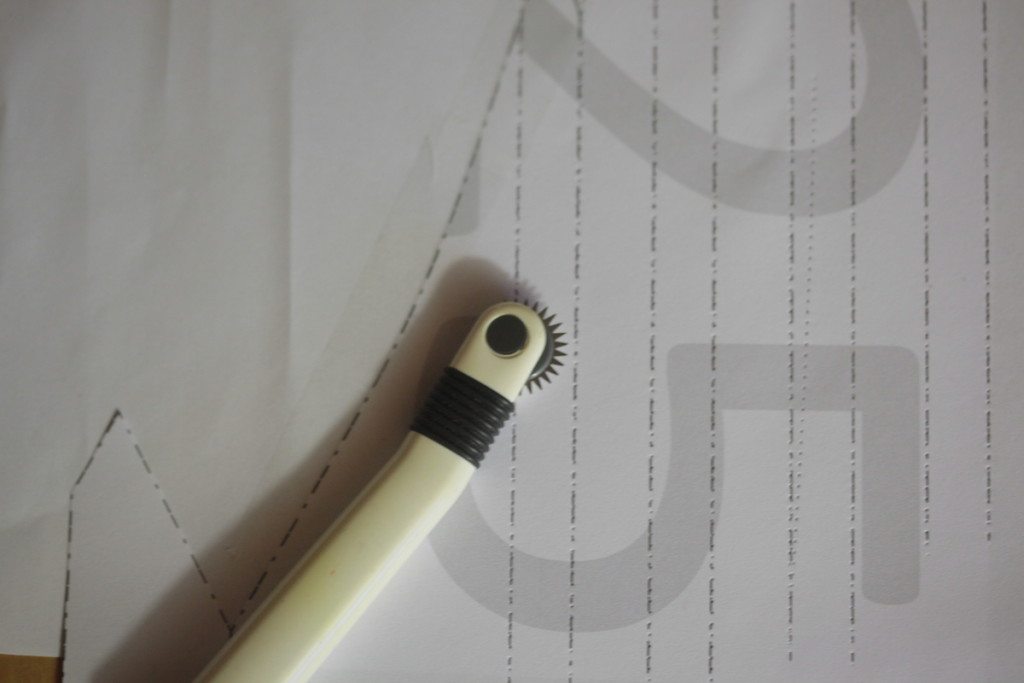
Next, fold the released tucks as if you are to sew them. As instructed on the pattern, the bulk of the tucks are to be pressed toward the side (away from the center front). We need to do the same on the paper. It’s going to be somewhat awkward to fold the paper because the paper is rigid. You can choose to trace the pattern onto thinner tissue paper (or medical paper (affiliate link)). I blazed ahead anyway with the regular paper, but I used my tracing wheel to perforate along the lines first, so it was easier to fold.
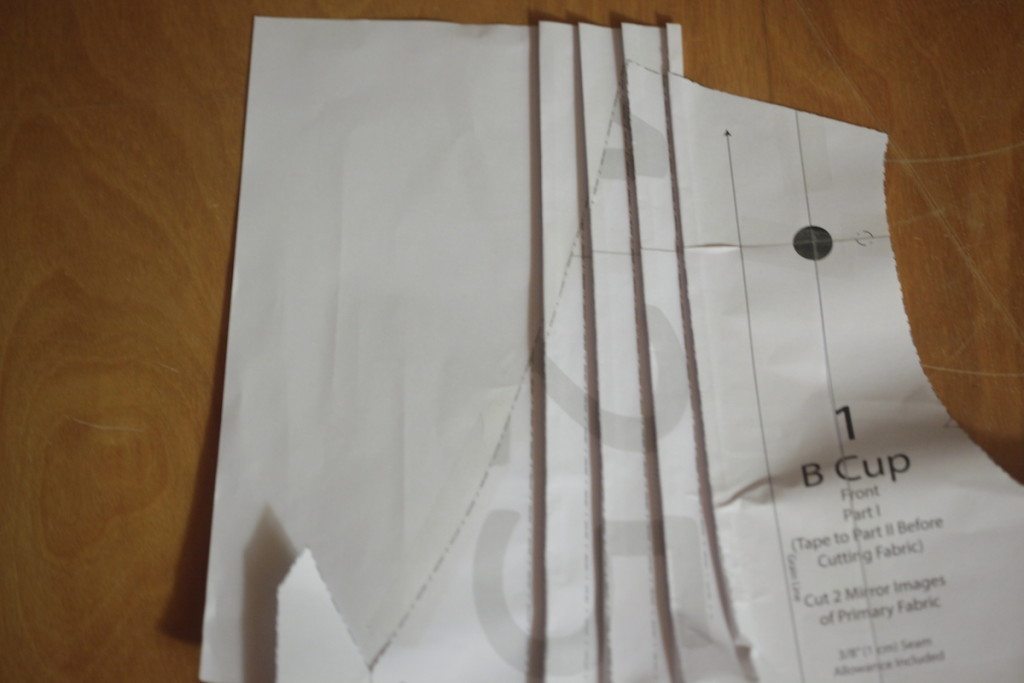
You will notice that after you fold the tucks, the neckline is actually smooth. Tape the tucks shut for now. Don’t go too crazy though; you will remove the tape later.
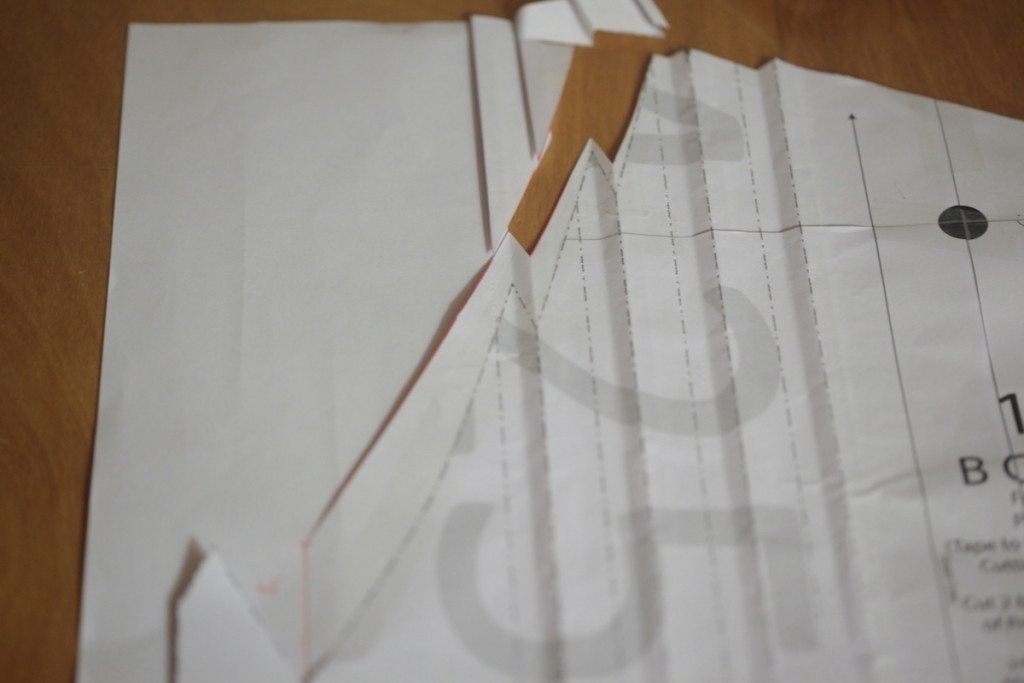
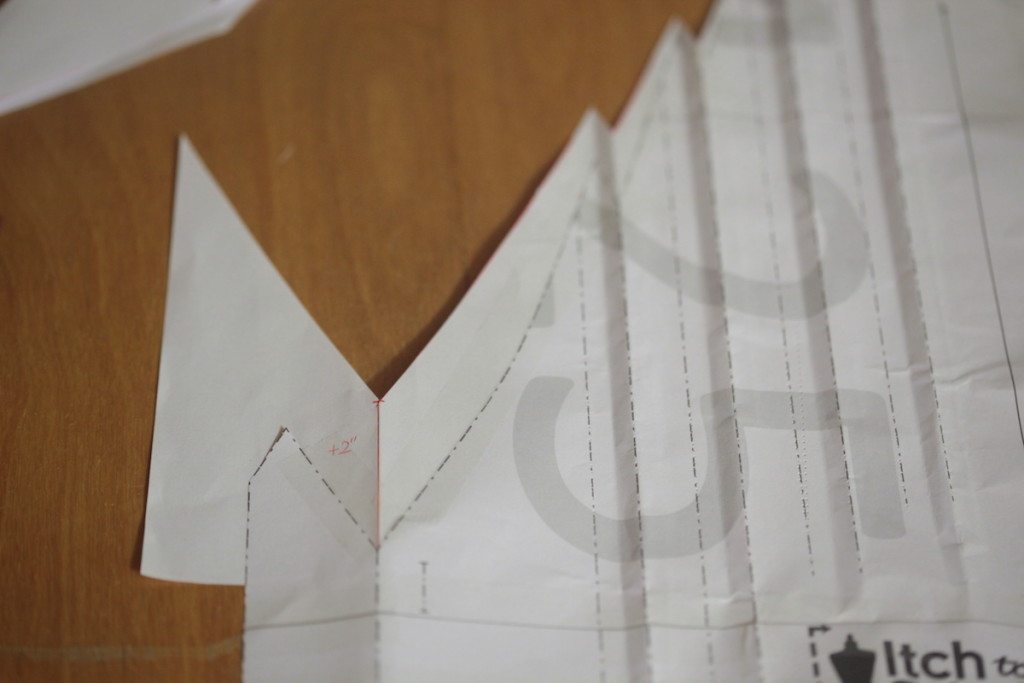
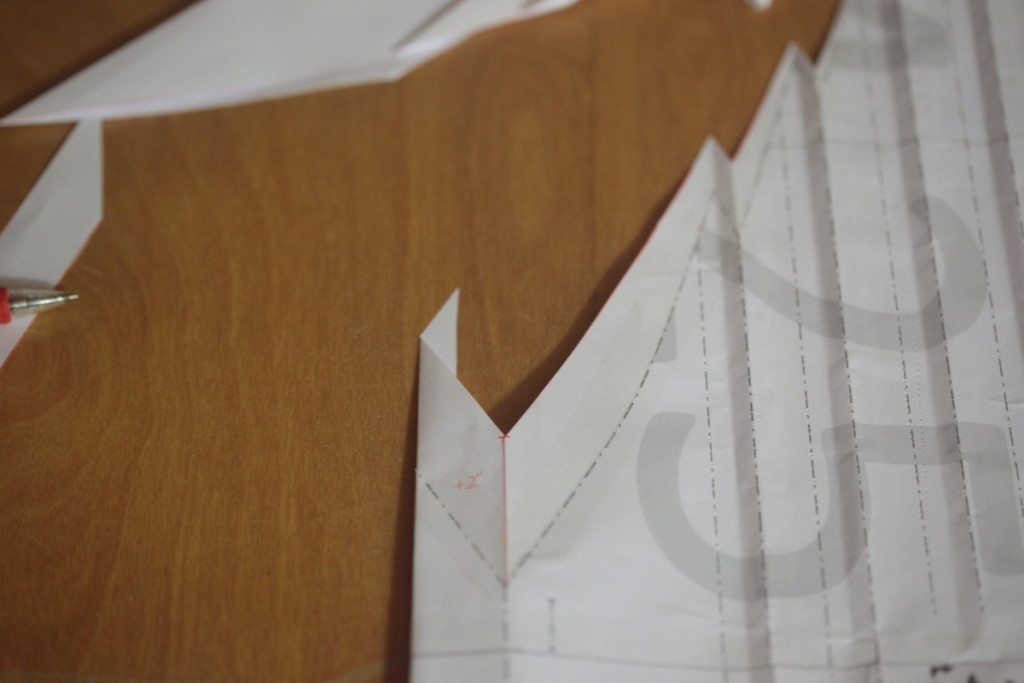
Now repeat the same process as in the Davina Dress – draw a straight line for the amount you want to raise. In this case, I am raising 2″ (5 cm).
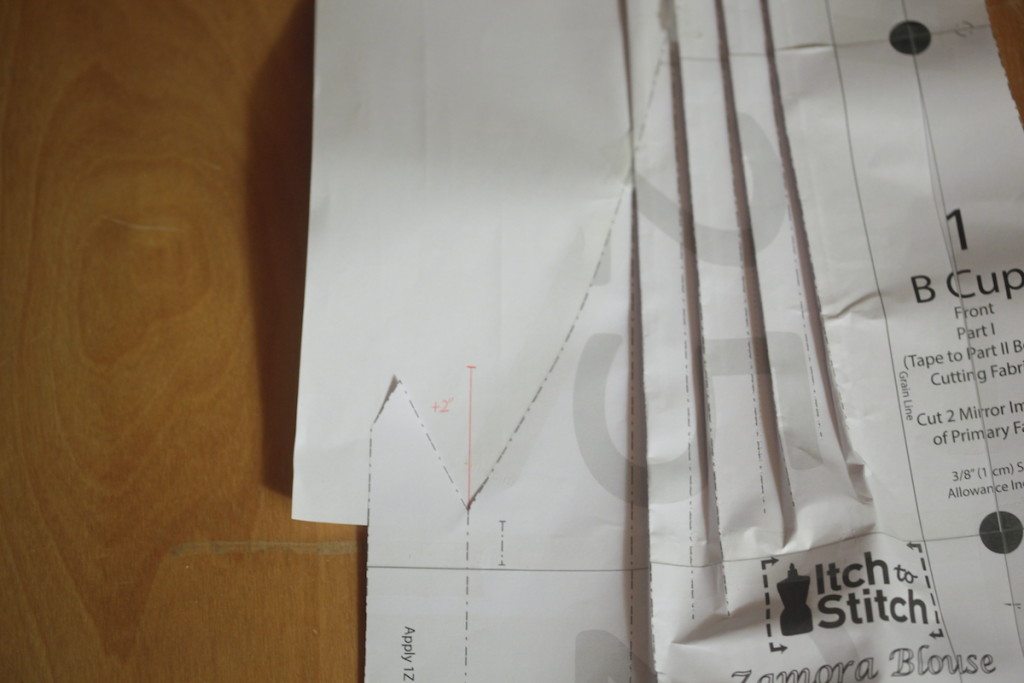
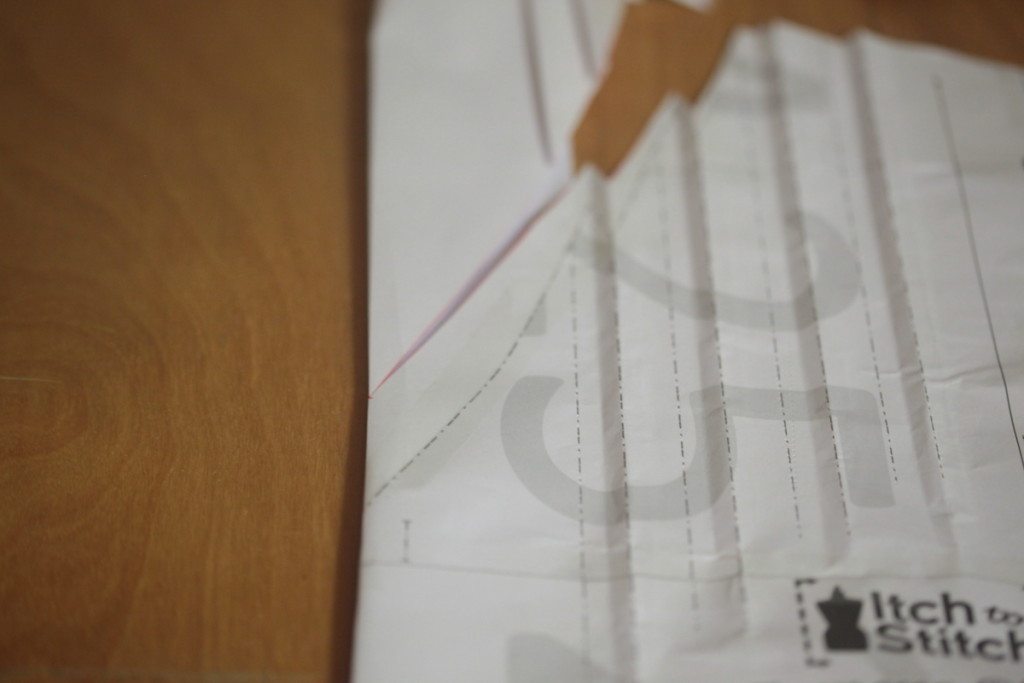
Then draw a slightly curve line from the top of the straight line to the original shoulder/neck point.
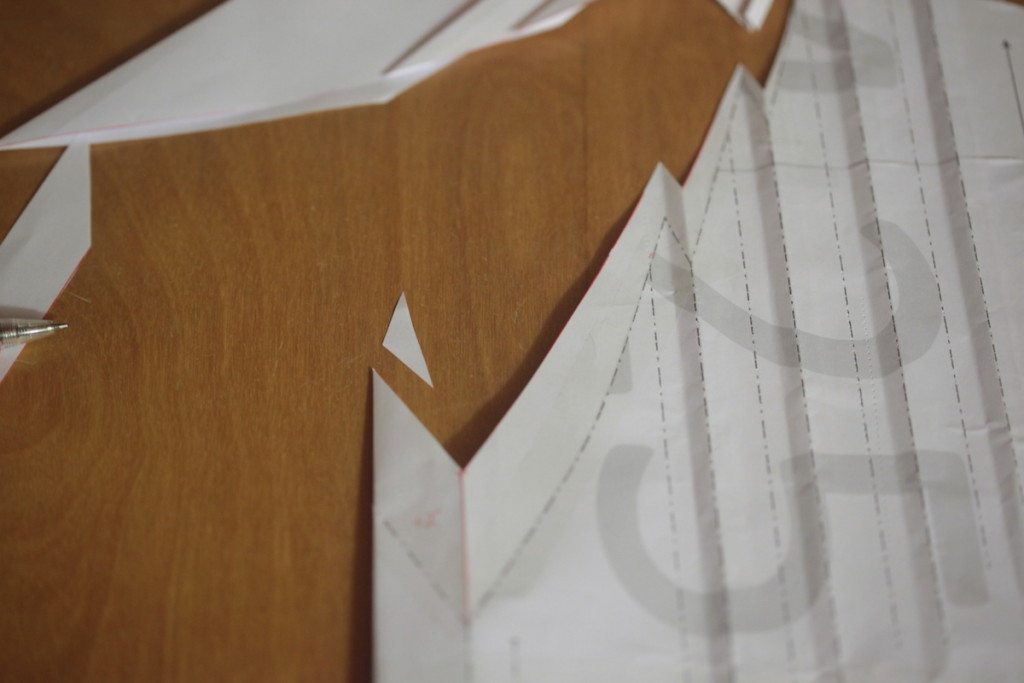
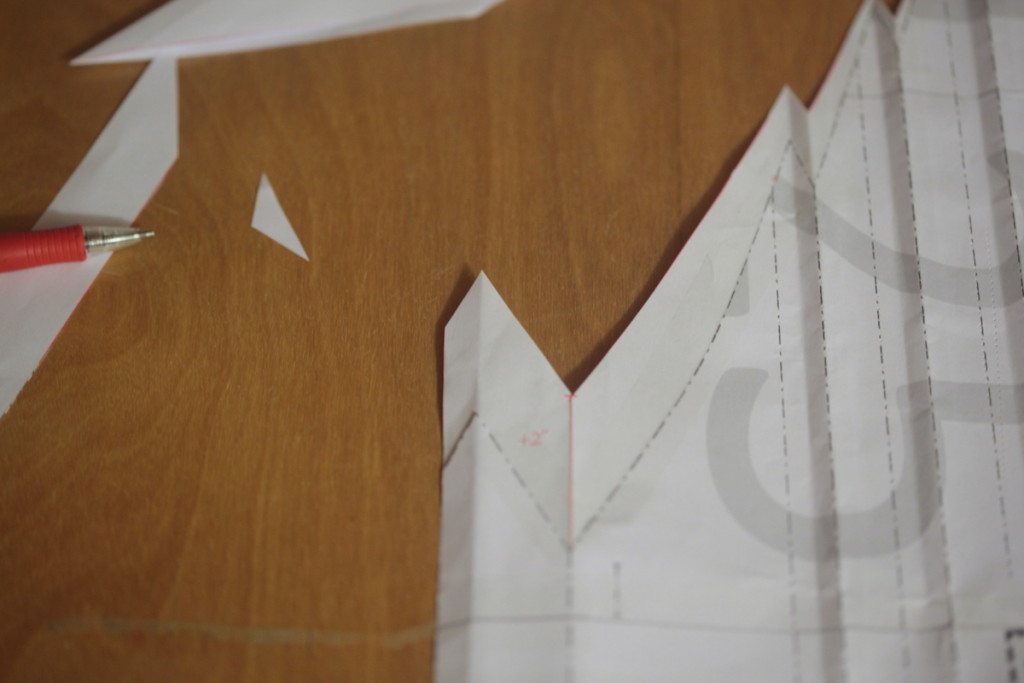
Cut a long the new curved neckline through all layers of paper.
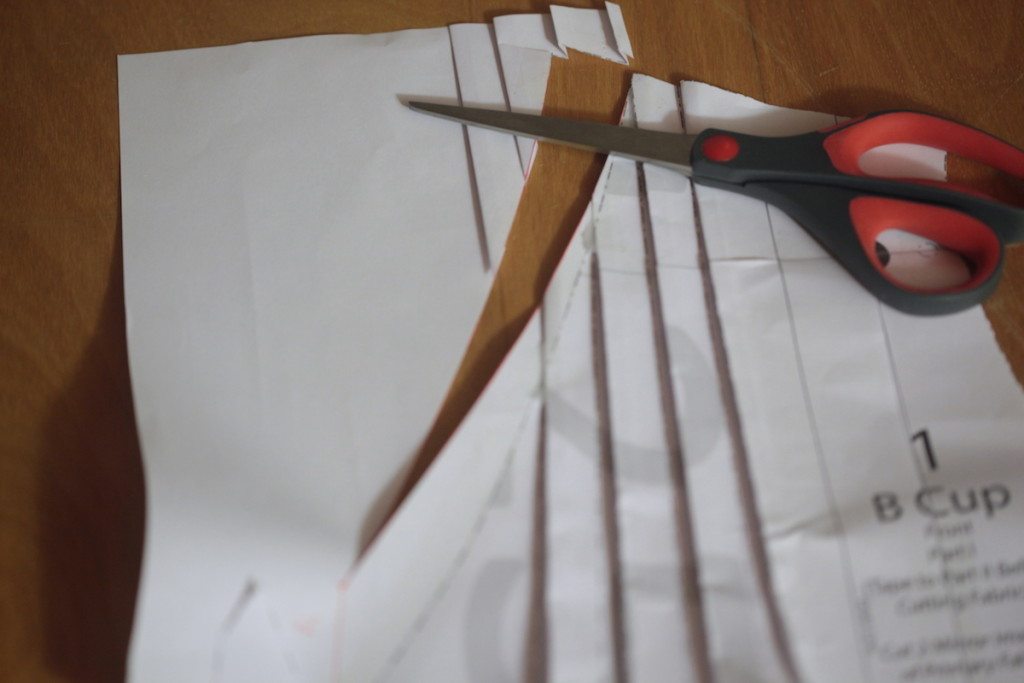
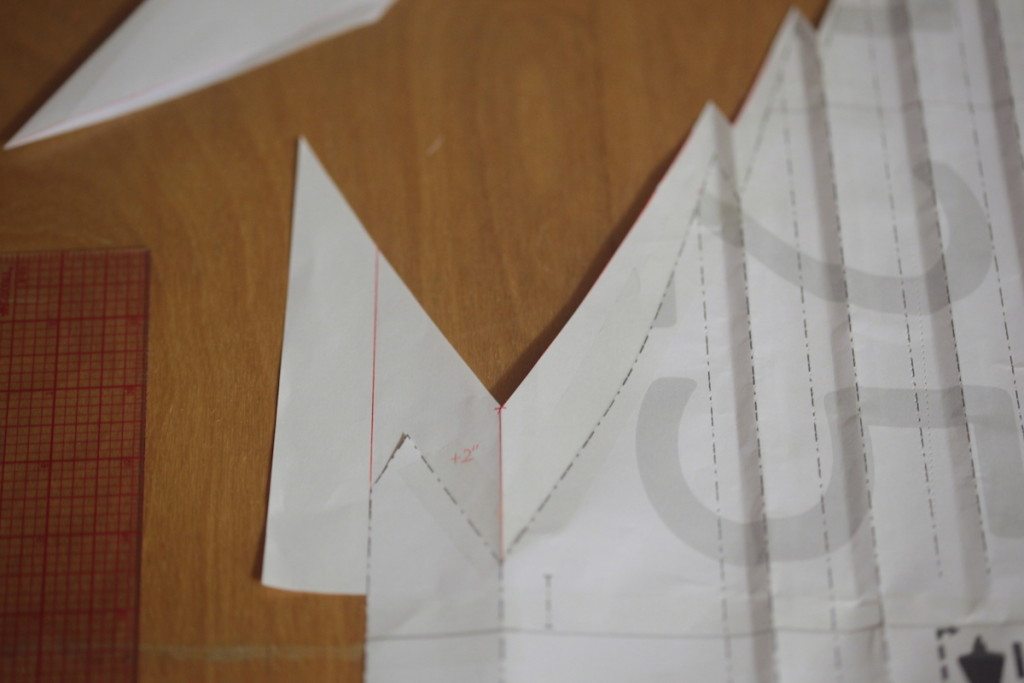
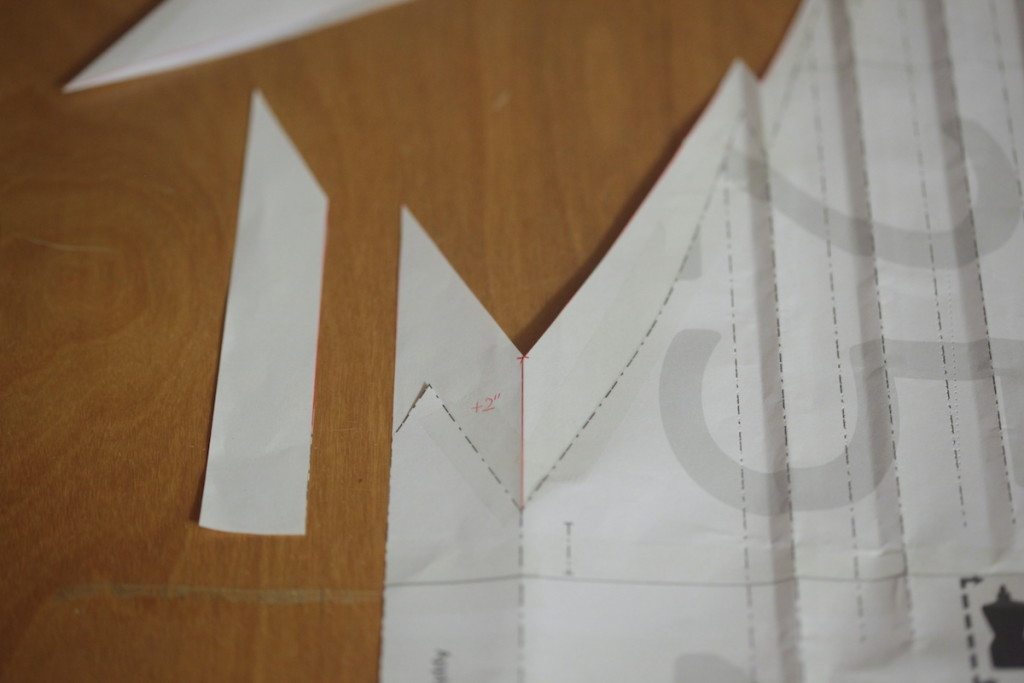
Open up the tucks and you can see that you created your very own jagged line.
Now let’s handle the self facing. You may or may not notice that the self facing is actually a reflection of some of the neckline. So we need to create the reflection using the new neckline. Fold the facing back along the fold line.
Then cut along the new neckline.
When you open the self facing back out, you will see that reflection.
There is some extra paper though. We need to get rid of that. Draw a straight line up from the original edge, and then cut that away.
But hey, why does the original self facing has a dip in it and the new one doesn’t? Actually, for your convenience, I removed that little portion to reflect the seam allowance. You can repeat the same process – fold in the seam allowance (which is 3/8″ or 1 cm), and cut the excess away.
You open the pattern back up, you have a whole new neckline for the pattern now.
Zoom out and this is what you have.

It’s totally do-able, isn’t it?
I have gone through the process bit by bit for the sake of clarity, but yes, you actually can do all the folds (tucks, self facing and self facing seam allowance) at one time and cut the neckline curve only one time.
Hope this is helpful. I can’t wait to get to this hacked Zamora Blouse. Until next time, keep stitching!

Hi,
Can the Zamora be sewn with the higher neckline AND with the tie? What adjustments would need to be made?
Thanks –
Wendy
Thank you very much!! I was just about to start cutting out a top and I wanted to raise the neckline.
Everything’s easy once you know how, right? Since I don’t yet know how, “easy” is relative. Necklines for small busted women like me can create a problem when leaning forward, even slightly. There’s just not enough “me” there to hold the neckline in place. I’d love to have the same curve as the pattern, but just high enough to avoid the ugly gap. For those of us who can’t draw a straight line, let alone a curved one, is there a sewing aid to help with getting the neckline to curve smoothly and in the right proportion from the top seam to the perpendicular line used to raise the neckline?
I didn’t draw that curve free hand either 😉 I used the hip curve (or “vary form curve”) in this case. Mine is metal like this: http://amzn.to/1U43ddl, but a plastic one is slightly less expensive. It’s useful not only for drawing the neckline, I use it to draw the waist and hip too (that is when I use pen and paper).
Thanks. I’ll give that a try!
very useful
This is great Kennis. I look forward to the hack on removing the tie. I’ll use this for sure.
Thank you Melissa. I have this very cute purple cotton lawn from Cotton + Steal. I think it’s going to be so comfy as a hacked Zamora. 🙂