
Liana Jeans Sew Along: Day 7 – Sewing Front Pockets
Today we are sewing the front pockets of the Liana Stretch Jeans. Liana Stretch Jeans have front pocket stay that extends into the fly area, which is designed to trim the tummy.
The steps to create the front pockets are pretty straight-forward, but I do have a couple of additional steps not included in the pattern. Let’s get started!
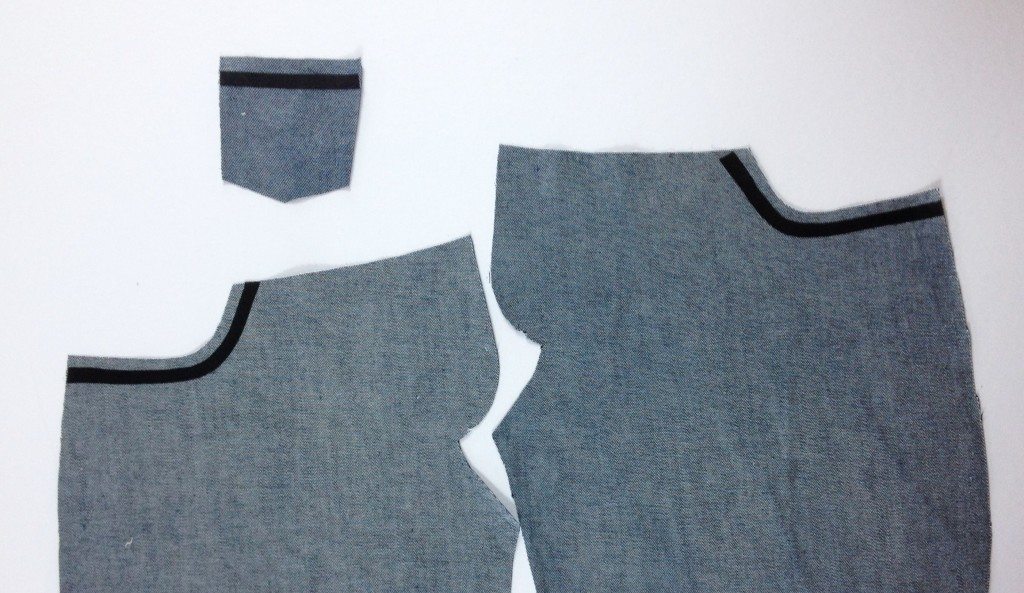
- Apply bias fusible stay tapes on the seam lines of the Front Pocket openings. They will help to prevent the pocket opening from being stretched out. I use the bias version here because it’s easier to go around the curves. I also applied straight fusible stay tape at the seam allowance of the Coin Pocket for the same purpose. Since there’s no curve here, I am using the straight version. This step is not in the pattern instructions and is optional, but I find it useful.
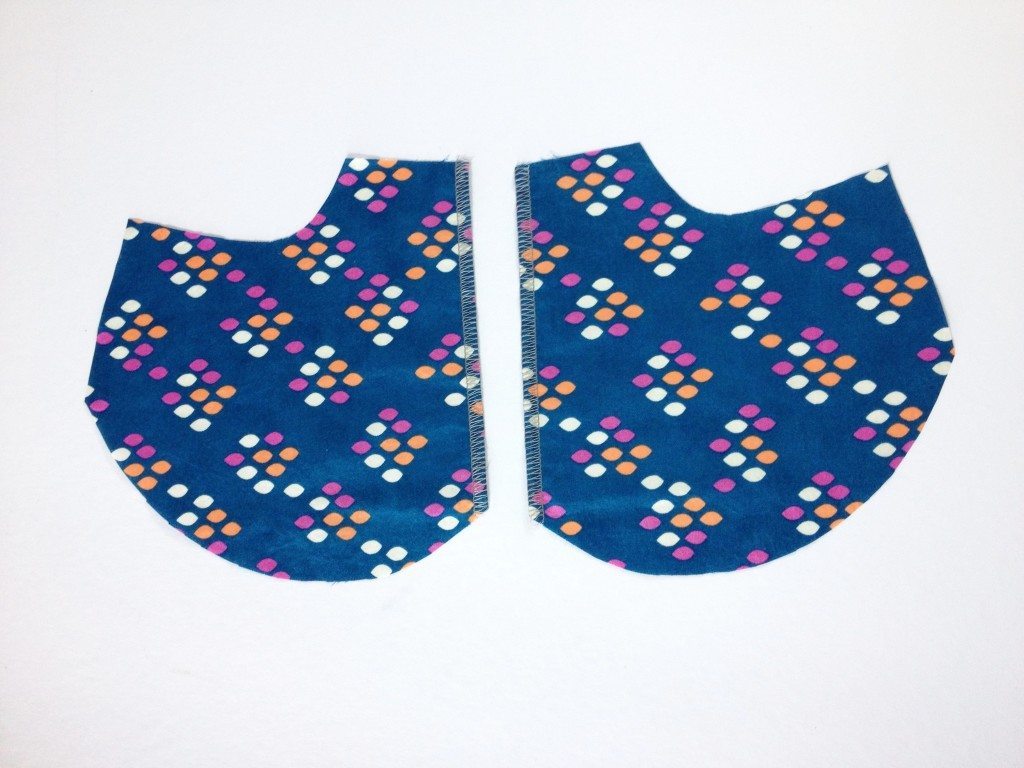
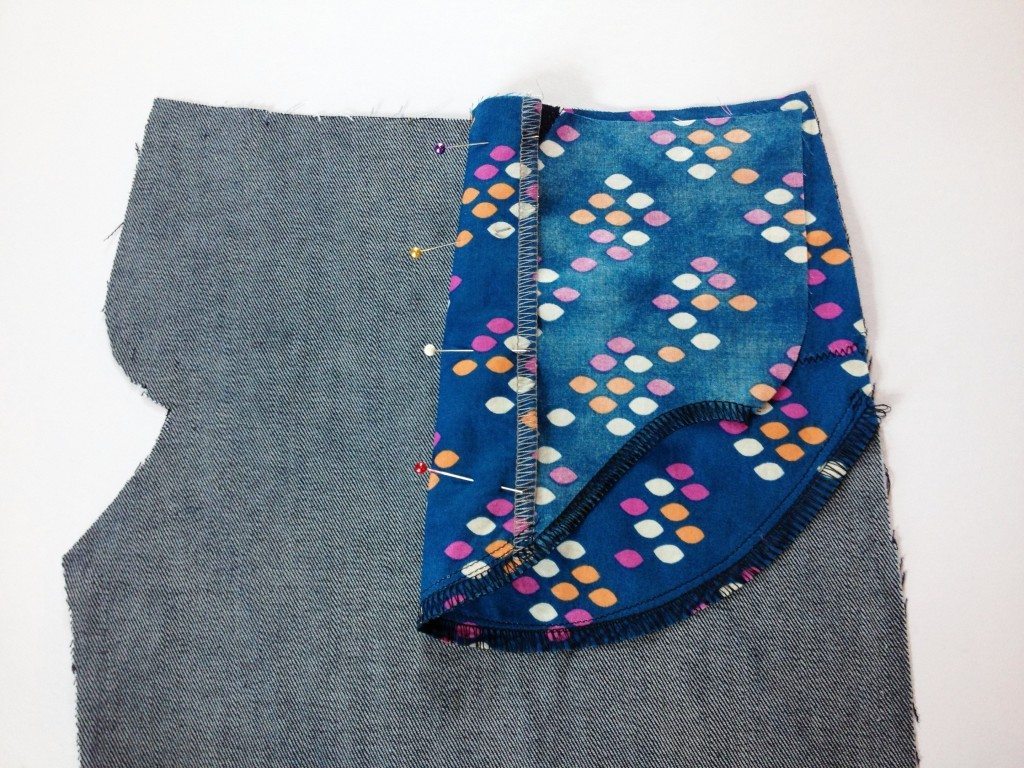
- Finish the vertical raw edge of the Front Pocket Facing. I serge it, but you could do zigzag too.
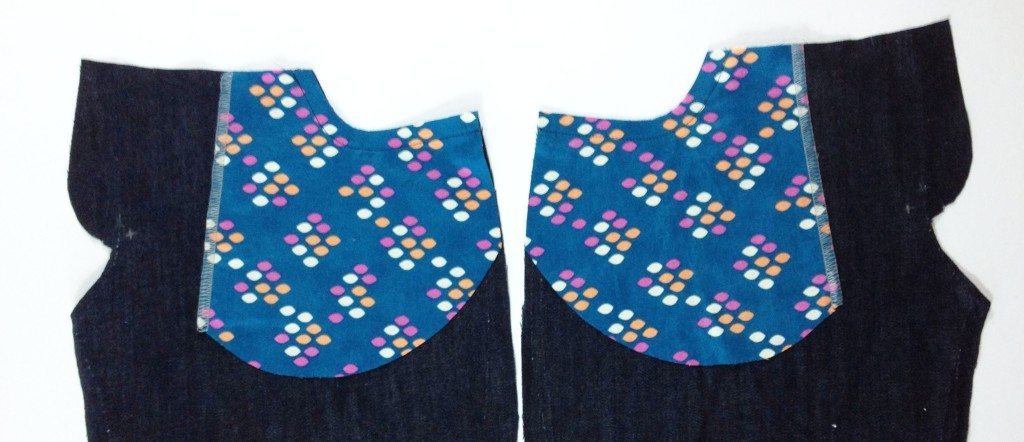
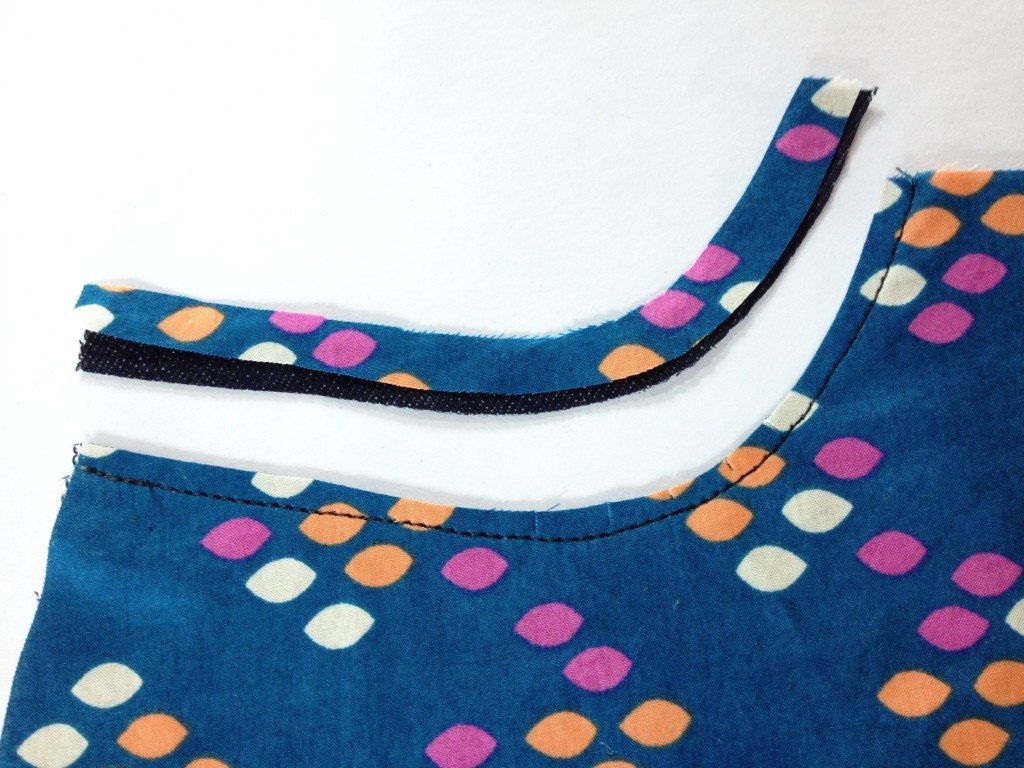
- Put the wrong side of the Front Pocket Facing to the right side of the Front, aligning the pocket opening and side notches. That’s correct; we are not putting them right sides together. Because the pocket’s right side ultimately will be against the body, that’s why we are doing something unusual here. Stitch along the pocket opening.
- Trim the seam allowances. Also clip to the stitch line around the curve. Trimming and clipping are important because otherwise your pocket won’t lay flap after you turn the pocket in.
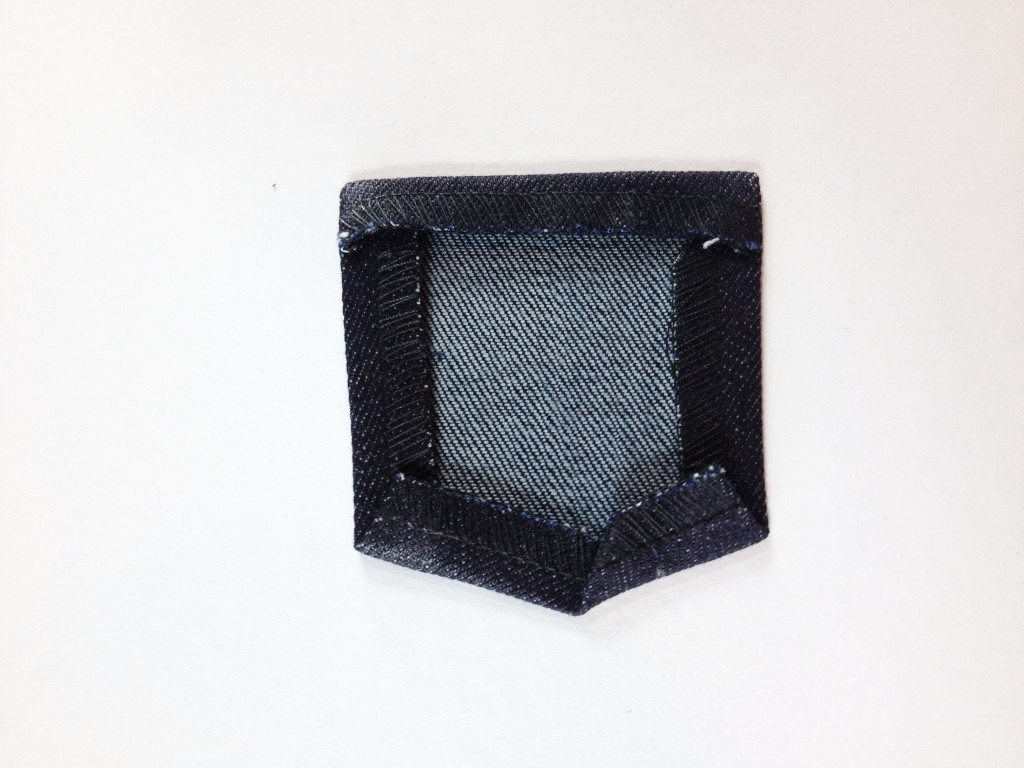
- Turn the Front Pocket Facing in and press. You want the Front Pocket Facing to roll in enough that it’s not visible from the right side of the Front.
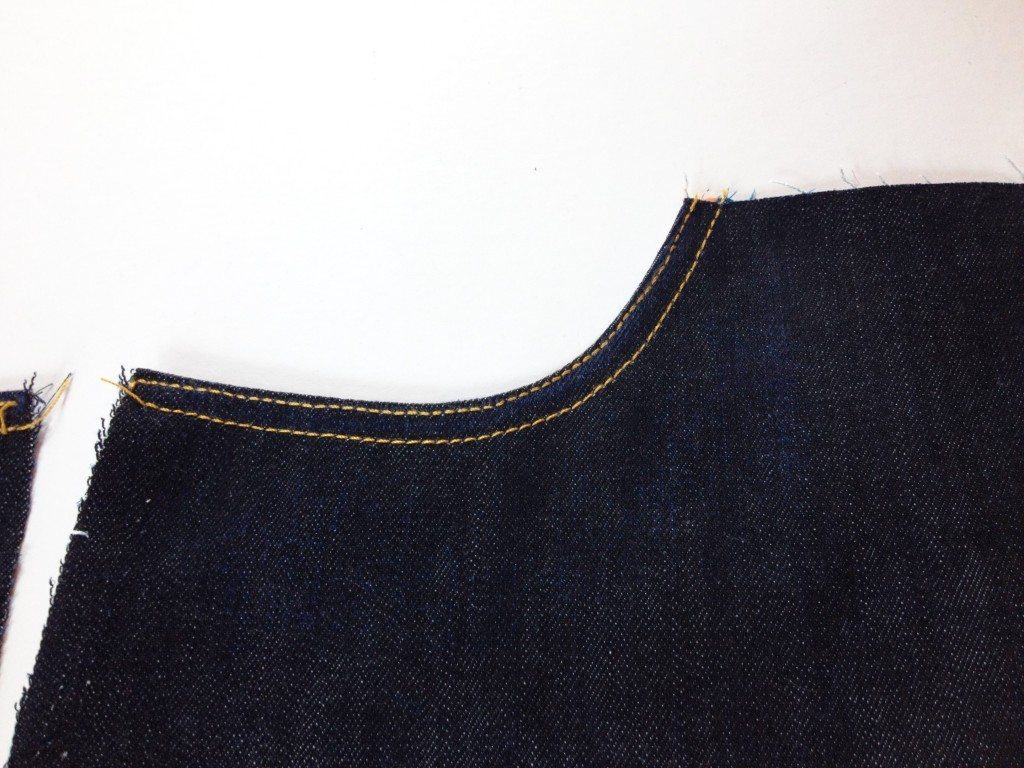
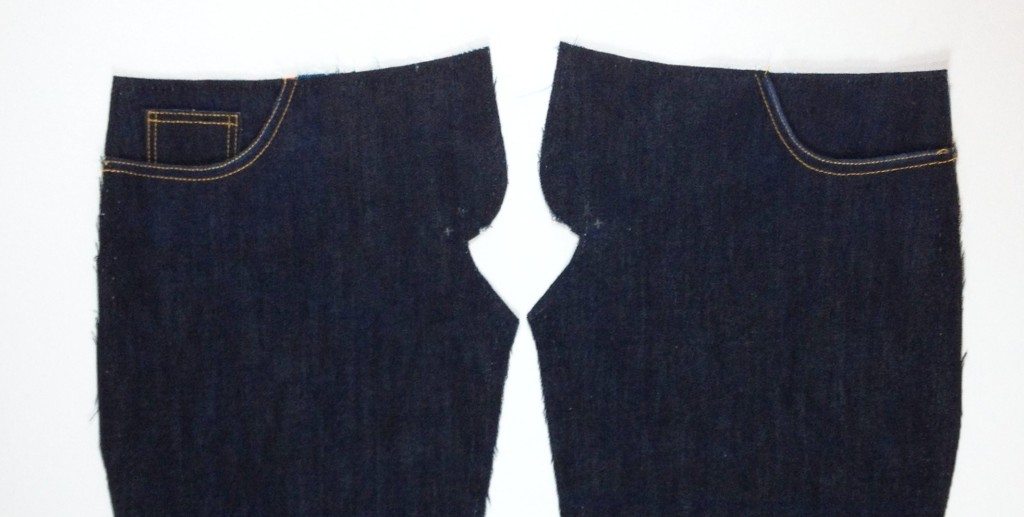
- If you are distressing the fabric, now it’s time to do it. When you are done, topstitch along the pocket openings.
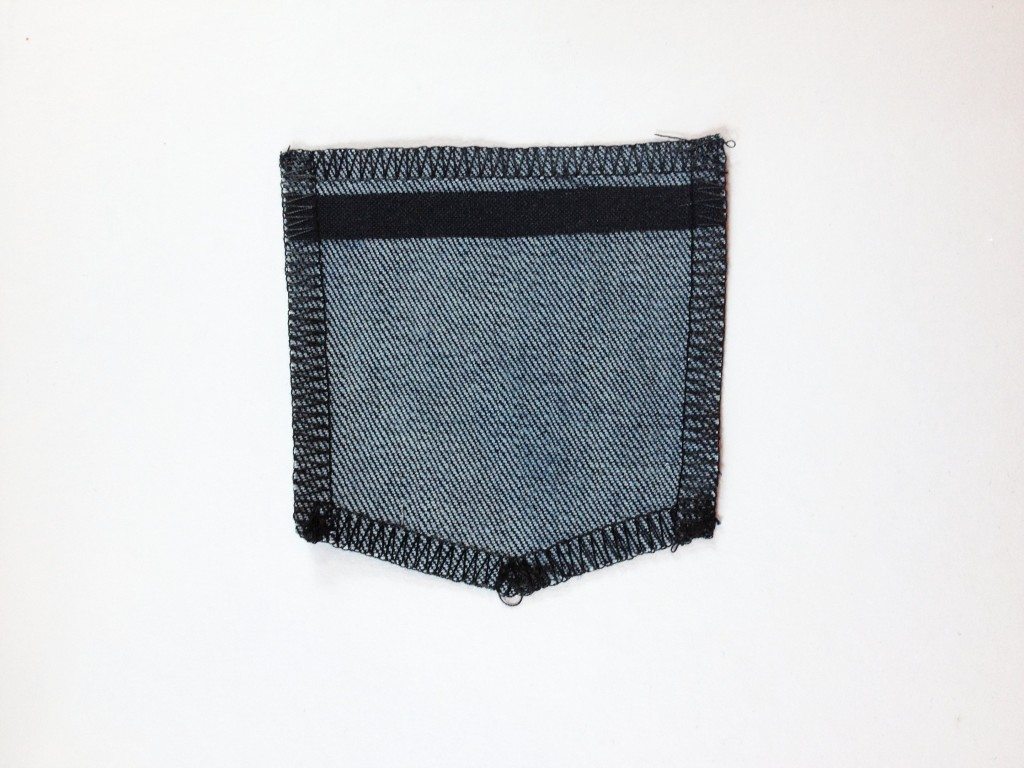
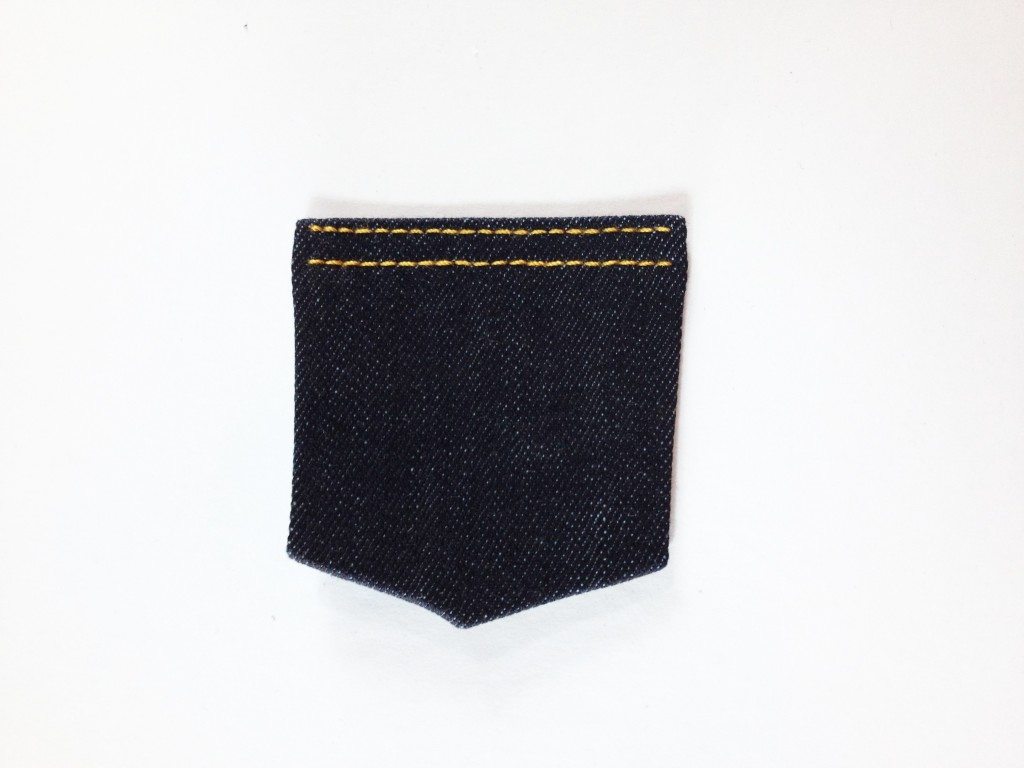
- Let’s take care of the Coin Pocket now. As with most store-bought jeans, there’s only one Coin Pocket, and we are placing it on the right-hand side of the jeans (as worn). Serge or zigzag finish the raw edges of the Coin Pocket.
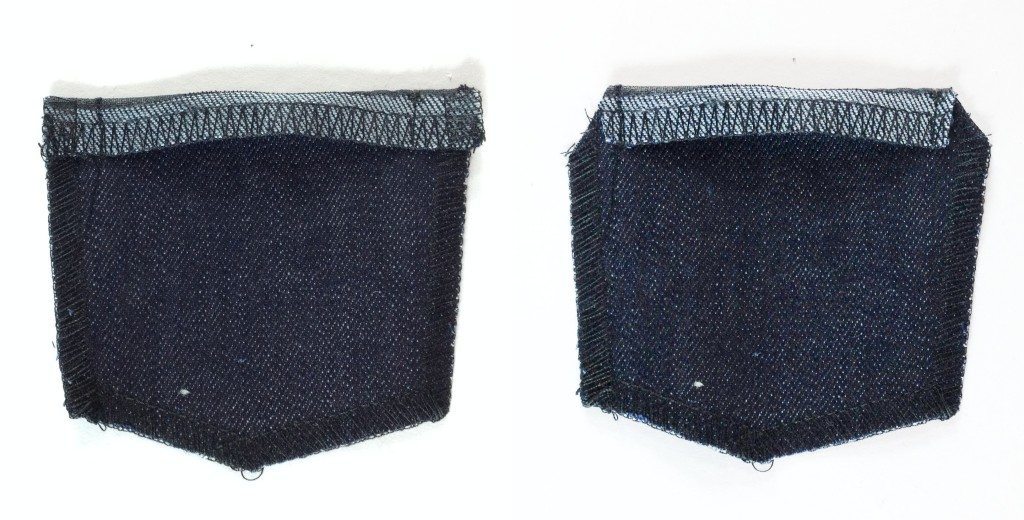
- Flip down the top seam allowance of the Coin Pocket, with right side inside. Then stitch the sides of the Coin Pocket and trim the corners.
- Turn the Coin Pocket right side out, and press all seam allowances in.
- Distress the Coin Pocket if you choose to do it, and then topstitch the pocket opening.
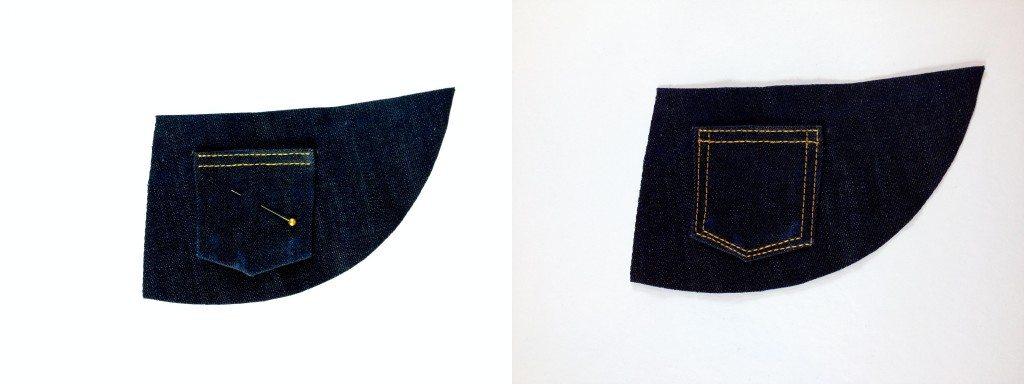
- Place the Coin Pocket on the right-hand side Front Pocket Yoke, according to the circles. Then topstitch on the sides and bottom. I took some liberty here to make the two bottom lines of topstitching closer together because the pocket is so small, but it’s completely up to you. Topstitching is mostly decorative and you can be creative if you want to!
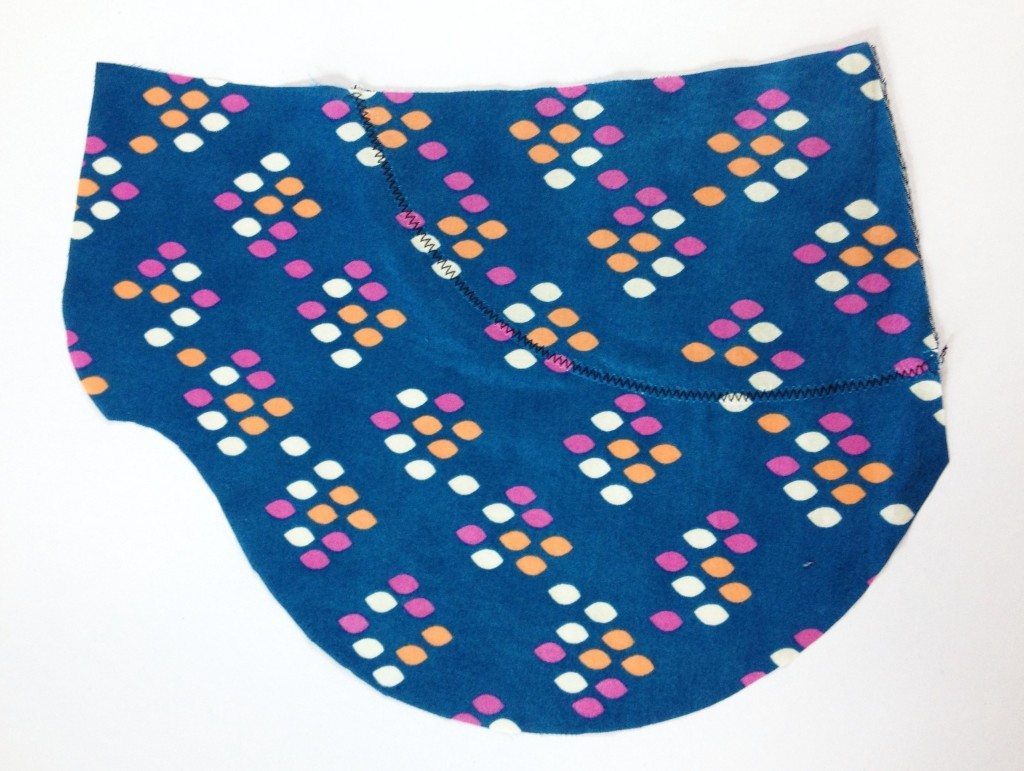
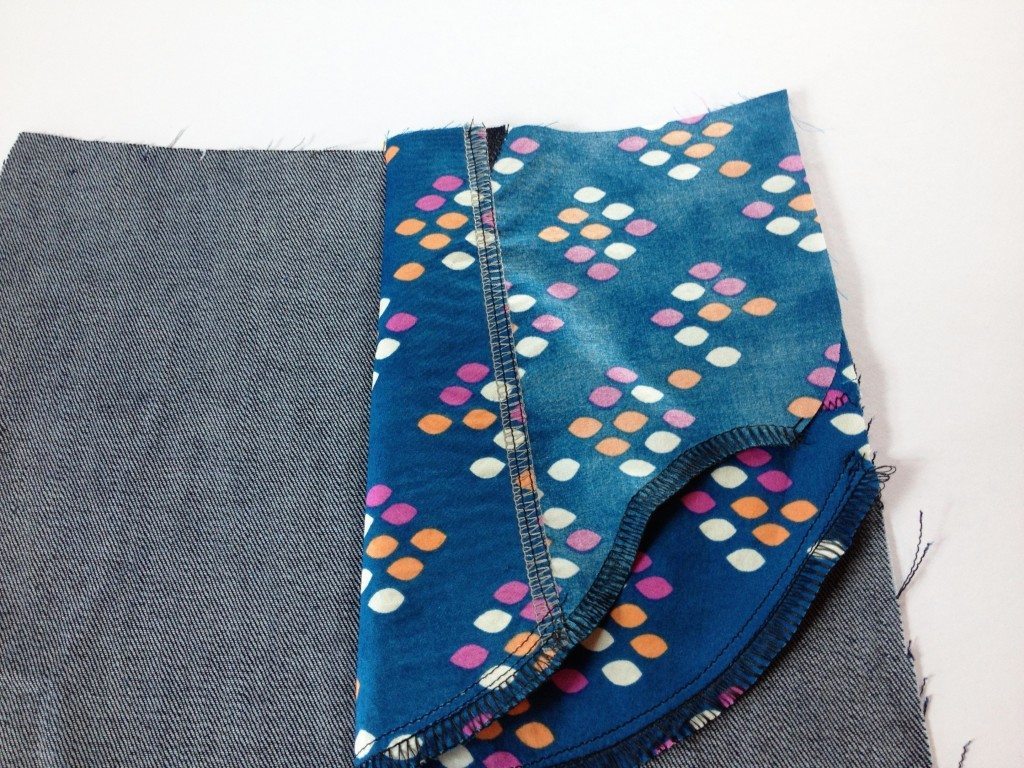
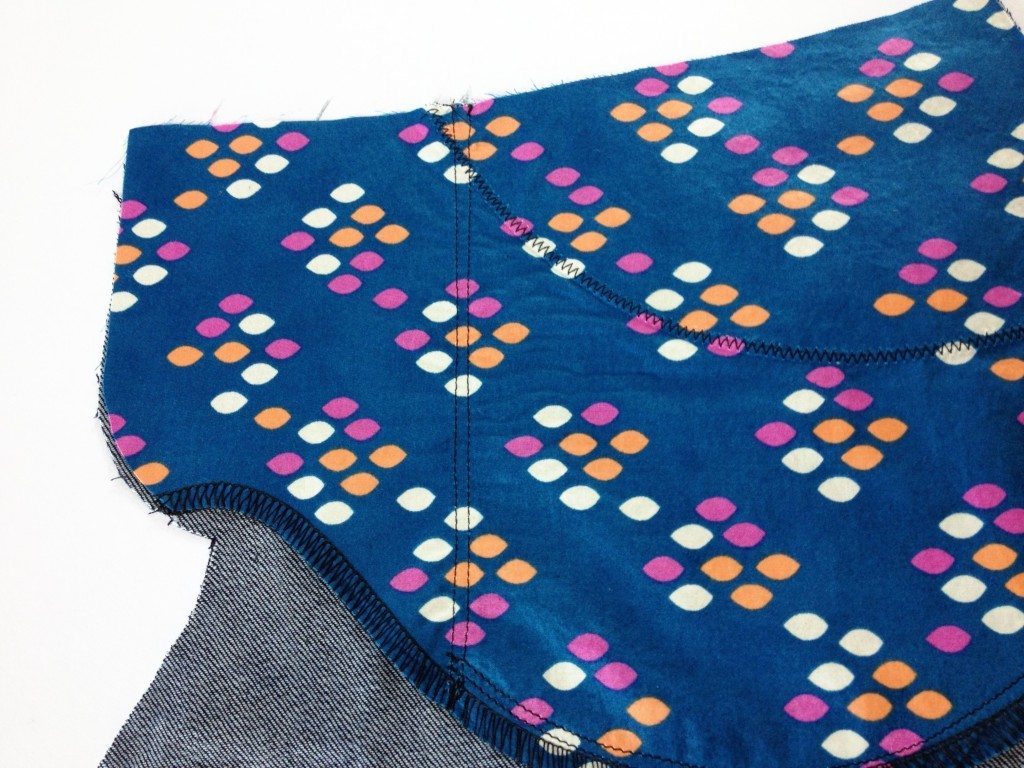
- Put the Front Pocket Yoke to the Front Pocket, wrong sides together (yes, wrong sides together). Use the zigzag stitch to stitch the Front Pocket Yoke onto the Front Pocket along the curve.
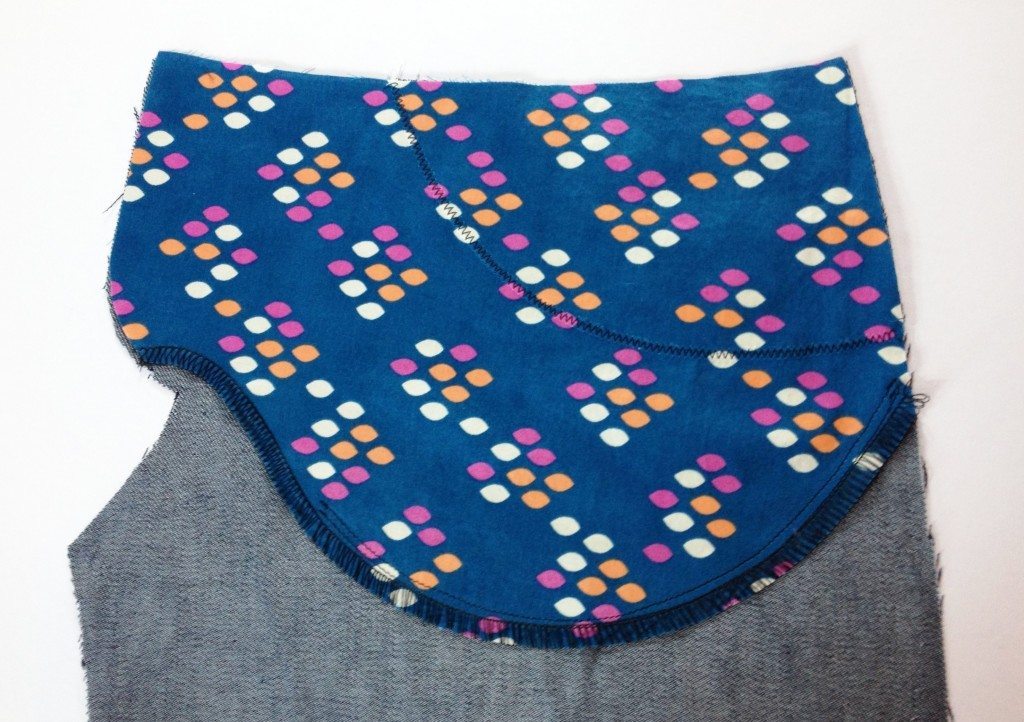
- With wrong sides together, pin the Front Pocket to the Front Pocket Facing. Then stitch along the bottom curve. Stitch again in the seam allowance. If you are like me, I always put a hole inside my pocket; this second line of stitching makes the pocket stronger. Then serge (or zigzag) finish the raw edge along the bottom curve.
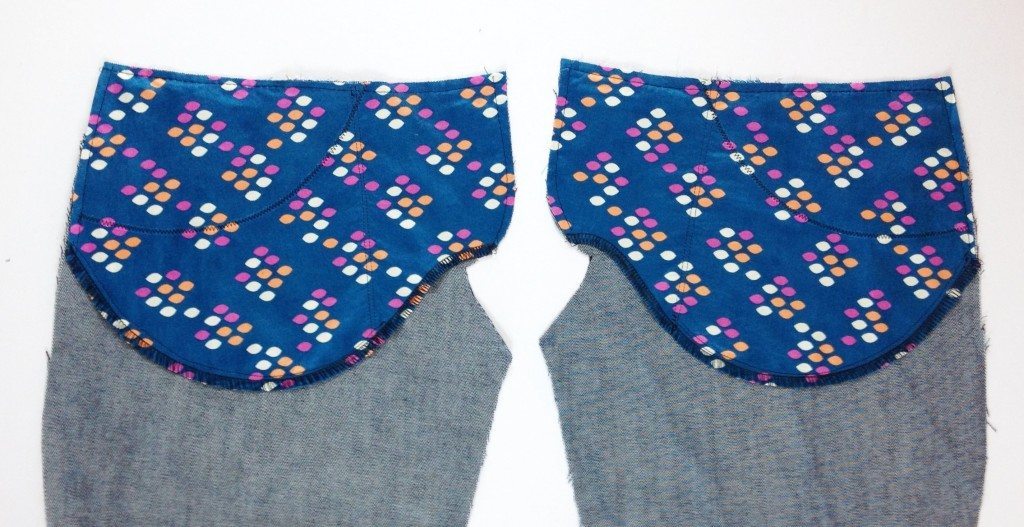
- Flip the pocket over and you will see the vertical seam. Stitch Front Pocket Facing and Front Pocket together along that vertical edge. Don’t stitch it through the Front(denim) though! I stitch two lines there to make it strong. I have also done a zigzag stitch there before.
- Now baste the top, side and around the fly area through all layers.
Today is a breeze, isn’t it? Tomorrow we’ll tackle the fly front zipper.
Here’s the schedule of the Liana Stretch Jeans Sew Along, be sure to look at other posts too!
Day 0: Get Ready!
Day 1: Intro, Material and Supplies
Day 2: Topstitching & Distressing
Day 3: Choosing a size & Cutting Test Garment/Muslin
Day 4: Fitting Part 1
Day 5: Fitting Part 2
Day 6: Sewing the Back
Day 7: Sewing Front Pockets (this post)
Day 8: Sewing Fly Front Zipper
Day 9: Sewing Back to Front & Waistband
Day 10: Hemming and Finishing





Thanks, I was just trying to work out when the bottom of the front pocket gets finished. Looking at the instructions my interpretation of step 21 was that just where the seam was was finished, but looking here the whole bottom of the front pocket is finished in one, not just where it’s attached to the pocket facing.