
Liana Jeans Sew Along: Day 3 – Choosing a Size & Cutting Test Garment/Muslin
Welcome back to the Liana Stretch Jeans sewalong! If this is the first time you see this sewalong, be sure to read the earlier posts.
Today we are printing the pattern pieces and starting to cut out test jeans in preparation for fitting.
Choosing Your Size
When was the last time you measure yourself? Most of us don’t measure ourselves nearly enough. Think about the effort we will be spending on sewing our garments, so starting with the right size will make our lives so much easier. If you have any suspicion that your measurements have changed, or you haven’t measured yourself in a couples of months, go ahead and measure yourself again. For the purpose of Liana Stretch Jeans, we’ll only need to measure the waist (the narrowest part) and the hips (the widest part below your waist).
As with any Itch to Stitch patterns, both body measurements and finished garment measurements are included in this pattern. Because Liana Stretch Jeans use stretch fabric (specially, 20%- 25% stretch – see the Get Ready! post to determine fabric stretch percentage), you see that finished garment measurement is smaller than the body measurement in the hips. That’s called negative ease. The fabric is supposed to stretched to accommodate the body, which also means that the jeans will be fitted.
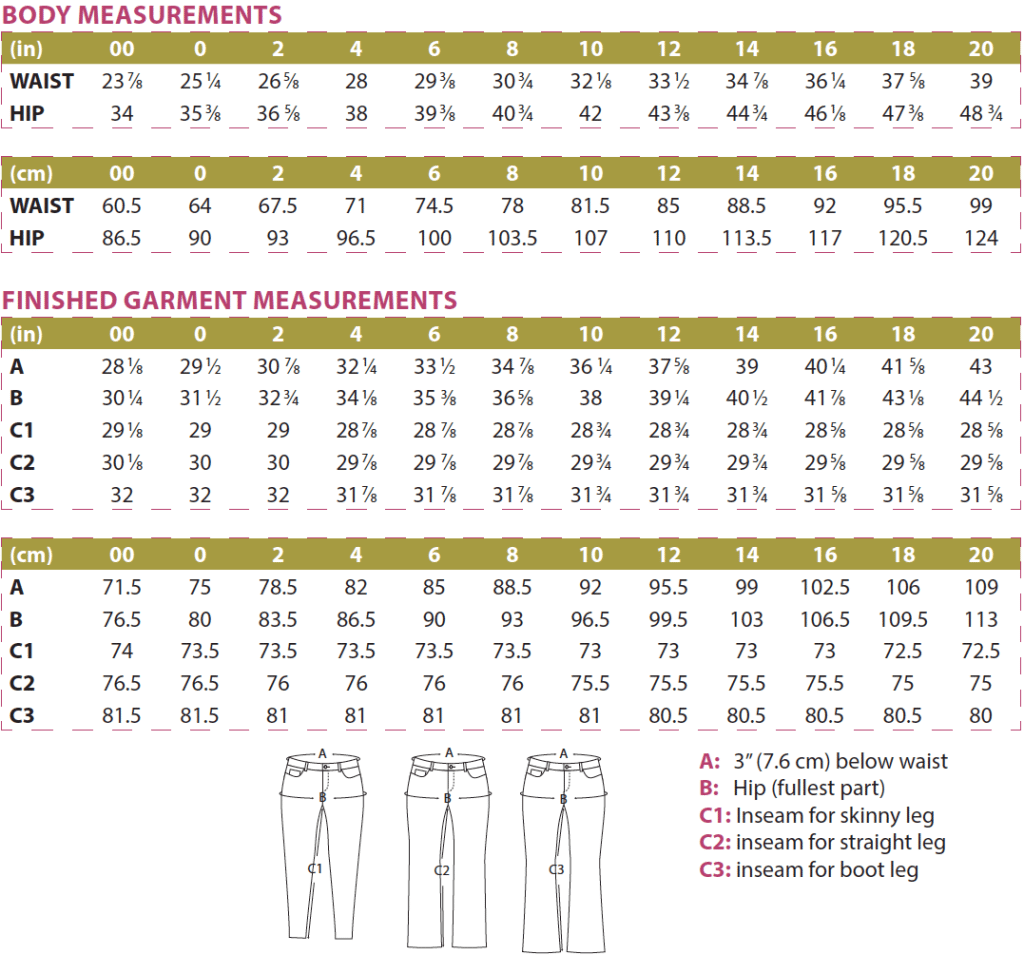
At a glance, you might think that finished garment measurement is larger than the body measurement at the waist. But not so fast! Because Liana Stretch Jeans is designed to sit 3″ (7.6 cm) below the waist (higher in the back for more coverage and comfort), the finished garment measurement is actually taken at that point. For now, you want to only look at the waist body measurement to determine your waist size.
I keep repeating the importance of using fabric with 20% – 25% stretch for both your test garment and your “real jeans” (I apologize if you get annoyed by now). Similar to any stretch/knit garment, the amount of stretch has a huge impact on the fit. In the case of Liana Stretch Jeans, it is even more so because they are fitted. I want to be able to keep my jeans up as well as zip my jeans up, and I know I am not alone. So it’s better to use the right amount of stretch.
But what if you have that denim fabric you really want to use in your stash, and it has 10% or 35% of stretch? The fabric is still usable, but you will need to account for it by sizing up or sizing down. The general rule of thumb is to use one size smaller if your fabric has an additional 10% of stretch. Conversely, go one size larger if your fabric has 10% less stretch. That is only a loose rule, but luckily, we are doing a test garment, so you will be able to adjust and fine tune. So if you are between sizes and your fabric is just a tad less/more stretchy, then don’t fret, pick the larger size and we’ll move on.
The instructions of blending sizes are also included in the pattern (all Itch to Stitch patterns have them). So you can pick one size for the waist and one size for the hip if necessary. For pants, I can generally pick one size without blending. But for dresses, my bottom half is solidly one size (sometimes even two sizes) bigger than the top. That’s why I can never buy a ready-to-wear dress unless the skirt part is very flare. The beauty of making our own clothes is that we can use different sizes for different parts of our bodies. This is completely typical and expected for a custom-fit garment. I am not going to regurgitate the instructions here, but be sure to read page 8 of the instructions if you need to blend sizes.
For my pair of Liana Stretch Jeans, I have this dark blue stretch denim from Mood Fabrics that I want to use, and it is in fact a little less stretchy. So I am using a size 10 for me.
Printing Pattern
All Itch to Stitch’s patterns have the “Layers” function; the Liana Stretch Jeans pattern is no exception. The “Layers” function allows you print only the size or sizes you need. That means you don’t have to deal with all the lines for 12 sizes. Click on the little stacked diamond icon on the left and you can choose the size(s) you need. If you are using different sizes for your waist and your hip, be sure to choose both sizes.
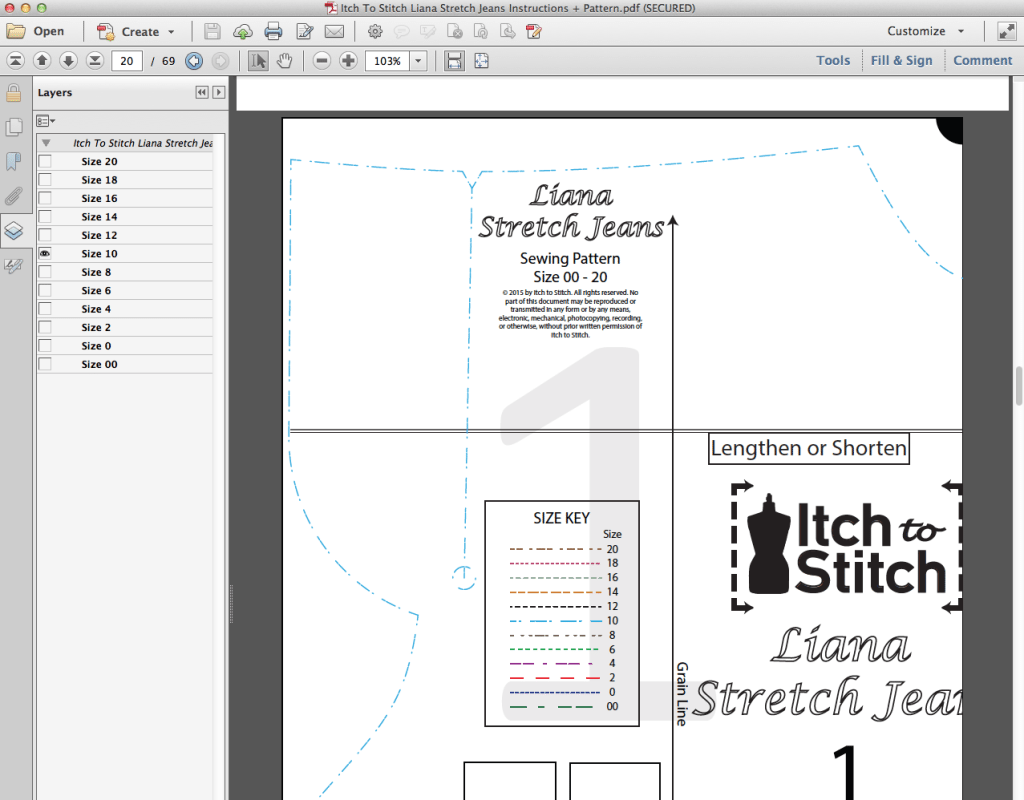
Use the “Layers” function to print size 10 only for me
I never print the entire pattern with instructions so I can save a few branches of a tree. You can also do the same by print only the pages you need, especially the Liana Stretch Jeans pattern includes three leg options – skinny, straight and boot. I will be making the boot option, so I will print the necessary pages only.
| Leg Options | Print Pages |
|---|---|
| Skinny | 20 – 33, 34 – 45 |
| Straight | 20 – 33, 46 – 57 |
| Boot | 20 – 33, 58 – 69 |
Now let me tape the pattern pages together while listening to some podcasts.
Assembling Pattern Pieces
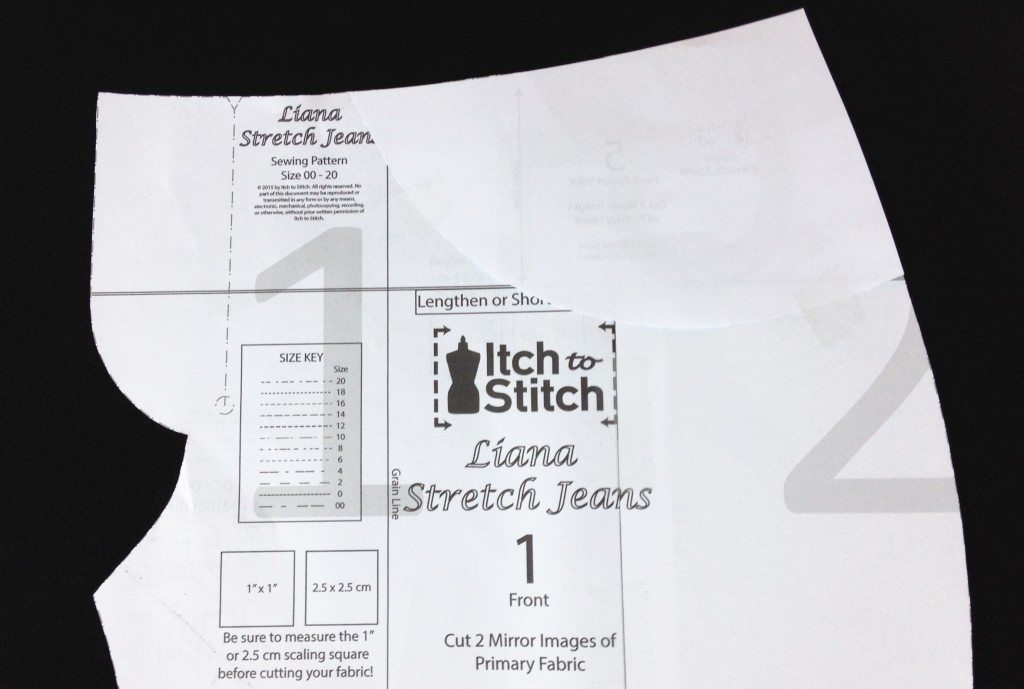
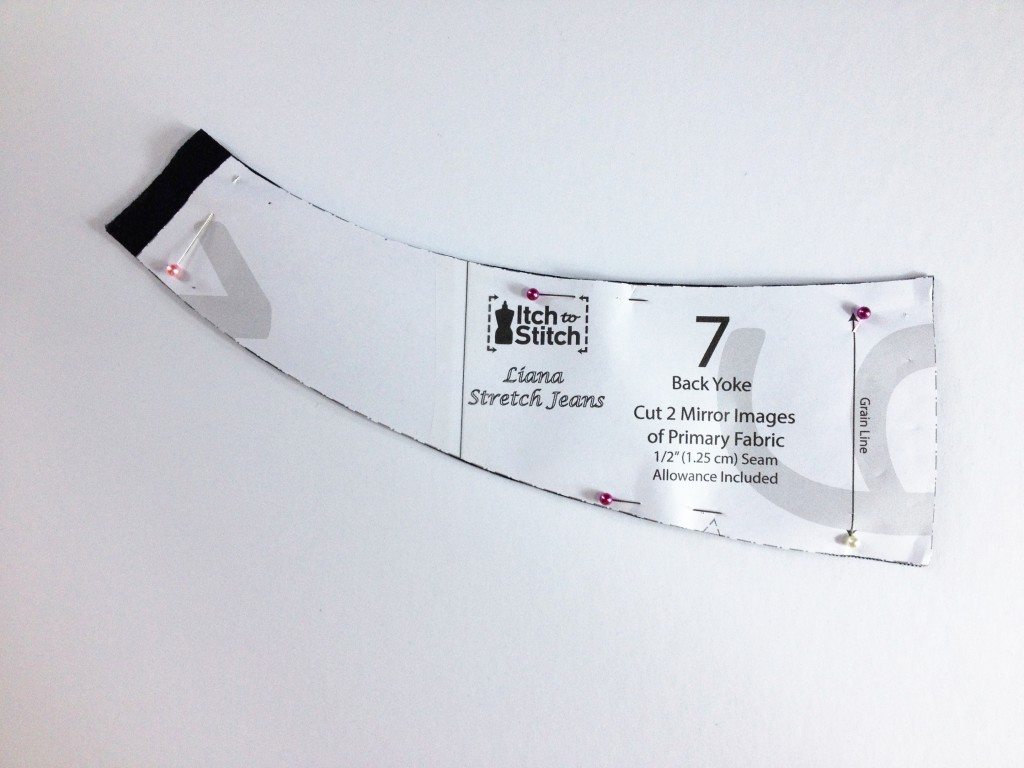
You can go ahead and cut out all the pattern pieces, but for making the test jeans, we only need four main pieces, the Front (1 and 1A/B/C), Back (2 and 2A/B/C), Front Pocket Yoke (5) and Back Yoke (7). I don’t cut all pattern pieces out immediately because I can be pretty disorganized and am afraid I’d lose a piece, but you could very well cut everything out and put them in a safe place. We don’t need the other pieces right now because we will not be creating the front pockets, back pockets and waistband for the test garment.
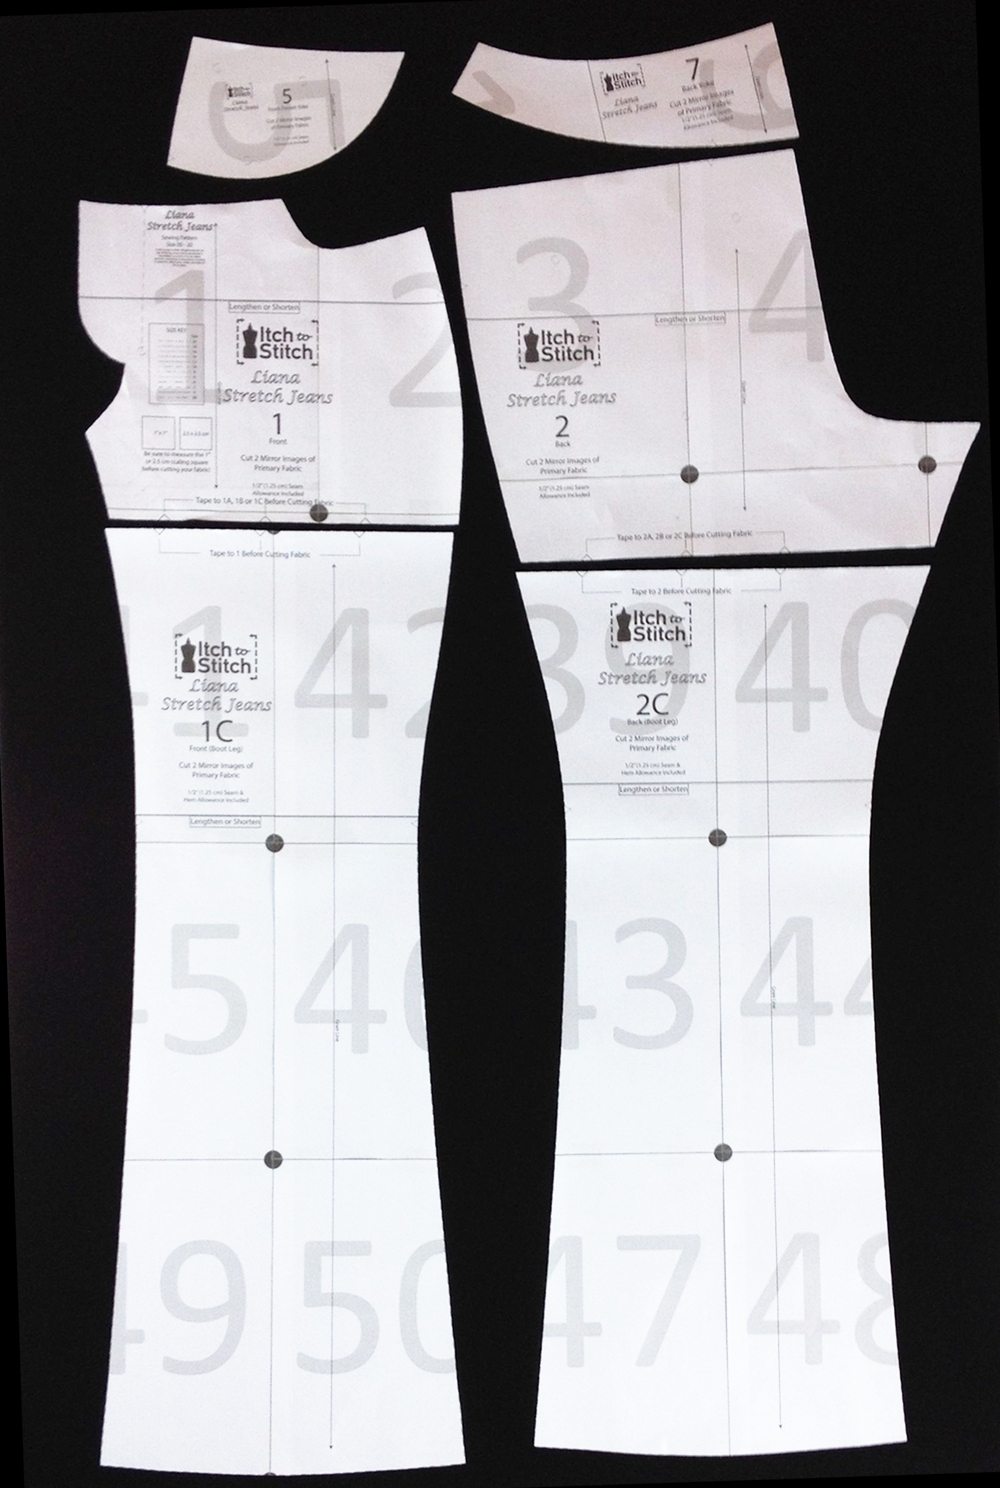
Only the Front (1 & 1A/B/C), Back (2 & 2A/B/C), Front Pocket Yoke (5) and Back Yoke (7) are needed for the test jeans.
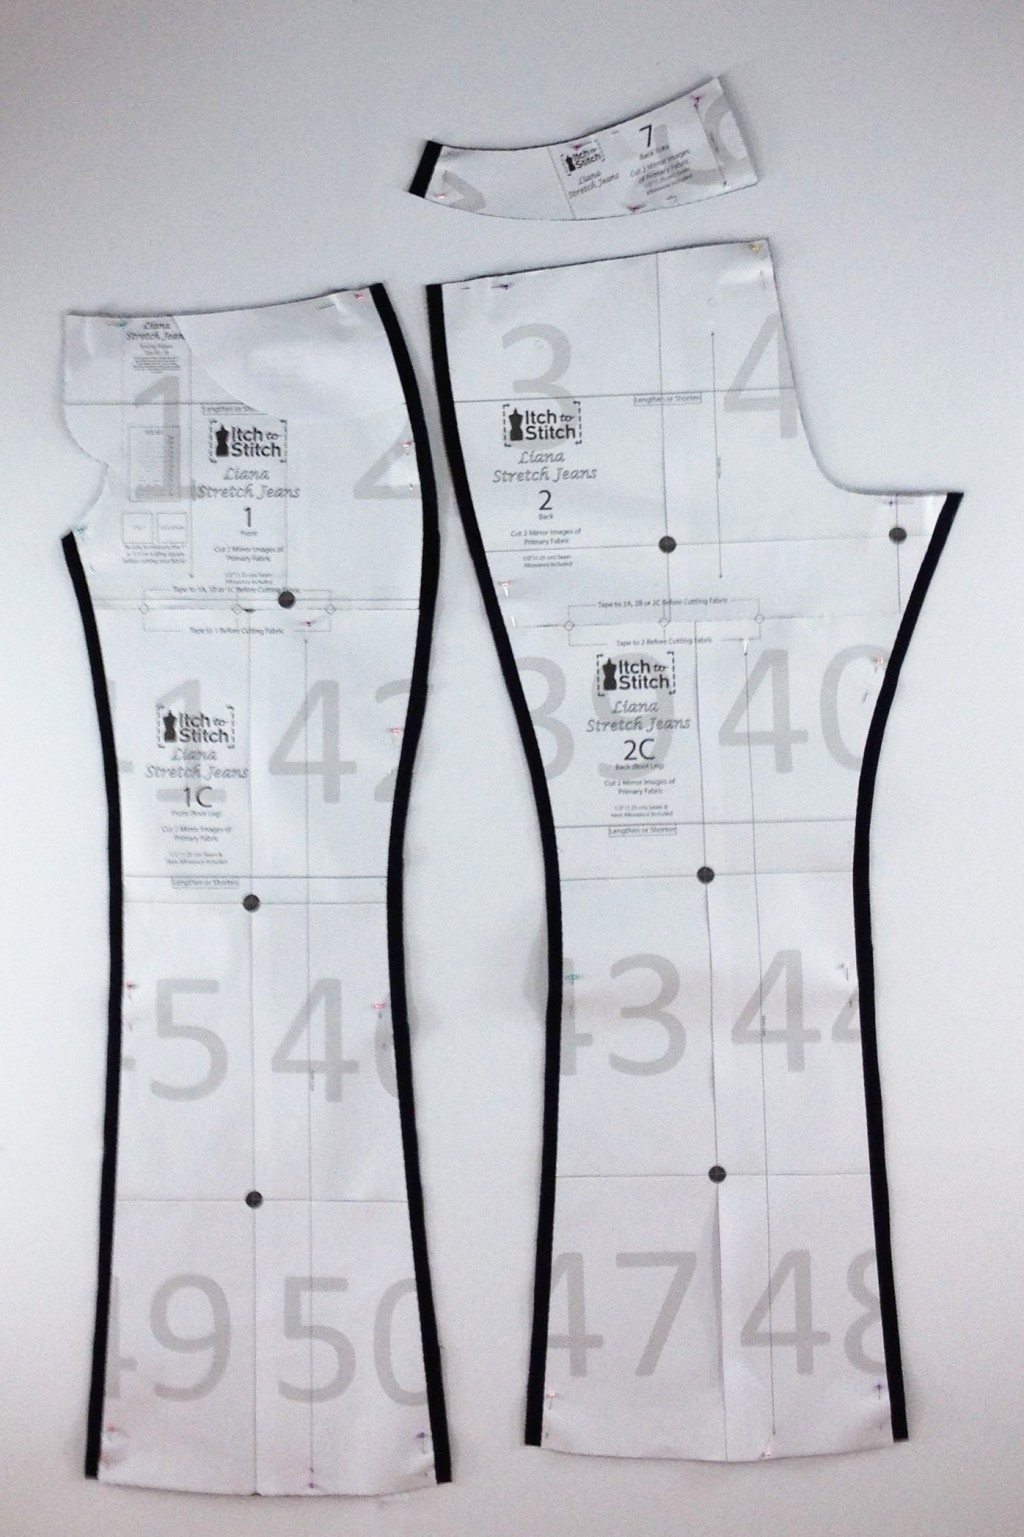
There’s a bit more prep work that needs to be done to the Front and the Back pieces. The Front is broken into two parts – the top part (1) needs to be taped to the bottom part (1A for skinny, 1B for straight or 1C for boot). Similarly the back is also broken into two parts -the top part (2) needs to be taped to the bottom part (2A for skinny, 2B for straight or 2C for boot).
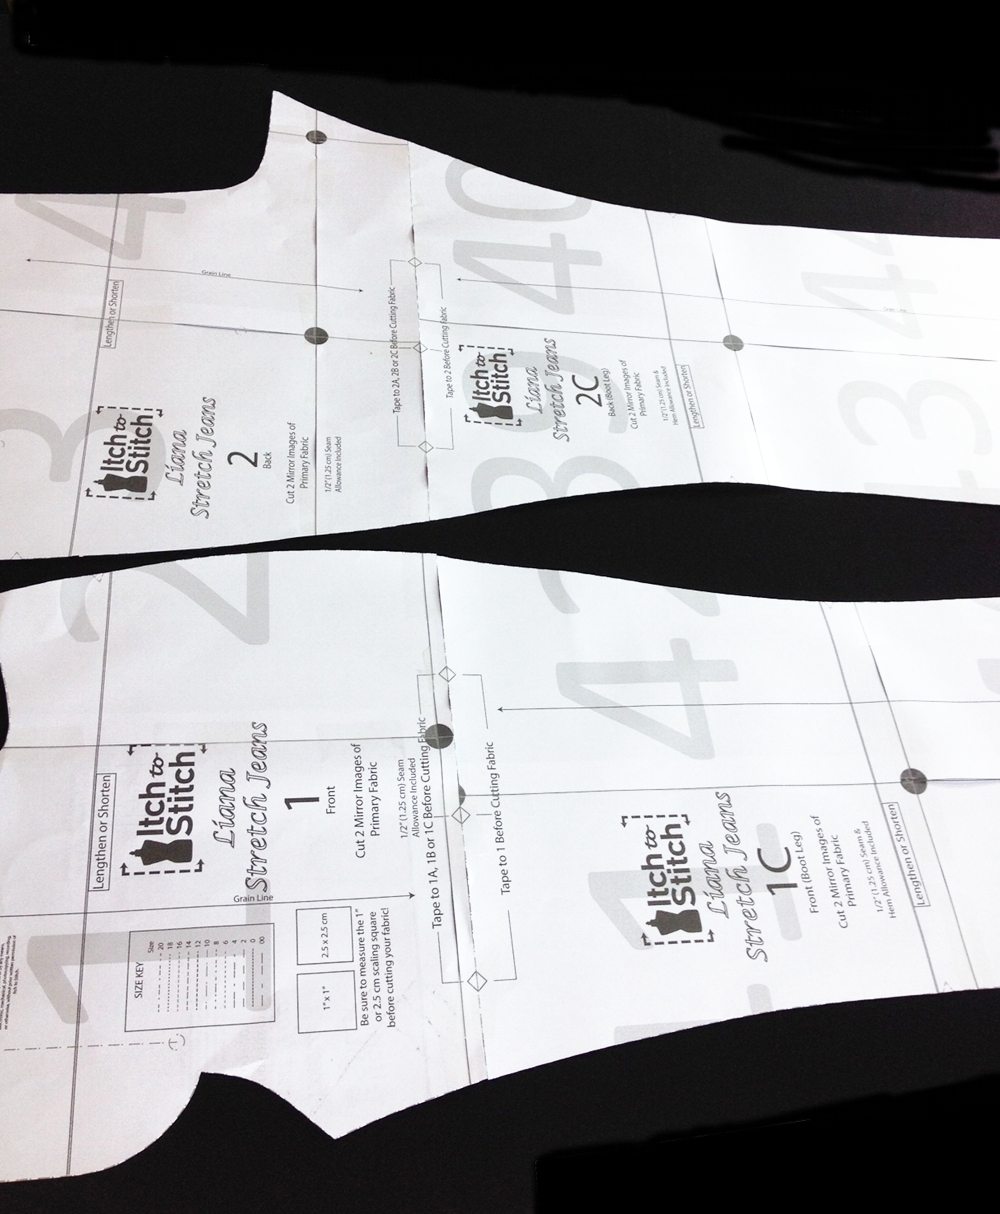
Prep Front and Back by taping the select leg option to the top part
I am also temporarily taping the Front Pocket Yoke to the Front piece to eliminate the pocket (hence, don’t go too crazy with the tape; you will remove the tape later on). Be sure to match the notch and top when taping them together. You will have to flip the Front Pocket Yoke pattern to do that.
Tape the Front Pocket Yoke to the Front to eliminate the front pocket for the test jeans.
Cutting Fabric
I pressed my fabric and placed my pattern pieces on the folded, double-layered fabric. Be sure to cut your fabric on grain, like you normally would.
Now this is the departure from the standard operating procedure: I am adding an extra 1/2″ (1.25 cm) seam allowance on the sides and inseams for both the Front and Back pieces as well as the side of the Back Yoke. That means at those places, we now have 1″ (2.5 cm) seam allowances, instead of 1/2″ (1.25 cm), so that we have some room for adjustment if necessary. I use my chalk wheel and seam gauge and directly draw the extra seam allowances on the fabric after I pin the pattern pieces in place. I don’t add the extra seam allowances to the crotch curves, top, bottom nor the top, bottom and center seam of the Back Yoke .
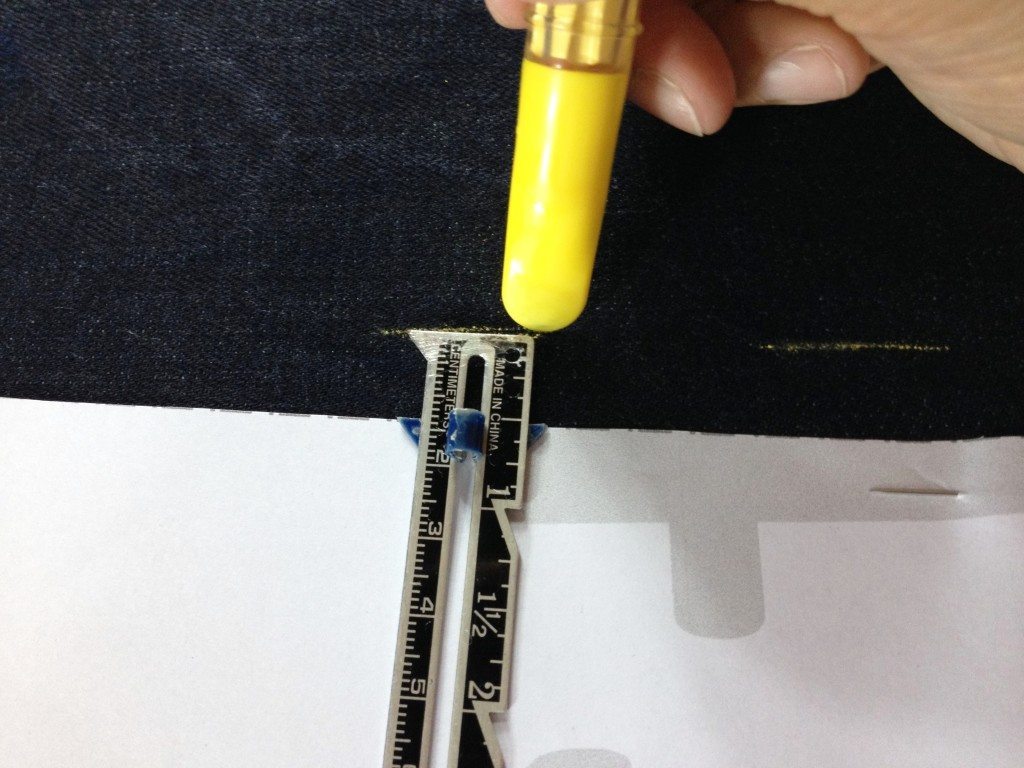
Use chalk wheel to add extra seam allowances.
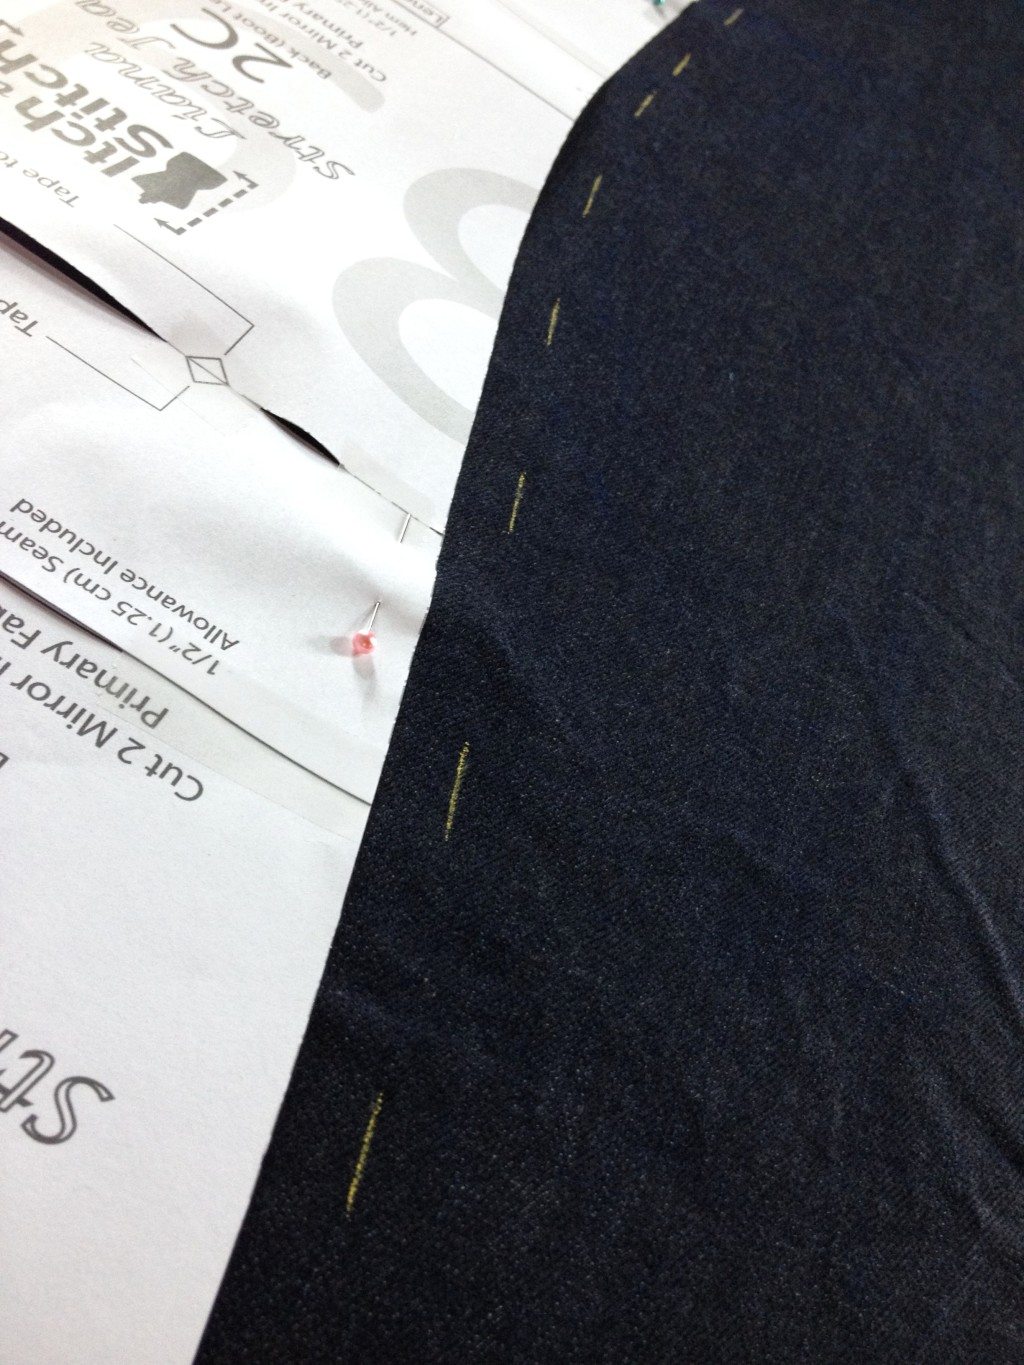
Use chalk wheel to add 1/2″ (1.25 cm) extra seam allowances to sides and inseams.
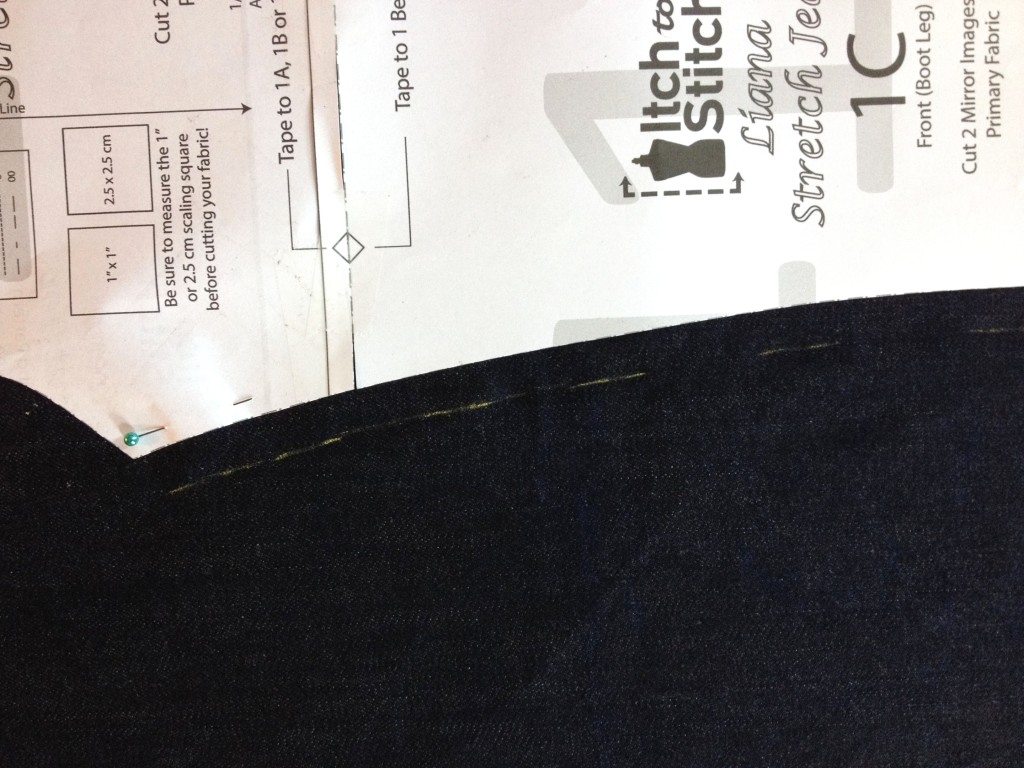
Use chalk wheel to add 1/2″ (1.25 cm) extra seam allowances to sides and inseams.
I cut them out with my scissors; if rotary cutter is your tool of choice, go right ahead!
Cut out the pieces
These are all the pieces you have for the test jeans.
Transfer Markings
The markings you need to transfer are the notches at the knees for both the Front and Back pieces. My way of marking notches is to snip 1/8″ (3 mm) into the seam allowance. You also need to transfer the circle marking and the notch at the zip fly.
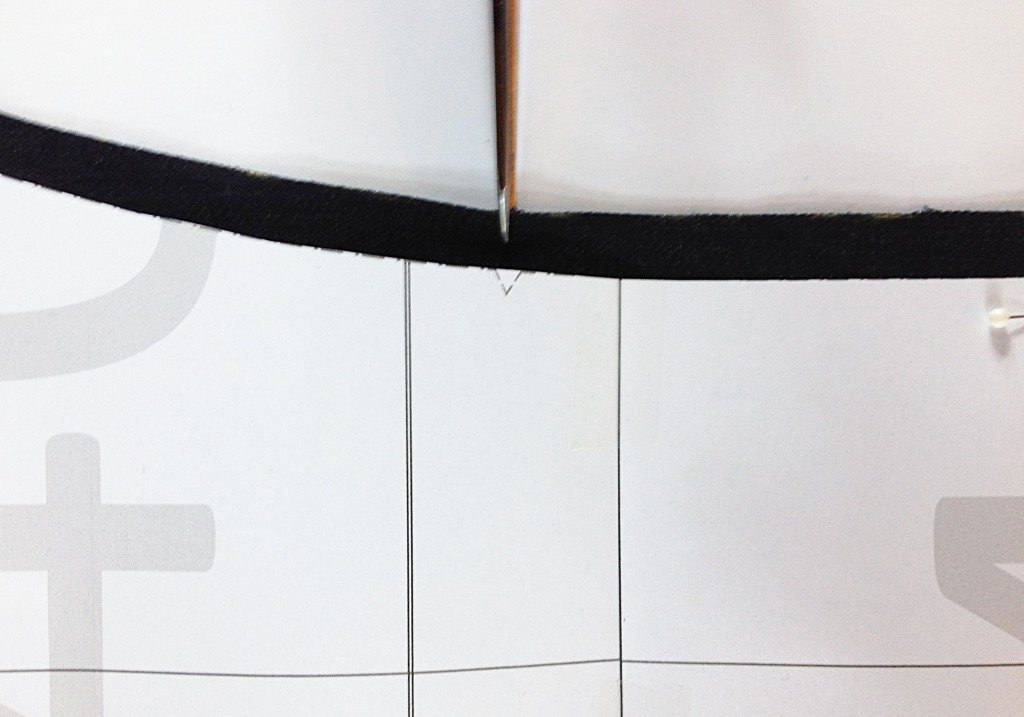
I snipe to mark the notches
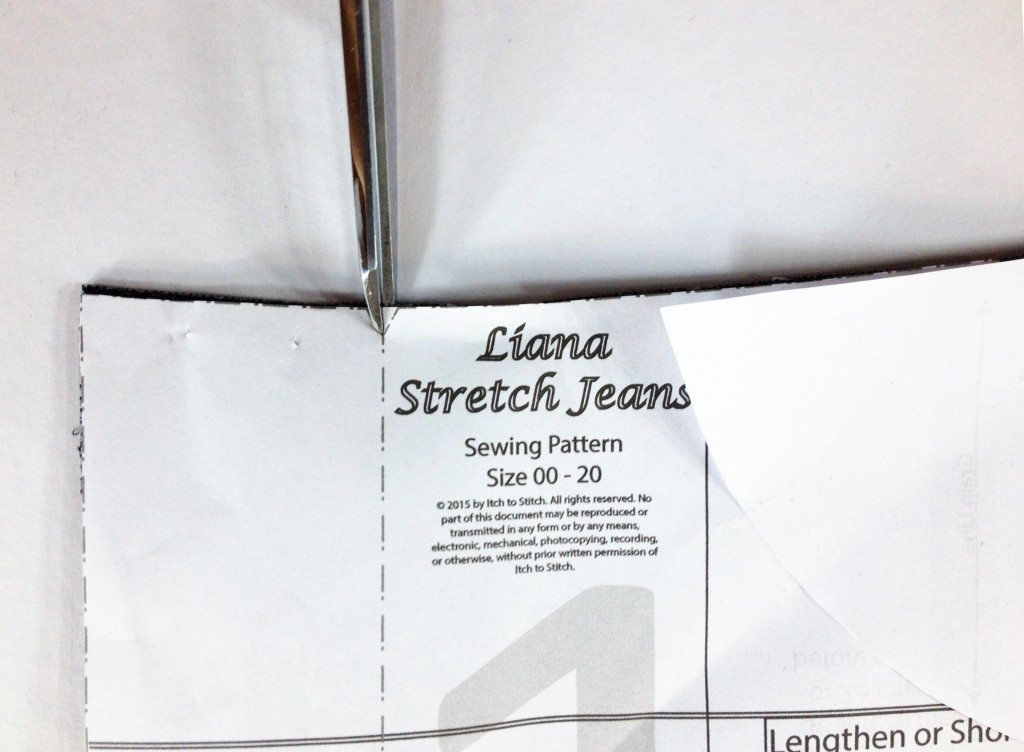
Mark the notch on the zip fly
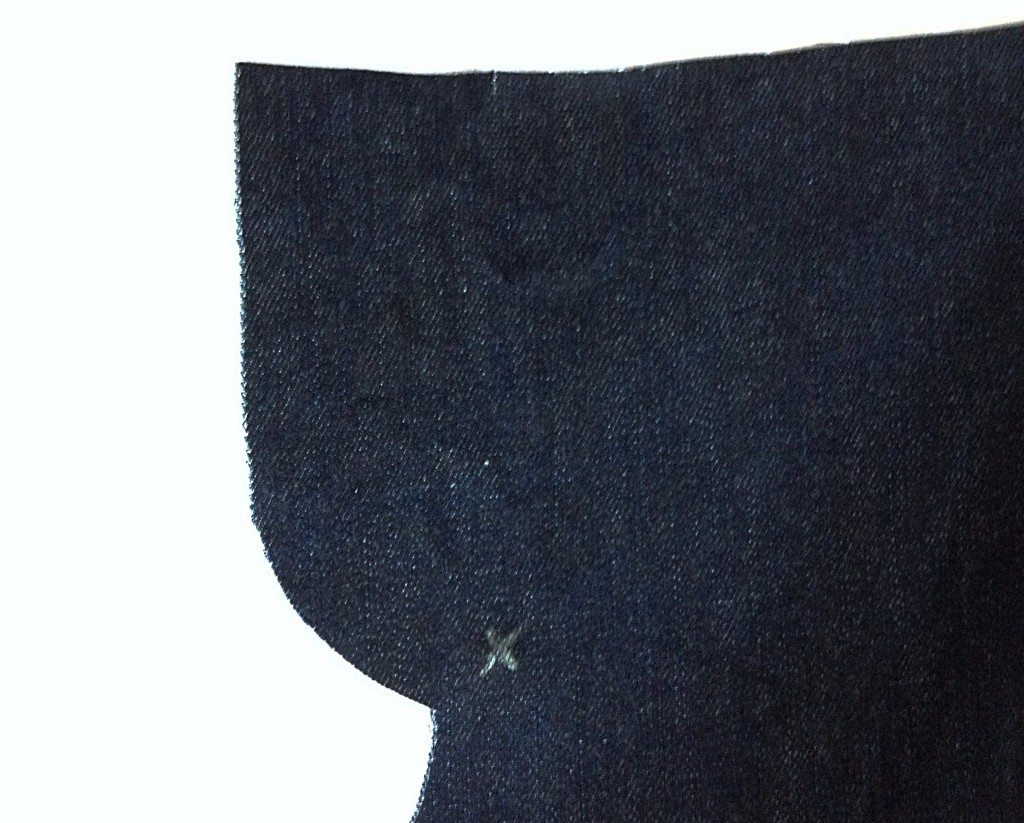
Mark the zip fly circle
That’s all for today! Next time we’ll be doing some fitting.
Here’s the schedule of the Liana Stretch Jeans Sew Along, be sure to look at other posts too!
Day 0: Get Ready!
Day 1: Intro, Material and Supplies
Day 2: Topstitching & Distressing
Day 3: Choosing a size & Cutting Test Garment/Muslin (this post)
Day 4: Fitting Part 1
Day 5: Fitting Part 2
Day 6: Sewing the Back
Day 7: Sewing Front Pockets
Day 8: Sewing Fly Front Zipper
Day 9: Sewing Back to Front & Waistband
Day 10: Hemming and Finishing

I’m really thinking hard about attempting jeans. But before I buy the pattern, I have a fitting question. I’m pretty short (5’1″). I have desperate issues getting pants to fit. My wearing waist is 40, my high hip is 46 (a shelf, 3 inches below my wearing waist), and my low hip is 43 (6 inches below wearing waist). Some of the high hip measurement includes my belly. I’ll probably need to make a large abdomen adjustment to keep the jeans from pulling down in the front. Do you have any guidance for me for picking a size and how my fitting challenges will change the way I approach this pattern?
Hi! I would think about where I’d want the waist to sit first. Would I want the waist to go above/on the tummy or under? Wrap the measuring tape around here I’d want the waist to sit and use that measurement. Looking at your measurements, I think your hip will end up having some extra room, but then you can adjust it as you see fit. You probably will also need to shorten the rise. Measure your rise and compare it to the rise measurement in the table and see how much you should remove to start with. Making a muslin will be necessary (and with a little persistence). I wish you the best!