
Invisible Zipper with Lining Installation – Part 2
This post is about installing a lining with an invisible zipper. Part 1 addressed how to sew an invisible zipper, and this post, part 2, deals with the lining.
++++++++++++++++
In the last post, I mentioned that I came up with a new way to sew the lining along with an invisible zipper. For the sake of completeness, I went over how to sew an invisible zipper. In this post, I am getting to the meat of the tutorial, which is the lining itself.
This method also works if you use a facing without the lining. All you have to do is to sew to the bottom of the facing instead of all the way down to the lining. But I will point that out when we get to that part.
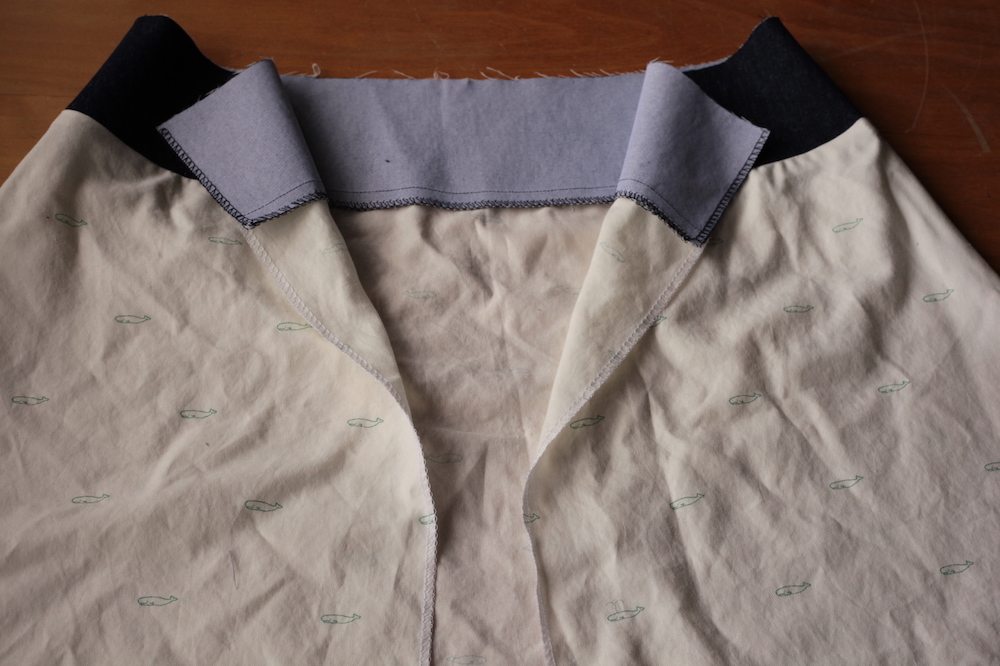
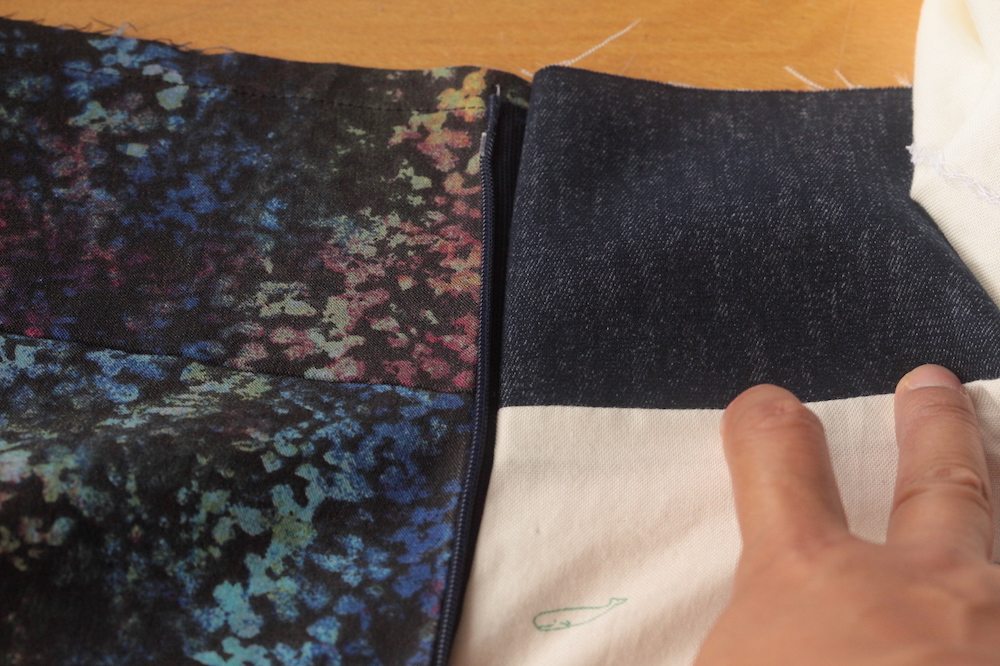
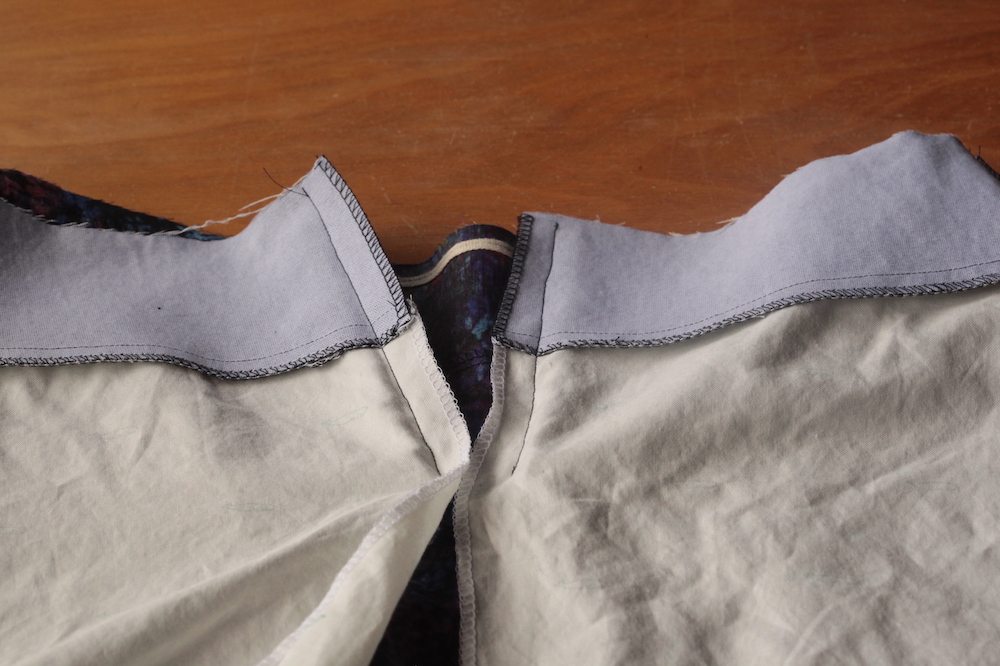
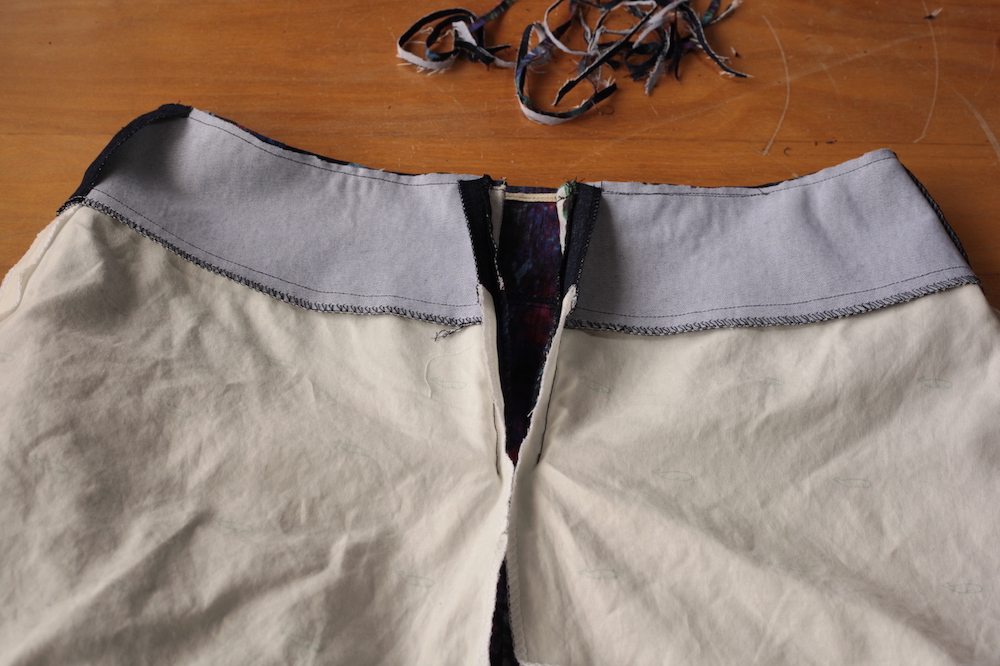
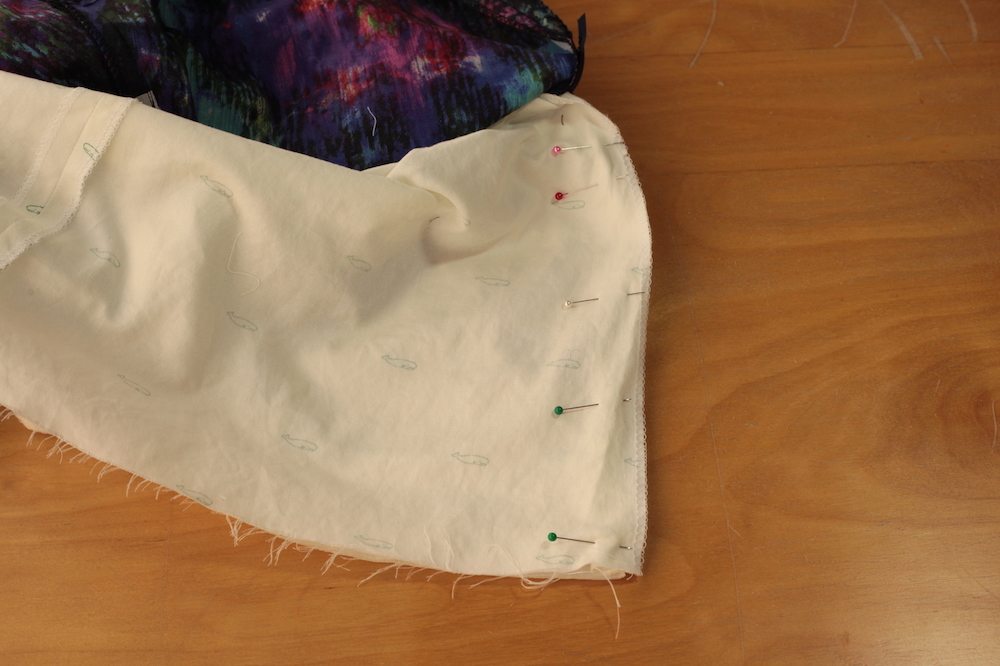
First of all, you should have the lining already sewn together on the side seams and to the facing. (Isn’t my whale cotton fabric adorable?)

Also, this is the time to finish the raw edge in the center back. Take care not to trim, if possible, when serging to ensure the correct width of seam allowance.
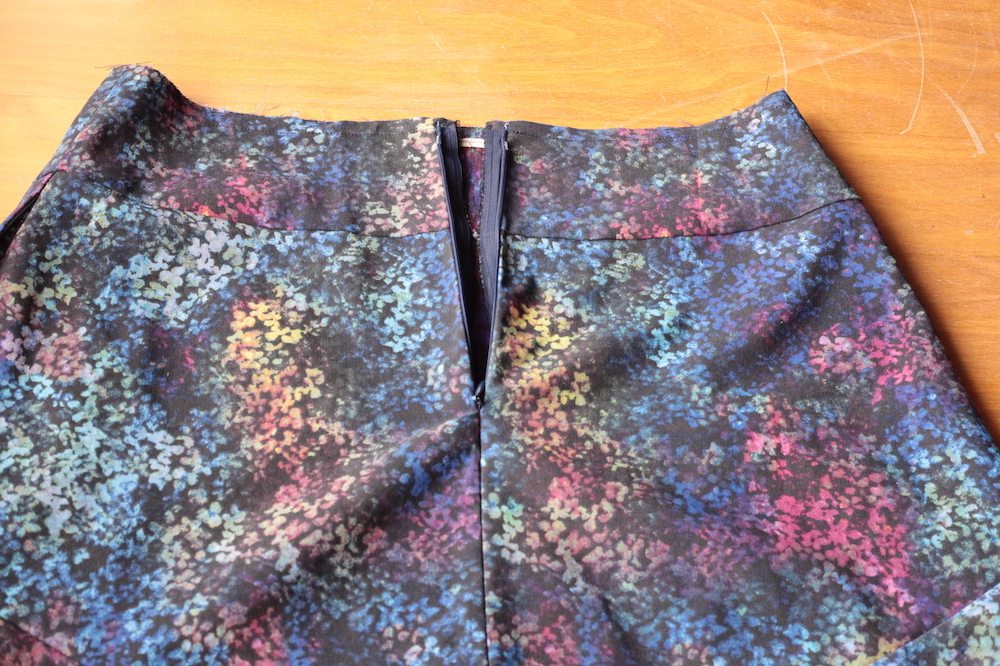
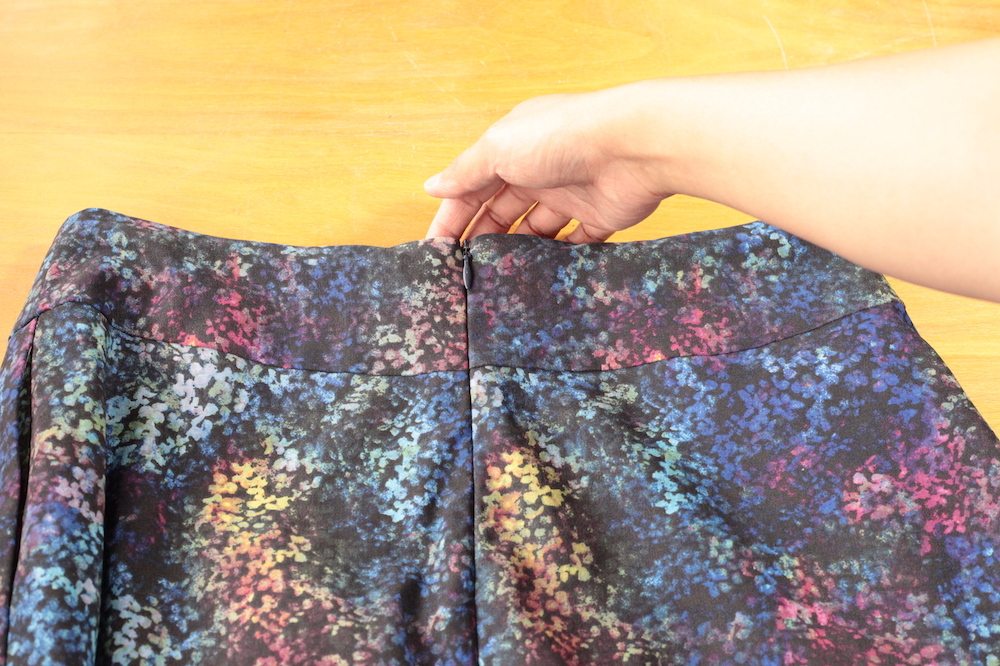
You also have the skirt (or dress, but I will refer it as a “skirt” going forward) with the invisible zipper already installed. To prepare to be sewn to the facing, you have to unzip it and have the seam allowance of the zipper “open” (or flat).
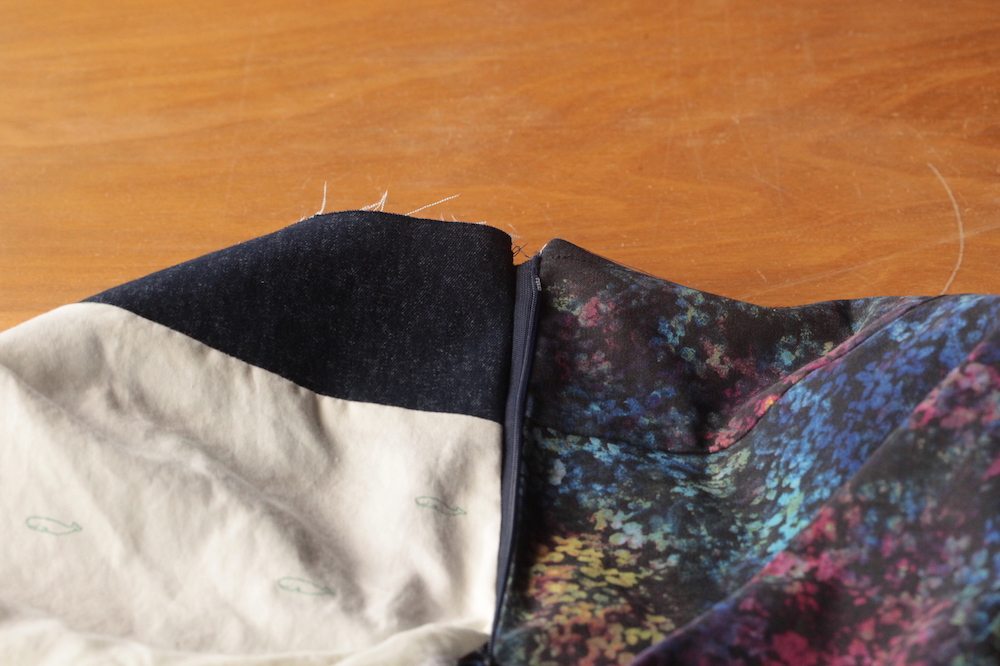
With right sides together, placed the lining/facing on the skirt, with just a little nuance…
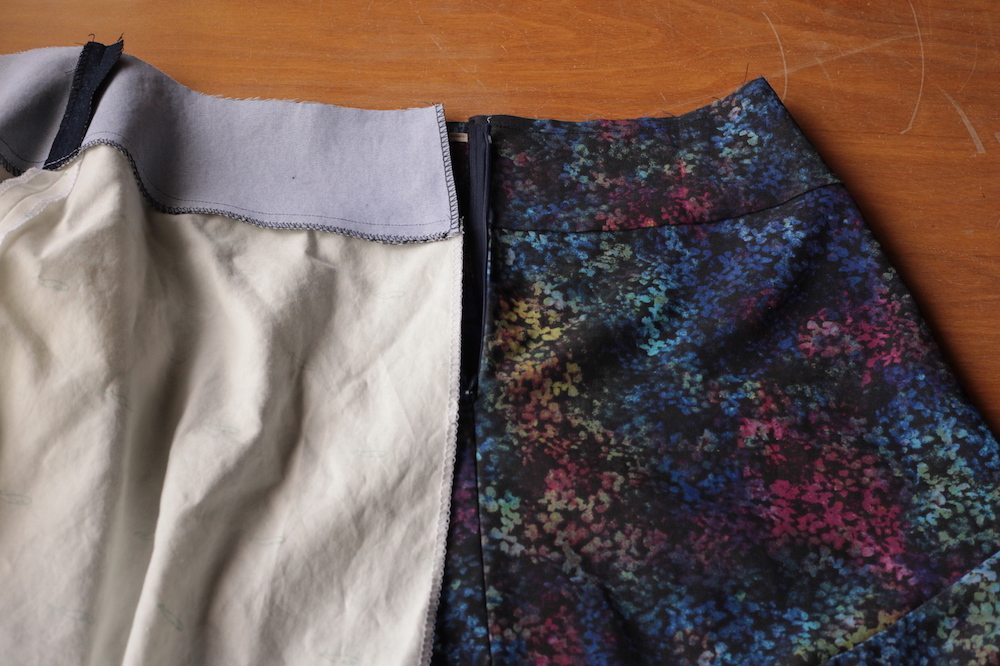
The facing/lining needs to protrude by 1/2″ (1.25 cm) (which is the width of my seam allowance – if your seam allowance is different, use that amount instead).
The protrusion isn’t just for the facing portion, but it should go down as far as you can (unless you are working with only the facing with no lining).
Go ahead and pin the layers in place.
This is how it looks like on the flipped side.
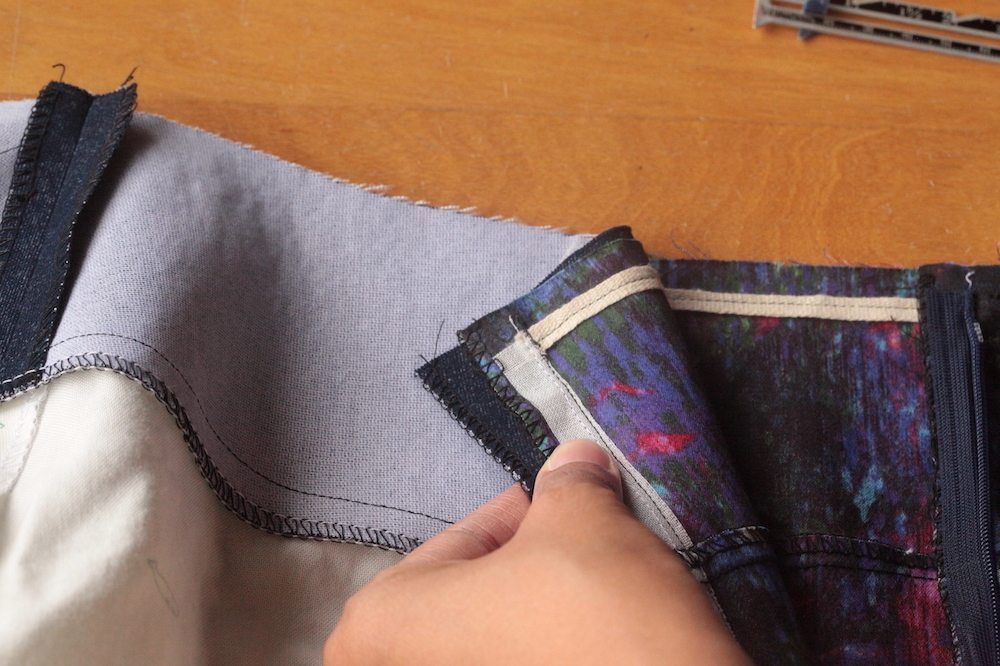
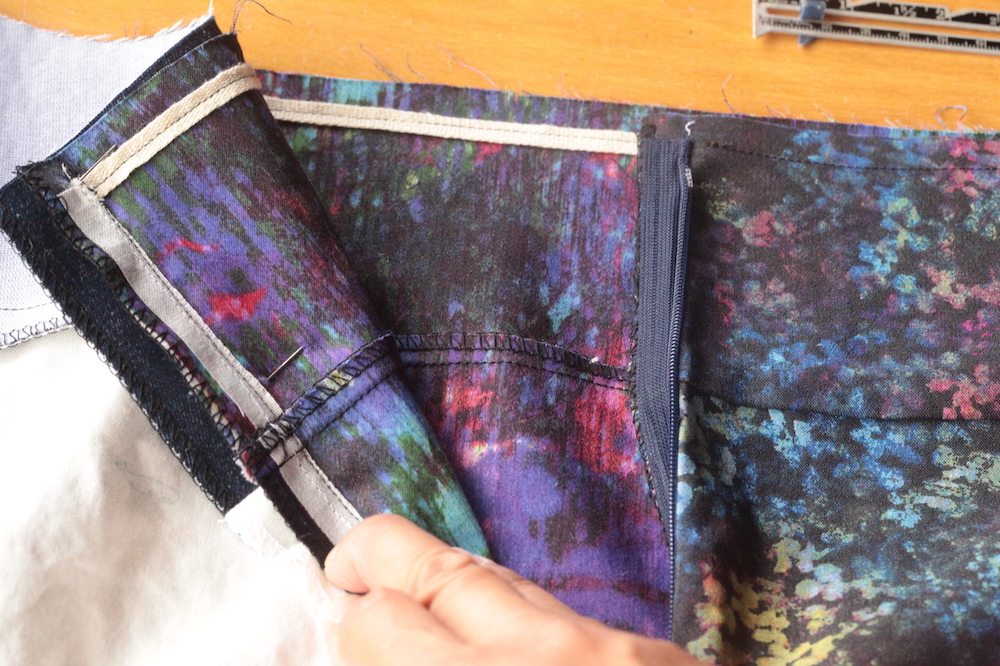
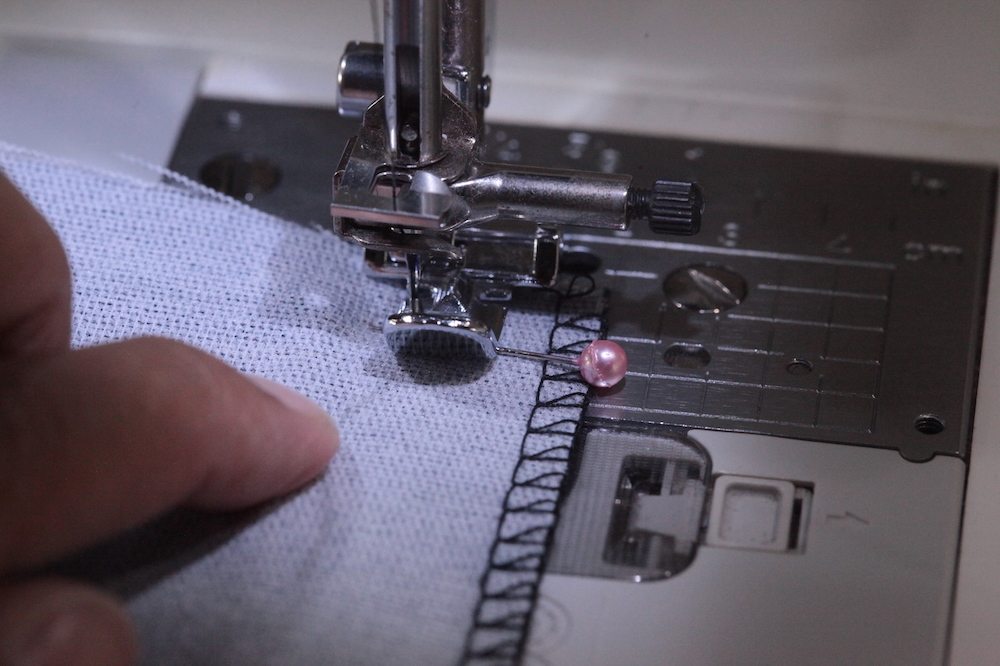
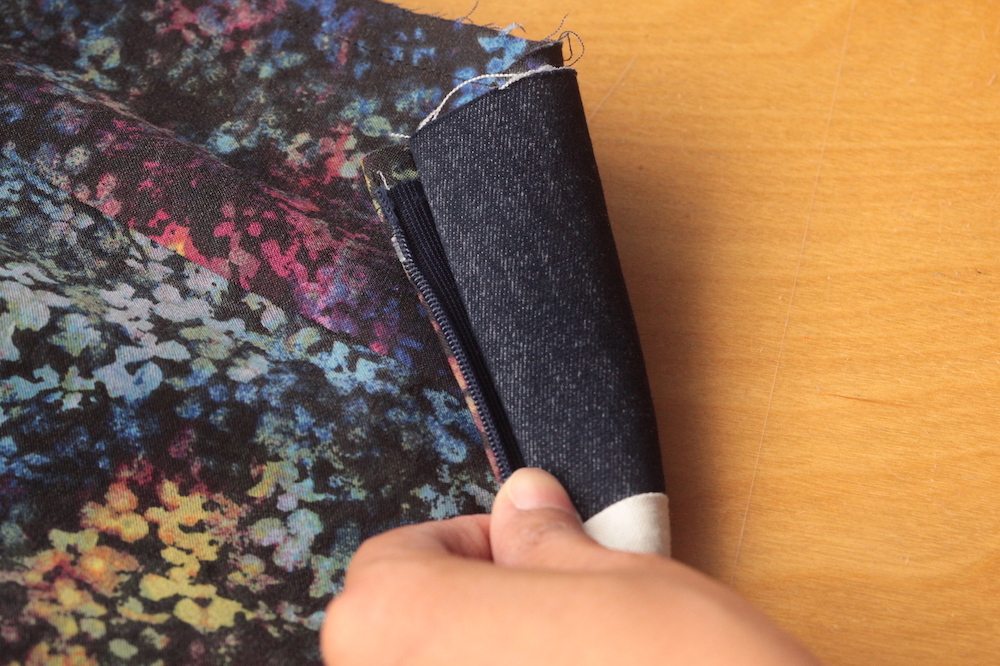
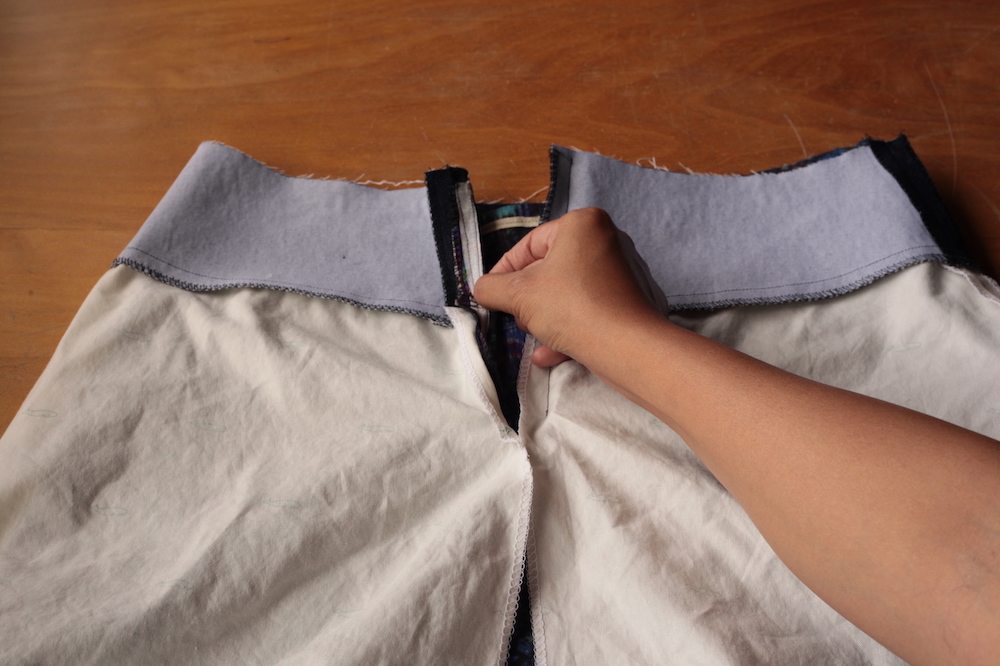
Use your fingers to feel where the zipper teeth and the zipper tape are in between the layers.
Then you will be stitching on the right-hand side of the zipper teeth through the two layers and the zipper tape. (It’s on the right-hand side when you are stitching this side of the zipper. But it will be on the left-hand side when you stitch the other side of the zipper.)
Frankly, it doesn’t matter exactly what seam allowance you use here as long as you stitch through the zipper tape. The closer you stitch to the zipper teeth, the closer the lining will be to the zipper in the end product, and vice versa. I opt to stitch about in the middle of the zipper tape.
You will have to use your zipper foot to do this. In this photo, the zipper teeth is under my finger.
Keep stitching down as far as you can toward the bottom of the zipper. If you only have a facing with no lining, then you’d stitch only to the bottom of the facing.
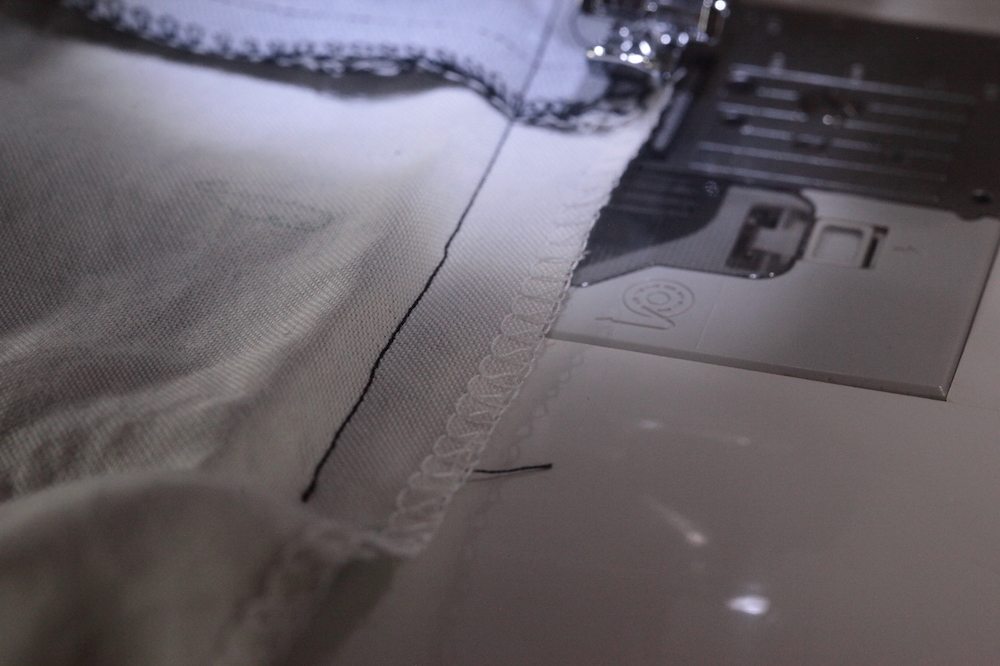
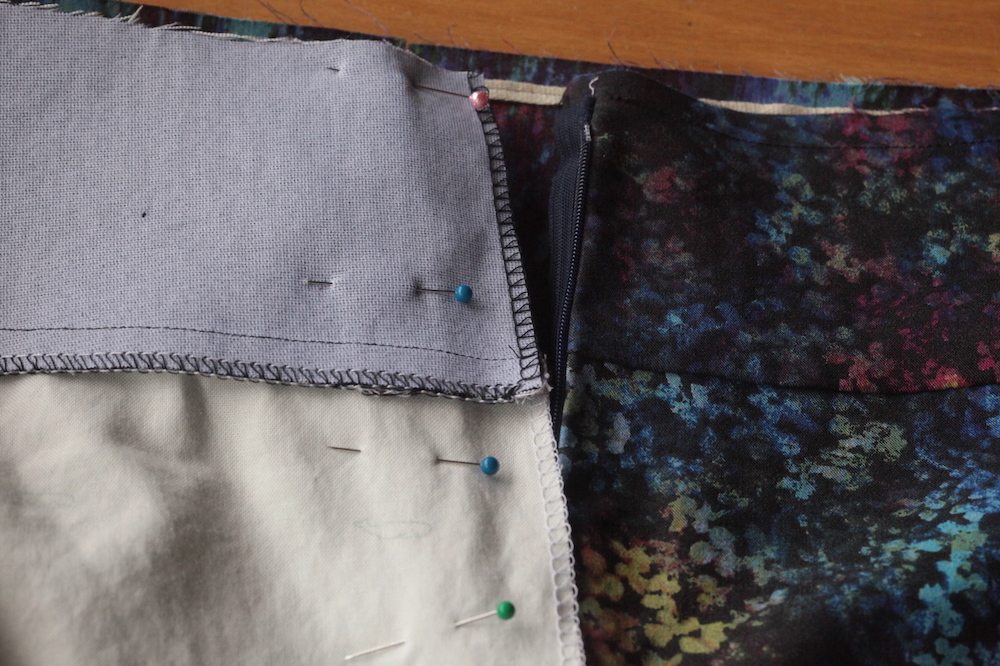
This is how it looks like off the sewing machine.
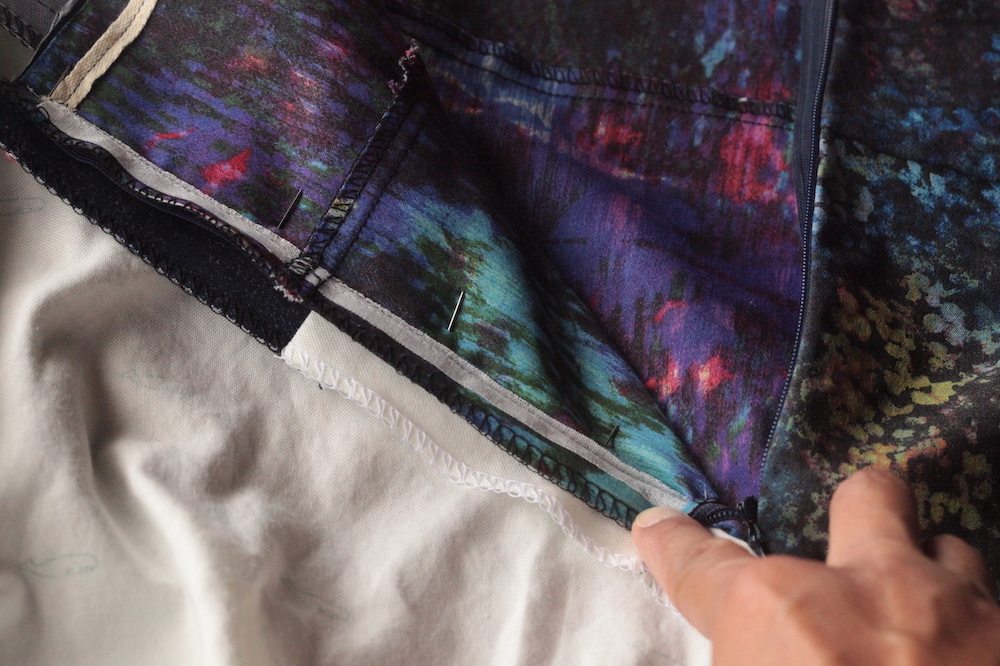
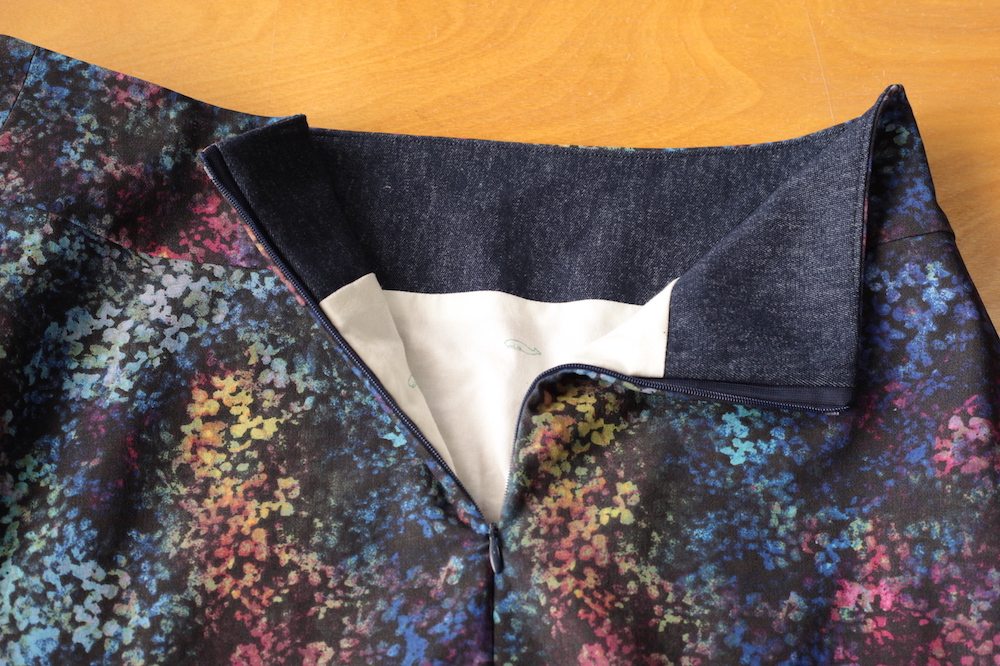
Let me open it, and you can see how it the zipper/facing/lining are going together. At this point, you can also give it a little press (don’t melt the zipper). The pressing helps to prevent a pleat in a later step.
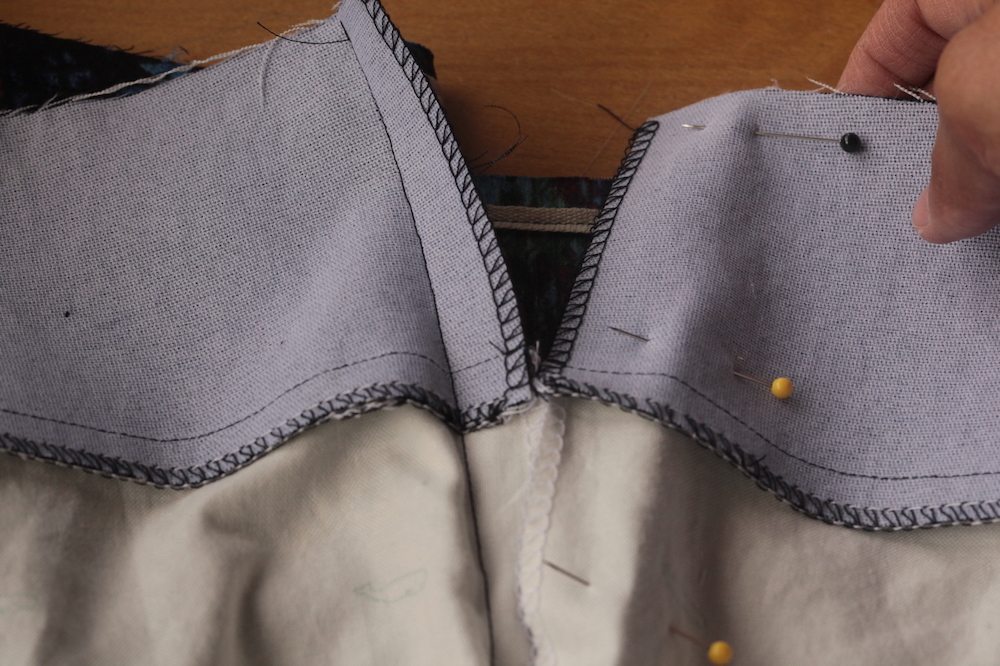
I also want to show you how it looks like with the skirt/facing/lining wrong sides together. Let’s imagine for one second that the top (waist) is finished; you can see that the facing lies comfortably away from the zipper teeth. No pulling!

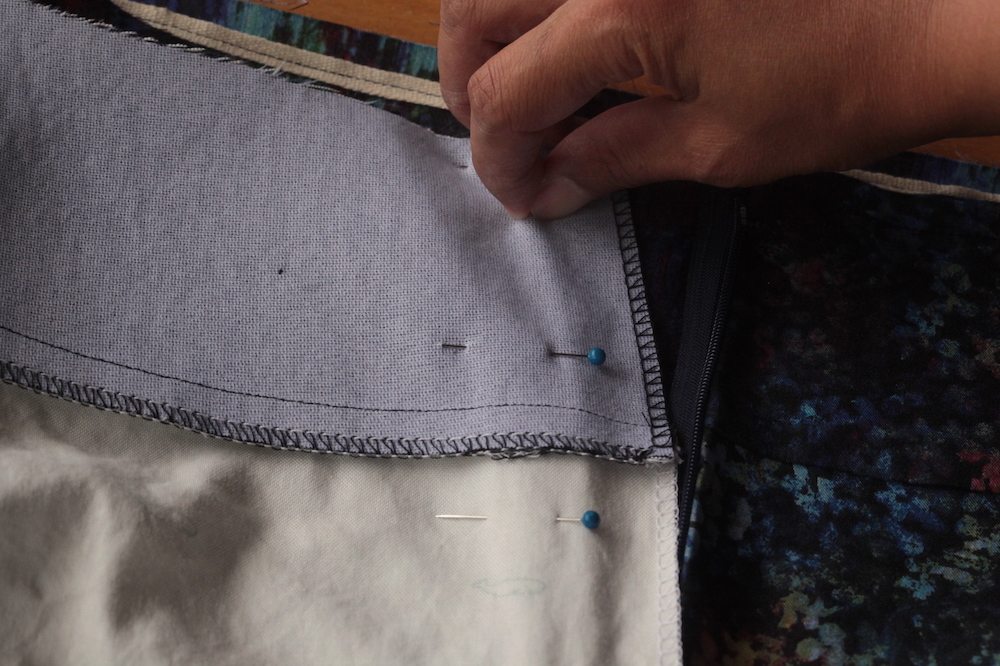
Now Let’s repeat for the other side of the zipper. Again, with right sides facing, put the two layers together with the facing/lining protruding by the amount of the seam allowance. Do exactly the same as before. A word of caution here: if you are only dealing with the facing with no lining, it’s easy to twist to the facing. So be sure you wrap the facing around the skirt and that the facing is not twisted.
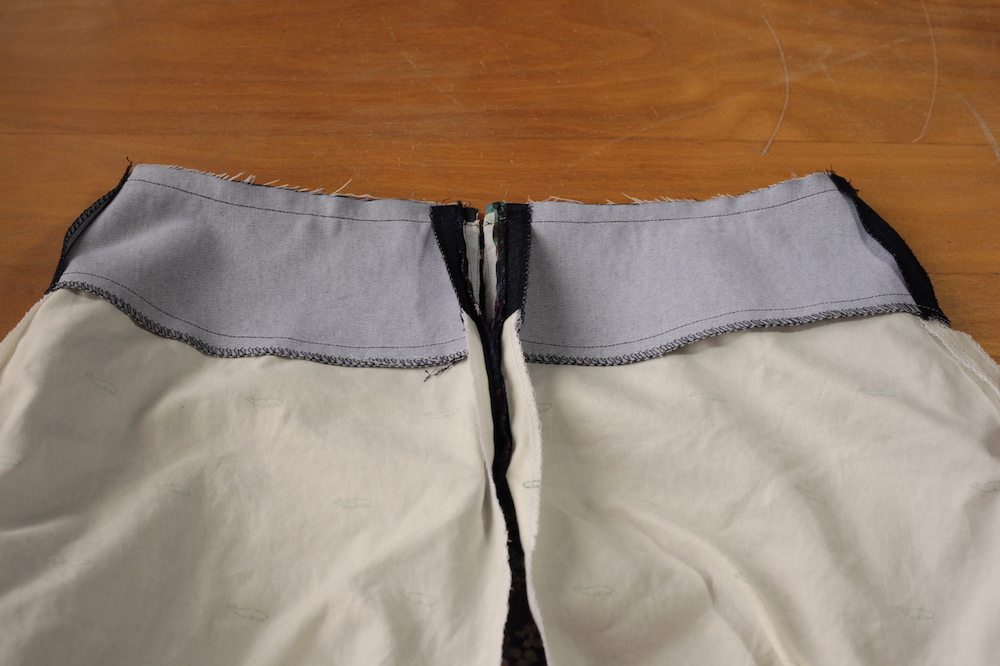
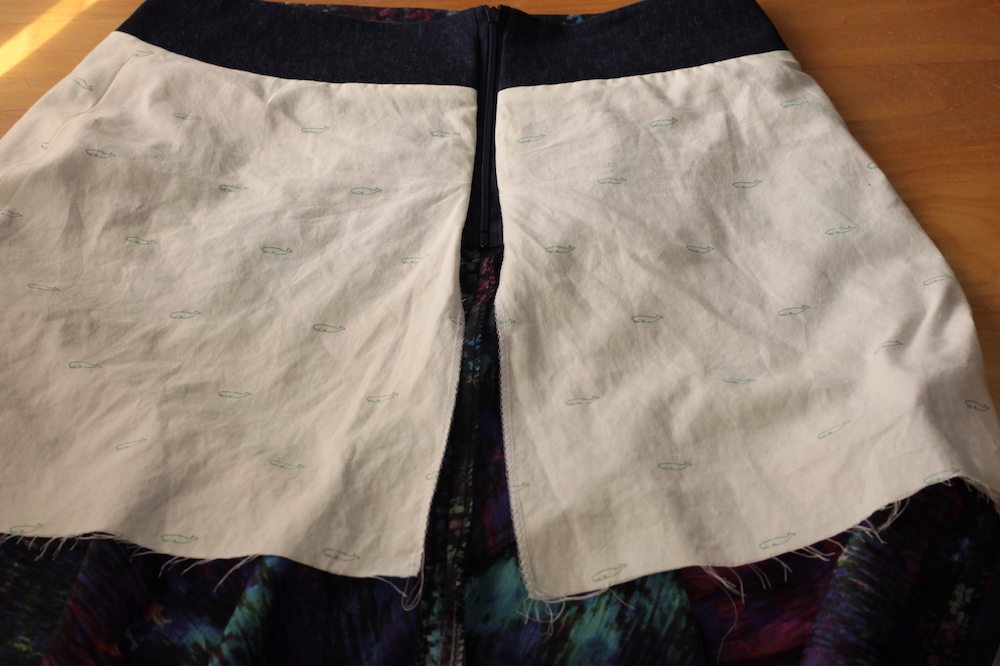
That’s how it looks like sewn on both sides of the zipper.
Press it a little like before too. (Don’t melt the zipper teeth.)
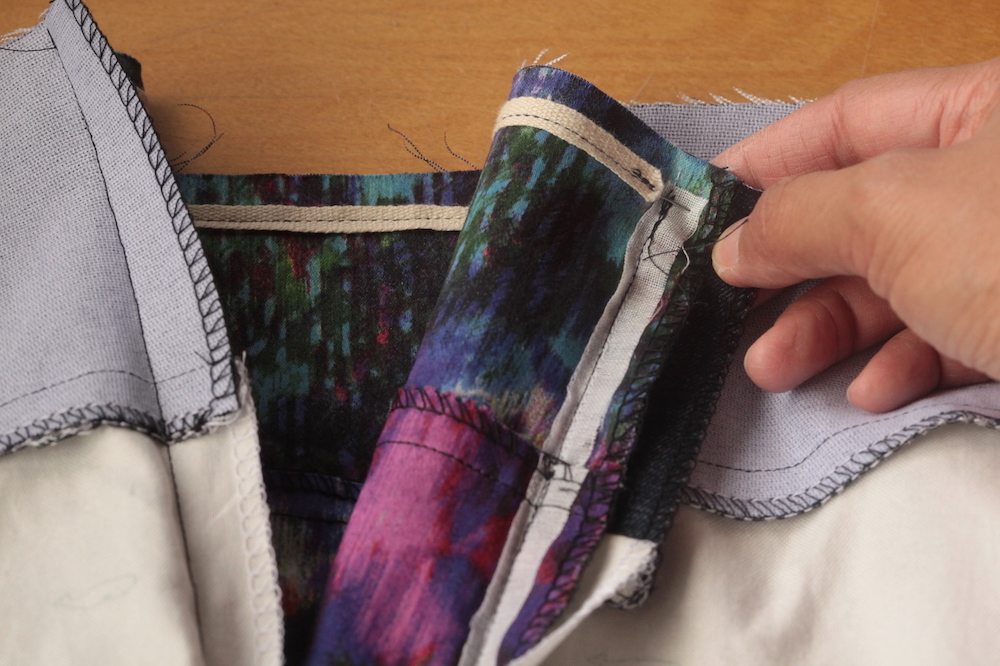
Finally we can get to the waist seam. This is the part that I think could be confusing because it’s not easy to show in the photos. Let me do my best.
Fold/roll the seam allowance so that the zipper teeth in between is at the very edge (where my finger is). The zipper tape is flipped around as a result. Make sure that there is no pleat formed at the seam between the facing the zipper tape (that is the reason we pressed above).
Here’s a snippet of video to show how I turned it. Note how I gave it a little pull on the facing? That’s removing any pleat that may have formed.
The hardest part is now over! You can pin the rest of the facing to the skirt, matching center front and side seams.

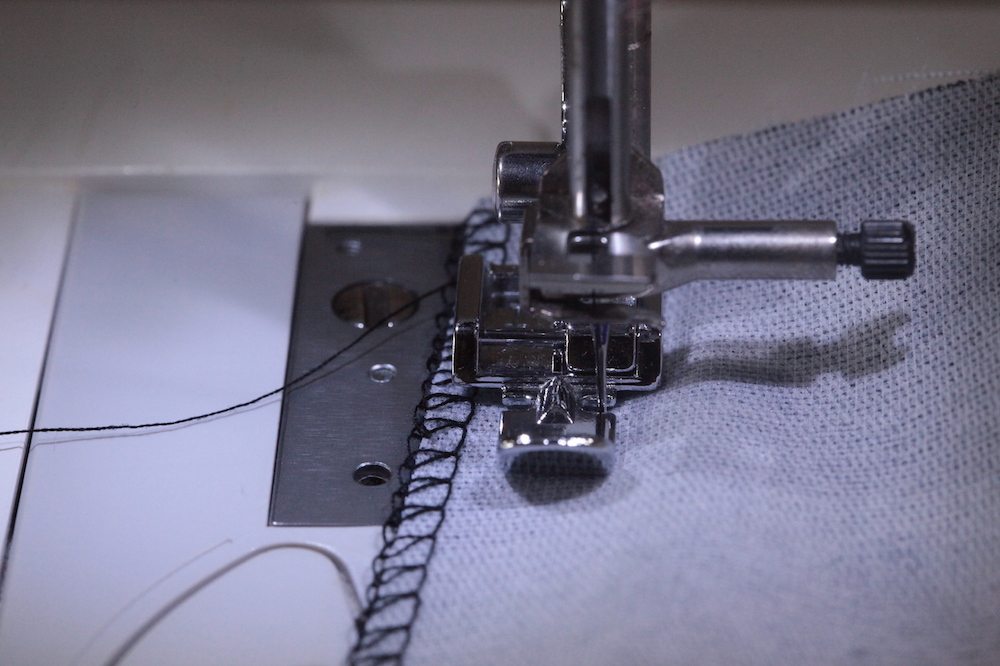
Stitch with your regular seam allowance along the waist.
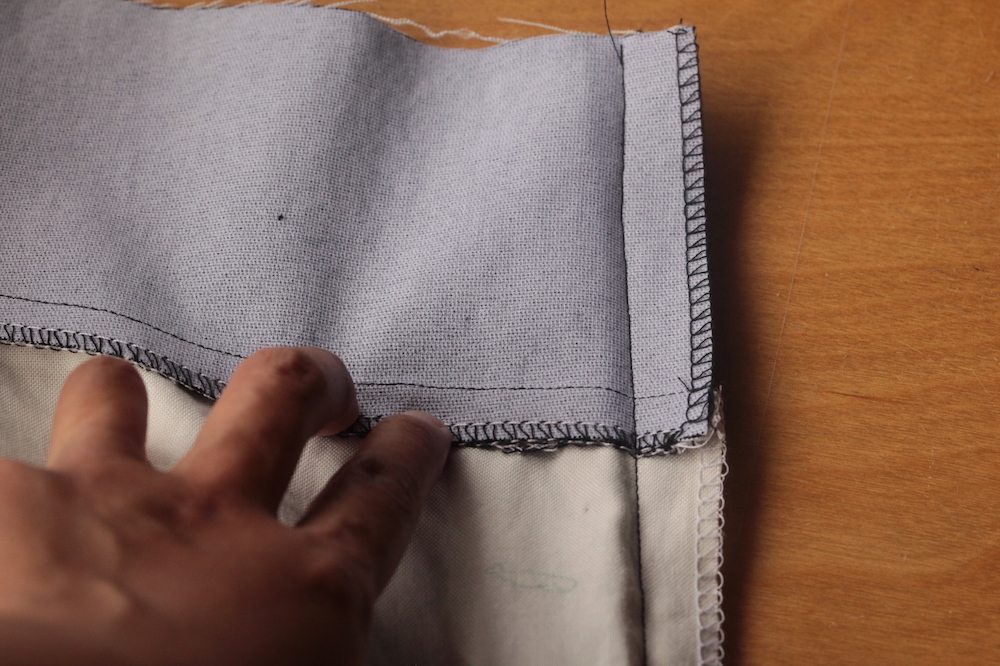
Before you trim or grade the seam, you should turn the skirt right side out. This is to check whether both sides are even at the top.
One side of mine is a little higher, so I turn it wrong side out again and stitch just a tiny bit lower on that side. Now it’s all good.
Then, you can trim and grade the seam.
Then understitch the seam. You won’t be able to understitch all the from the the zipper or to the zipper, but understitch as far as you can. It is looking super awesome.
But we are not done yet. We still have to deal with the lining below the zipper.
Just like before, pin the lining right sides together below the zipper and then stitch. You are not going to be able to start exactly where the stitch line was left off, but start as high as you can.
Press and this is how it looks like now.
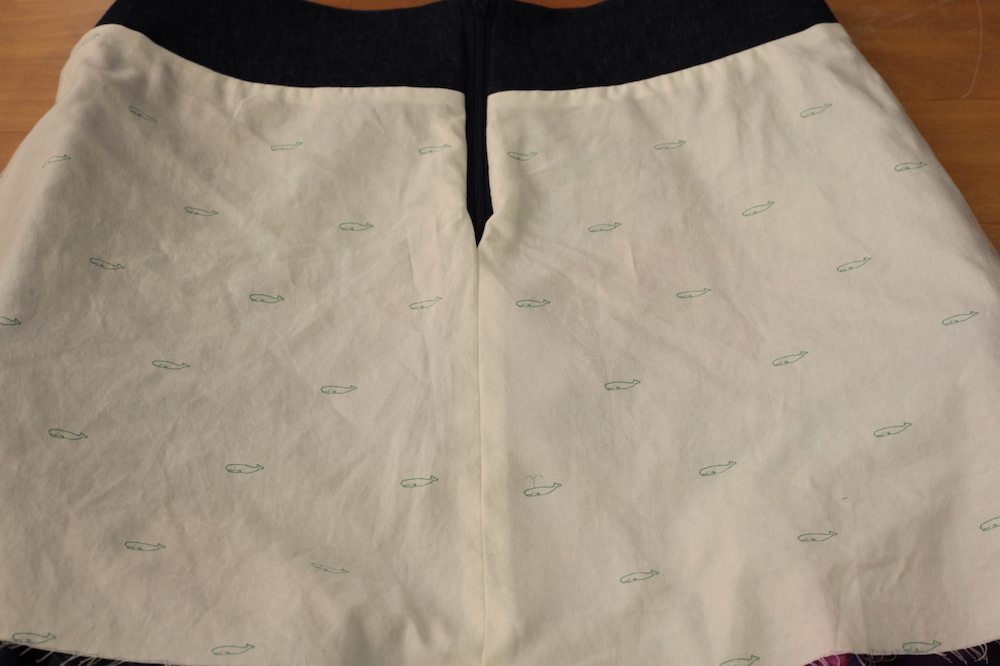
And we are done! It’s not too bad, isn’t it?
Comments are welcome! Try it out and let me know how it goes!
Until next time, keep stitching!

Very helpful post thank you! And I appreciate the visual contrast between the lining and the main fabric in the photos.
Thank you for sharing this technique. How would I apply a lining to a dress with sleeves and finish it with this treatment on the center back? I would appreciate any tips.
This tutorial was incredibly helpful and detailed the photos for every step really helped. I was so happy to see the end product. Yeeaaahy now I can do invisible zippers!
Thank you 🙂
This was just wonderful – it helped me tremendously. I read your tutorial and had it open on my phone as a reference as I put in the invisible zipper & as I sewed the lining. Many thanks!!!
Wow, thanks so much. That worked for me!
This is very similar to how I do the zipper on a lined bodice – would not have thought to do it on a skirt. Thank you so much for the tutorial!
Thanks for this. How would it work with a separate waistband?
I am not sure what you mean by separate waistband.