
Hong Kong Seam Finish – Part 1
The Hong Kong seam finish is an exquisite seam finish. Being a person originally from Hong Kong, I am not aware how this name came to be. In fact, if you mention Hong Kong seam finish in Hong Kong, I bet everyone will stare at you like you are speaking gibberish. I imagine you’d probably receive a similar reaction when you ask French people about French toast.
Hong Kong seam finish (“HK finish”) is not difficult. It is, however, time-consuming. But if you ever encounter a custom-made garment with HK finish inside, you can bet that it’s a well-made, high-quality piece of clothing. In my opinion, it’s absolutely worthwhile.
In fact, I also use this same method to finish a raw edge that is not a seam, such as the edge of a facing or a pocket.
I will break the tutorial into two parts. Part 1 (this part) will go over HK finish on:
- Basic, straight seam
- Outside corner
- Armhole
In Part 2, we’ll go over HK finish on convex curves.
First thing first—to make any HK finish, one has to has some bias tape. If you are finishing a jacket (like what I am doing here), you’d need A LOT of bias tape. I recommend making your own bias tape because the typical store-bought version is very thick (there are lightweight bias tape out there, but they are not easy to find). And of course, you can have it in whatever color or fabric pattern if you are making it. If you haven’t already, please go over this post on the continuous loop method of making bias tape.
Be sure to choose a very lightweight, yet stable, fabric such as cotton lawn or batiste. The width of your bias tape should be four times the finish width. For example, if I want my finished width to be 1/4″ (6 mm), then the width of my bias tape should be 1″ (2.5 cm).
Also, I’d like to mention that HK finish is actually quite similar to bias bound seam that was posted before. I think HK finish is slightly easier. But you can be the judge; try both and let me know which one you like best.
Let’s get started.
Basic, Straight Seam
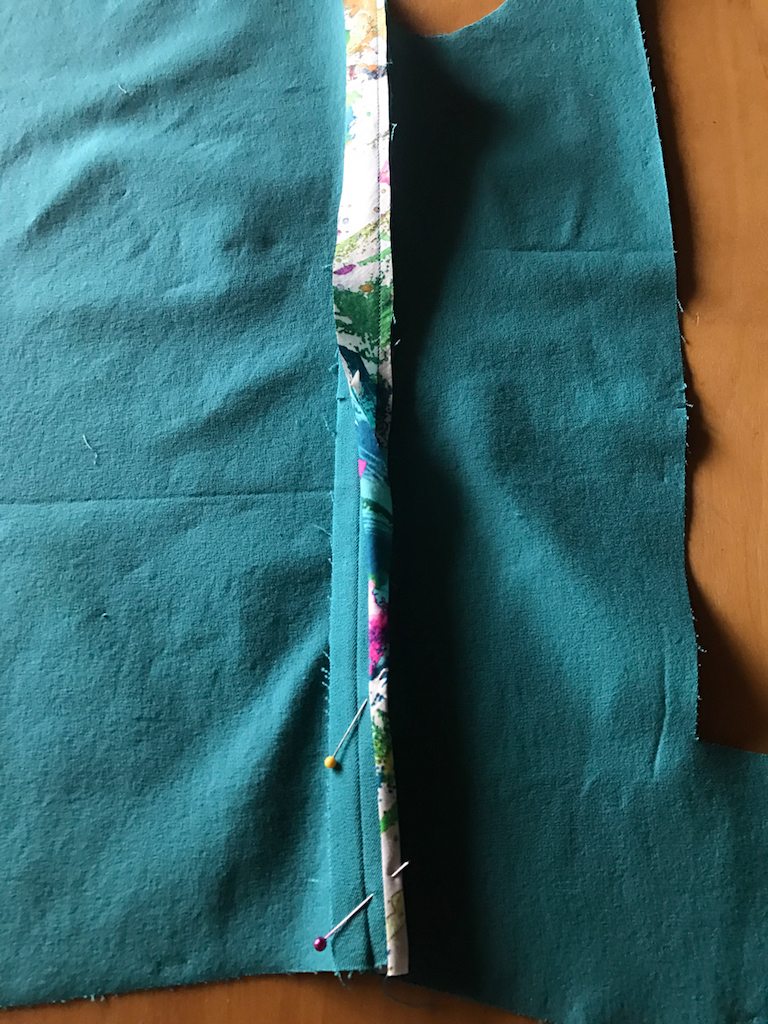
You should already have a seam that is pressed opened. My seam allowance on this sleeve is 1/2″ (1.25 cm). I plan to have my finished HK finish to be 1/4″ (6 mm); hence, my bias tape is 1″ (2.5 cm) wide.
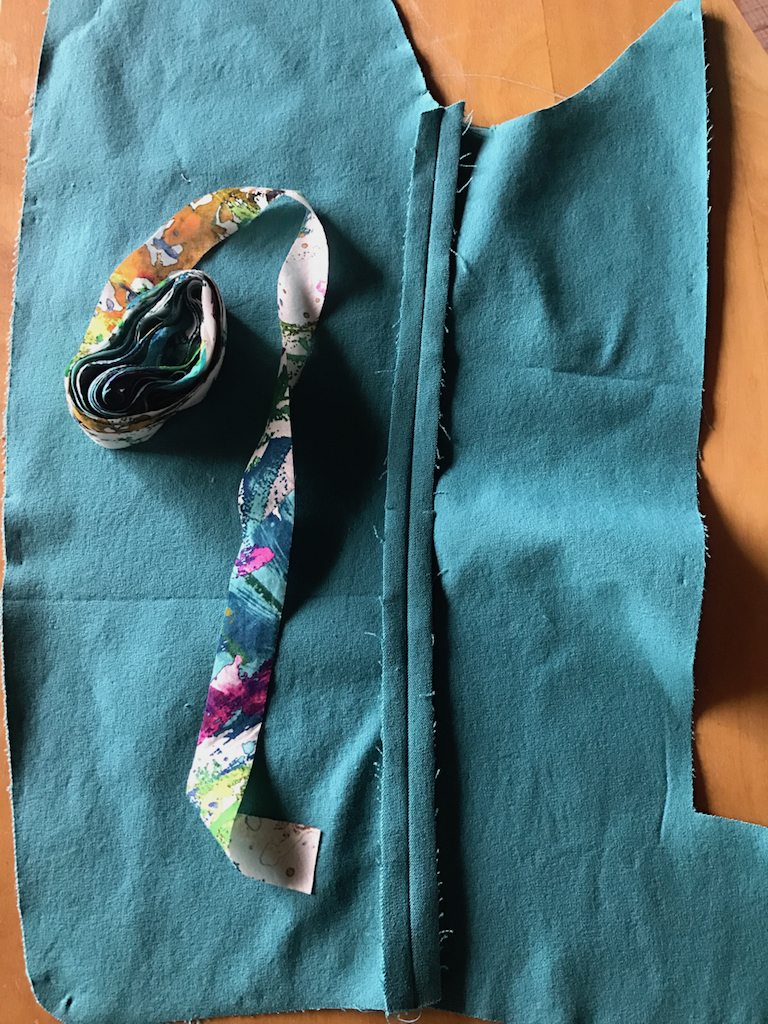
With right sides together, pin the bias tape to the raw edge. Here I am pinning it to the left seam allowance (though it looks like I am covering both seam allowance; that’s only because the bias tape happens to be the same width, but it doesn’t have to be).
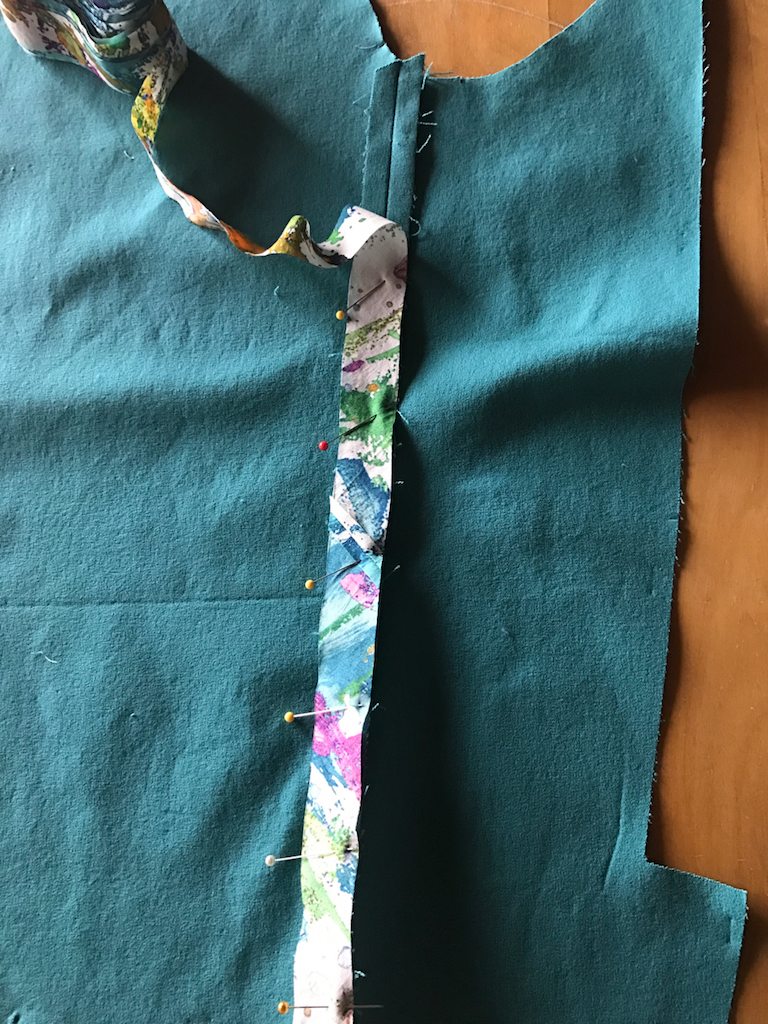
Go ahead and trim the excess bias tape off; we only need it as long as the seam we are finishing.
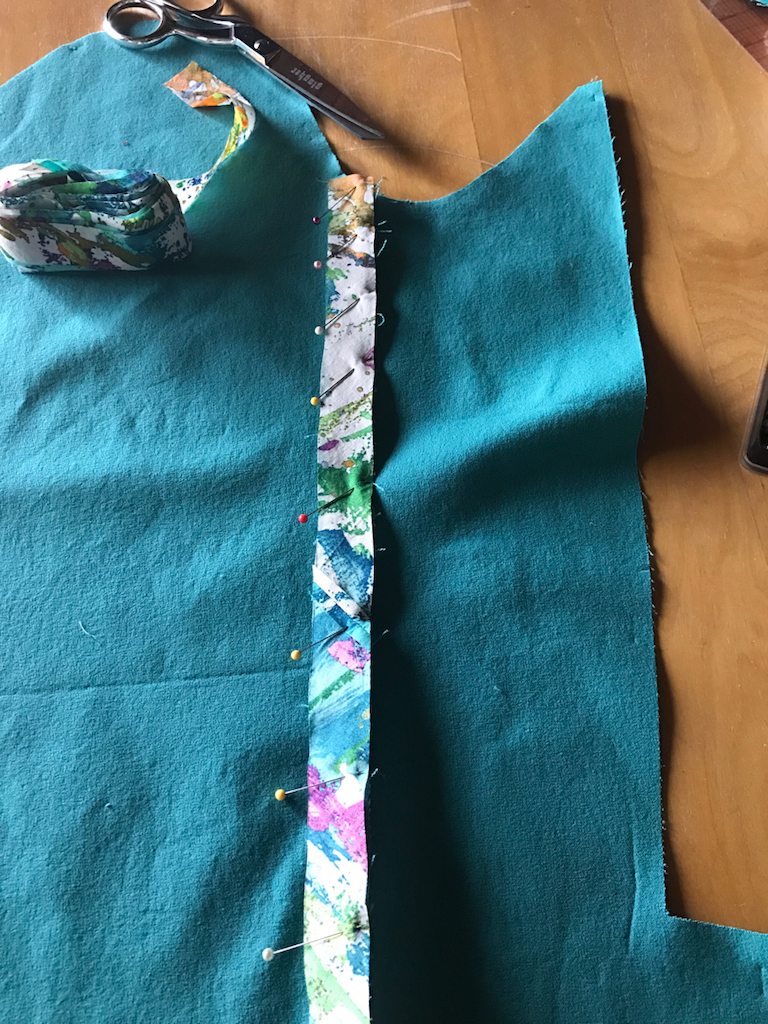
Stitch them together with a 1/4″ (6 mm) seam allowance (the same as your finished width).
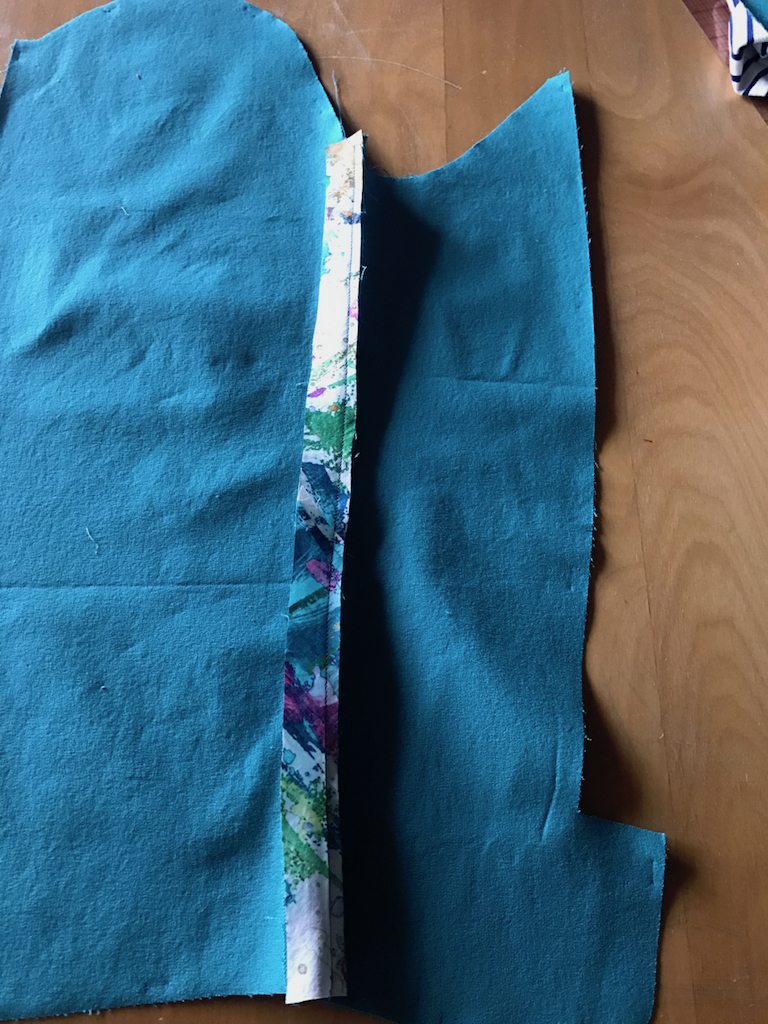
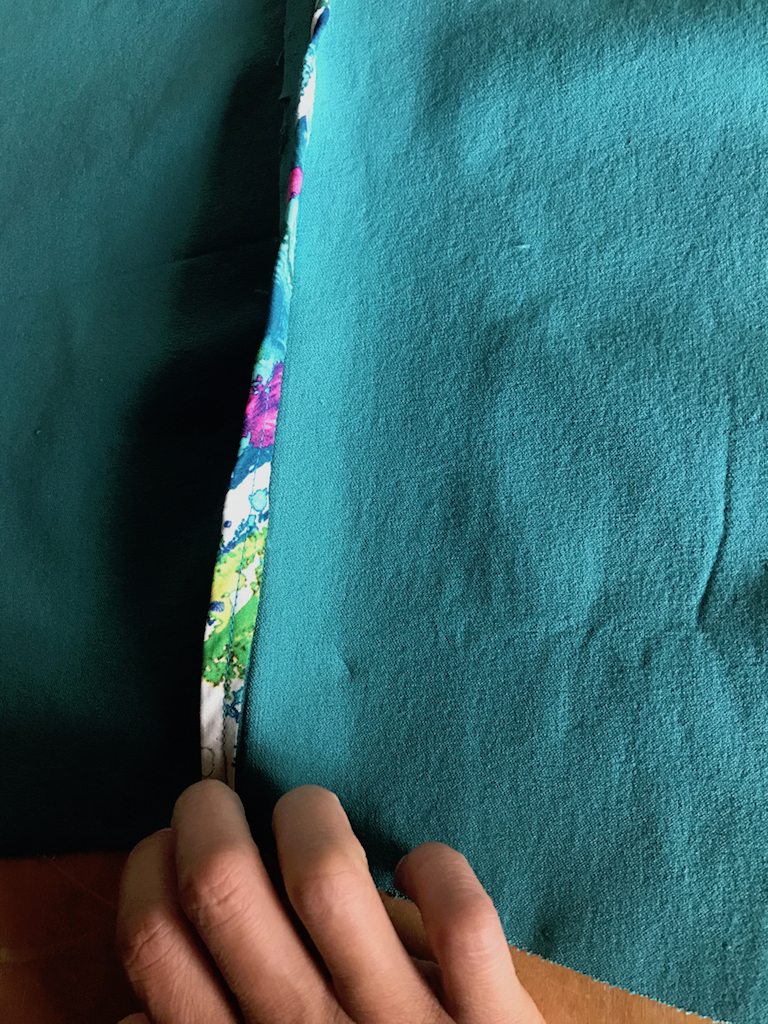
Wrap the bias tape over the raw edge.
Pin…pin…pin…
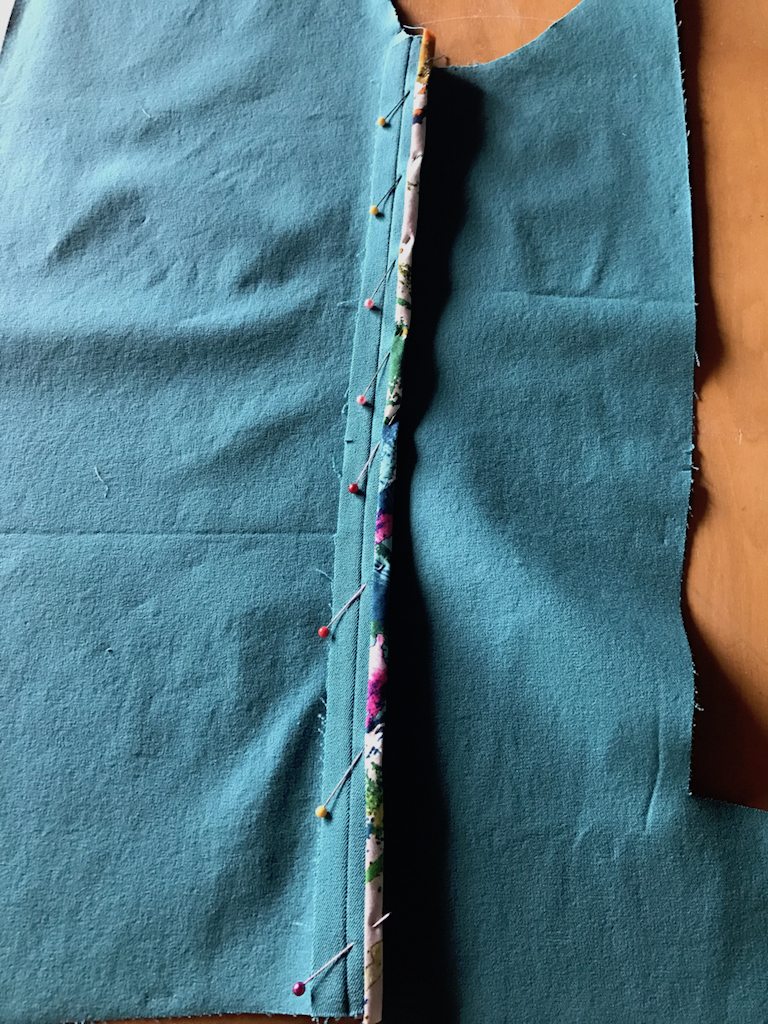
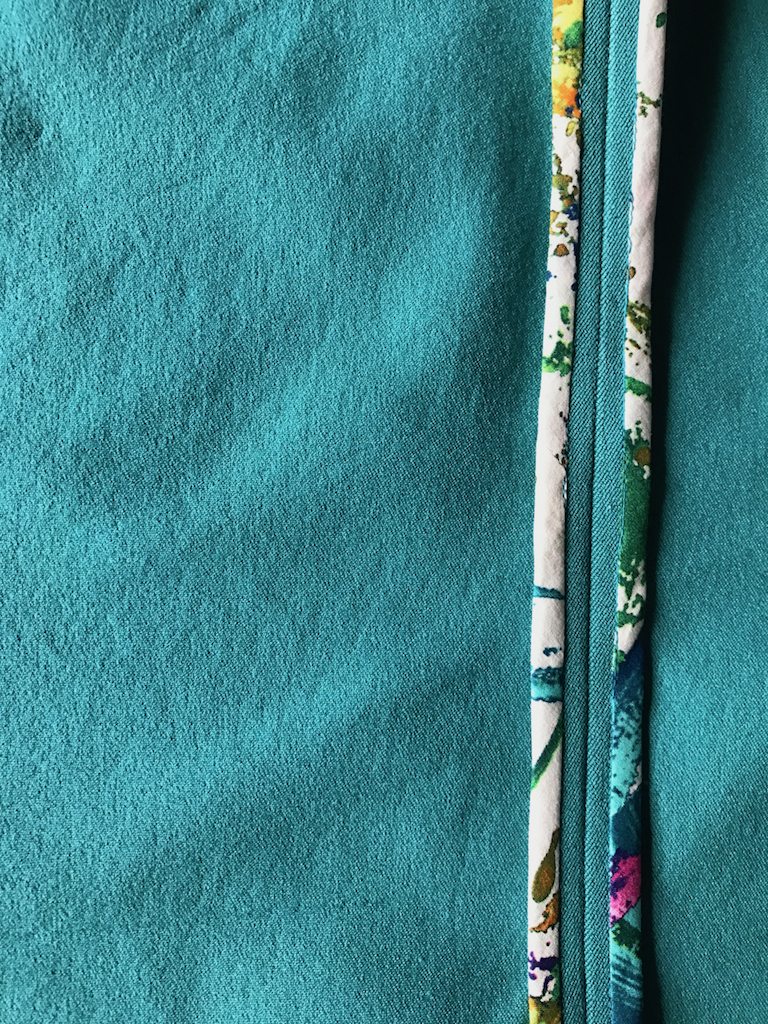
Stitch in the ditch.
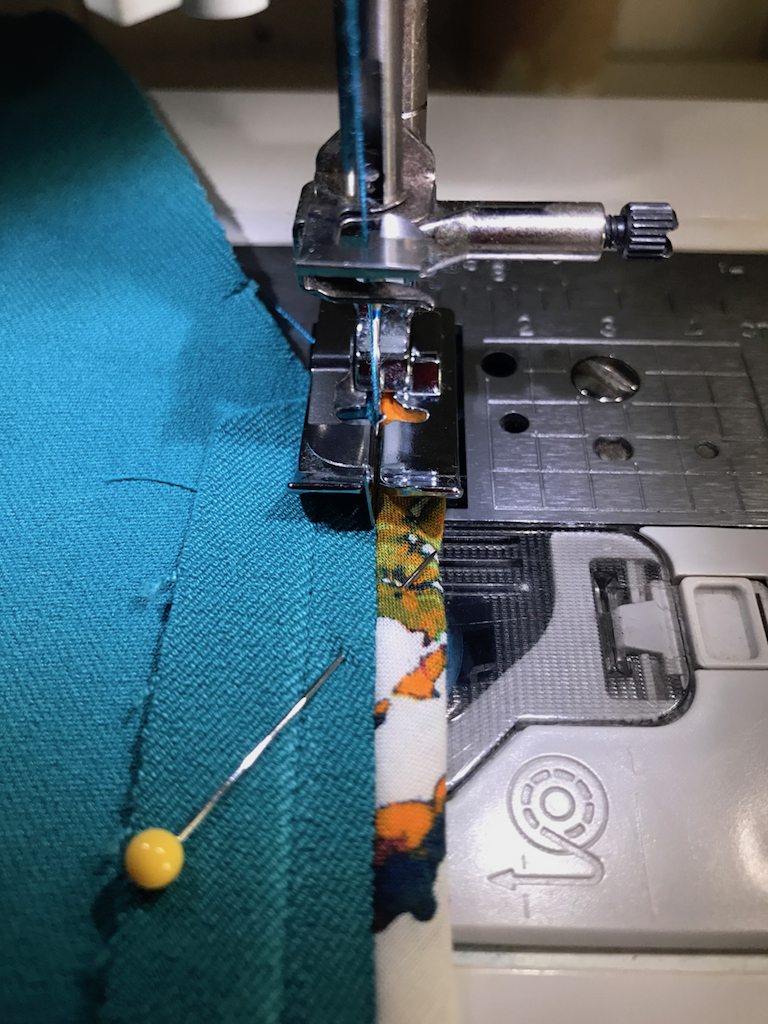
There you have it. Isn’t it simple?
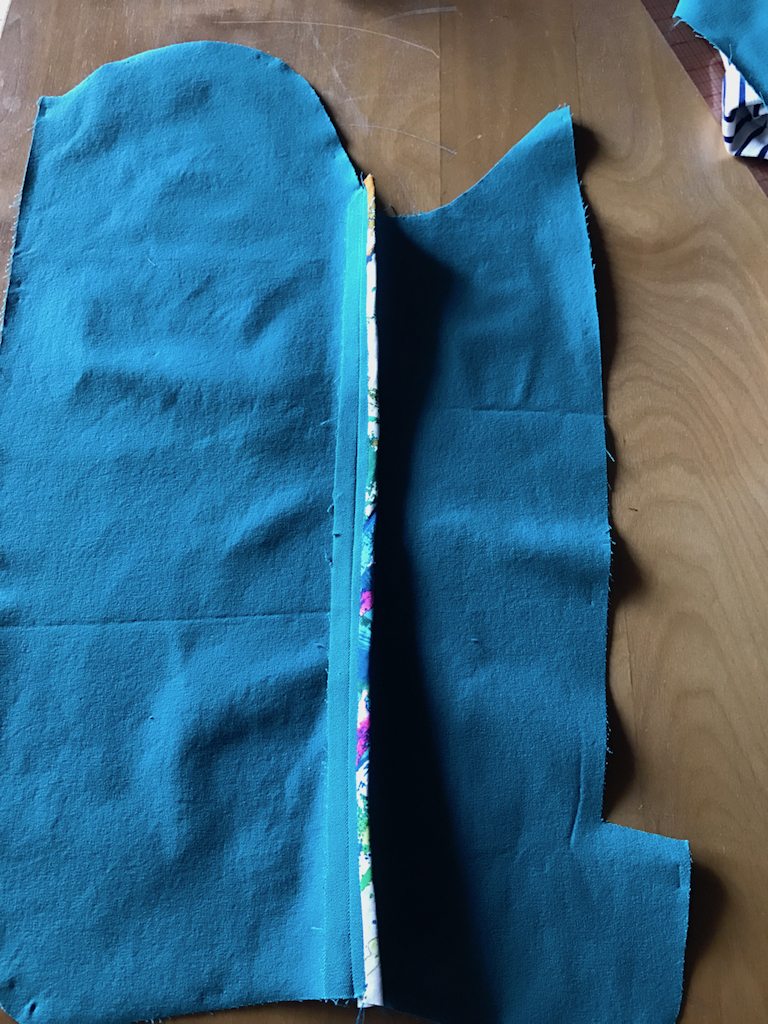
And this is how the flip side look like. Yes, there is a raw edge, but because it’s tucked under and is on bias, it won’t fray. You could also trim the bias tape close to the stitch line if you’d like.
Repeat for the other raw edge and you are done with this one seam.
Outside corner
What if you have a corner that you need to go over? I actually prefer to do two separate bias tape instead one continuous one. Let me show you what I mean.
I finish one edge as demonstrated above.

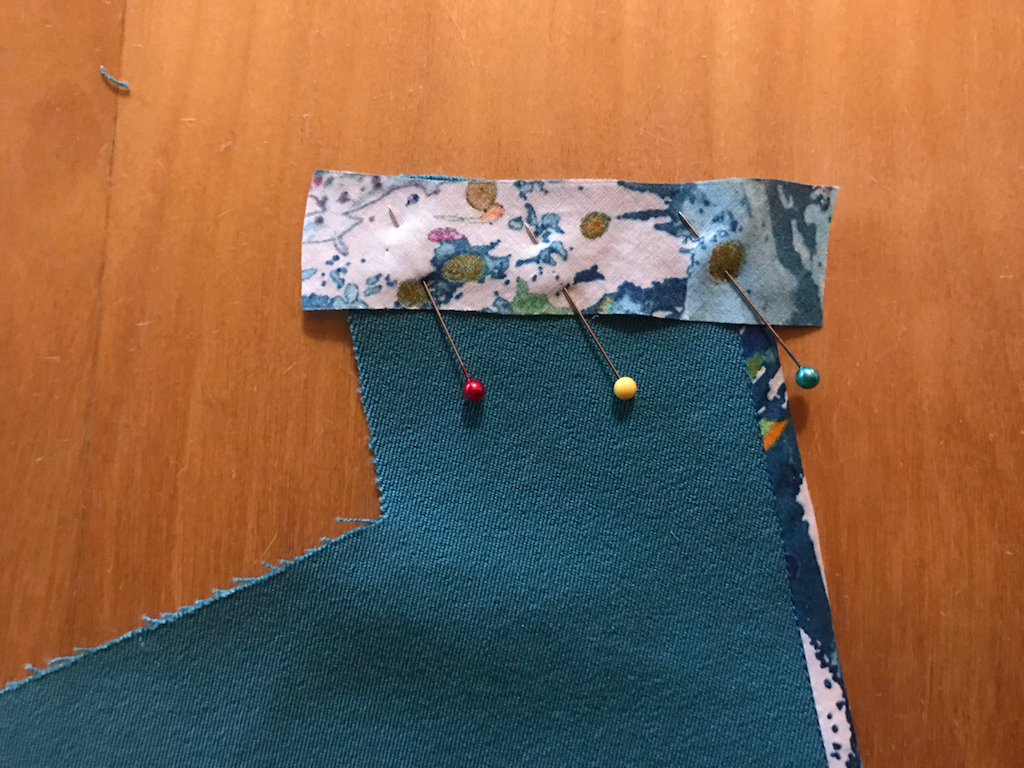
Now I want to finish the top raw edge too. So I pin a bias tape to it, right sides together.
Stitch with a 1/4″ (6 mm) seam allowance.
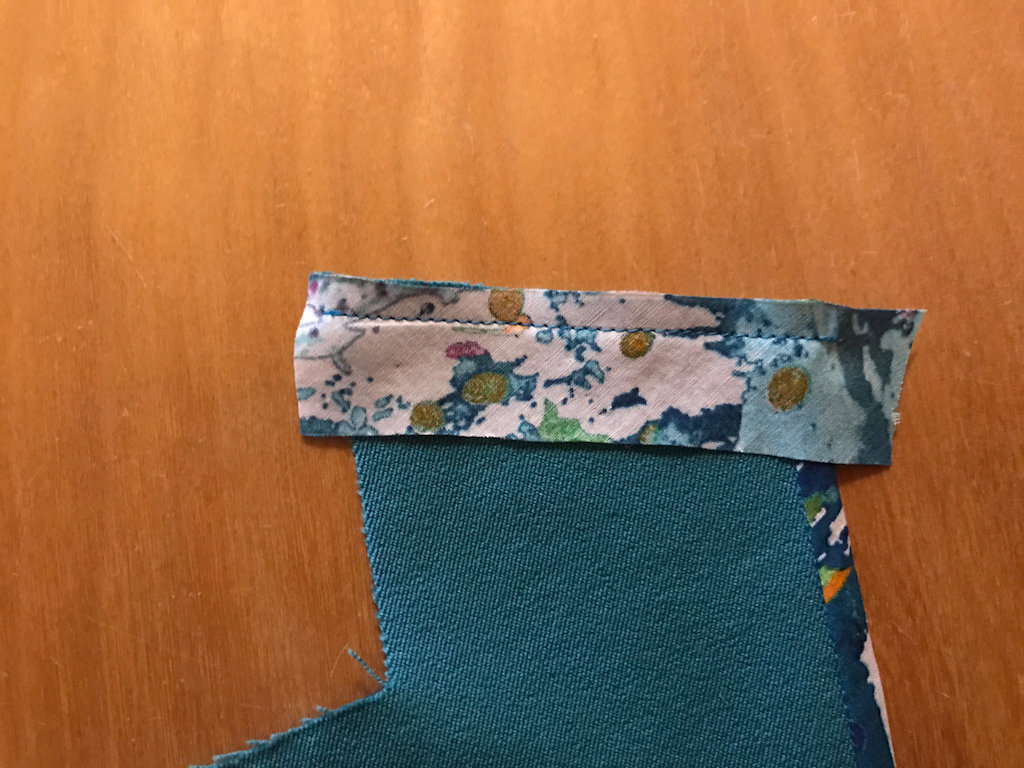
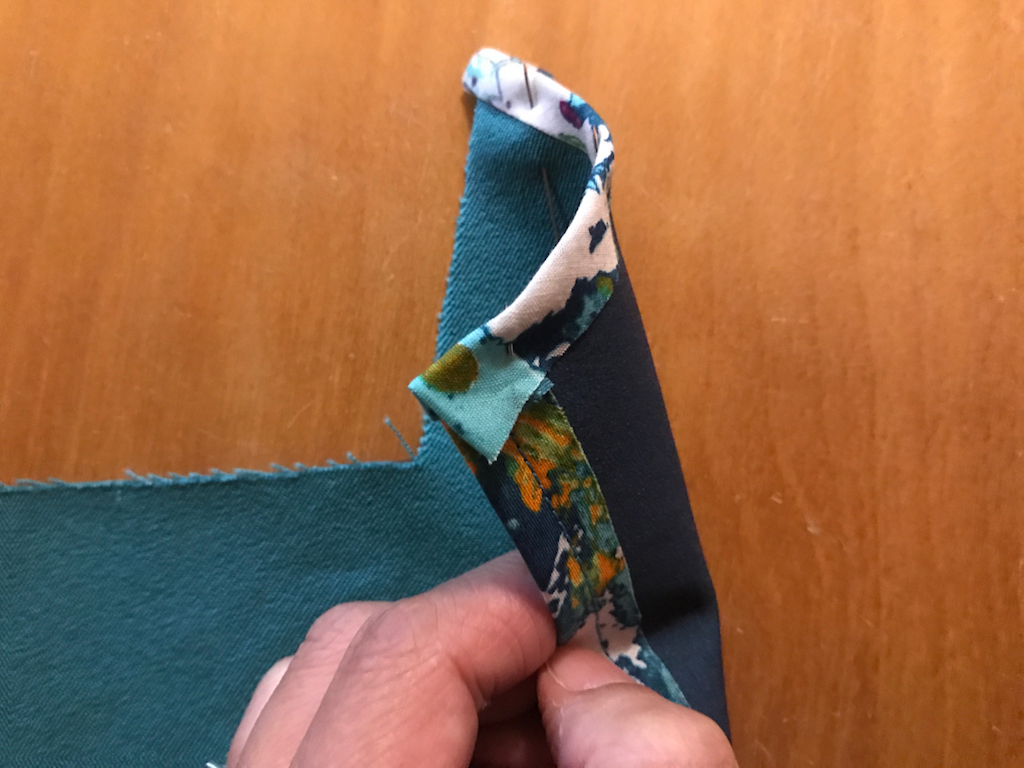
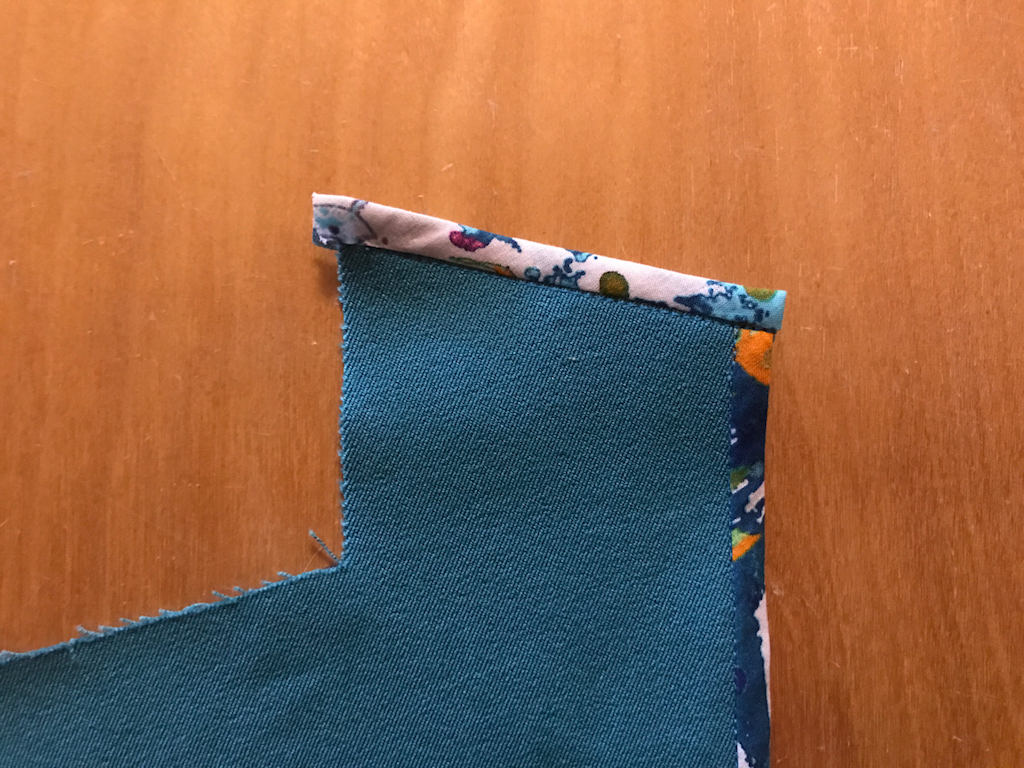
I turn the bias tape up as if I am about to wrap the raw edge again.
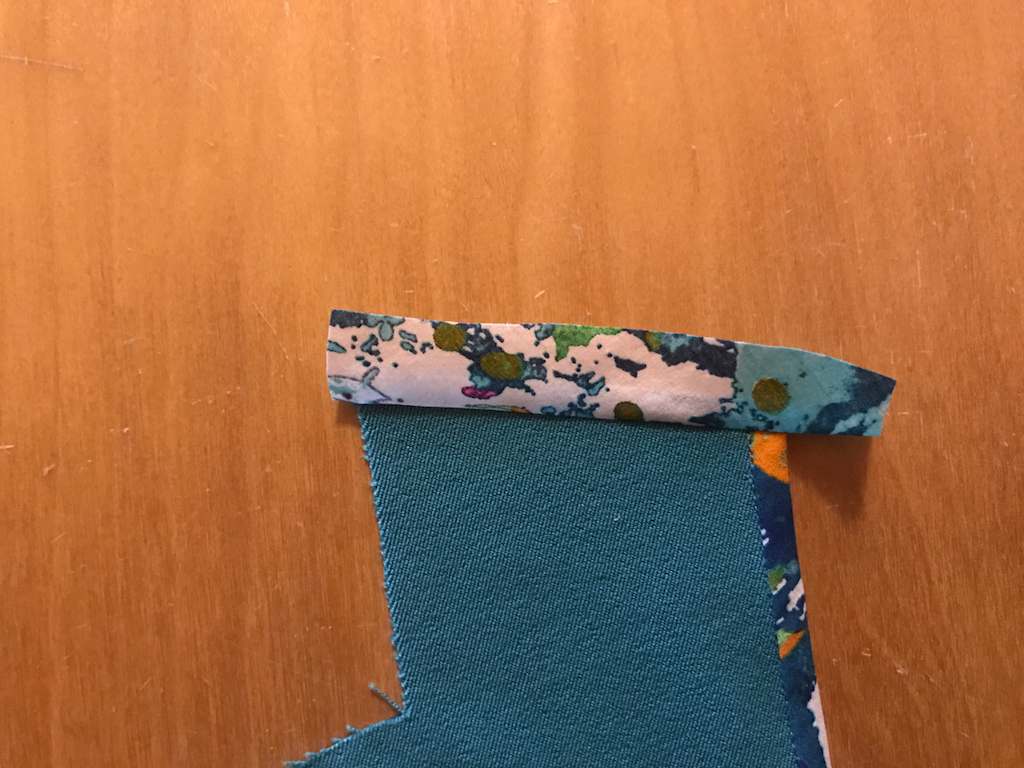
But before I wrap it all the away, I fold the hanging bit in too.

This shows the hanging bit folded behind nicely.
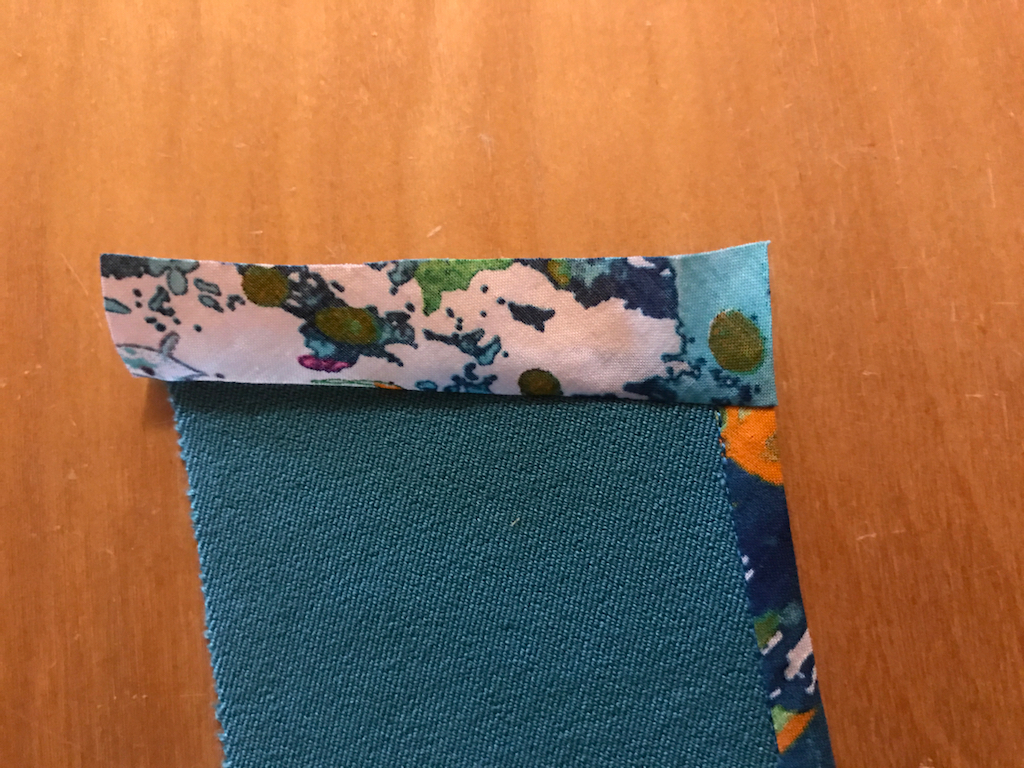
With that taken care of, I can continue to wrap the rest over the raw edge. Pin the bias tape in place.
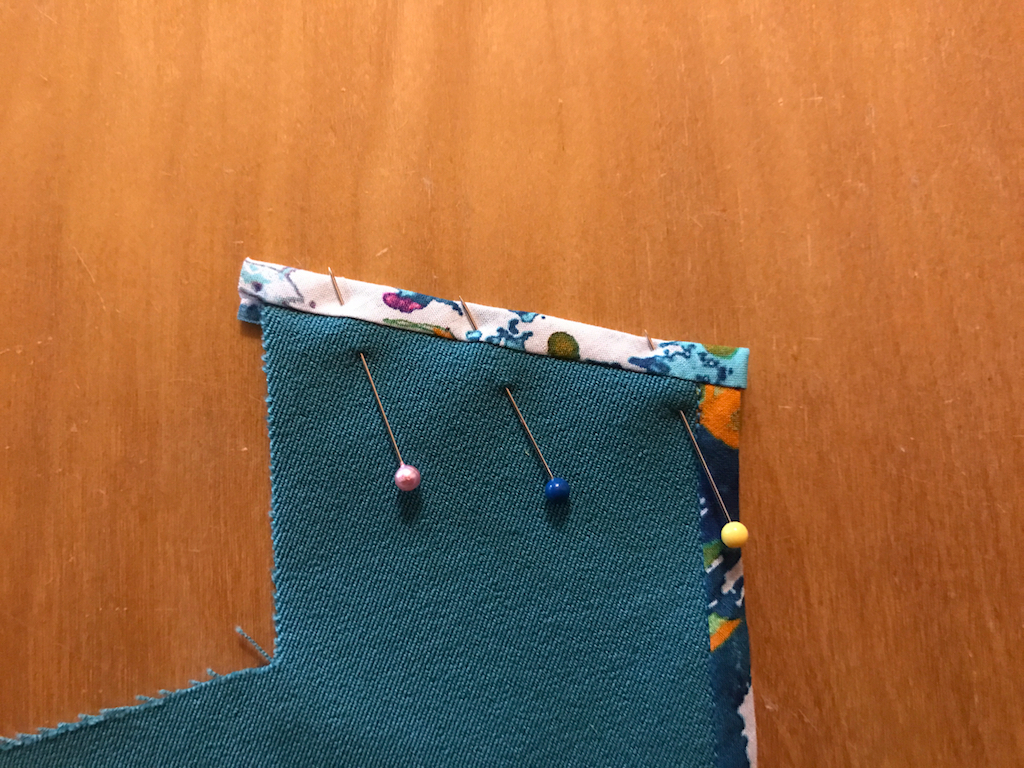
Now I can stitch in the ditch.
And this is what the back side looks like.

That’s all! Note that I don’t worry about the other edge in because that side will be sewn into a seam. So you do have to think a little ahead of time to see what side is being sewn into the seam, and you only finish the raw edges that would be exposed.
Armhole
Finally, let’s take a look at the armhole. But actually when I say armhole, I really mean any circular seam. Besides the armhole, you can also use this same method on the sleeve hem, or even on the garment hem if there’s no closure (i.e., one continuous “loop”).
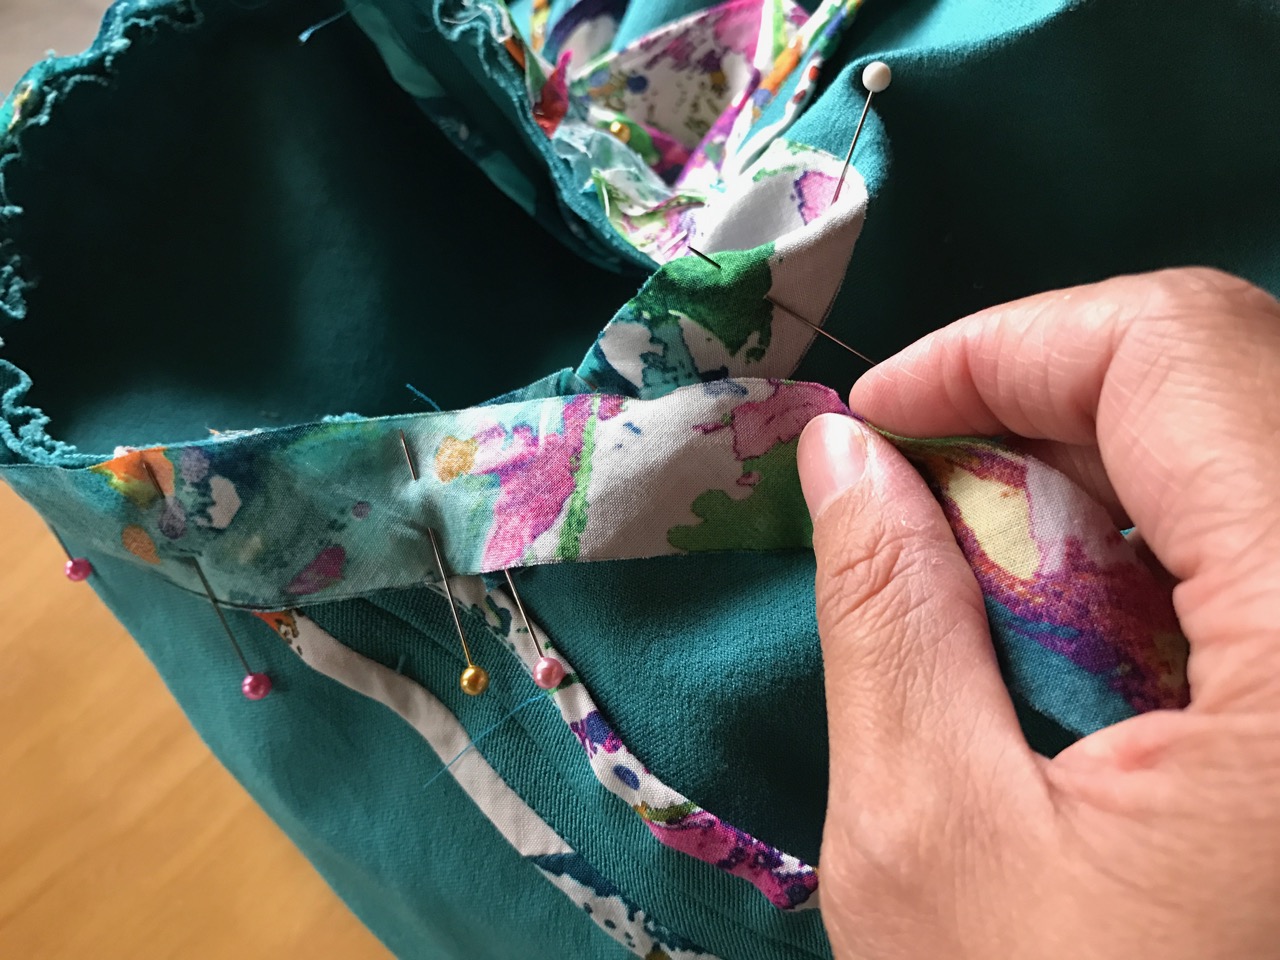
First, pin the bias tape right sides together with the edge you want to finish. For the short end of the bias tape, fold a little bit in like in this photo.

Then continue to pin the bias tape along.

Lay the end on top of the beginning of the bias tape.
Cut the excess bias tape off.

Stitch through all layers with a 1/4″ (6 mm) seam allowance.
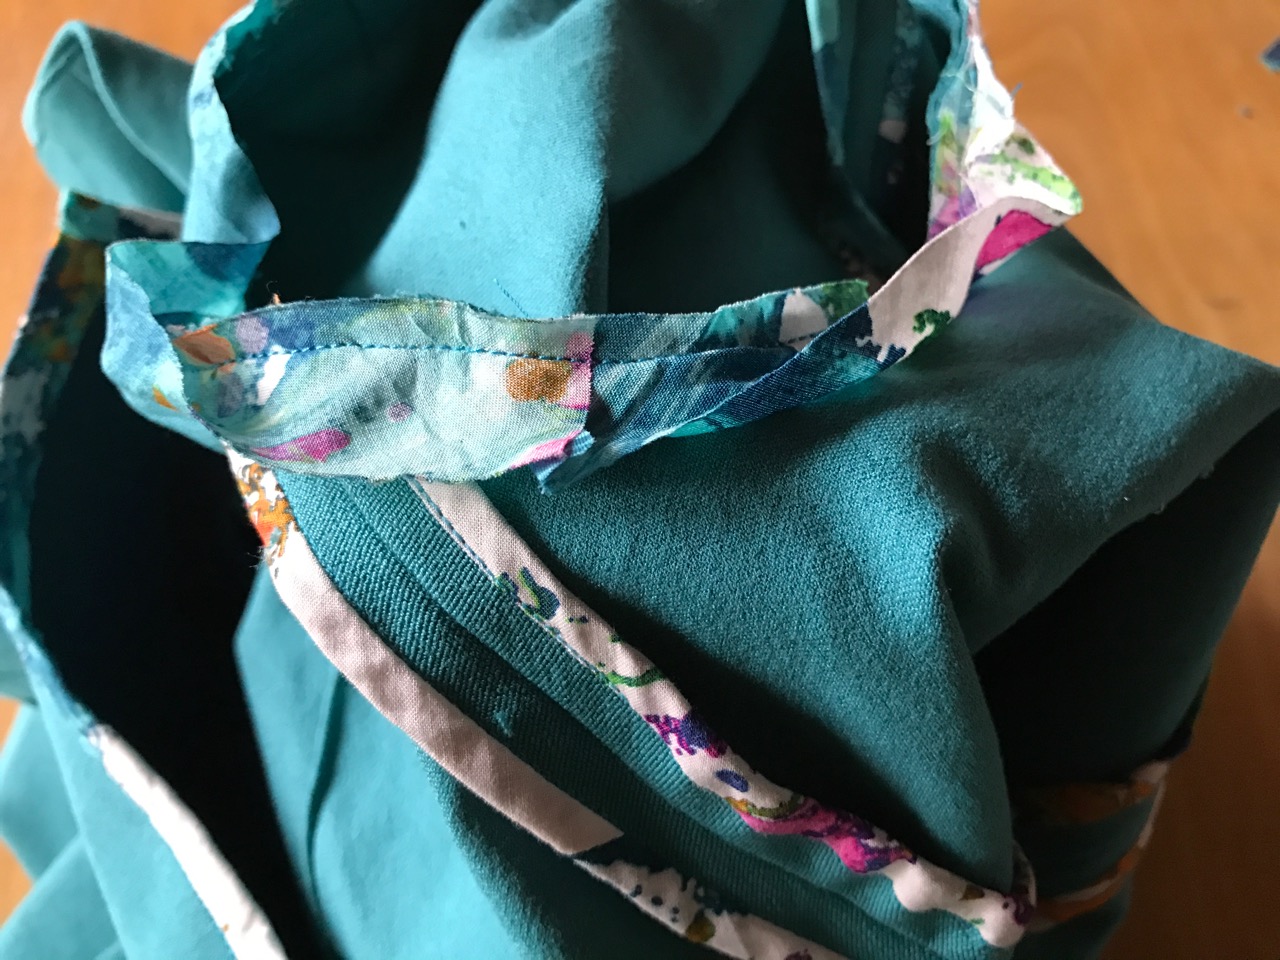
Now you can wrap it over just like we did before.

Pin in place.
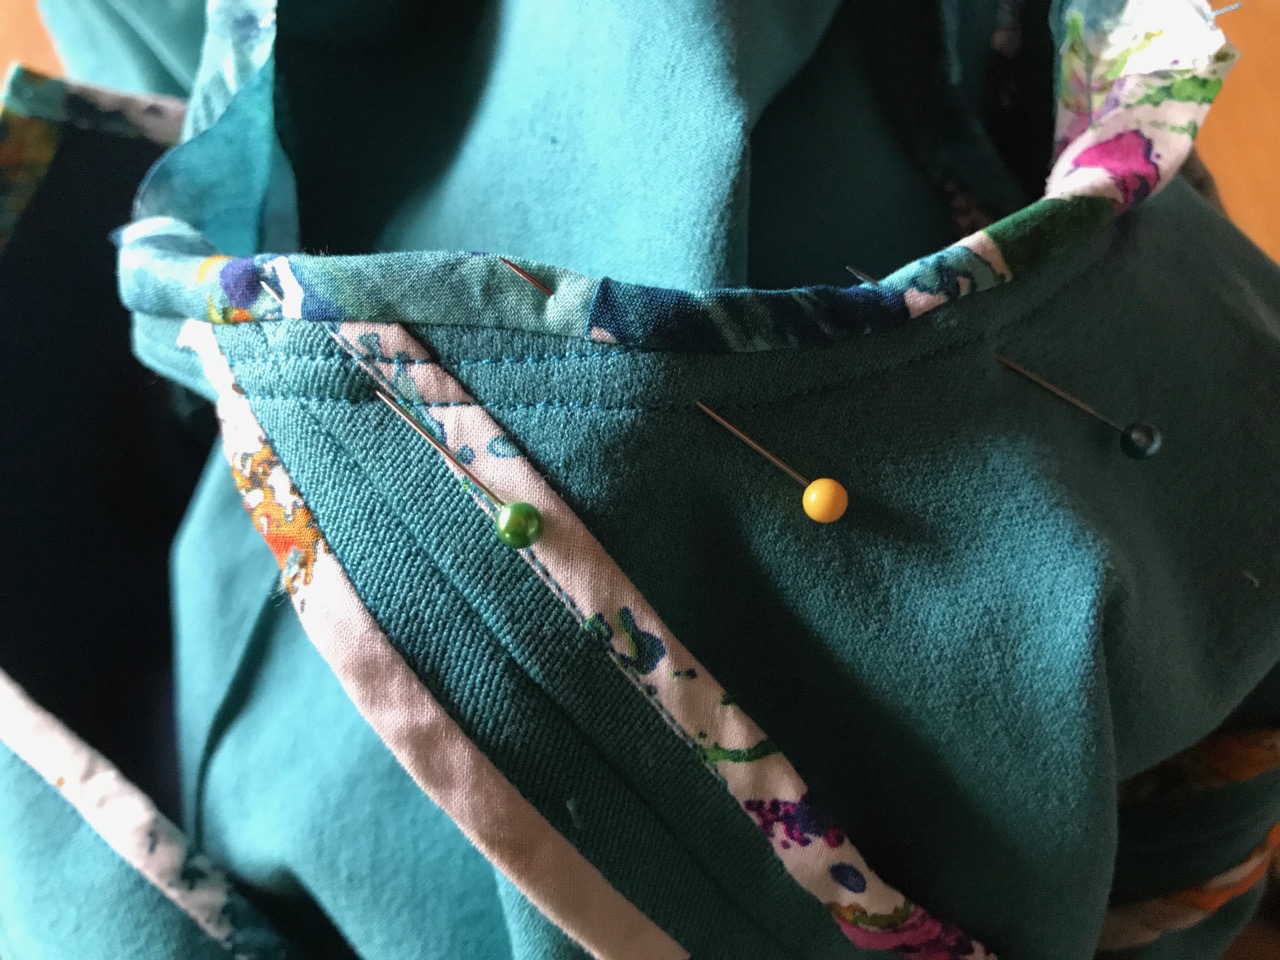
And stitch in the ditch. You are done!
You probably notice that one side of the finish has the raw edge of bias tape, correct? Because of that, you need to think about which direction you will be pressing your seam allowance. In my case, I am pressing it toward the sleeve (I almost always do), then the “clean” side of the HK finish should be the bodice side (so the raw edge is tucked under). It does require some prior thinking!
Check out Part 2 now.
Want to try your hand at Hong Kong seam finish? Try the technique on the La Paz Jacket or Hvar Jacket!
Hope this is helpful! Until next time, keep stitching!

I remember as a little girl when the GI.s were coming home from WWII, many of them were stationed in Hong Kong. They would be so proud of the “custom made just for me suits”! Those suits all had HK seams. Even after the Korean and Viet Nam conflicts the boys coming home stopped in HK long enough to get a custom suit. If i remember correctly they would get measured and pay for the suit one day and pick it up the second day out–just in time to get on the ship or flight going home. A three day layover in transitions to the US through HK was the ideal !
this is the first detailed explanation, with pictures, of how to do join two seams, each with a Hong Kong finish. I am trying out the Hong Kong finish on a cotton summer robe before doing it on some fine wool with the binding in a voile. So glad I decided on a test garment! Lots of questions come up in both how to do and in the sequence of joining sleeves, set in pockets on side seams. Not to mention how to accurately stitch in the ditch for many yards! I just want to thank you so much for taking time to give such a detailed explanation.
Diane is correct, that is where the term Hong Kong Finish Comes from. But Bias Tape, which is usually Cotton, was Never Used. Only Silk bias strips were used. And for a True Hong Kong Finish that is what should be used. Cotton is rather bulky by comparison.
Its also extremely rare to finish a sleeve on the inside; and rather unnecessary as all edges are basically bias cut & therefore don’t ravel.
And to the earlier poster, there are No Raw edges showing.
Not sure why you would leave raw edges on such a finished garment. I would use a double fold bias tape to hide the raw edge. You would never have a raw edge in a high end garment. Defeats the purpose of a Hong Kong bound edge. I would happily live with one layer of extra bulk rather than present a raw edge to a client.
Here Here
T
Fantastic tutorial and a beautiful way to finish. I will be trying this out on a lovely top I am making . Thank you very helpful.
When it comes to the waistline should you do the hong kong finish on the waist seam before or after sewing the front and back together?
I personally do it after, so my seam allowances are more accurate.
Great Demo! I was trying to remember this technique from my “Home Ec” class eons ago and your “stitch in the ditch” hit the mark. There are other demos out there on YouTube that are make-do (e.g.,” just envelop the seam allowance with bias tape and topstitch”!!). It takes some time to do this properly as you’ve demonstrated – thinking about turning in the ends and considering the “right-side” when binding armholes!), but the outcome is top-notch! Thanks!!
I am still a little confused. Do you apply the Hong Kong seam technique BEFORE you sew your side seams together?
I apply AFTER the seam is sewn.
Thanks Kennis!
Why don’t you do some, like side seams, before?
You could. I think the seam allowance is more accurate if the seam is sewn before, because if I am inconsistent when wrapping the seam allowance, it could be wider or narrower.
This was a fantastic question, bc I was considering doing it before seaming, but your answer makes a lot of sense, so I will do it in the proper order. Also, your tips on HK finish on a princess seam, ie adding gathering stitches, really rocks. Thank you!
Ah… French toast in France is called “pain perdu”, which literally means “lost bread” as we make it to use up stale bread so not to lose it (throwing it away). French seams are called “coutures anglaises” in French (English seams). Which, for a bilingual like me, was a bit confusing at first.
I had never heard of this practice by the Hong Kong finish. I was raised it was called French seams. Anyway it is very nice way to finish your seams, but I would like to say if u do not have the time or extra bias, serger cuts down the time and material. But very interest article.
Hi Connie, this most certainly is not French seam. You can read about French seam here: https://itch-to-stitch.com/sew-french-seams/. Yes, serger is faster for sure. Hong Kong seam finish is for something special.
Toute la différence entre une finition haute couture et une très ordinaire ! La satisfaction n’est pas comparable. Faire vite, moche pour jeter ensuite… il faut changer cette habitude moderne si on a le temps et la patience
Excellent tutorial, thank you!
The term Hong Kong seams, originates (I believe) from the Hong Kong tailors’ reputation for high quality garment finishes.