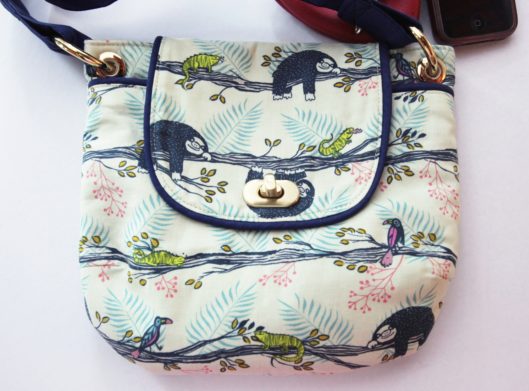
Gatherer Crossbody Bag by Noodlehead
I’ll let you on a not-so-secret secret: bags are not my forte. In fact, I don’t remember ever making one, maybe except the drawstring variety. But I’ve been wanting to make a cross-body bag for myself for months, mostly because I need one and can’t find any I like. Nowadays I don’t sew much of anything except for the samples from my own patterns. I also sew for blog tours (like Bella Sunshine Designs’ birthday). Sewing just because I want to is a luxury these days.
But I am determined to take time to sew something JUST BECAUSE I want to. After kicking off four pattern tests, now it’s the best time to do it. And I choose to sew the Gatherer Crossbody Bag from Noodlehead, designed by Anna Graham for Robert Kaufman Fabrics (except that I didn’t use Robert Kaufman Fabrics, sorry). (Go download it; it’s a free pattern!)
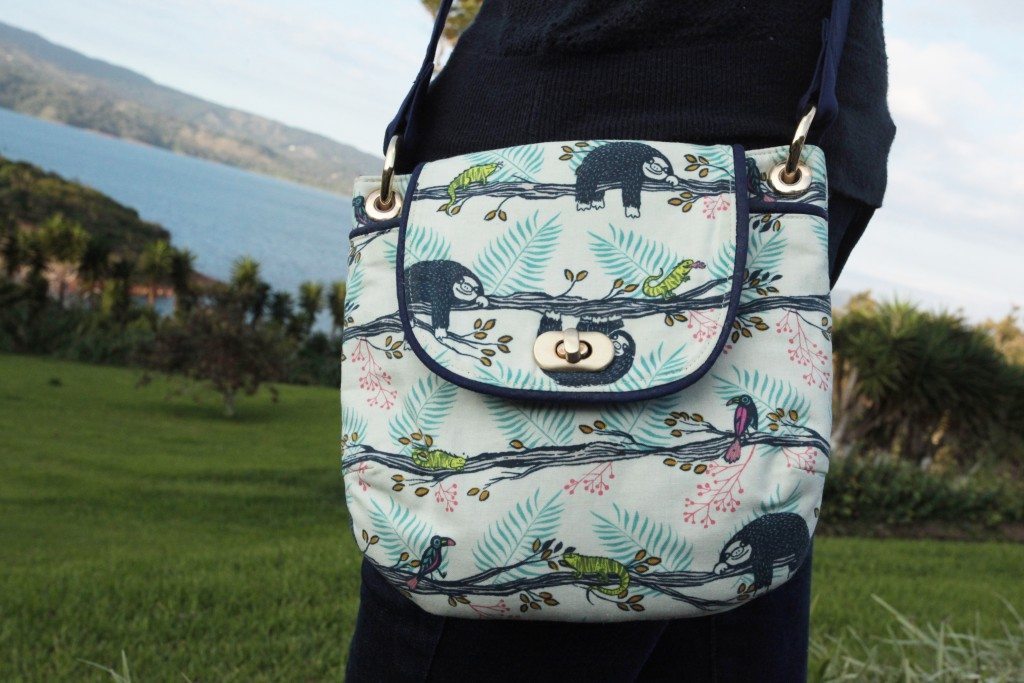
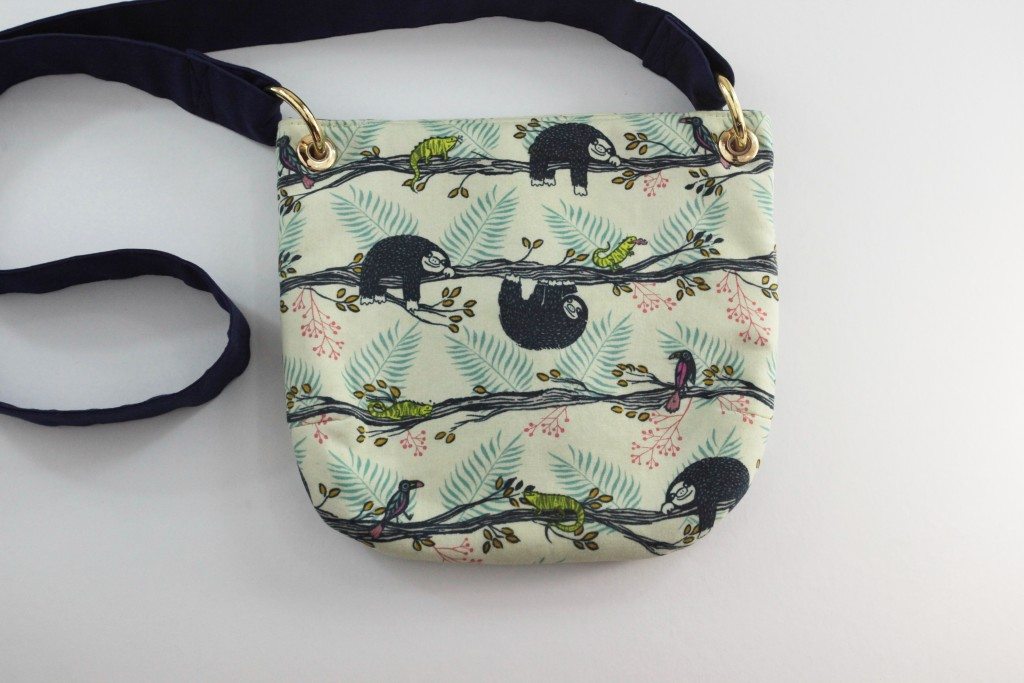
I used fabrics I ordered specifically for this project. It’s Honeymoon – Lazy Day in neutral/blue by Cotton + Steel. It’s supposed to be a Costa Rica theme (I live in Costa Rica), but ironically, it’s made in Japan. I also used the matching Cotton & Steel Solids Night as the contrast. The sloth/iguana/parrot fabric is a bit more cutesy than I usually go for, but I can’t resist the sloths. And I like the fact that there are different colors in the fabric, so potentially it will be matched to my various outfits. I am quite impressed with the Cotton & Steel Solids Night. It feels substantial yet soft. Even though it is considered quilting cotton, I can picture using it for a shirt.
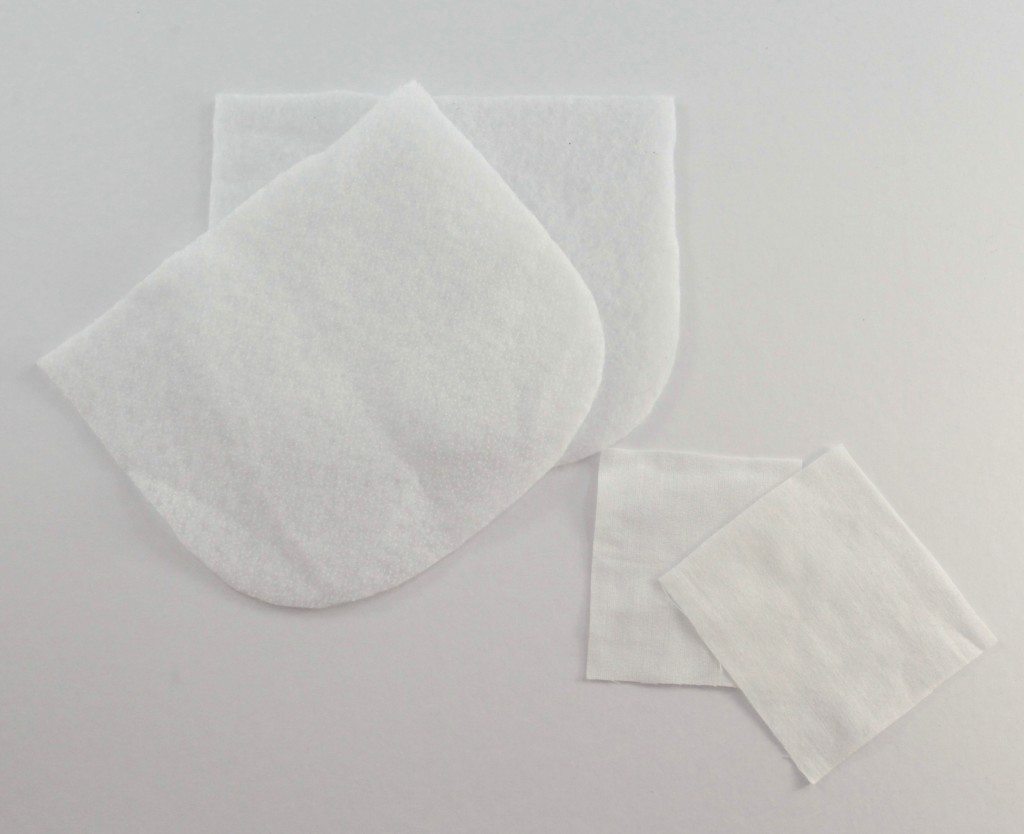
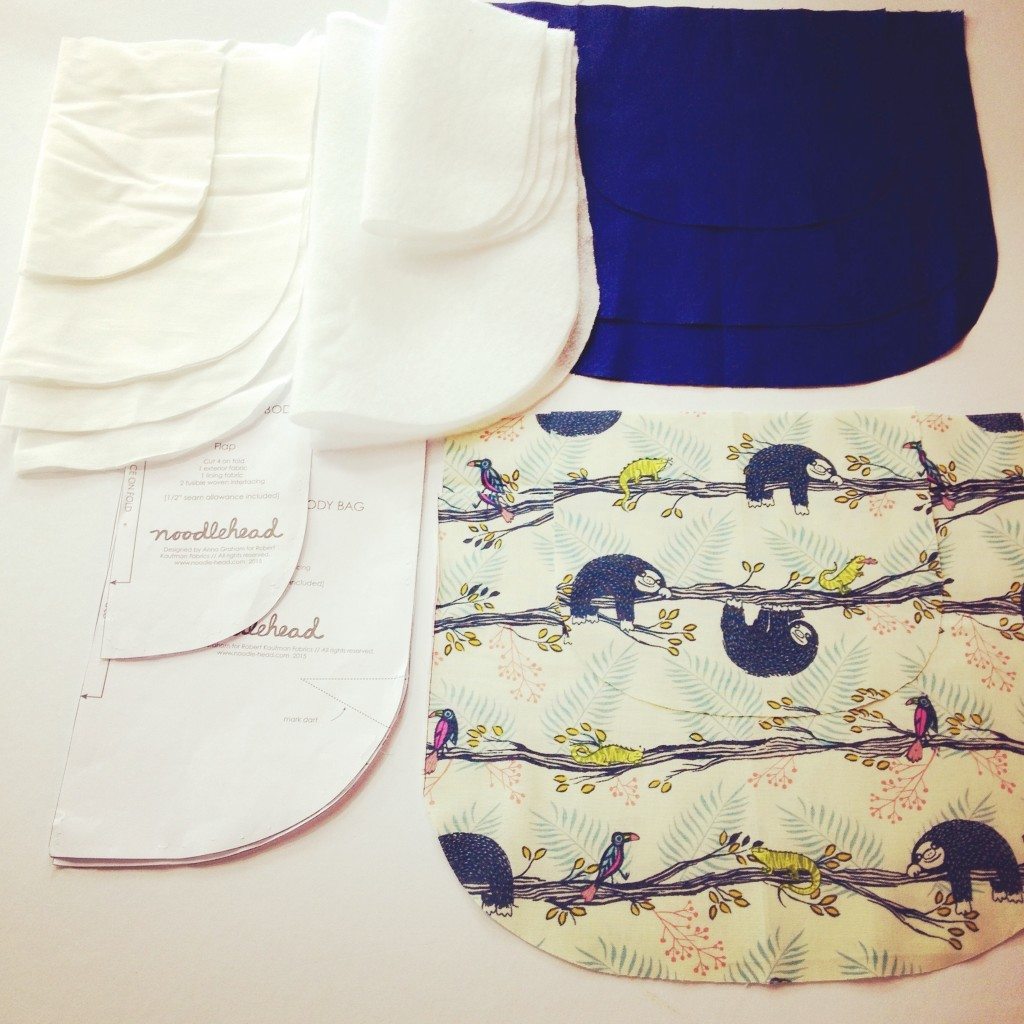
And the two types of interfacing used are Pellon 987F Fusible Fleece, which adds some loft, and Pellon SF101 Shape-Flex Iron-On Woven Cotton Interfacing, which seems to be a regular woven interfacing. Both are specifically called for in the pattern.
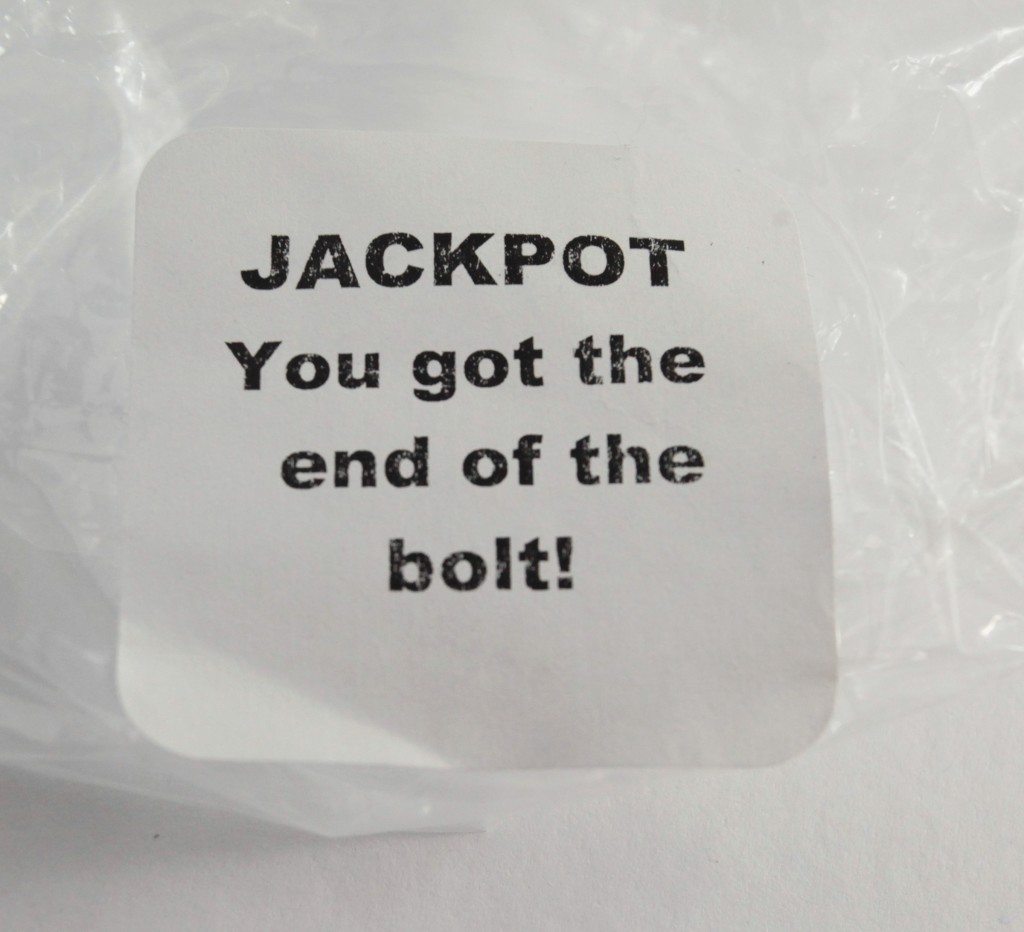
Haha, I got the better end of the deal on the interfacing! It’s the end of the bolt, so I got a little more.
I read the pattern instructions several times before I began. I must admit that it was confusing until I actually cut out the pieces and followed the instructions one step at a time. Perhaps it’s my inability to distinguish the pieces when the lining, exterior and two kinds of interfacings use the same pattern pieces (because they are exactly the same). But it all worked out!
I did deviate from the pattern a little:
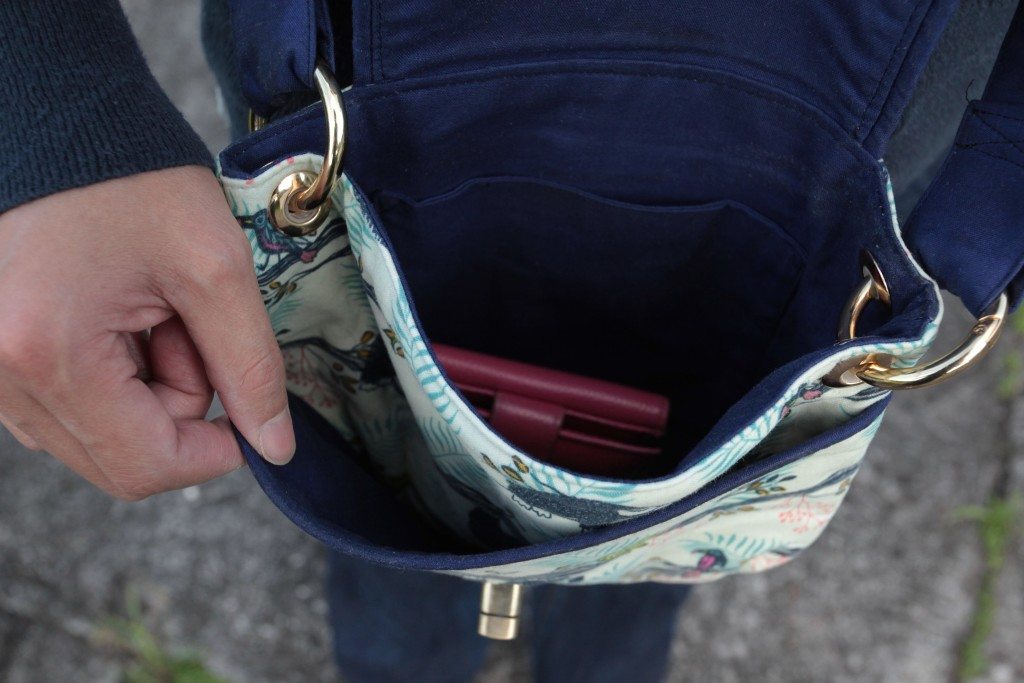
- Instead of using a piece of leather as the closure, I used a turn lock.
- Instead of making my own strap holders, I used some hardware harvested from an old bag.
- Instead of making 1/2″ wide strap, I made a 1 1/2″ one.
The fabric I used presented some challenge, because I want the fabric pattern on the main, pocket and flap pieces to be all lined up. Not knowing exactly what the “turn of cloth” of the flap, I had to fudge it a little. I ended up sewing only 1/8″ of seam allowance on the flap to be able to do the pattern matching. Next time I would offset the pattern by 1/2″ for that, but I doubt I’d make the same bag again. Regardless, it worked out somewhat at the end.
Another challenge is the alignment of the turn lock. Because per the pattern instructions, you sew the leather closure at the end, so there’s no need to estimate the position of the closure. But since I used the turn lock, which needed to be installed before many pieces were assembled, so I had to make my best guess.
Then because of the hardware I used, I had to make several holes in the bag at the last step. Boy! That was nerve-racking! If I made any mistake, the bag was essentially ruined. But the sun, moon and stars were aligned; I did not destroy it.
At the end, I am pretty happy with it. It’s the perfect size for me because I don’t carry a lot of stuff out. A wallet, set of keys and a phone are pretty much I need. I did put my Kindle in it today (it fits comfortably!), but I felt that it might be too heavy because the bag is soft.
There are lots of places for improvement. I could tell myself that the piping and the flap could have been sewn more evenly; a purchased strap would have looked better and sturdier, and I shouldn’t have killed a sloth (that one sloth is in the middle of the flap where I installed the turn lock). But let me just enjoy the fruit of my labor and stop criticizing myself.
And I also put some Otter Wax to water proof the bag. I always wanted to try that stuff, but this is the first time. For my purpose, it might have been better to Scotch Guard it (because I don’t want the special wax canvas effect). The instructions say to leave it out for 3 or 4 days to cure the wax. Instead, I used a hair dryer to melt the wax and let it seep into the bag. I do have a pretty good-smelling bag now. It’s a bit citronella-like. I hope it helps repelling mosquitoes. I need all the help I can get in that department.


This turned out too cute, Kennis!
Your bag is so fun– I am amazed you thought to pattern match the flap to the main bag! I think you did a great job with it!
It’s adorable! I love the colors and it looks professionally done of course!
Really cute – love the fabric!! Where do you find the time?- 4 patterns in testing and now this!!
This is so cute! I love Anna’s designs. After doing a bit of pattern testing… 🙂 I’m going to make a big tote from her book.
Oh I didn’t know you tested for you. Actually this is the first time I heard about her and her design. I like it very much!
Nope – I meant when I finish testing for you. 🙂
Ah! 😉