
Fabric Drawstring the Quick Way
The easiest way to get a drawstring is to buy one; any twill tape or ribbon will make great drawstrings. But sometimes you just need one in the exact color and fabric that you like. I found myself in that situation all the time, so I do have some practice making my own.
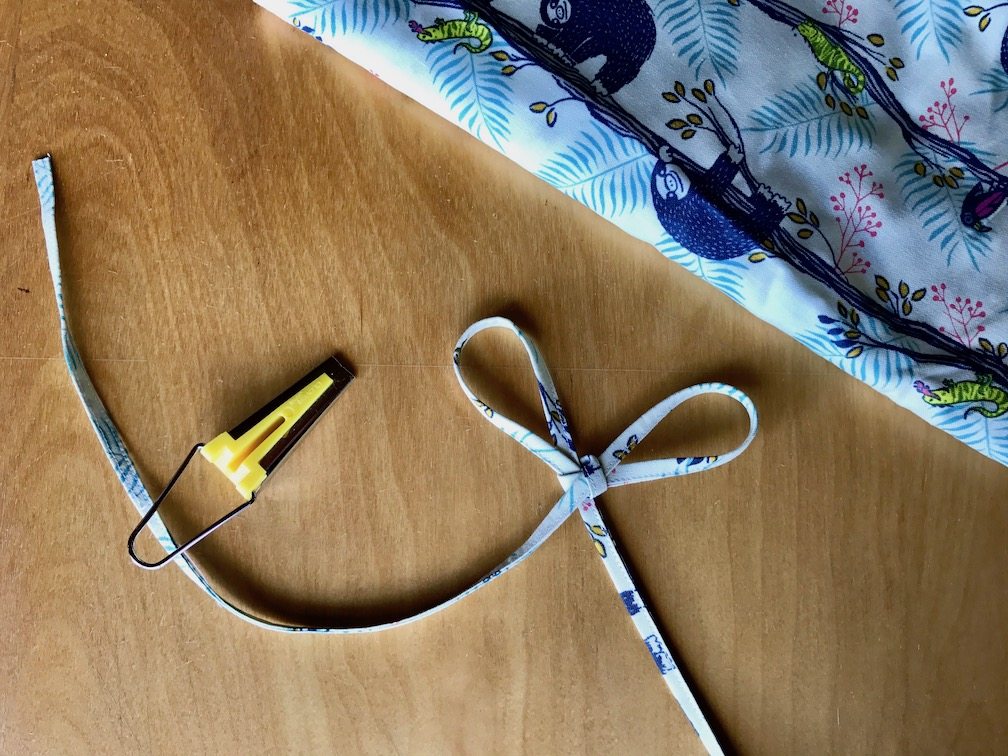
My secret weapon of making drawstrings is this little guy: a 12 mm (1/2″) bias tape maker (affiliate link). In fact, I have different sizes, but this one makes the drawstring size that I usually need.
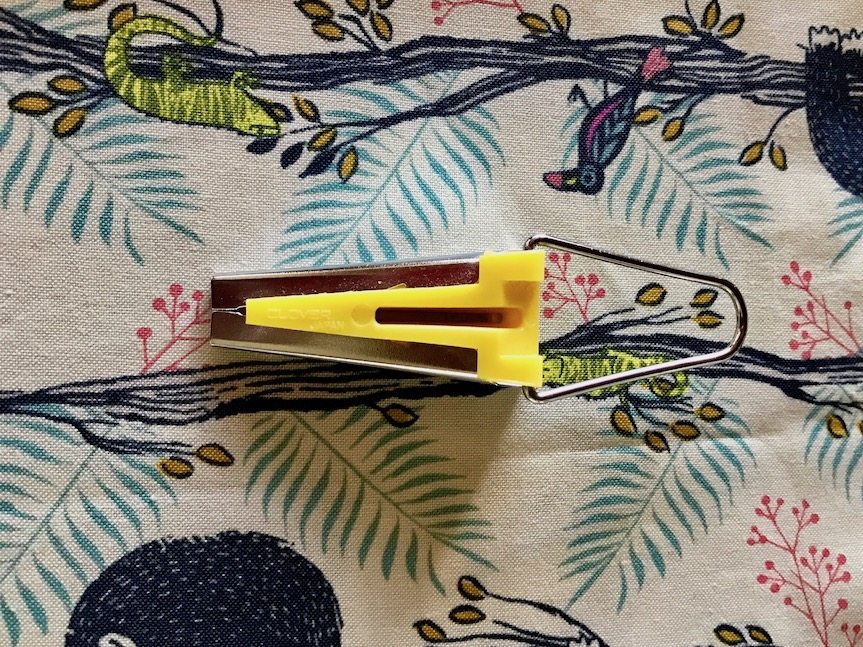
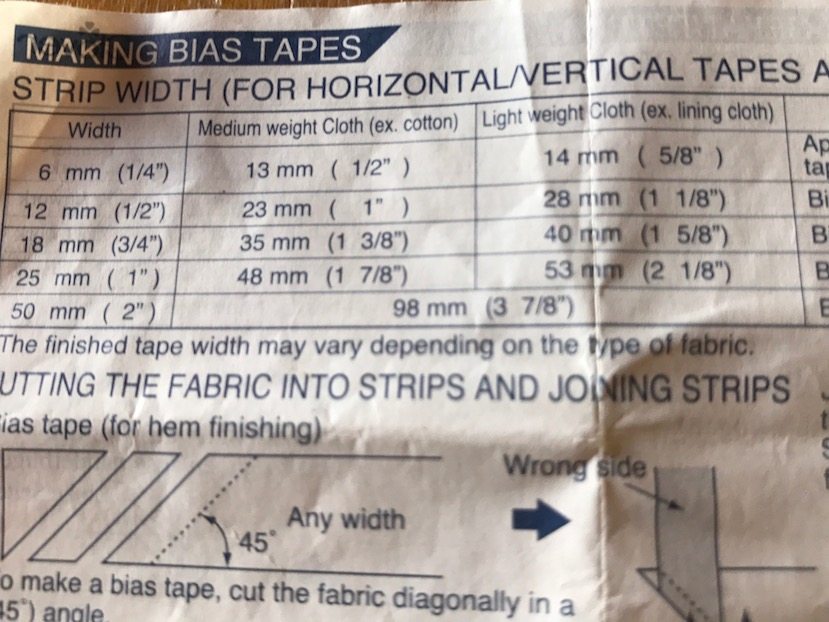
Every bias tape maker comes with this little cheat sheet that tells you the width of fabric you should use with the maker. Since we will be folding the bias tape lengthwise again later, a 12 mm (1/2″) bias tape maker will make a 12 mm (1/2″) bias tape, which eventually make a 6 mm (1/4″) wide drawstring.
In terms of fabric selection, be sure to pick something that can be pressed by an iron. You know how sometimes some fabric refuse to be pressed into a sharp crease? Yeah, let’s not use that, or you’ll pull your hair out trying to get it to submit.
In this example, I use a 100% cotton. I actually do not cut my fabric in the bias for this operation. Bias tapes are great for navigating curves because of its flexibility. For drawstrings, that is not necessary. Why waste more fabric if it’s not necessary? Cutting on straight grain is more economical. Sometimes I cut parallel to the selvedge. Sometimes I cut on cross grain, especially if it’s a 60″ (152 cm) wide fabric. The resulting drawstring would be plenty enough for my waist.
In case of this fabric, I can actually tear it. Yes, I tear it. It’s way faster and easier if your fabric is tear-able (not all are). Of course you could go the old fashion way of cutting it with a rotatory cutter or scissors.
I snip a little at the edge to make sure that I start with the actual cross grain.

Then I tear it.
Exhilarating, isn’t it? I love it when they tear fabric in the store too. That makes sure my fabric grain is not crooked.
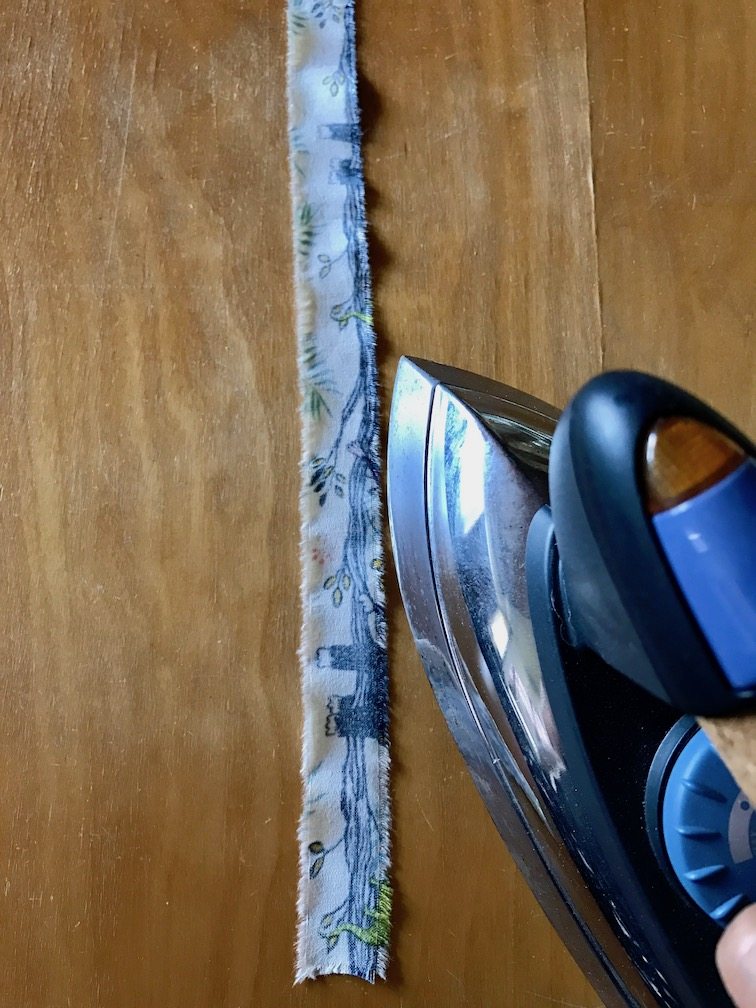
I then press it nicely, and measure an inch (2.5 mm) plus a tiny little (there will be some loose thread so I account for those by making the tape a little wider).
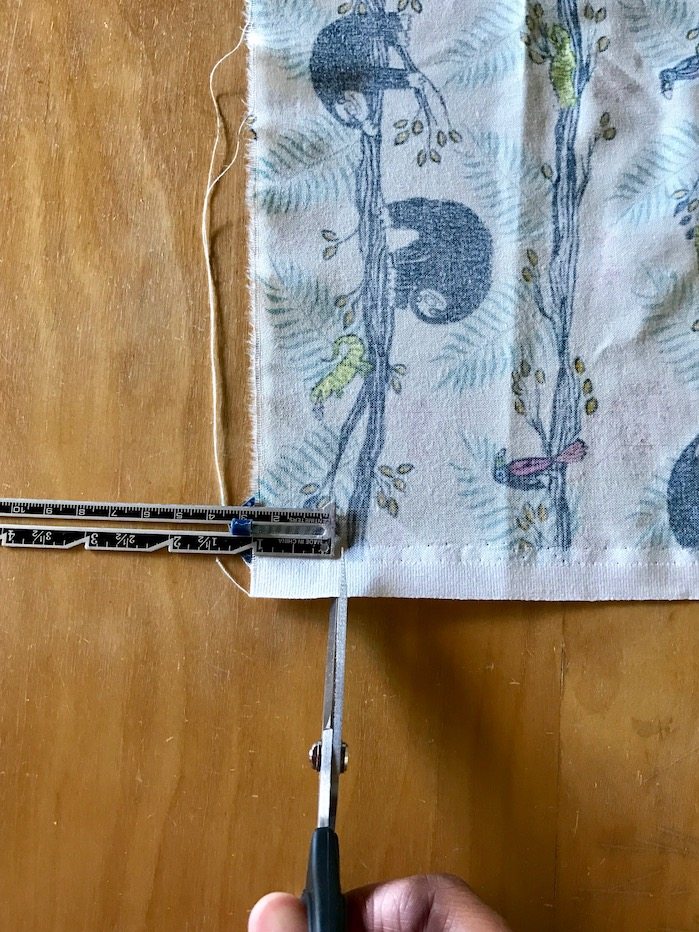
Then I tear the fabric again and press. I now have a 1″ wide strip.
Even though the strip is not on the bias, you can still use the maker. It’s just the normal way of using it.
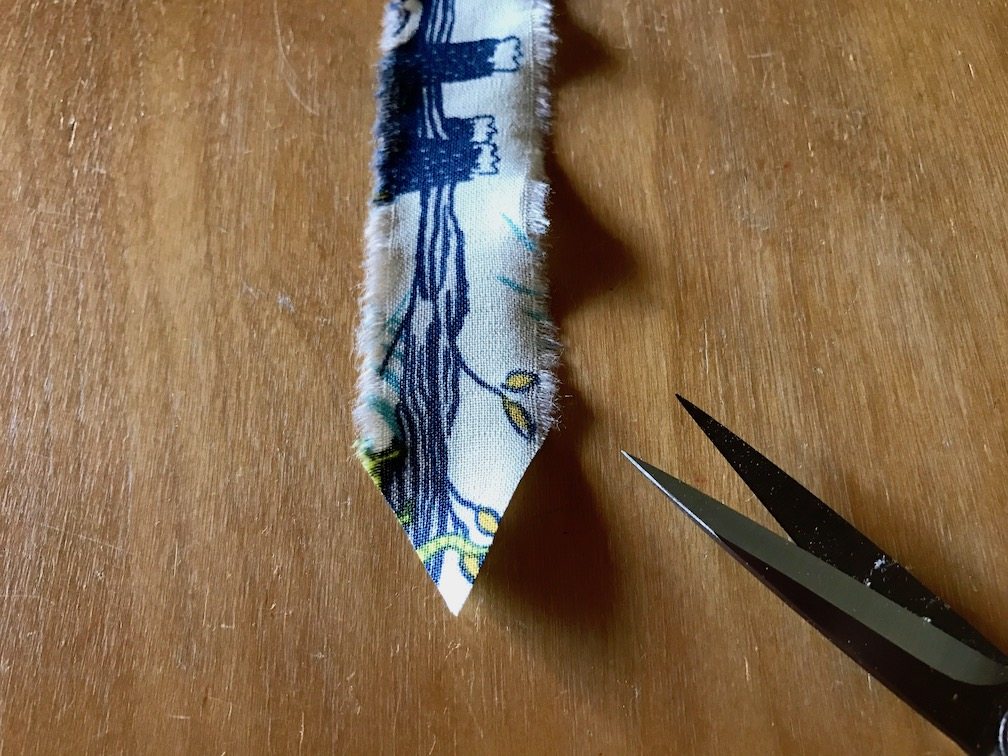
Cut a little point at the beginning so it’s easier to feed into the maker.
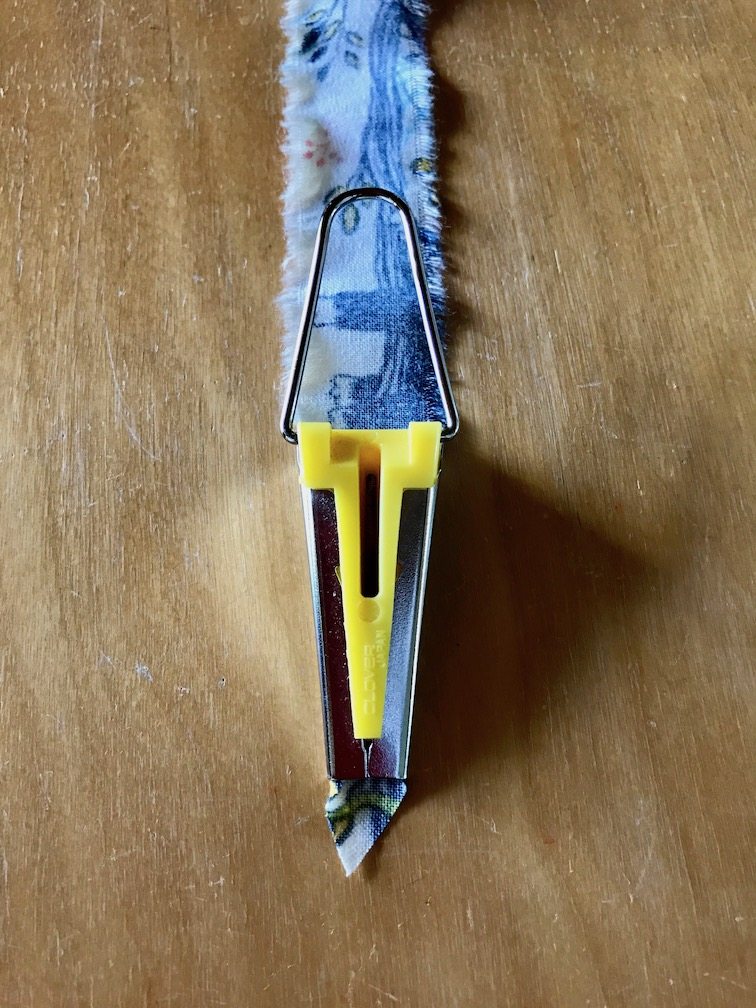
Feed it into the little gadget.
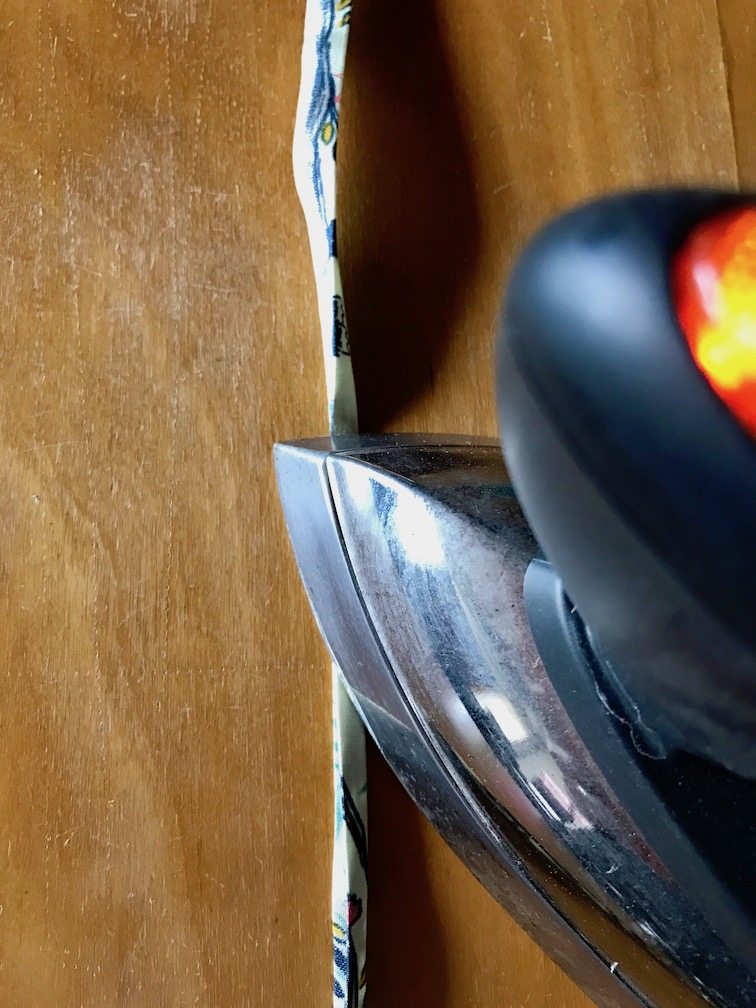
And press the tape as you pull it out of the other side.
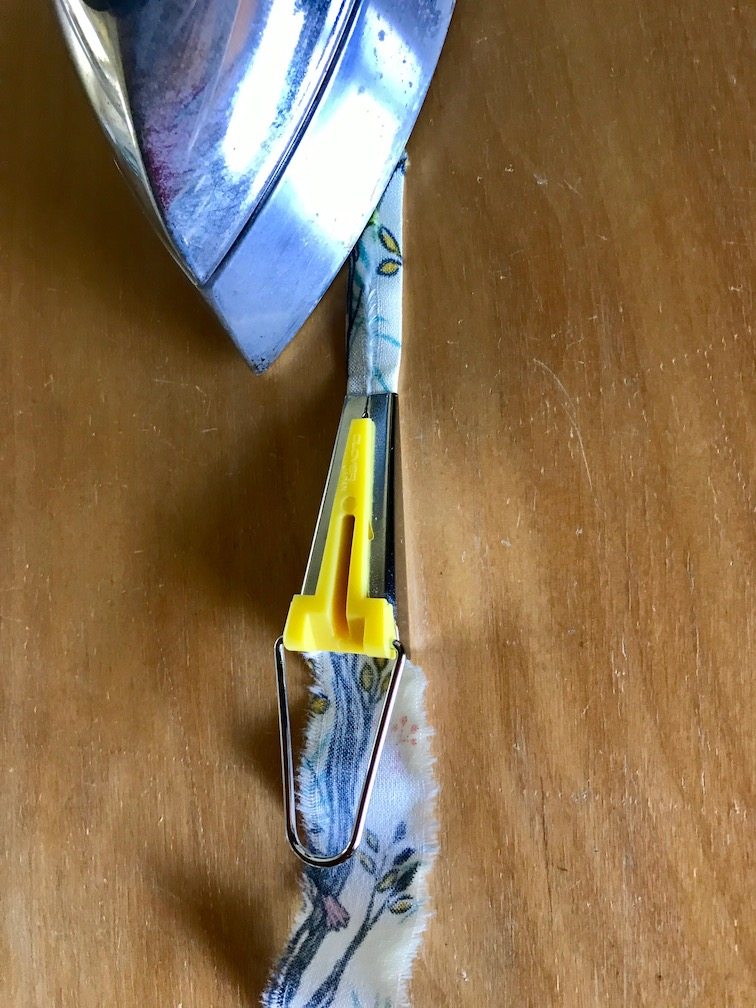
Now your fabric is folded like the bias tape, except not actually on the bias.
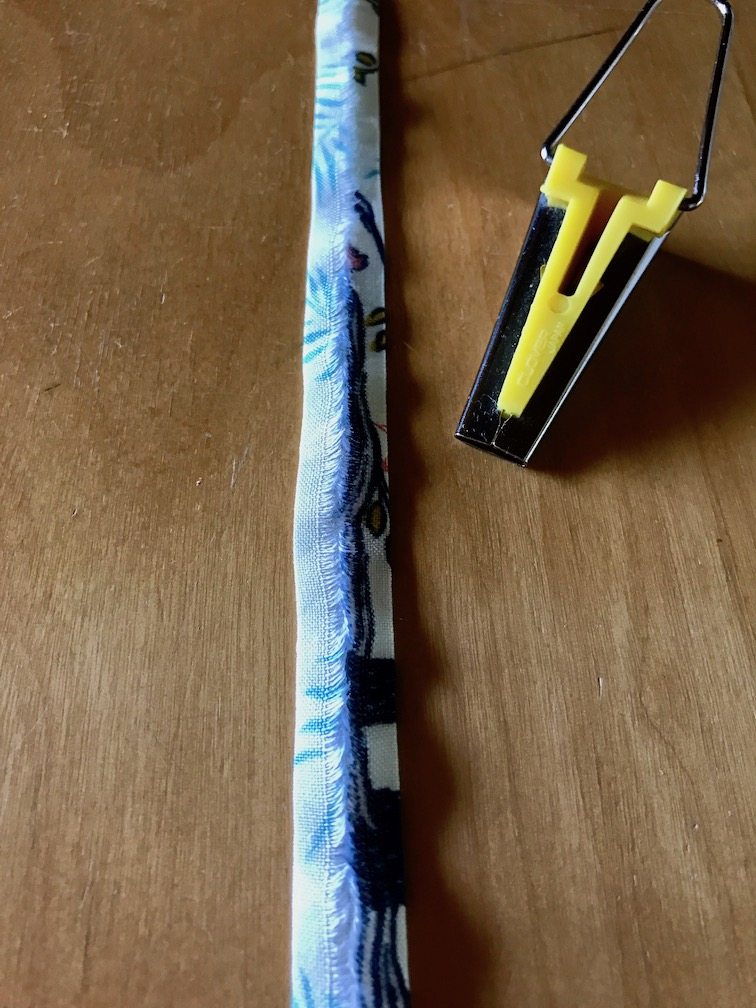
Then I fold the tape in half lengthwise and press.
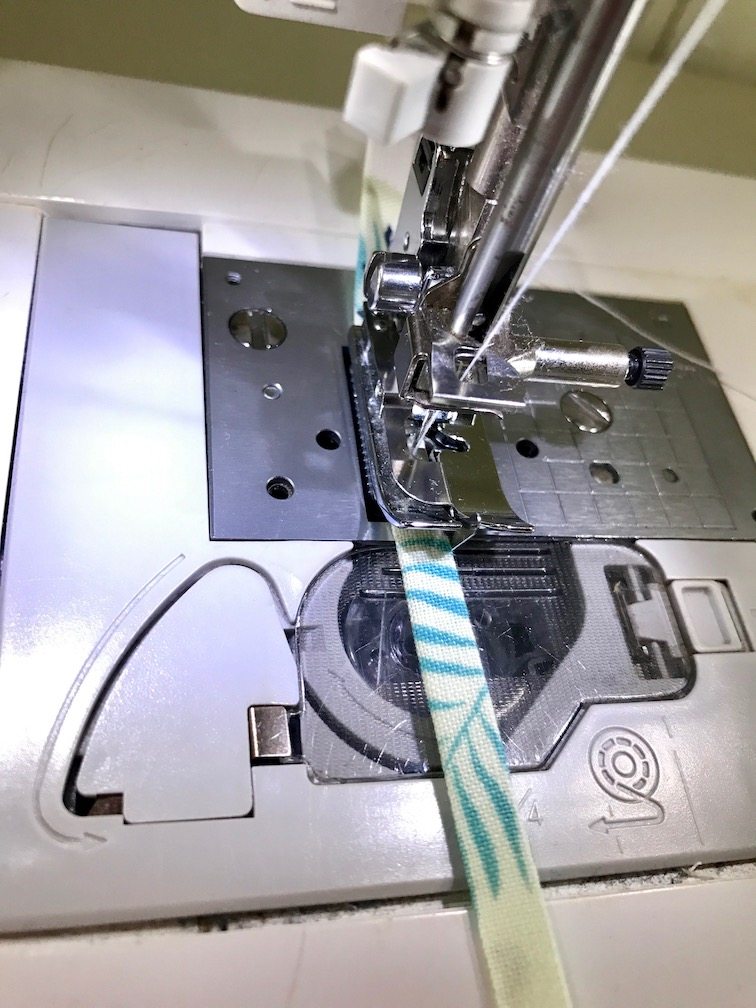
Stitch the tape closed on the open edge. I use my edge stitch foot and it’s a breeze to stitch a line on the edge.
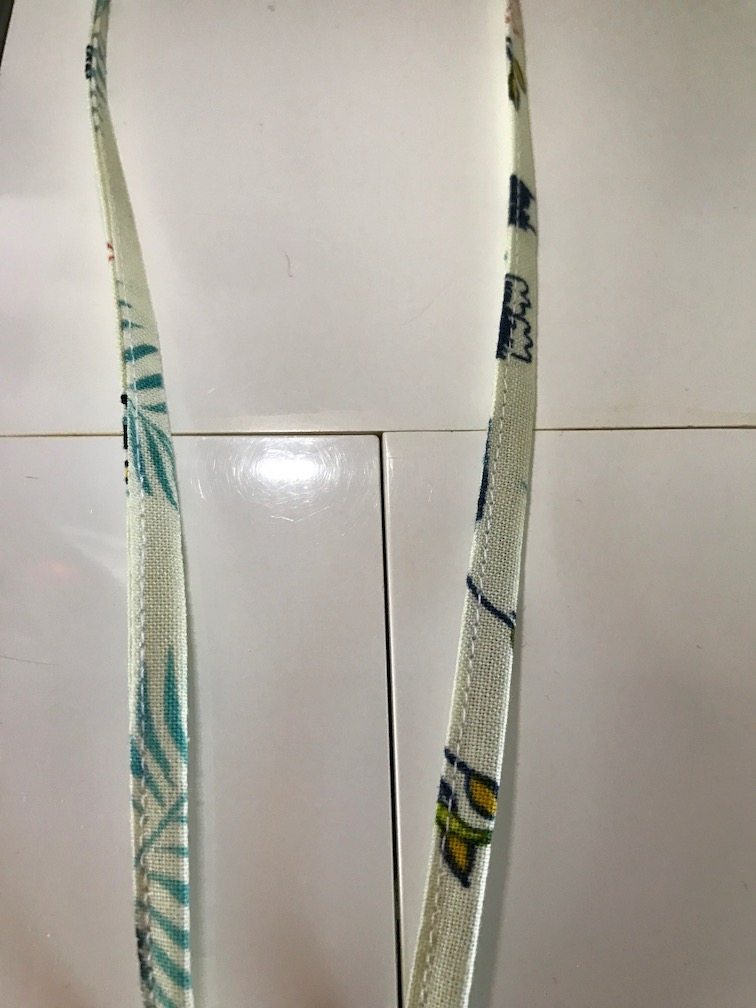
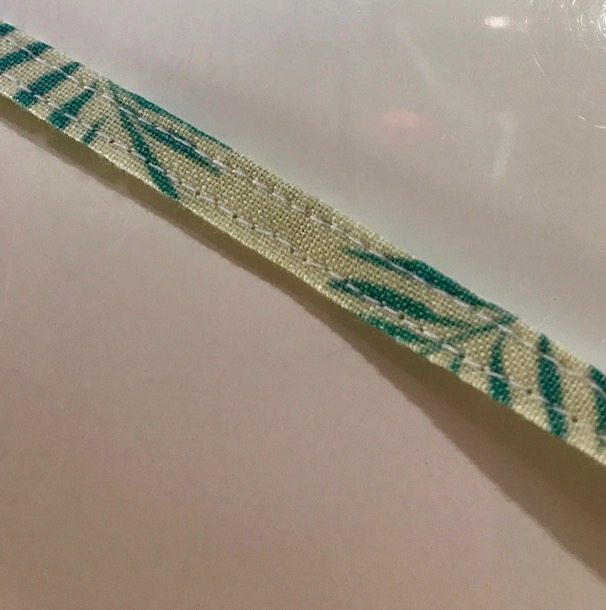
That’s all we need to make the drawstring, but sometimes I like to stitch another line along the other edge, just to make it pretty and balanced.
That’s all. Until next time, keep stitching!

Thank you! Great tutorial. This little trick just made sewing pajama pants super economical. Love it!!
This is my favorite method since I used it for the sash of the Itch to stitch Bonn dress. It has made my sewing life so much easier. The sash or drawstring, whatever the purpose, it looks so crisp! So thank you so much for sharing this great tip!
This is amazing !! And you are amazing ! Great tutorials ! Wow !! Thank you !!
By the way -do you ever do “plus” size patterns ??
Thank you. I hope 2018 is the year and I am working toward that ?
Thank you for this tutorial. As my fabric used for Tierras was a little too soft, I used stitch witchery to maintain the fold of the strip during the process.
That’s a good idea!
I never realized how easy this could be. Thanks for sharing! And I’m going to have to try ripping my fabric. It looks very exhilarating 🙂
Thank you for this clear tutorial. I especially liked the short video-moment when you teared the fabric 🙂