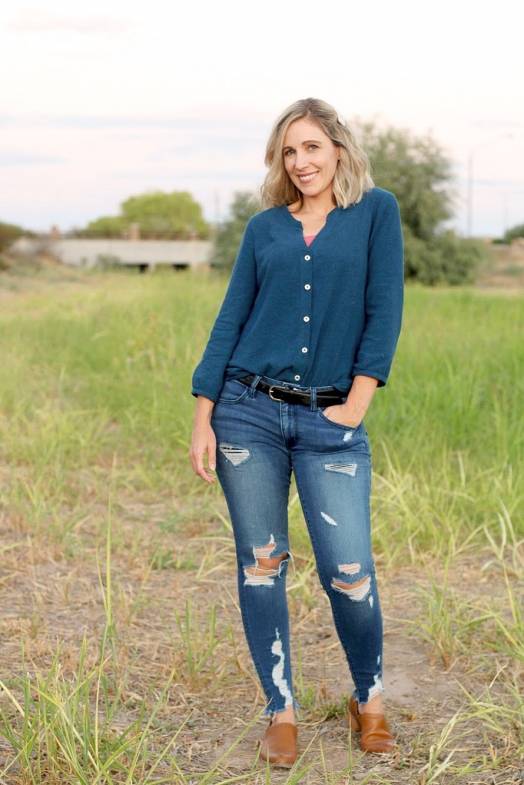
Bonn Shirt by Jen—Make It Wear It
You can’t beat a button-down shirt made in an effortless fabric. Jen just made one using the Bonn Shirt and Dress pattern for her fall wardrobe, and she is extremely happy with it!
Let me give my sincere thanks to our sponsor, imagine gnats, for this gorgeous and yummy fabric.
Now I’ll hand the stage to Jen and let her show off her beautiful Bonn Shirt!
Hello, Itch to Stitch Friends! I am Jen of Desert Blooms and I am very excited to be a part of the Make It, Wear It Series blog tour. I have absolutely loved every Itch to Stitch pattern that I have sewn up and I absolutely loved having a reason to try a new pattern.
I decided to try the Bonn Shirt and it ended up being the perfect addition to my Fall Wardrobe!
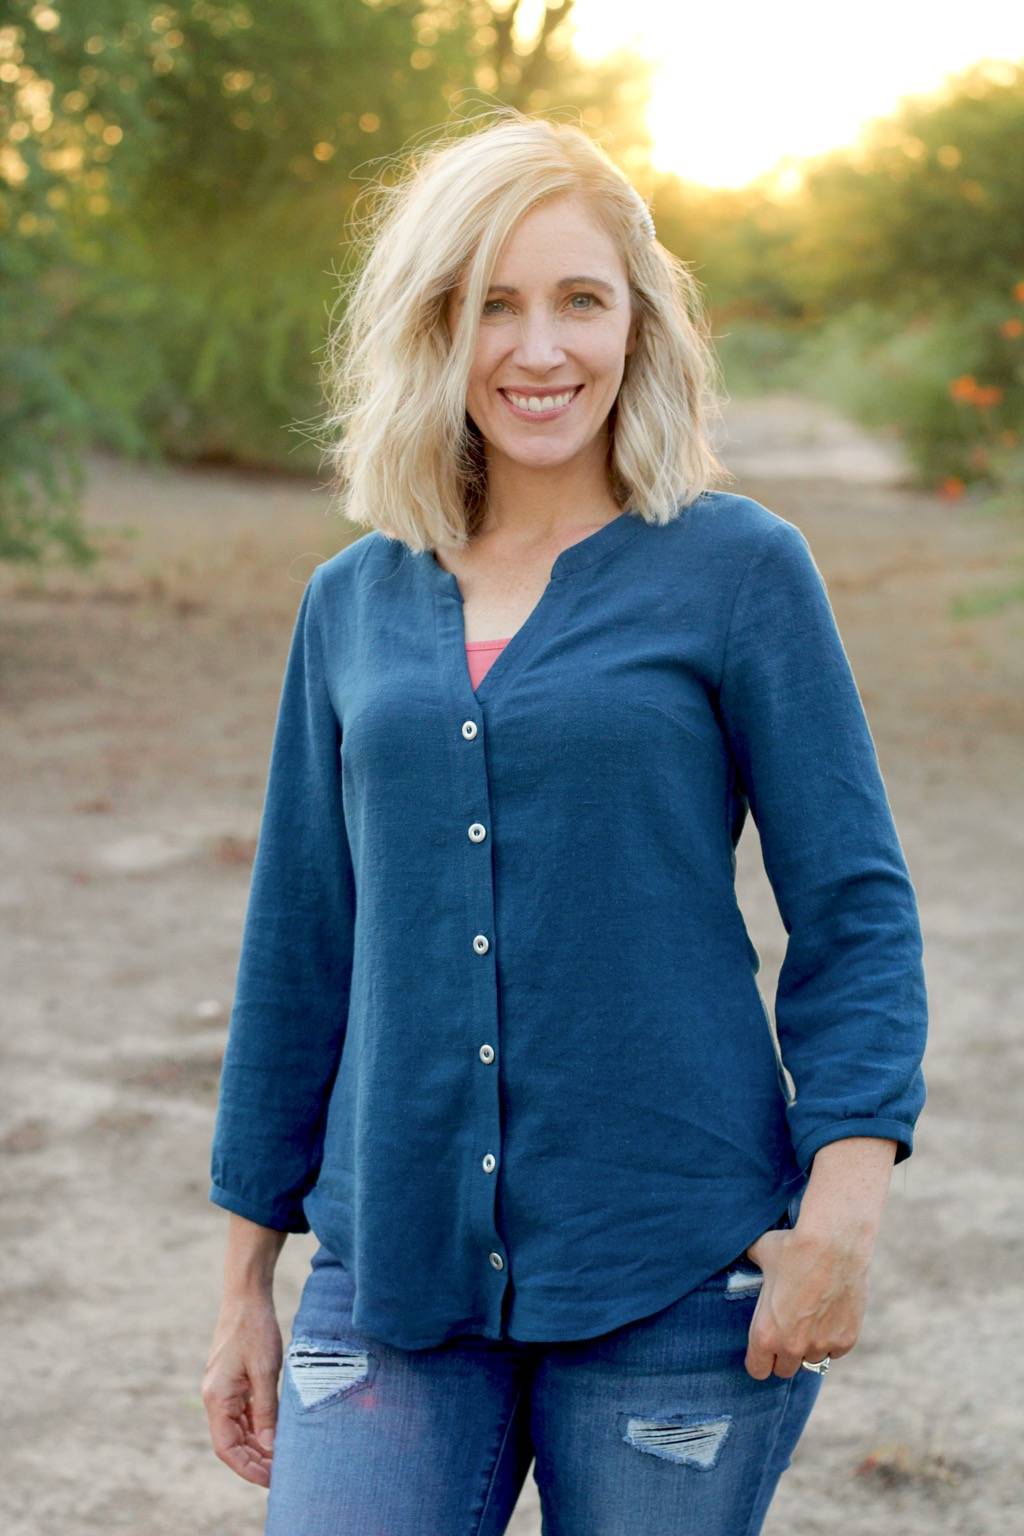
I knew I needed more casual, everyday clothes in my closet, plus I am loving the button down trend right now. I have made a few button-down shirt in the past and even though I always love them, they are a bit time-consuming. However, I was shocked at how quick and easy this Bonn Shirt came together. The construction is genius, just like every other Itch to Stitch pattern I have sewn.
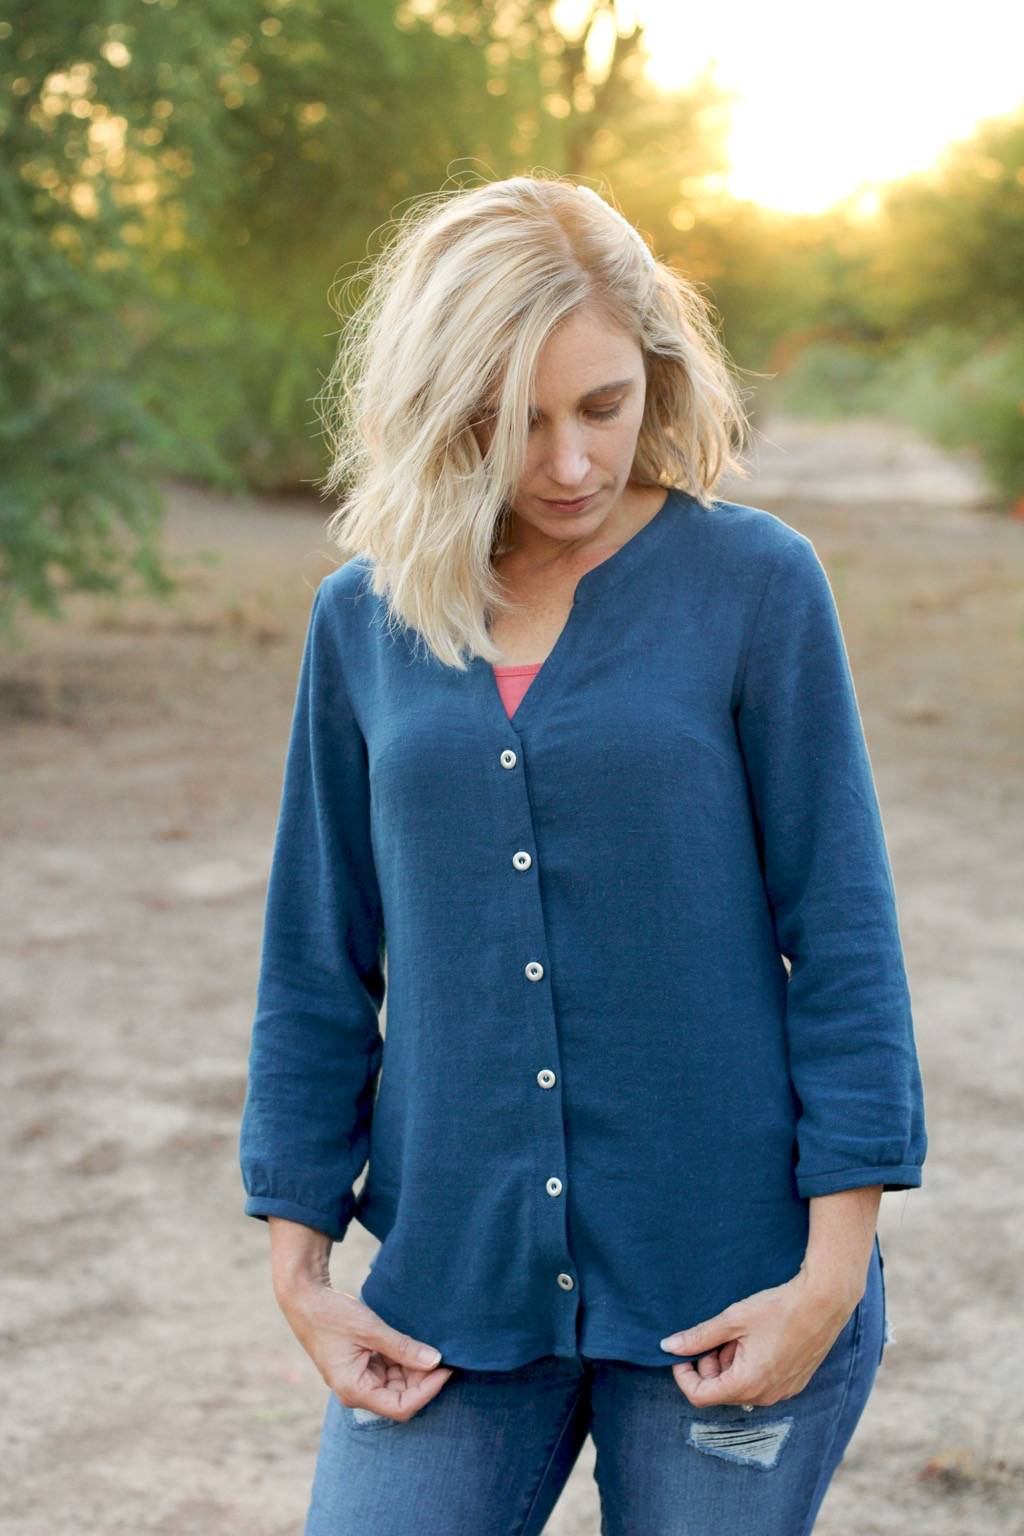
Ok, so let’s break it down. First, let’s talk fabric. I chose the amazing Silky Noil in Dark Teal from imagine gnats. It is gorgeous and was a dream to sew. It is a stable medium weight fabric with beautiful drape. I love the slubby texture and rich color. Without a doubt, I think the Silky Noil would make an incredible Bonn Dress too!
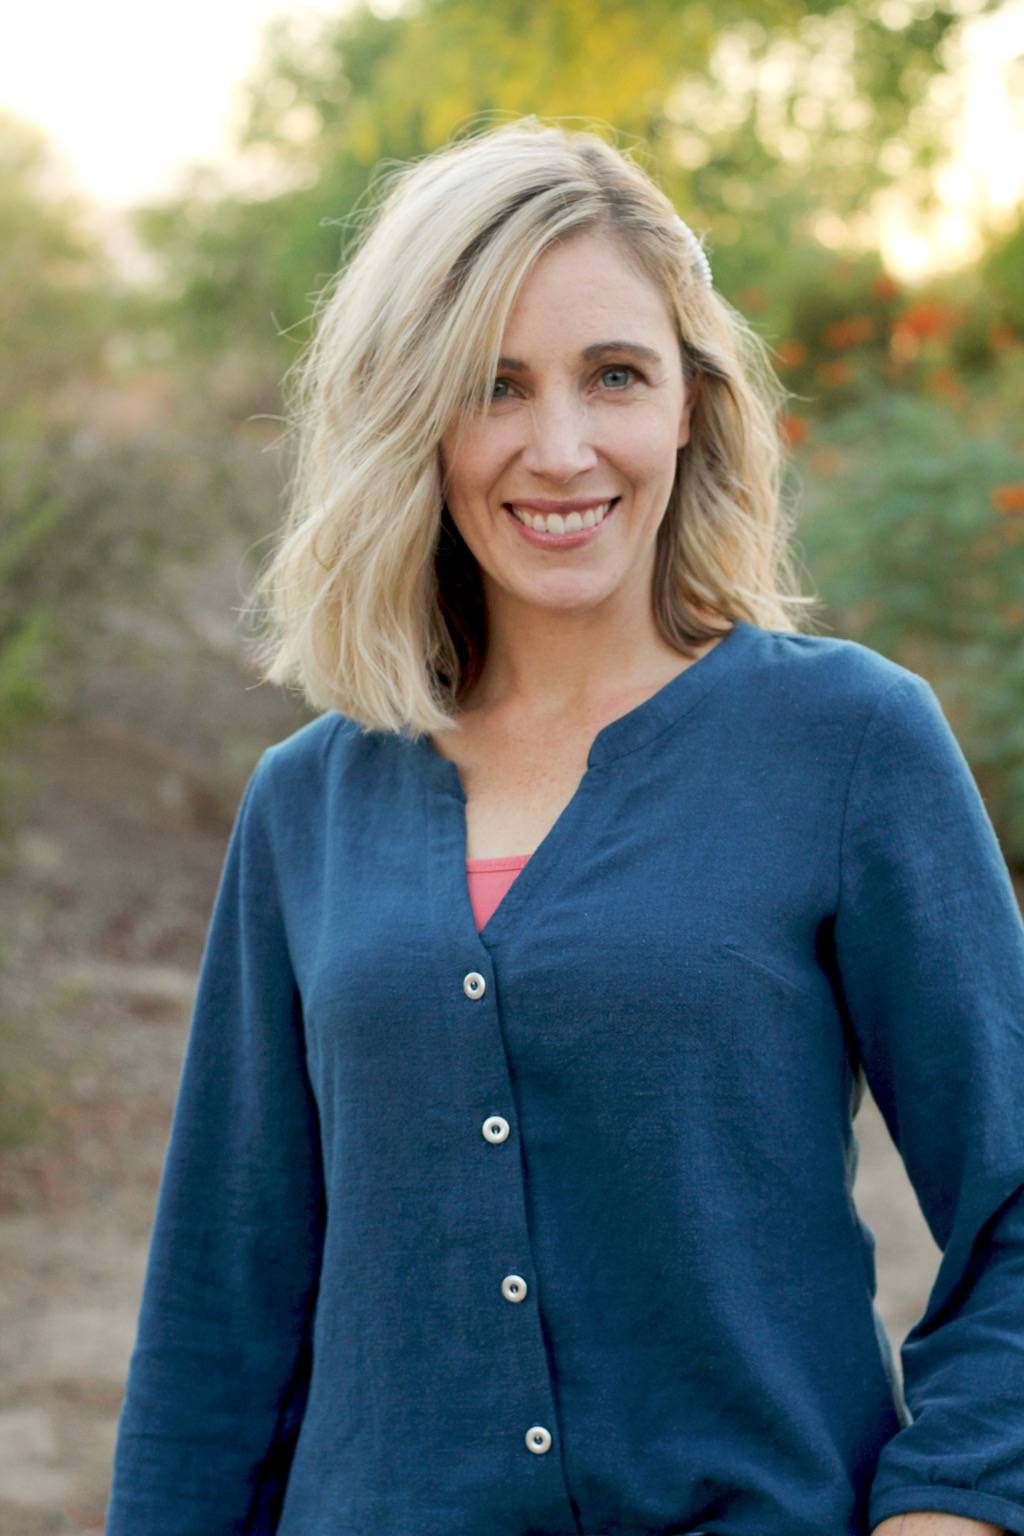
Ok, enough drooling over the fabric, let’s talk about the shirt. As I have mentioned, I have sewn quite a few Itch to Stitch patterns, so I am pretty familiar with the fit and sizing. The Bonn Shirt comes in sizes 00-20, with different cup options (A, B, C, D and DD). I am always amazed by the accuracy of Itch to Stitch patterns.
Since I have previous experience with Itch to Stitch patterns, I know that I have a few standard adjustments. I am 5’2” tall and have a petite build. To adjust for my petite build I usually move my bust dart up 1” and I take out 1” of length between the waist and the hips. In addition, I grade my pattern out to get a good fit around my hips. For me, I measure a size 0, with a B cup for my chest, but my hips measure a size 4. I just followed the waist line and gradually graded out from a size 0 to a size 4 between the waist and the hips. These adjustments really give me a good fit and help reduce fabric pooling in my lower back.
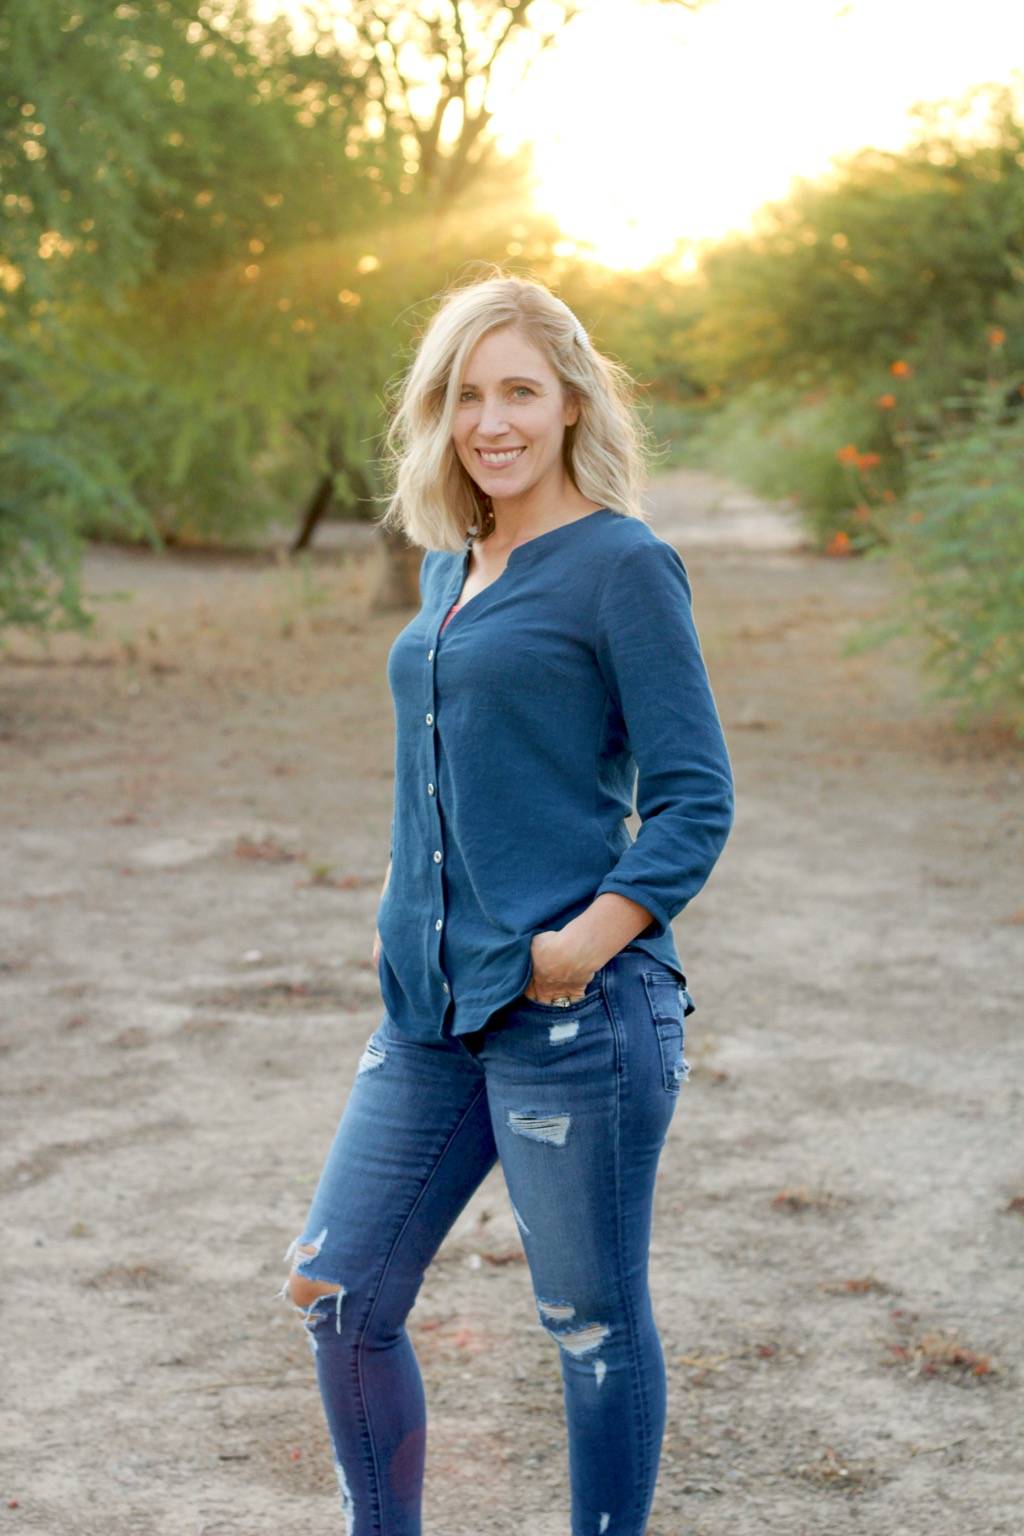
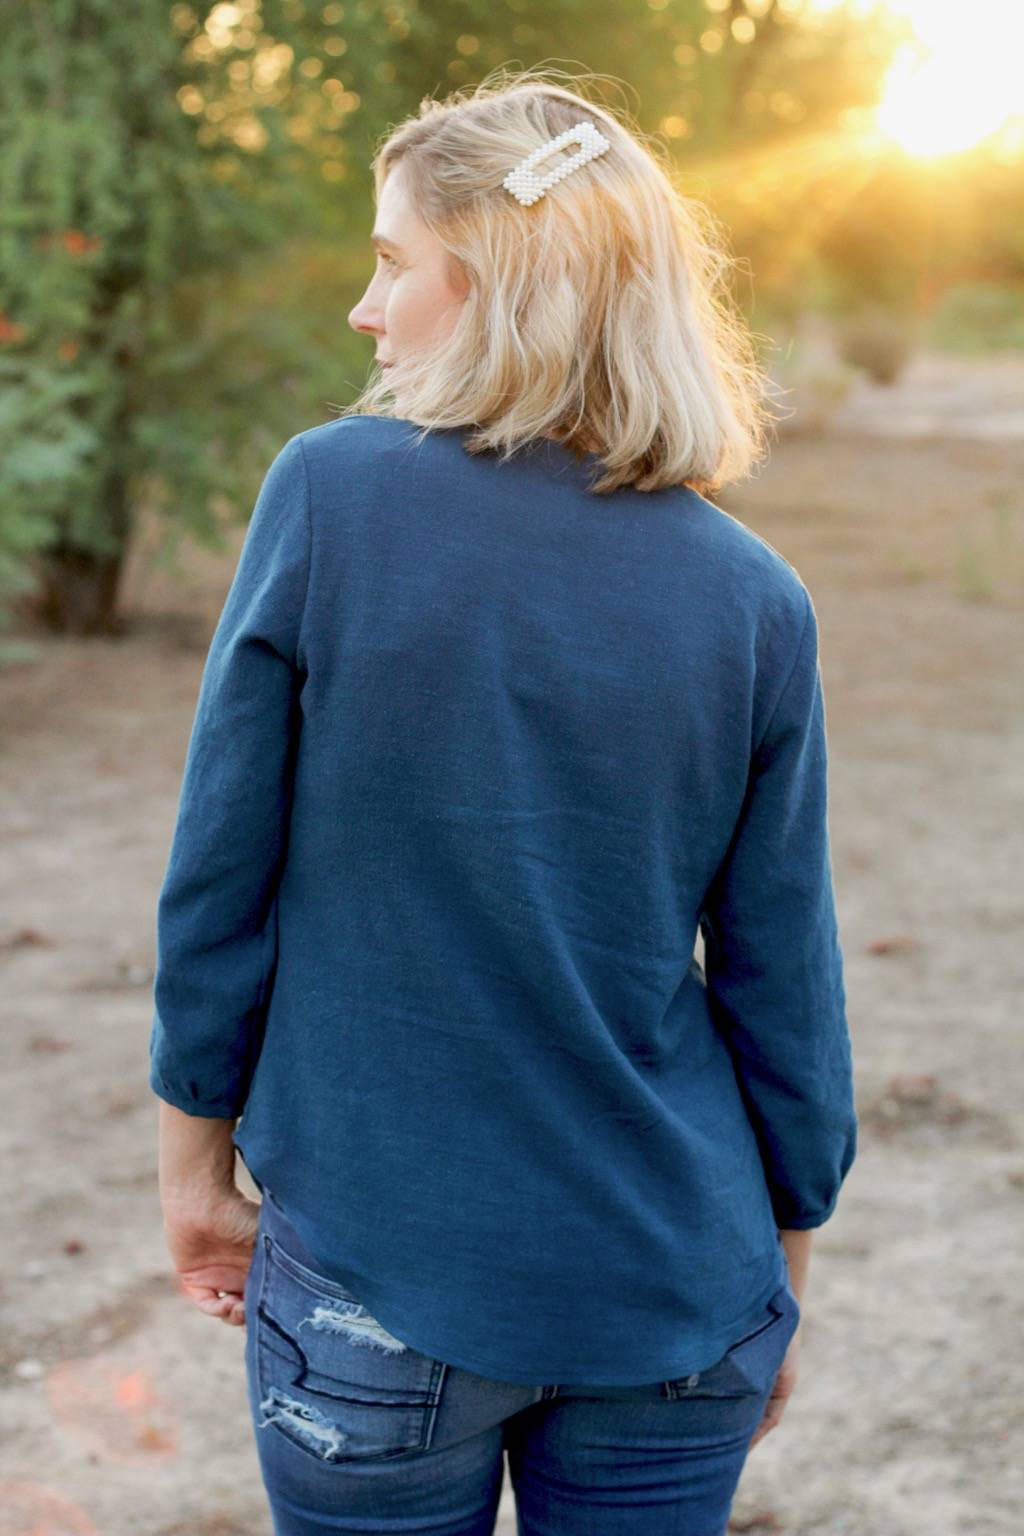
After I made those minor adjustments for fit, I continued to follow the pattern exactly as written. Please note, I chose to make the ¾ length sleeve, but the pattern does have several sleeve options including short sleeves, long sleeves with a cuff, and flared sleeves with a ruffle.
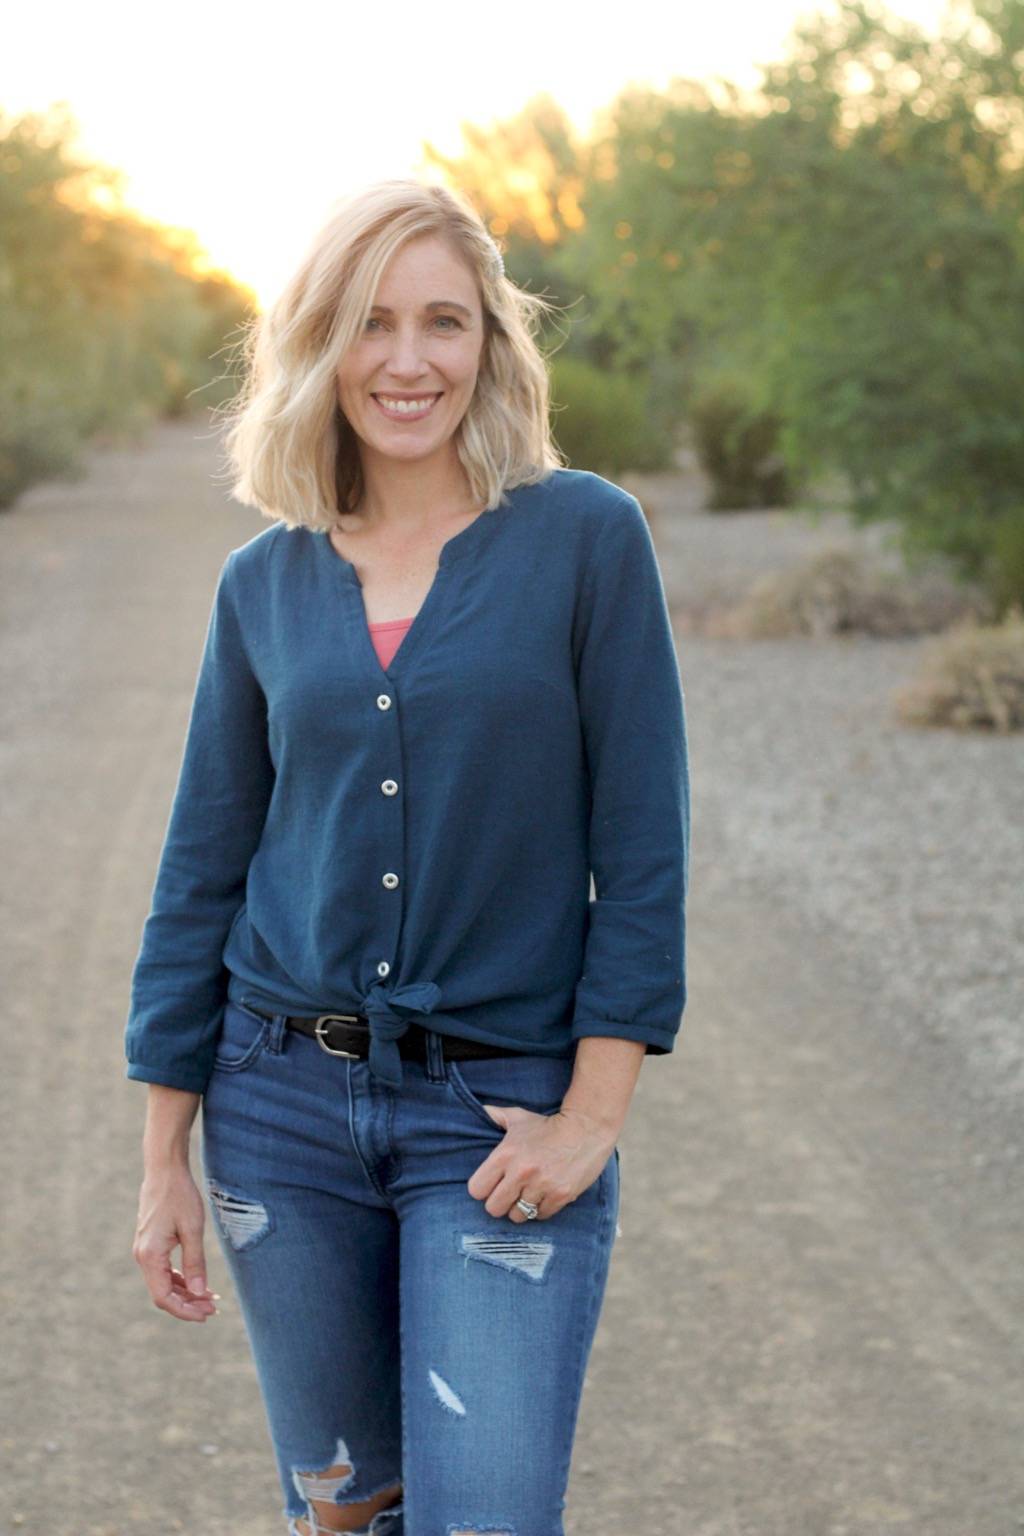
Now for the placket, I think this is my favorite pattern feature. Kennis designed a grown-on placket, even with that cool V-neck feature. I was pleasantly surprised by how well it went together! Plus, the chic mandrin collar sewed on so smoothly. I did not have to put a lot of effort into easing the collar on and I didn’t even have to seam rip any wrinkles out or anything, which rarely happens. 🙂
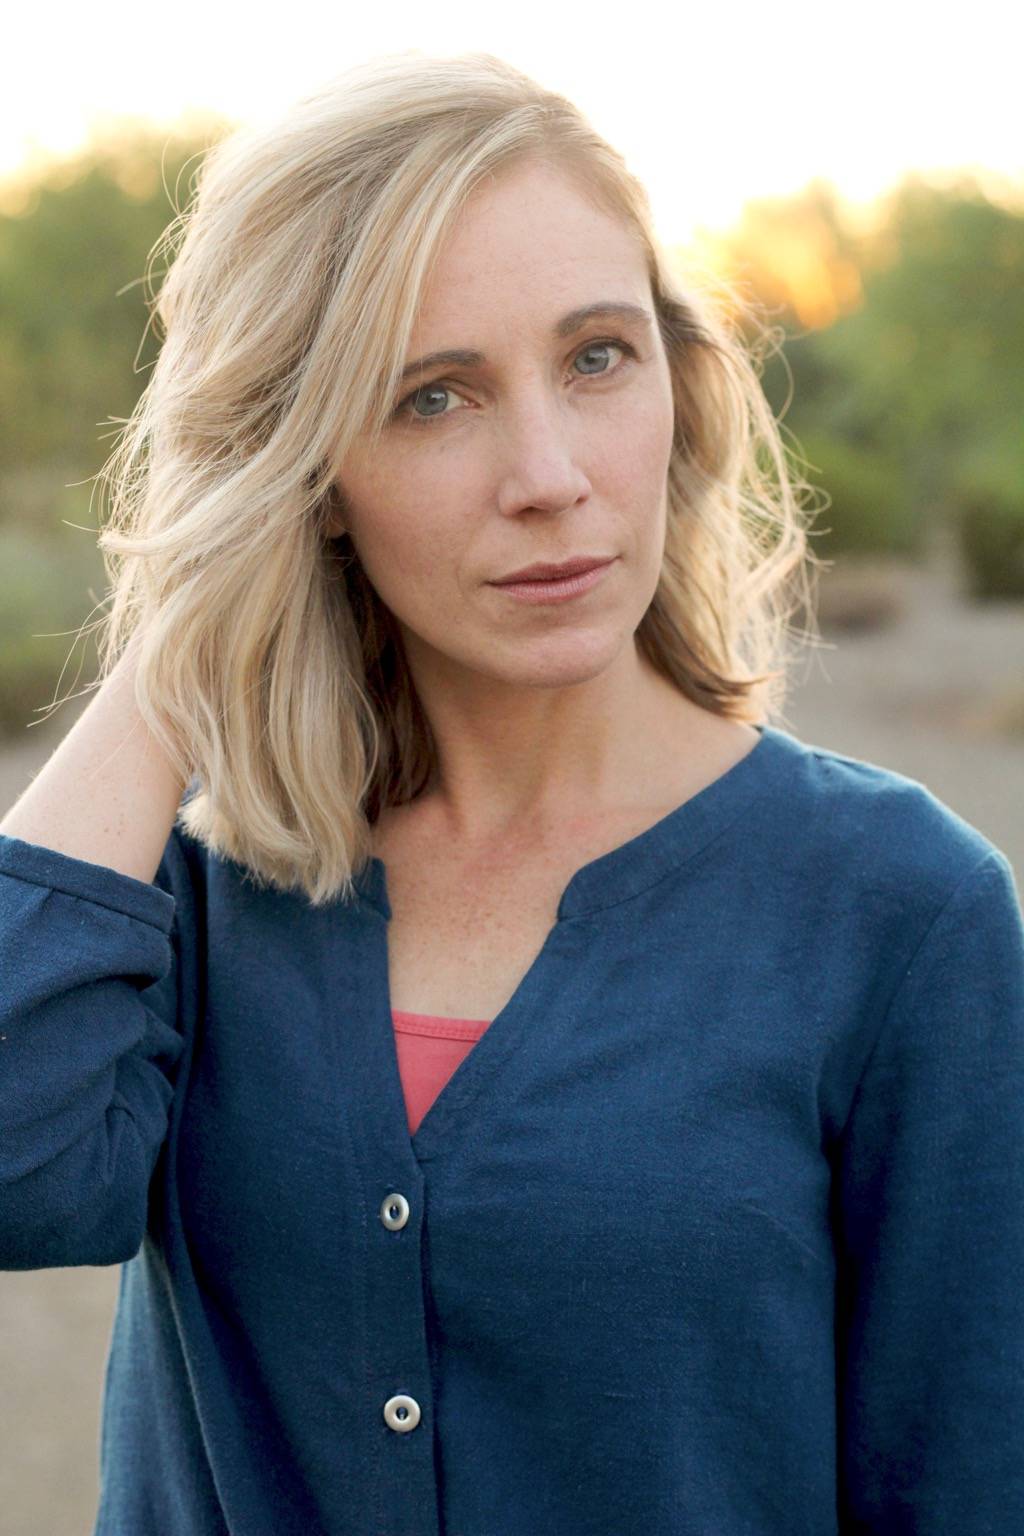
I decided to add some pop to the shirt with some simple metal buttons and a coral colored cami. It really is such a great new, classic wardrobe piece that will get a lot of use this fall.
I could see this top pairing nicely with Liana Stretch Jeans, Mountain View Pull-on Jeans, Tierras Woven Joggers, or the Danube Jean Skirt, just to name a few.
I played around the styling a bit while I was taking pictures.
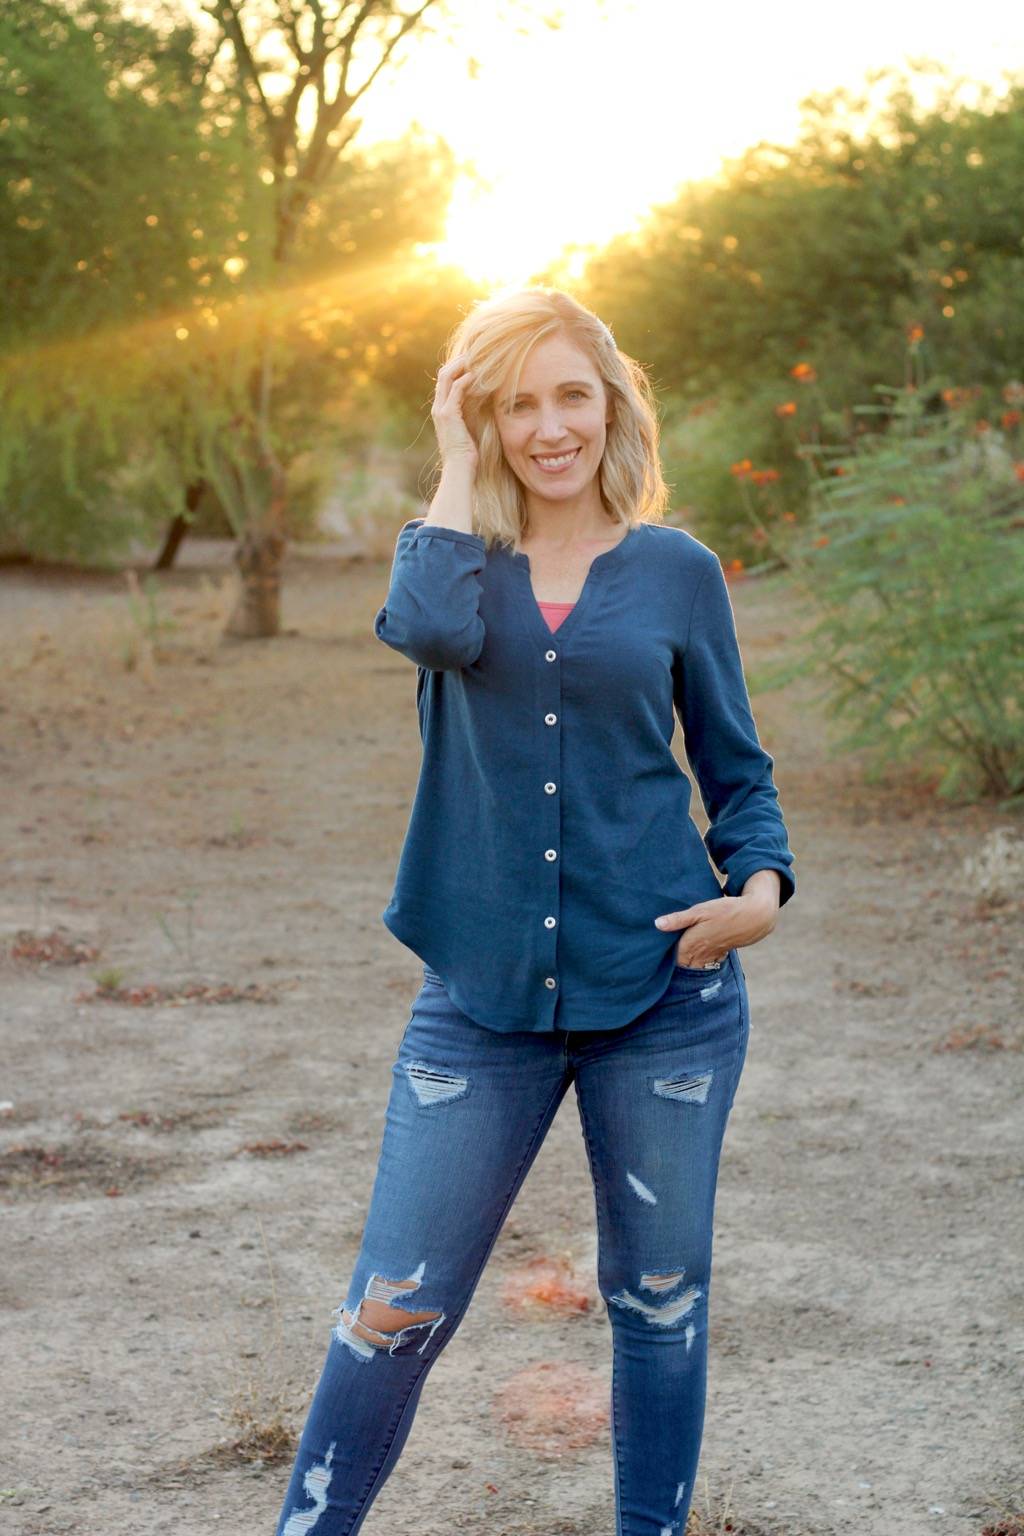
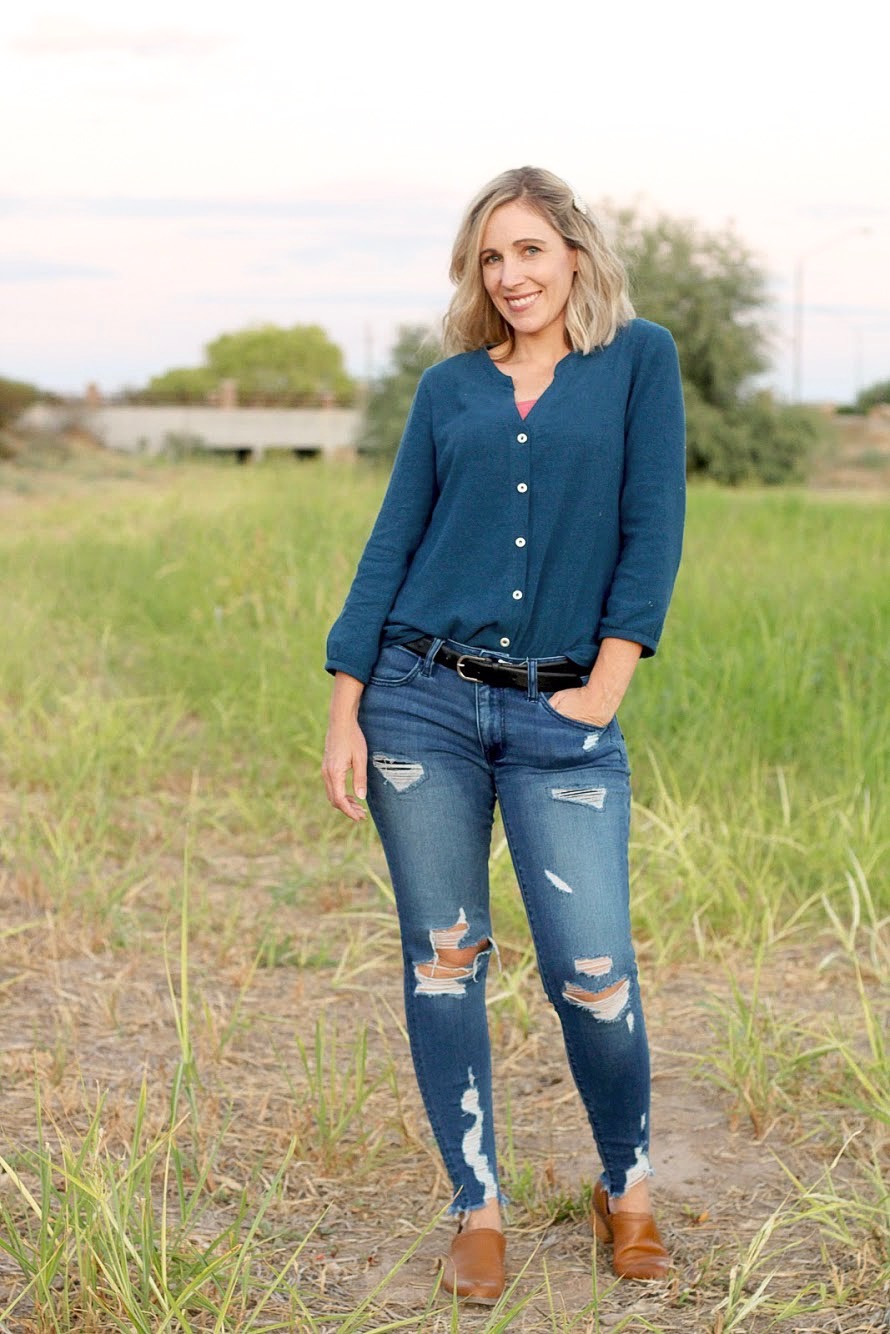
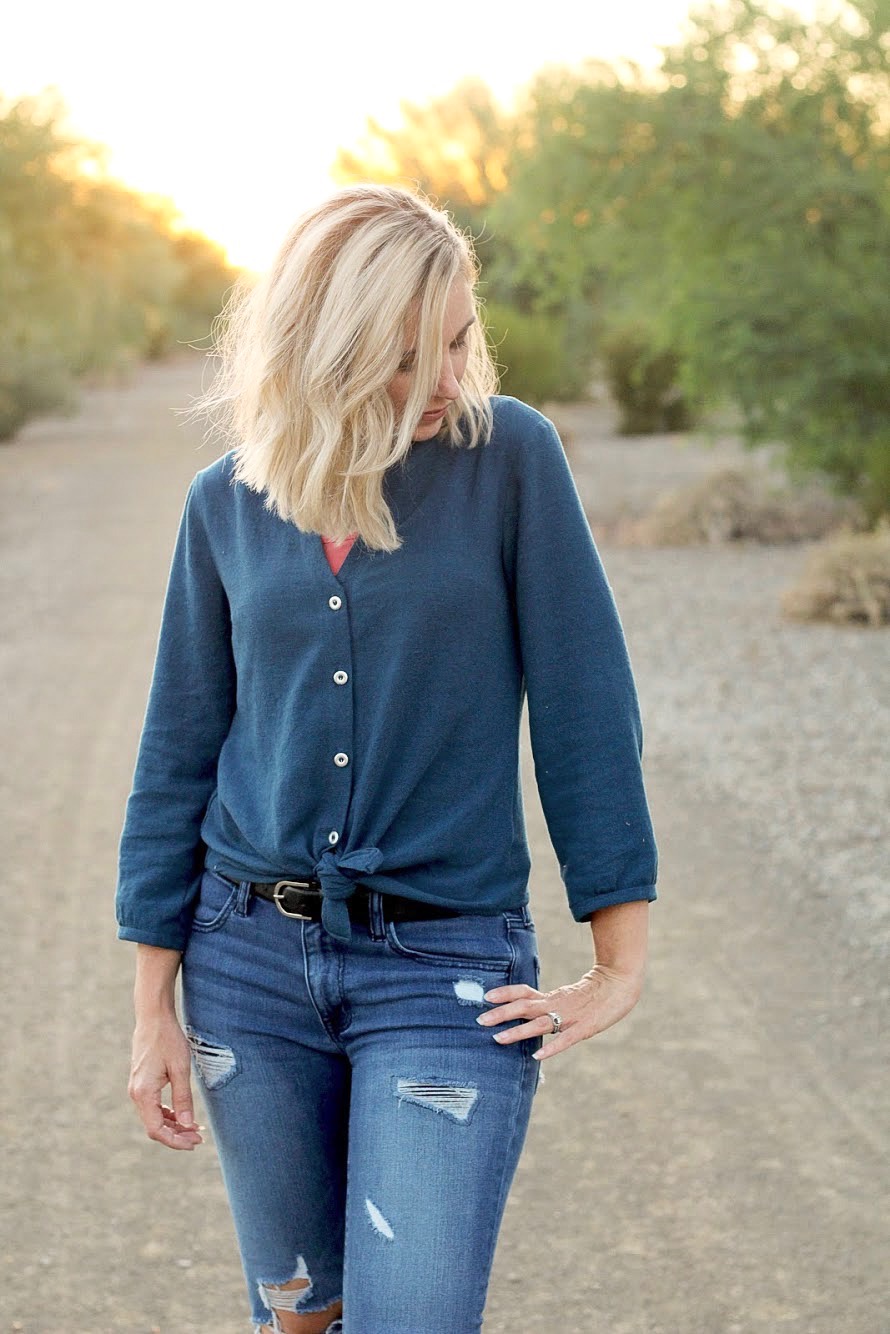
And of course, it looks great with my Atenas Jacket.
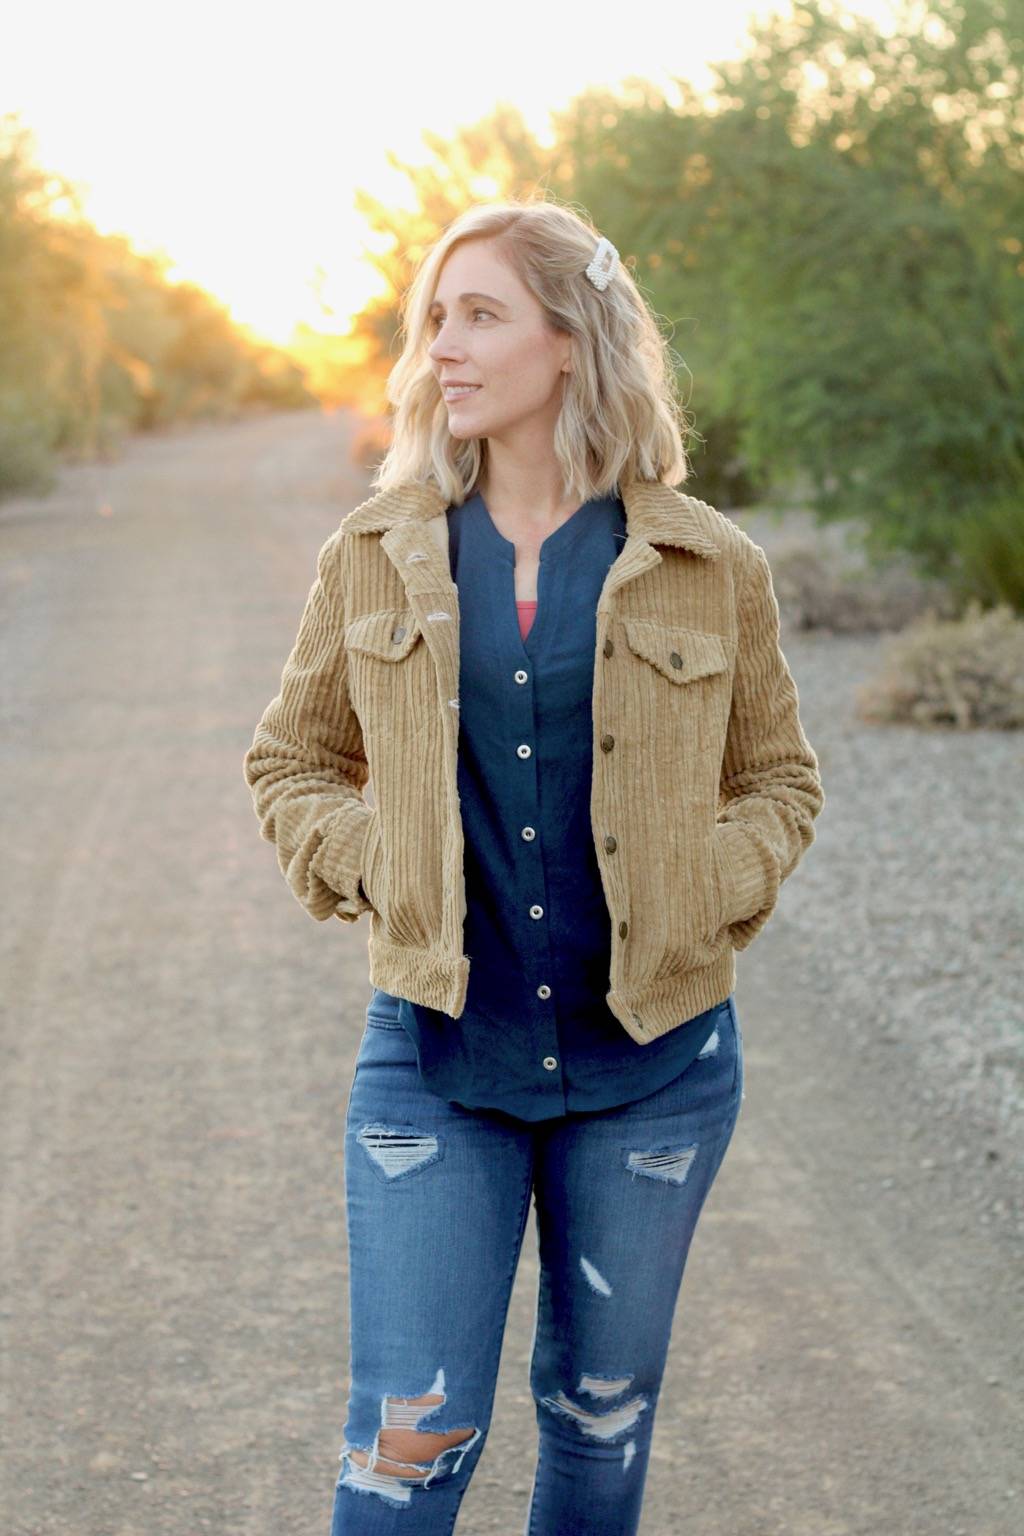
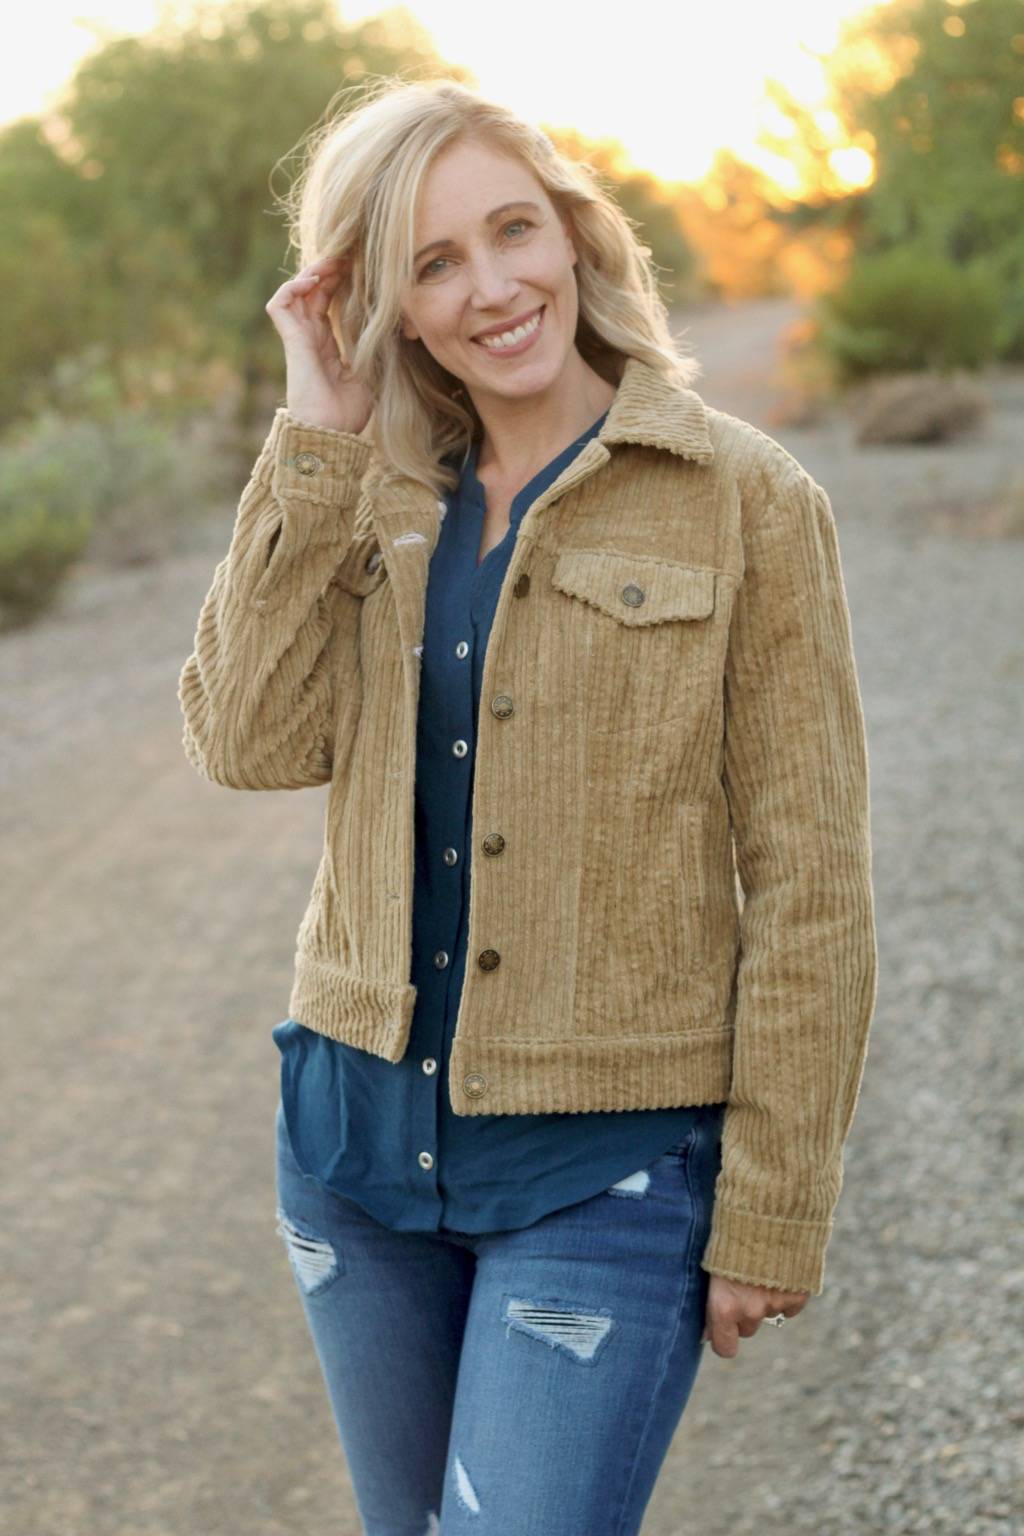
Thank you, Kennis, for inviting me to participate in the Make It, Wear It Blog Series and Thank you imagine gnats for sponsoring this post, with your gorgeous fabric!
Interested in following the Make It Wear It blog series? You can follow Itch to Stitch’s blog on Bloglovin’ or you can also sign up below to get the Itch to Stitch newsletter. Either way, you’ll be notified when the first issue of Make It Wear It is up.


No comments yet.