
Visby by Pam—Make It Wear It
In this issue of Make It Wear It, I am happy to have Pam show you her Visby Henley. Actually, she opted to omit the front placket and hacked it to create a color-blocked version. I think it’s very clever, and would be great for those who just started sewing (and hacking patterns).
First of all, let me give my sincere thanks to the fabric sponsors, So Sew English!

So Sew English is offering our readers 10% off with the code ITS10, good for one use per customer. It is valid from August 20, 2019, to August 24, 2019 (11 am US Pacific Time).
I’ll let Pam show you all the glory that is her hacked Visby!
Hey everyone! I’m Pam, guest blogger for Itch to Stich Designs. Today I’ll be showing you how to modify the Visby Henley with a cute and simple color block hack.
The Visby is packed with options, and what I love the most about it is that it’s a raglan! Raglans are my favorite type of top and when combined with a Henley, it makes for the perfect combo! With this one, I decided I wanted to color block the front bodice. I wanted to be able to wear this top all year round, so I decided to make it with 3/4 sleeves, instead of the cuffed long sleeves, featured in the pattern.
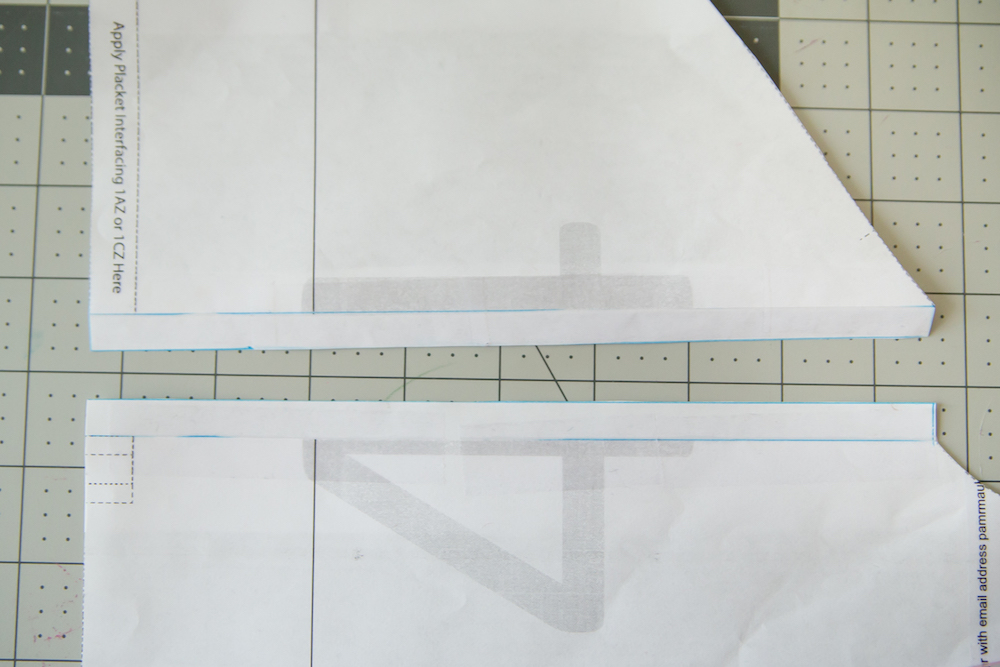
To start, I printed out the pattern pieces in my size. After taping them together, I located the front piece and decided about how low I wanted the top bodice piece to be. I just estimated where I thought it should hit. I then drew a line, horizontally across the bust of the pattern piece and cut the piece on the line.

I then added a seam allowance to both the top and bottom bodice piece. (This is similar to how you might lengthen or shorten the pattern piece for height.)
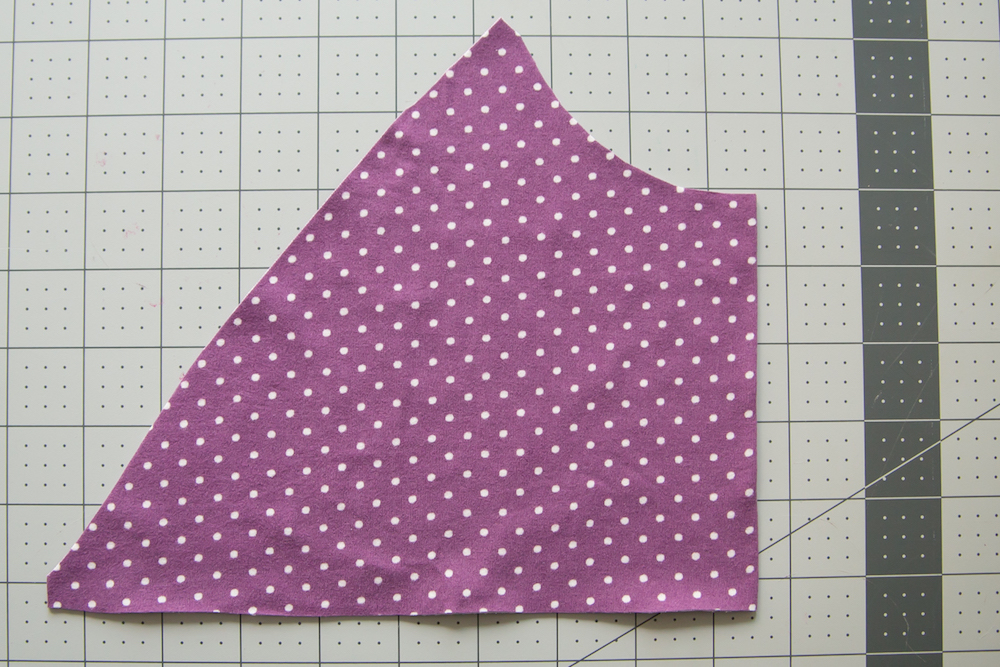
Once I had that completed, I cut my fabric accordingly. I decided that I wanted the top of the bodice to be in the same fabric as the sleeves.
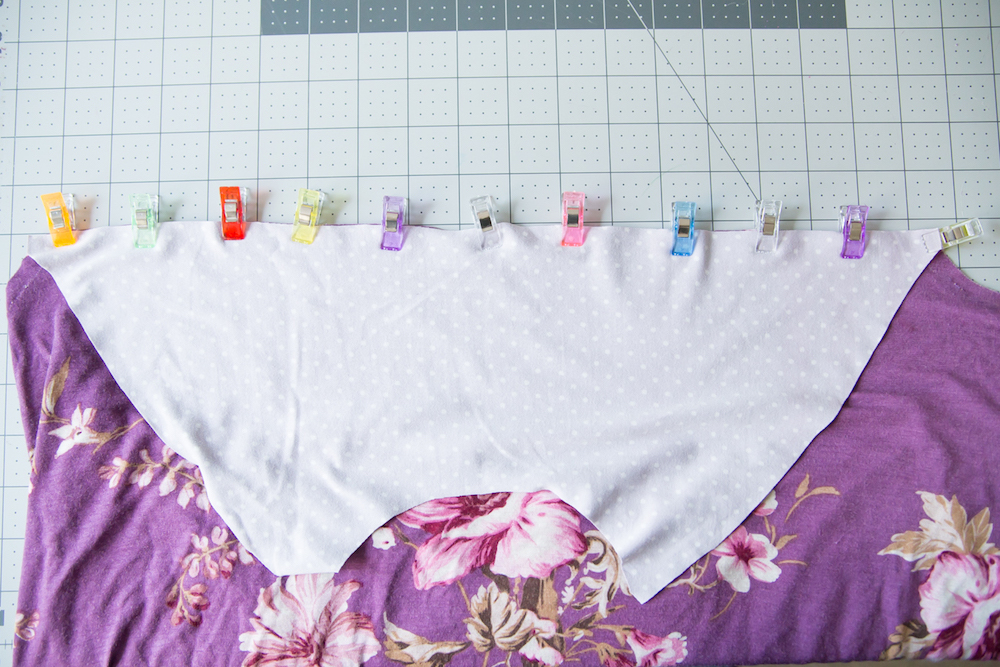
Next, I took the top bodice piece and folded it in half and marked the center point with a clip.
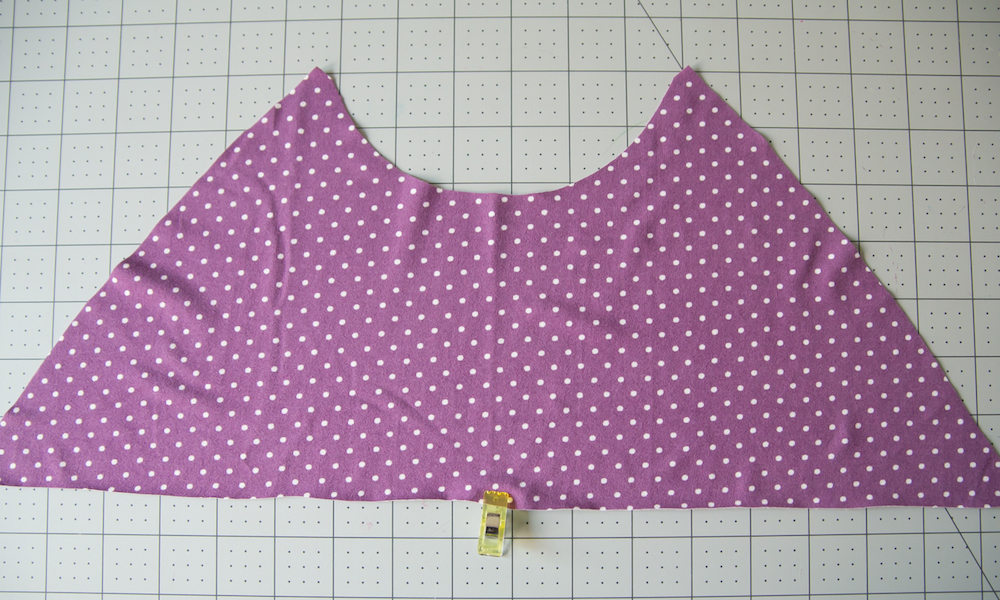
I did the same with the bottom bodice.
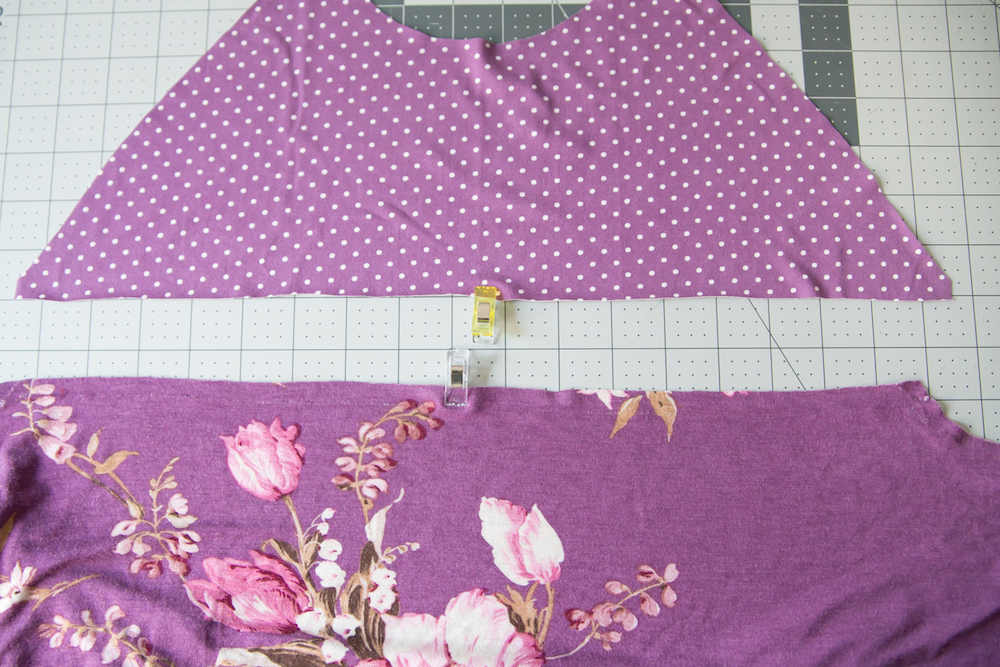
I then aligned the center points and clipped the top bodice to the bottom bodice, right sides together.
Next, I took the sleeve piece and cut off about 5 inches off the bottom. I compared the Visby’s sleeve piece with another top I had to determine how much I would need to cut off. From there, I completed the raglan according to the instructions. I was pretty excited about how it turned out.

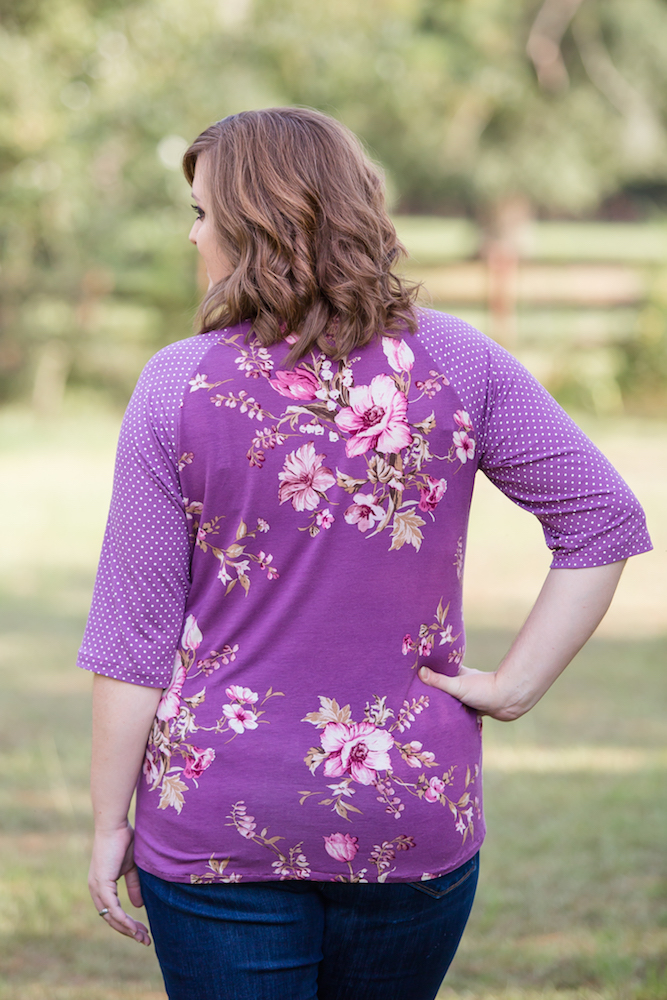
I chose to leave the back bodice as is, but you could also repeat the hack for the back piece as well.
So what do you think? For my next one, I think I will shorten the top bodice, so the seam is a little higher up, but overall, I am loving this pretty summer top!
Interested in following the Make It Wear It blog series? You can follow Itch to Stitch’s blog on Bloglovin’ or you can also sign up below to get the Itch to Stitch newsletter. Either way, you’ll be notified when the first issue of Make It Wear It is up.

This is so cute – love the colors. Good job!! It’s funny how once you make an adjustment, its easier to think about what you might change the next time.
I love what you did. Great imagination!