
Tutorial: Flat Felled Seam
When it comes to a seam that conceals all raw edges, French seam and Hong Kong seam finish seem to be first that come to people’s mind. But I think the flat felled seam deserves equal accolade.
Flat felled seam is, well, flat. Unlike French seam and Hong Kong seam, there is nothing that sticks out even inside the garment. Nevertheless, I wouldn’t say one seam finish is better than the other. Flat felled seam gives the garment a more sporty look; if that is what you would like for your garment, then by all means give it a try.
Most of the jeans you see in the store use this type of seam, although most large scale factories don’t use the method below. Factories churn out this type of seam in thousands, so it makes sense they have very specialized equipment and trained labor that does one thing and one thing only.
At home, you could also use a flat felled seam foot for your sewing machine. It does take some practice. The method I demonstrate below is easier to master, although it takes long time to do.
Let’s dive into it.
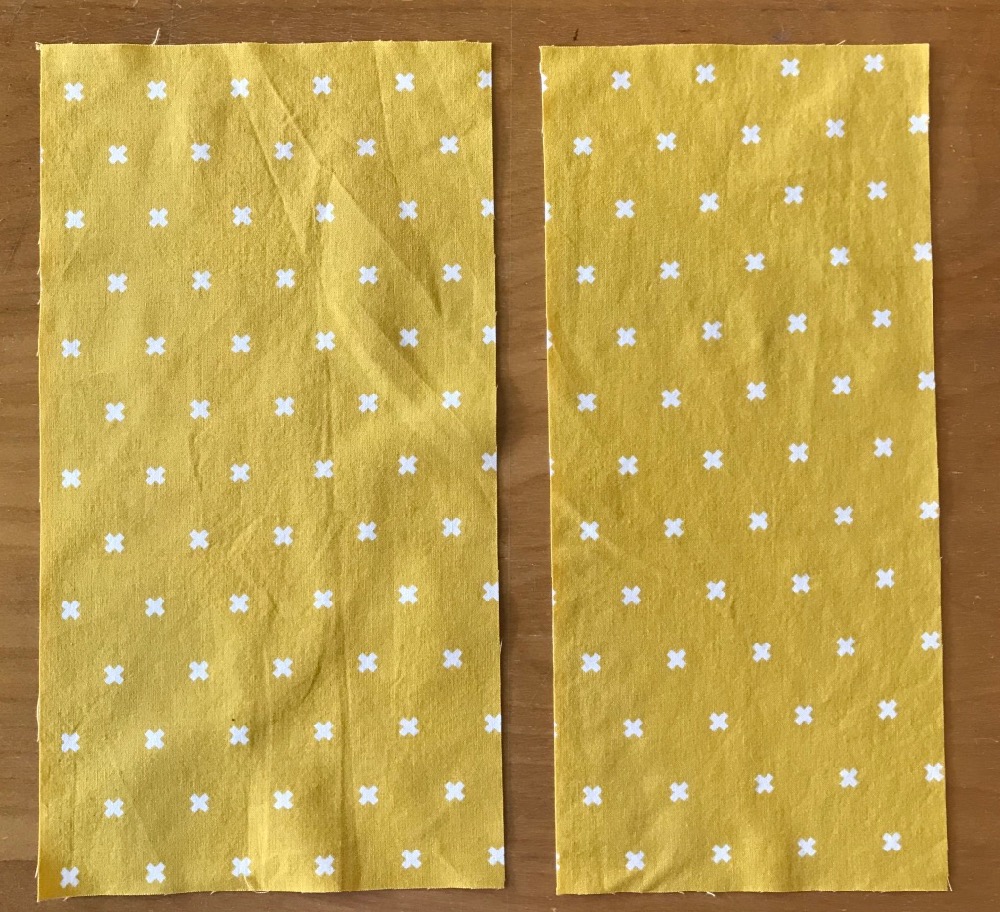
I am using a fabric that has distinct right side and wrong side so you can see more easily.
Here’s the right side.
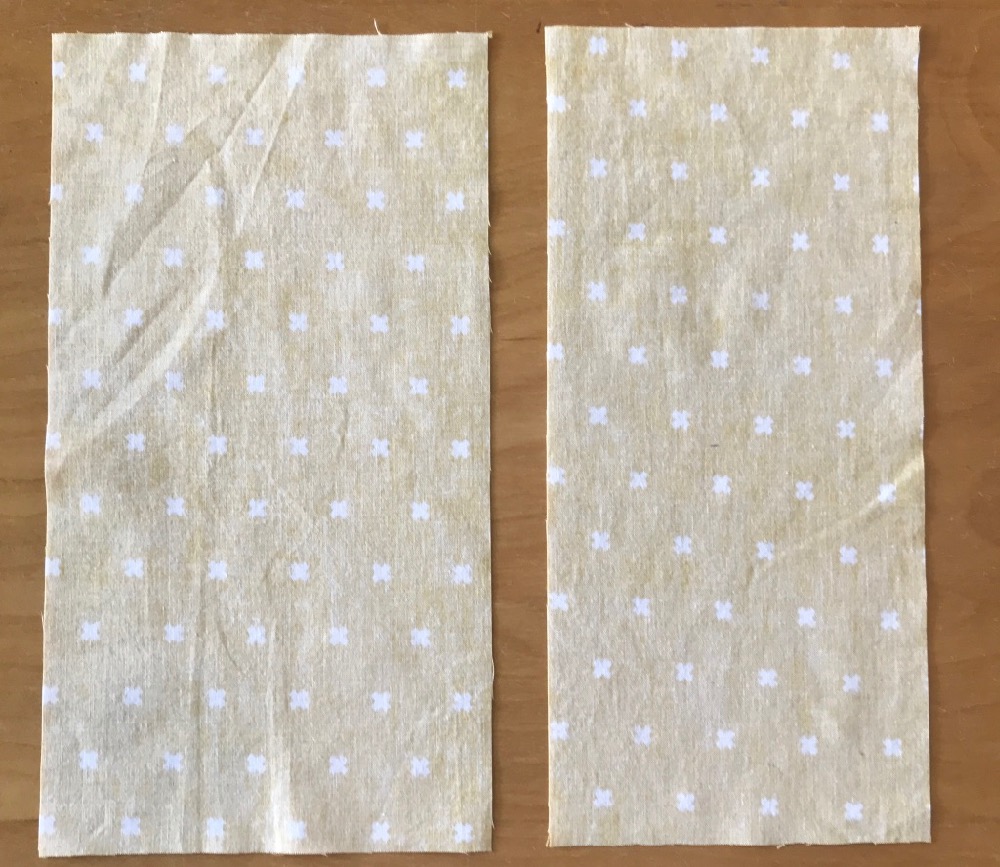
Here’s the wrong side:
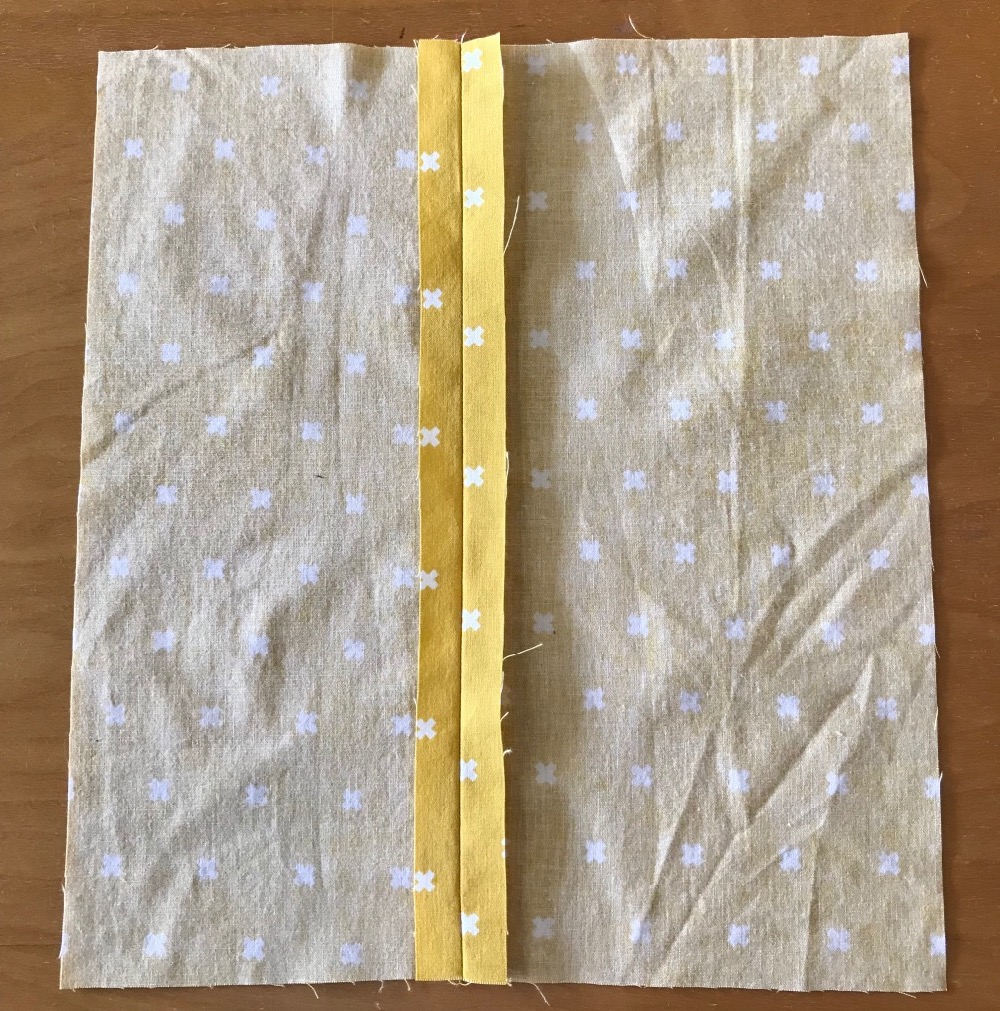
With right sides together, put the two pieces at the edge you want to sew.
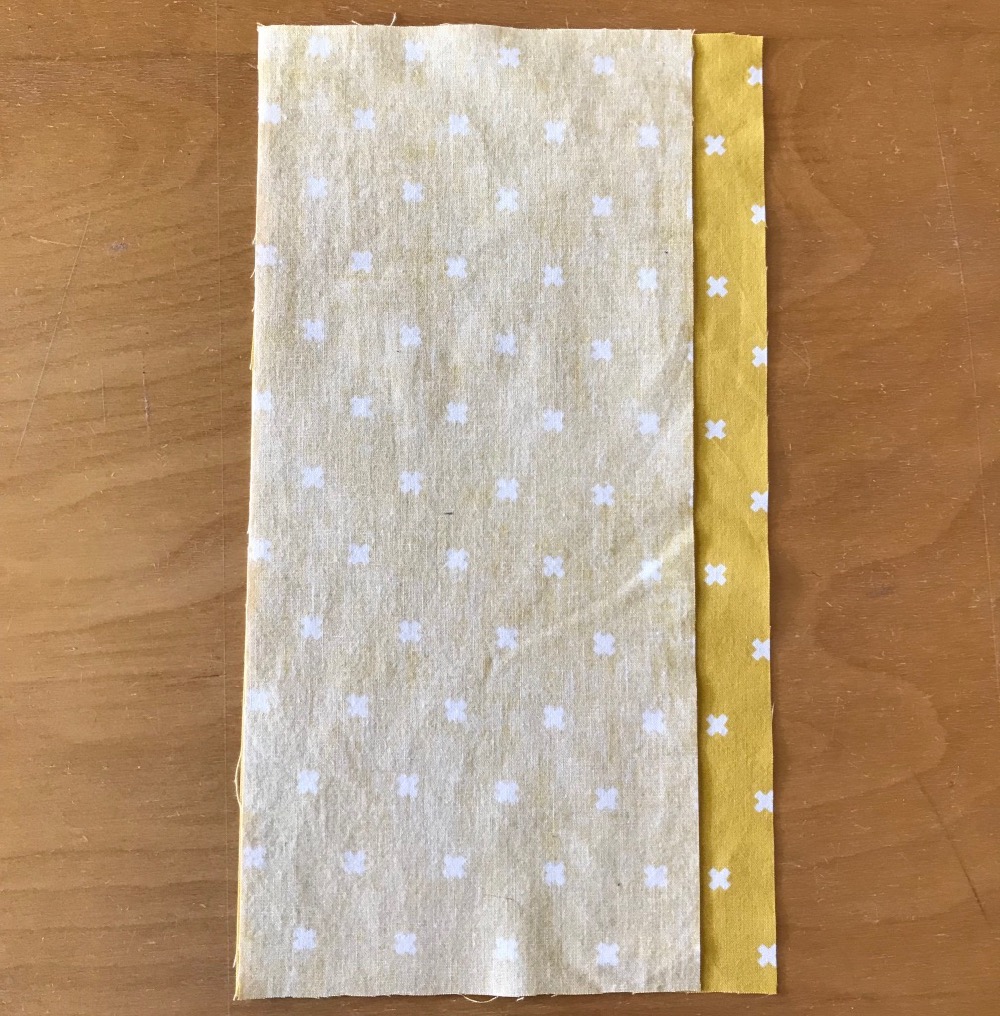
I want to point out that I am using a 5/8″ (1.6 cm) seam allowance to sew this seam. 5/8″ (1.6 cm) is more than what Itch to Stitch patterns usually offer. Is this absolutely necessary? No. You could use 1/2″ (1.25 cm) seam allowance as well, but narrower seam allowance is more fiddly for this method. I wouldn’t recommend using anything less than 1/2″ (1.25 cm). You can easily cut an extra 1/8″ (3 mm) to add to your 1/2″ (1.25 cm) seam allowance if that is what the pattern comes in.
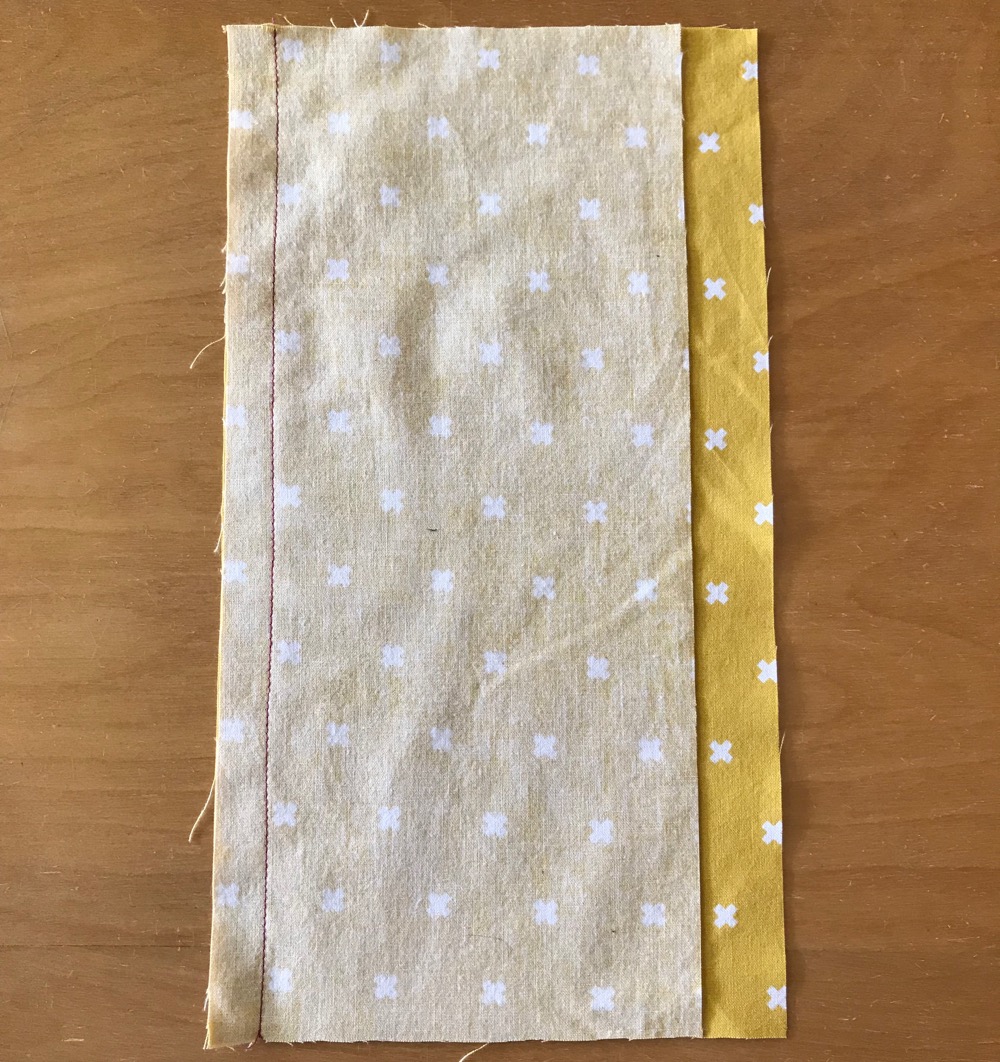
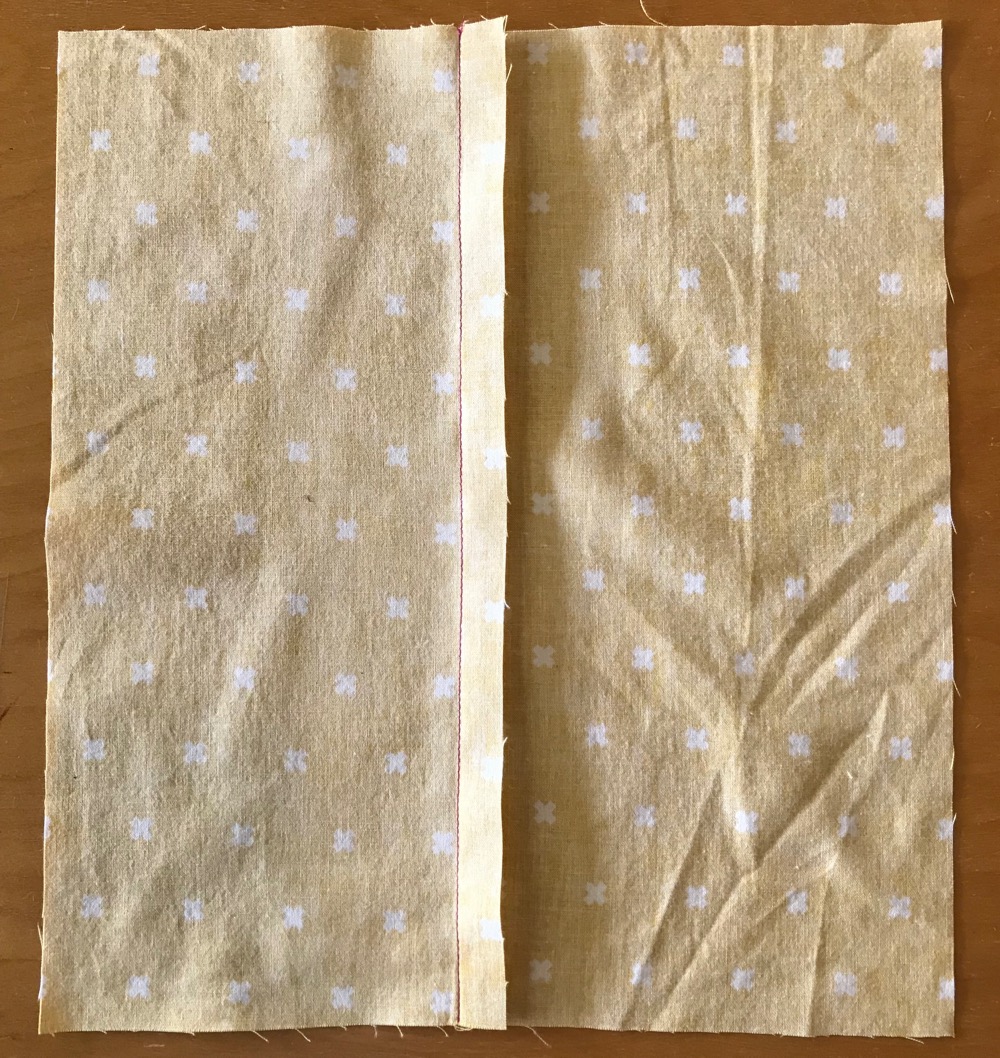
Here’s the stitched seam. So far so good?
Now I press the seam open. Some might argue that this is not necessary because the seam will be pressed to one side eventually (you’ll see below). But I found that pressing it open first gives a more crisp seam later; it’s a worthwhile investment of your time.
Now I trim one of the seam allowance to half its width. Which side to trim? There’s no rule; it’s all about esthetic. For example, if this is the side seam, and you want the visible stitch line to be more toward the back, then trim the seam allowance that belongs to the back.
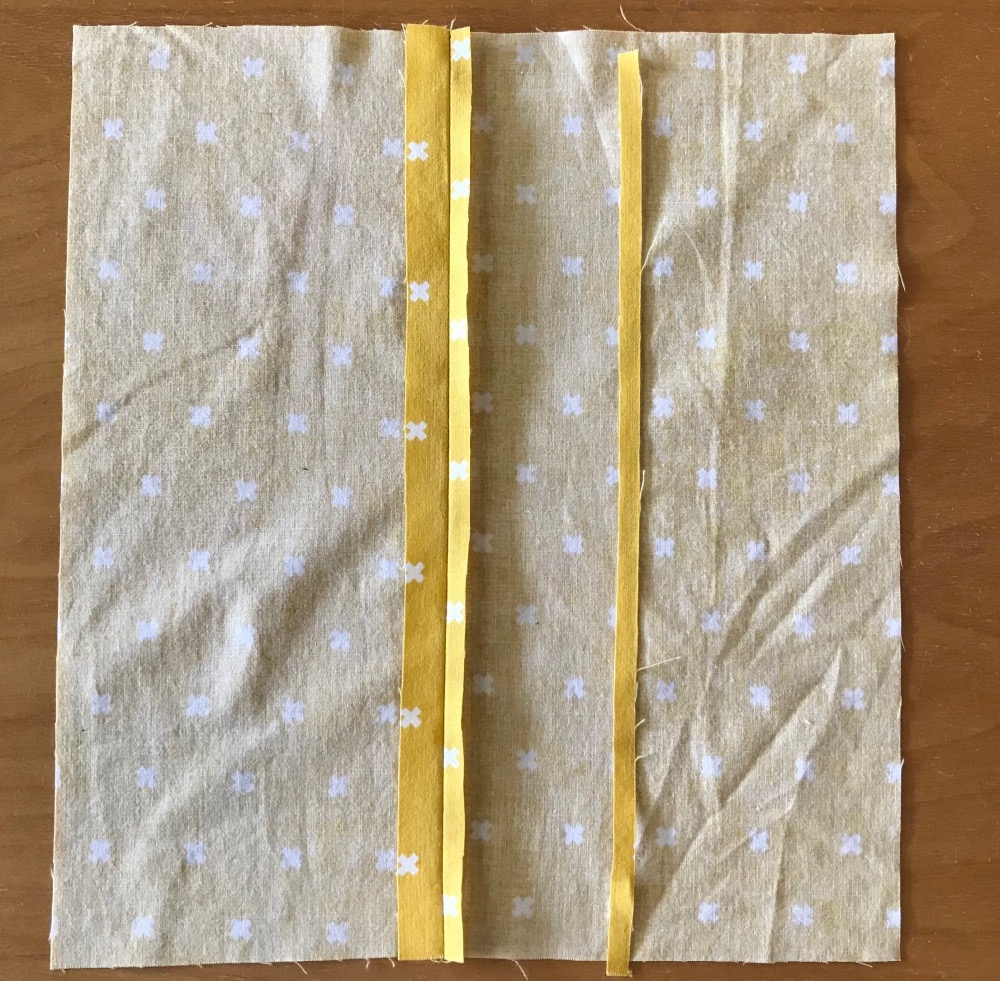
Now press both the seam allowance to one side, with the wider seam allowance over the trimmed seam allowance.
Tucking time! Now tuck the wider seam allowance under the narrow seam allowance. Pin. This is the partially pinned shot.
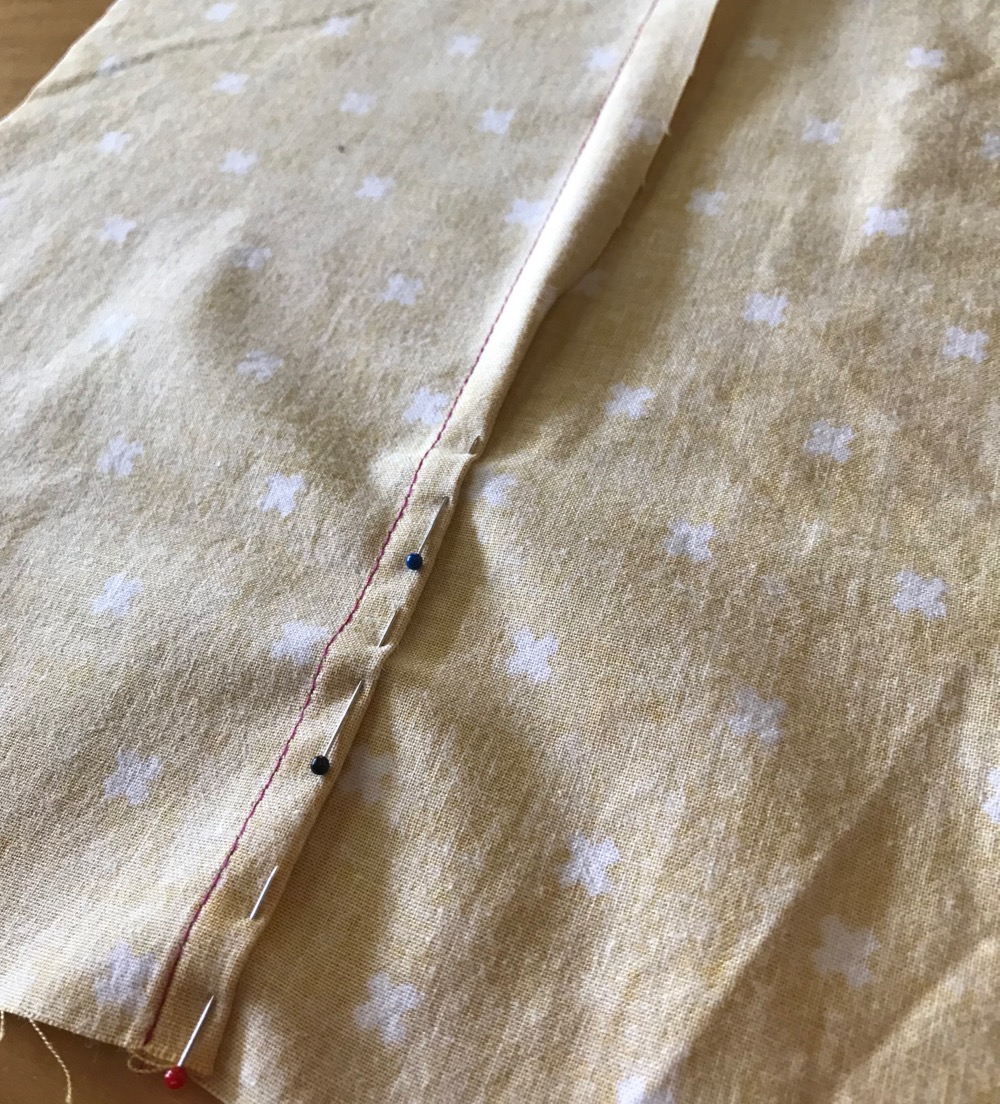
Keep on going pinning the entire seam.
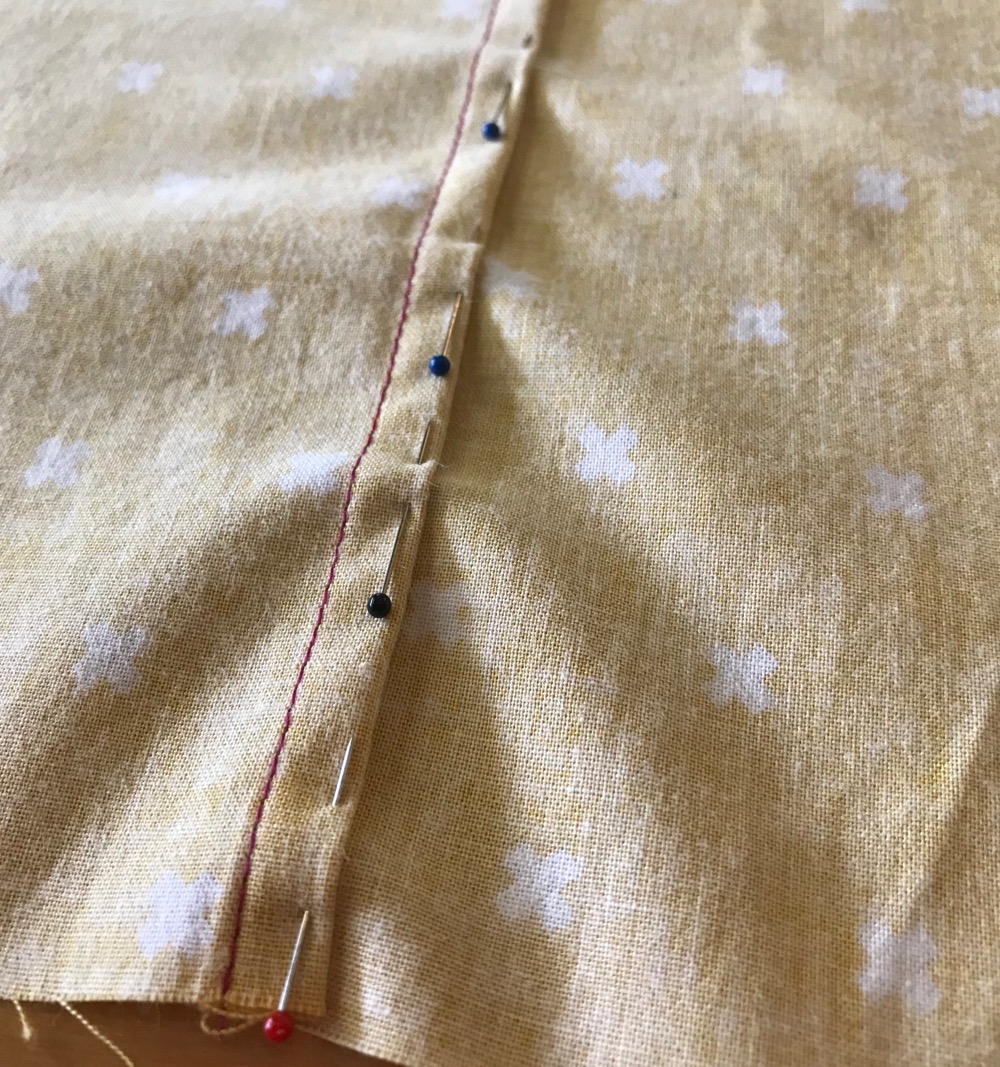
I also does this one, some might call, “extra” step. I baste this seam by hand. There’s no need to do an impeccable job here; the purpose is that I want to hold this seam down, so when I stitch from the right side later, it will not move. However, some people could just stitch this seam from the wrong side, skipping the basting stitch. No judging from me if that’s what you’d like to do. Supposedly if your machine produces a balanced stitch, the right side and the wrong side produce the same look anyway.
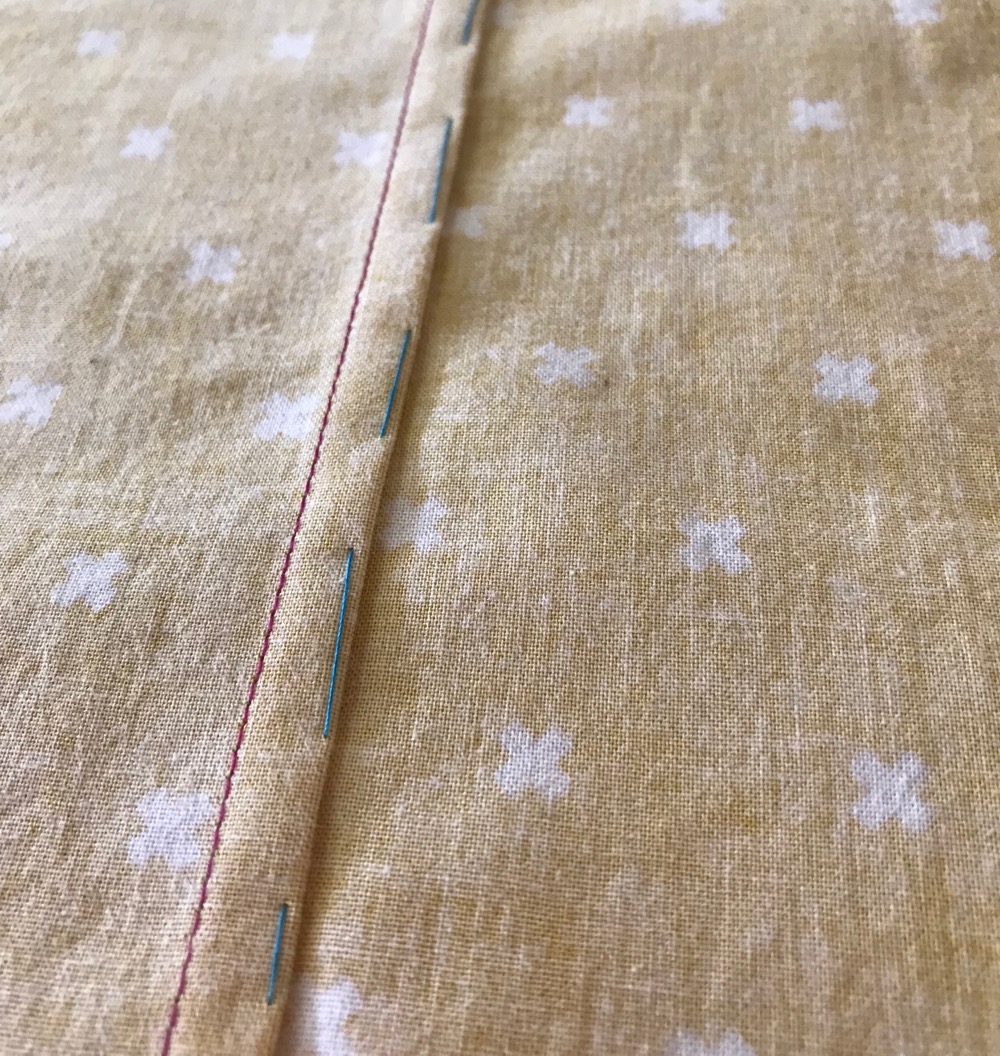
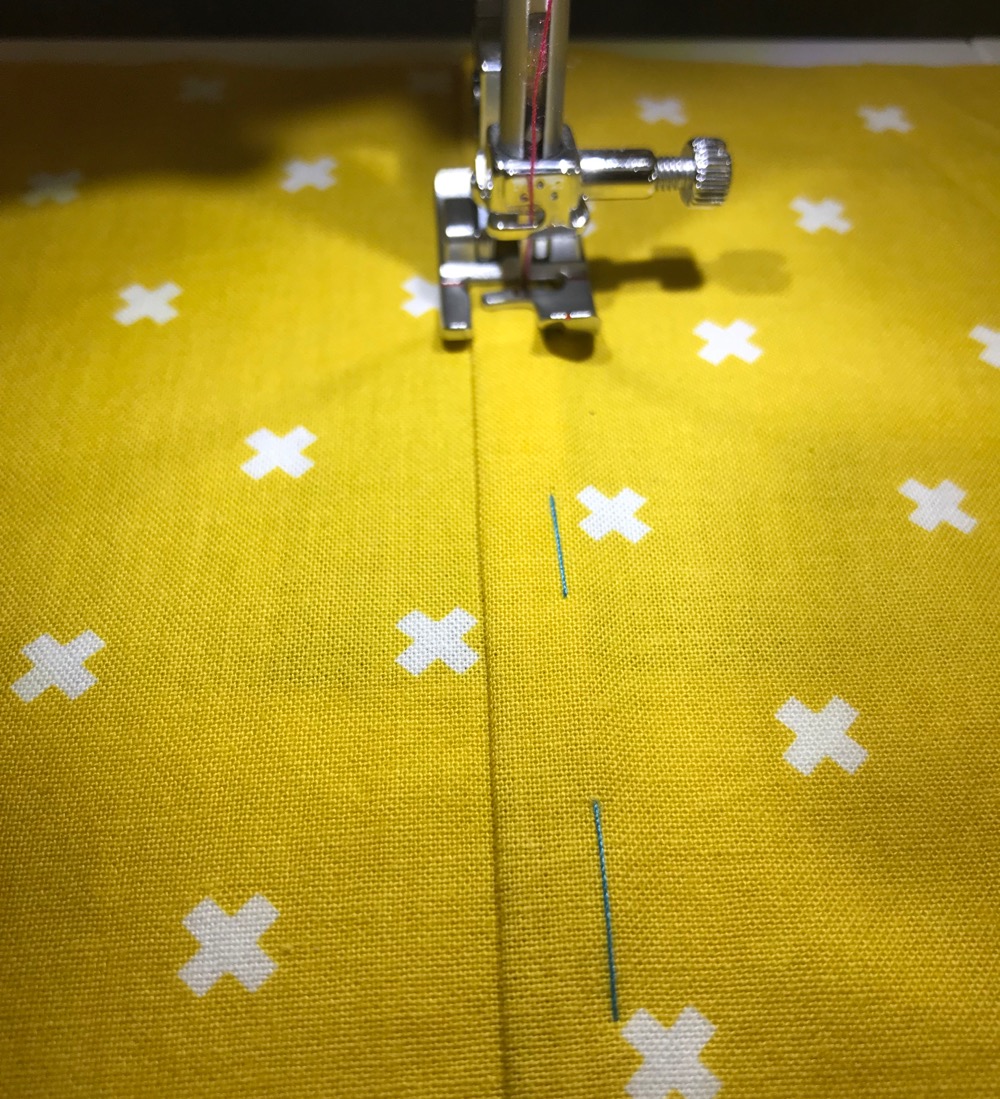
But why do I make this extra step of hand basting? I’d like to topstitch from the right side, so I can use the seam line as a guide and view it from the standpoint of the finished garment. I could spot crooked stitching and correct it if necessary.
I remove the basting stitch and give it a good press. Here’s the right side of the seam. One stitch line is visible.

And here is the wrong side of the seam. Two stitch lines are visible.
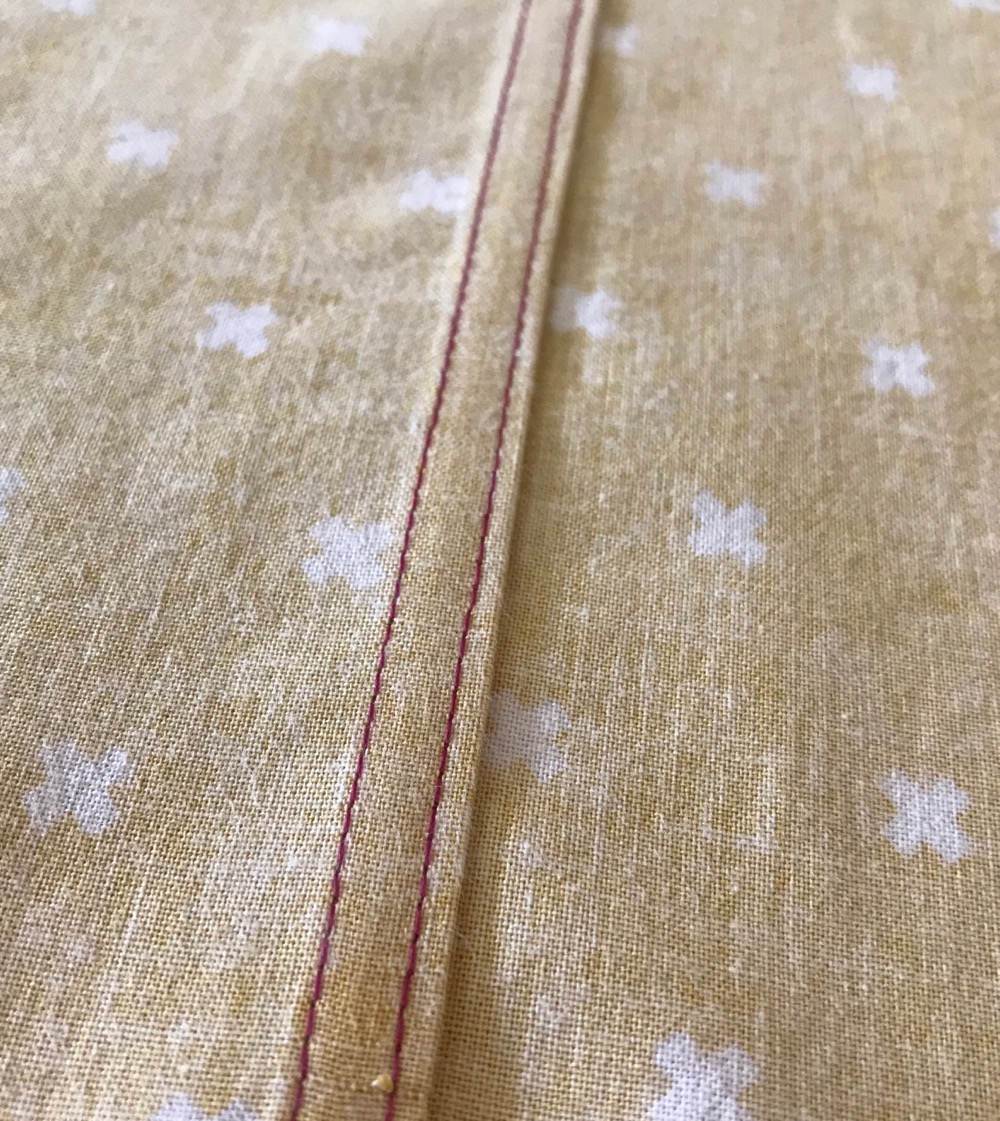
Yes, it’s FLAT!
Do you notice that the wrong side is kinda pretty too? You could very well use that side to be your right side! That way you would have two visible stitch lines. Of course that mean you would initially put two WRONG sides together instead of putting the right sides together. That decision is completely up to you, and it is still a flat felled seam regardless the side you use.
Hope this is helpful to you. What is your experience with flat felled seam? Have you used this method?

Thank you for the very helpful tutorial. I am going to make the Poas Jacket out of a heavy linen and want the seams totally enclosed without raw edges.
I didn’t realize you also did tutorials until I started reading the directions for the Poas Jacket.
Thanks!
That’s a great explanation, thank you very much
Thank you. I’ve wanted to try this for a long while, and your tutorial is excellent!
Thank you for this. I am teaching a couple of pre-teens how to sew (I am NOT a professional, just enjoy the hobby and passing the love on to others). I thought I would teach the girls this technique. I am good about doing the thing, just not always explaining it. You give great rationale for each step. It was very clear. I will review this post with them before we tackle those flat felled seams. Thanks for helping the next generation of sewists!
I’m making a tank top. I like both sides of the fabric. One side is a little darker and the lighter side has a shine to it. I’m going to try this method. Maybe It will work and allow me to use it as a reversable top.
What type of foot did you use? It did look like a standard one.
Yes, it is a standard one.
I’ve only done basic sewing but that doesn’t look like my standard foot! Can you give more info on it? Thank you!
Hi Lisa, it’s a presser foot that can guide me to sew 1/4″. It’s not necessary, and there are plenty of presser feet that can give you that type of guidance. Usually what I do is to search for whatever foot I have on hand, and see which one can give me some sort of guide of a width I want, and combining that with moving the needle right or left to get the width I want.
It’s called an open toe foot. It allowes you to see exactly where you are putting your stitch most machines come with this extra foot
I feel silky saying this, but I have trouble trimming the seam allowance neatly. Any hints?
Hi Sarah, it’s OK that the seam allowances are not trimmed neatly. At the end, they will not be visible anyway. I don’t have many tips (maybe others who see this can chime in) besides practicing. When you finish an entire jacket using flat-felled seams, you will have a lot of practice.
Du könntest mit einen Lineal eine Markierung zeichnen
You could draw a mark with a ruler
Wonderful tutorial! I found it easy to follow and it all makes sense. Your pictures were spot on as well. And thank you for giving the reason behind why you’re doing things a certain way.
Thanks for this great tutorial!
Great tutorial!
Thank you for the tutorial!
Thanks just about to start my first flat felled seam. Timing couldn’t be better
Thank you!! I have read a few tutorials on flat felled seams, but none as clear as yours. Between the distinct right/wrong sides, the visible thread color, and the great photos, you knocked it out of the park! NOW I’m excited to try this seam!!
Thanks for sharing! This is a very good tutorial and I will definitely use it.
I just want to compliment you on your ability to explain instructions. I just came from another blog, and even though I know and have used the process she was describing, her explanations were completely confusing. Thank you for your generous — and perfectly detailed! — help.
I use this method when making long sleeve woven blouses/dresses. But I start with wrong sides together. That way the double stitching is on the outside of the sleeve. And if I need to roll the sleeves up it still looks nice.
I don’t know if my previous comment posted?
Here is a link to Janet Pray’s method.
https://www.itsseweasytv.com/projects/series_700/713/ISE_713-3_INST.pdf
Thanks for linking to her method. It’s brilliant indeed.
I prefer the method taught by Janet Pray in one of her Crafsty classes…no trimming required, no tucking under, no basting. I recommend her course just to learn her flat felling method.
Which one of her classes has this?
Very helpful. Thank you.
Great tip. Love how simple yet looks completely finished.
I’ve done it this way before. I like it. No messy seams or fraying to show. Well done with the tutorial!