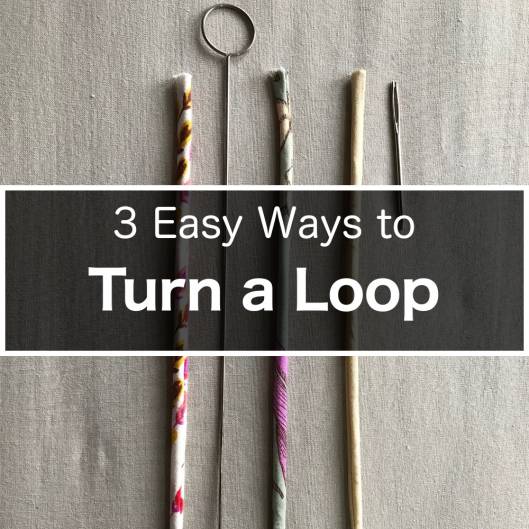
Turning Loops/Spaghetti Straps – Three Ways
You may encounter a project where thin, skinny, fabric loops will be required—spaghetti straps, button loops, waist ties, shoe laces or whatever.
These loops are usually made of fabric cut on the bias, sewn together with right sides together, and then are turned right side out. There are many ways to turn loops, way more than the three ways that I am covering below. But you can start by following these methods.
Before I go into each method, you have to prepare the fabric. These are the same no matter which way you decide to use to turn the loop.
First of all, you have to cut out your bias strip. My finished loop will be 1/4″ (6 mm) wide, so to be on the safe side, I cut the bias strip 1 1/2″ (3.8 cm) wide. You will see that it’s not awfully important if your bias strip too wide, but it could be too narrow. Now I cannot tell you the exact measurement of fabric to cut (you will see later). Just know that you can cut it wide and trim it later.
I am going to make three loops, so here I have three bias strips. The top one is silk; the middle one is rayon; the bottom one is cotton.
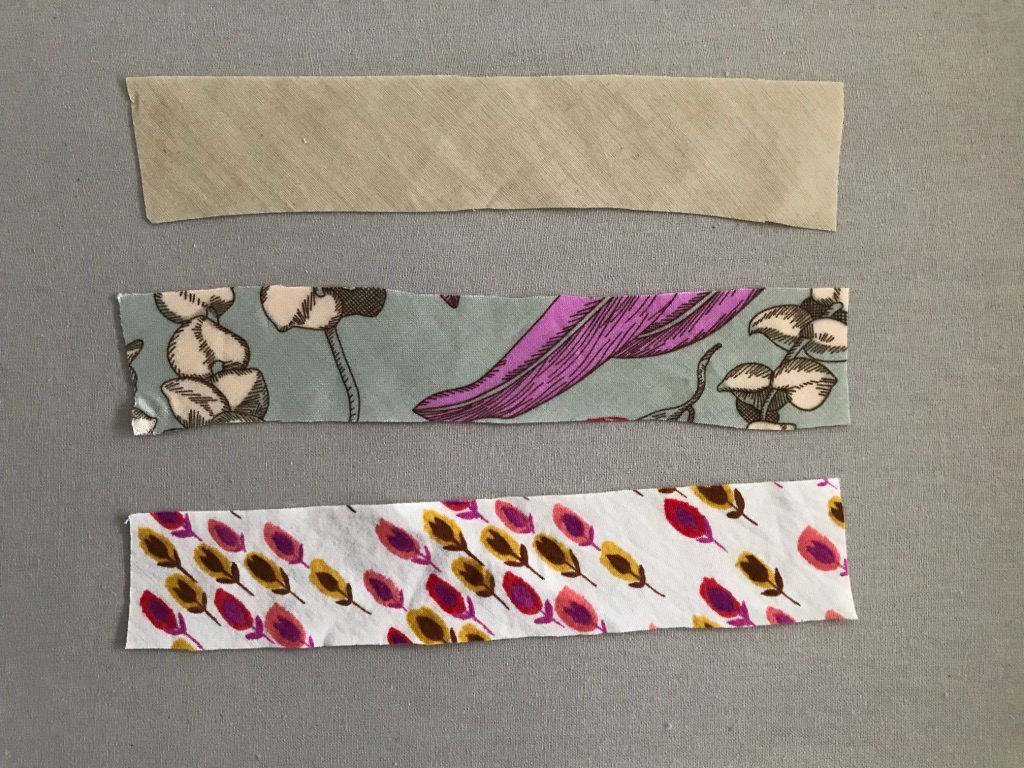
I press and stretch the fabric as much as I could. The idea is that you want to mechanically stretch the fabric out now, so that they don’t grow on you later (imagine wearing a sun dress with spaghetti straps that keep growing…not a pretty picture)!
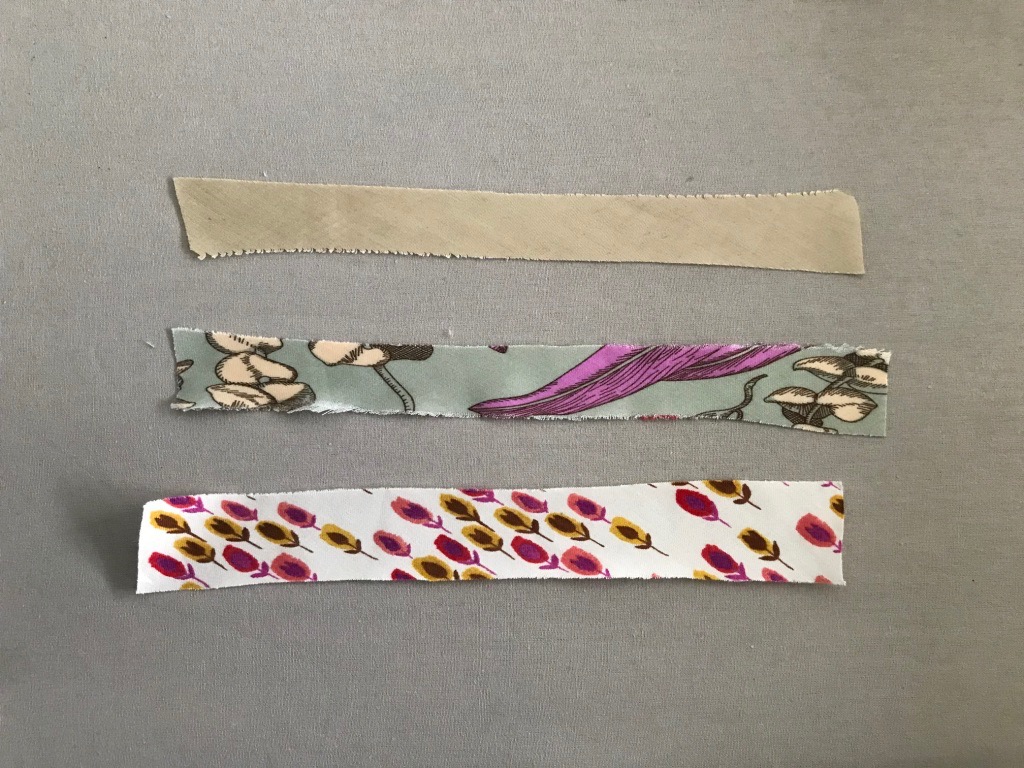
You see in the photo above that the bias strips are stretched out to different lengths. The middle one (rayon) seems to stretch out the most and the bottom one (cotton) seems to stretch out the least. But it’s not only because of the content, how tightly the fabric is woven also matters. It’s not possible to know ahead of time how wide the strip will become. That’s why I am cutting the strips quite wide and plan to trim it later.
That’s all about the preparation, let’s jump to the main topic of this post—how to turn a loop!
1. Use a Loop Turner
There are a few varieties of loop turners out there, but this one is probably the most classic one of all. On one end, it’s a hoop, and on the other end, there is a little hook (and usually a flap to close the hook, but mine doesn’t have it).
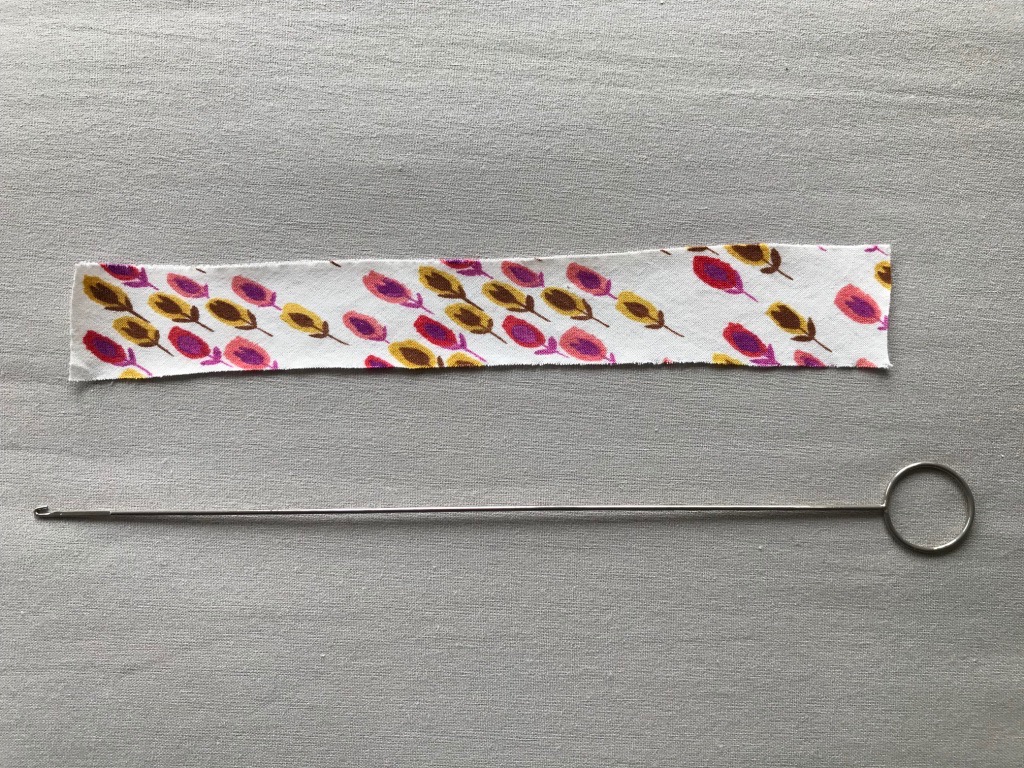
To make the 1/4″ (6 mm) wide loop, I fold the strip lengthwise with right side inside.
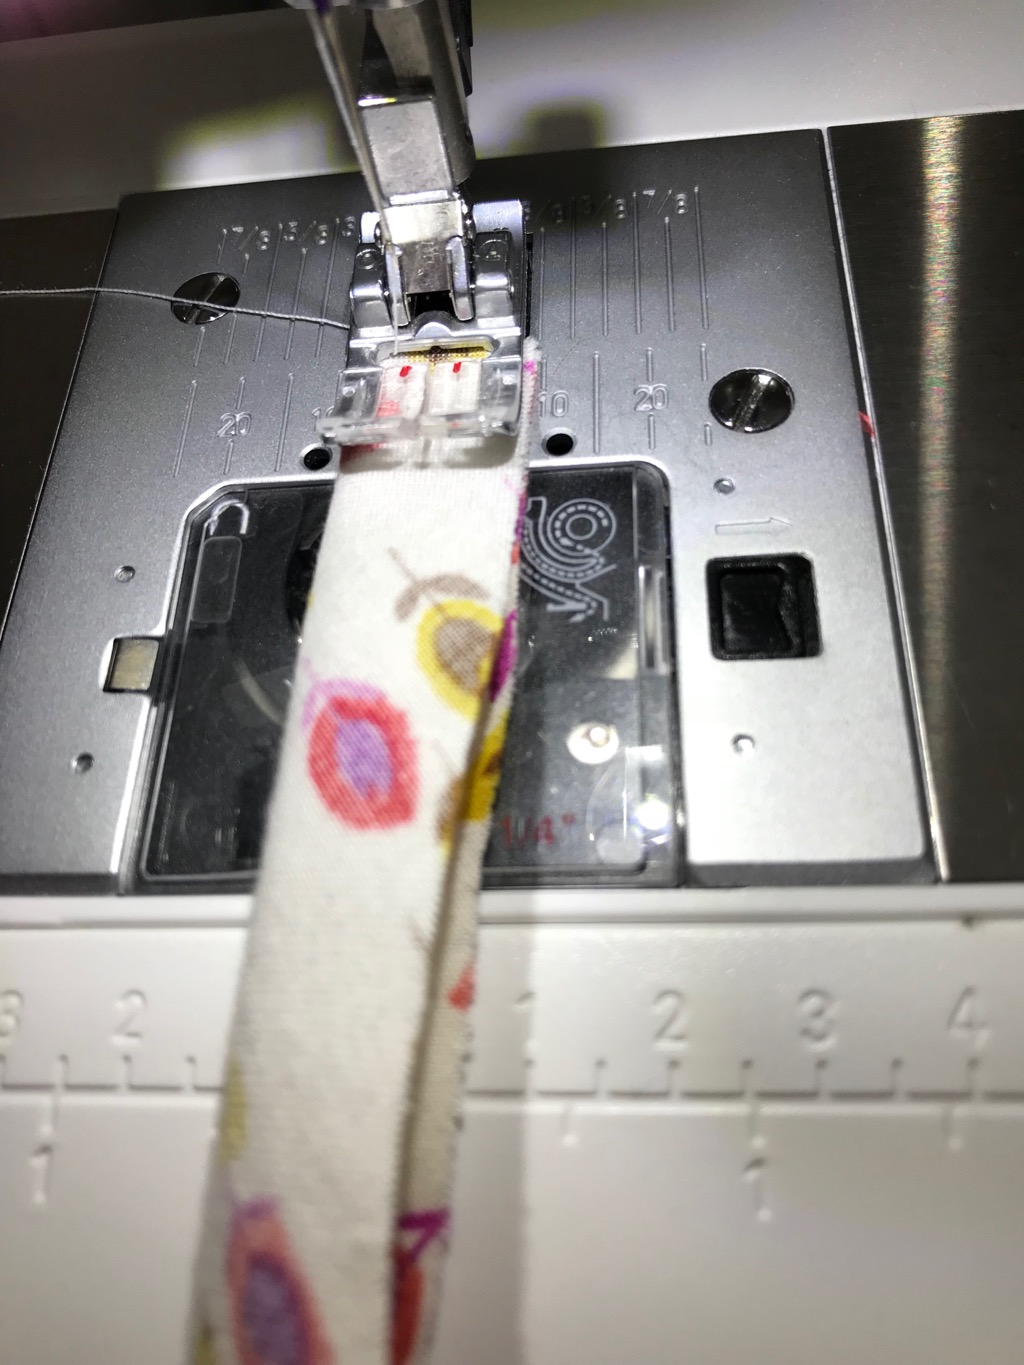
Usually I tell you to stitch with a X inch/cm seam allowance, but this time I am not, because I don’t know how narrow/wide your fabric strip is. What I can tell you is to stitch, so that the finished loop width will be 1/4′ (6 mm).
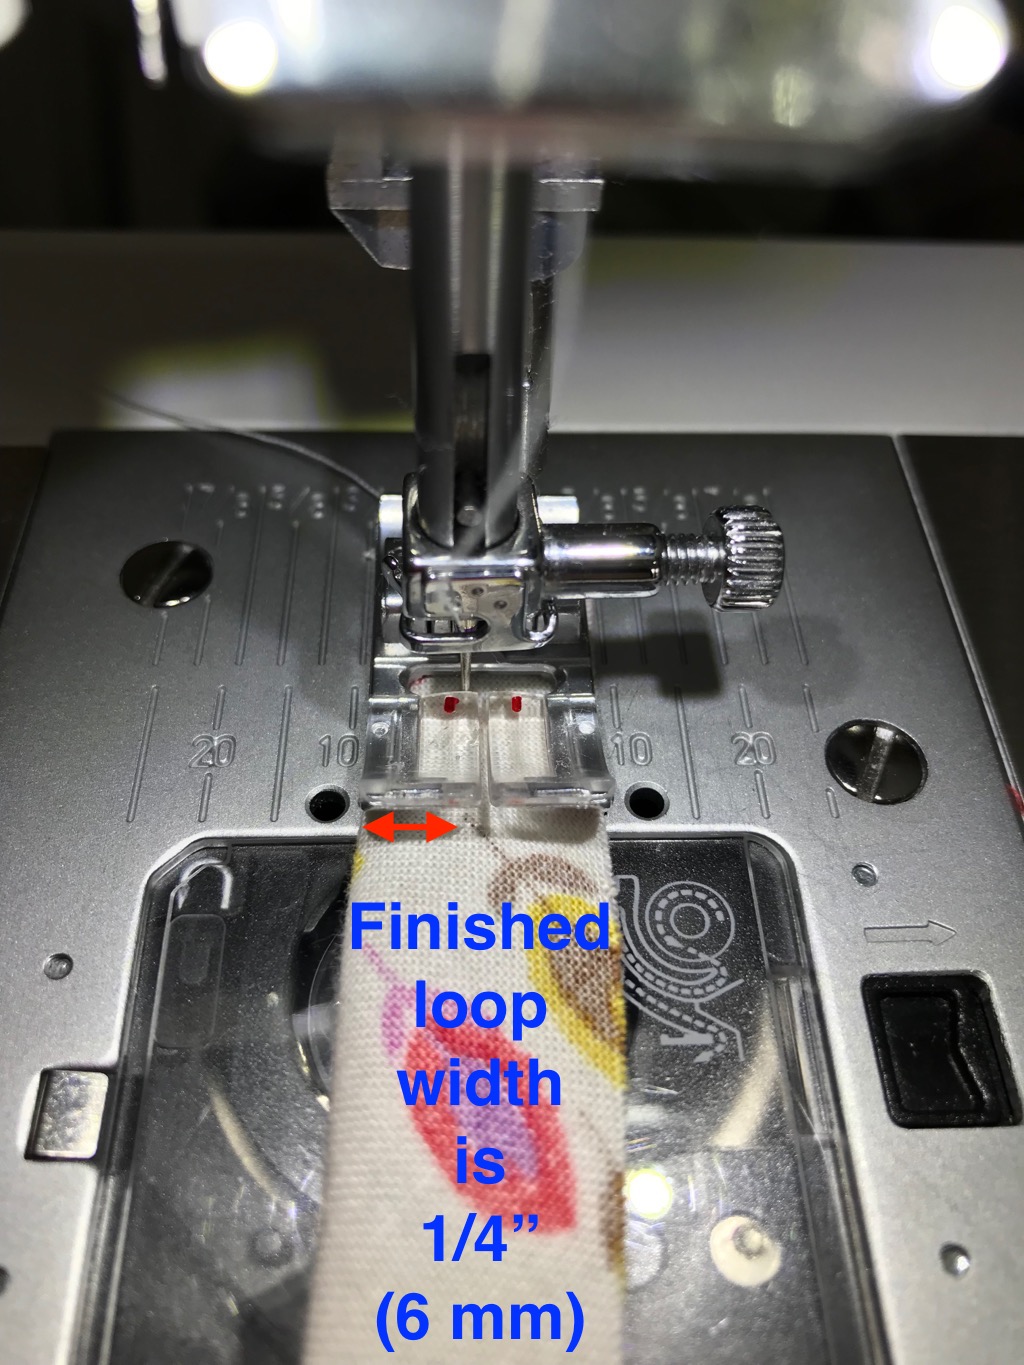
Also, while you stitch, it’s a good idea to stretch your fabric even more by pulling it with BOTH of your hands, one at the front and one behind of the feed dog (do not pull it using one hand only from your feed dog; you could bend the needle and damage the machine).
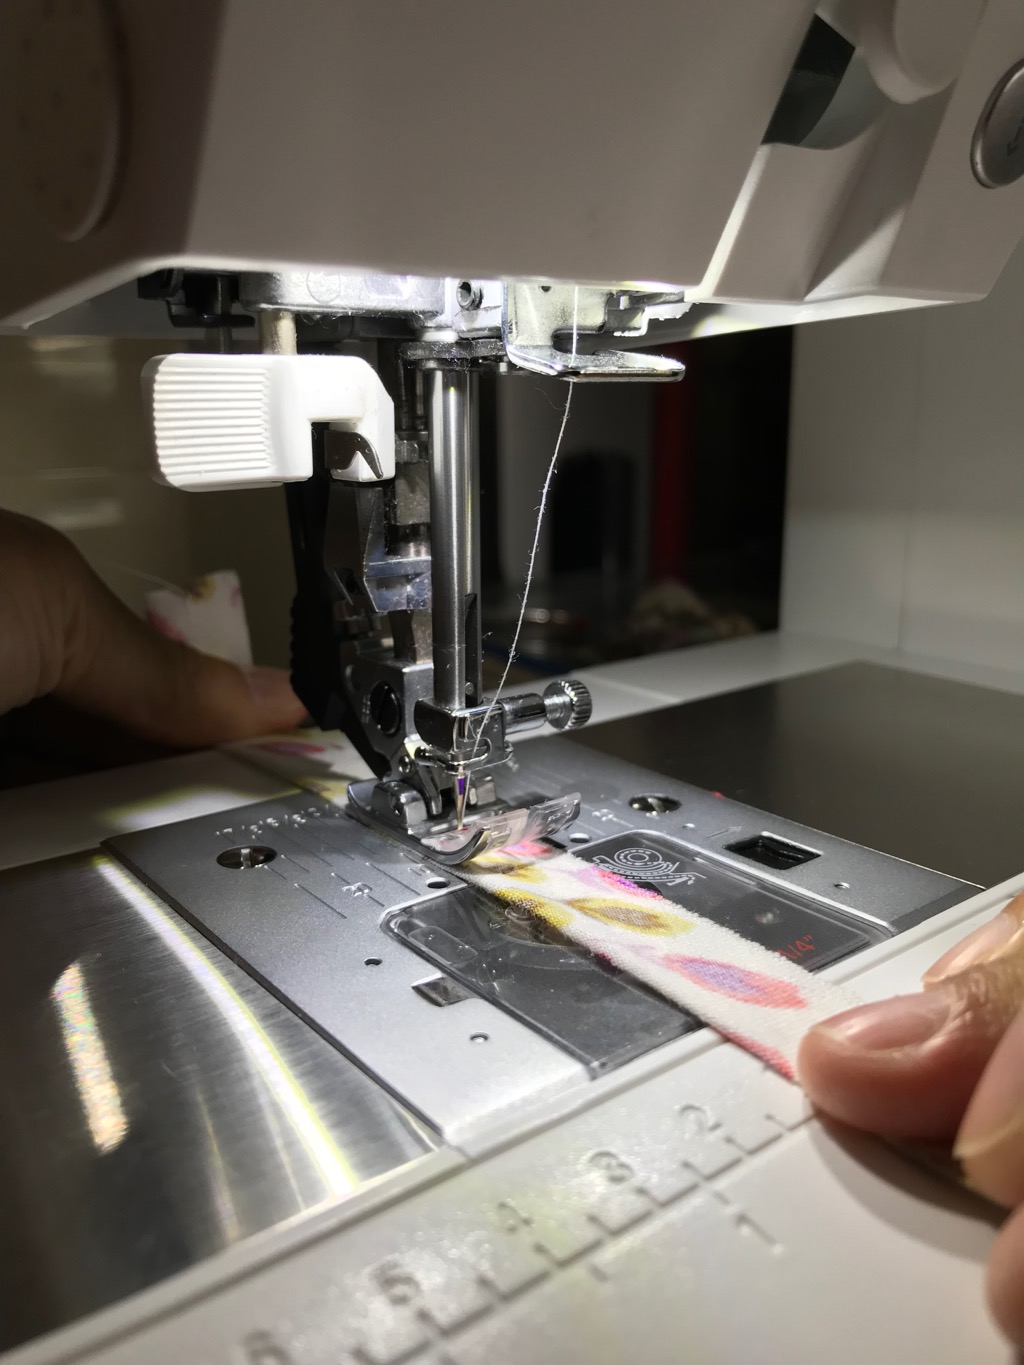
Stitch stitch stitch. Here, I am done.
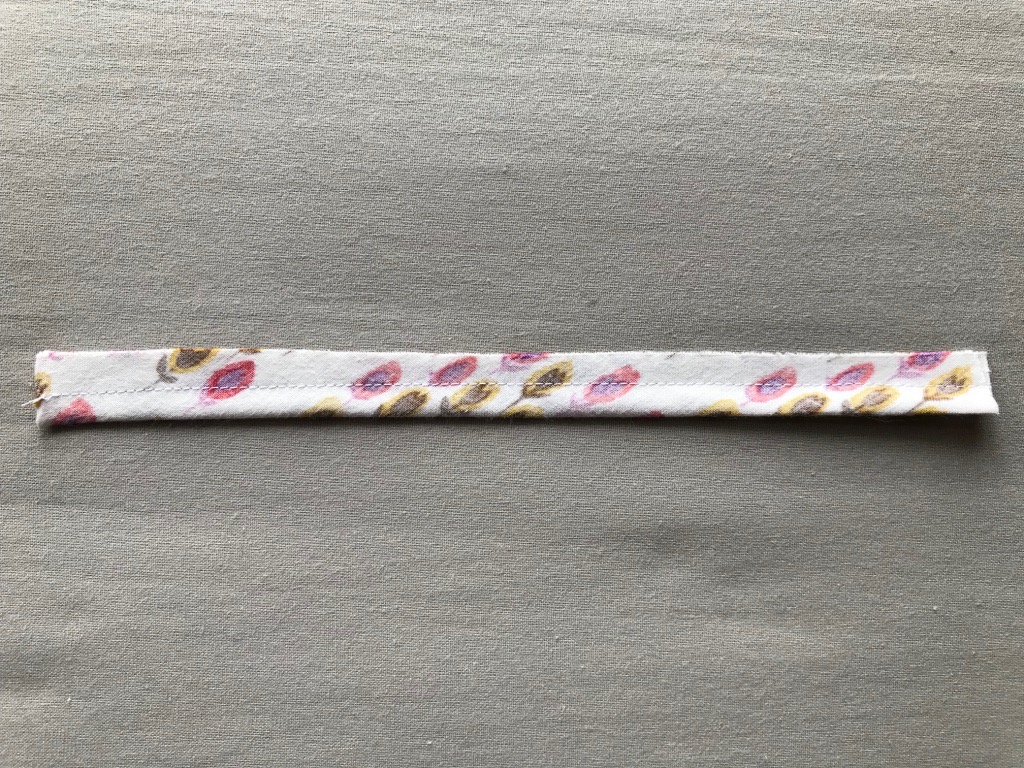
Optionally, you can finger press the seam open. I found it easier to get the seam to behave if the seam is finger pressed now.
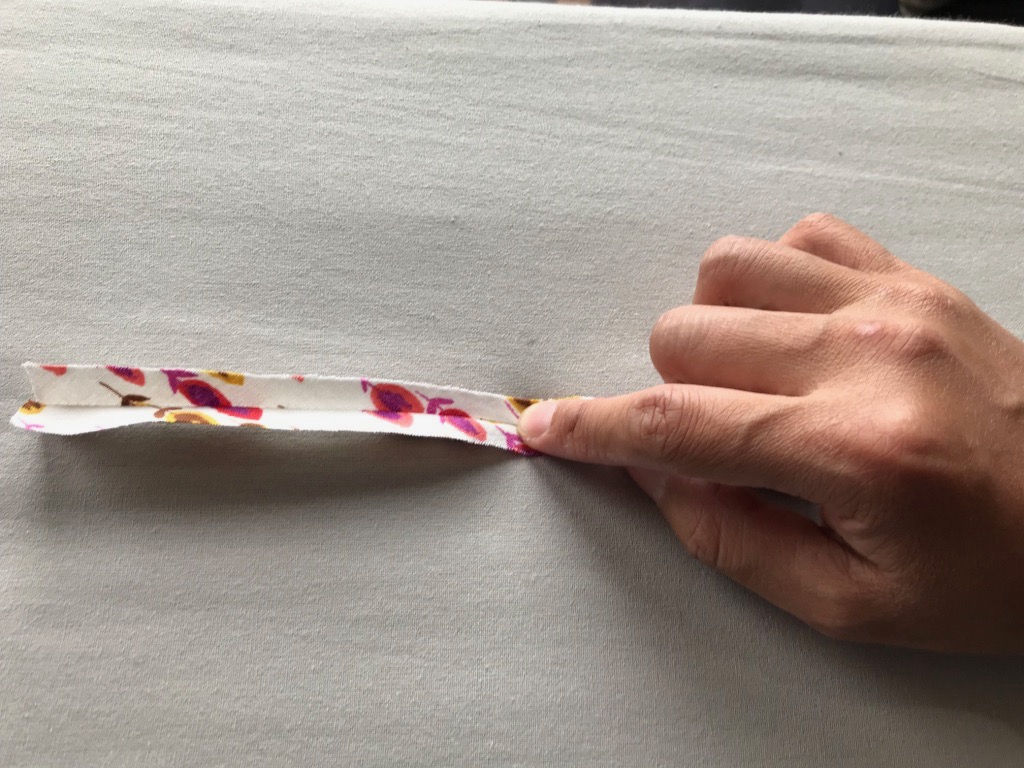
Trim the seam allowances.
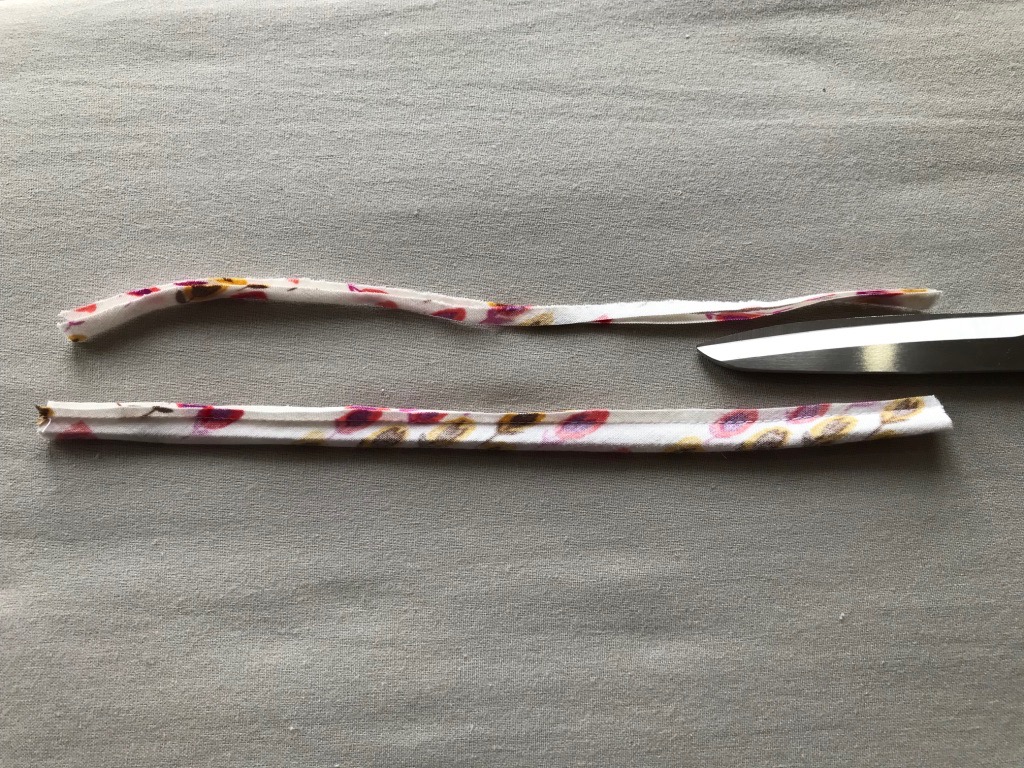
Now it’s the actual loop turning time. Insert the loop turner into the loop.
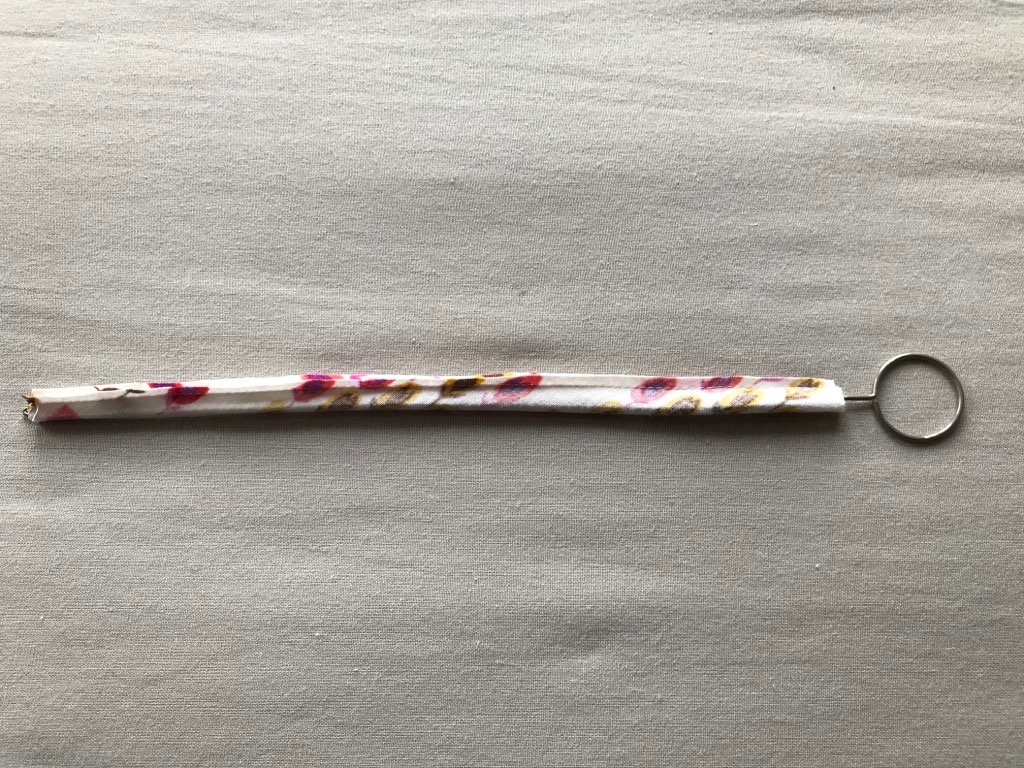
The little hook should be, for lack of a better word, hooking the other end.
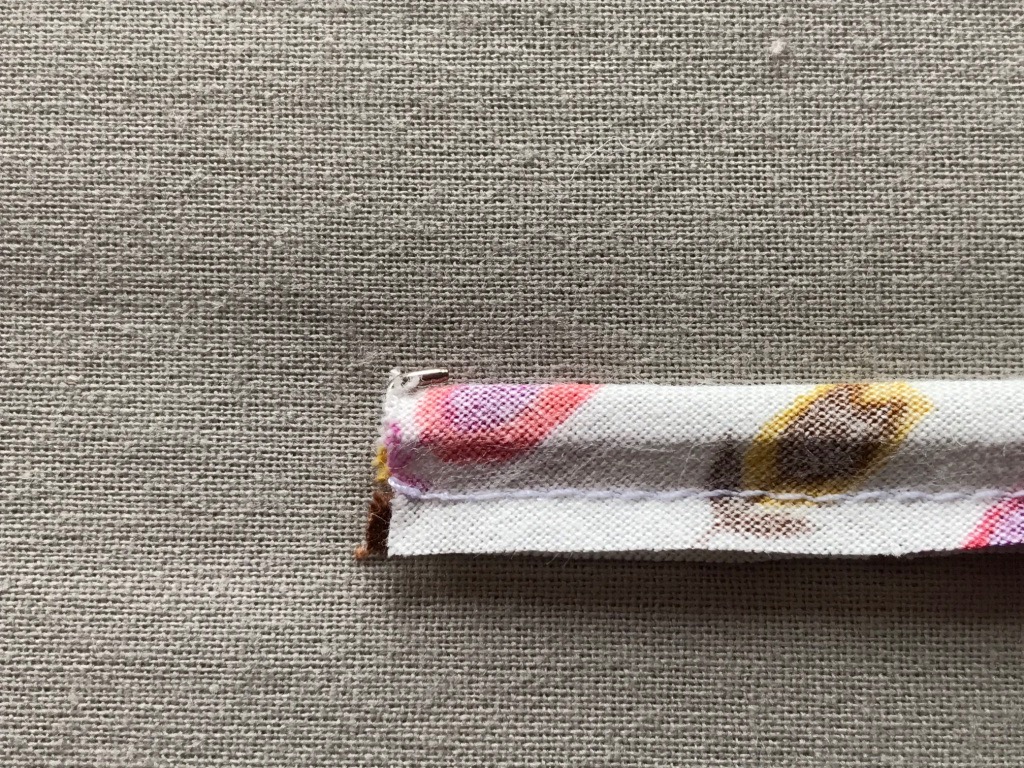
You can start pulling the hoop. The goal here is to get the end of the loop to start going inside. Pull…
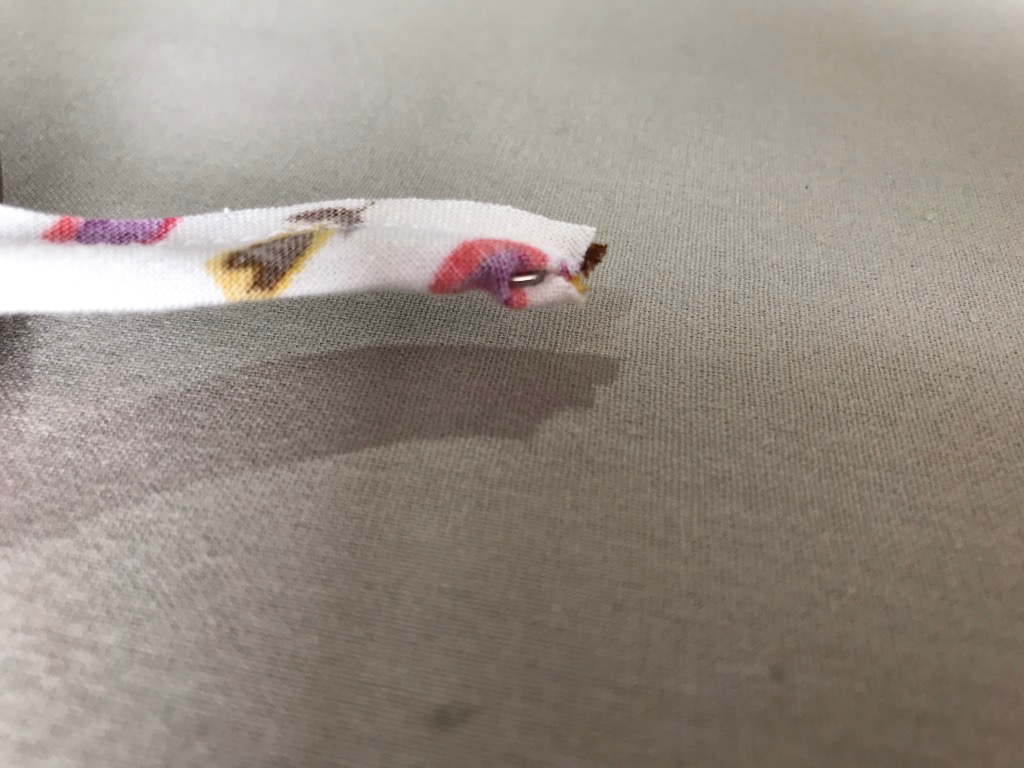
You’ll have to use your finger nail to assist the fabric to get inside the loop. No, it’s not something that you can do while cooking dinner, watching TV, playing a game on your iPad or doing laundry. It takes a little bit of effort to get this part started. But once you go over this hump, the part later is smooth sailing.
Here! I got it!!
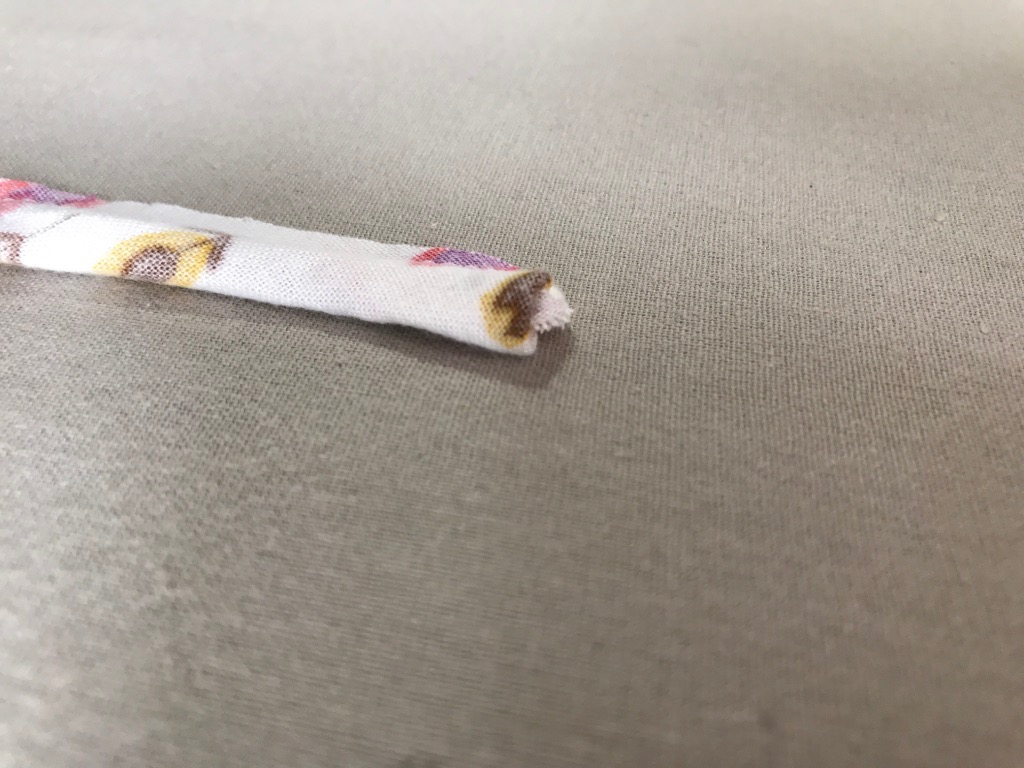
Continue to pull; you can hold onto the seam allowance while pulling so it will continue to turn.
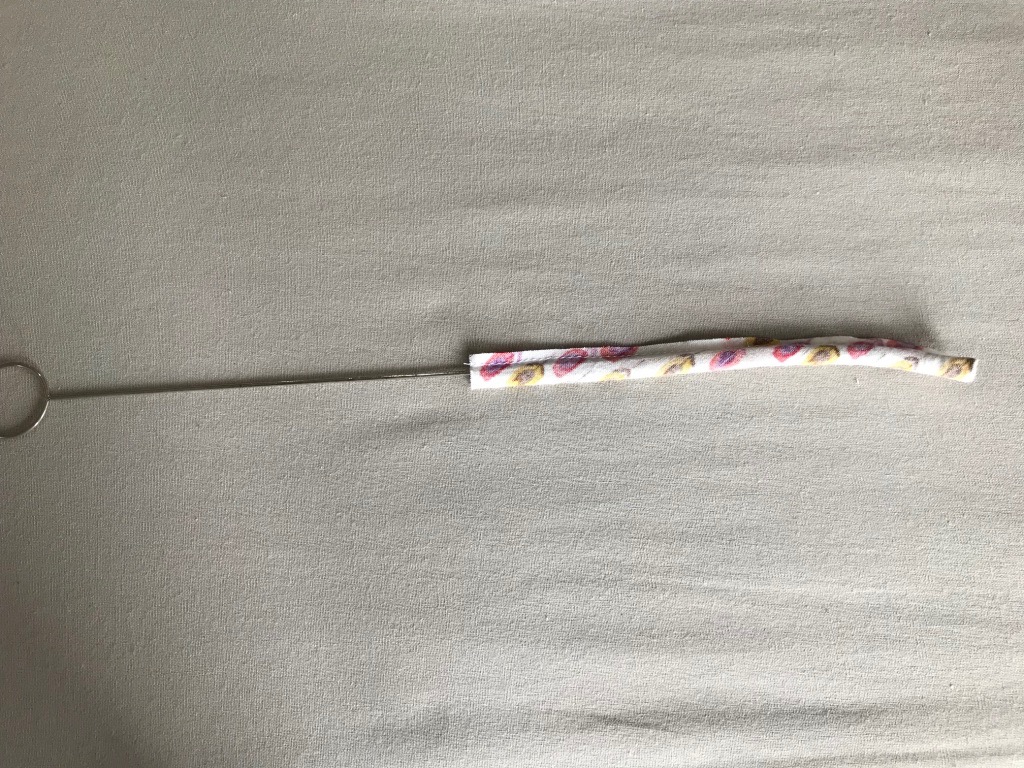
Turn turn turn.
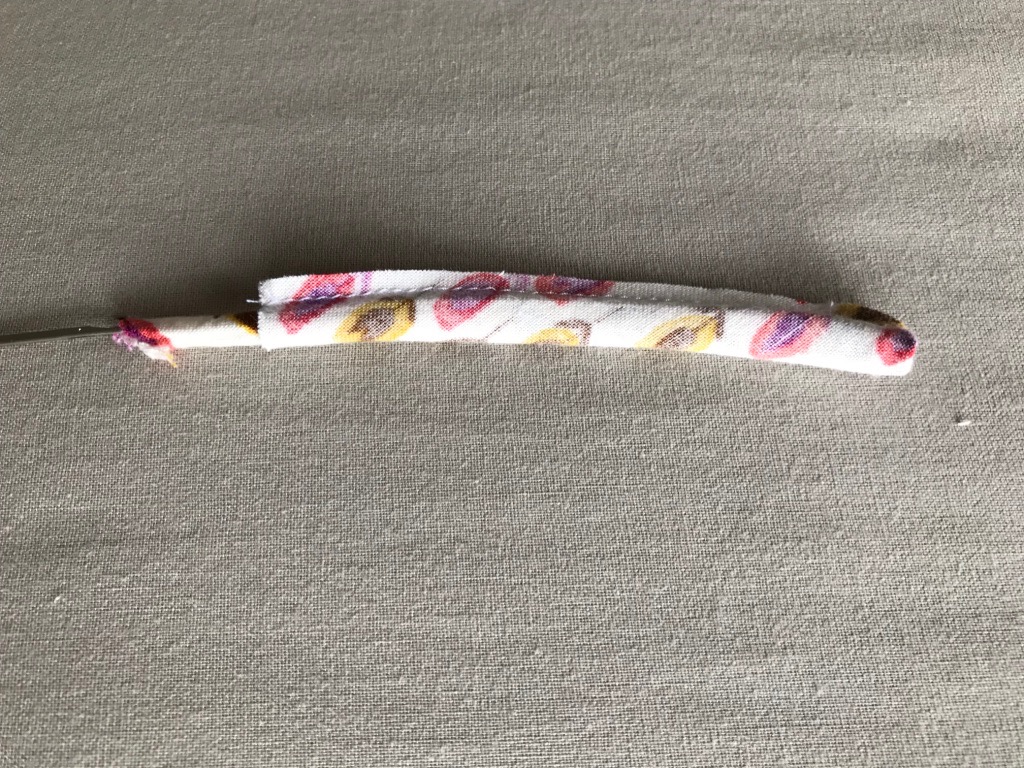
Almost there…
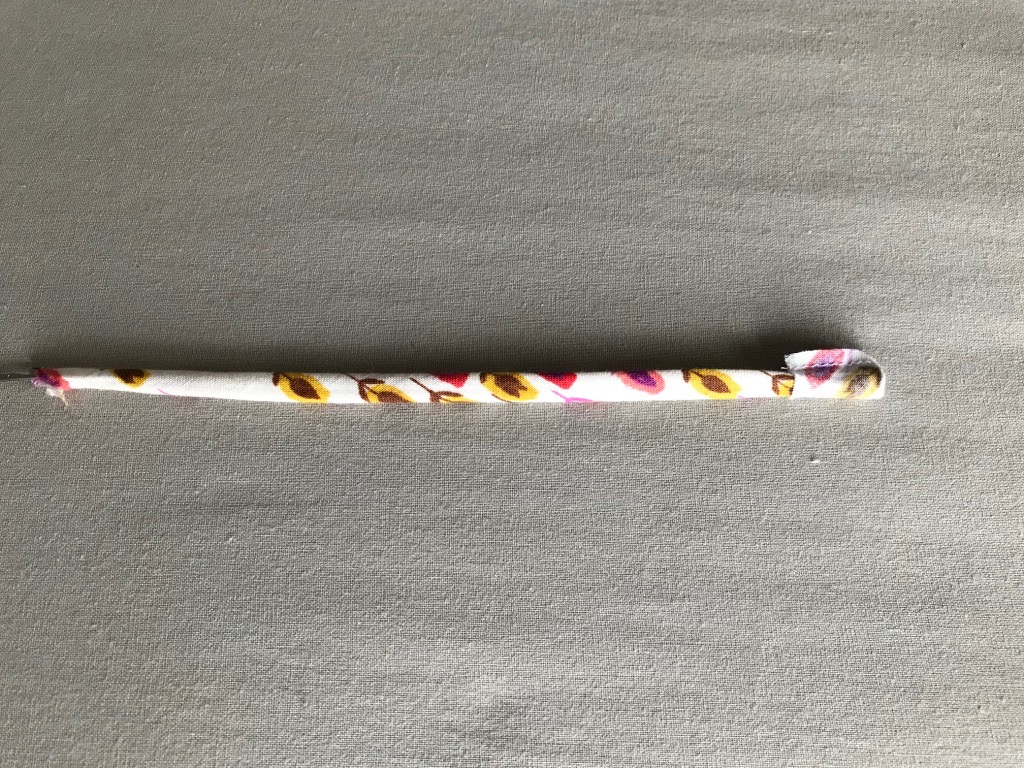
There you go!!
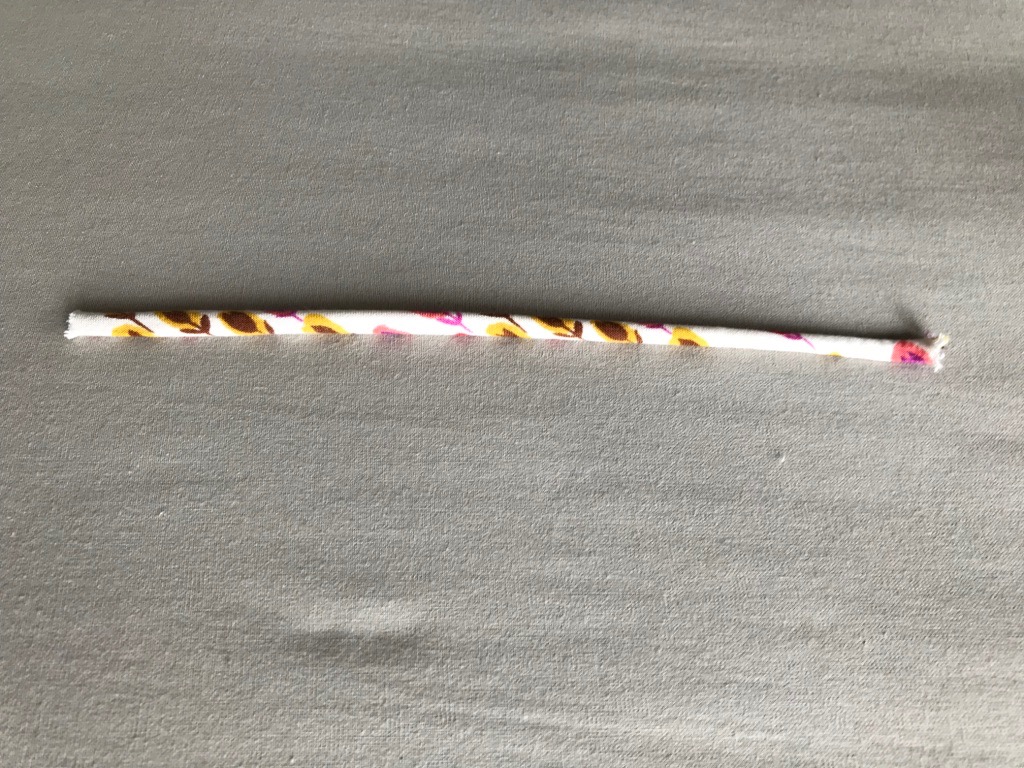
2. Use No Tool
If you don’t have the nifty little tool, all hope is not lost. You can actually turn the loop without any tool but the sewing machine and thread.
First, pull the sewing machine thread from the needle end. You will need it to be at least as long as your fabric strip.
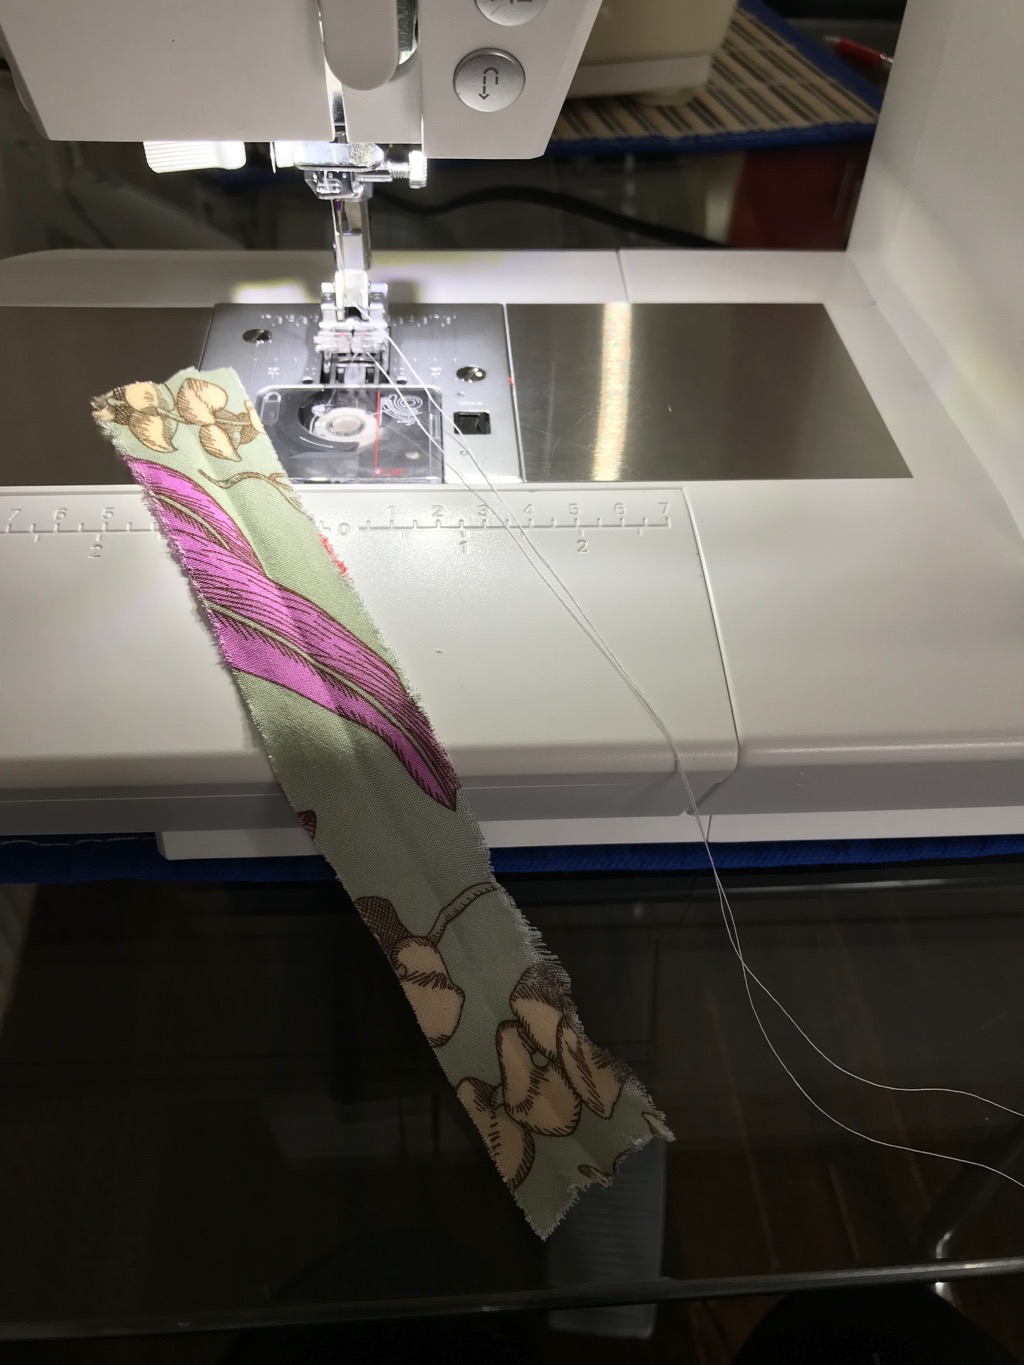
Put the thread in the center of the fabric strip on the right side.
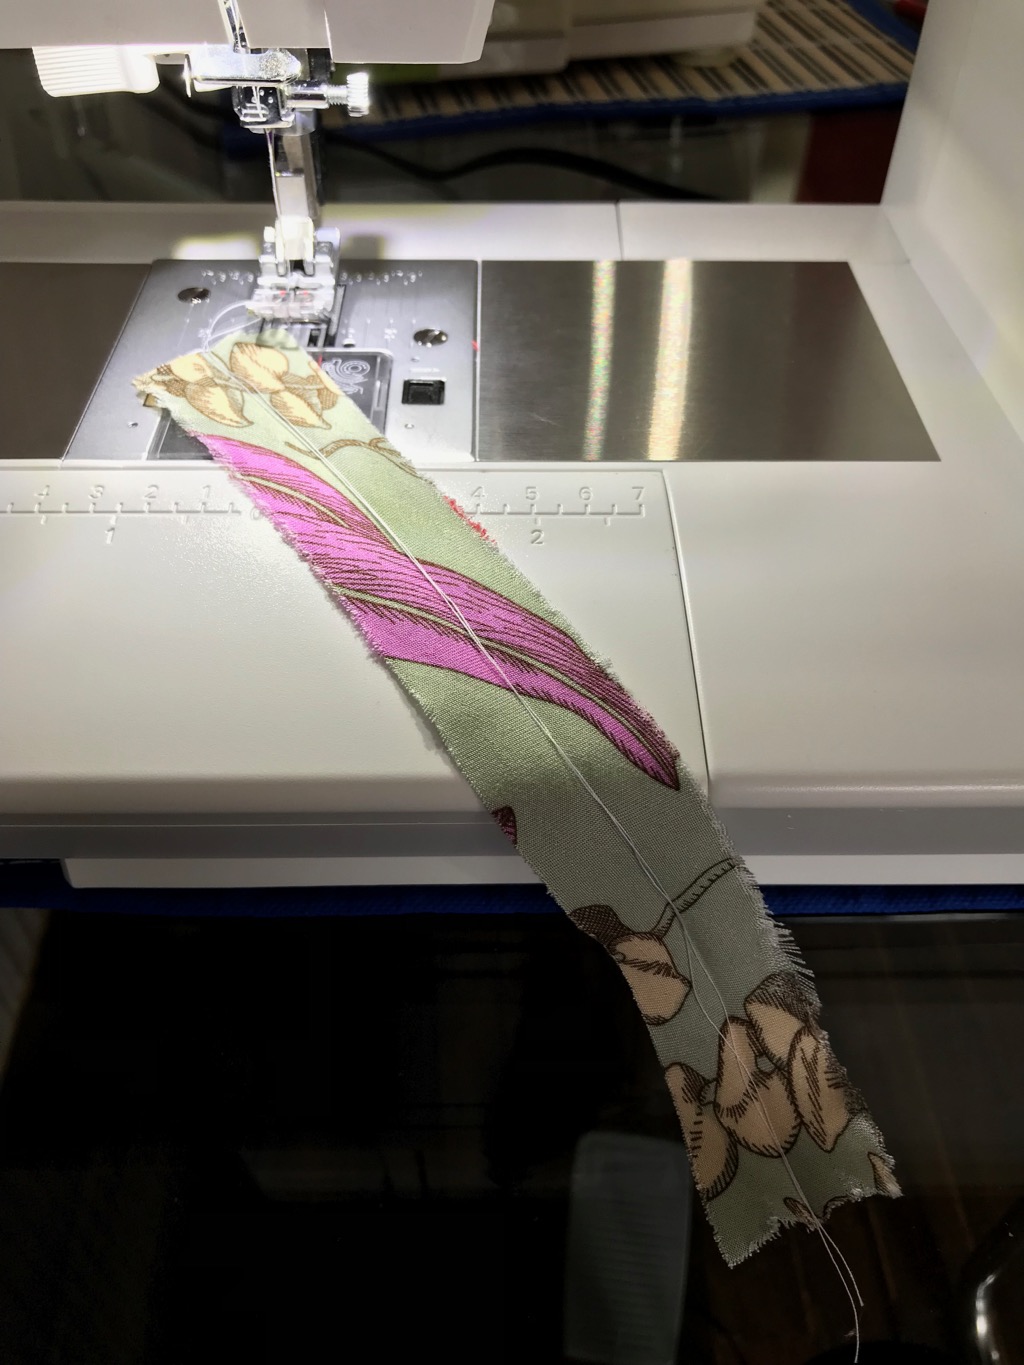
With right side inside, fold the fabric strip lengthwise in half. Now the thread is inside. You want it to be as close to the fold as possible so it doesn’t get caught later.
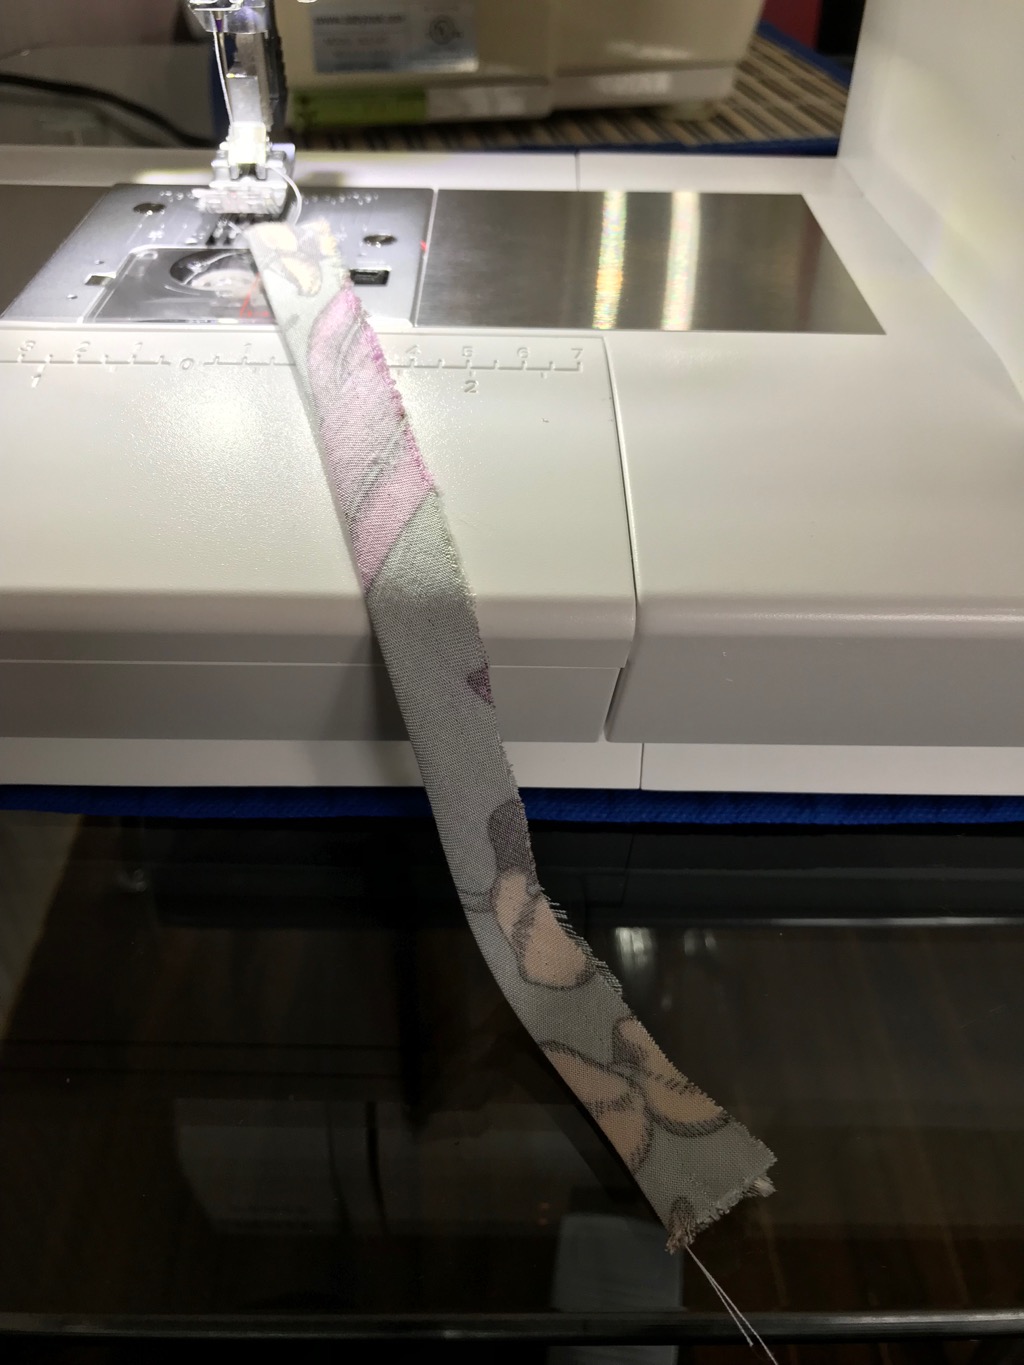
We can now start stitching. Just like before, you want the finished width to be 1/4″ (6 mm).
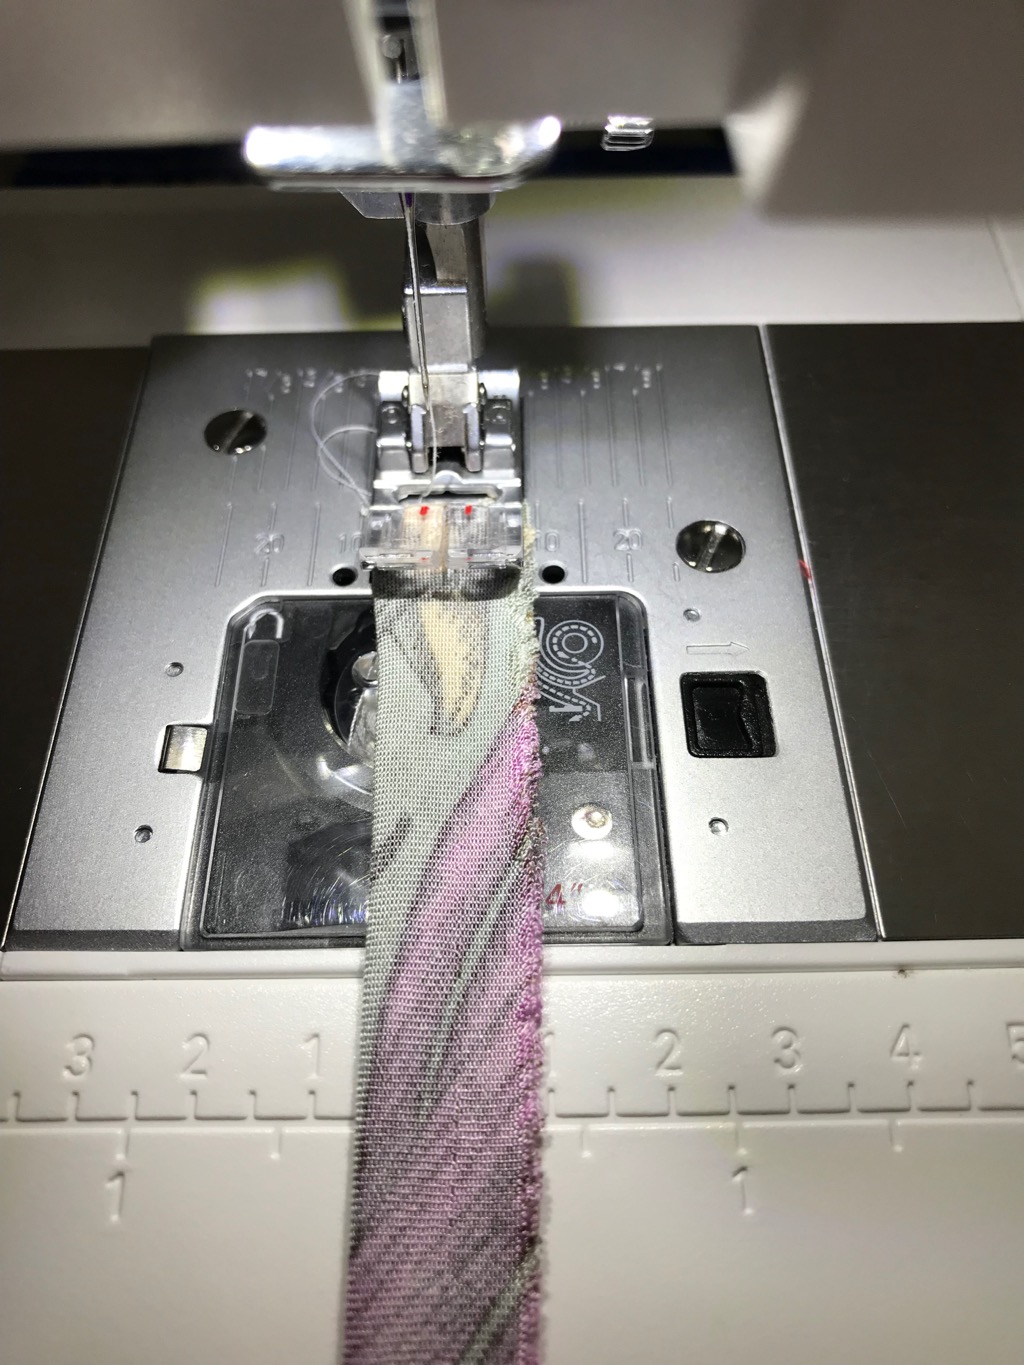
As you stitch, you want to make sure that you don’t catch the thread inside. Also stretch the strip with both hands (before and after the feed dog), just like in the previous method.
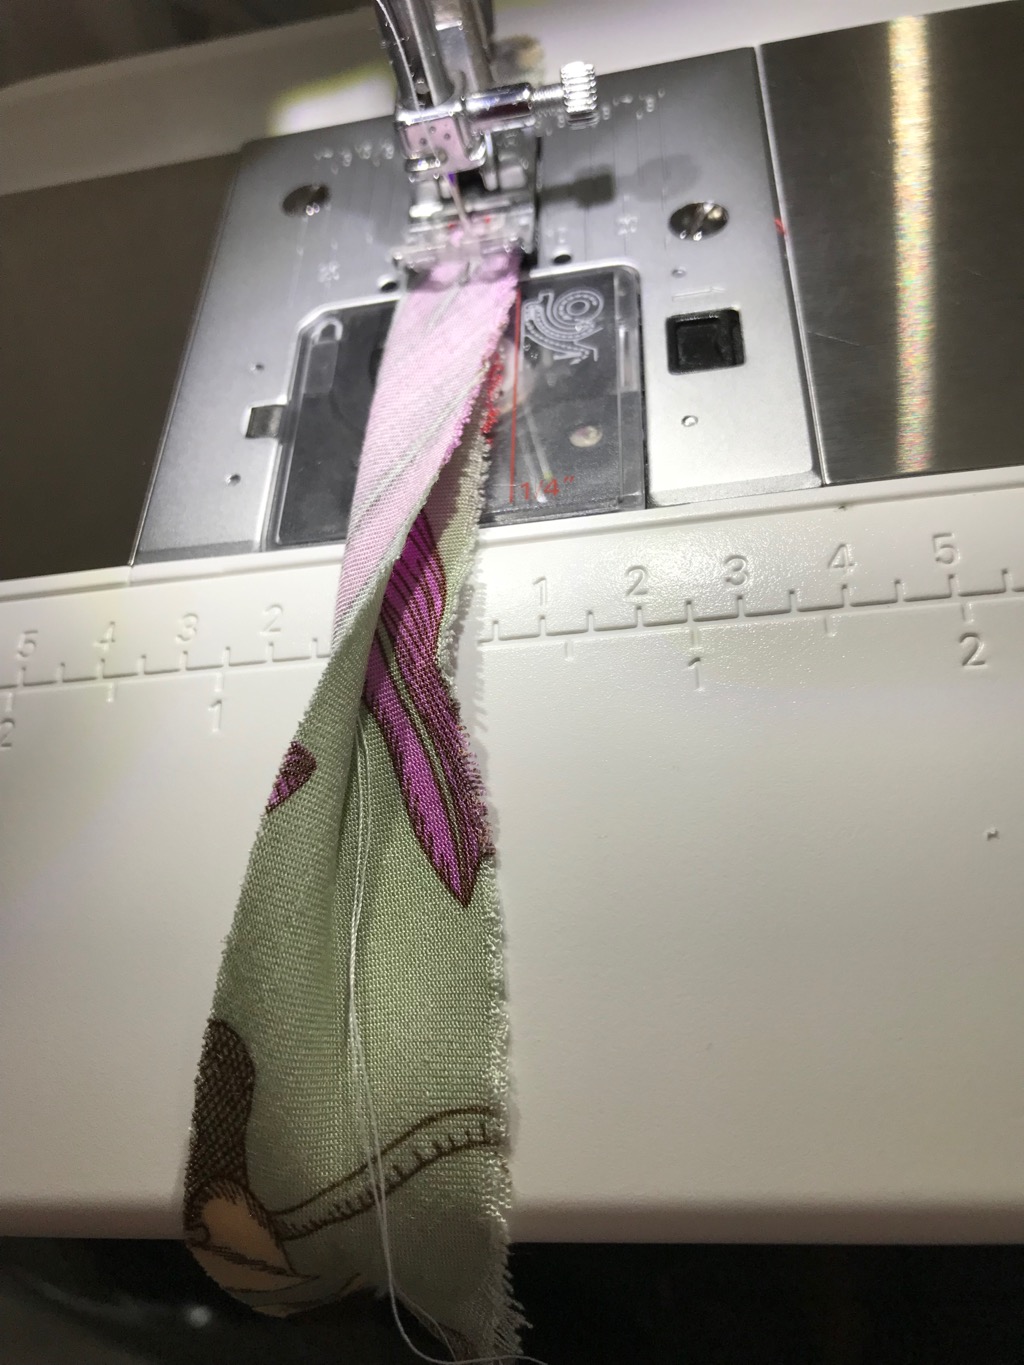
Stitch stitch stitch.
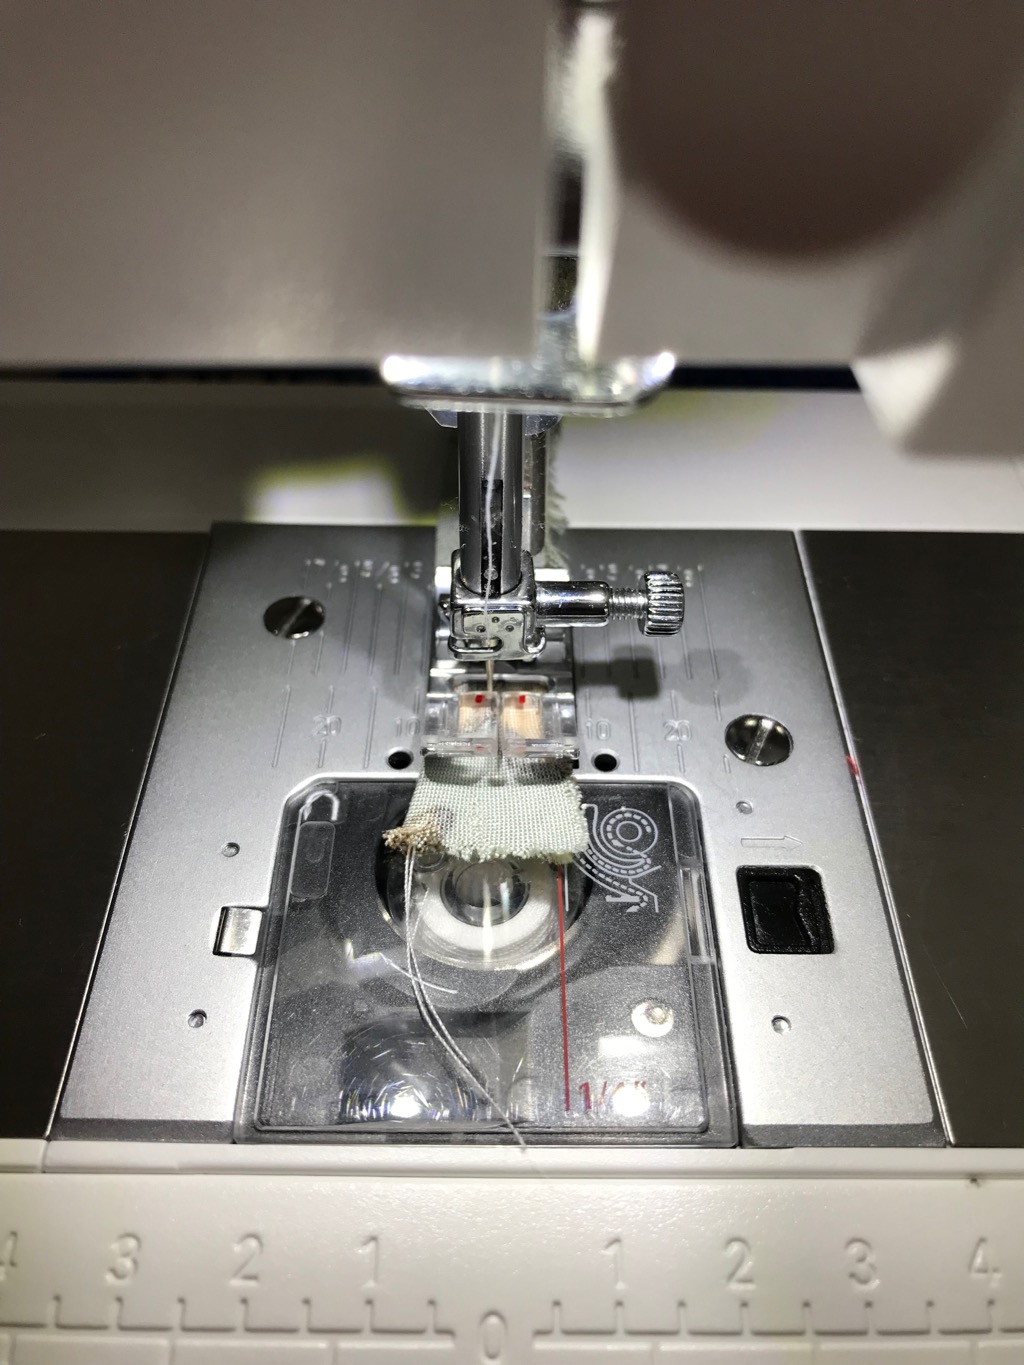
Done! This is what you have.
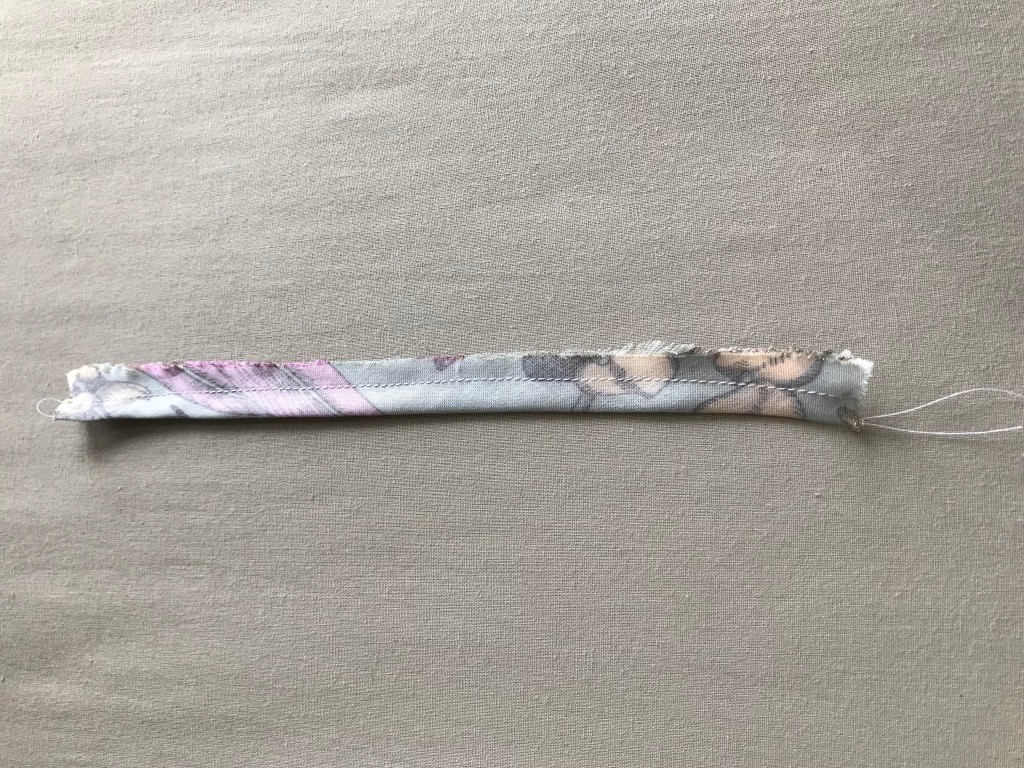
Optionally, you can finger press it as before. Trim the seam allowance.
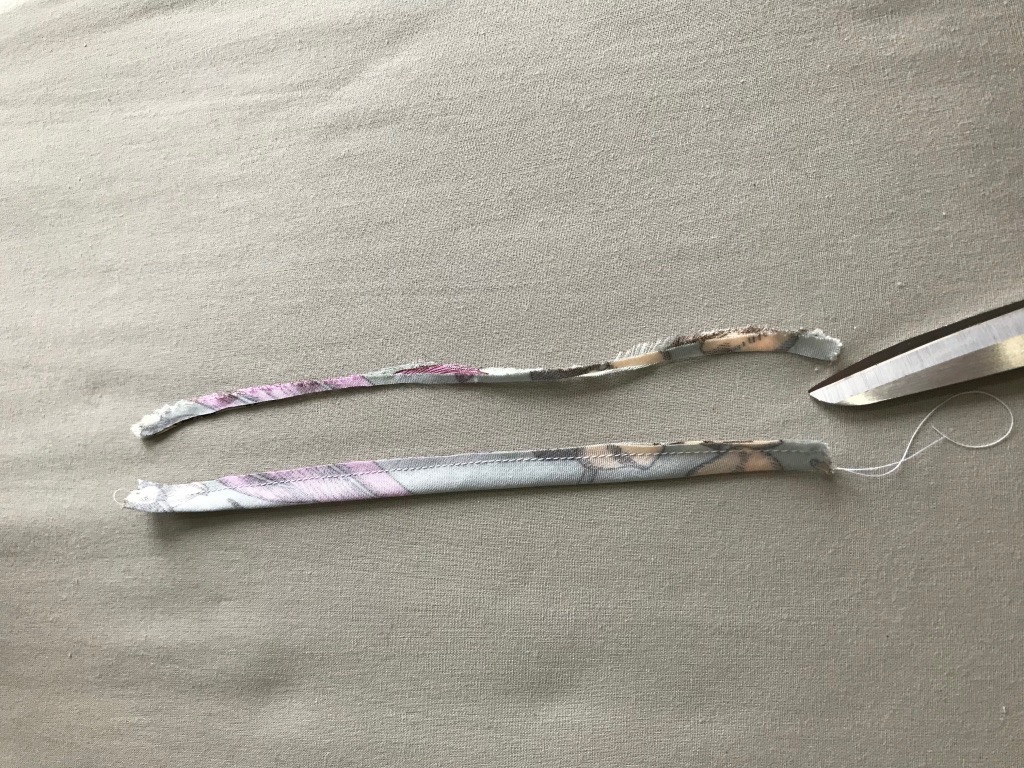
Now pull the thread ends so that the other end can get inside the loop. Just like before, this is not a piece of cake. Just use some patience and finger nail power. You will get there.
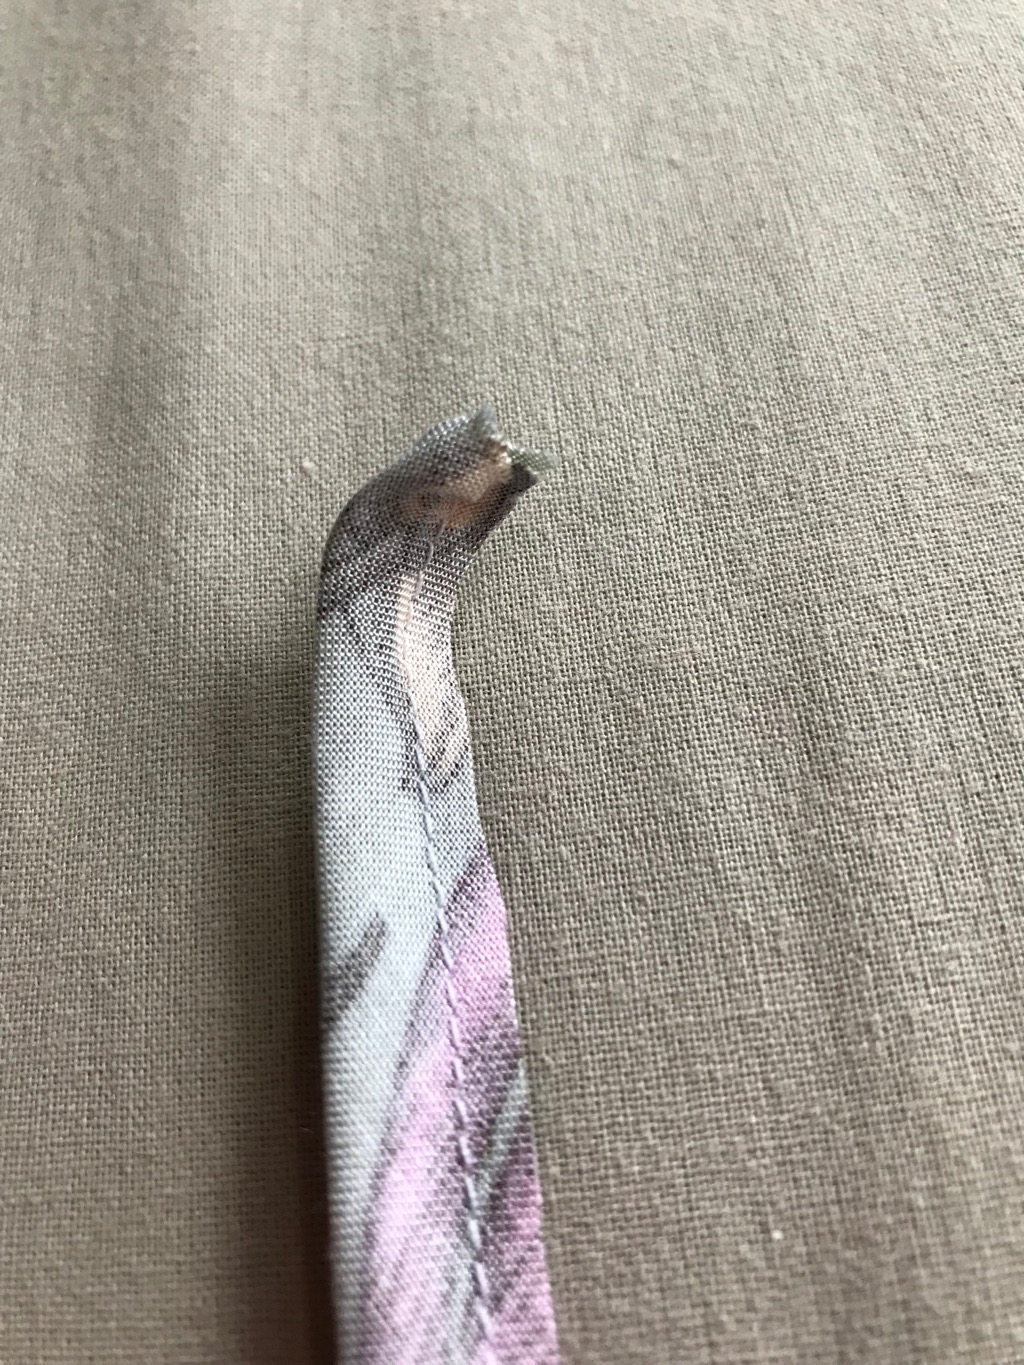
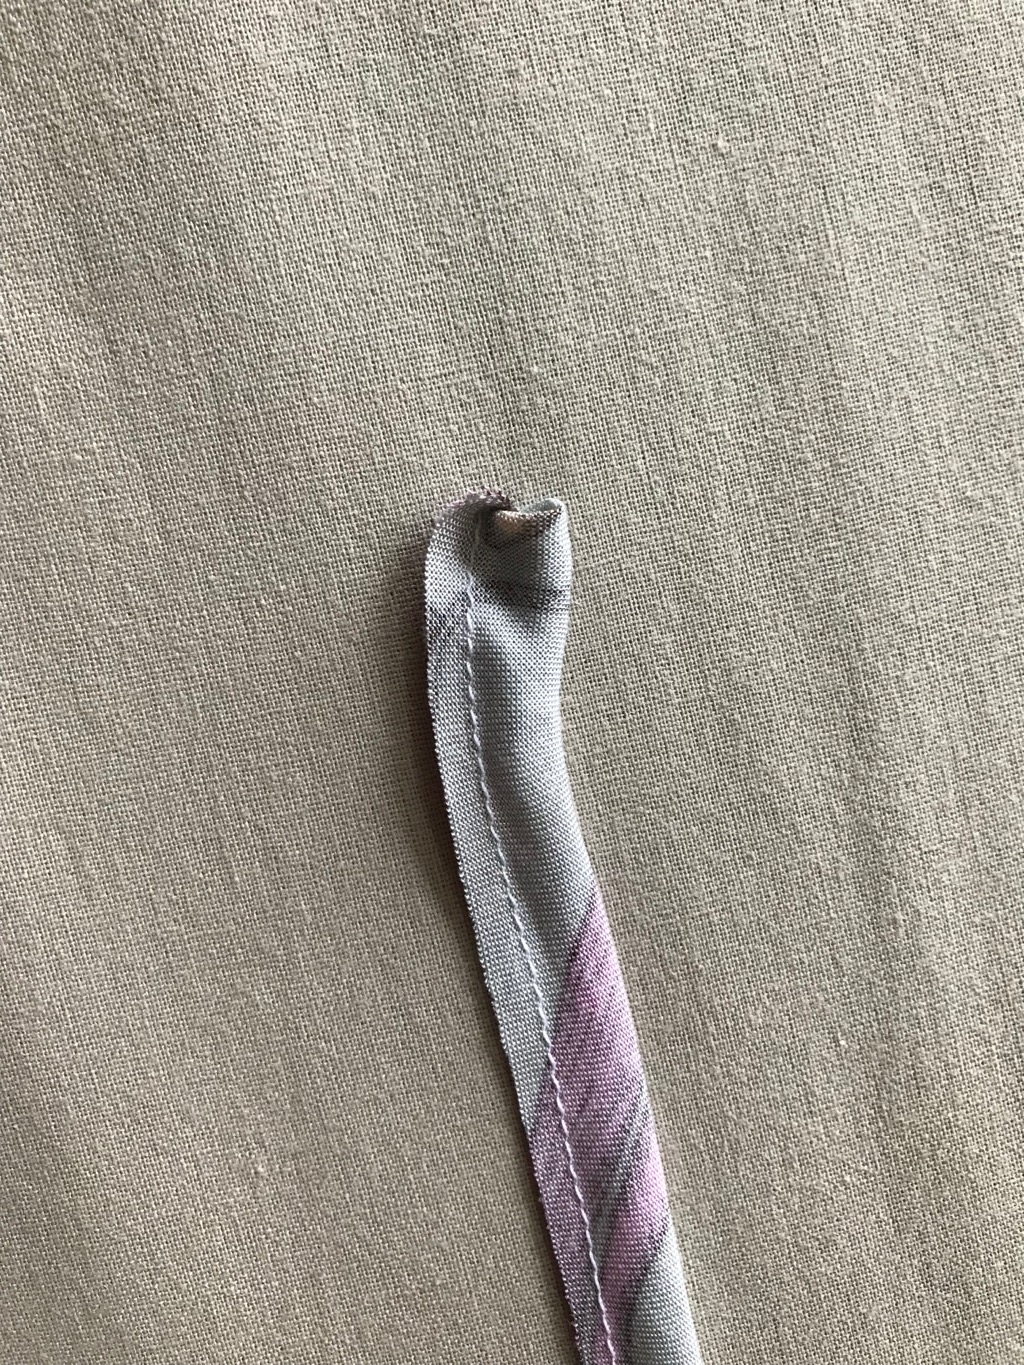
Got it! Leveraging the seam allowance, I continue to pull the thread ends.
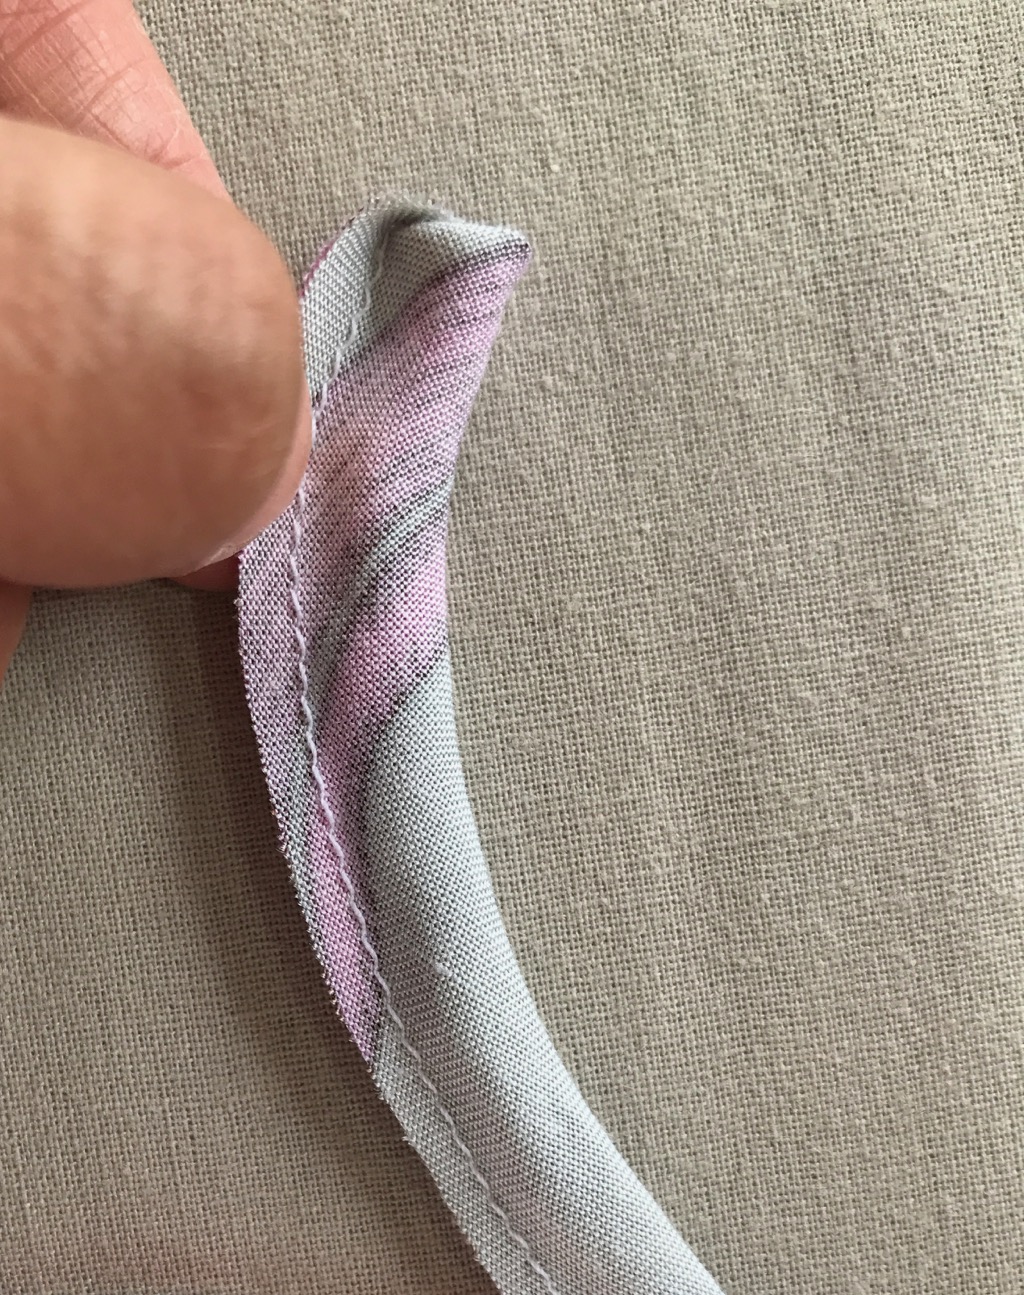
Almost there.
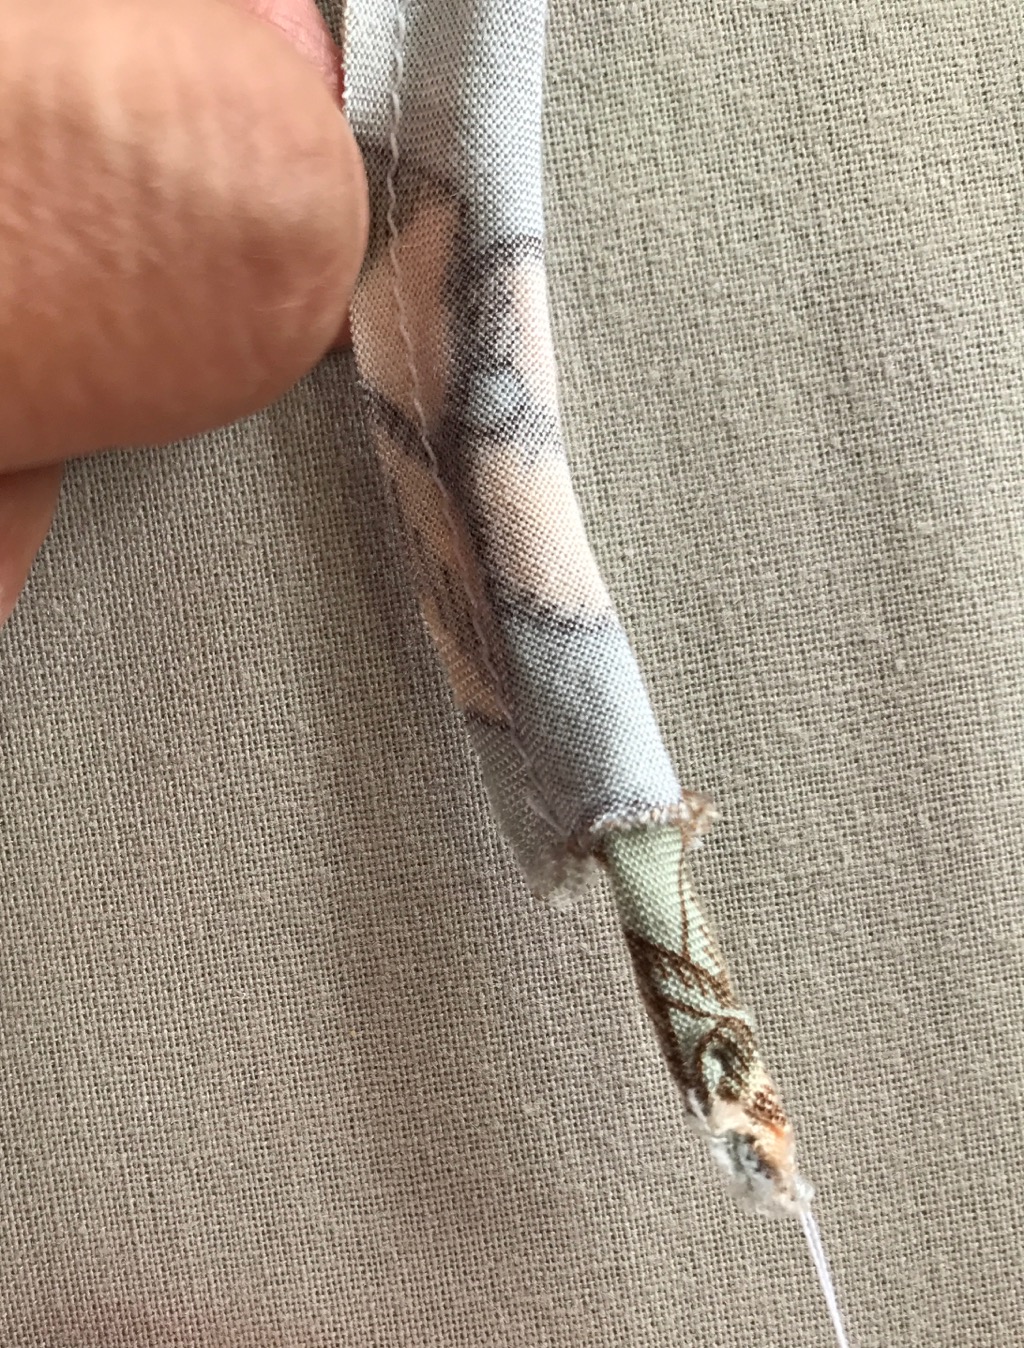
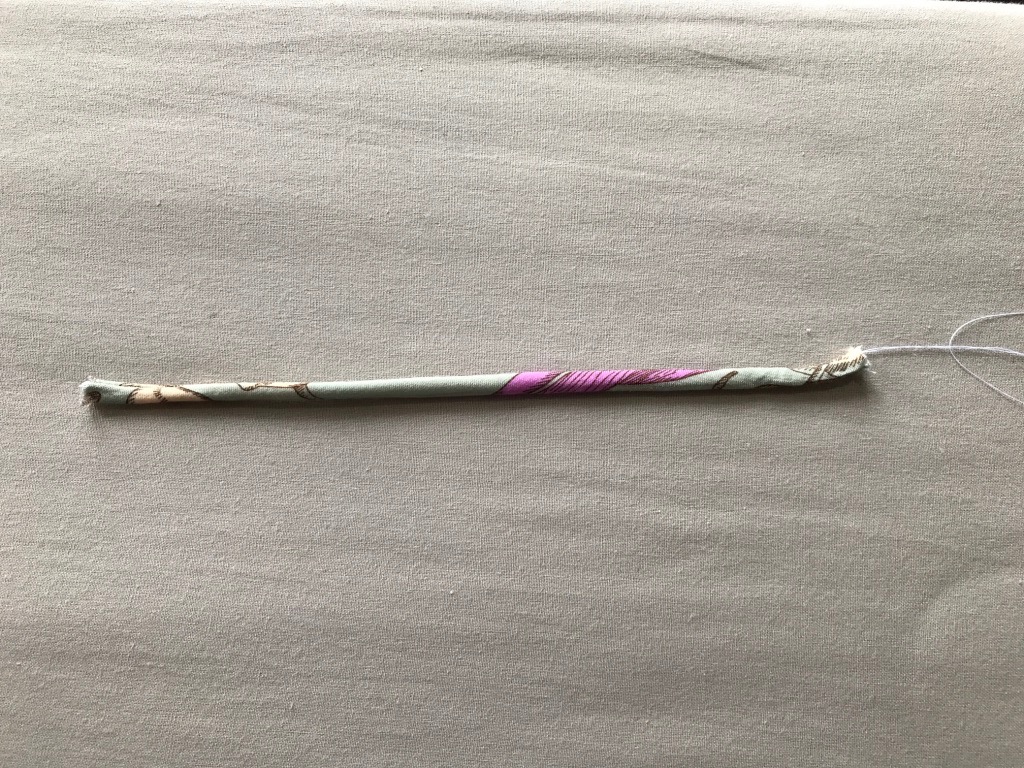
Voila. Turned!
3. Use Tapestry Needle
This method is a variation of the method above, except that I don’t worry about wrapping the thread initially and don’t worry about catching the inside thread while stitching.
I just stitch the bias strip like I normally do, with 1/4″ (6 mm) as the finished loop width. Also stretch the strip with both hands (before and after the feed dog), just like in the previous method.
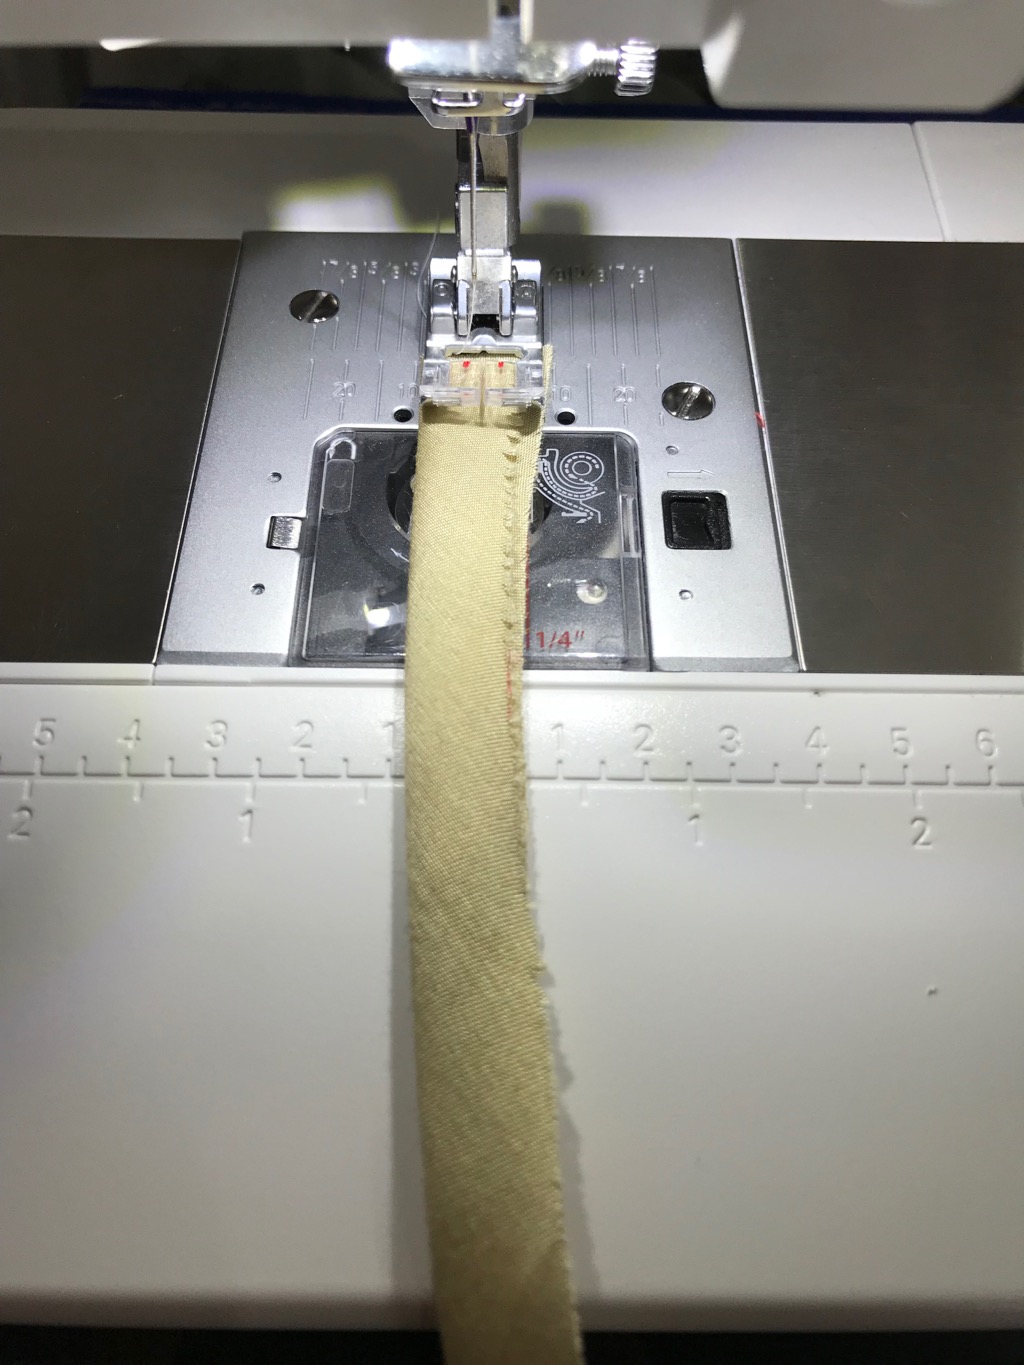
When you get to the end, DO NOT CUT the thread (I know it’s so easy to automatically cut the thread. Ask me how I know.) Instead, you leave a very long thread end, at least as long as the fabric strip.
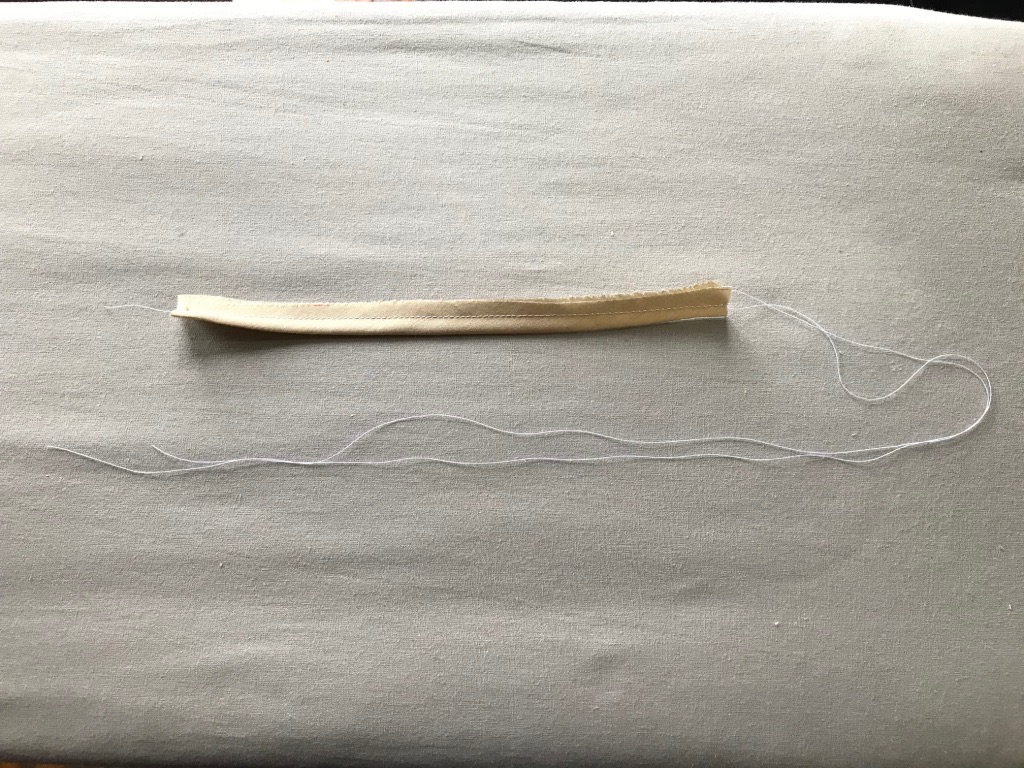
Thread a tapestry needle using that thread.
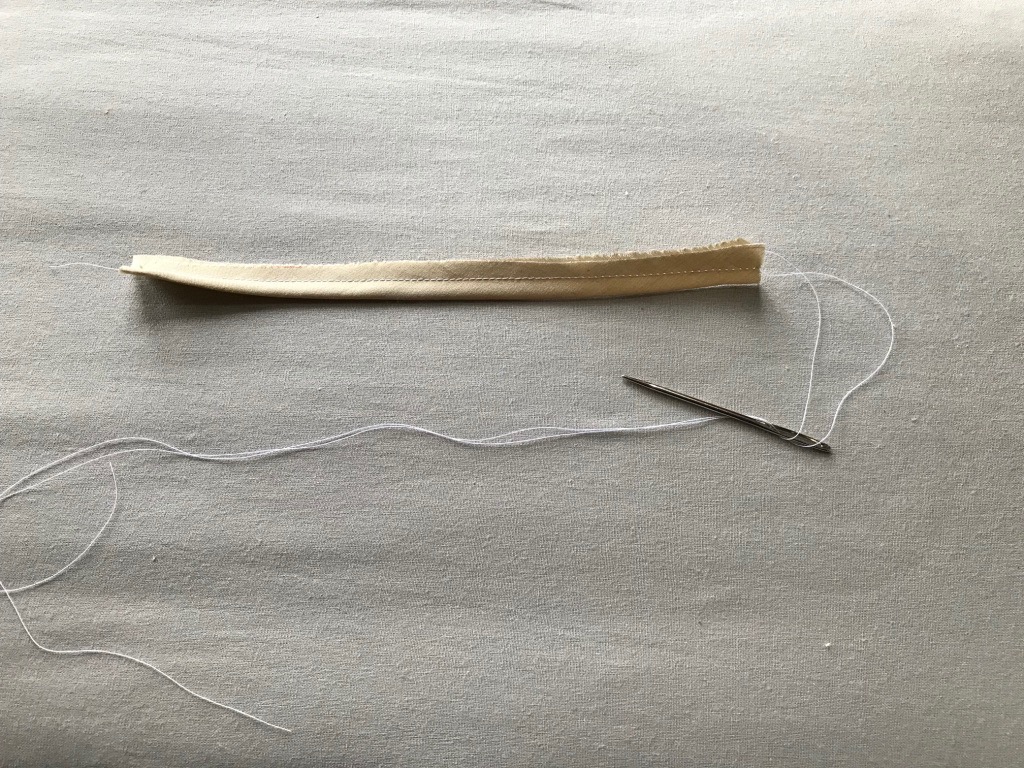
Put the needle through the loop.
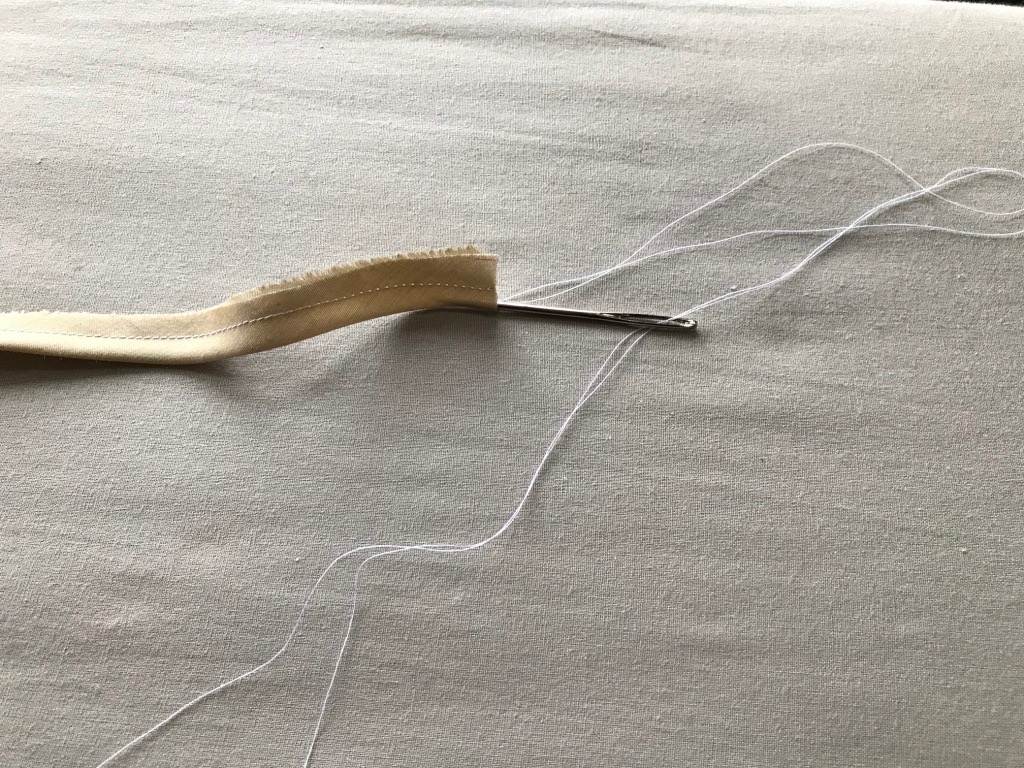
Now you have the exact same situation as before—the thread end is inside the loop. You can now trim the seam allowances.
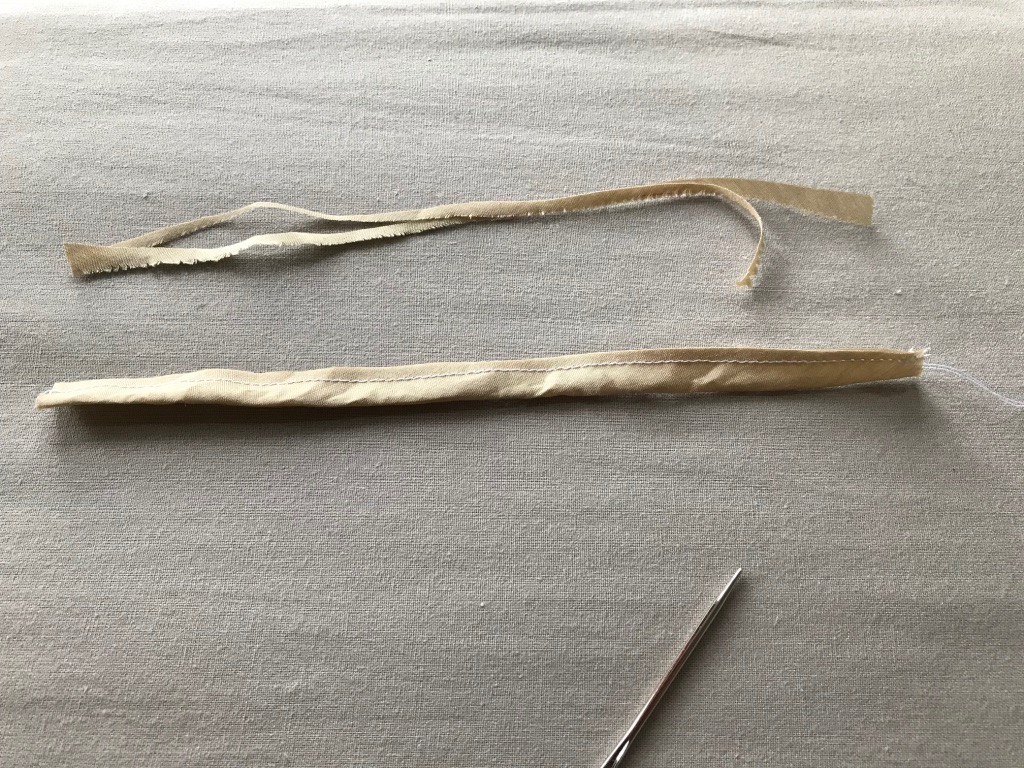
Pull the thread and turn the loop.

Yes, got it!
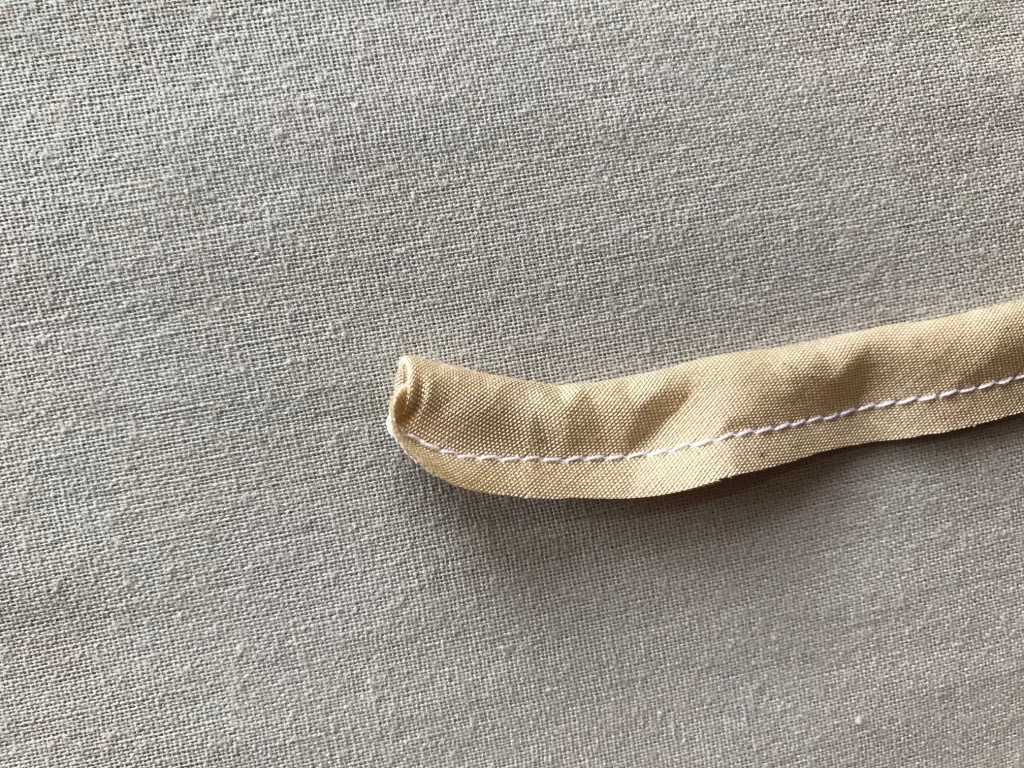
Continue to pull.
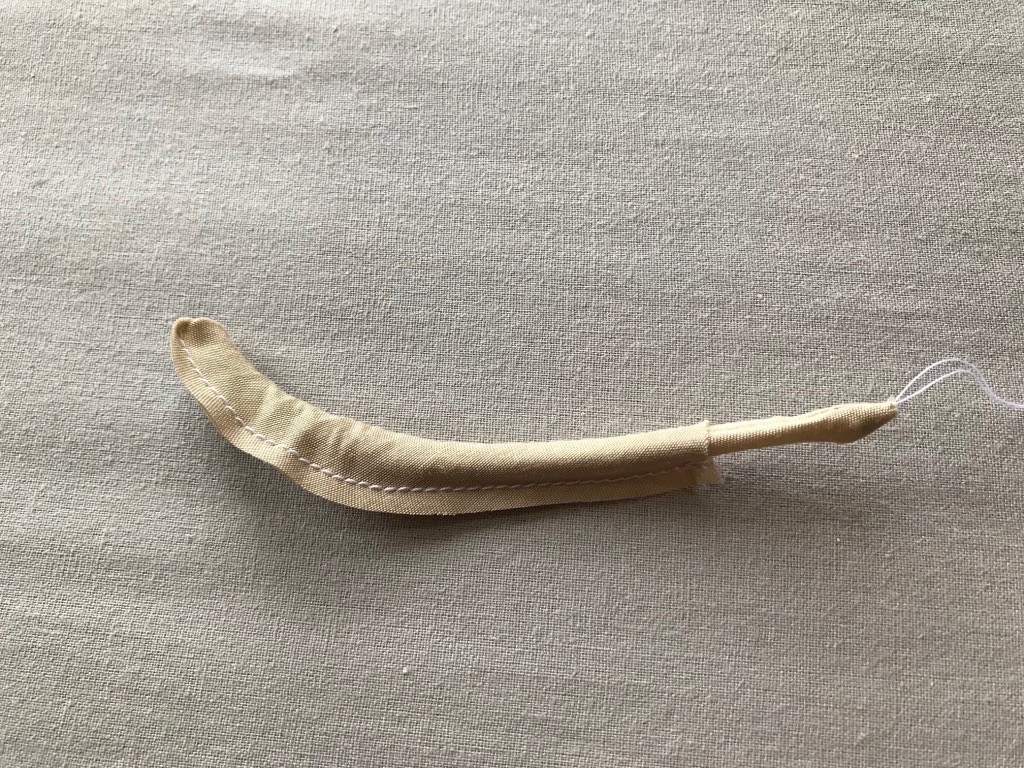
Awesome! Done!
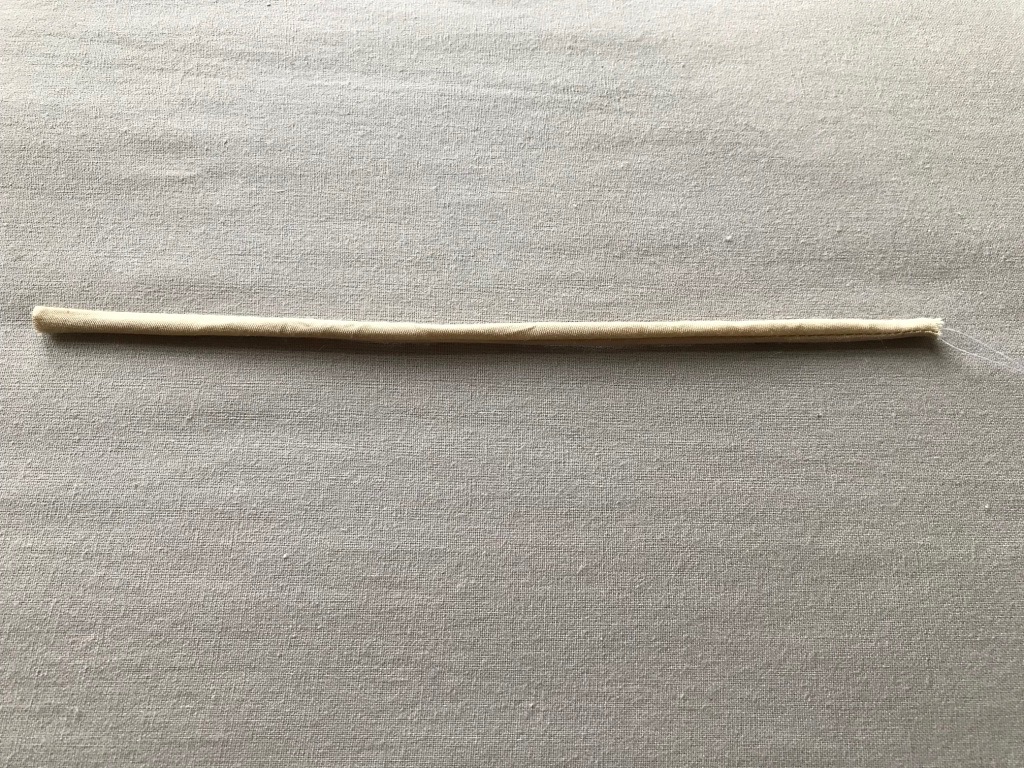
This concludes the three methods. Try them out and let me know which one you like the most!
How about a family photo of all the turned loops and the tools?
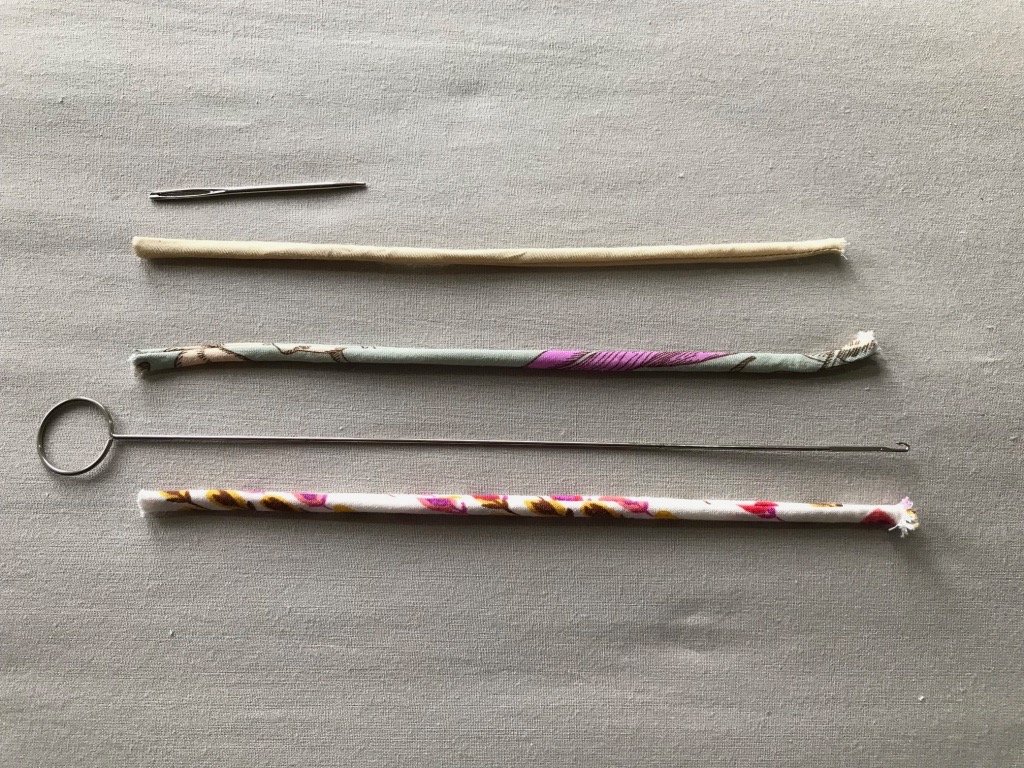
Have a great day and keep stitching!


Top tips 👍🏼
I do my straps in one long piece and cut to size after to reduce the amount of fiddling
Thanks for sharing these three methods for loop turning. Very well explained! I will try the tapestry needle method as I have used the loop turner and find it difficult to catch delicate fabric.
Awesome, thanks so much for sharing – all methods well explained and logical for a novice like me!
Thanks, this is really helpful. I’ll try out the Tapestry needle method cos I couldn’t find a Loop turner where I am
This was great. Good pictures, clear instructions. I think I like the tapestry needle method the best.
Thanks. I know I’ll use the hook method with my new cami pattern.