
Three Easy Steps for Bias Bound Seams
Hi Itch to Stitch Readers!
Who here hates finishing their seam allowances?
For me, finishing seam allowances is never one of my favourite parts of sewing. It’s not a very exciting task, and sometimes it feels like it takes forever.
But unfortunately, even though it’s boring, finishing your seam allowances is an extremely important part of sewing a garment. Not only does it make the garment look nice and clean on the inside, it also makes it stronger and more durable.
If you want to make a quality garment that will last longer than the first wash, finishing your seam allowances are an absolute must.
Today I’d like to show you an easy way you can finish your seam allowances using bias tape, creating bias bound seams. It’s sturdy, clean, and takes very little time to complete.
After trying bias bound seams once, you’ll want to use them in every project!
Here’s what you Need:
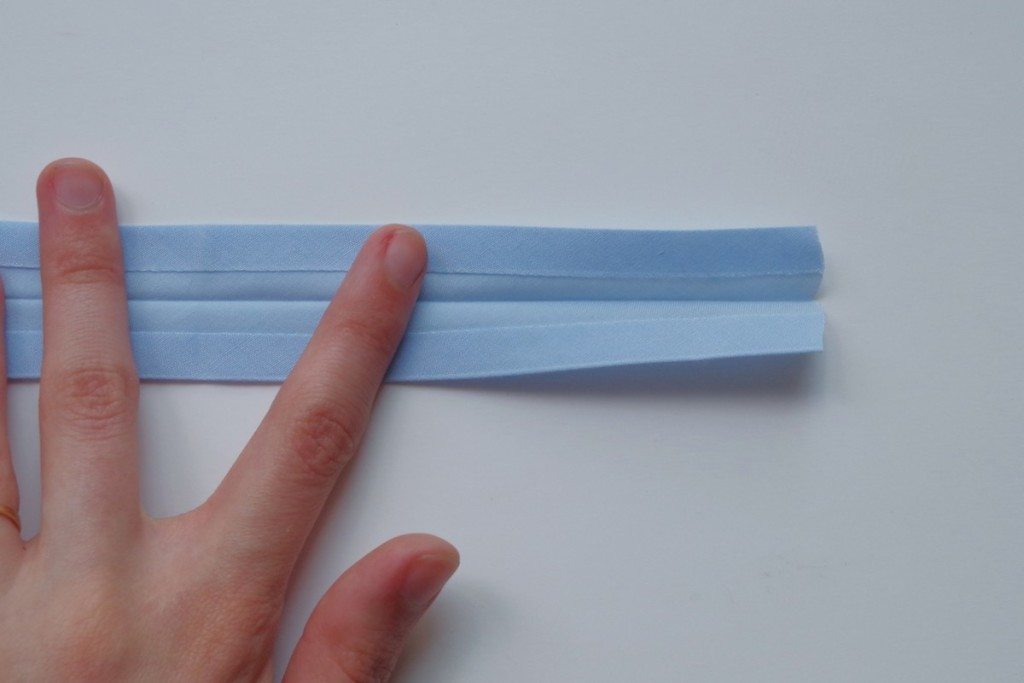
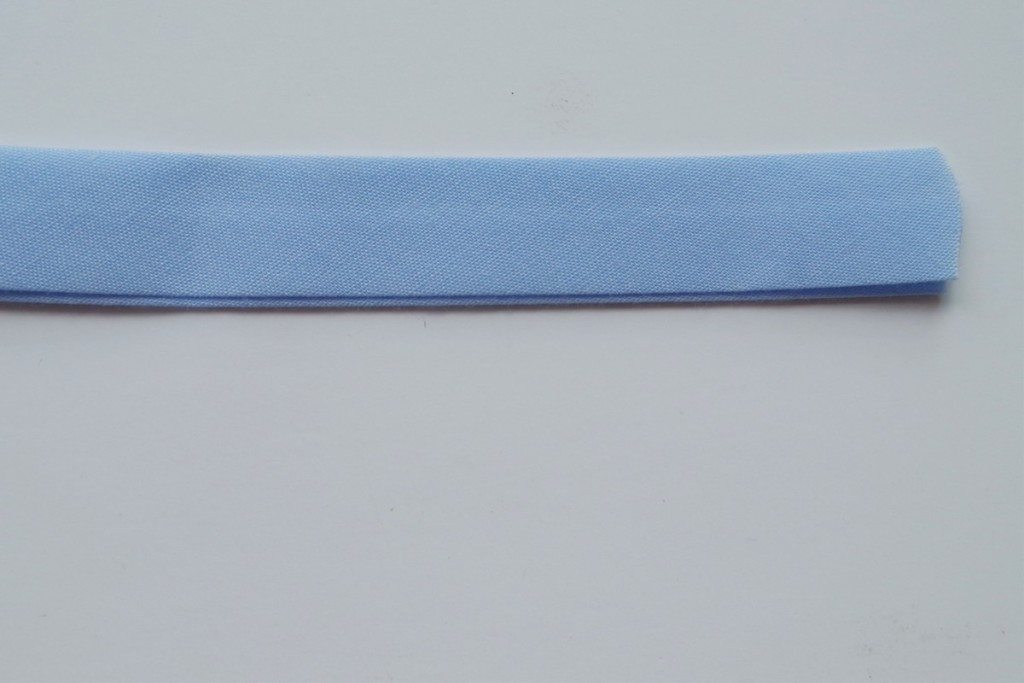
-Double-fold bias tape
Double-fold bias tape is essentially single-fold bias tape that’s been folded in half. This fold will be really helpful later on when you’re binding your seams. You’ll also notice that it’s folded slightly off-center, with one side being slightly wider than the other, making it easier to bind seams with. Because of these features, you’ll really want to use double-font bias tape for this project. Single-fold bias tape just won’t work as well.
-A seam
I’ve used a straight seam in the tutorial today, but since the seam will be bound with bias tape this is a great finishing option for curved seams.
Here’s how it’s Done:
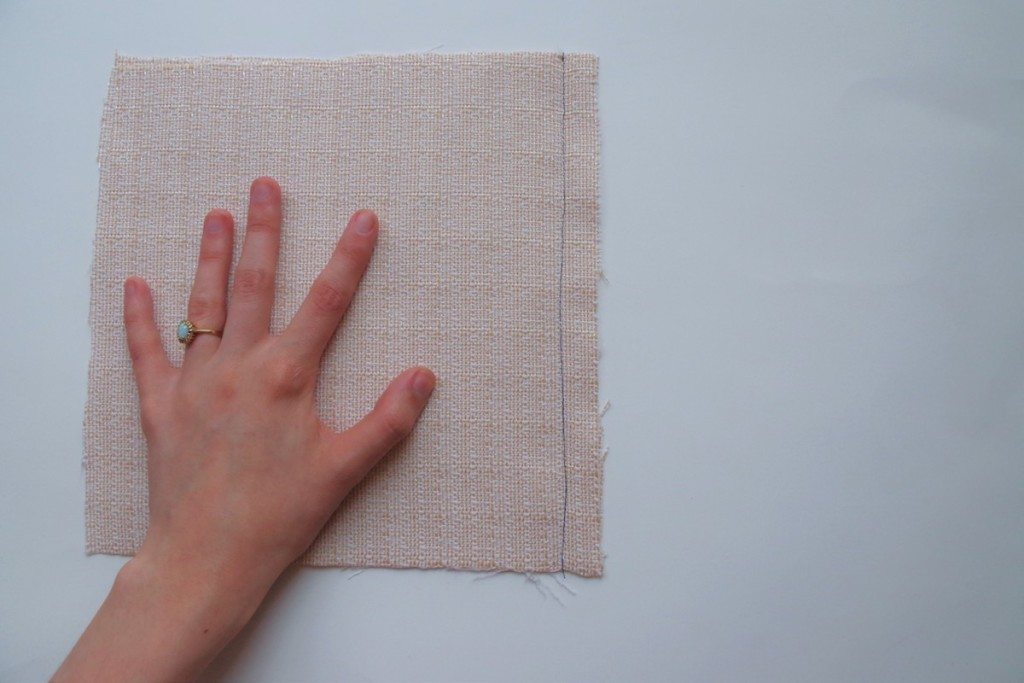
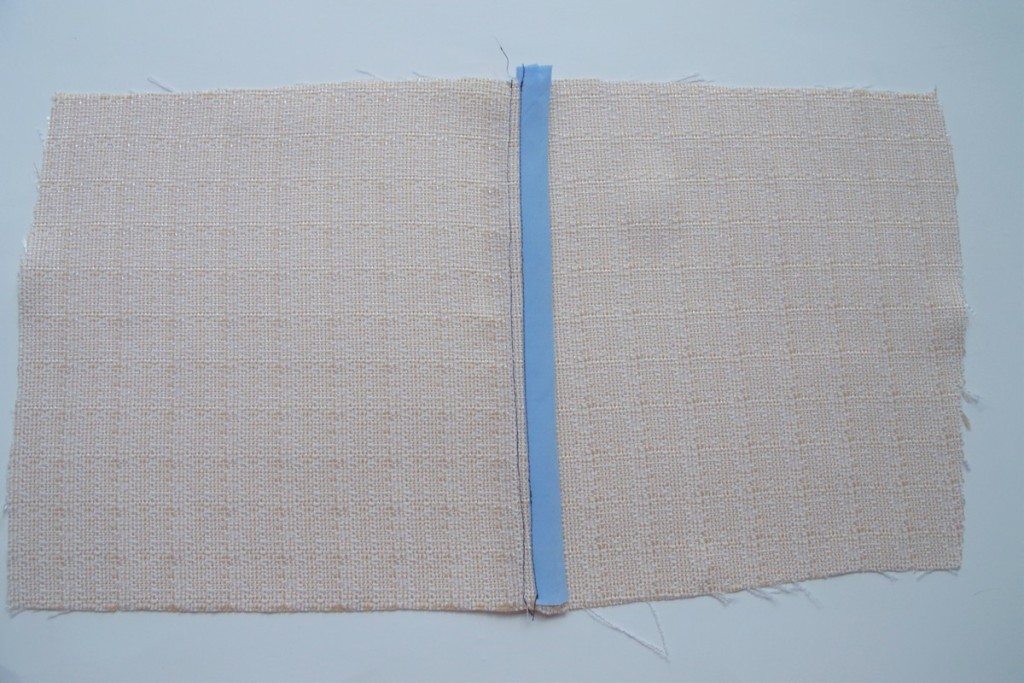
Step 1: Sew your seam as normal using the seam allowance suggested in your pattern instructions.
Here I’ve sewn in a black thread to make it easier to see in pictures, but you’ll probably want to use thread that matches your fabric nicely.
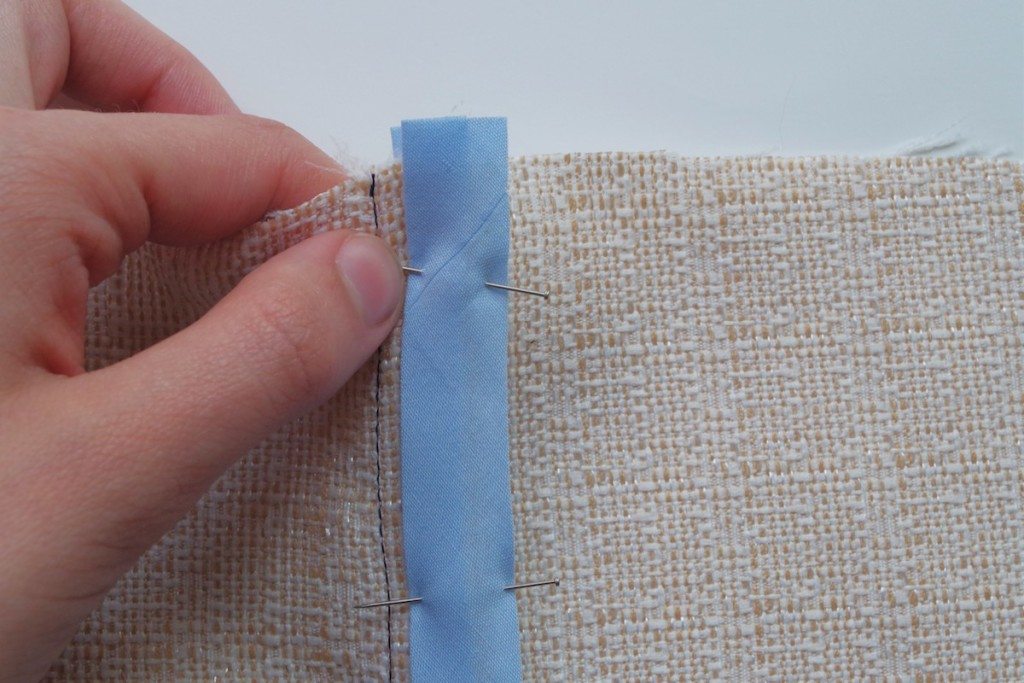
Step 2: Sandwich the seam allowance between the fold of the bias tape.
You’ll want to position the bias tape so that the narrower edge is facing up as you sew. This will make it easy to catch both edges of the bias tape with just one line of stitching. Pin the tape in place.
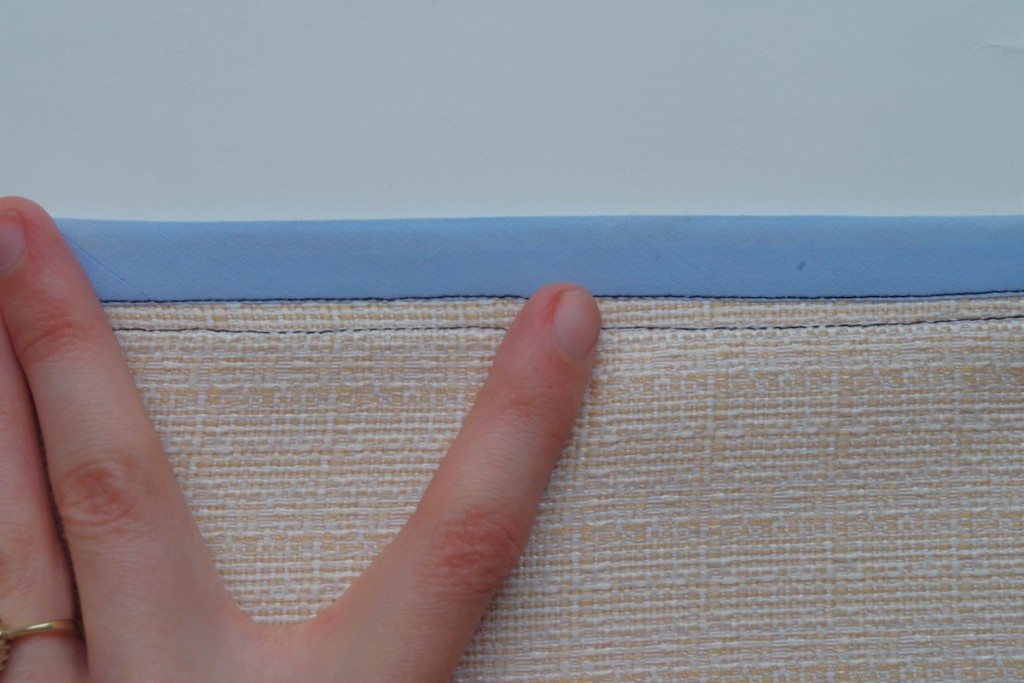
Step 3: Sew along the narrow edge of the bias tape.
Since we carefully placed the narrow edge on top, we will also be securing the wider bottom edge of the bias tape as we sew. This means after only sewing one seam, our seam allowances are completely finished! Now all that’s left to do is give your seam a press and admire how beautiful the insides of your garment look.
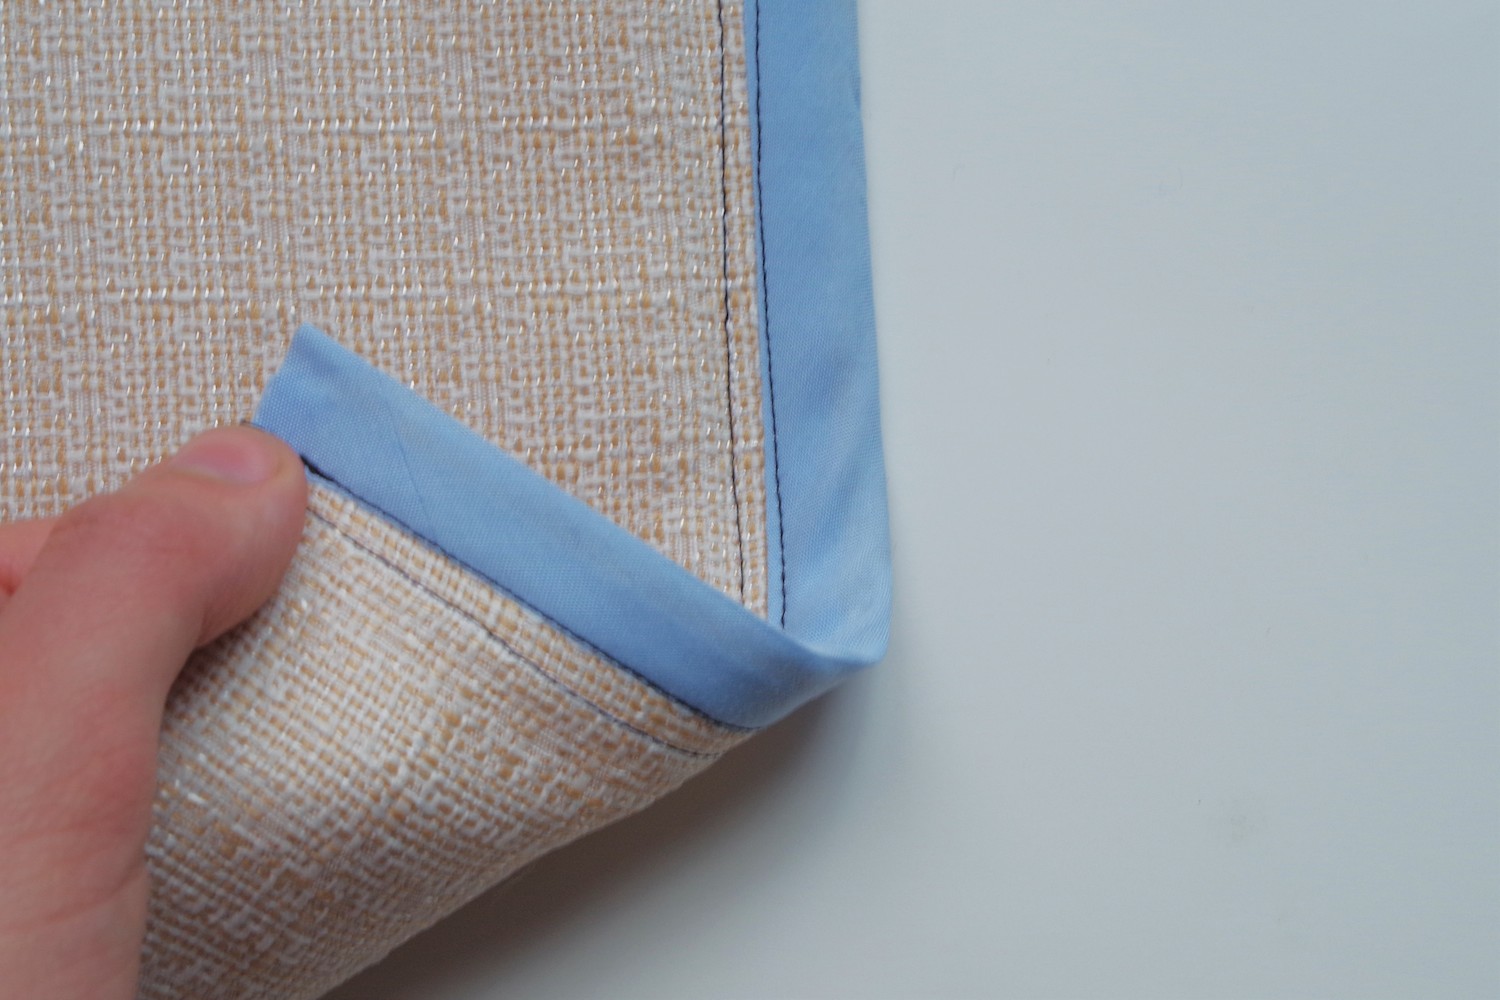
For the purpose of this tutorial I used bias tape and thread that stand out pretty obviously against my fabric, but can you imagine how perfect bias bound seams would look in a ditsy floral print? Or how about a bold, contrasting colour?
The possibilities for creating gorgeous insides are endless with bias bound seams. But be careful, you might just end up with a garment that’s even more beautiful on the inside than the outside!
Have you ever tried using bias-bound seams in your projects? What other finishing methods do you love? Let us know in the comment section, we love learning new techniques!
About the Author: Hi! I’m Rachel, a fashion-obsessed maker from Canada. My goal here is to inspire you to sew creatively and try new things. You can usually find me drinking cold coffee while hanging out with my cat, or blogging my creations on The Wild Stitch.

No comments yet.