
How to Sew French Seams
Hi Itch to Stitch Readers!
Last week we talked about how to sew bias bound seams in just three easy steps.
This week, I’d like to show you another seam finish you’re going to love using in your garments: French Seams. French Seams work by “trapping” the raw edges of your seam in another seam. This was the very first seam finished I learnt how to do, so I promise it’s easy enough that even a beginner could tackle this technique.
But first, why is it so important to finish your seams?
After you sew a normal seam, there will be some raw fabric edges left exposed. These raw edges not only look a little unprofessional, they can seriously impact the durability of your garment by fraying and causing holes in your seams.
If you’re going to spend the time to carefully make your clothing, you want them to last, don’t you?
I know I sure do.
This is why finishing your seam allowances is so incredibly important in creating a long-lasting and professional-quality handmade wardrobe. It only takes a few extra steps, but will make a BIG difference in your sewing projects.
One of my favourite ways to finish my seams is by using french seams. They’re great for lightweight fabrics like chiffon or organza because they’re lightweight while still being extremely effective.
Here’s how you can add a french seam to your next garment.
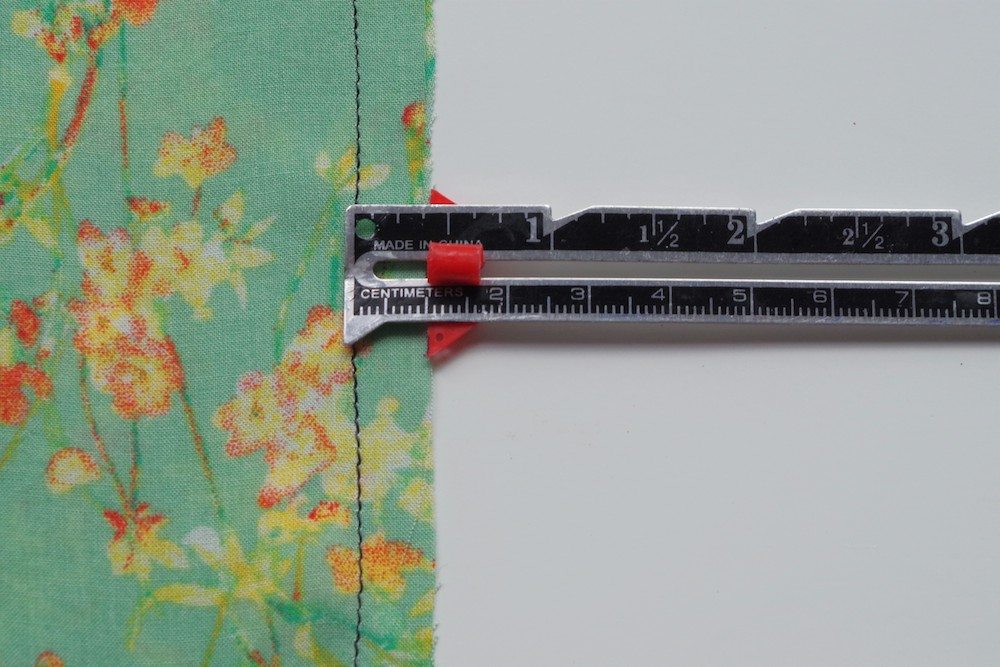
Step 1: Consider the Seam Allowances
To make a proper french seam, you’ll want to be using a seam allowance of at least 5/8” or 1.6 cm, which is a standard seam allowance on many paper patterns for woven. If your pattern doesn’t have that much seam allowance, simply re-trace your pattern piece and add a little more before cutting out the fabric.
This tutorial will show you how to make french seams on a seam allowance of 5/8” (1.6 cm), but this technique could be applied to larger seam allowances if you’d prefer.
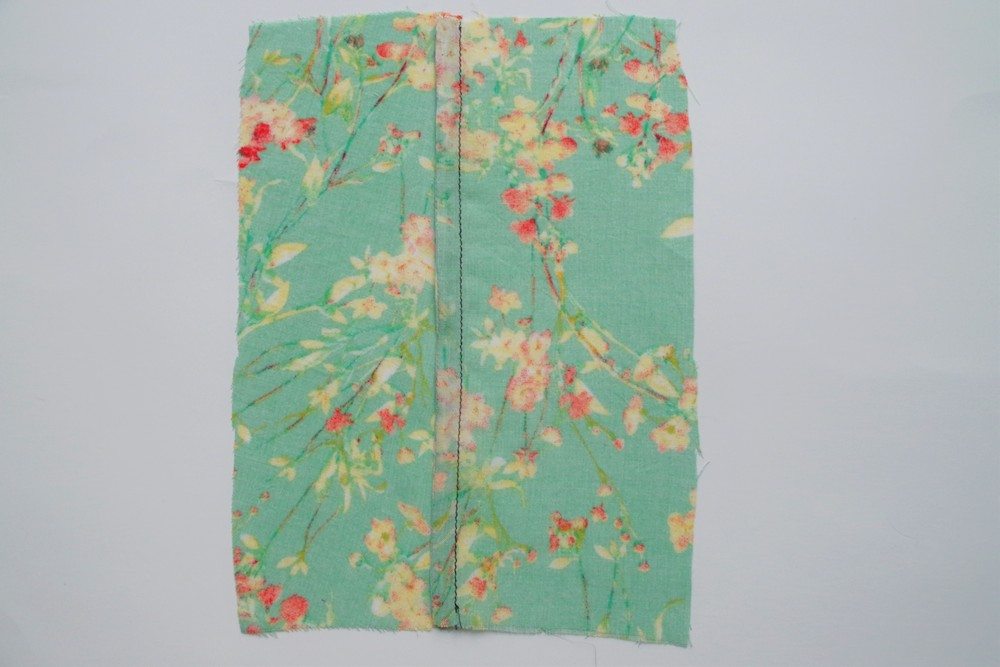
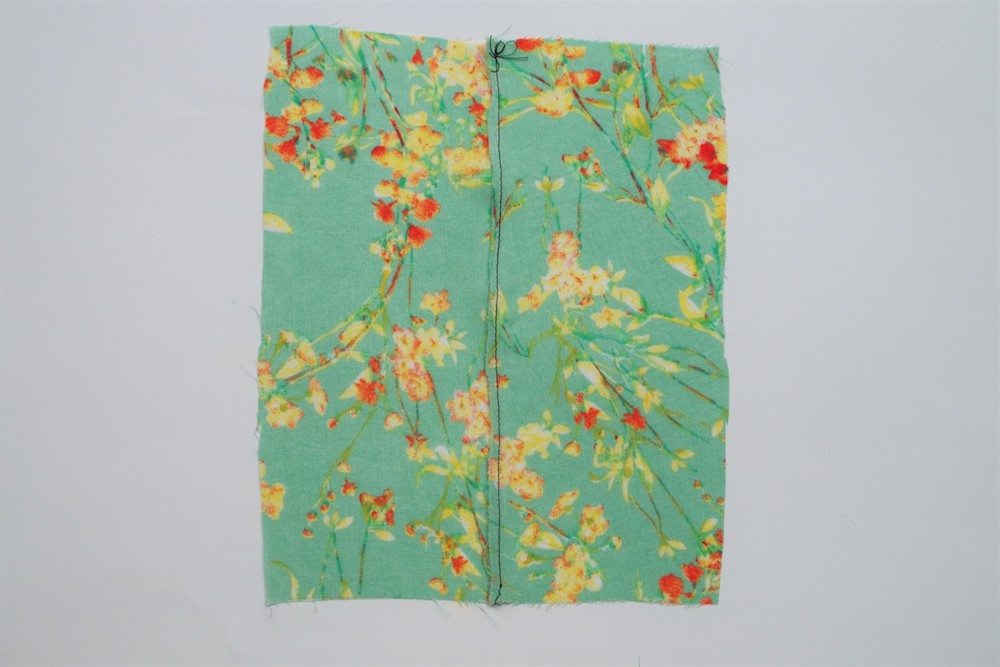
Step 2: With WRONG sides together, sew a seam at 3/8” (1 cm)
This is counterintuitive, because usually when sewing we keep our right sides together, but with french seams, we do the opposite. So, sew your seam with the good side of your fabric facing you.
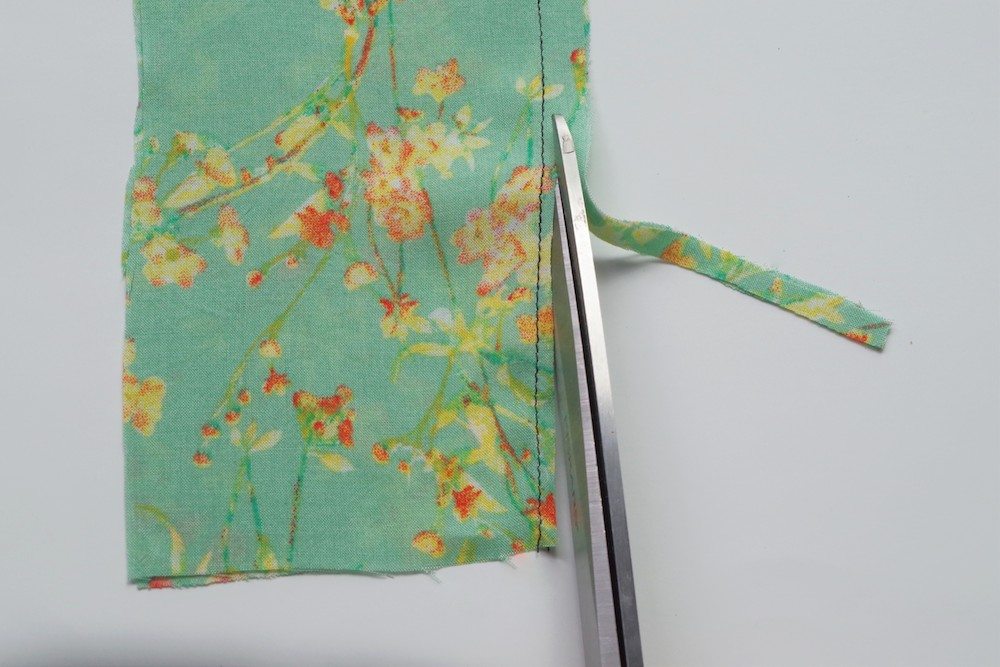
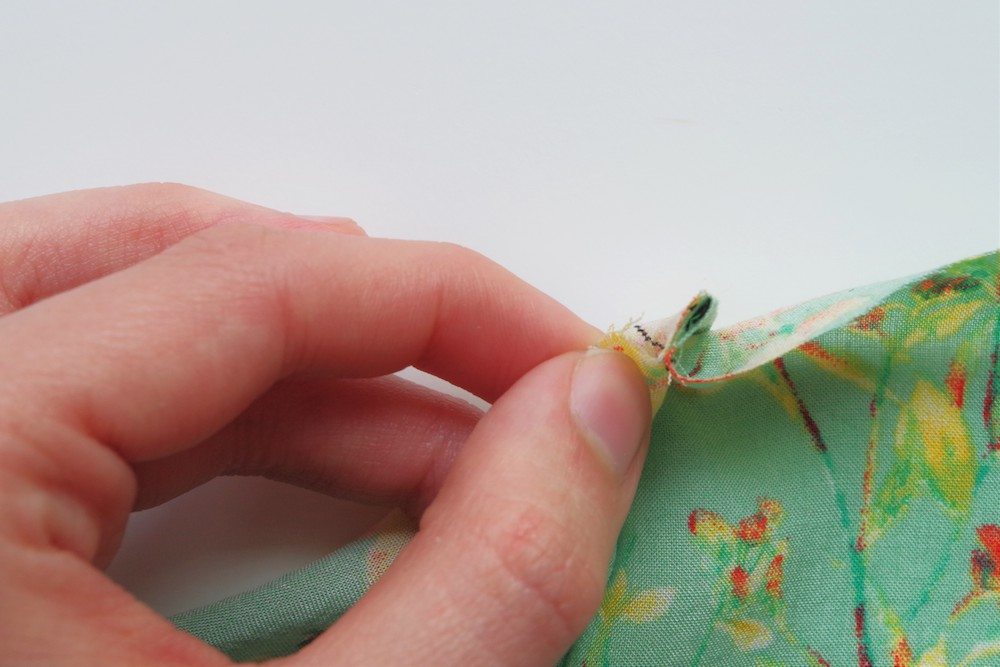
Step 3: Trim your allowance
Trimming your seam allowance will allow us to “trap” these raw edges in another seam later on. The purpose of trimming here is that some fabrics fray, and there might be “whiskers” poking out of the seam later if you don’t trim. In the photo above, I trimmed it to 1/8″ (3 mm), but that’s not a absolute rule. As long as you trim to a point that no stray thread coming out of the raw edge, you will be fine. You’ll want to make sure you’re cutting carefully here without accidentally cutting through it.
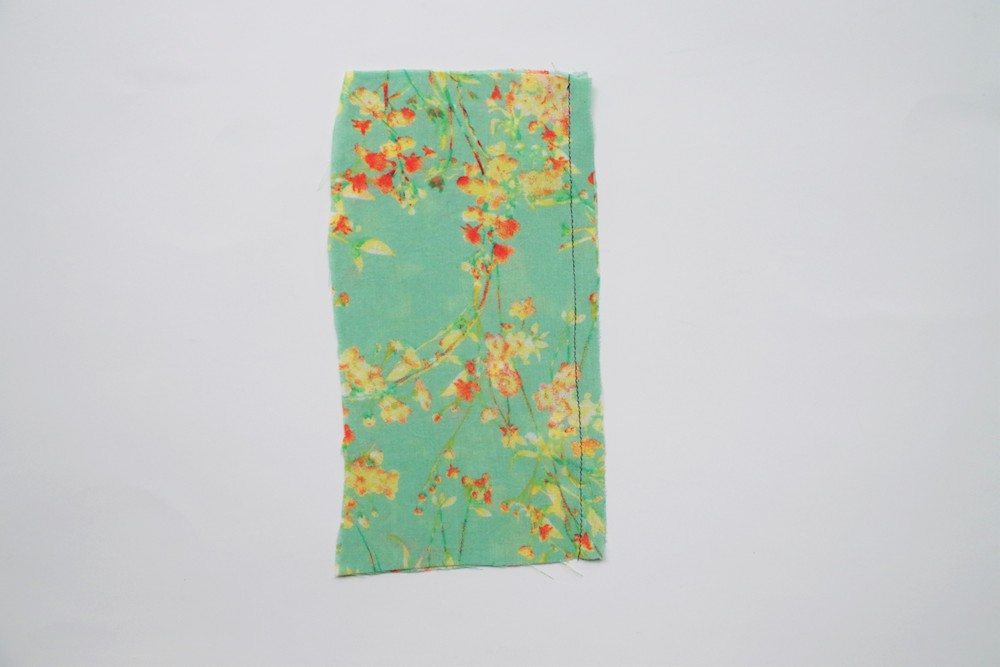
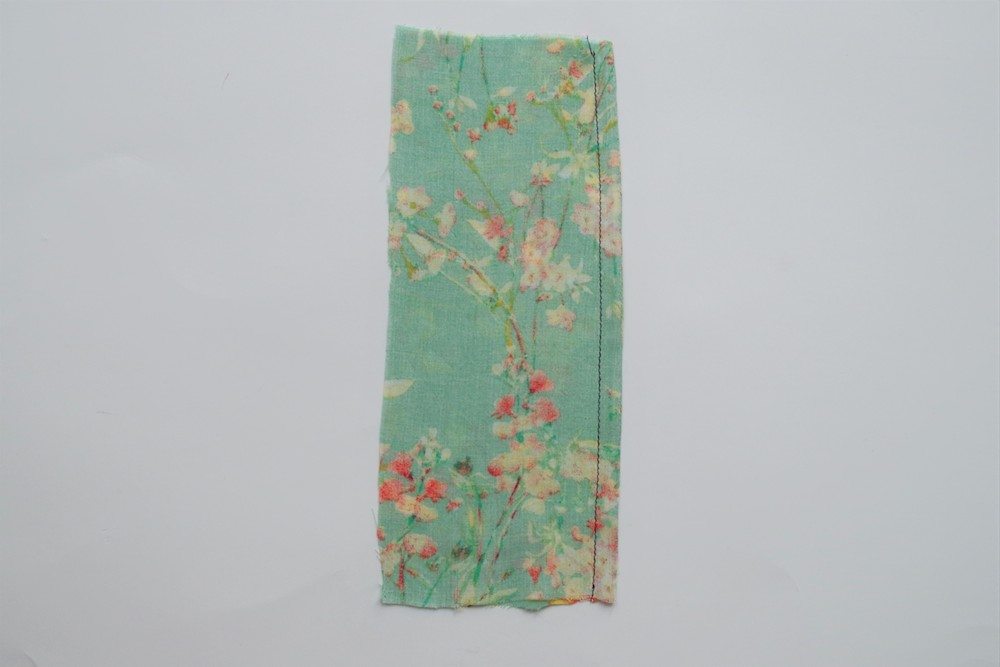
Step 4: Press to the side.
Press this seam allowance to the side in preparation for step 5. The sharper the press, the better. One way to create this sharp press is to open it open first, and then to one side. Yes, it’s extra work, but it does create a nice result.
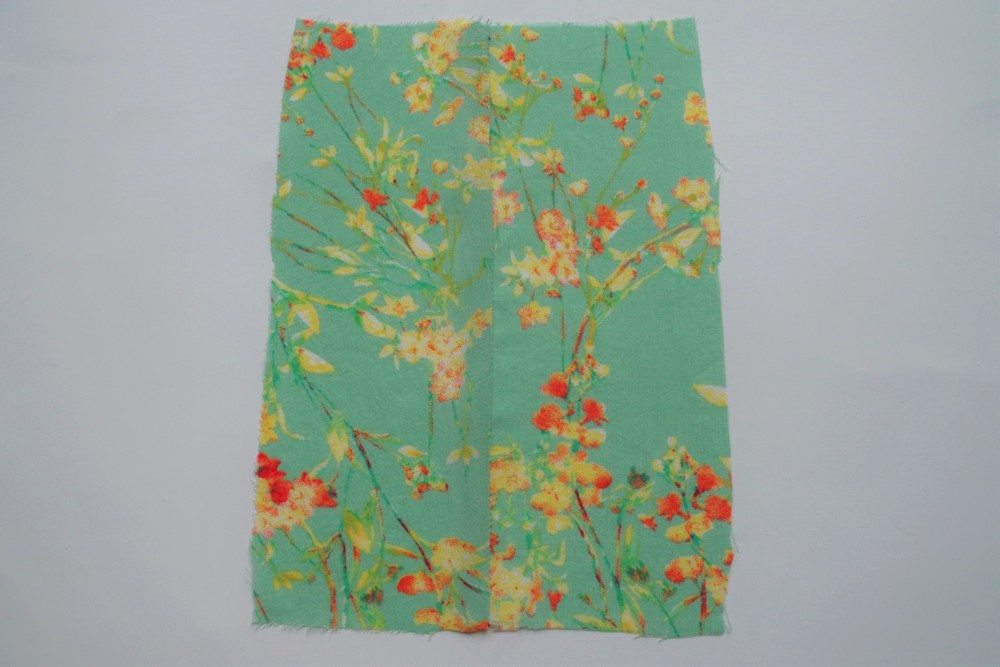
Step 5: With RIGHT sides together, sew a seam at 1/4” (0.6 cm)
Sewing this seam will capture all the raw edges from the seam sewn in step 2, giving you a perfectly finished seam on your garment.
All that’s left to do now is give your garment a press and admire how pretty your seam looks on the inside and out!
I think this versatile seam finish will come in handy in some of your future sewing projects, I know it’s definitely one of my favourite ways to deal with raw edges.
How do you like to finish your seams? Let us know if there’s any technique you’ve been wanting to try down below and we can showcase it in a tutorial!
About the Author: Hi! I’m Rachel, a fashion-obsessed maker from Canada. My goal here is to inspire you to sew creatively and try new things. You can usually find me drinking cold coffee while hanging out with my cat, or blogging my creations on Maker Style.

My French seam is always bulky….WHY
Hi Leatha, first of all, French seams are bulkier because there are 4 layers of fabric, so it’s going to be thicker than a regular seam. However, you can still try to reduce as much bulk as possible by pressing properly. After sewing the first line, you should press the stitches on the two flat layers of fabric before you press the seam open. Then trim the seam allowances so only 1/8″ (6 mm) or so of seam allowances remain. Then you press again with right sides together, taking care to make sure that the first seam is at the outermost edge. Then you can stitch the final line of stitching and press again.
HELLO, FROM TENNESSEE USA!! Kennis, I love your Itch To Stitch site!!
I found it recently on Pinterest! I’ve been sewing since 1975!!! My
Mother taught me how to sew when I was 15 years old. I love the Tutorials you provide!! I think no matter how long you’ve been sewing, there are numerous things that you can still learn!! I still can not
master French Seams!! I think it might be the whole thing about sewing with the wrong sides together!! lol I tried this Tutorial that Rachel did but it’s not detailed enough and the photos are just too small. Sorry to say. I will have to keep trying! Thank you so much for a wonderful
website!! I will visit often!! jwt 11/2018
All I can see at The Wild Stitch is a series of advertisements. I’d like to read the blog but don’t know how to get to it.
Thank you for letting me know Janet! It looks like Rachel has moved blog and renamed it to “Maker Style”. I’ve updated the link on this post. For your convenience, it is: http://makerstyle.ca/
Thank you! I saw a different tutorial on Ranch seams awhile ago, but it didn’t say what size seam allowance to start with. So the first time I tried to use it on a shirt, it didn’t fit. This is very helpful and I look forward to using it on my Bonn!
Any special tips or tricks to making french seams on curved seams, like an arm scythe?
I trim the seam allowance of the first seam a bit more (without compromising the seam), but for a lot of fabric, if you do the 1/8″ as described, it should already work. And if it’s extremely curvy, I would even clip to the stitch line. Of course don’t clip beyond the stitch line. 🙂