
Seven Steps to Sewing Smooth Princess Seams
Hi Itch to Stitch readers!
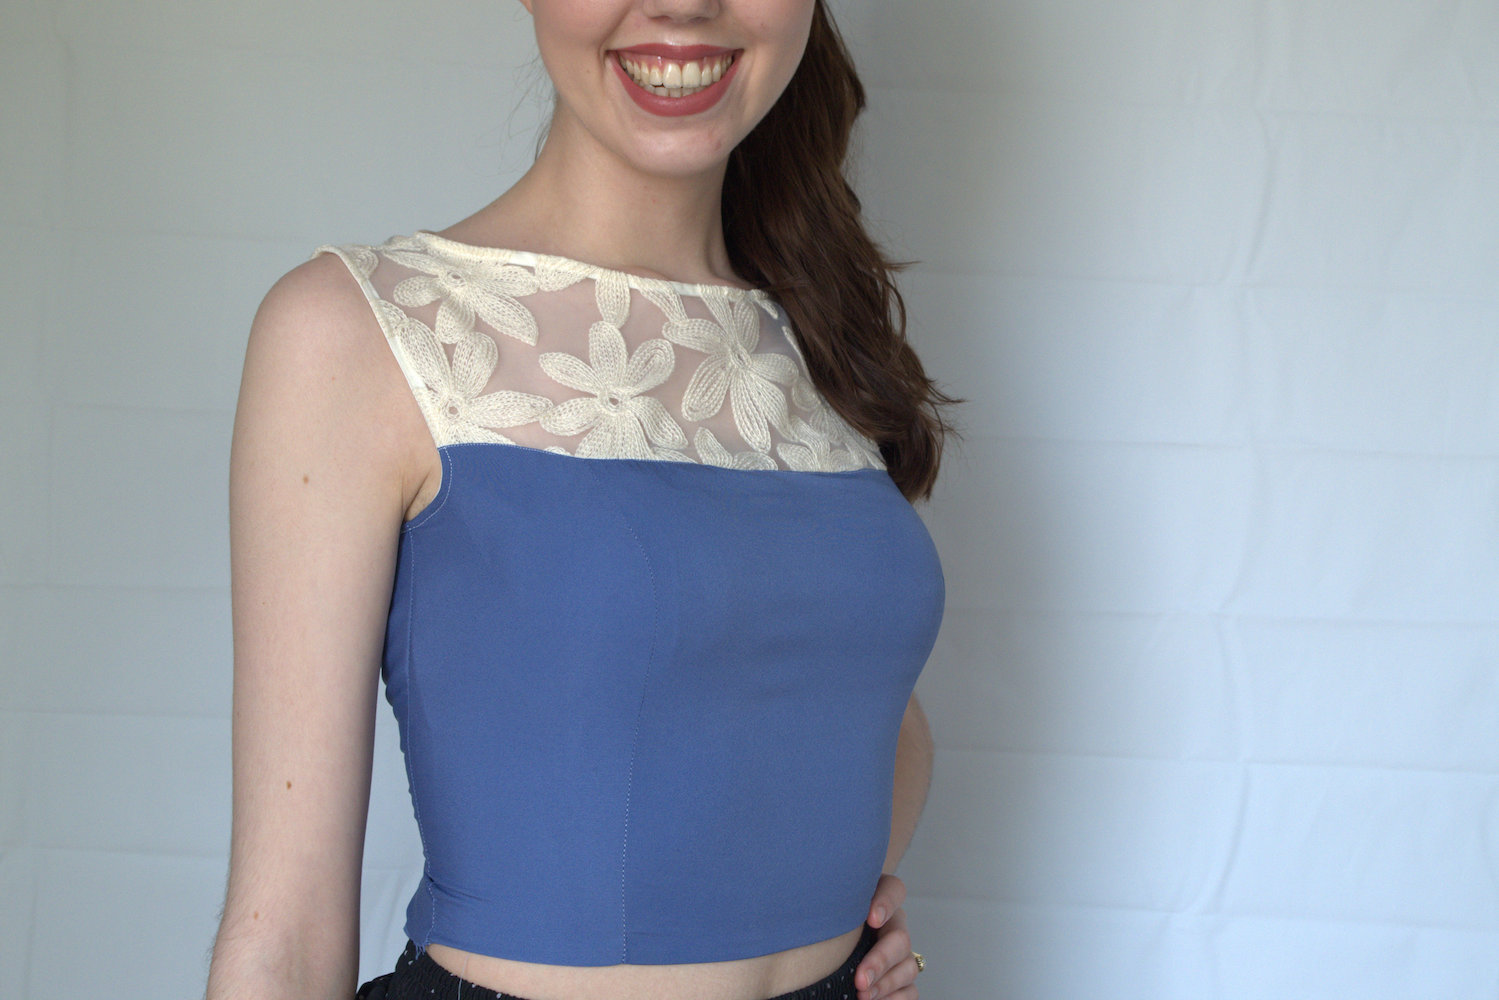
Princess seams are classic design lines that are flattering for all body types. The Marbella Dress pattern uses these seams to shape the bust for a feminine fit that’s easy and comfortable to wear; however, sewing the perfect princess seam isn’t always as easy as wearing it. Without the proper care, princess seams can easily become wavy and puckered instead of smooth and flattering.
The good news is that it only takes a few easy steps to ensure your princess seams stay smooth! Today I would like to share with you my personal guide on making the smoothest princess seams you’ve ever seen. While every sewist has their favourite way of doing things, and there is certainly no “wrong” way to approach sewing princess seams, this method always gives me the best results.
1) Start with Stay Stitching
Stay stitching prevents distortion on fabrics that aren’t cut on the straight of grain. Since princess seams are curved, for obvious reasons, there will always be areas that aren’t cut perfectly straight! Make sure you prevent your princess seams from stretching out by protecting them with stay stitching.
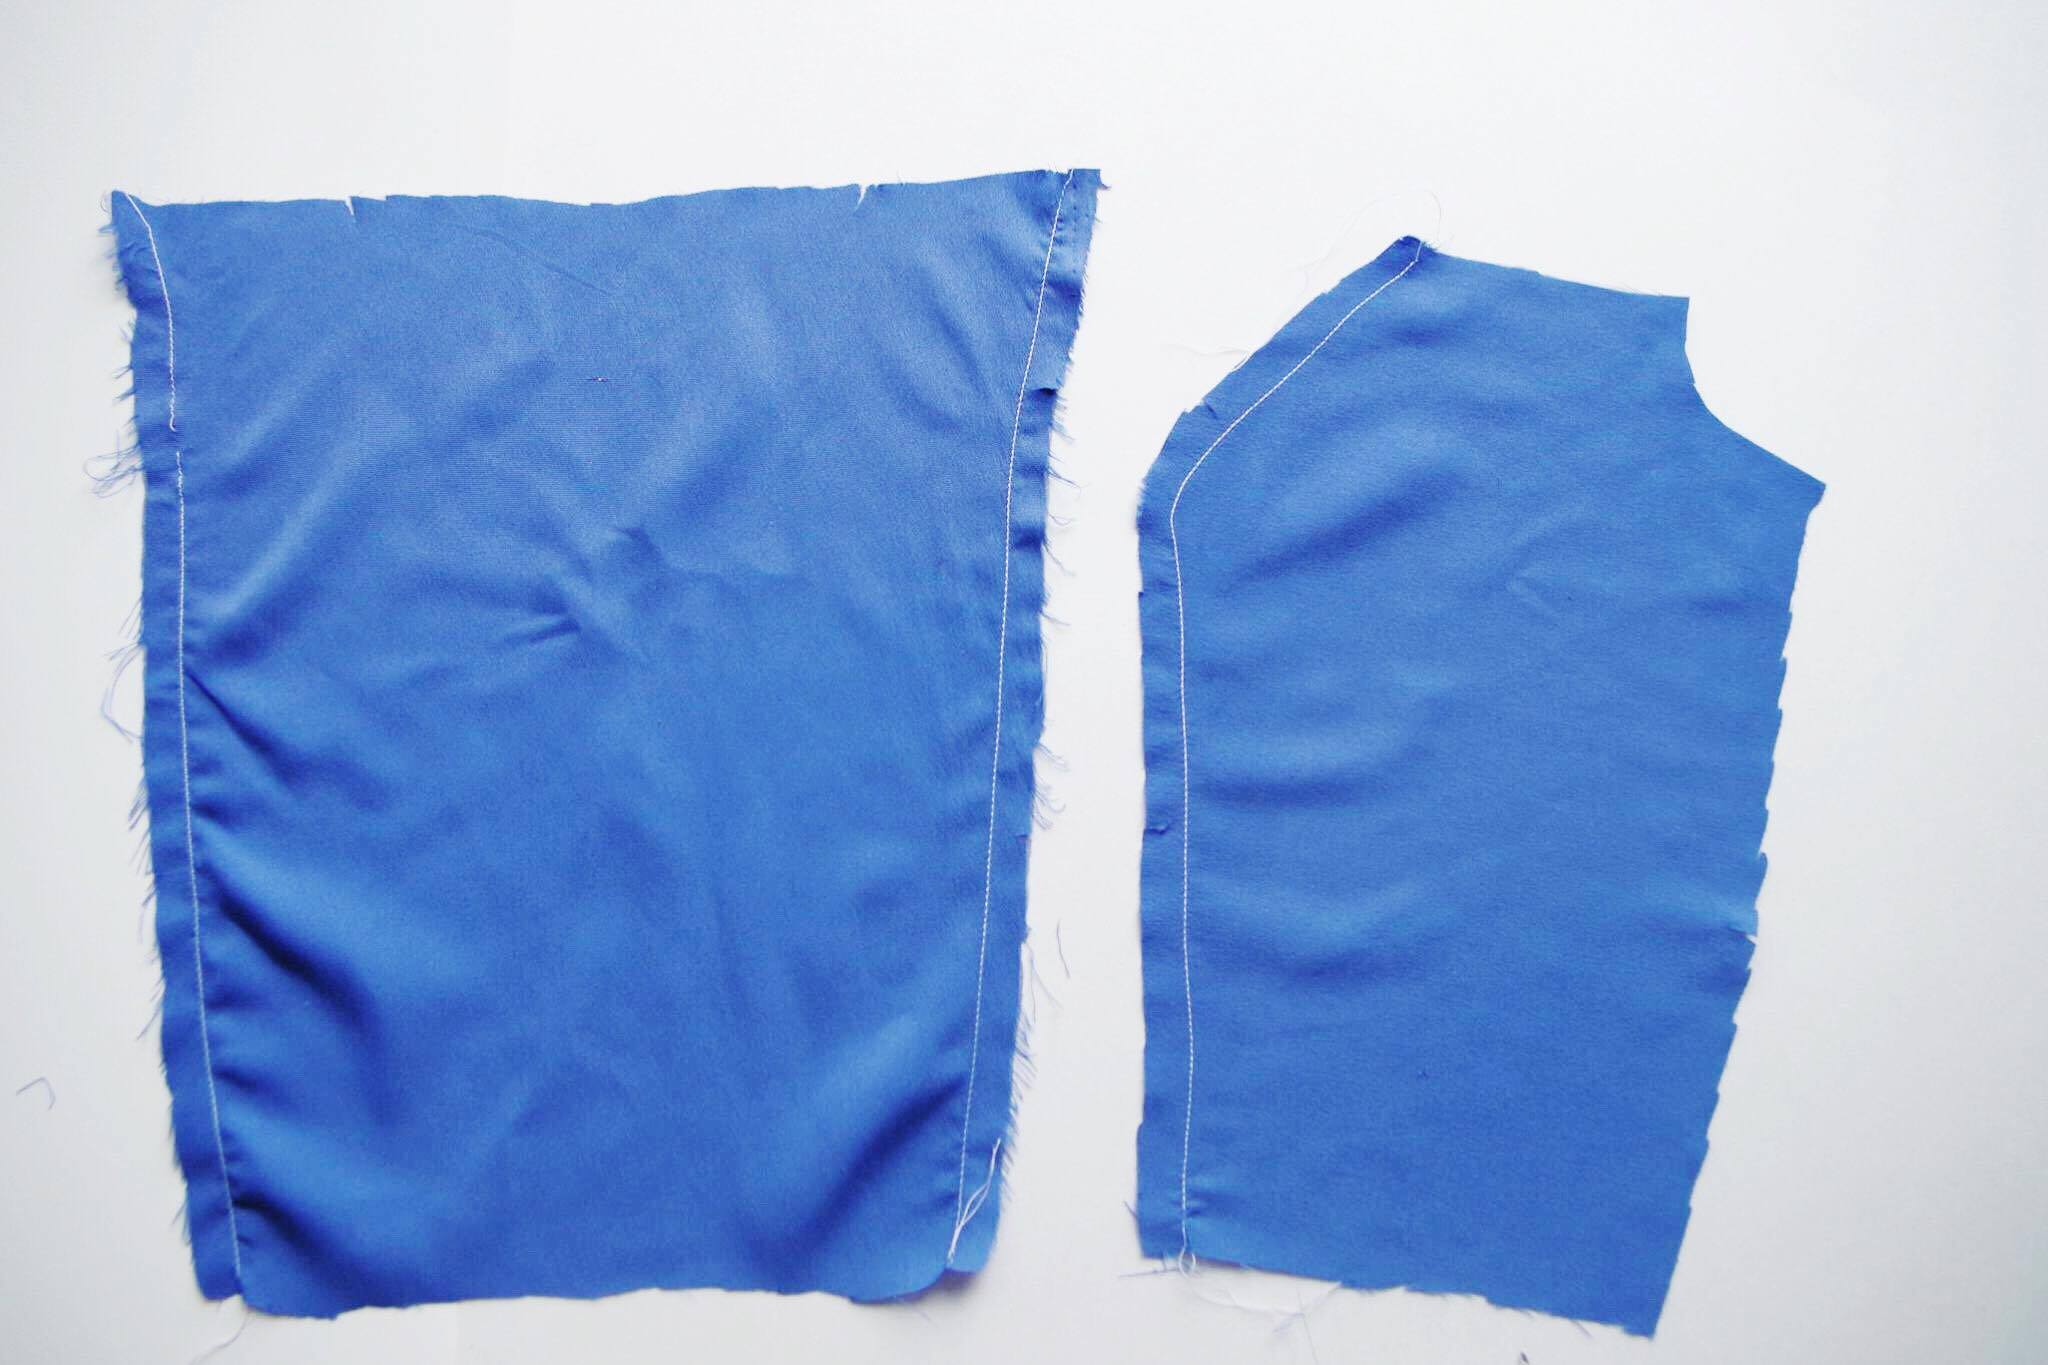
When stay stitching, use a stitch length of 2mm, or a little smaller. While the Marbella Dress only calls for stay stitching on the center front and back, I like to stay stitch the side pieces as well. In addition, I like to start from the top of the piece to the bottom for the most professional results.
2) Clip Center Seam Allowances
Making small slits into the seam allowances gives your fabric the freedom to move and spread around the curve as necessary. One thing I didn’t learn until later on in my sewing journey is that there are two different ways of doing this, notching and clipping.
Notching is cutting out triangular chunks into the seam allowance to reduce the bulk in the seams, it works great on outward curves. We’ll employ this technique a little later on.
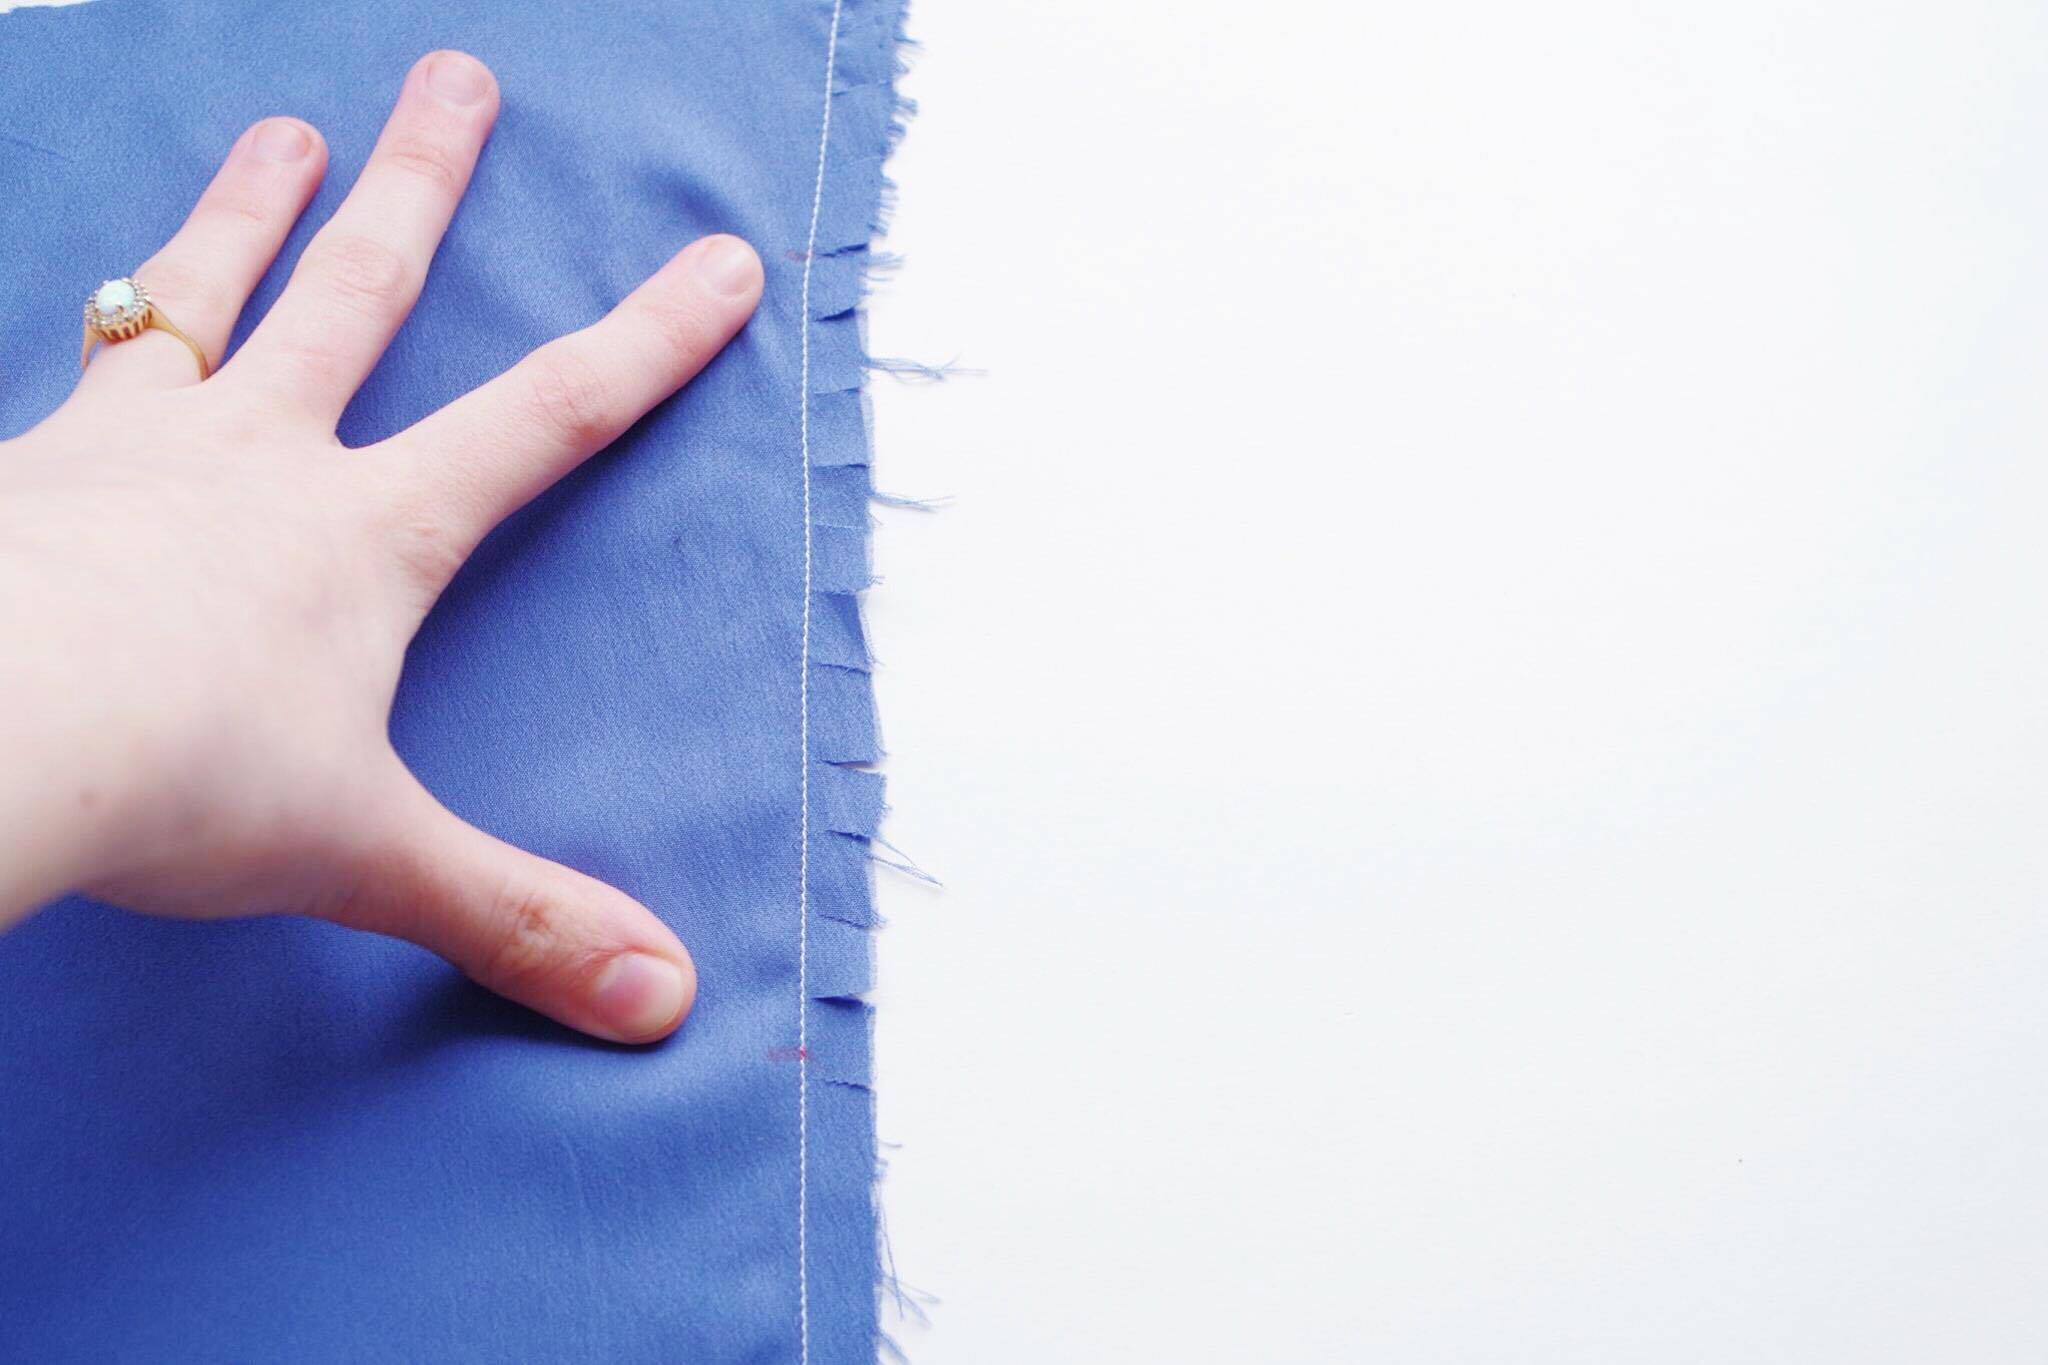
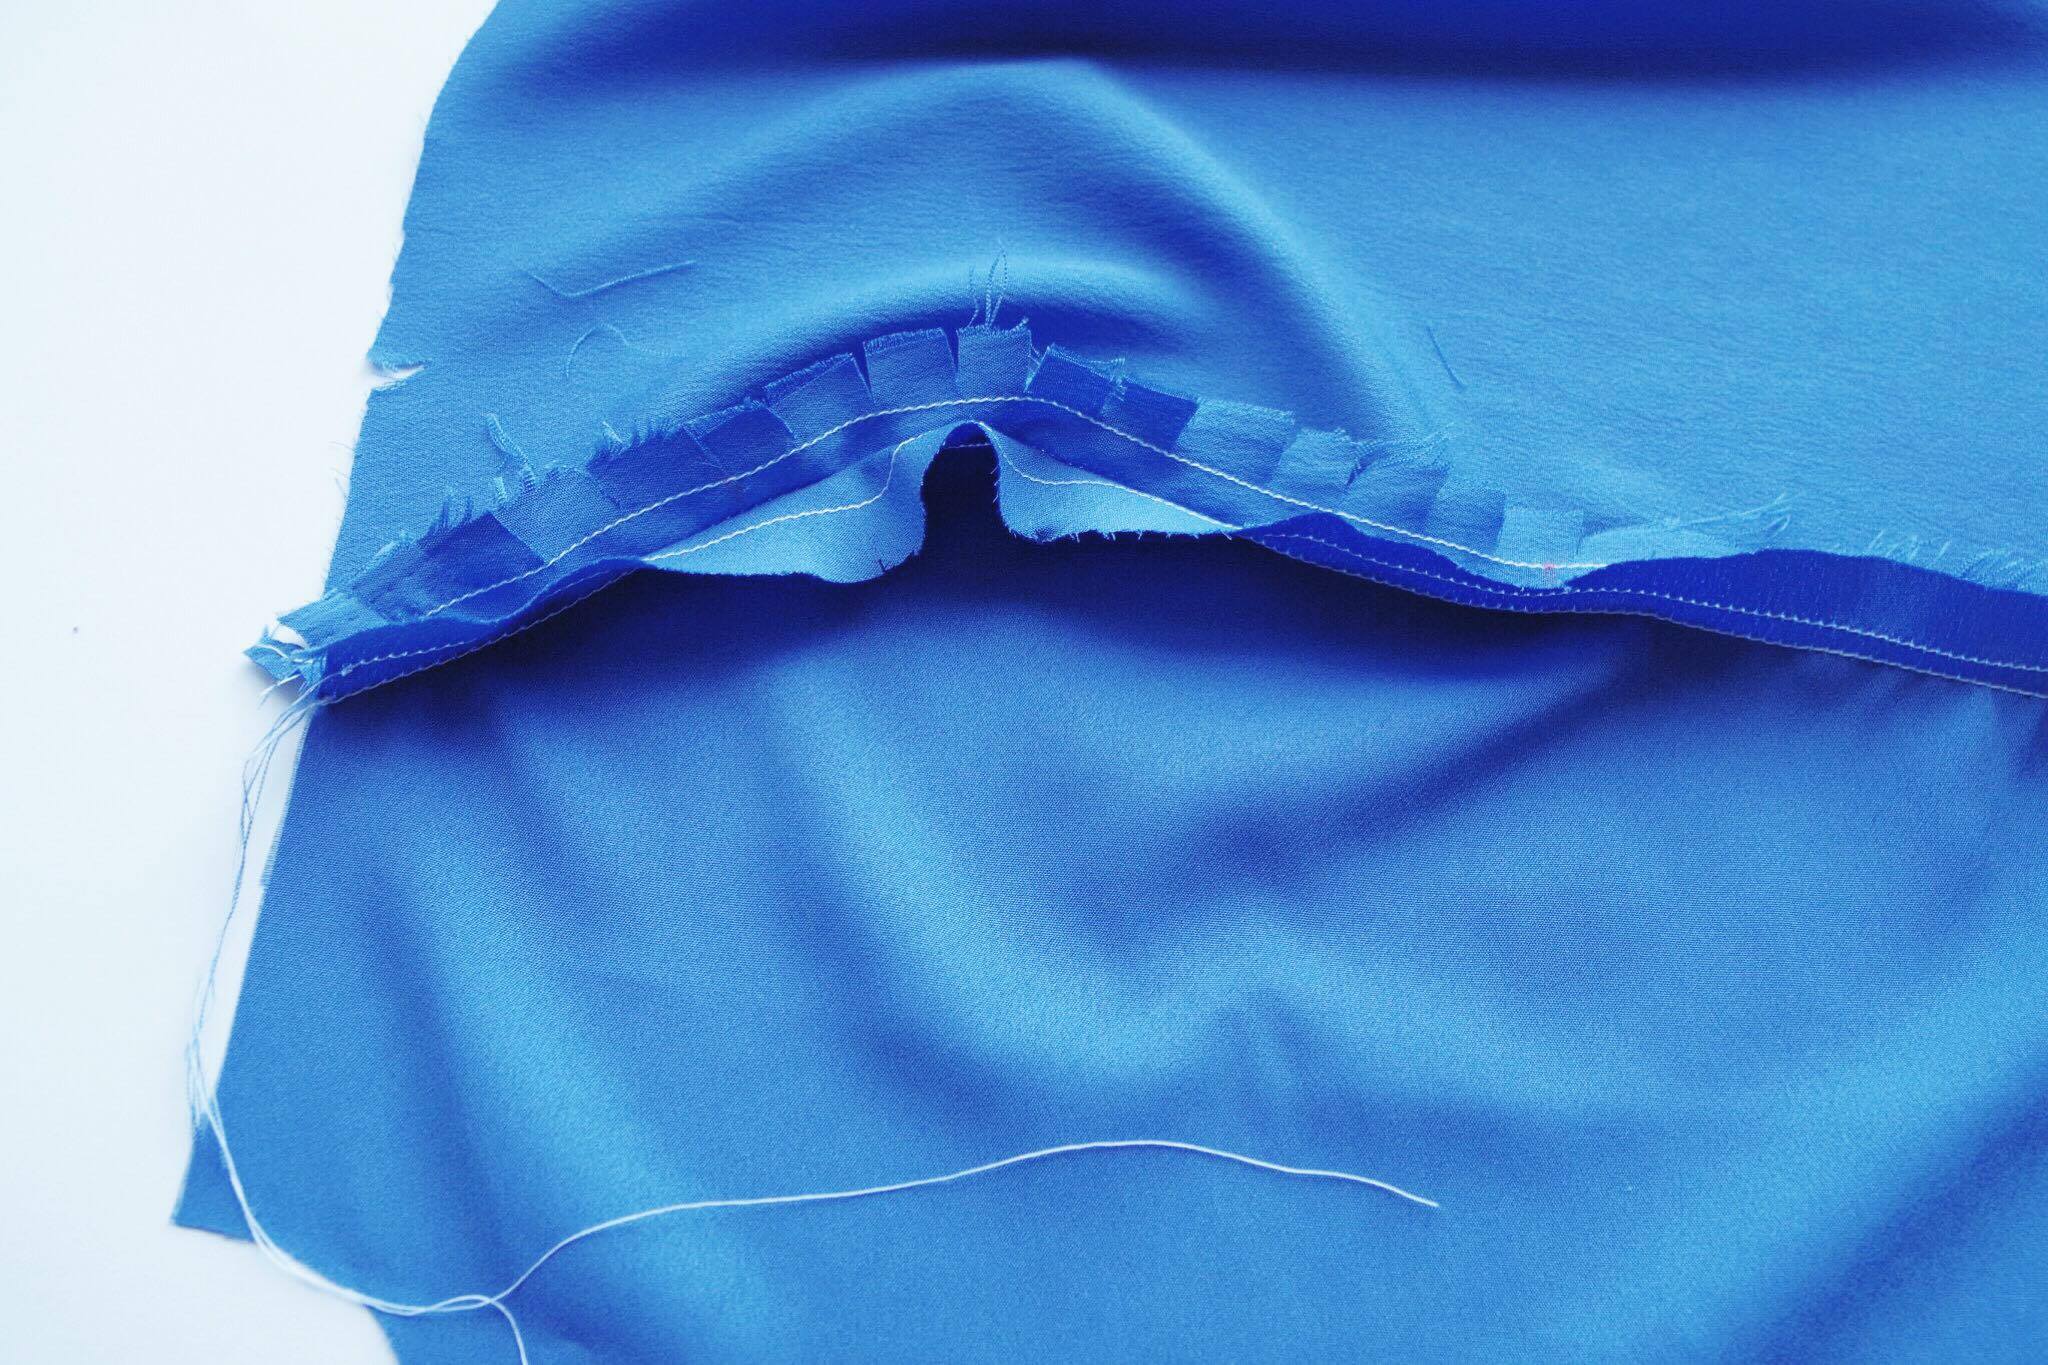
Clipping on the other hand, involves making little snips into the seam allowances, which allows the fabric to spread easily. This works really well on inward curves, like the ones on the center front of the bodice. As shown in the photo below, I like to clip the seam allowance from the bottom notch all the way to the top of the bodice, keeping each clip about a centimeter (a little less than half an inch) apart. Be careful not to clip past your stay stitching line.
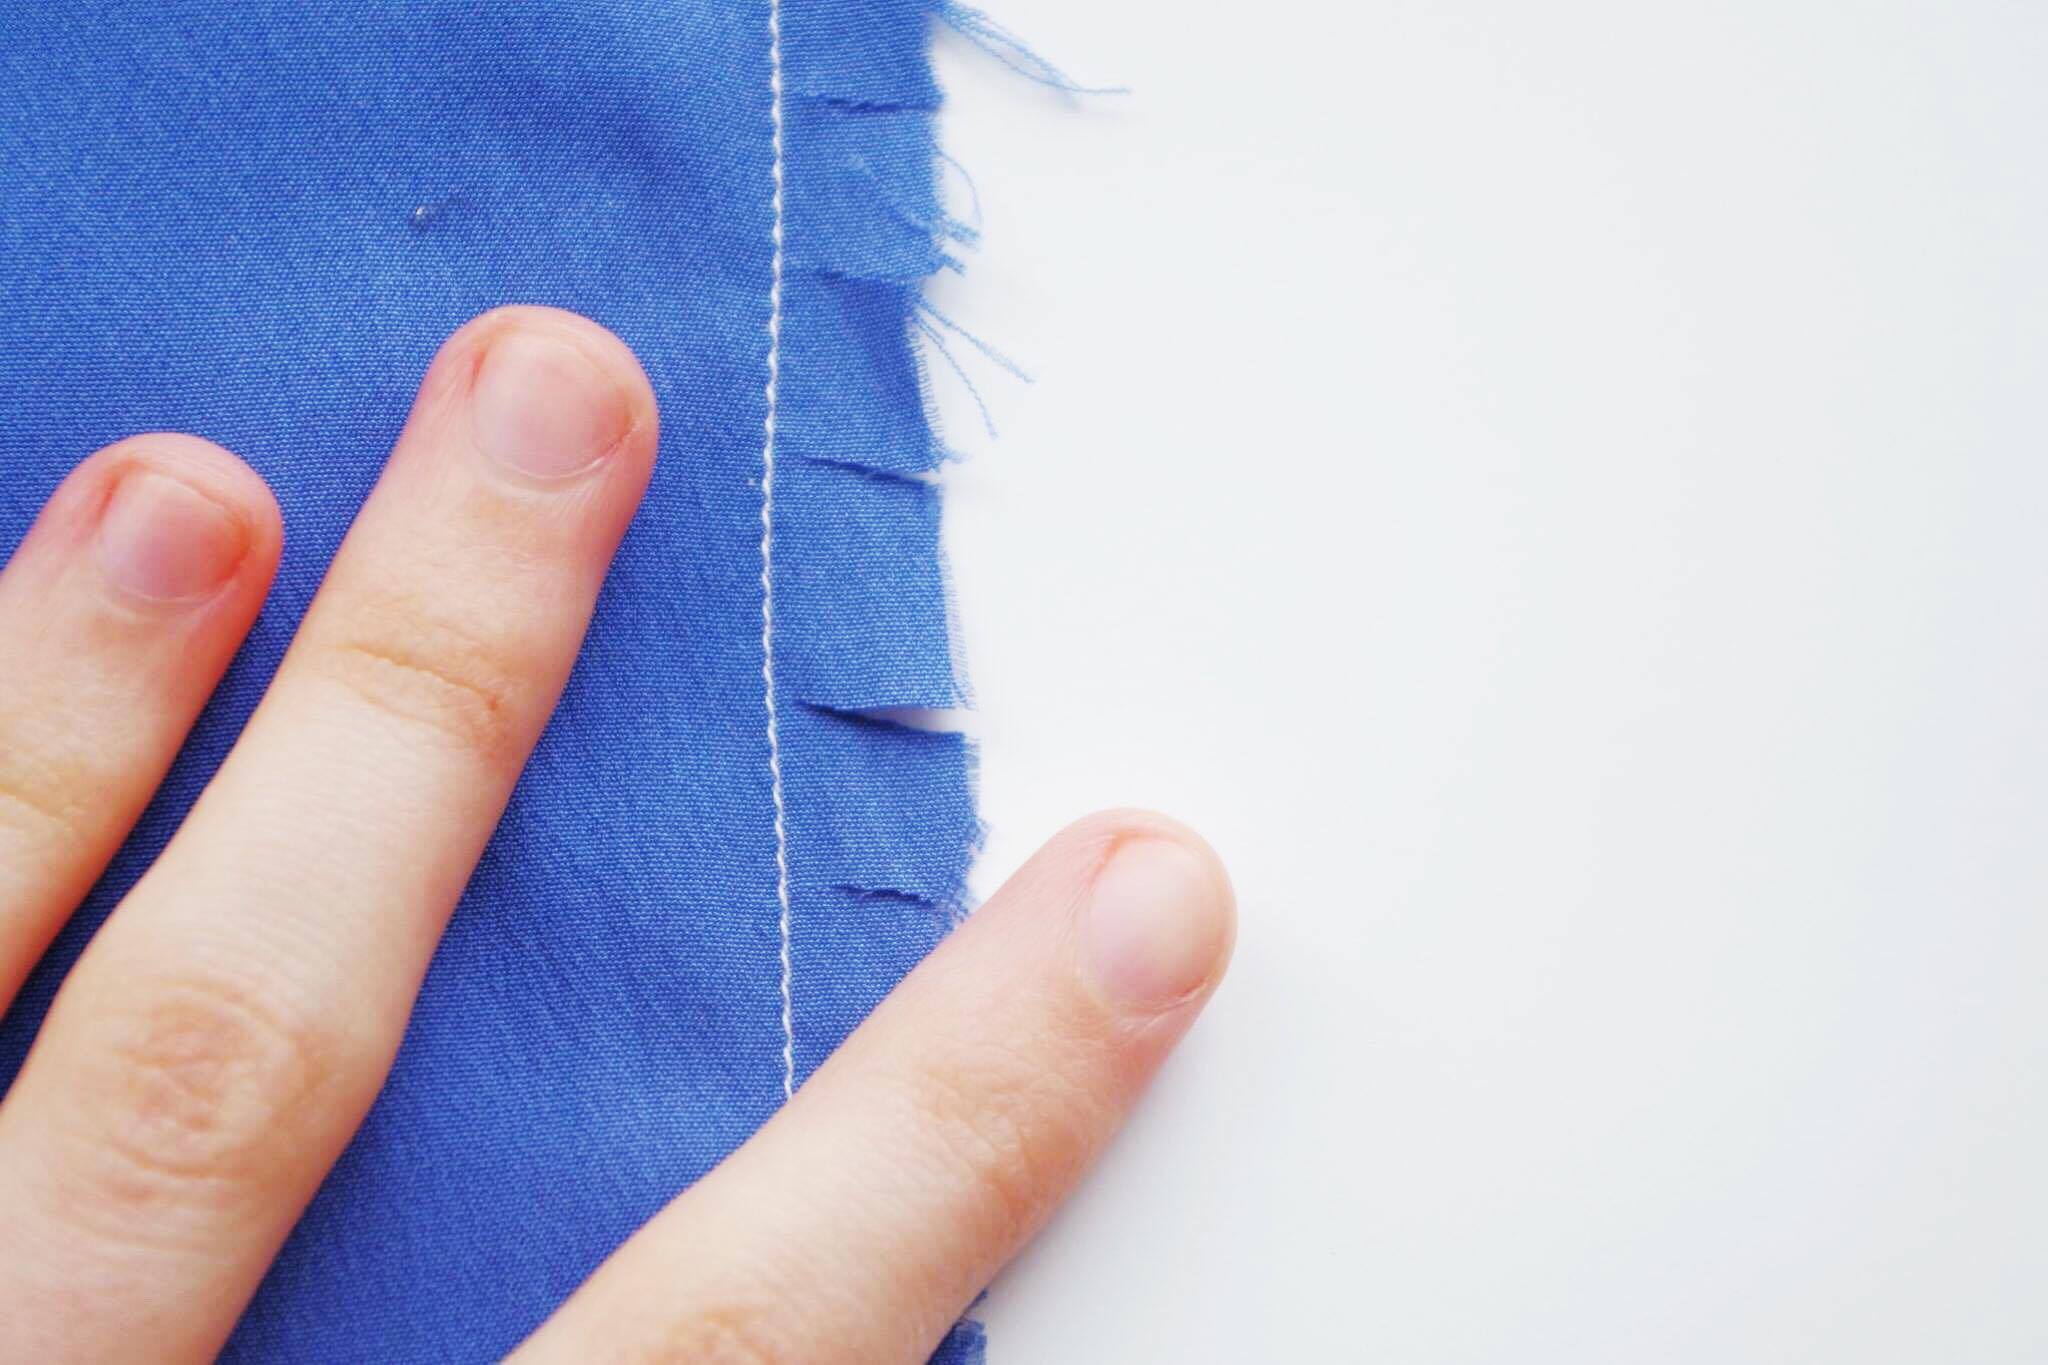
And remember, if this is your test garment, don’t clip just yet! Wait until after you have tested the fit so you can take the seam out if necessary.
3) Re-Mark Your Notches
If you’re in the habit of marking your pattern notches with clips into your fabric, you’ll want to make sure you have remarked these very important markings. Even when marking with chalk, sometimes the clipping can rub away your markings. Lining up the notches are key to smooth princess seams, so take the time to make sure your markings are exactly where they should be. I went back and marked my notches again with a fast-fade marker.
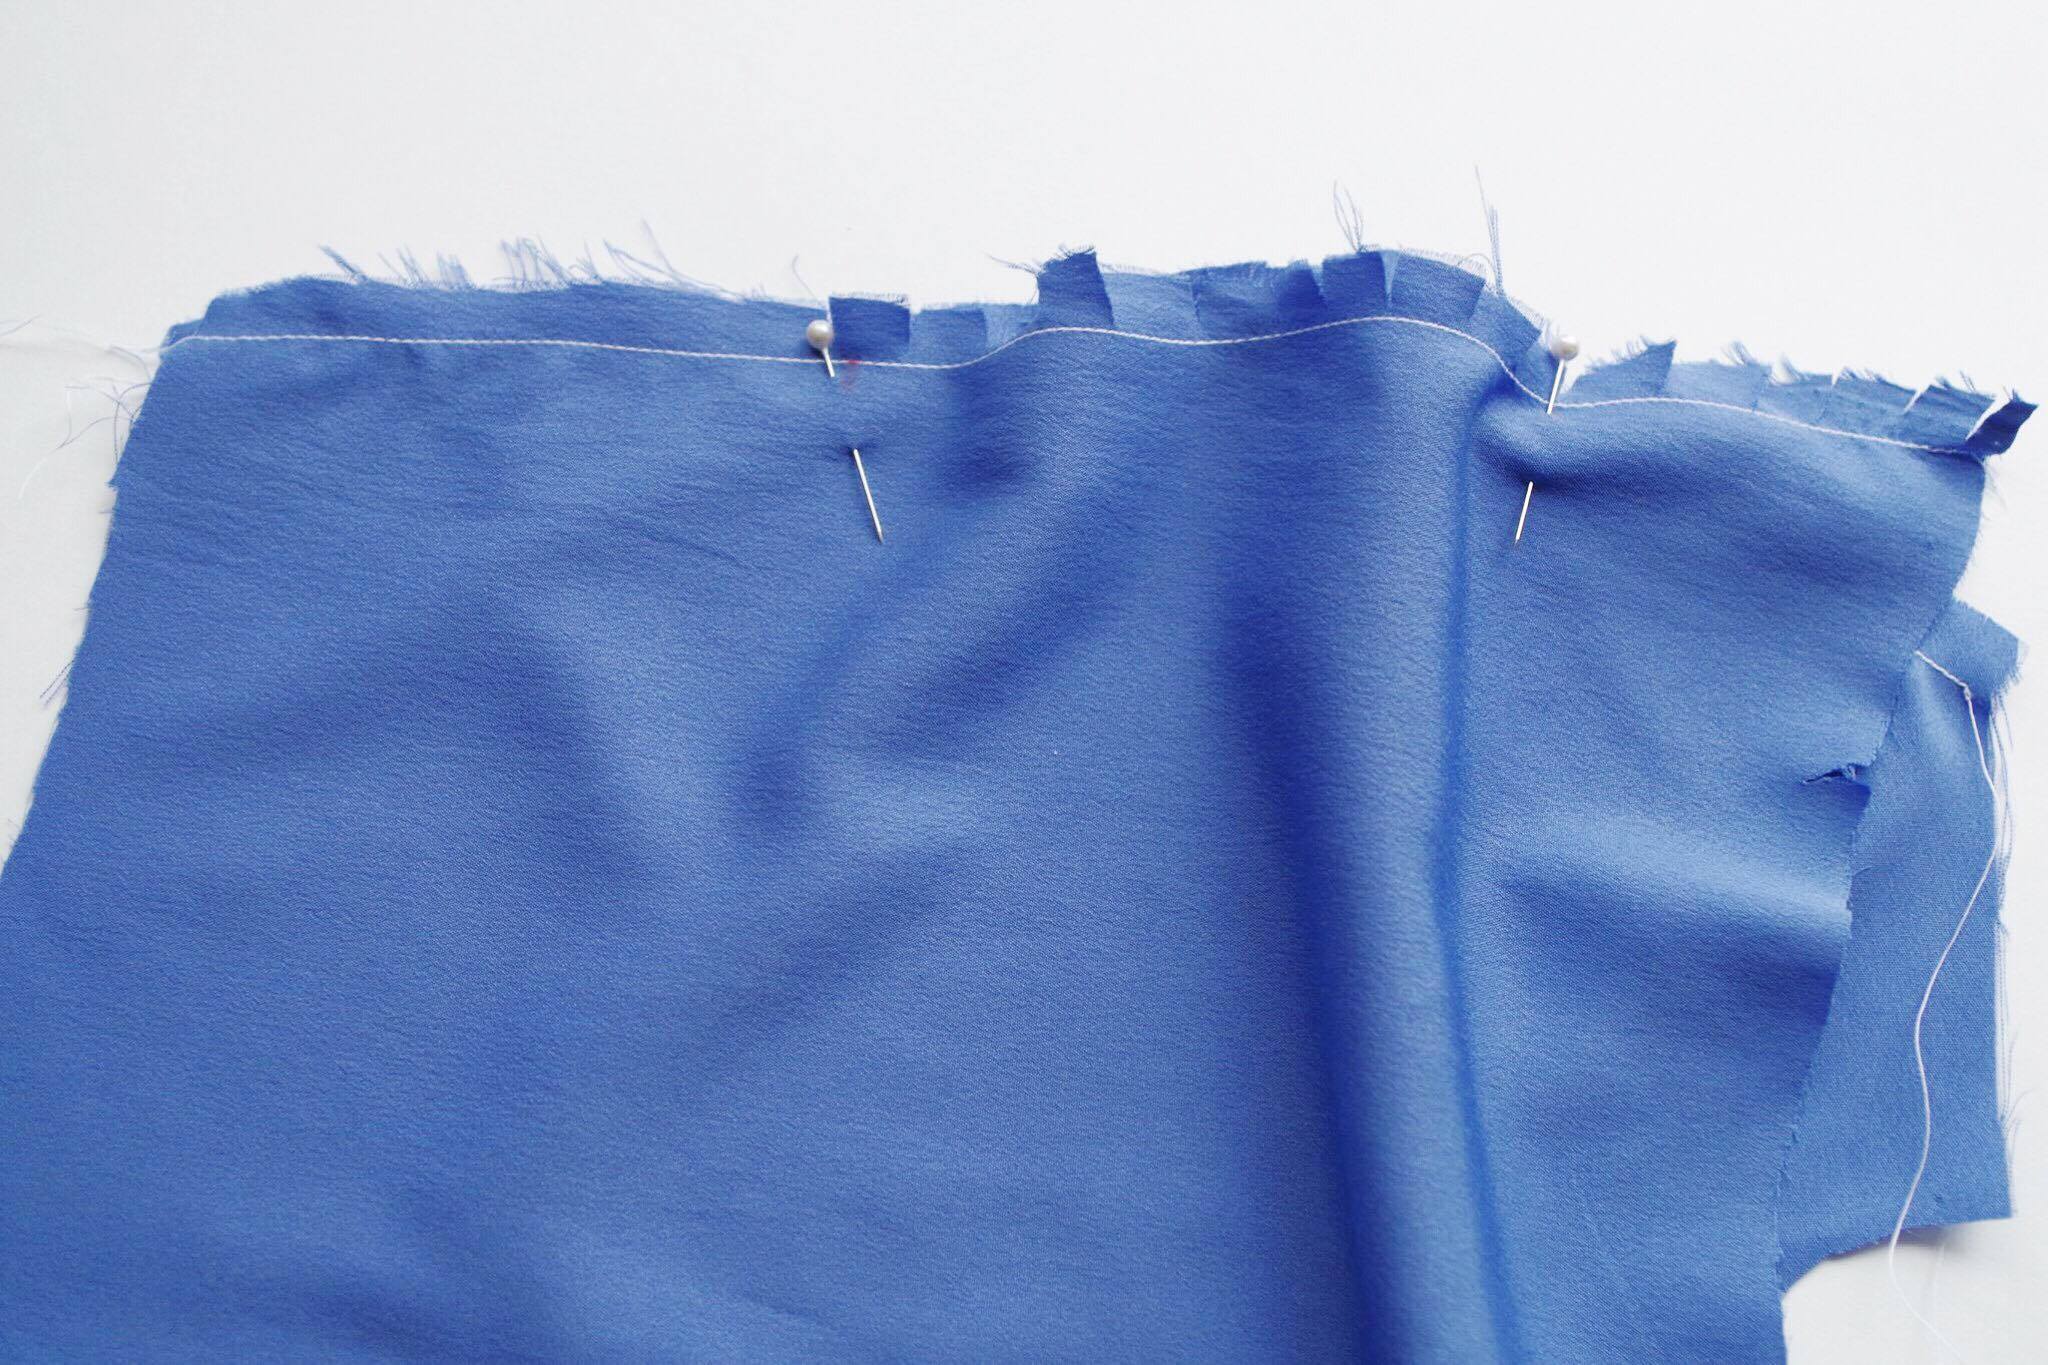
4) Pin in Place
When pinning, start with getting the notches in the correct place first, then work your way outwards. The notches are most important, so I make sure to handle them first. You may notice I don’t pin between my notches at all. This forces me to sew slower, and listen to my fabric when tackling the curve. If you’ve matched up your notches well and sew slowly, your fabric should ease into the curve without pins easily.
Some tutorials recommend pinning before clipping; however, I find it easiest to get a smooth curve by pinning after clipping because the curve is easier to manipulate. Try it both ways and see what works best for you!
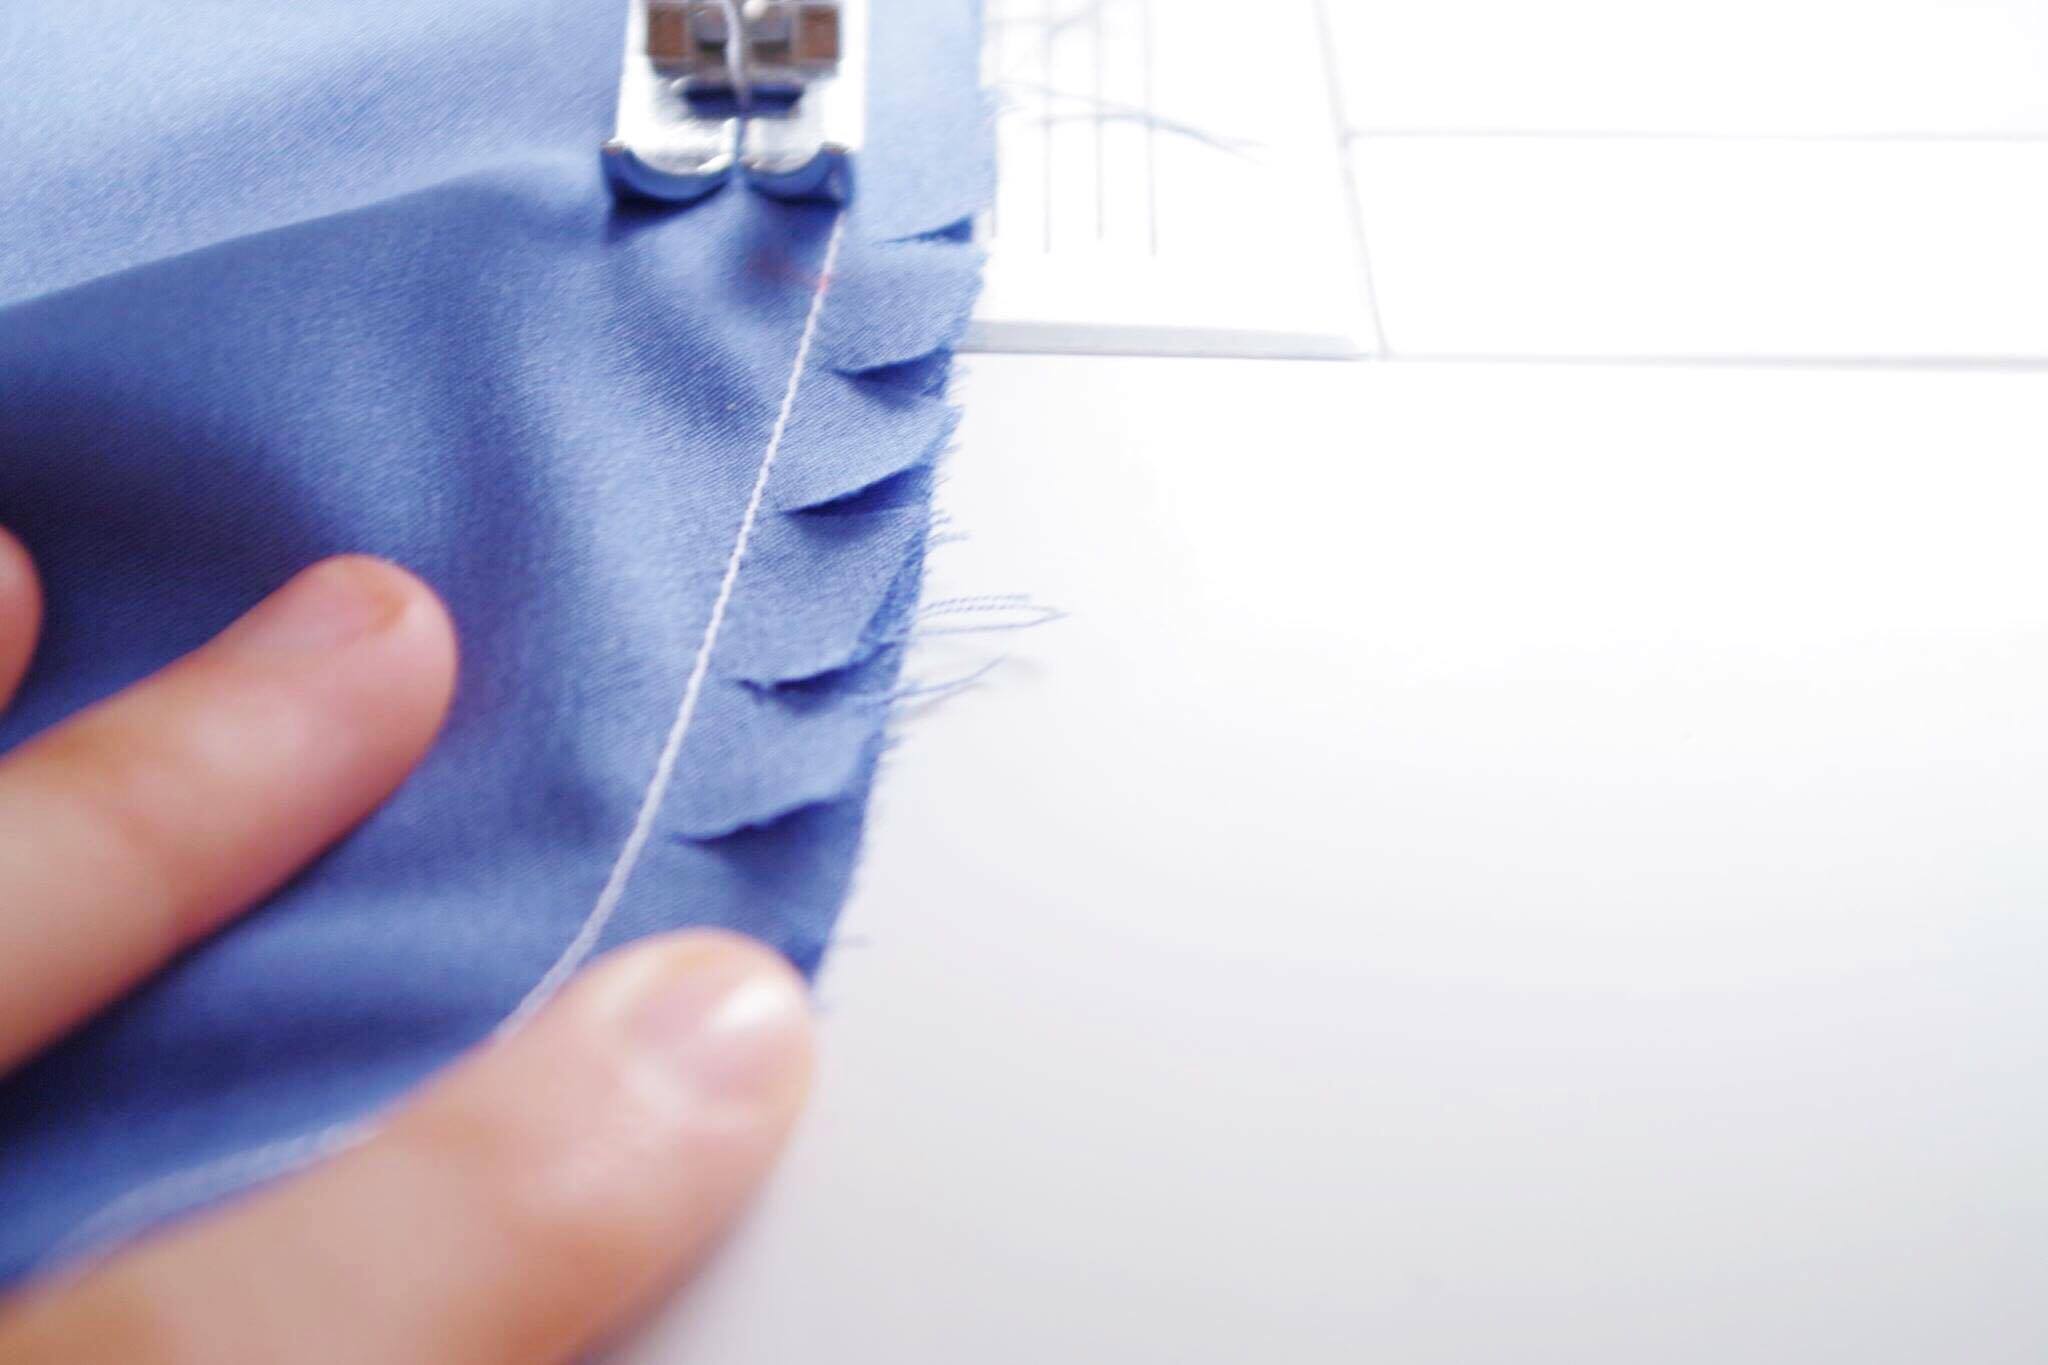
5) Sew Slowly and Smoothly!
Up until this point, we’ve only clipped/notched one side of the fabric, the center front. The only disadvantage to clipping is that once the seam is clipped it’s easy for the smaller cuts to get folded into the seam, creating bumps in areas we would like to be smooth! By sewing with the clipped side facing up, we can watch and make sure all of our snips stay where they’re supposed to. I also like to sew with the flat, clipped side on top to help me watch for puckering.
When working around tight corners it’s easy to sew in jerky motions, trying to aggressively force an unruly seam into a shape it doesn’t want to be in. Jagged sewing lines are one of the biggest barriers to a smooth princess seam, so remember to take things slow and steady, resewing certain areas if necessary to achieve a smooth stitching line. If you take it a few stitches at a time, smoothing the fabric out before you as necessary, you should finish with a smooth straight seam – hurrah!
You should check for fit before proceeding.
6) Clip the Curved Seam Allowance
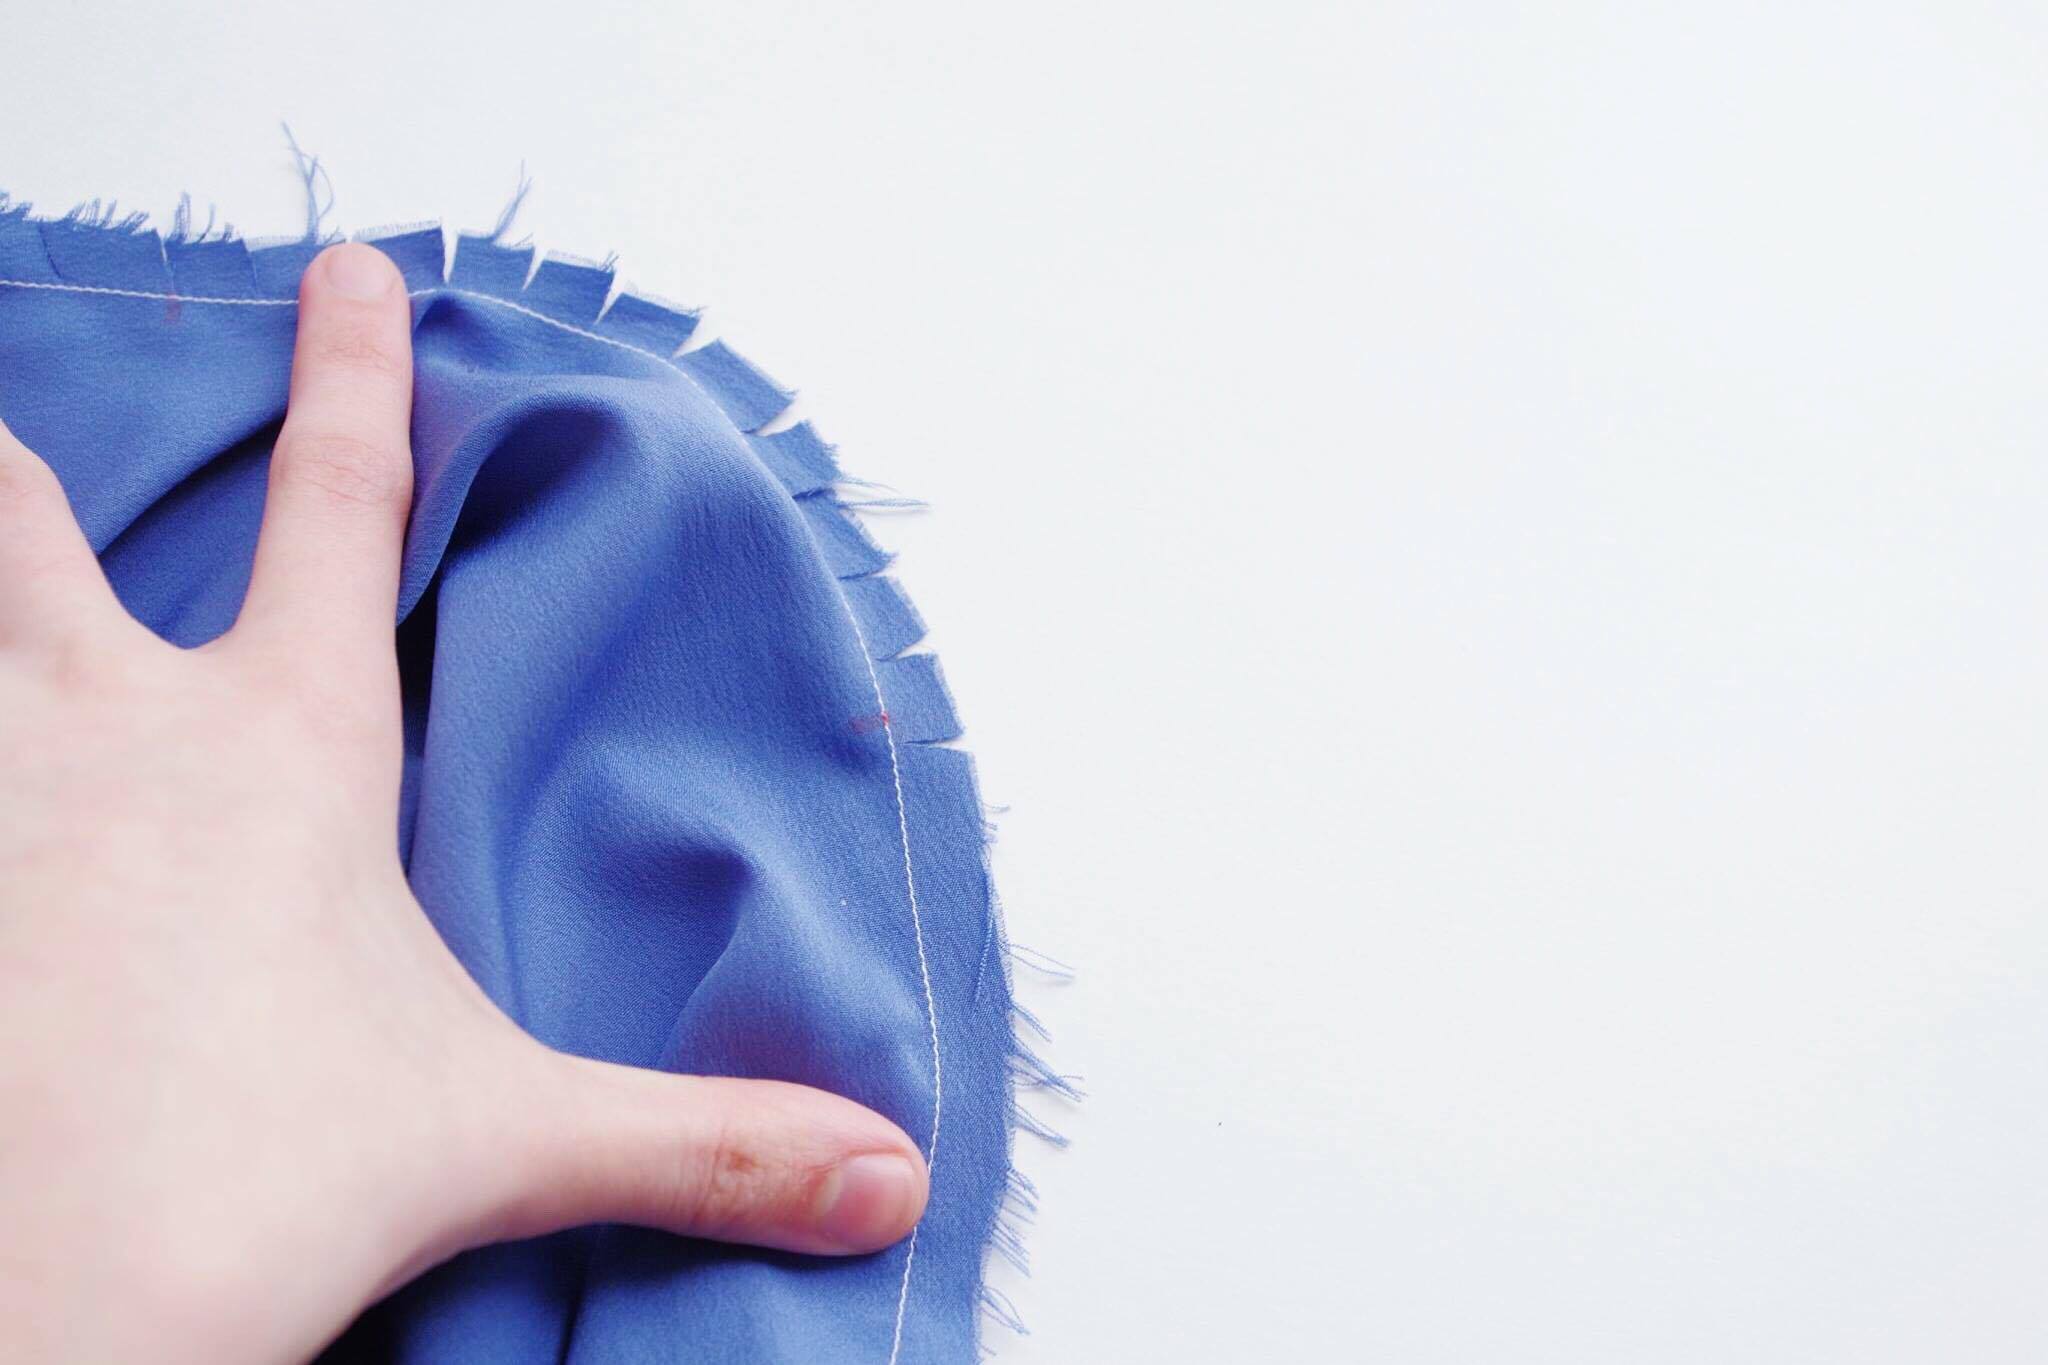
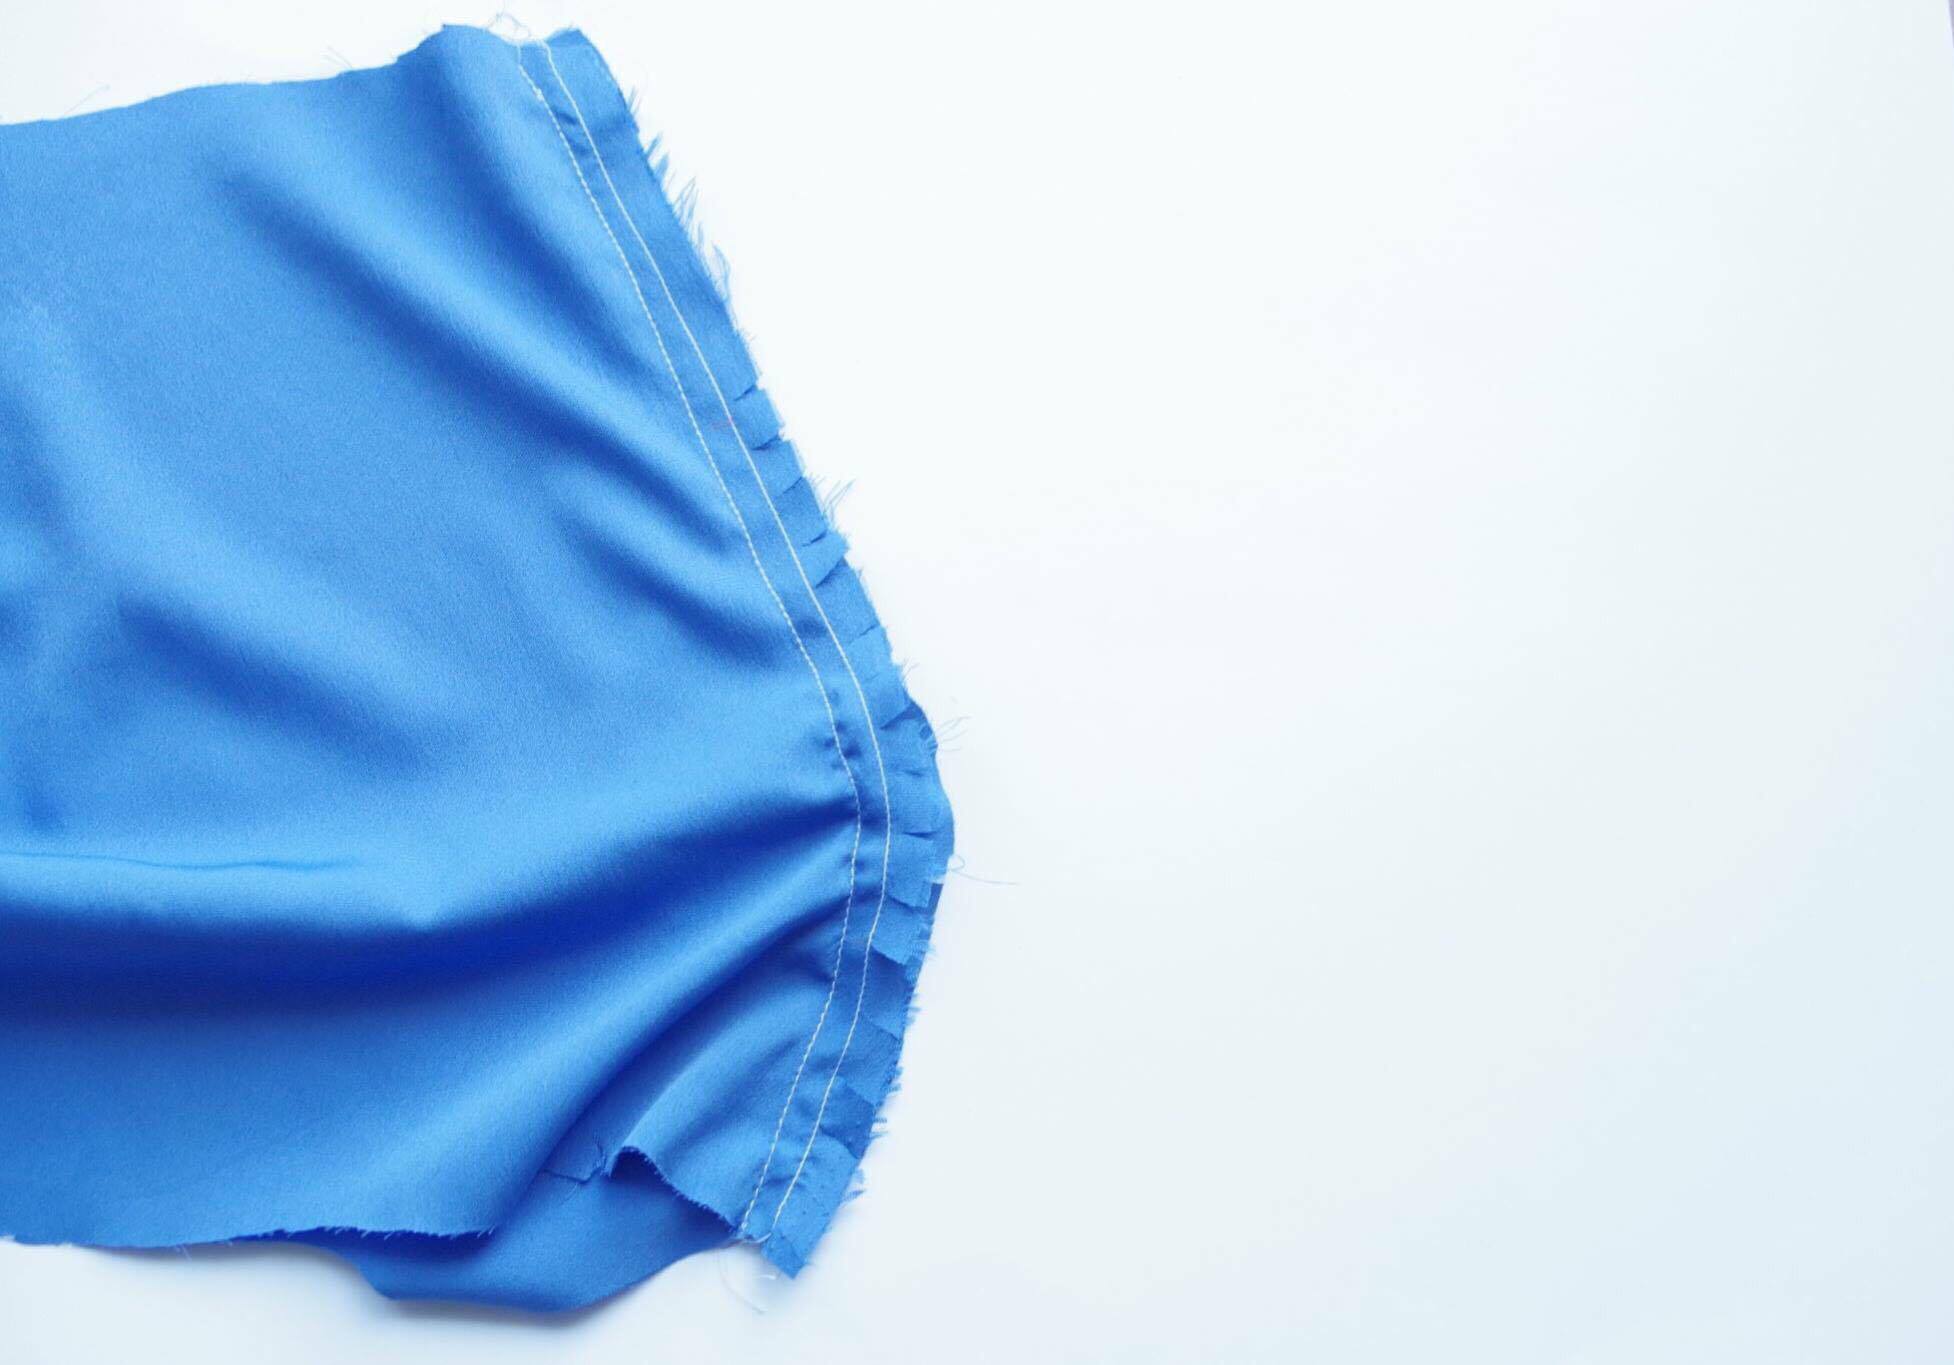
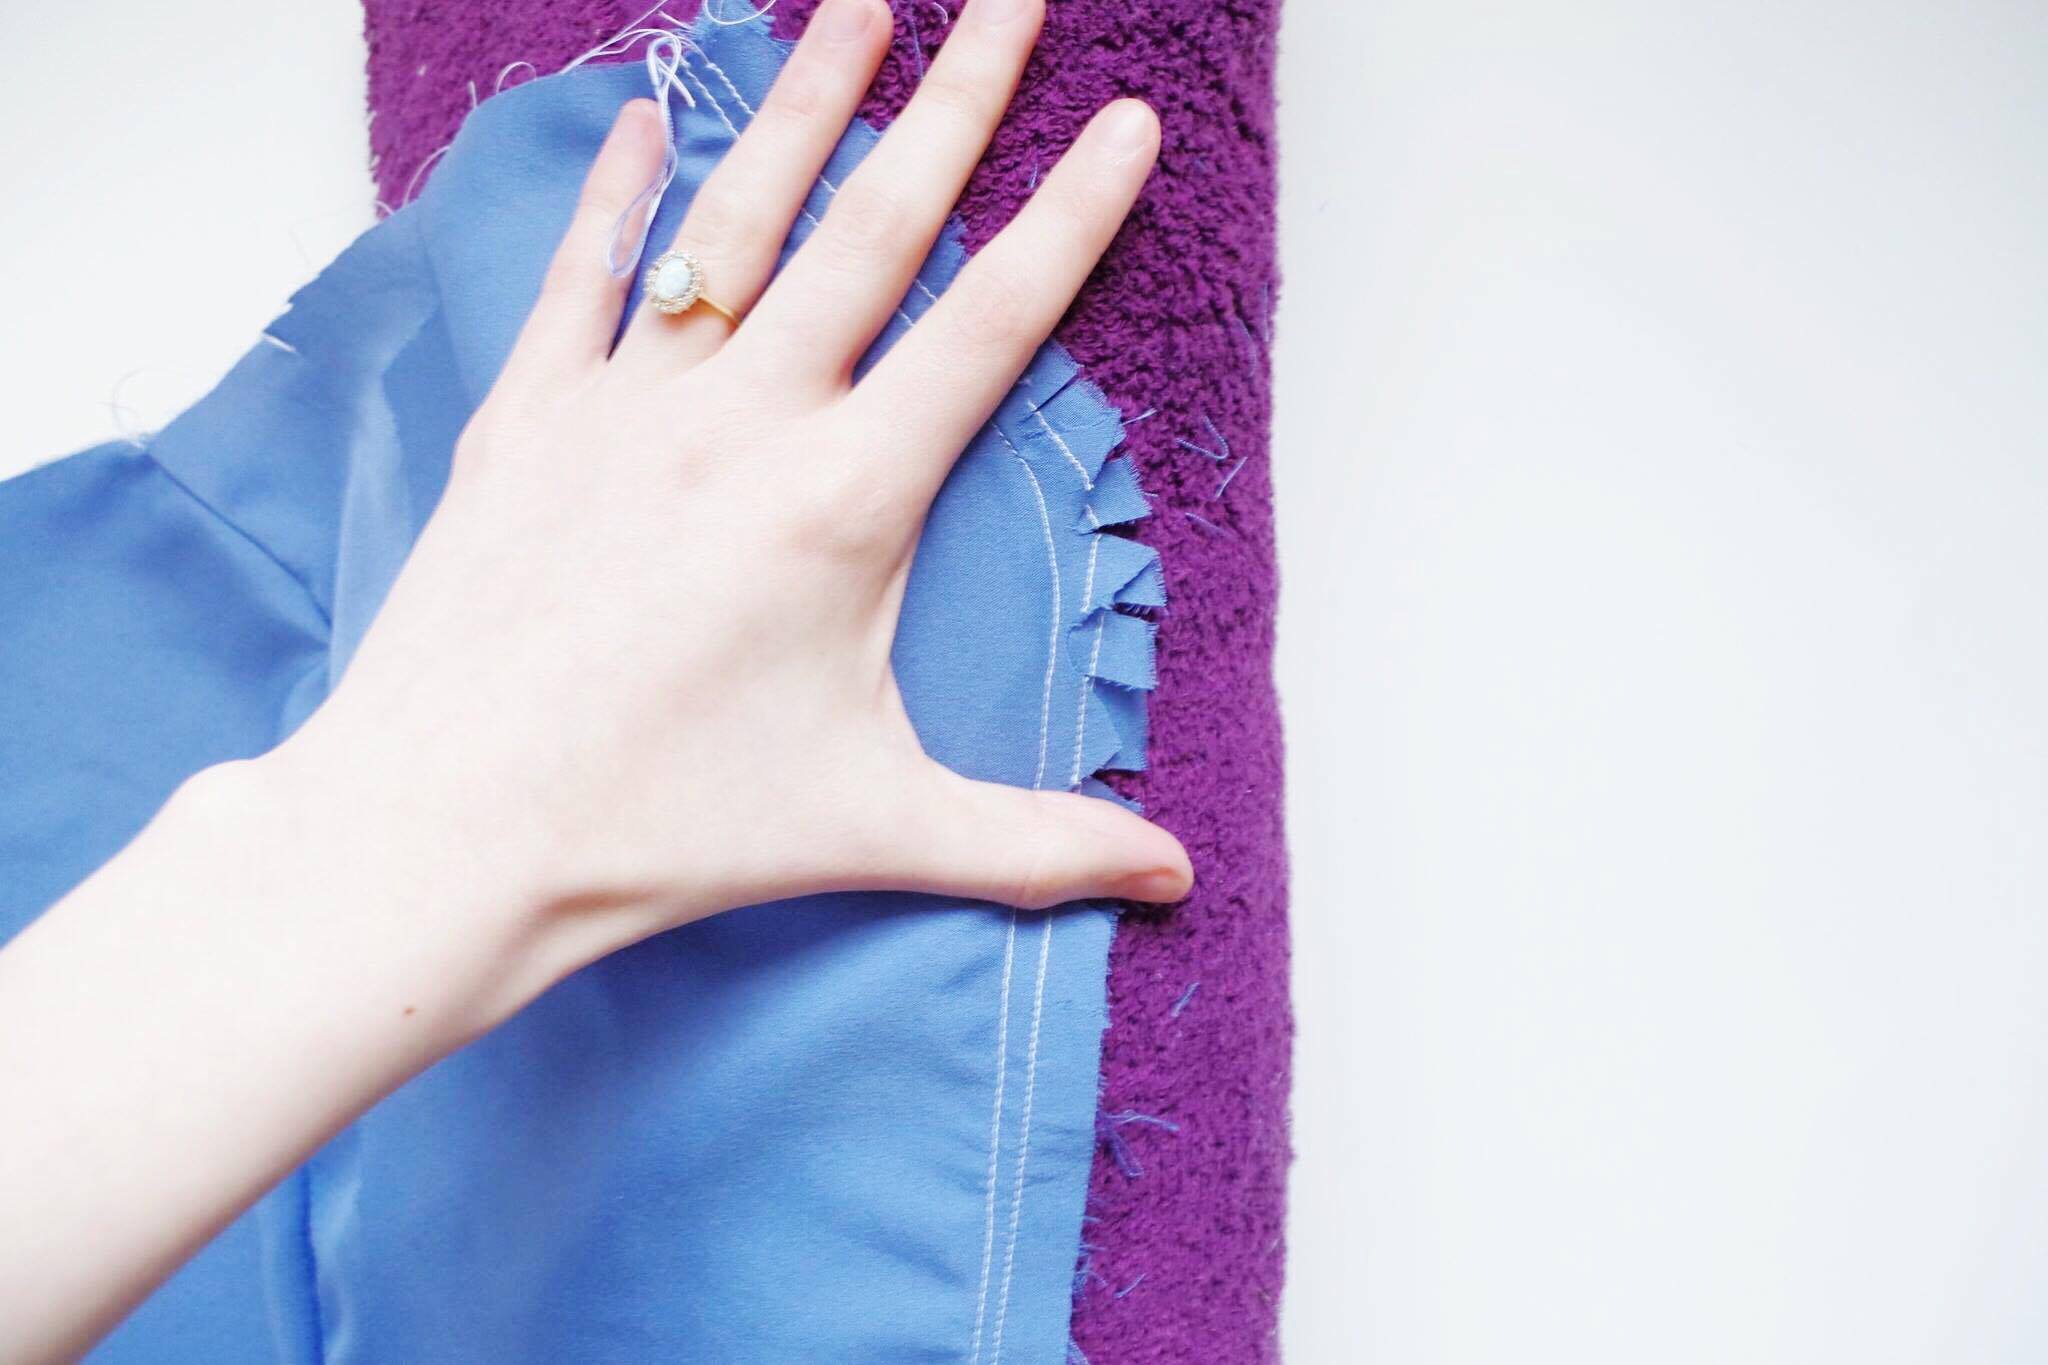
After sewing your seam with the center piece facing up, turn the piece over to look at the side. You may notice that the seam allowance on this side is wavy around the apex and won’t lay flat. This is because the seam is curved outward, and there is more fabric at the end of the piece than at the seam line. If we left it as is, we might see a bump in the finished garment.
To fix this, we’re going to use the notching technique I mentioned in step two. Starting at the apex, cut out triangular pieces of fabric from the seam allowance to remove bulk in areas with too much fabric. Keep cutting out triangles until the seam allowances will lay flat.
Don’t see any waves in your seam allowance? No worries! The larger the cup size you use, the more likely you are to experience waviness in the seam because their is a larger curve to your pattern piece. If you’re seam allowance already lays flat, proceed to step seven.
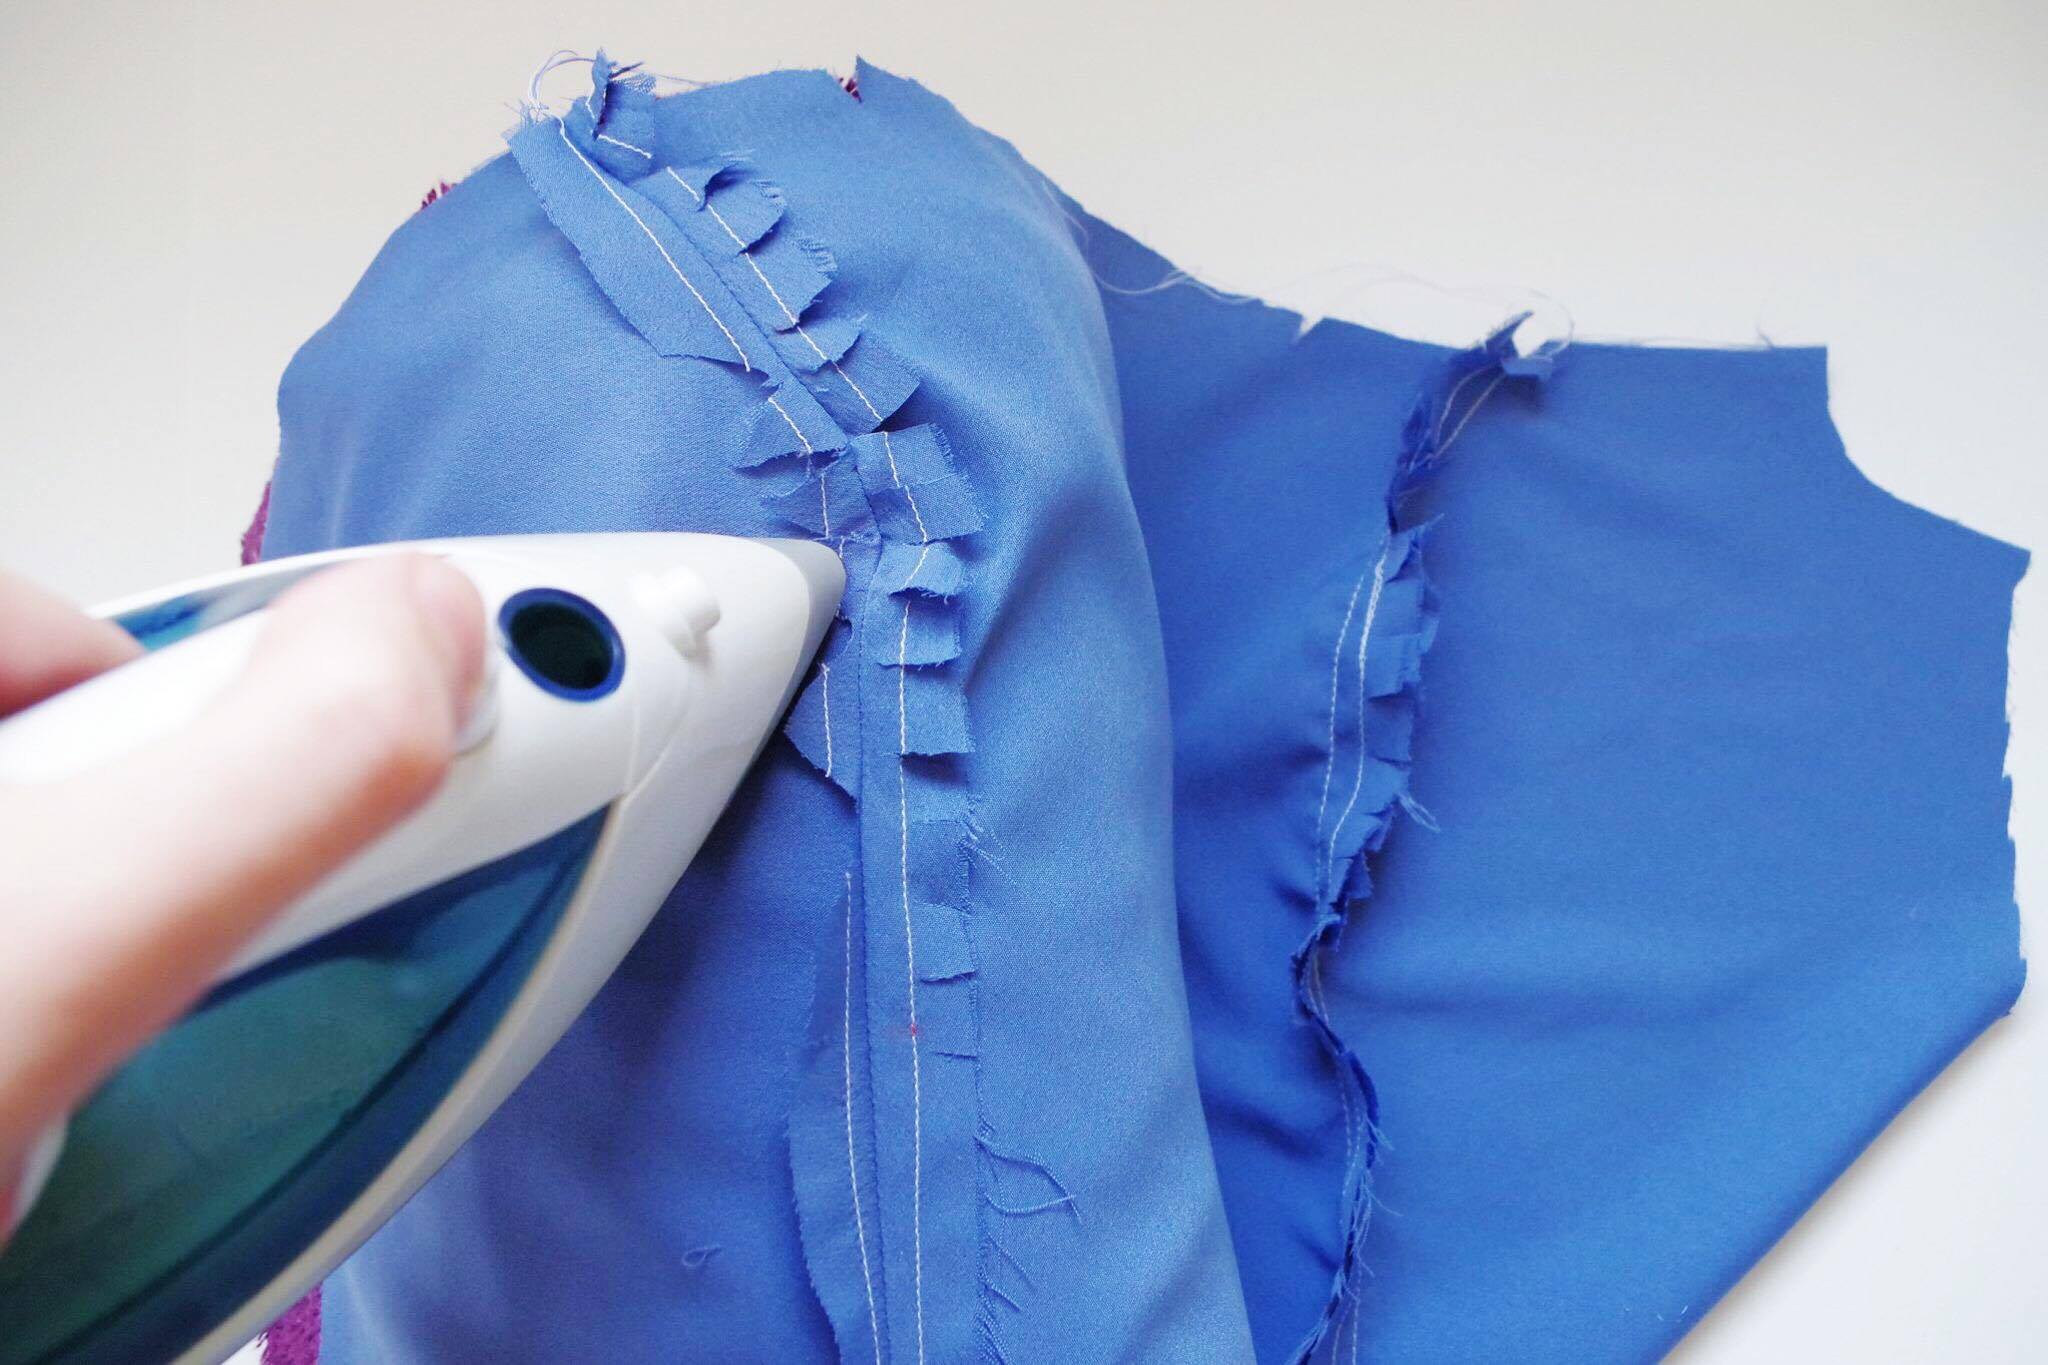
7) Use your Iron to Set the Seam
Open up the seam allowance and press the center of the seam, being careful not to iron any unwanted creases to the body of the garment. If your seam allowances are not lying flat, this is a good indication you need to do more notching or clipping! Next, flip your garment over to the right side and give it a final press through the iron for the smoothest finish.
A tailors ham will help you iron the smoothest curve here, but if you don’t have one at home a tightly-rolled towel will work in a pinch!
Bonus: Consider the Fit
Unfortunately, no amount of careful sewing will make up for a poorly fitting bodice. If the cup size of your dress is too small, you’ll notice the bodice pulling and puckering over the fullest part of your bust. If the cup size of your dress is too large, you’ll notice extra fabric pooling there instead. If you’re experiencing any of these issues, the Marbella Dress pattern makes it easy to correct this by choosing a different size cup!
I hope you enjoyed my method for sewing smooth princess seams. Do you like to sew them differently? Please share your tips down below so we all can have smoother princess seams in our garments!
– Rachel
About the Author: Hi! I’m Rachel, the creative lifestyle blogger behind The Wild Stitch. I love inspiring others to get in touch with their inner maker.


I am a complete beginner, just started this week and I have been scouring the internet looking for extremely comprehensive information on everything to do with sewing. It’s a whole new world to me. Your article made complete sense to me, and I thank you. I can’t wait to use the princess seam in one of my upcoming projects. And I hope your hairdresser always cuts your hair just the right amount.
Thanks SO much, this info and demonstration is very helpful!
Very well explained and illustrated. Thank you!
Thank you! Extremely helpful!
Thank you so much for putting together such a clear and concise tutorial on princess seams. I’m relatively new to sewing and have always had mixed results while attempting these seams. I’m pleased to report that Rachel’s method works for me. ? Clipping the one side of the seam and not pinning between the notches to allow easing of the curve were especially helpful revelations!
Could you please tell me, do I only use material with some stretch for princess seam dresses or can I use any woven fabric as well.
Hi Miranda, you can sew princess seams on woven or knit. The seam itself is not a limiting factor. But the pattern (if you are using a pattern) specifies the type of fabric to use.
Notching and clipping the same seam! Who knew? Brilliant
Awesome post – thanks so much.
Great post!
Thanks for posting – very informative!
You are welcome! Thanks for dropping by. 🙂