
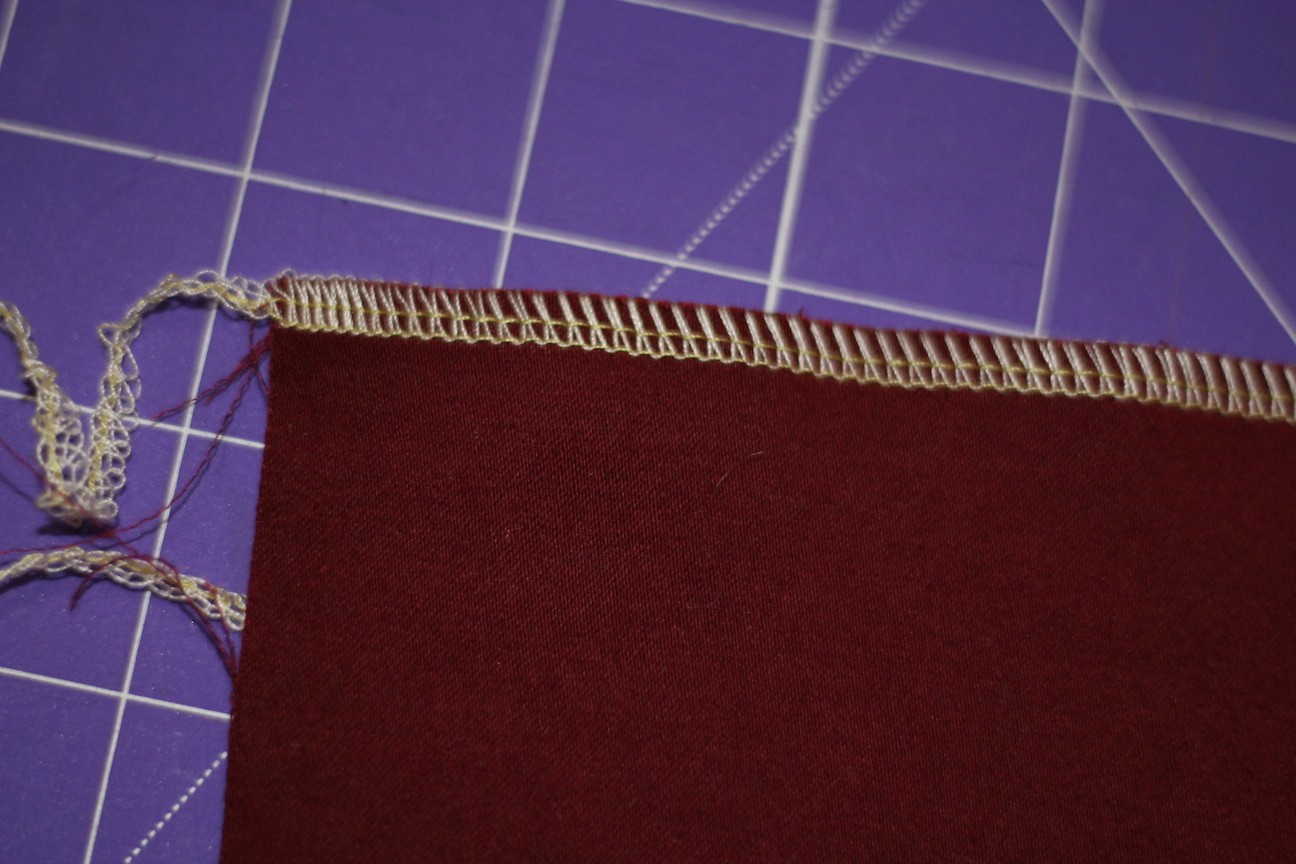
Save Your Sanity Removing Serger Threads
Well, it’s been awhile since I’ve joined in here at Itch to Stitch. I’m a teacher and back to school time is a crazy, exciting, hot mess as I’m sure many of you know. Do you know what else used to be a hot mess for me?! Removing serger seams! Honestly, I didn’t used to have a big issue with needing to do this when I mostly sewed wovens as I usually caught my mistakes before serging, but now I’m such a knit girl. I do a lot of seaming with my serger and needing to remove serger threads used to make me walk away from a project. Usually there were un-nice thoughts and screaming at my baby, immediately followed by flipping the power switch and heading to bed. I’m going to share a quick and painless way for you to remove your serger seams so that you and your serger can maintain a healthy, happy relationship. Let the ripping begin!
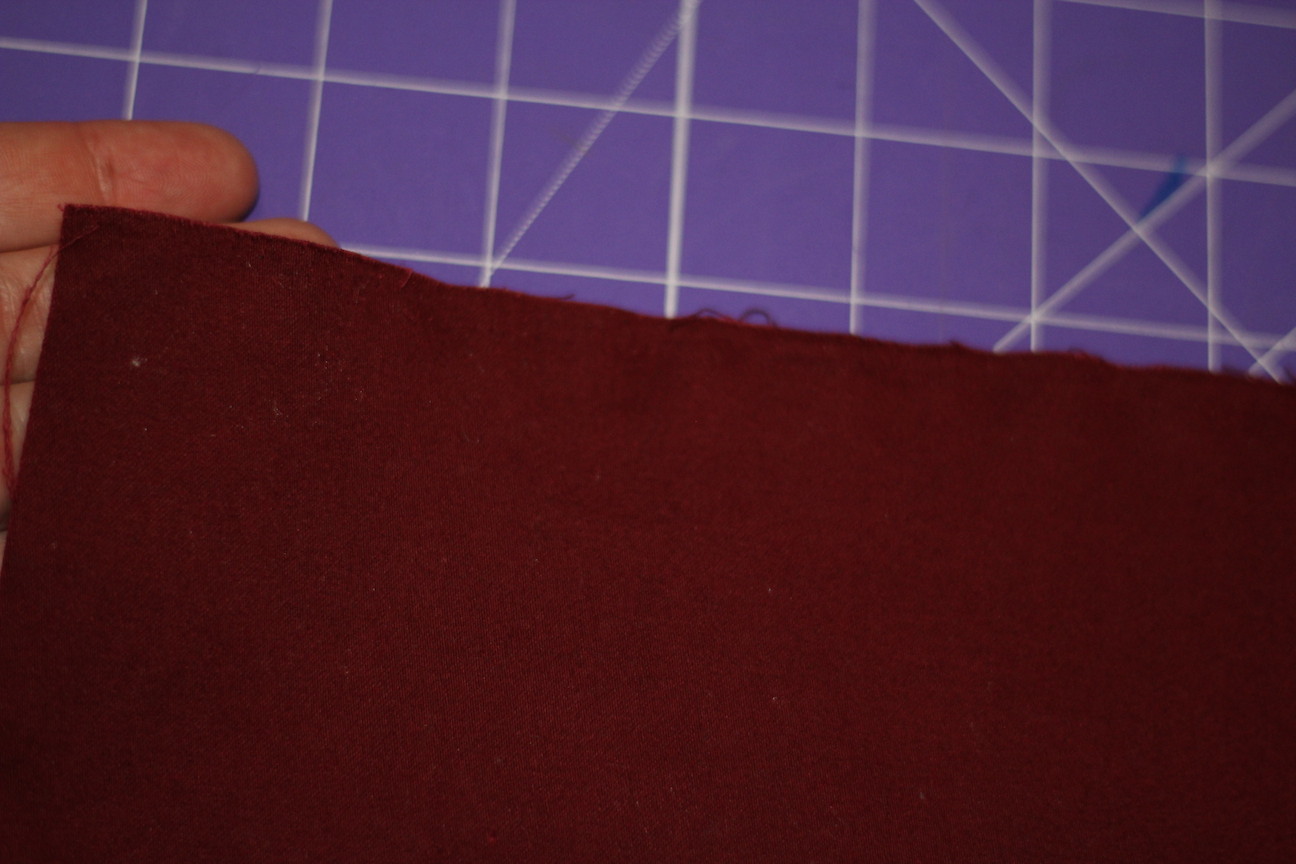
Step 1: We must remove the needle threads. I’m starting with the right needle, but I’ve done the left first too. Use your seam ripper to break the thread, then move down a few inches and break it again. Do this down the length of your seam.
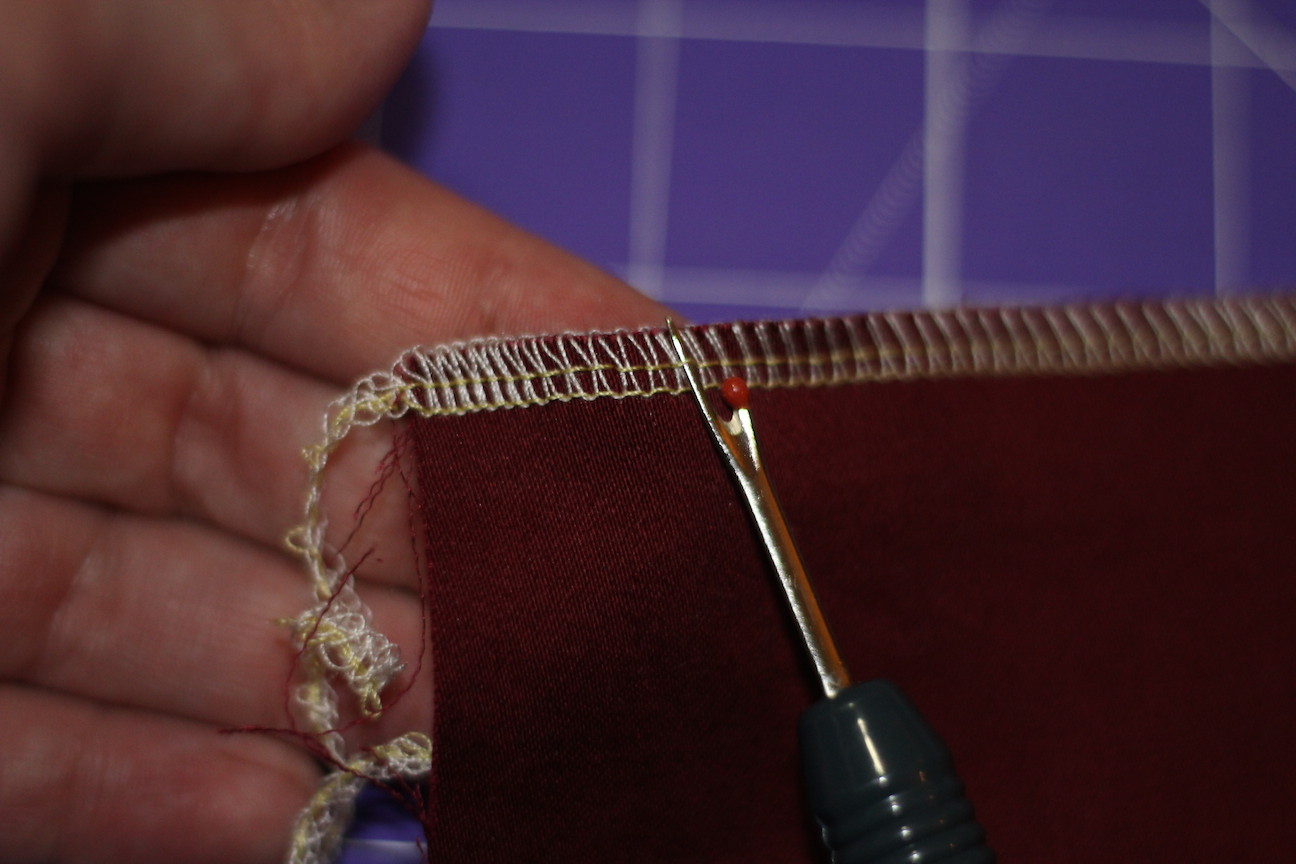
Step 2: Pull the thread out from each small section. You may need to use tweezers or your seam ripper to get a section large enough to grab. If you give each piece a good pull it will come all the way out.
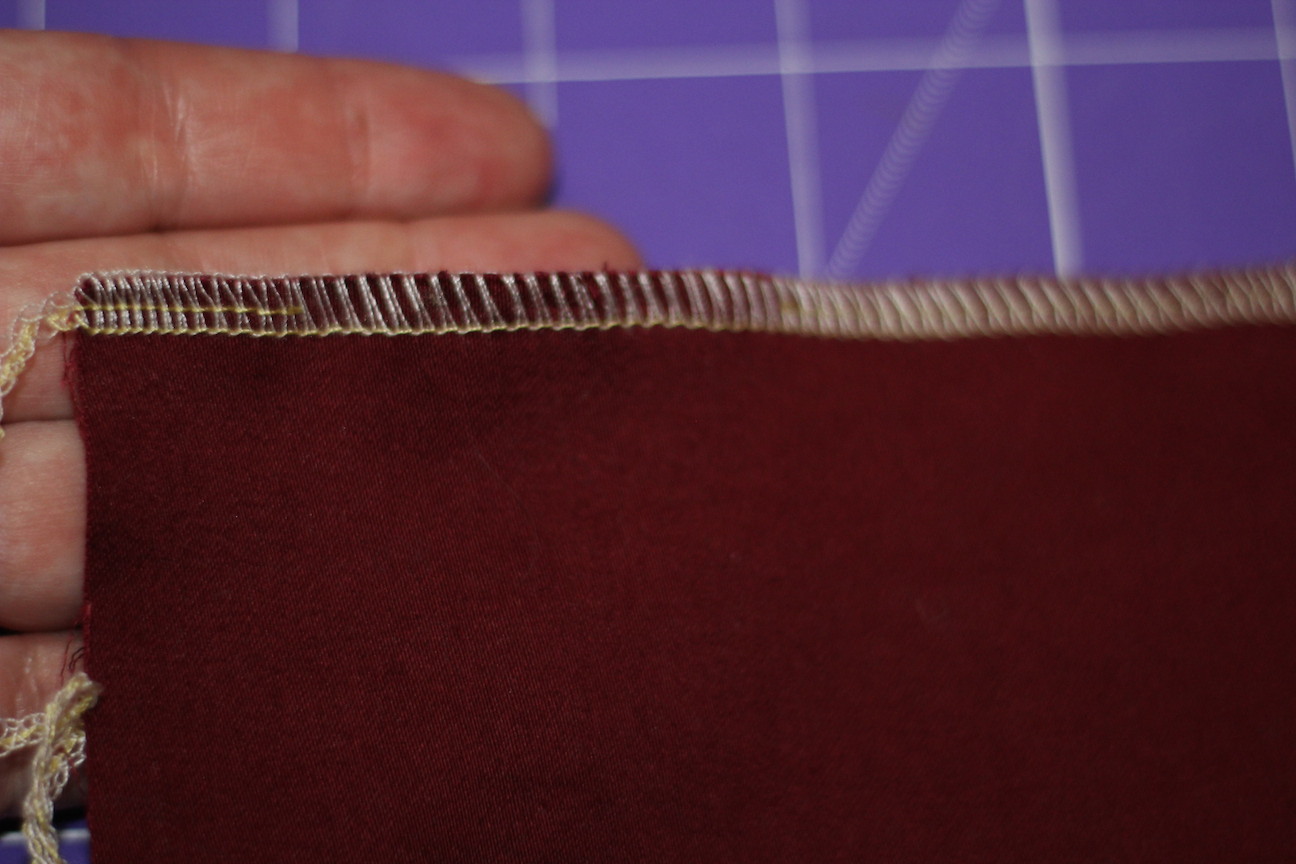
Step 3: We now do the same thing for the second needle thread. For me it’s the left needle. Break the thread in sections just as before. Pull out all the sections.


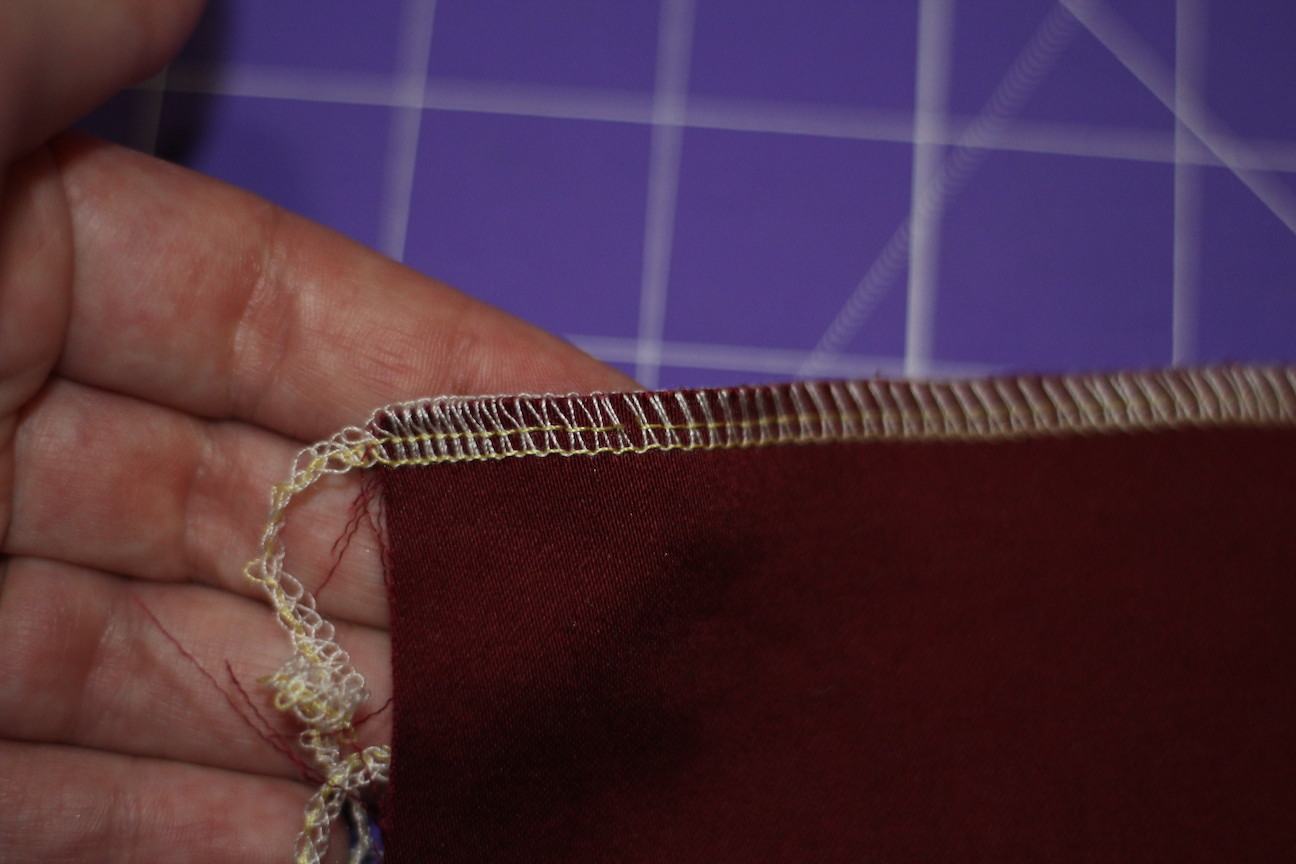
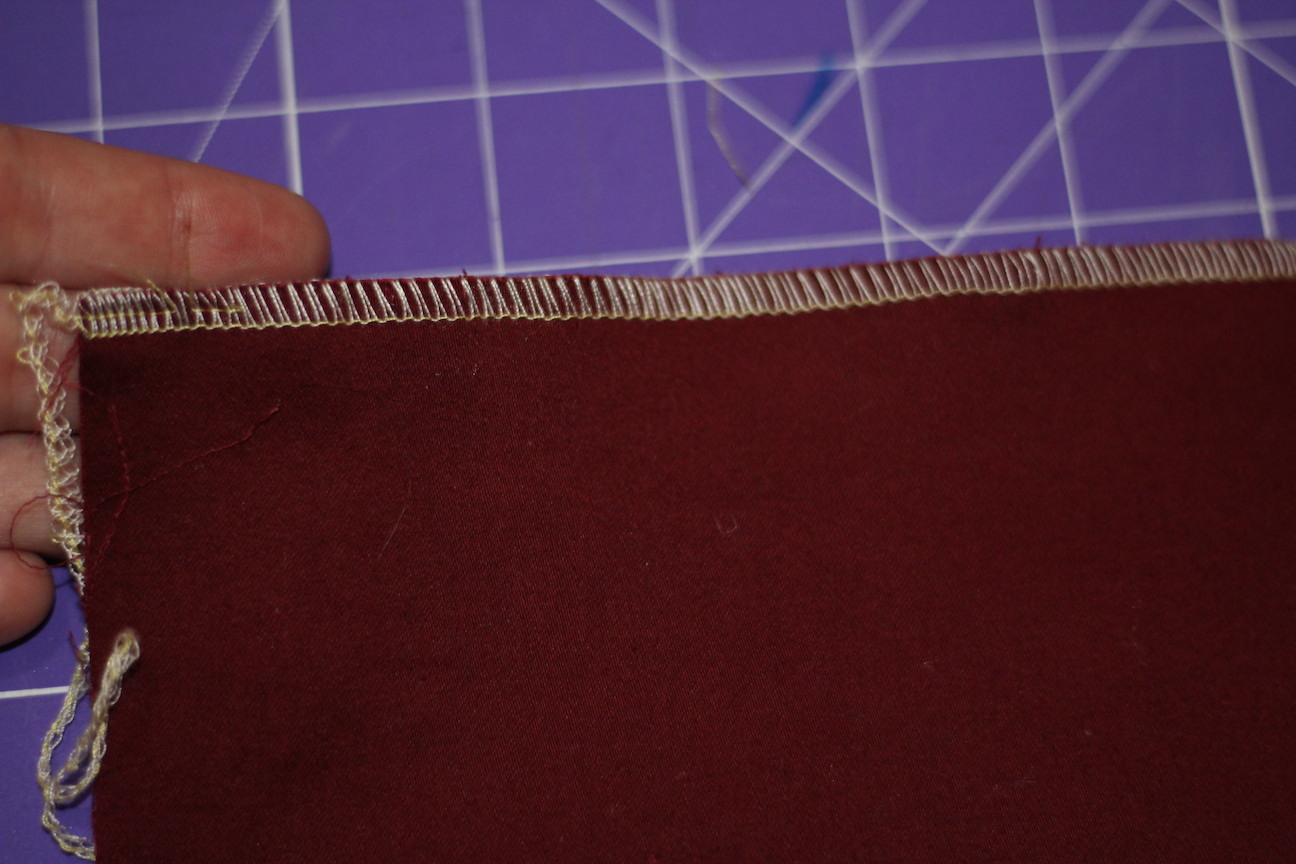
You can see right away as the thread is pulled the loopers are just falling off the fabric. AHH!! It’s like magic!
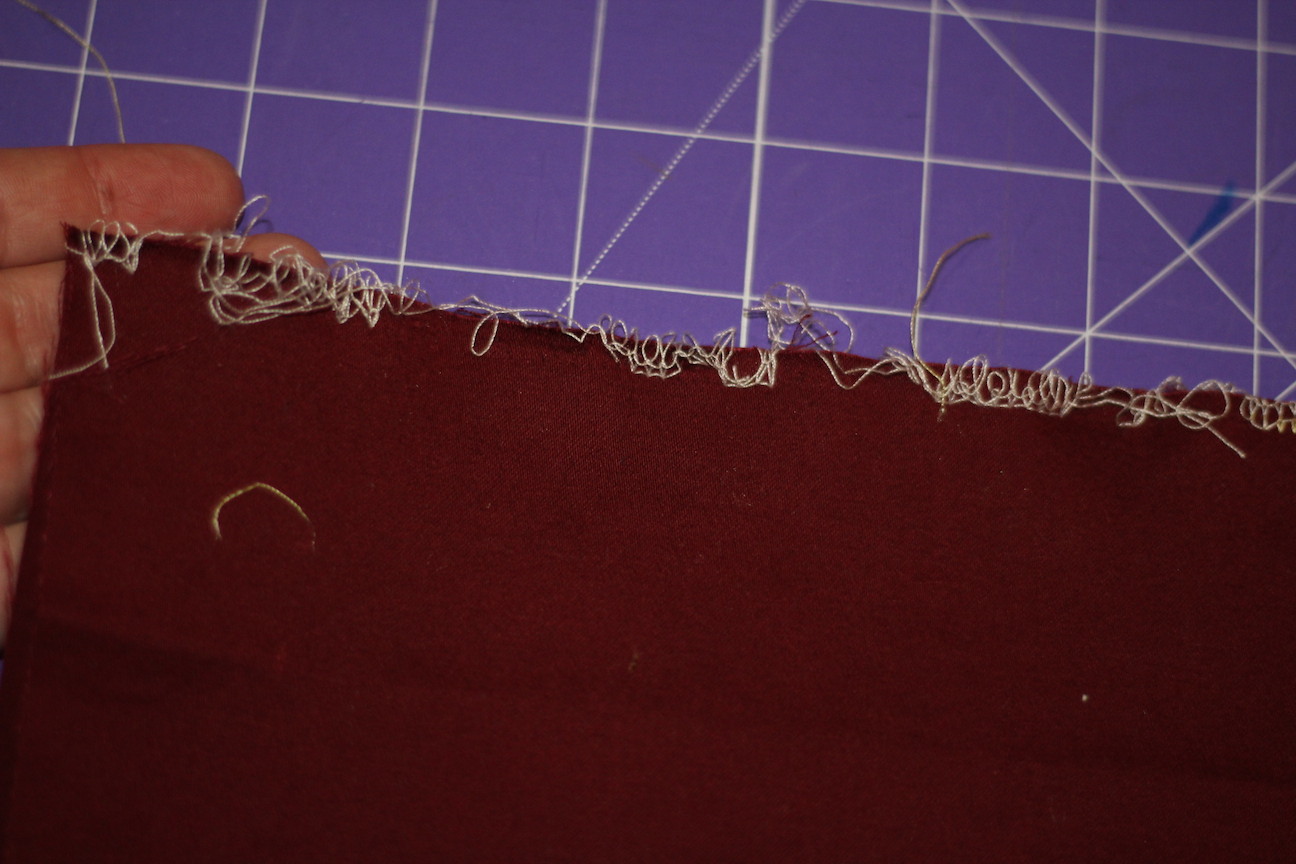
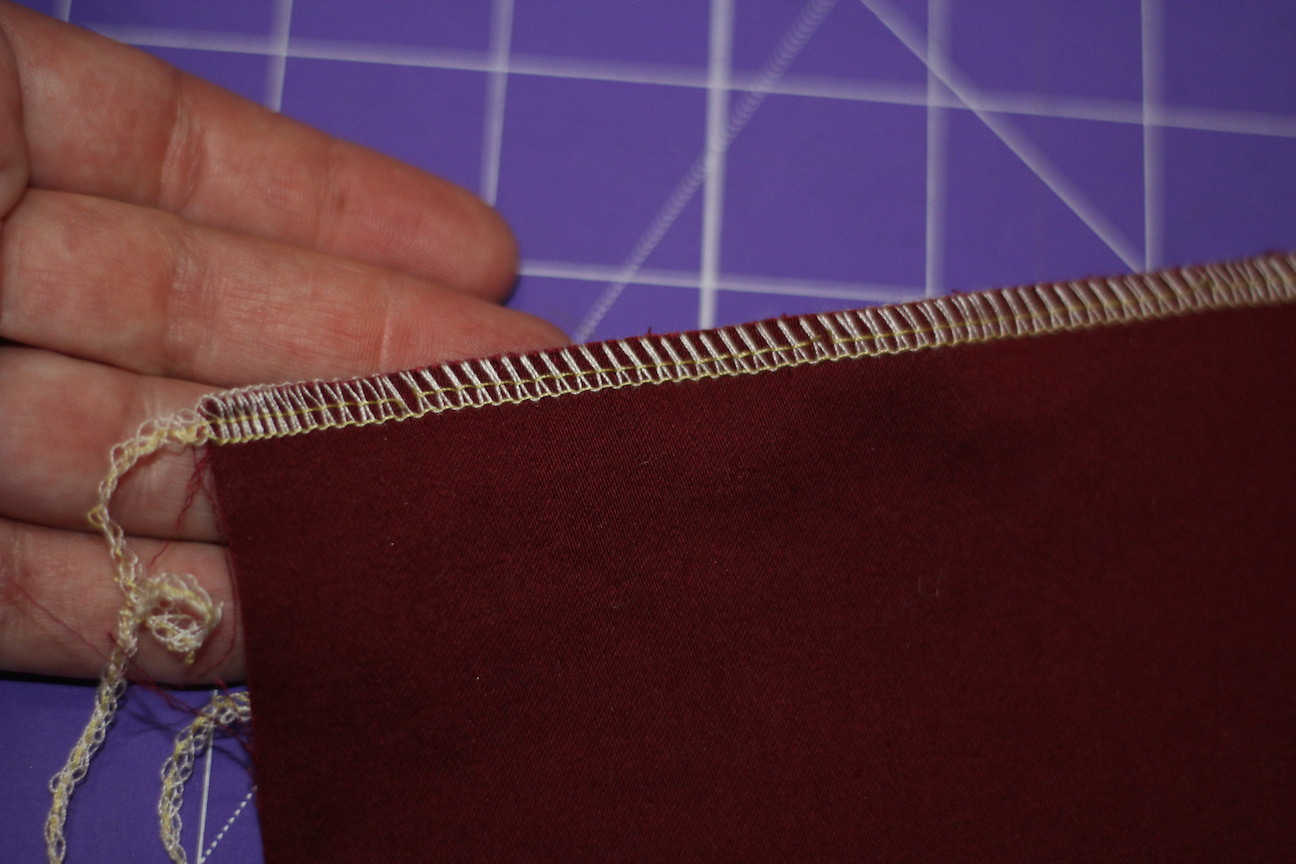
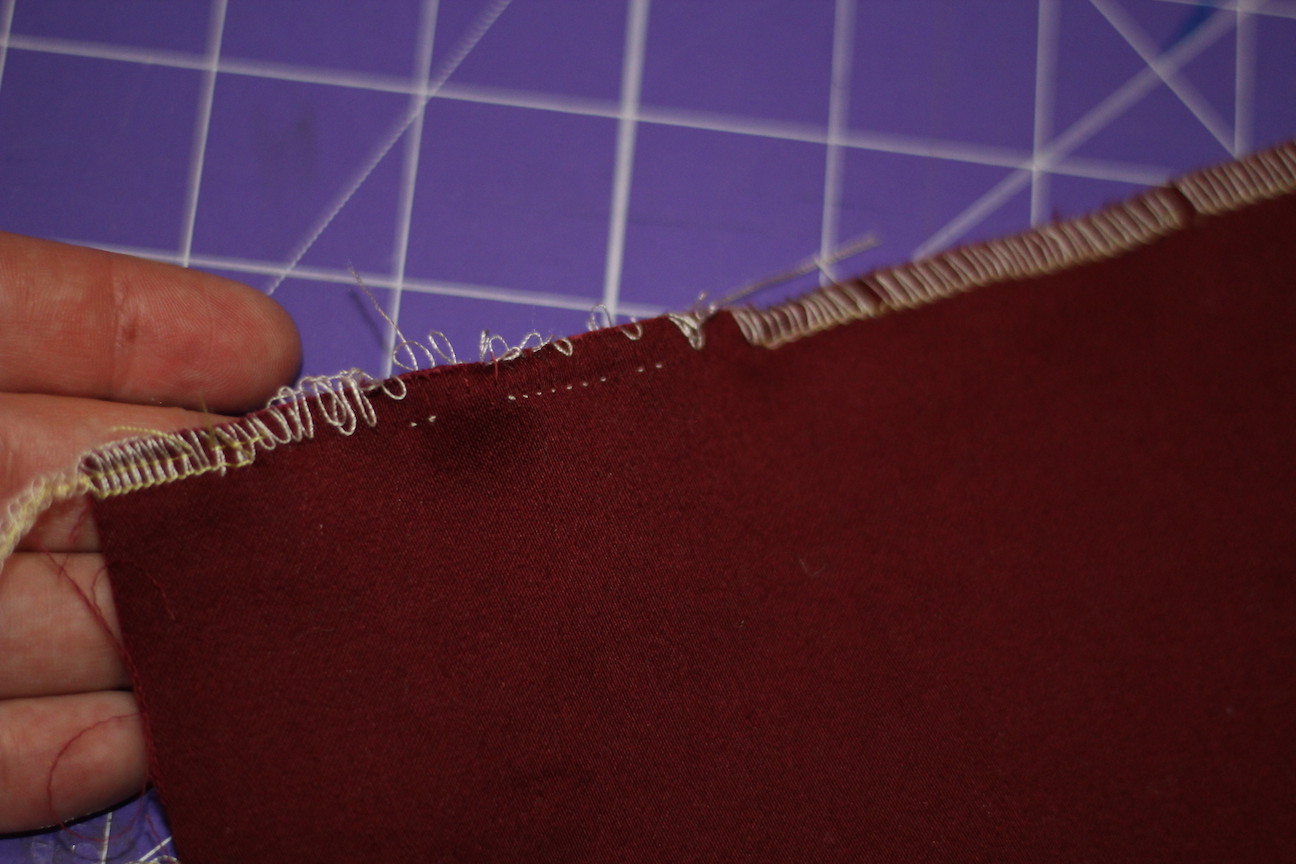
Here is a shot of the back side so you can see what the loopers are looking like. To remove these threads, I just swiped my hand across the back of the fabric and the thread just fell off. Sometimes you may need to use your seam fix remover end to get the stingy pieces. Don’t you just love that little rubber end?
Tadah!. You know how to remove your serger threads without taking hours to do it. Try this out and let me know how it goes. Do you have another method that you use that you like better? Be sure to share in the comments! Don’t wander off too far. I’ve got two more posts coming up soon. A welt pocket tutorial and a Sew and Tell post go along with an upcoming tour.
This post was written for you by Cassy Gobin of Pear Berry Lane Blog. Be sure to check out her other posts here at Itch to Stitch and stop by Pear Berry Lane for a visit too.


Thank you. I just ripped out a server seam the wrong way. And my yes many small threads to pull out. Messy. Now I know how to do it properly. Again thanks.
Thanks 😊, appreciated ❤️
Is pear berry lane no longer a blog? The link provided doesn’t work. I was looking forward to it!
I didn’t even realize that. I suppose she decides not to keep her blog for now.
She is on Facebook. Websites and blogs are a lot of upkeep, more time for sewing when we downsize! https://www.facebook.com/pearberrylane/
I have needed this tutorial for a while. Thank you for posting it. It has made that part of sewing so much easier. Awesome information.
me to lol
That is a method that works fine
Thanks for this! I always thought it was funny that there is so much chatter about how to lock the threads but when you TRY to remove the stitches it’s impossible!