How to Make a Bra Strap Holder
I know that some ladies intentionally show their bra straps for some garments they wear, but it’s very annoying to me when my bra straps peep out of my clothes without my approval. One way to combat this disobedient behavior is to sew on a bra strap holder.
There are actually no-sew solutions out there such as these Strap Tamers (aff.), but making your own is a way more economical solution. And you are making your clothes anyway, why not make that little part too when you are fully capable to do so?
Let me show you the way that I’d like to do it. Some people like to use ribbons, but I use French tack. The French tack method only involves:
- Thread (I use all-purpose polyester thread)
- Needle (hand sewing variety)
- A set of snap (or two sets, since you have 2 shoulders)
I also pretreat my thread using beeswax because tangling thread is no fun. Pull the thread through the beeswax and iron the thread between paper towel to remove the excess.
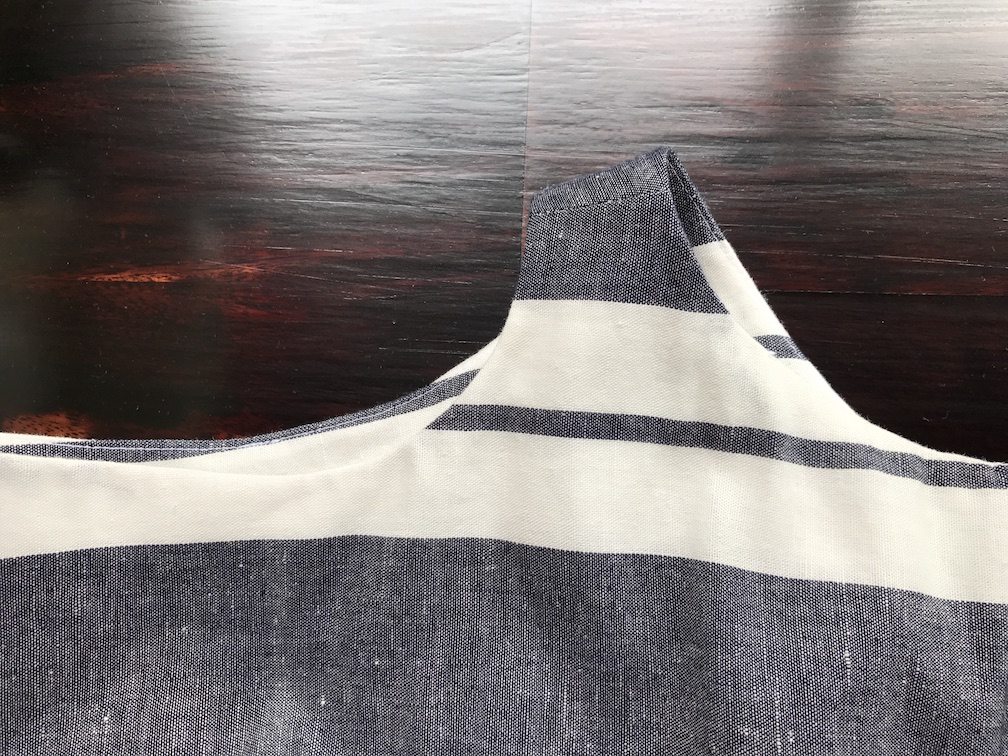
Let’s begin. Here is the shoulder that I’d like to put the holder on. Of course, we are putting the holder on the inside, not the outside.
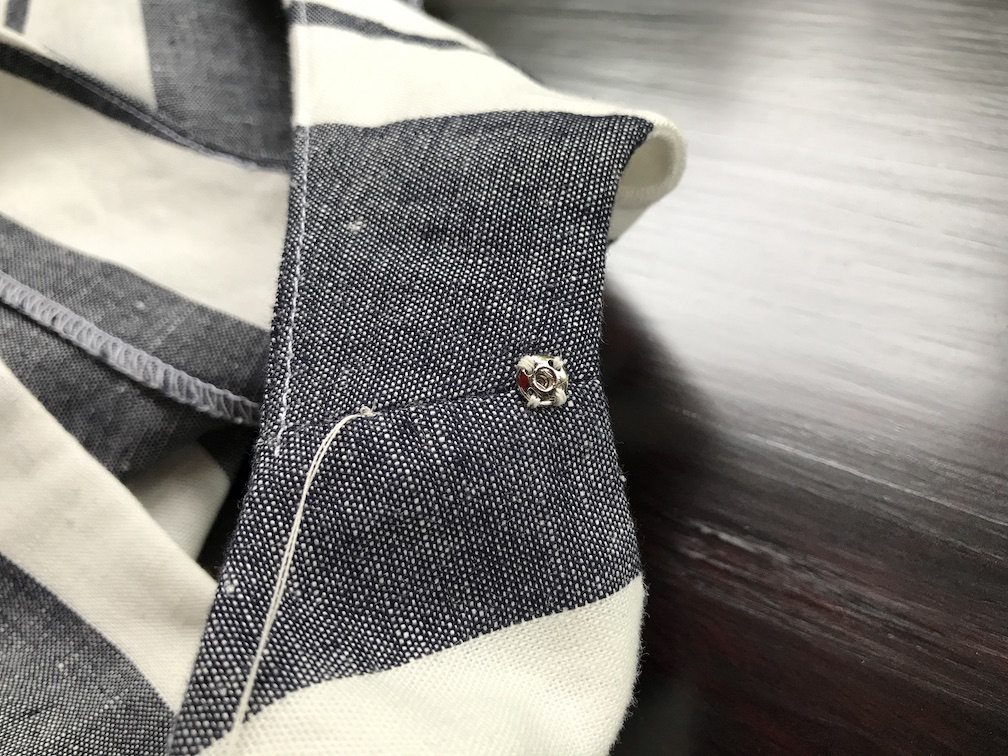
First sew the female half of the snap onto one side of the shoulder seam. Most people would choose to sew this half on the side that is closest to the neck. The rationale is that your bra strap will tend to slide down the shoulder, so the part that catches it will be the side with no snap. I, on the other hand, like to sew it to the side away from the neck. This is because when I look toward my shoulder, I can see the snap better. In reality though, I don’t think it makes a huge difference. The choice is yours.
Not much drama here. It’s just like you always sew a snap. Make sure that you don’t sew through and make the thread visible on the public side.
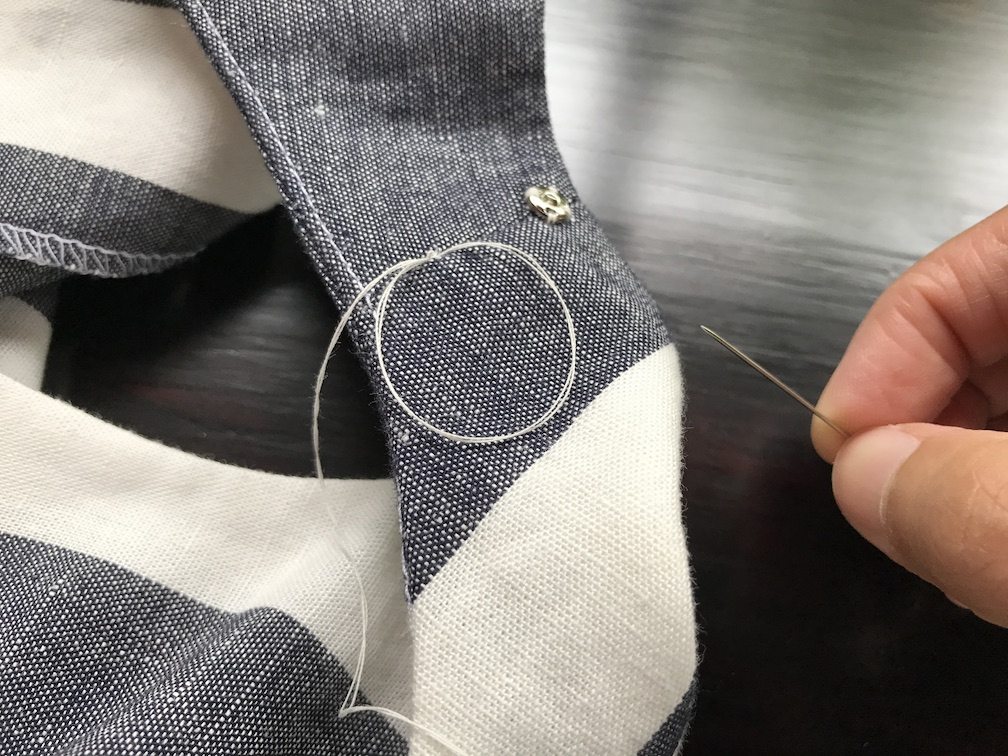
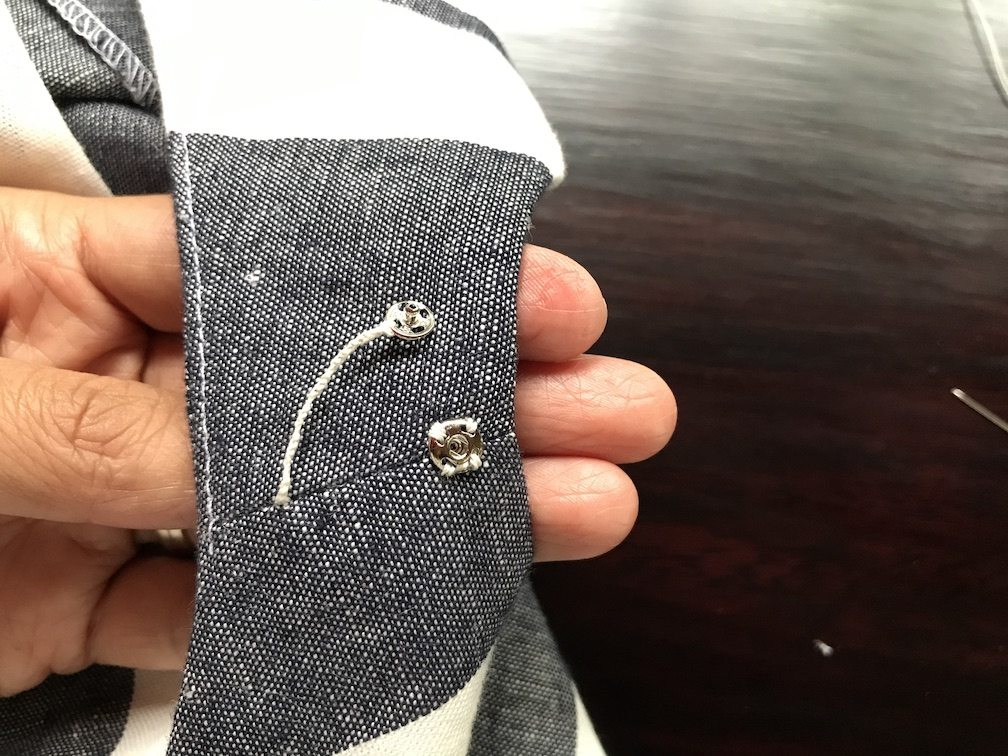
Next, anchor your thread on the other end by making a couple of stitches. I use double strand, which add a bit of thickness. It should be far enough to accommodate the bra strap.
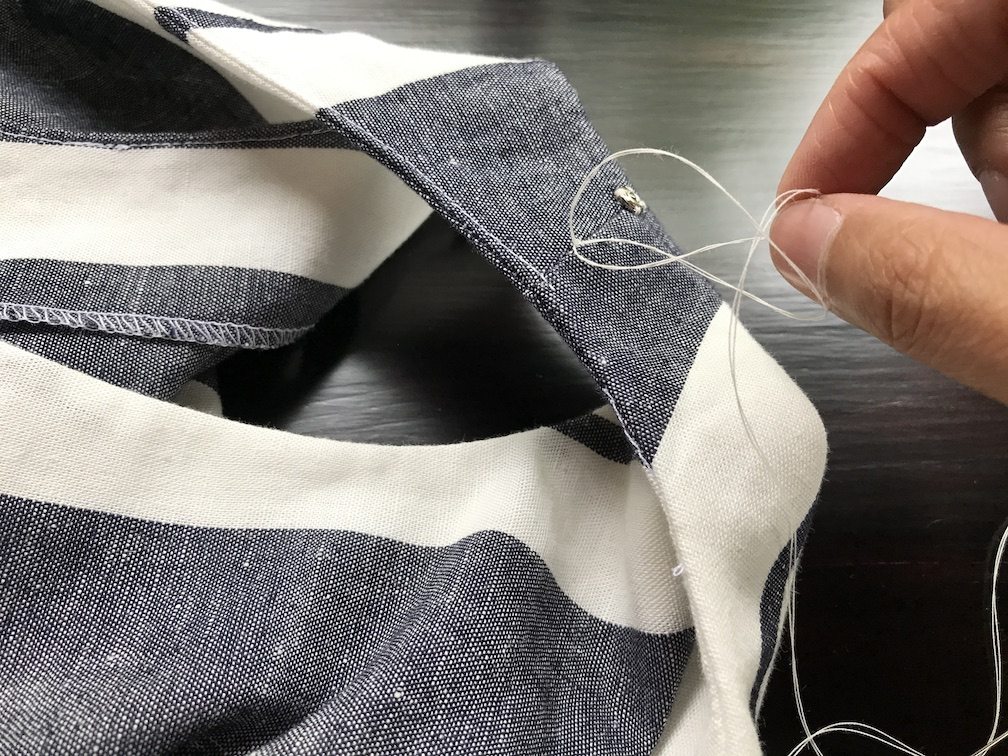
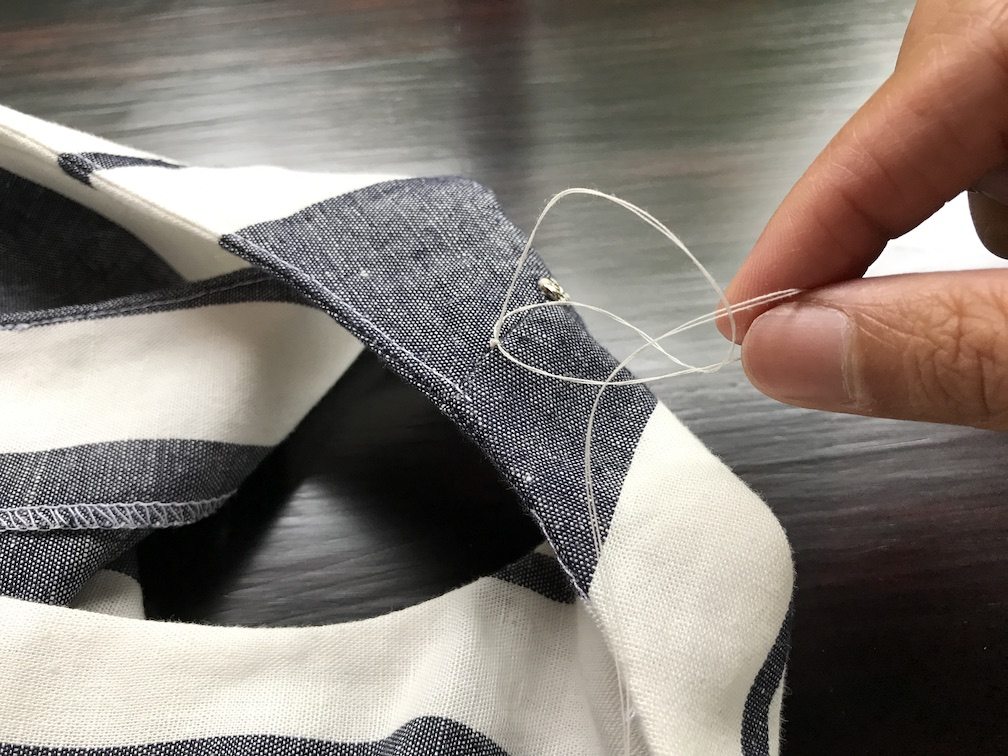
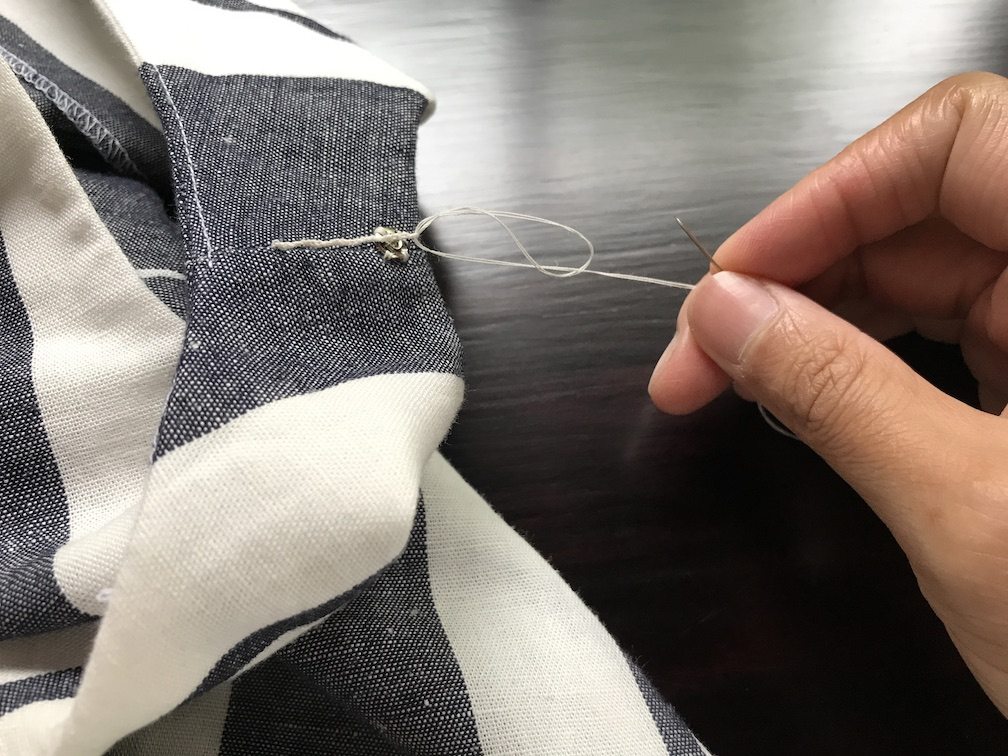
Take another stitch, but this time, do not pull all the way through, leaving a loop.
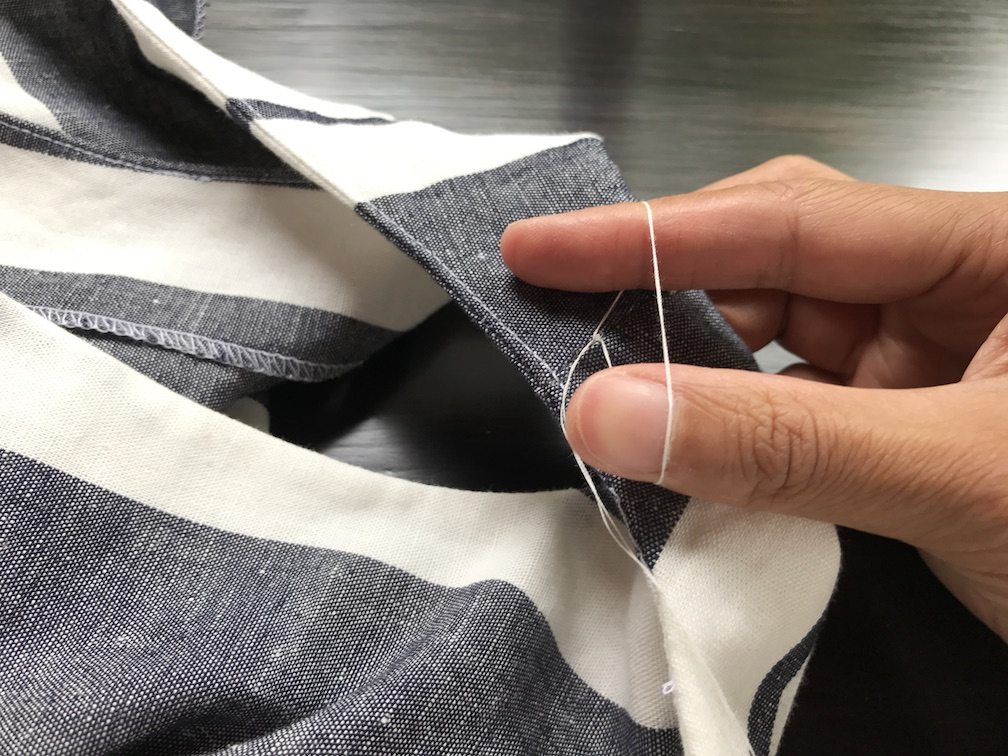
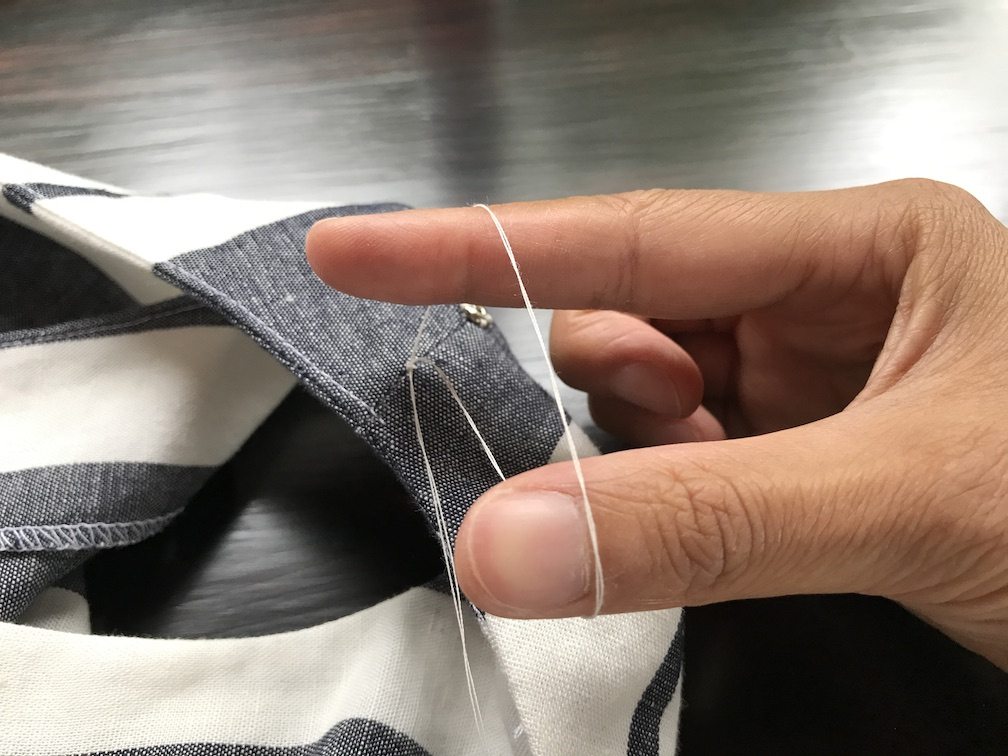
Forget about your needle for the moment, we are going to hand crochet using the thread. Put your thumb and index finger through the loop.
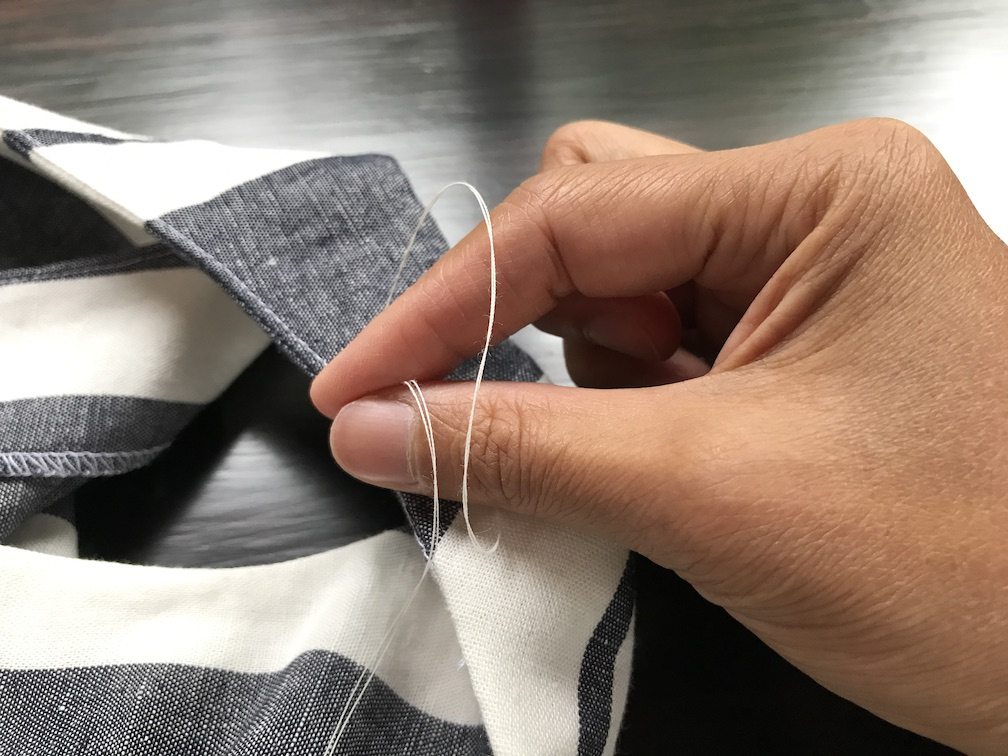
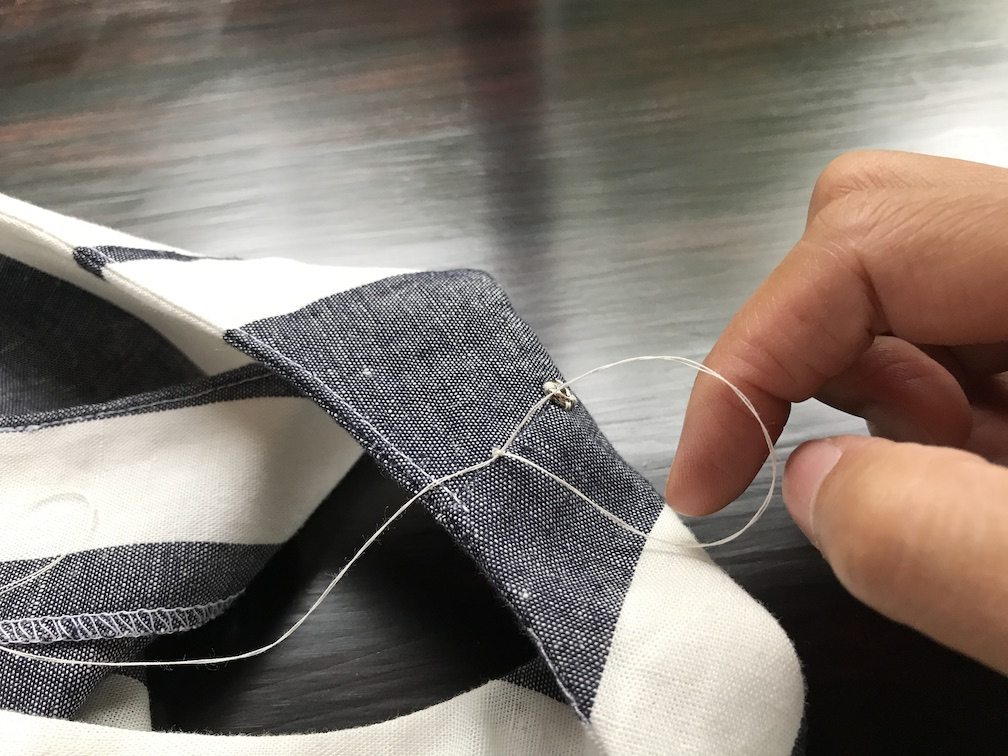
Grab the tail of the thread.
Pull through.
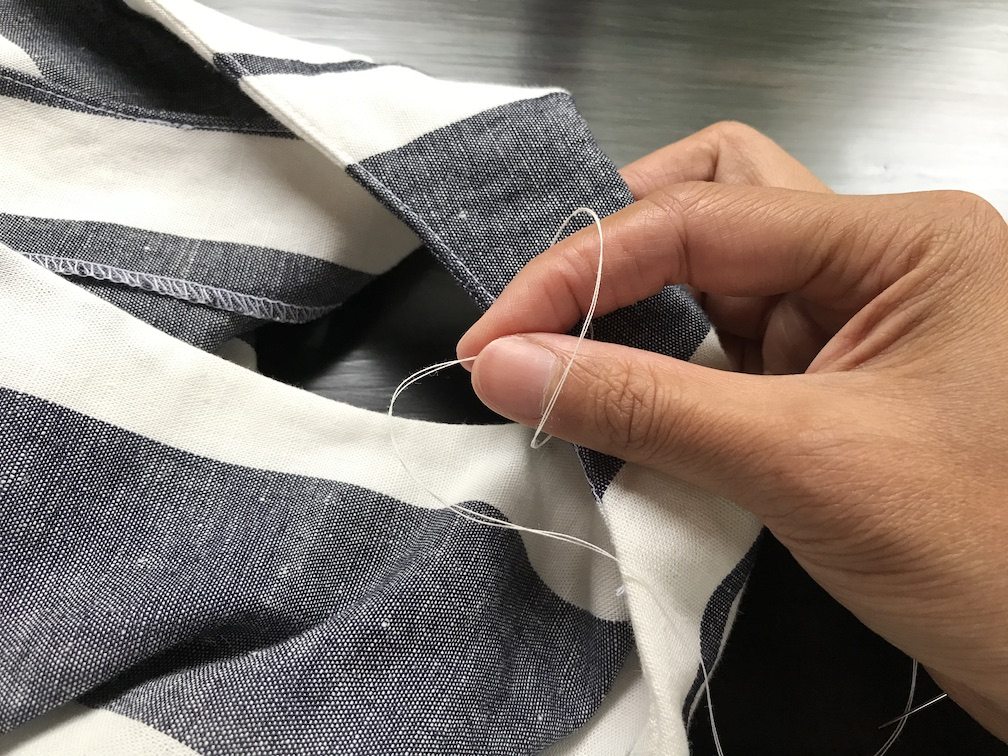
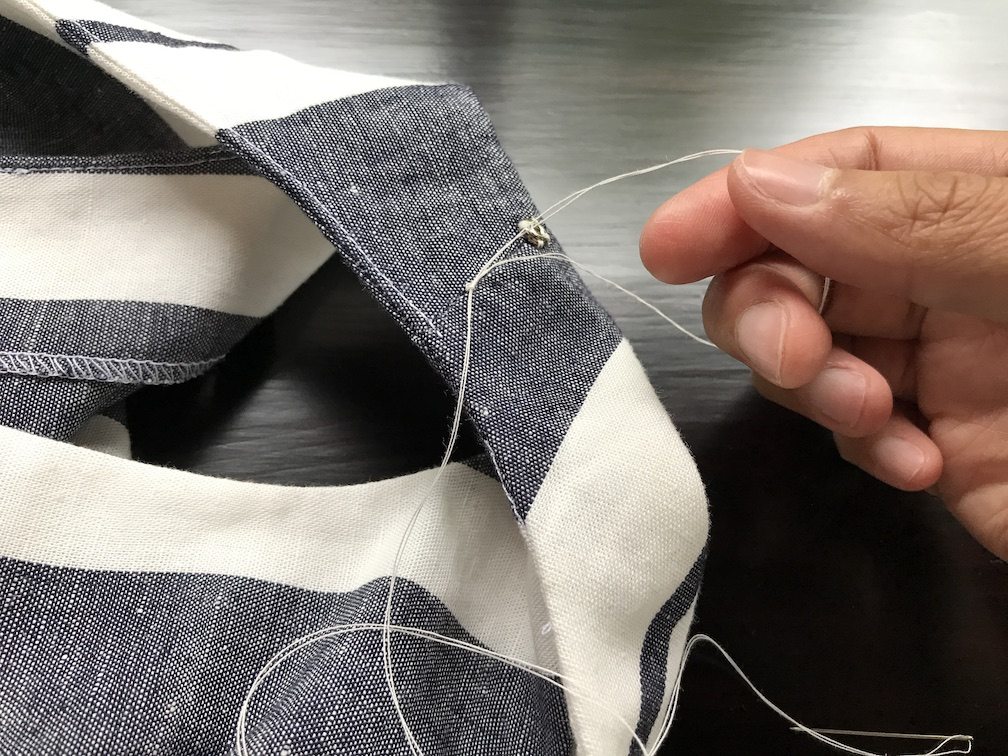
And tighten. You’ve made the second loop.
Keep on going – reach through the loop, pull the thread and tighten – to make the crochet longer.
Does this look familiar? We’ve used the same French tack for anchoring the skirt lining.
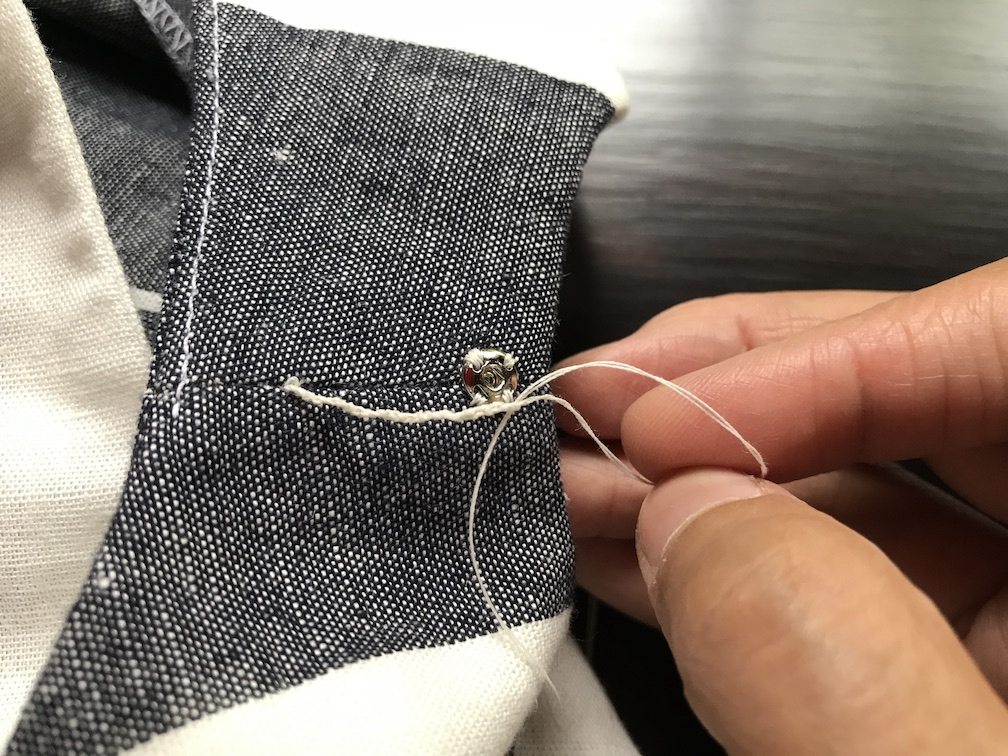
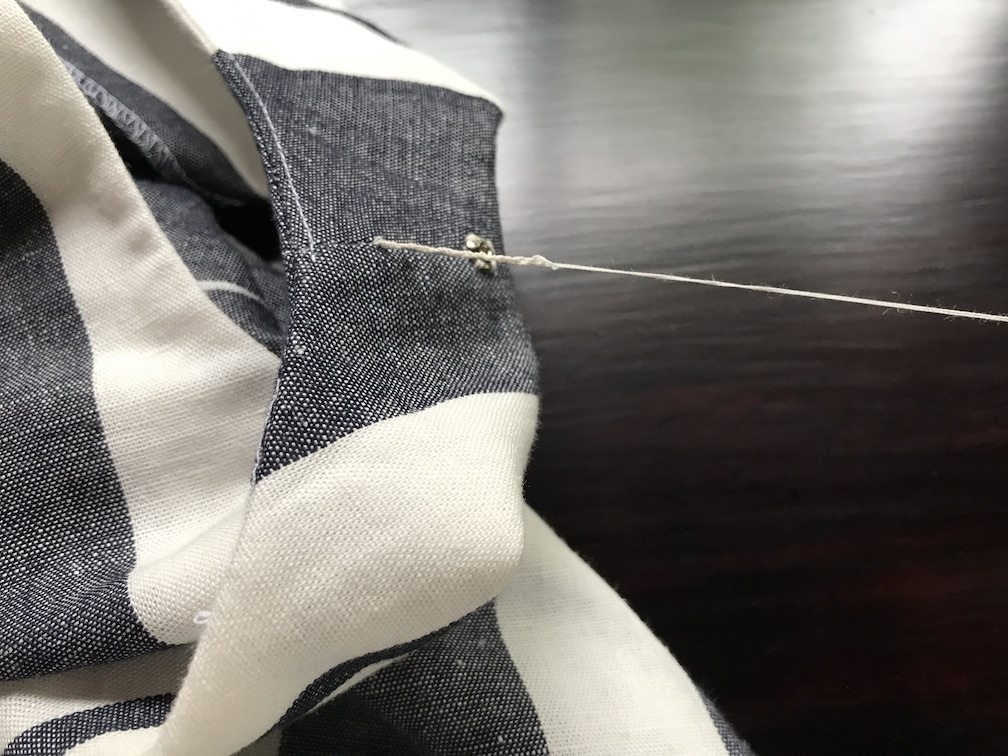
Once you are using to the motion, it goes very fast. You want to see how long you’ve crocheted. Once it’s long enough to reach the snap, then you are done.
Put the needle through the loop and tighten. It is now closed.
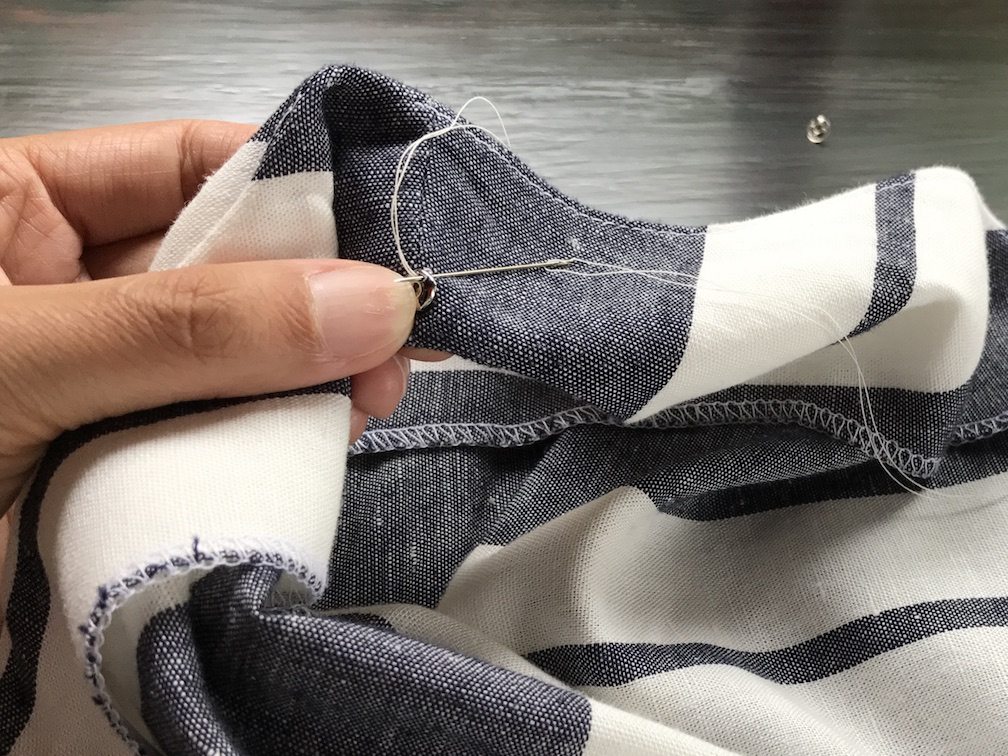
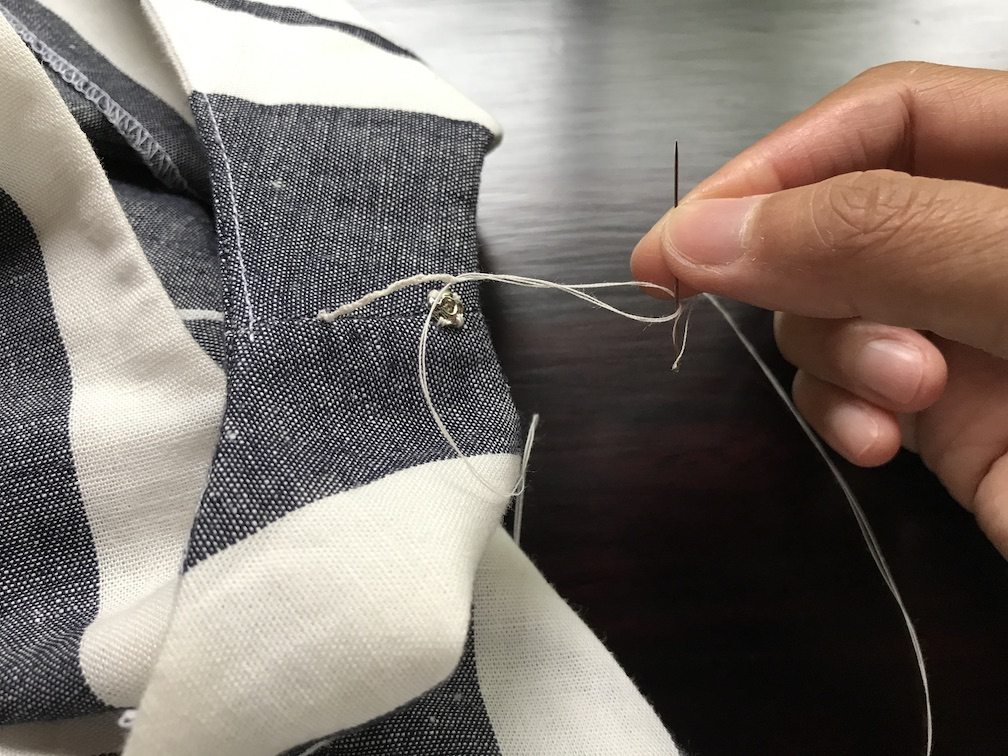
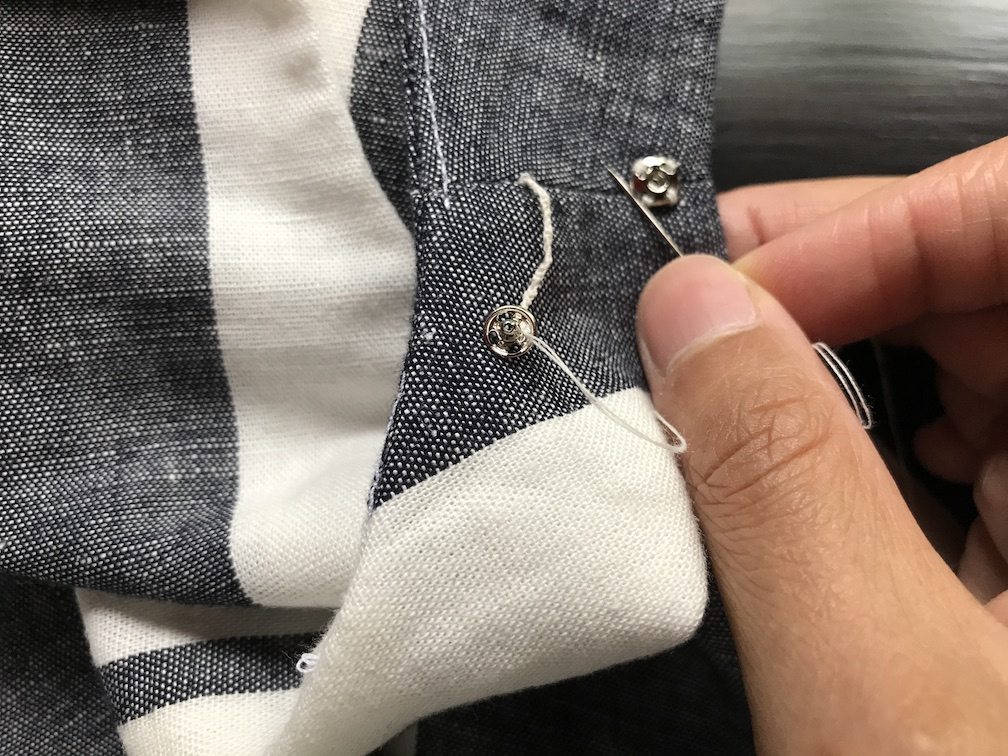
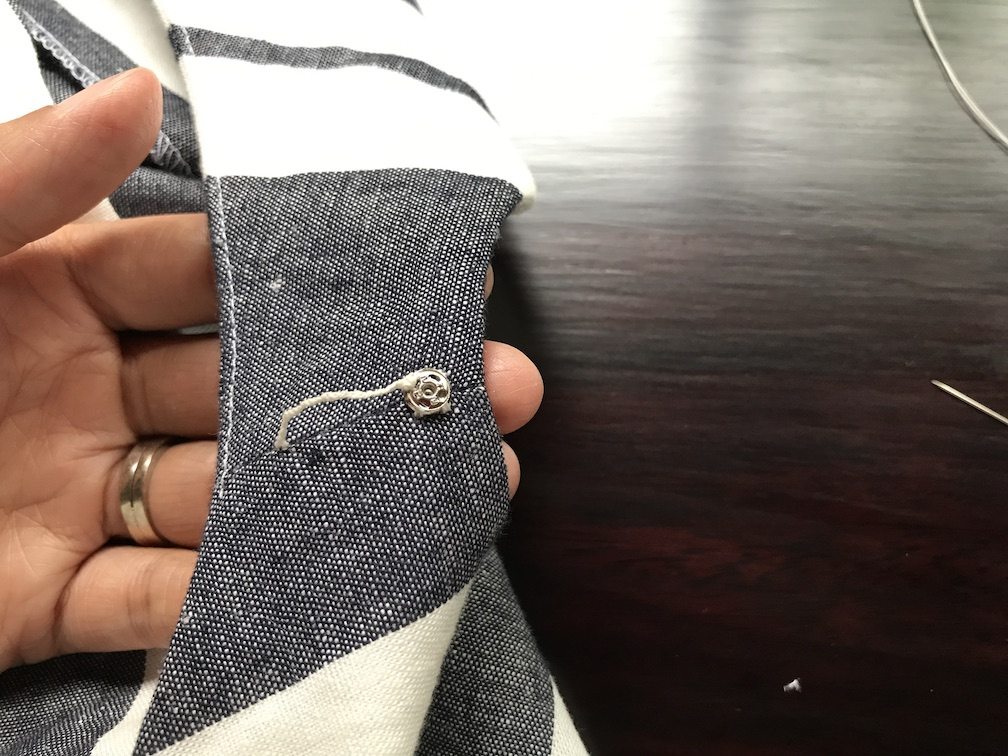
Now it’s time to sew the male half of the snap. Put the needle through one hole.
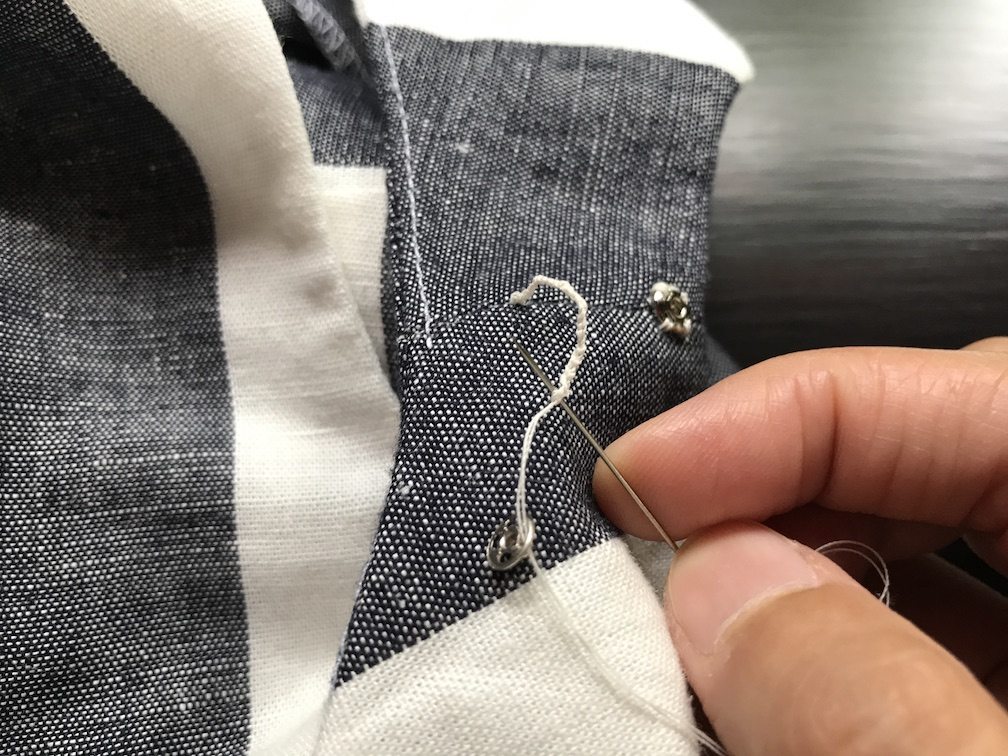
Put the needle through the end of the crochet.
Go through the hole and same spot on the crochet several times. Put a knot.
Cut the tail and that’s it!
Snapped!
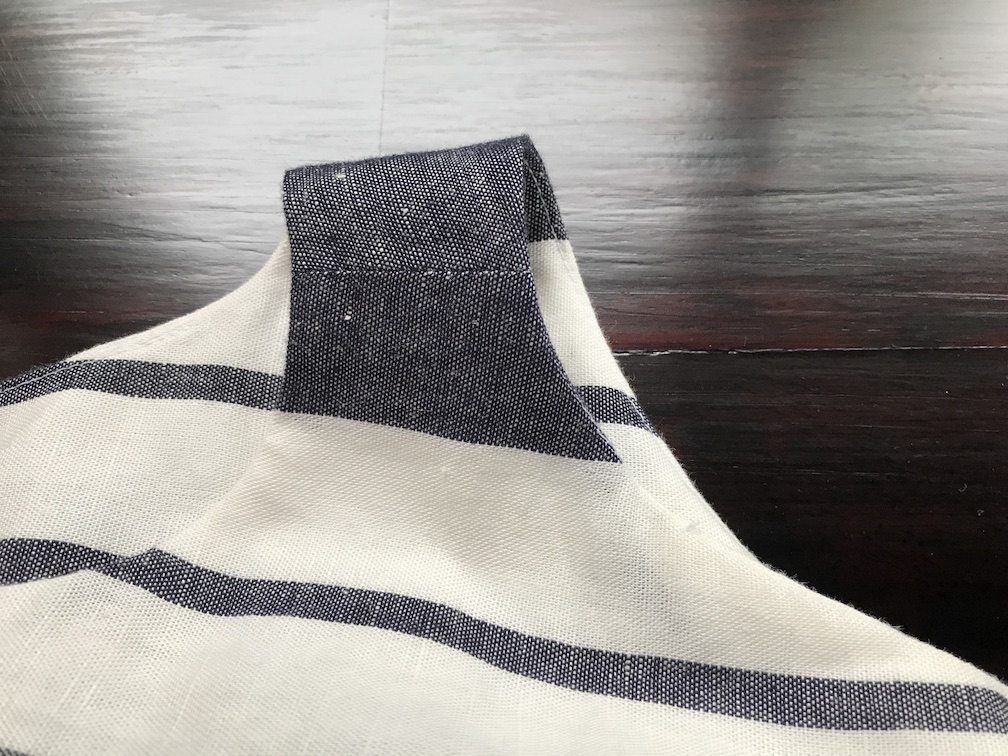
This is how it looks from outside – Can’t see the holder!
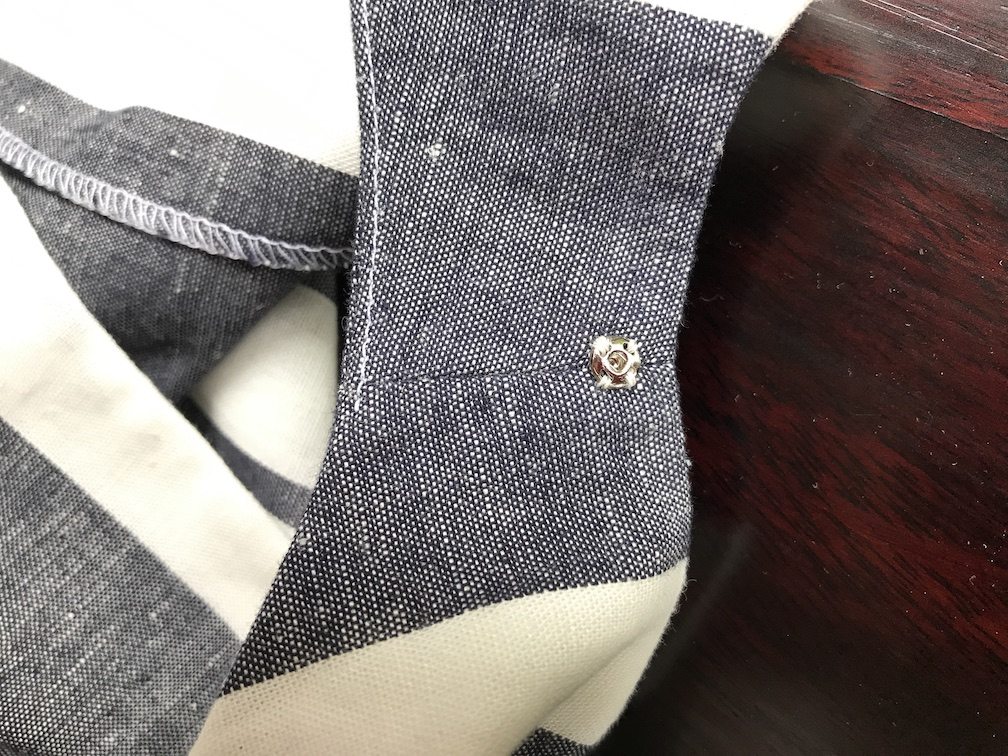
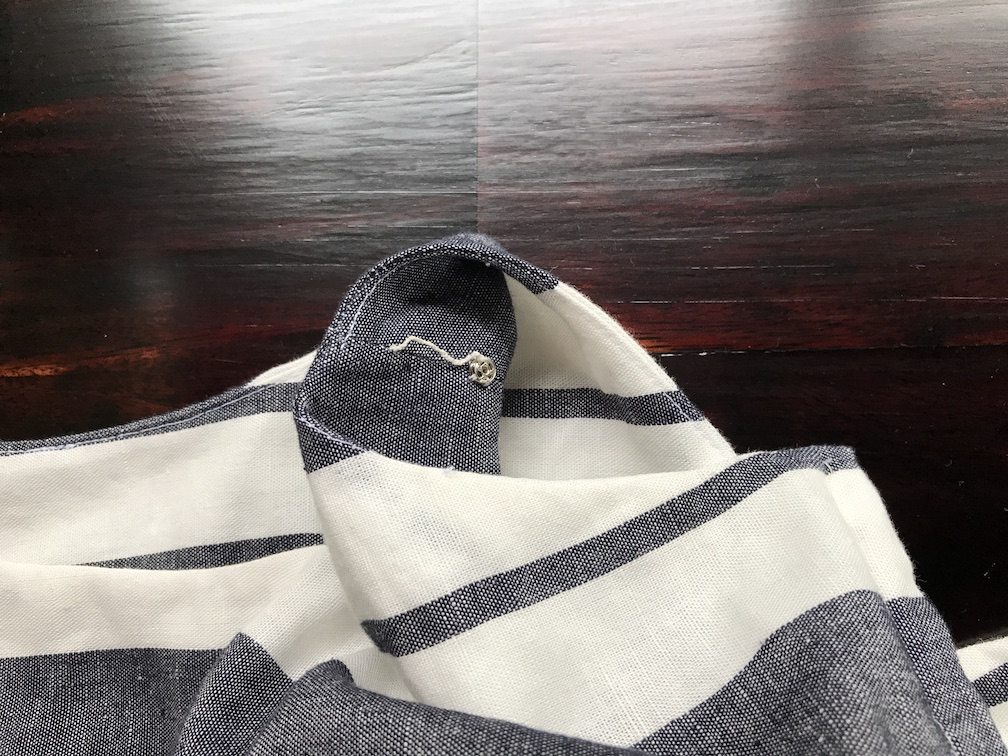
This is how it looks from inside.
You can now put on your top (dress), then trap your bra strap inside the holder. Just remember to unsnap before you take off your garment.
Until next time, keep stitching!



I don’t sew OR crochet, but this couldn’t have been easier — thank you! Maybe now I’ll give hand crocheting a try… 😁
Thank you, exactly the tutorial I needed for making a bra strap carrier . I now remember my grandmother showed me this exact method some 50 years ago !
Perhaps you could use the overlocker ‘tail’ ?
I’m sorry I guess my computer is awful slow today. Cheryl
I clicked on the link for the tutorial for bra strap holder, but it took me to the shirring video. Evidently people have been able to follow this at some point but it doesn’t seem to be available to me. Can you help. Cherylb640@yahoo.com Cheryl Brown
Thank you, I can’t believe it’s so easy to do too. But I guess you could only do this to a select number of clothes.
I was hoping to buy some of these in the store to attach to my grandaughter’s prom dress. When I didn’t find any, I decided to look online. As easy as it is to make, it would almost take as long to attach a store-bought one as it does to make it!!!
Thank you so much for an excellent tutorial!
Love this technique. Bra straps were not my problem. It was keeping the small straps of a sundress from falling down. This did the trick. Thank you. I learned something new today!
This was SO helpful. Seen this technique on a favourite dress which I bought. Just finished making a dress with gathered shoulders and couldn’t figure out how to create them.
Thanks great tutorial was going to use ribbon but this is far more discreet, need to put on my mother of the groom dress 👗😀
Thank you! Great pictures for the tutorial!
We also used this technique to make belt loops or anywhere you needed a loose tack, like around a neck detail.
This is AMAZING! it took me about 5min and made my life so much easier!
How long is the thread you begin with?
I never measured but it will depend on the thickness of your thread and how loose/tight you pull it. I think 10 times the finished length is probably pretty safe. It’s better to be too long than to be too short.
As with your patterns, this tutorial is excellent. Pictures made it easy to follow. Much appreciated. It’s these little touches that make such a difference. I have sloping shoulders and my straps always fall down. Not any more! Thank you, Thank you.
Thank you for reminding me of this long forgotten technique we use to call a” Spanish Fly” back in the ’70’s. It works and it’s time to start using it again instead of trying to find a bra whose straps will stay in place!
Just followed this fantastic technique to sew in my wedding dress — thank you so much for sharing!
Thank you so much I thought nobody nowaday ever use this technique anymore. I have drooping shoulders that’s why my bra always falls off my shouldet and its so embarrassing and annoying to keep pulling up the strap each time. I remembered my mother she had her dressmaker sew on this kind of strap holder in all her dresses. But both my mother and her dressmaker are gone I have nobody to ask anymore I am so happy that there is still someone like you who knows and share this technique. I will surely try to do it hopefully I can successfully follow it but it seems your instruction is so basic and comprehensive. THANK YOU SO MUCH it helps me bring back good old memories too.
What a great solution! I have used the safety pin trick (letting the bra strap slide through loosely) but now I may have to make a permanent strap-catcher on some of my tops, with this easy idea! Thanks!
Thank you so much! This is clear, simple, and a perfect solution. Thank you for the excellent step-by-step instructions!
Thank you so much for this!! So quick and simple, yet I never would have figured it out myself! 🙂
Some ready-to-wear clothing has this feature too. 🙂
very good!! describe so well. Will be making lots of these, I have 1 shoulder lower than other and that one always slips out!! thank you thank you
You are welcome Joanne.
Thank you for this great tutorial! I hate my bra straps showing but I never would have thought to construct a jig like this to trap it inside the shoulder of the top.
You are welcome! Little things like this make us happier with our custom made clothes. ?