
How to apply interfacing and finish edges at the same time
Frankly, facing is not my preferred method to finish a neckline or waistline, but sometimes it’s just inevitable if I want a certain look for my garment. But this technique of applying the interfacing and finishing the edges makes me feel just slightly better about facing.
(I thought long and hard on how to title this blog post. But at the end, I choose to spell it out the technique as the title. I don’t think there’s a one- or two-word description that is clear. Clarity is better than brevity, if I must choose, right?)
I used this same method in my Emily Culottes pattern. I think it is particularly useful when you do not have a serger to finish the edges of the facing. And if you are using French seams throughout the whole garment, I think this way of handling the facing produces a compatible look.
Let’s dive into it!
Here I am demonstrating using a facing for the neckline. The same technique can be used for finishing a facing for the waist too.
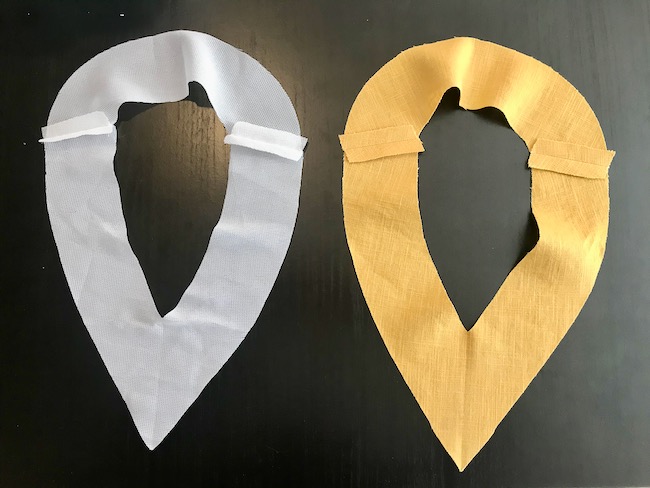
I have the interfacing on the left-hand side and the facing on the right-hand side. First, with the right sides together, sew the shoulder seams on the interfacing. Do the same for the facing too. The right side of the interfacing is the side without glue. You cannot use your iron to press the seams on the interfacing, obviously, but you can press the seams on the facing.
It’s best to trim the seam allowances to reduce bulk.
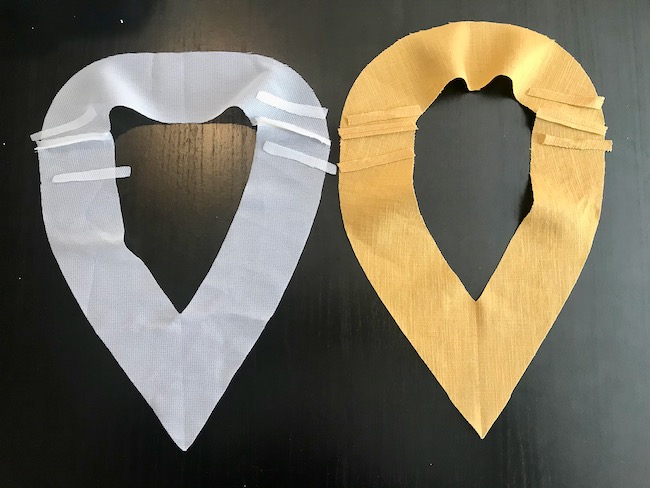
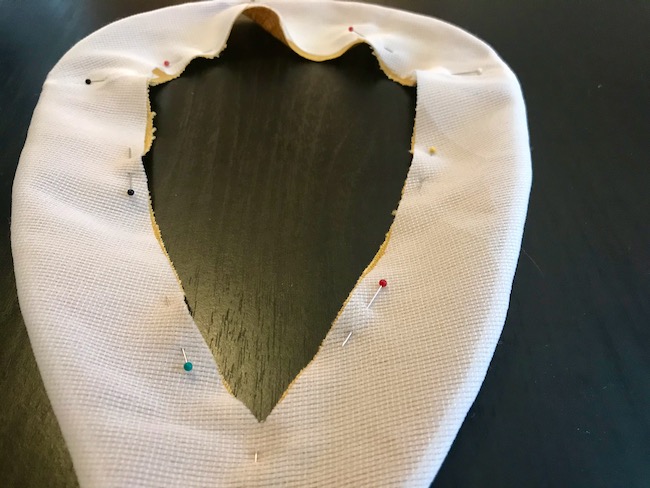
With the right sides together, pin the interfacing to the facing at the outer edges and stitch. My stitches didn’t show up so well, so I superimpose the stitch line for clarity.
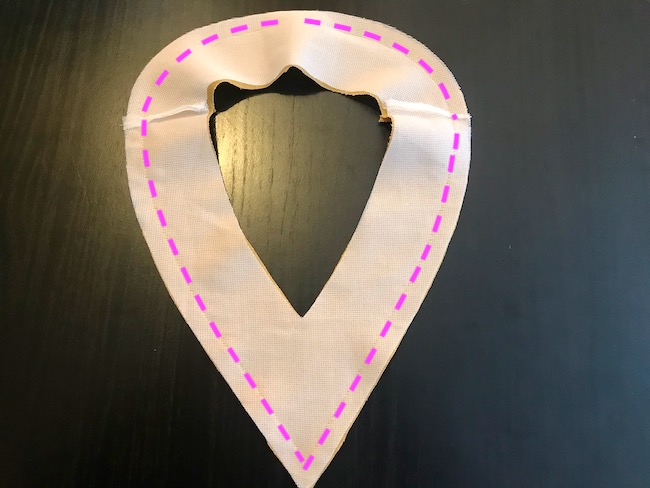
Then trim the seam allowances. I trim enough so that only about 1/8″ (3 mm) of seam allowances remain. If your facing has a point like mine, you should trim off the very point as well. But always, don’t cut off any of the stitching!

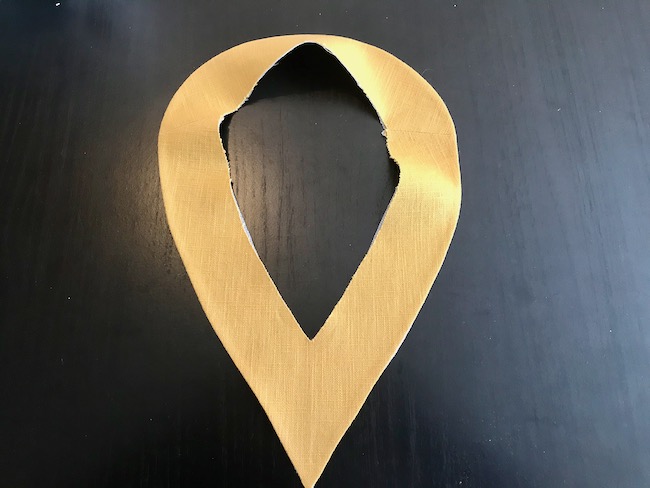
Now turn the interfacing so that the wrong sides of the interfacing and facing are together. This is easier said than done. It takes a bit of finessing to achieve it. But be patient; it can be done. Obviously, you cannot use an iron yet or your interfacing will stick to the iron.
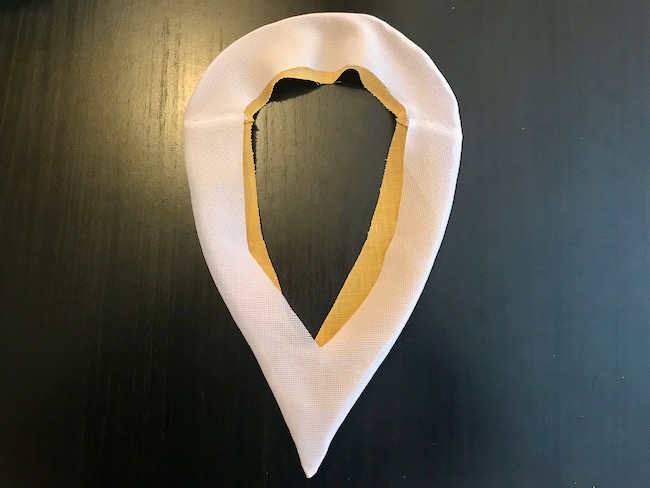
I use some pins to hold the pieces together.
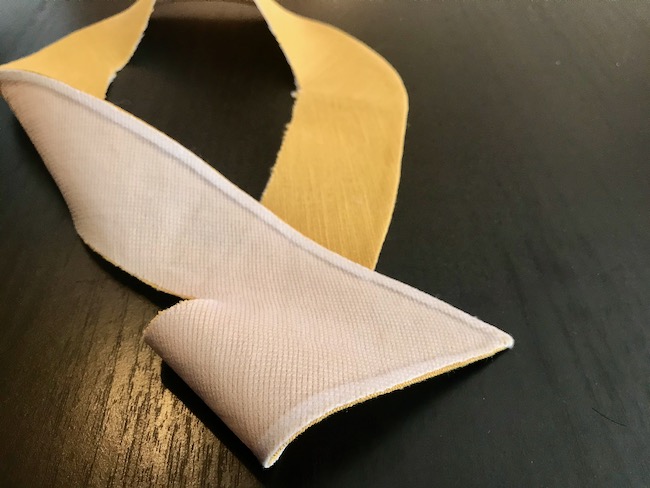
Now you can slowly use your iron to fuse the interfacing to the facing. You will need some patience to get a nice edge.
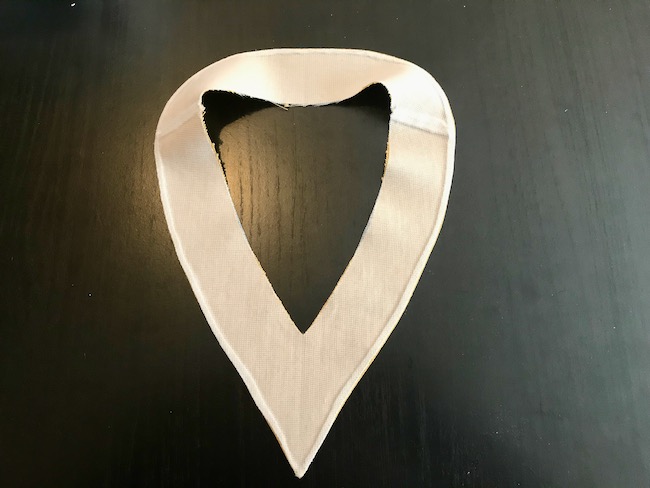
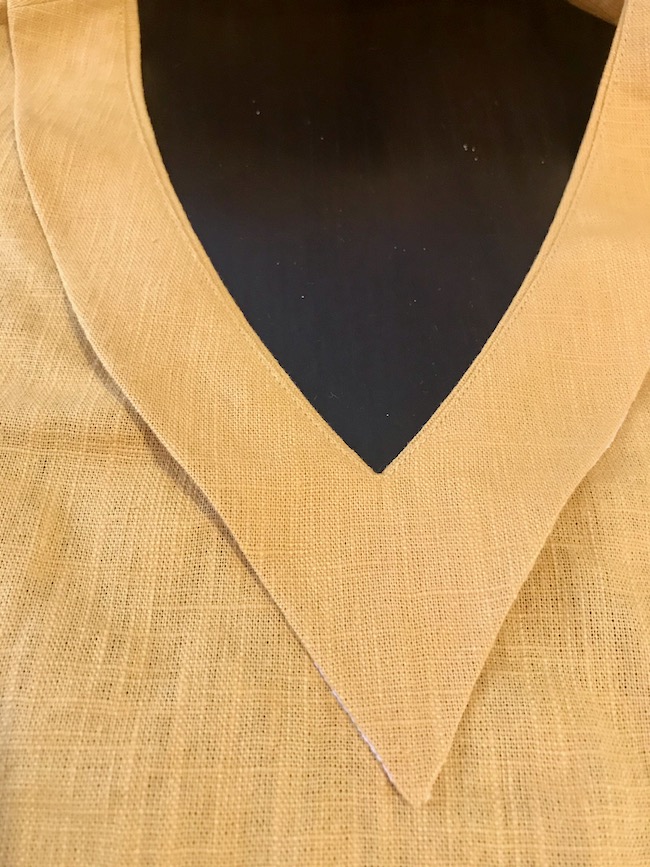
Here’s how it looks on the other side.
You see the outer edges are enclosed.
Your facing is now finished! Since this post is about interfacing the facing, I am not going into how to stitch the facing to the neckline, but here’s a shot of how it looks anyway. The facing is on the wrong side of the bodice.
Is this a quicker way? No, it’s not. Is it a nicer way to finish the edges on the facing? I think it is. But you can be the judge yourself!

I have tried this technique and love the look. It certainly classes up the garment. Thanks
I don’t have a serger and use French Seams to finish my projects. I want my garments to look good inside and outside. Thank you so much for this it will definitely try this.
Wow! This is a great technique. Thank you very much for improving our sewing knowledge and ultimately the end results of our garments!! BTW your patterns are very well written and the sizing information is accurate, making it easy to pick one’s correct size. Thank you!
I like to learn anything that bumps my technique up a notch. Thank you – I’m going to try this!
That is smart!!
Yes! I, too, have been doing this for a number of years now! A little practice makes it a lot easier and it looks so nicely finished!
Will this work on the Islares square neck facing?
Yes, it will.
Nice clean finish. Thanks for this tip.
This is super neat and thank you for clearly explaining this technique for a “clean edge facimg”, or whatever it is known by 🙂
I too, have used this method for years. It works well for non-fusible interfacings also.
LOVE IT. WOW
What interfacing do you use looks a lot better than the stuff I use.
What a great tip and I love the results.Can’t wait to try it!
I’ve been using this technique for years and never knew what to call it!
Oh wow, that is so clever. I think I must try this at some stage
I have never seen this before, but it’s beautiful!! I’m going to try it on my next make.
I learned something new here. I live to have the inside of a garment looking great, I’m going to try it!
Very clear instructions thanks, I had heard this method being mentioned in a podcast but only now does it make sense. Thank you!
I use this method when I must use a facing. A bit fiddly, but I end up with a nicely finished edge.
I’ve been doing it this way for years! When I make a tunic top, I will attach the facing to the wrong side of the blouse and flip out to the right side, top stitch, leaving a nice trim style around the neckline. Sometimes I will use a contrast fabric. When you use this method, everything has a clean finished edge. French seam your blouse and you can wear it inside out lol!