How to Grade a Seam Allowance
Hi Itch to Stitch Readers!
Today I would like to talk a little bit about grading seam allowances, one of the easiest ways to reduce bulk in your seam allowances and keep your garments looking smooth.
But what is Grading?
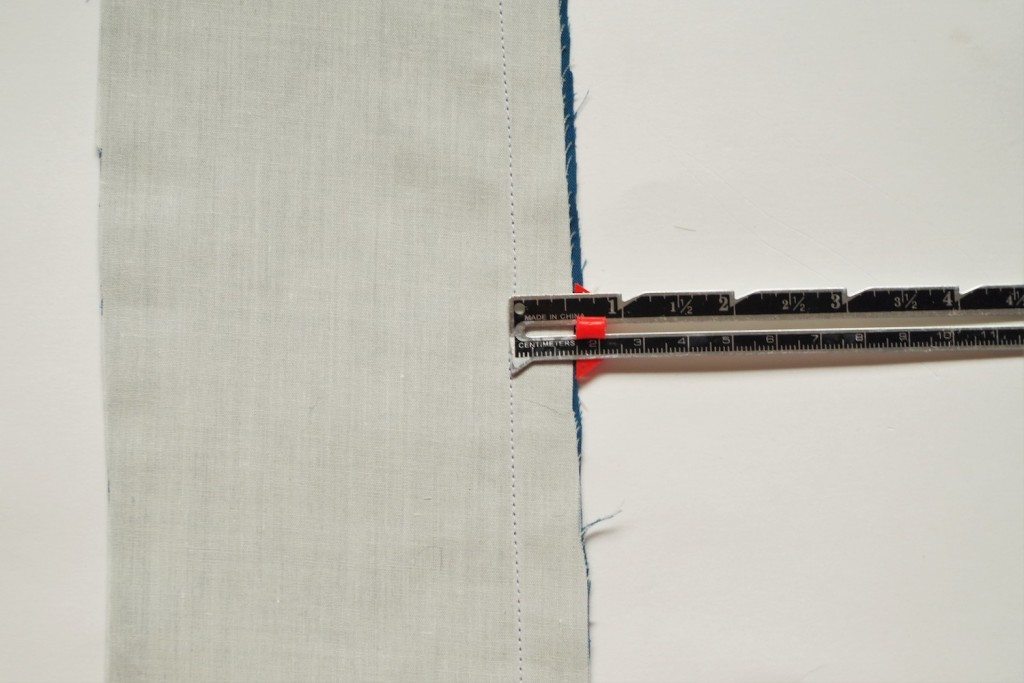
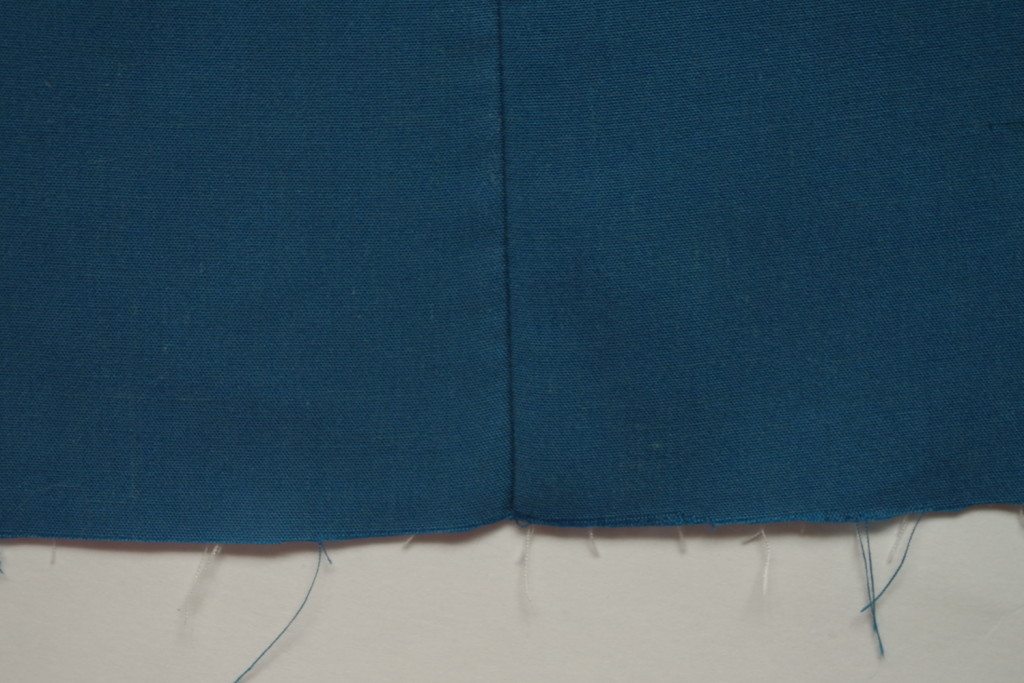
In the simplest terms, grading a seam allowance is cutting the layers of fabric in your seam allowance into tiers. This will make the layers in the seam look like stairs. Usually after you finished sewing a seam all of the layers of fabric involved will be the same length since you sewed them using the same seam allowance as illustrated in the photo above. Most of the time this is fine, but if your seam has many layers of fabric, or you’re sewing with something that’s heavy weight you may find that that your seam allowance is looking bulky from the right side – Oh no!
Grading your seam allowance is the perfect solution to this problem. But cutting away the layers of the seam into graduated tiers, you’re encouraging the fabric to lay flat with limited bulk.
How to Grade a Seam Allowance
Grading is incredibly simple once you get the hang of it! After you’ve sewn your seam, the first step to grading is pressing your seam as per your pattern instructions. Typically, if your pattern calls for you to press a seam open you won’t need to grade it unless there are lots of layers of fabric involved. On the other hand, if your pattern is calling for you to press the seam to the side this is a great time to use grading to get a thinner seam.
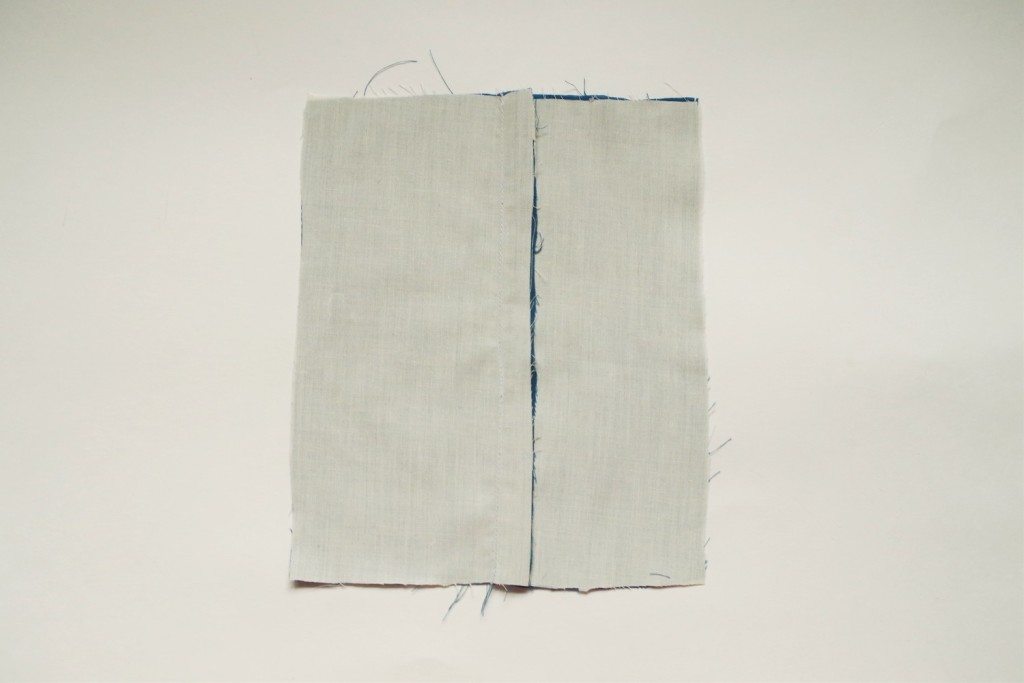
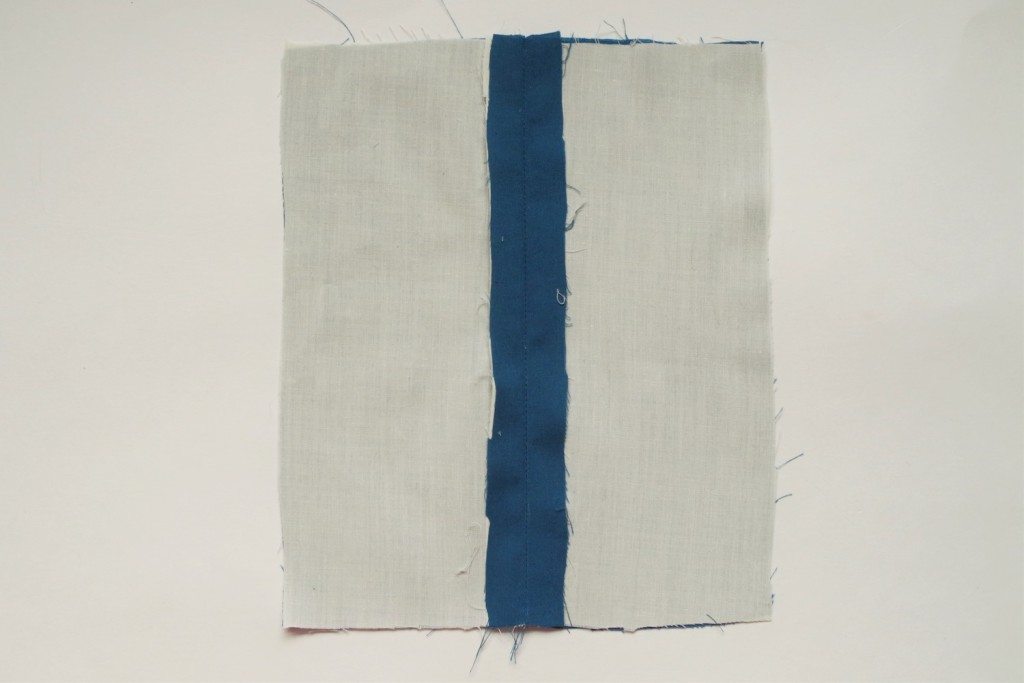
This tutorial will show how to grade a seam that’s pressed to the side, but if you’re grading a seam that’s pressed open just follow these steps on each side of the seam.
Now that you’ve pressed your seam, you’re ready to start snipping! Position your seam so the wrong side is facing up, and you can see all the layers you’re working with. The layer facing you, the closest to your body when wearing your garment, will be the shortest layer. The bottom layer, the one farthest away your body when wearing your garment, will be the longest layer. We keep the layer on the bottom the longest so when the garment is worn it will push the shorter layers in place, acting like a cover.
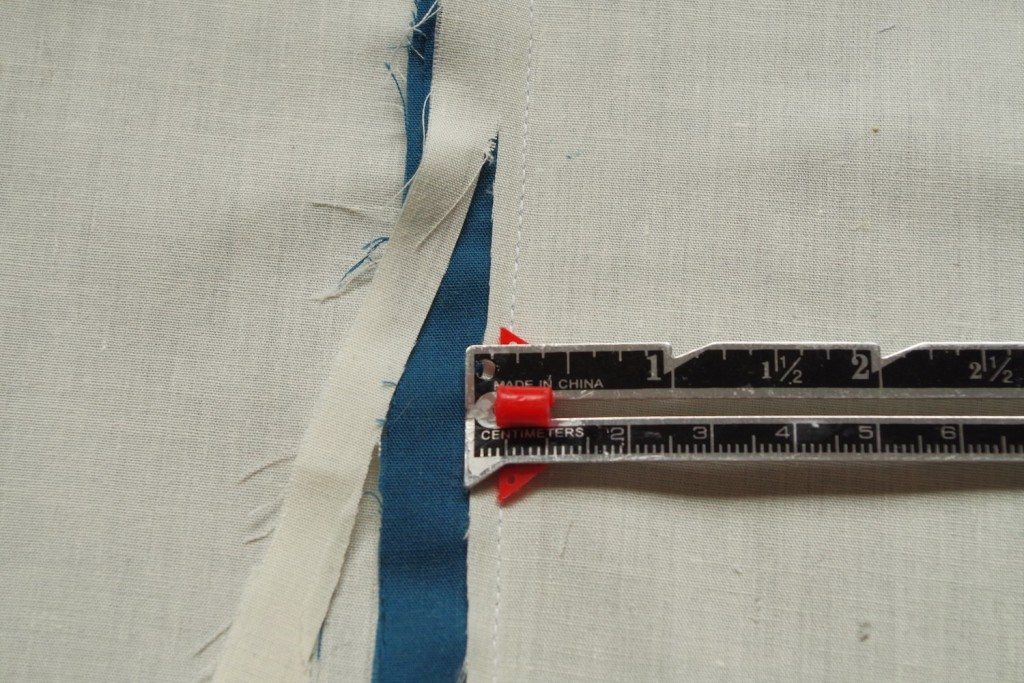
Start by cutting your first layer to approximately 1/8th of an inch (3mm). This doesn’t need to be perfectly accurate, just do your best. From this point on, every additional layer of fabric will be trimmed to be 1/8th of an inch longer than the last. When were finished, our seam will look like a staircase!
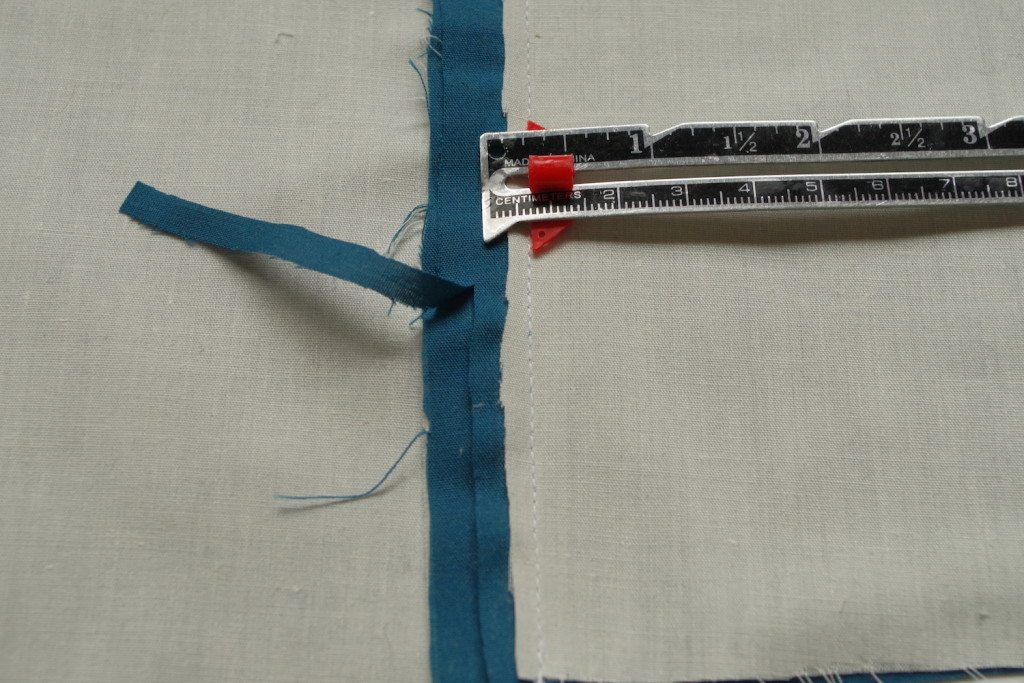
This means if you have two layers of fabric, the innermost layer will measure ⅛” (3mm), and the outermost layer will measure ¼” (6mm).
If you have three layers of fabric, the innermost layer will still measure ⅛” (3mm), but the middle layer will measure ¼” (6mm), and the outermost layer will measure ⅜” (1cm).
And, i’m sure you can guess, if you have four layers of fabric the innermost layer will be 1/8” (3mm), the second ¼” (6mm), the third ⅜” (1cm), and the fourth ½” (1.25cm).
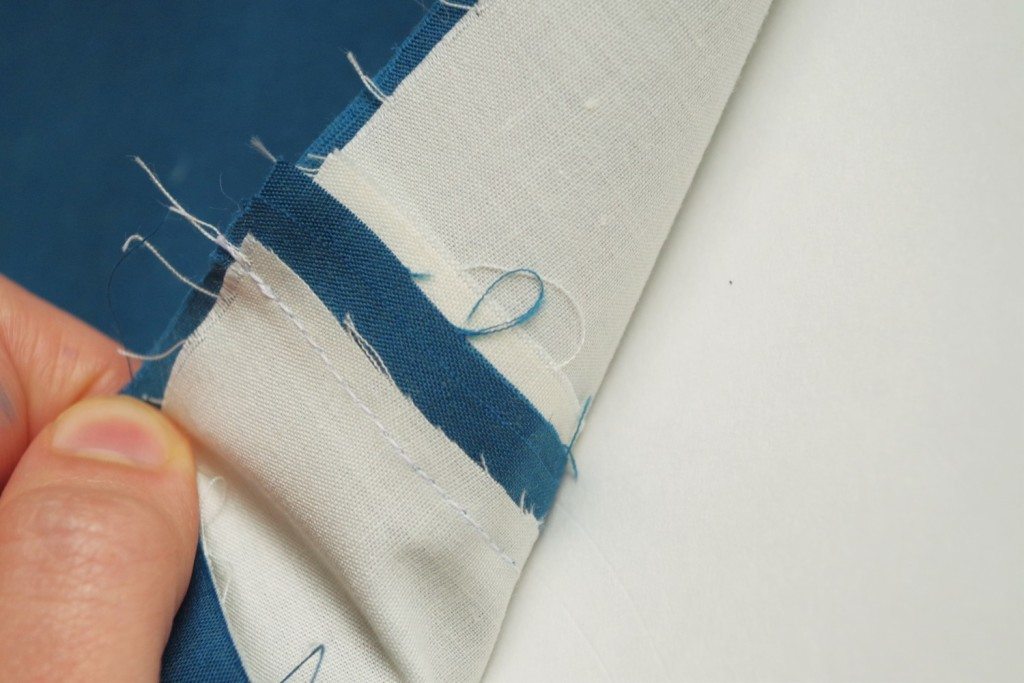
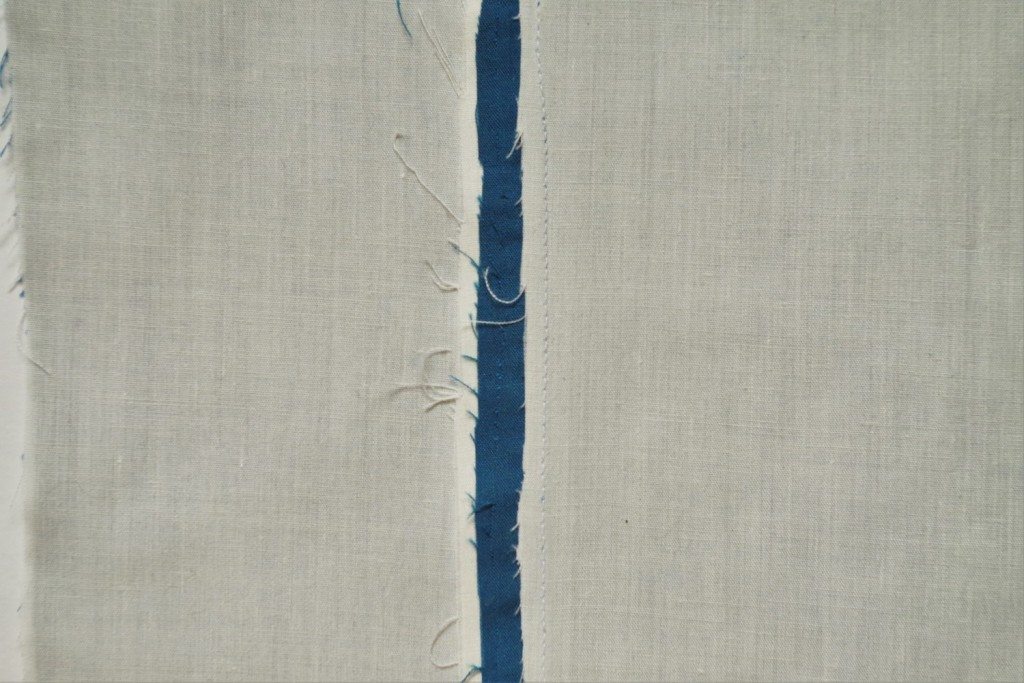
Now, just like that you have finished grading your seam! All that’s left to do is press it into place and admire your hard work.
One more thing you should know about grading is that the measurements I’ve used in this tutorial are just a guide. Some sewists like to leave the longest layer at ⅝” (1.6cm) and grade down from that point, some sewists like to cut in increments of ¼” (6mm) instead of ⅛” (3mm).
The numbers you choose are all up to you and your personal preference, so do whatever feels good! The only thing that really matters is that the layer closest to the outside is the longest, and they get progressively shorter from that point. Metaphorically speaking, you can make your stairs as as big as you want as long as you still have a staircase.
I hope you have enjoyed this tutorial on how to grade your seam allowances. This is such an easy way to give your sewing projects a professional touch.
Do you usually grade your seam allowances? On more casual garments, like the Idyllwild Top and Dress, I usually just finish my seams with an overlocker but on fancier pieces, like the Salamanca Cropped Jacket, I like to grade the seams! Let us know in the comments how you like to grade your seams.
About the Author: Hi! I’m Rachel, a fashion-obsessed maker from Canada. My goal here is to inspire you to sew creatively and try new things. You can usually find me drinking cold coffee while hanging out with my cat, or blogging my creations on The Wild Stitch.


Thank you. Yours is the only explanation that is clear to me! Beautifully explained and illustrated.
I was wondering, do you have a tutorial on bound buttonholes? I saw the excellent one you did on welt pockets.
Thank you! I’ve never graded a seam before! I’m attempting the Oia Dress and clicked the link to this tutorial from the pattern. Thank you! I’m looking forward to my finished product! 😀
Thank you. I really enjoy your tips and tricks. Some are refreshers and others are new to me.
I never knew where to put the longest or shortest layer on the grading nor did I give it any thought – I just cut shortest the one that was close to me when setting out to do the task but it makes perfect sense to have the narrowest seam be the one closest to your body! Thank you for yet another great tip!