
Liana Jeans Sew Along: Day 9 – Sewing Sewing Back to Front & Waistband
We are in the home stretch today! By the end of today, you can try on your Liana Stretch Jeans, although we’ll still have the finishing touches on the last day. I put on mine, and let me tell you; I love my jeans! This is my favorite pair yet! I love the color and thickness of the fabric. It is less stretchy than my previous ones, so I upped a size.
Anyway, let’s get back to our Liana Stretch Jeans sewalong. I will be going over sewing the back and the front together, as well as sewing the waistband.
Sewing Front to Back
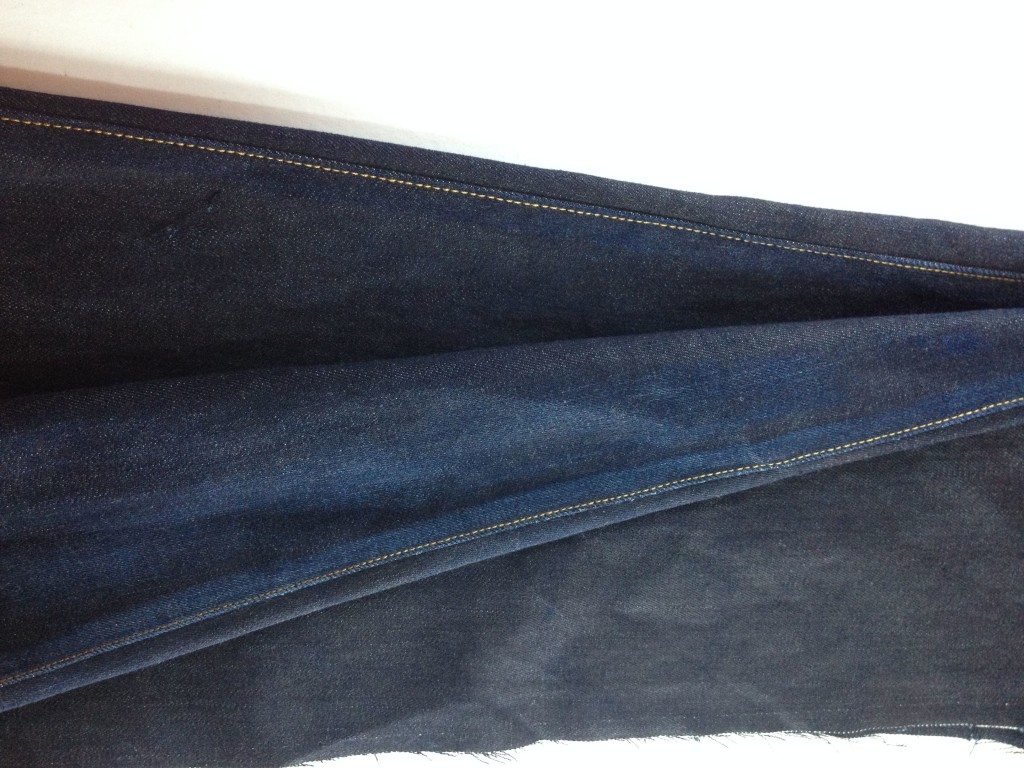
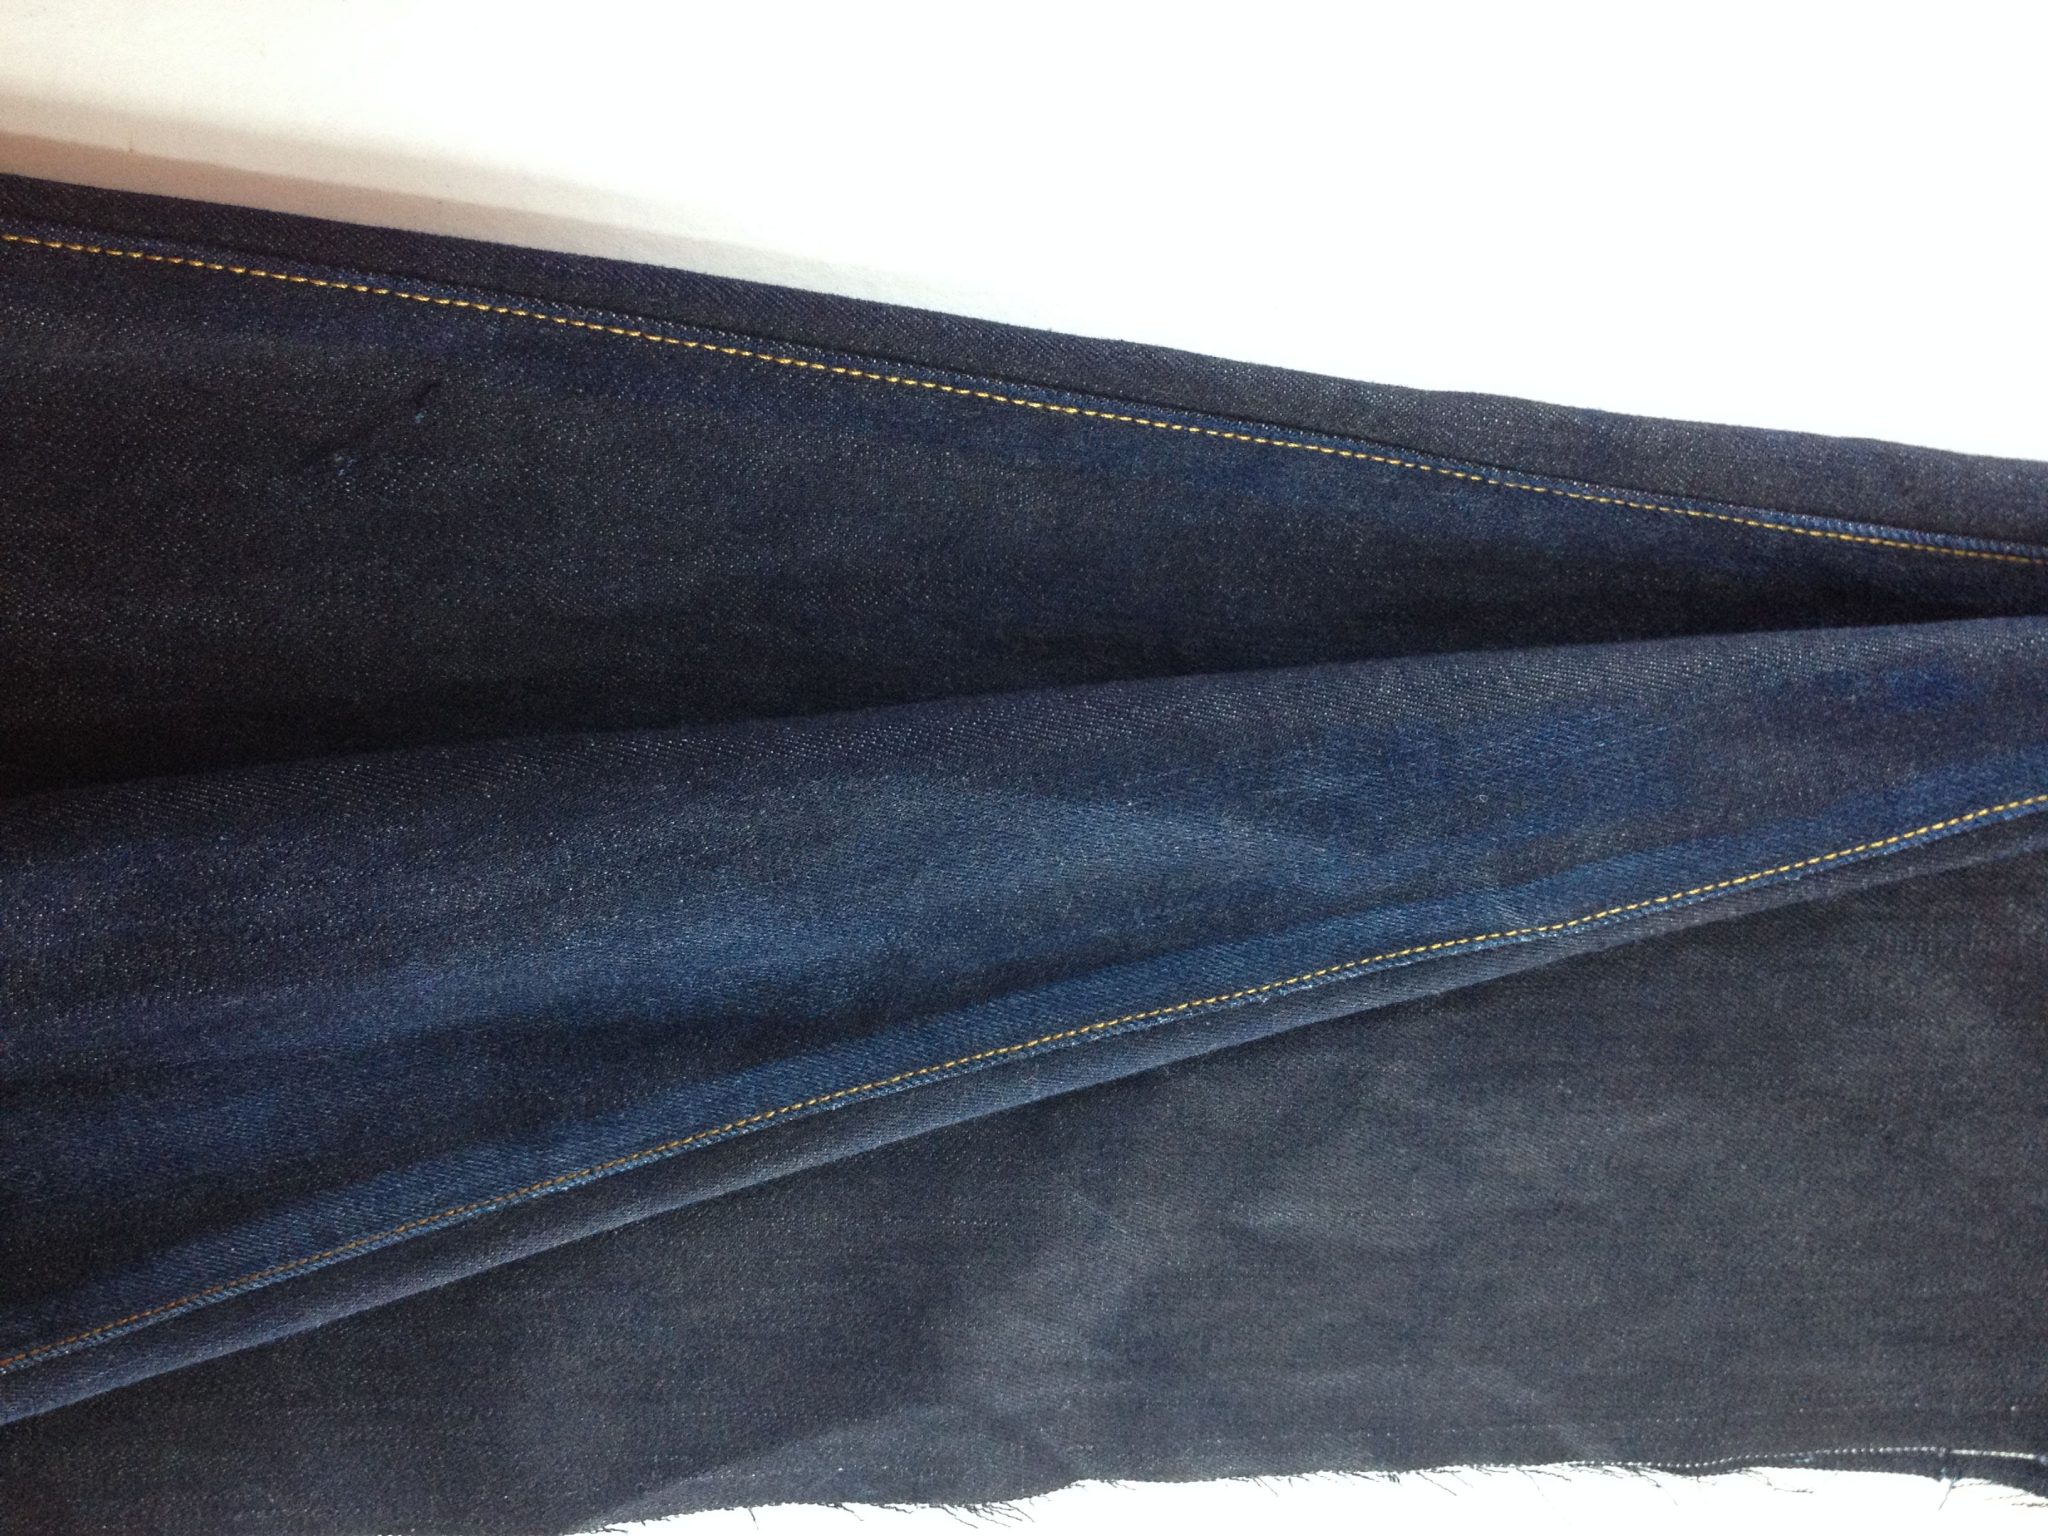
- Let’s deal with the inseam first. The front inseam is slightly longer than the back inseam, and you are supposed to stretch the back inseam to fit. Specifically, take the Front and Back pieces and pin the bottom/hem together. Then match/pin the knee notches as well as the crotch together. You will see a bit of a slack above the knee notches, and this is where you should stretch the back inseam to match the front inseam.
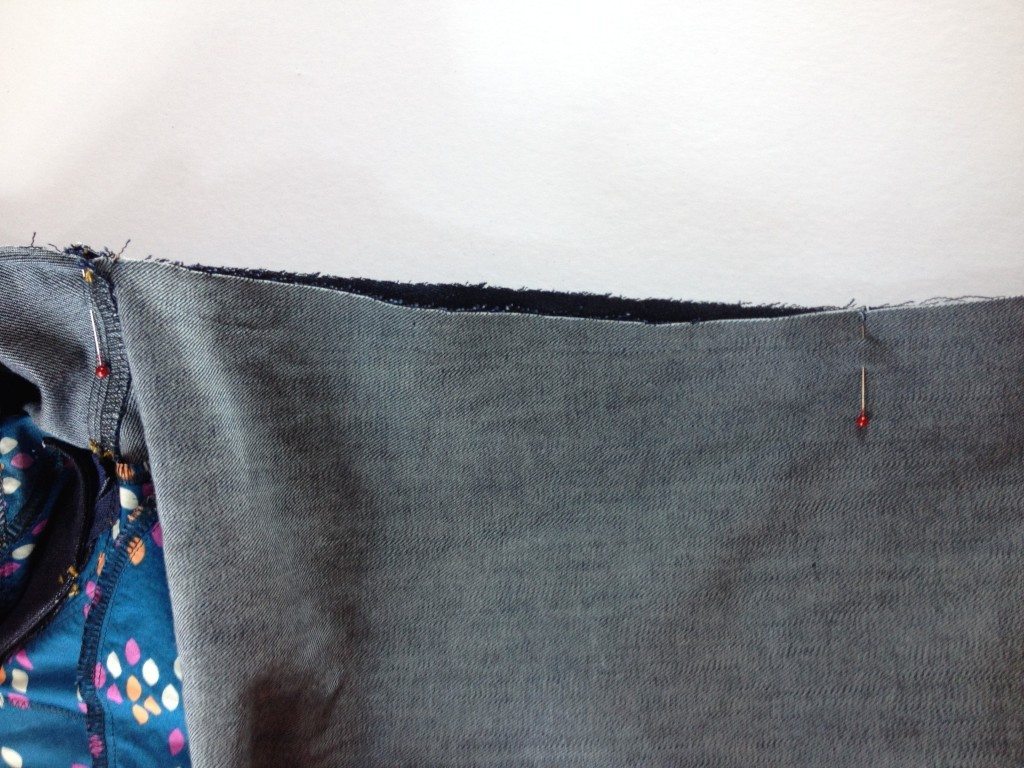
Front inseam is slightly longer than back inseam – stretch to fit.
- After pinning, stitch the inseam in one swoop.
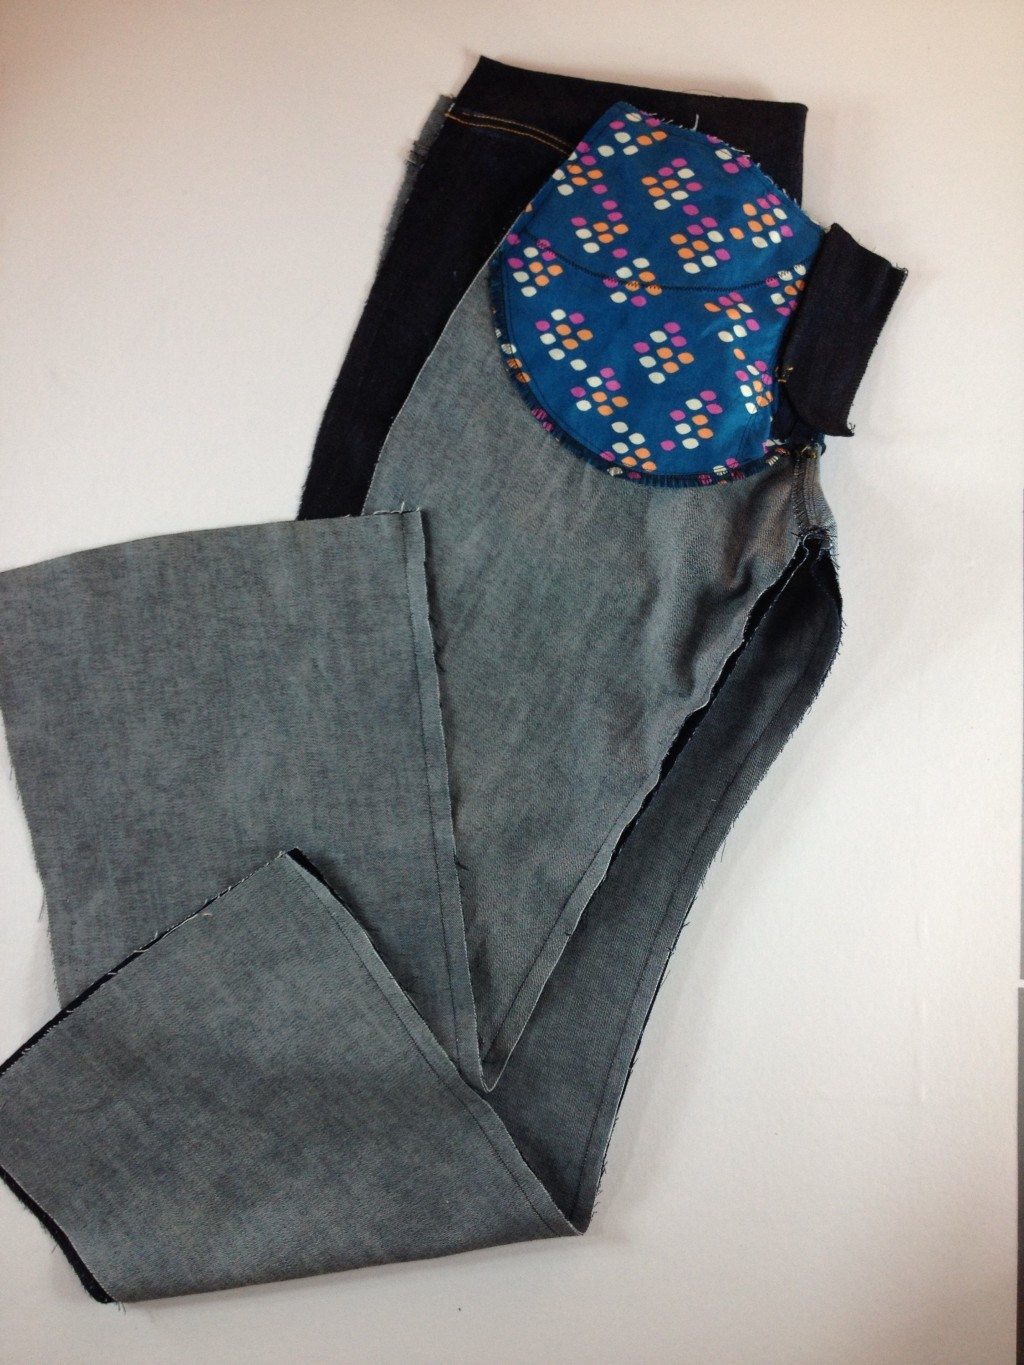
Inseams sewn.
- Press the seam allowances toward the front. And if you are distressing, do it now.
Distress. Watch out for the existing topstitching and don’t rub them out.
- Serge (or zigzag) finish the seam allowance.
Serge seam allowance.
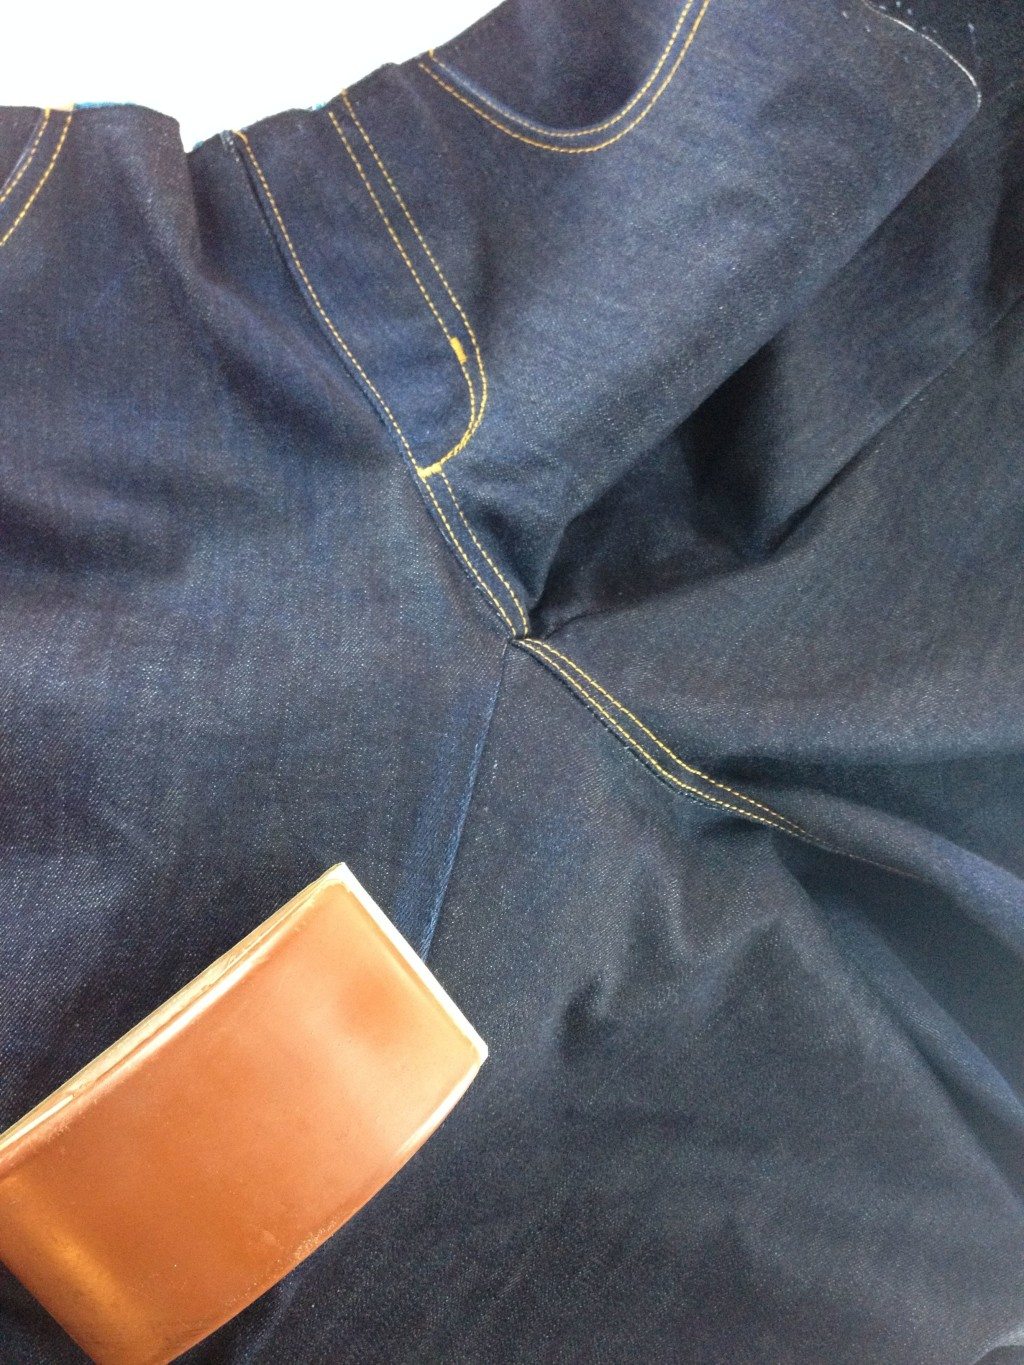
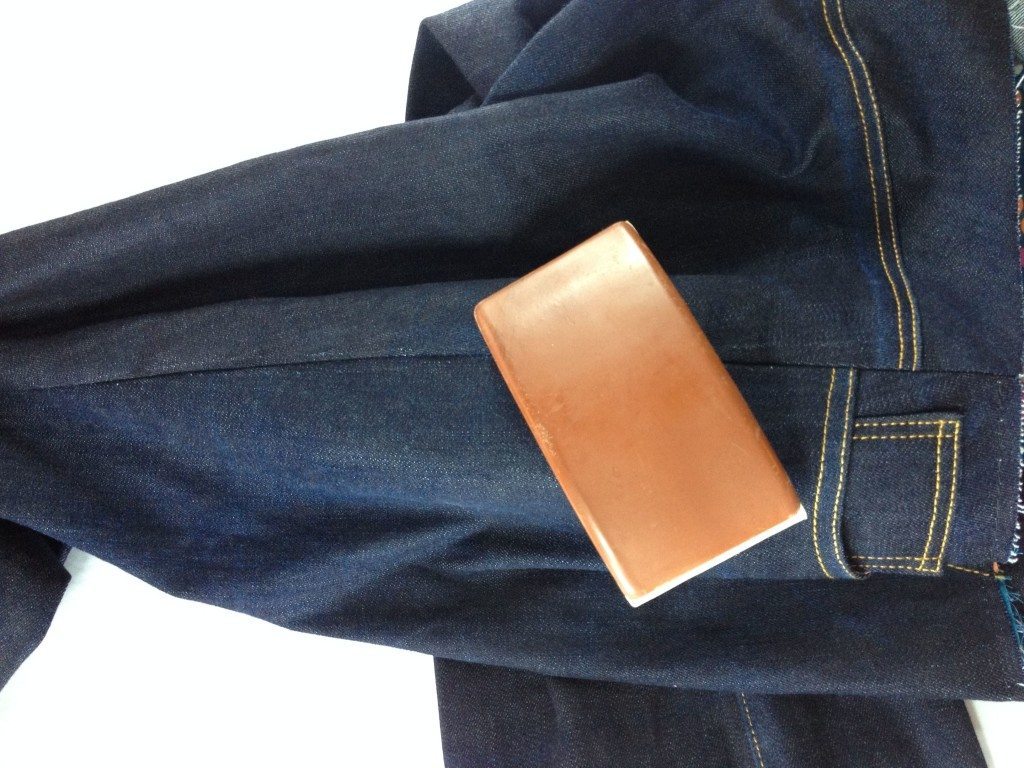
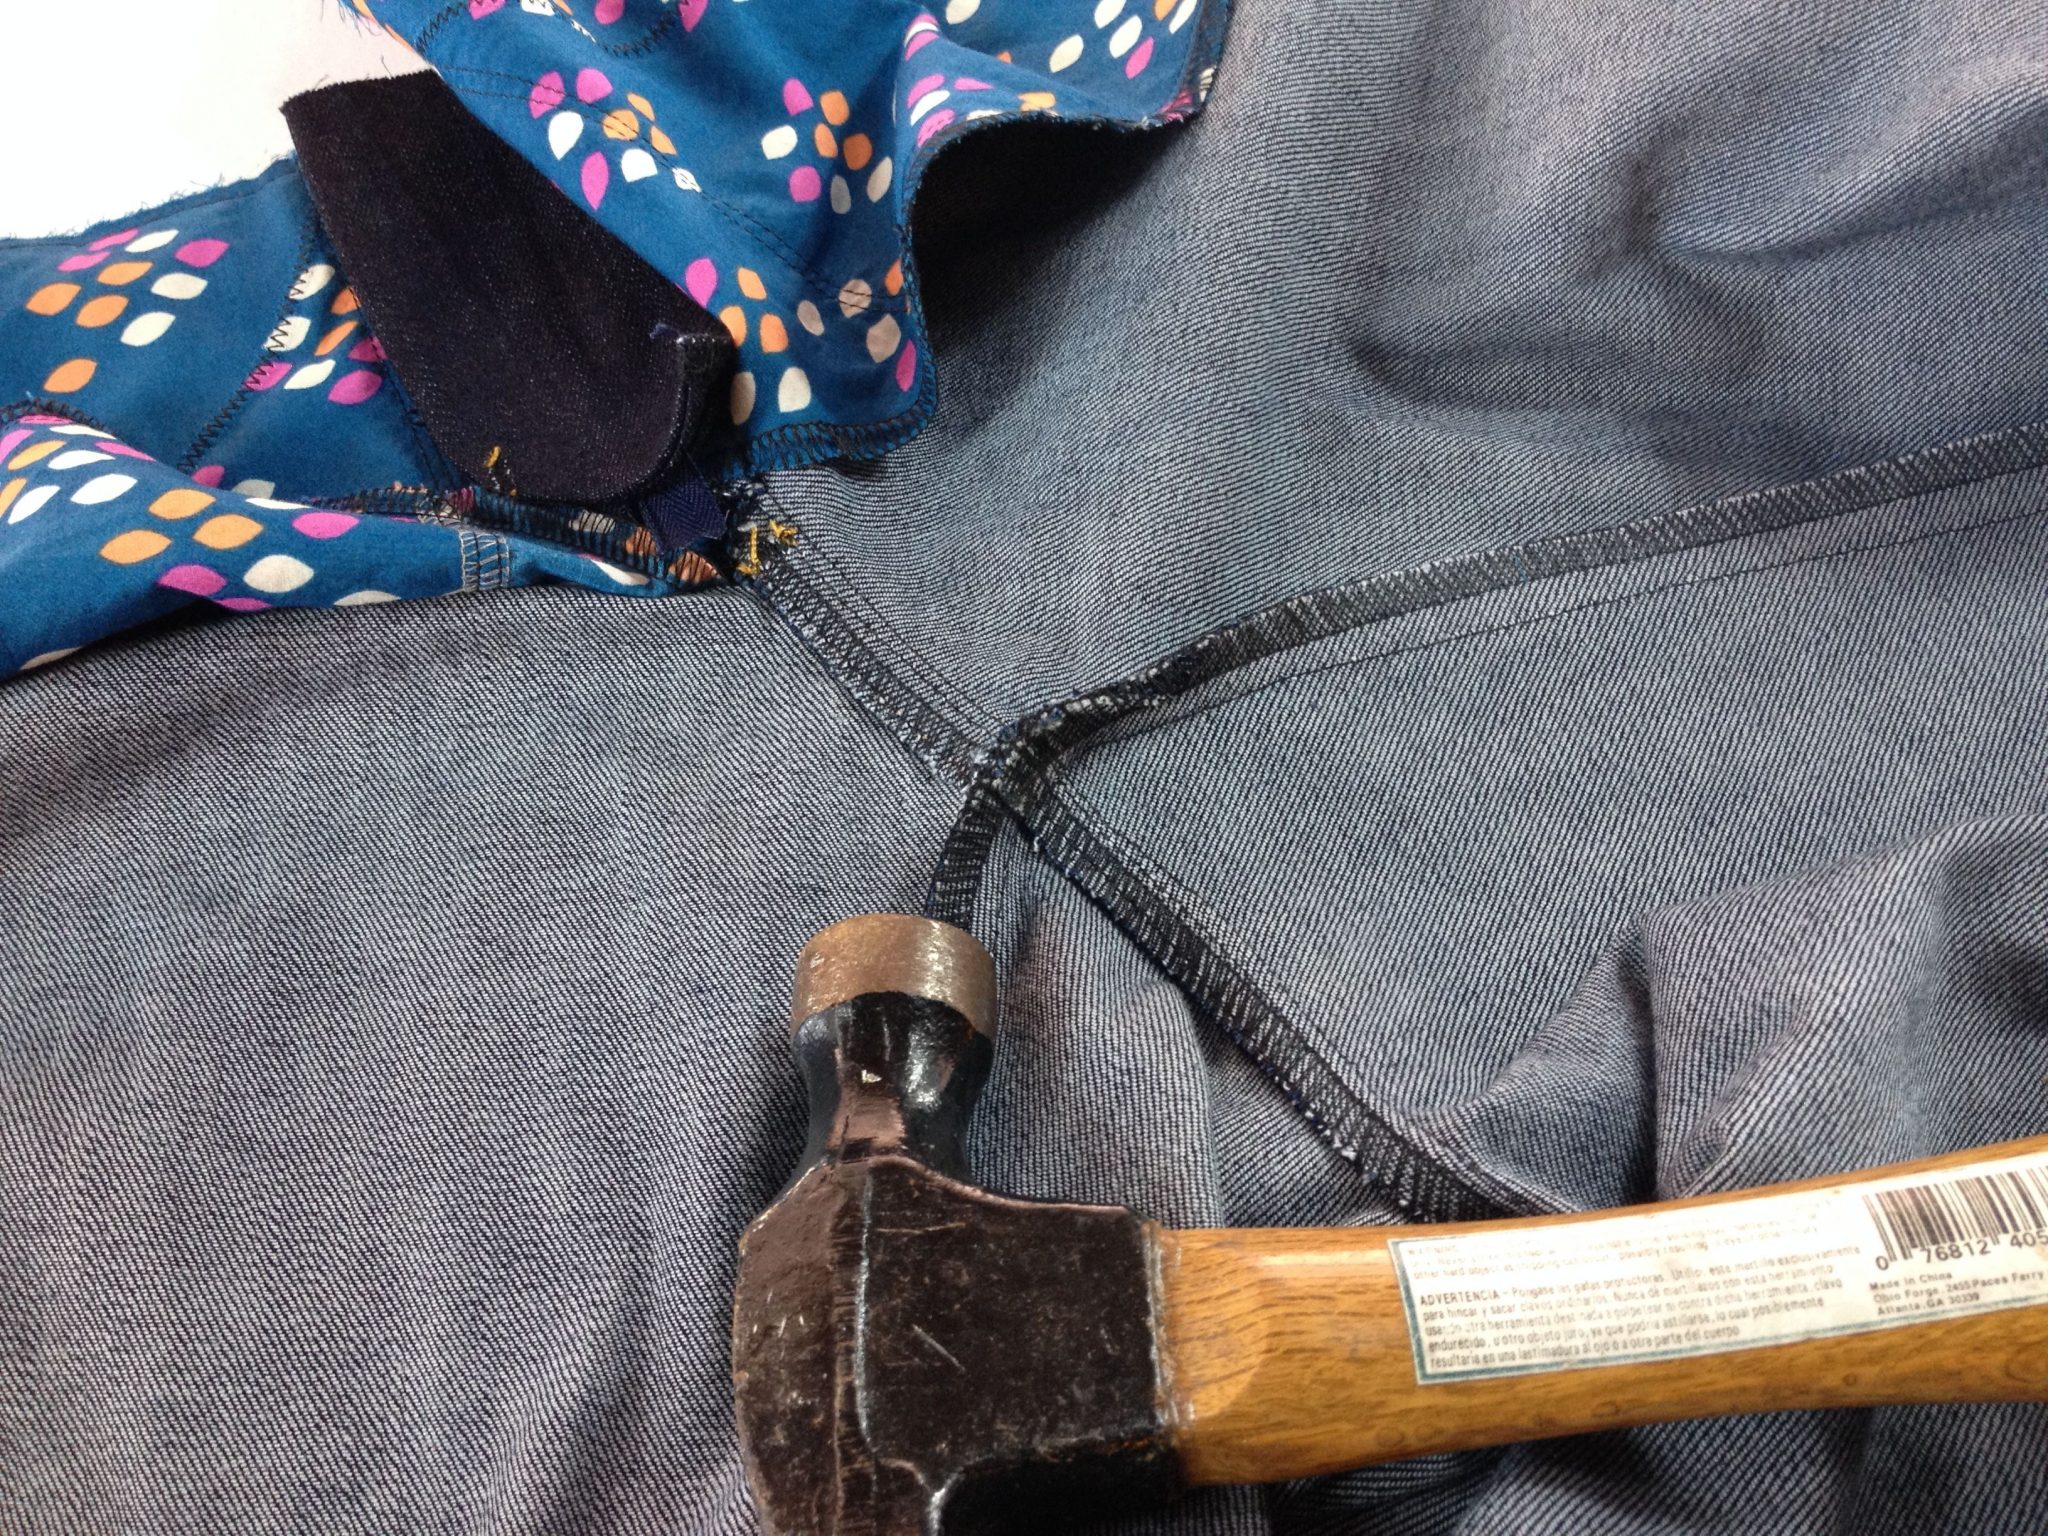
- The seam intersection at the crotch is thick. You will need to press it really well, and may need to use the hammer to reduce the bulk (depend on how thick your fabric is). But be very careful; you don’t want to destroy the fabric nor the existing topstitching.

Reduce seam bulk with a hammer (very carefully).
- Topstitch the inseam. I only stitched one line. Many of my store-bought jeans only have one line of topstitching (some have none). If you want two lines, or even three, go for it!
Topstitch inseam.
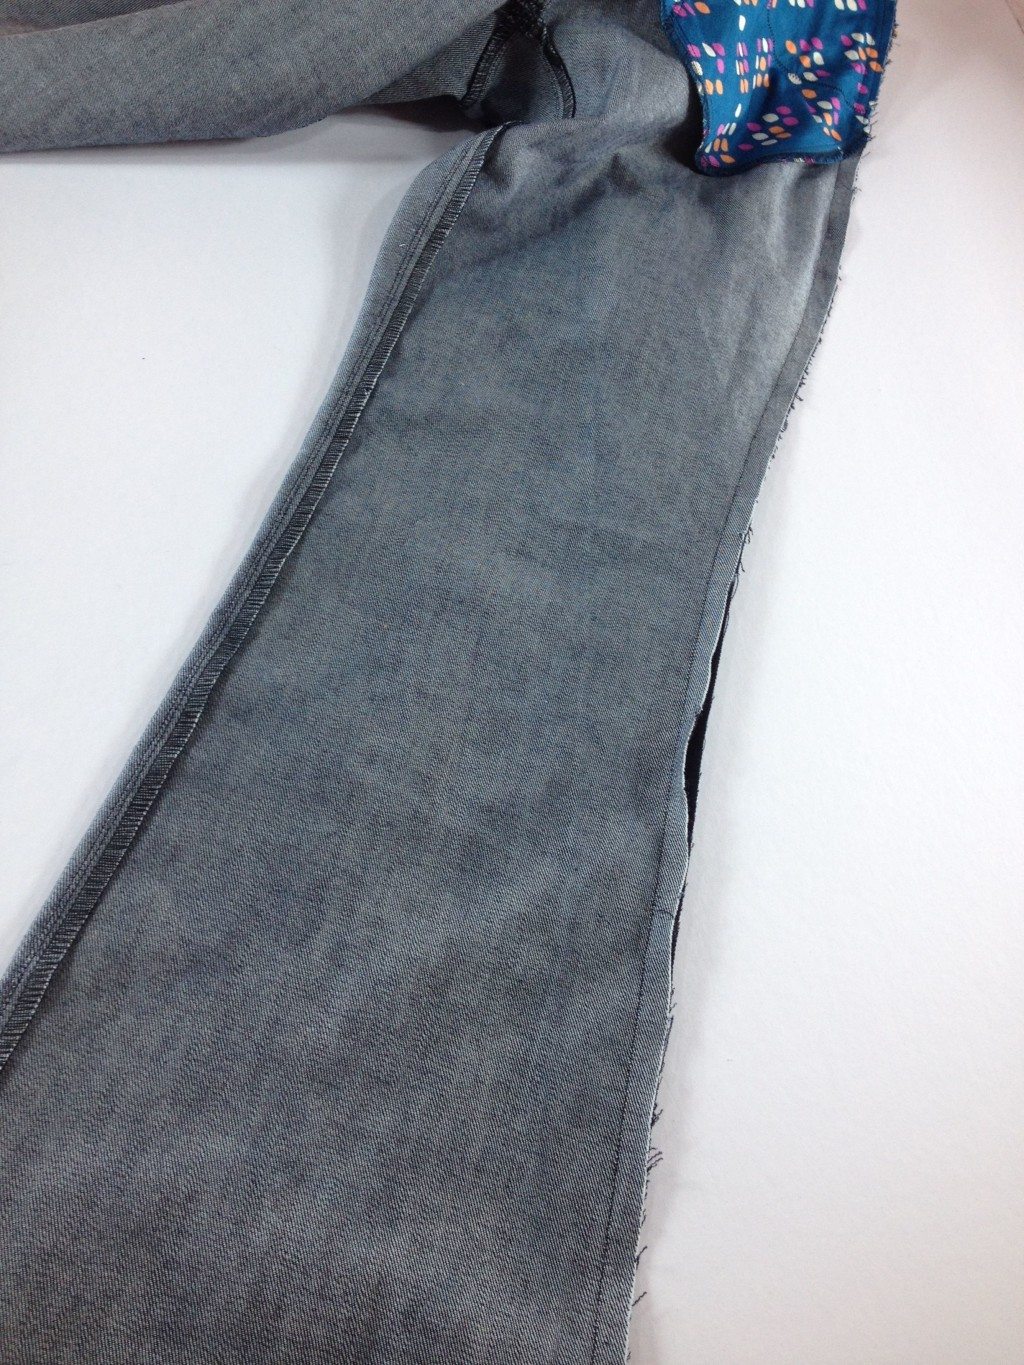
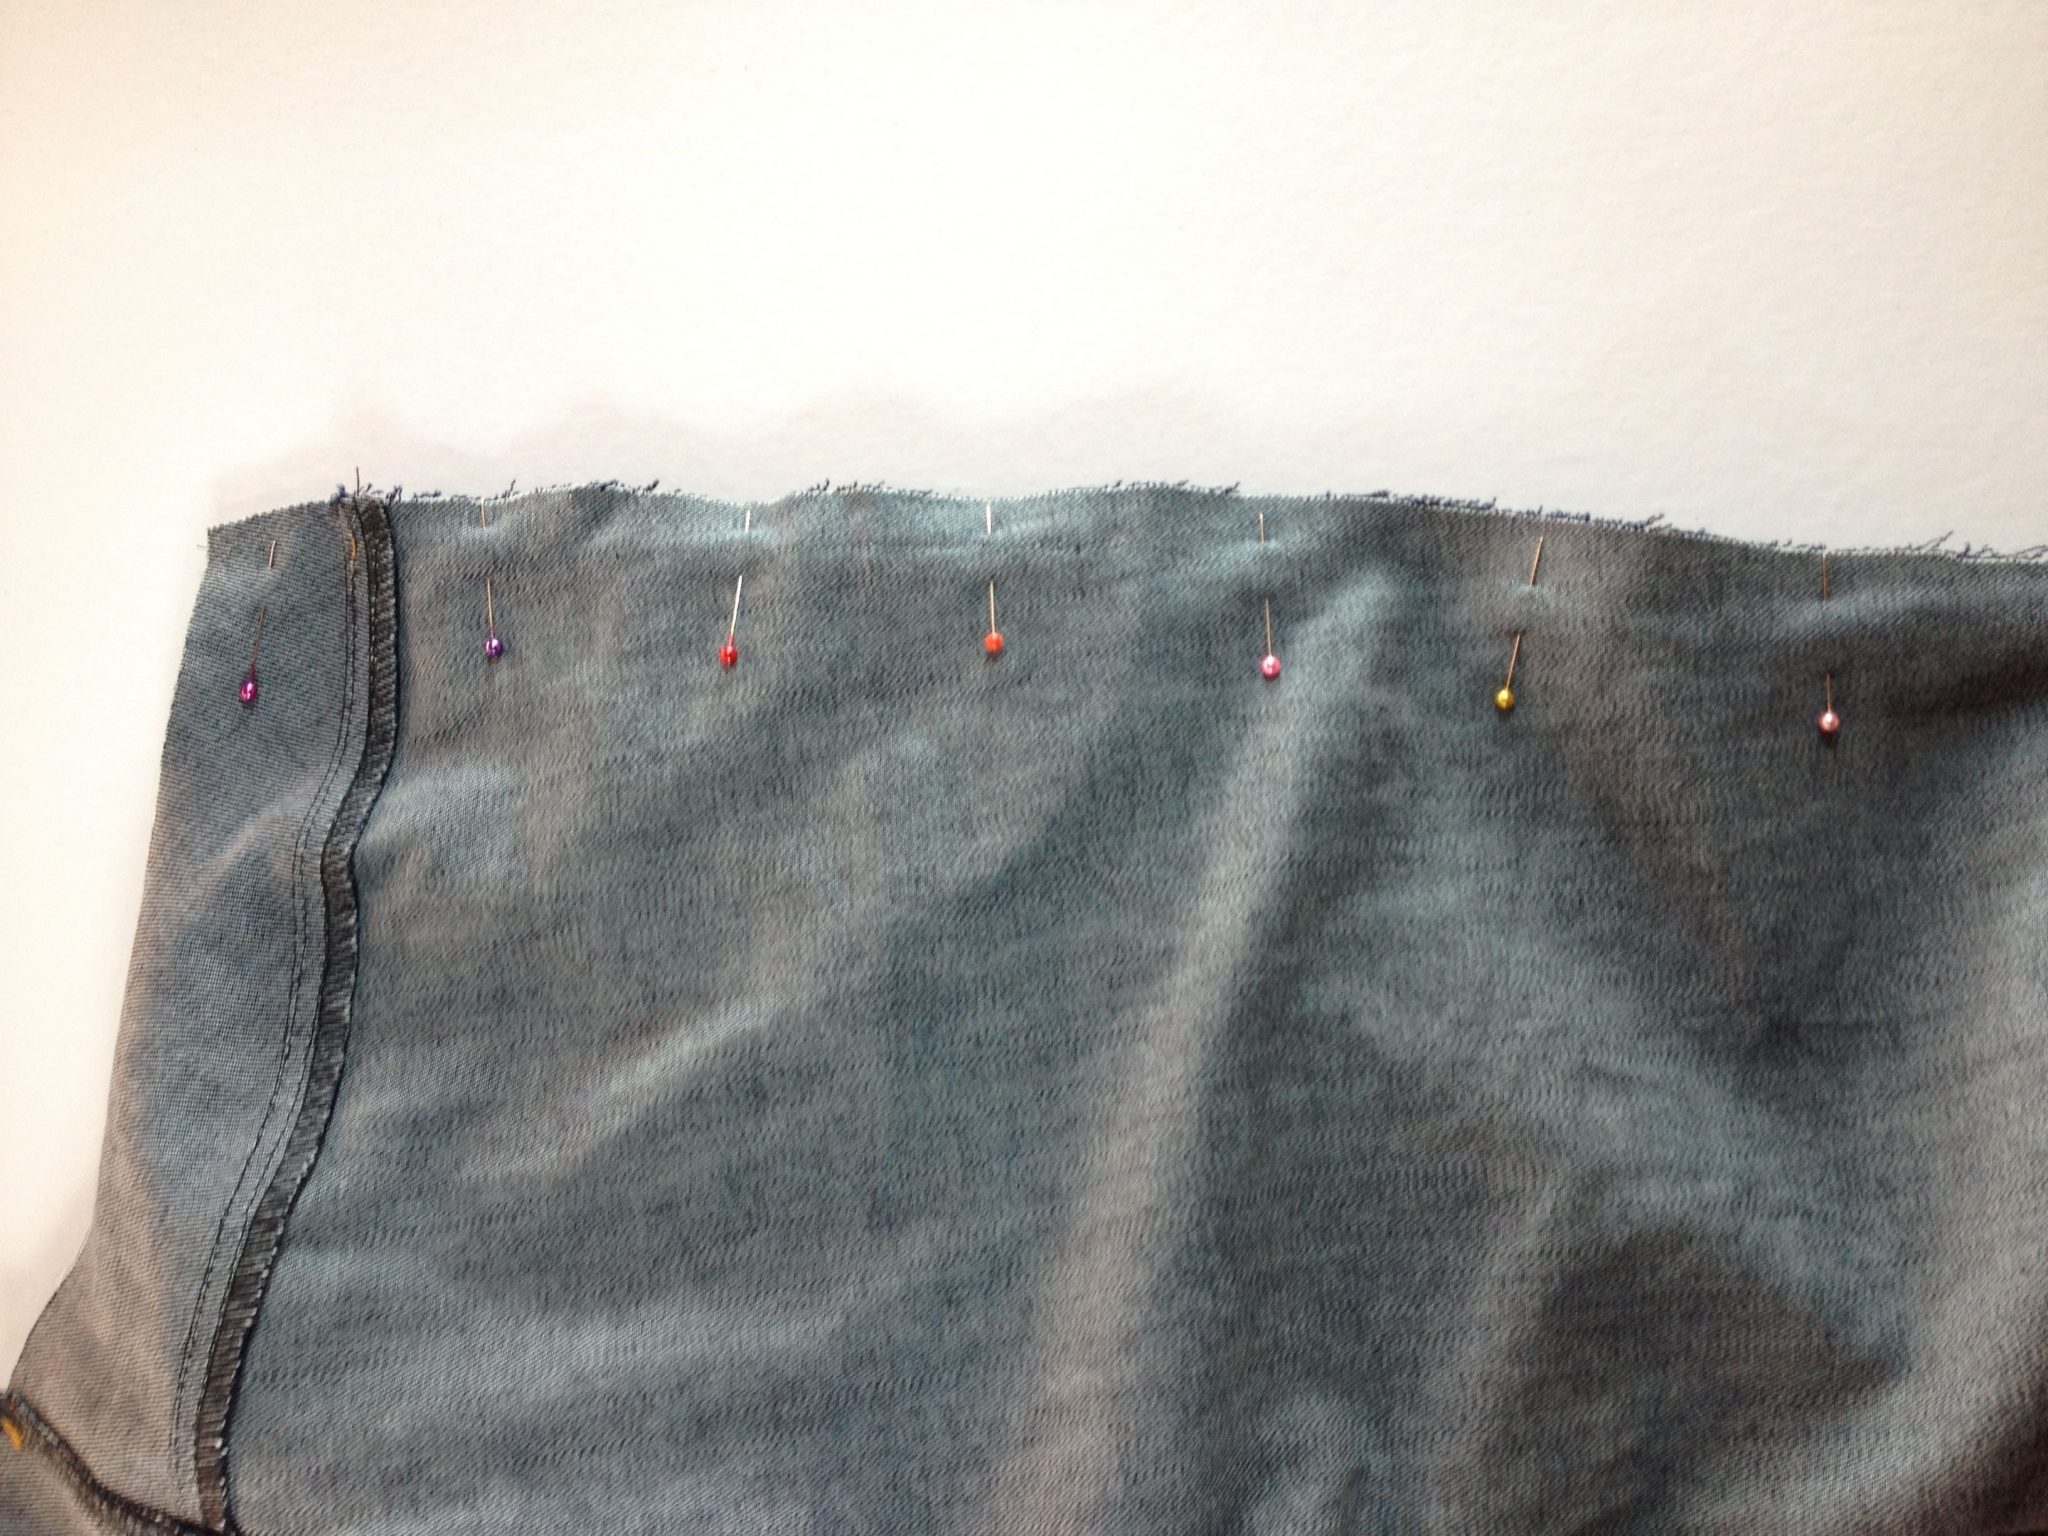
- The inseam in done! Let’s move onto the side seams. Pin them together, matching the tops, hip notches, knee notches and bottoms. Then stitch.

Pin side seams together.
Stitched!
- If you are distressing your jeans, now you should do it for the side seam. Watch out for the existing topstitching and don’t ruin it!
Distress side seam area.
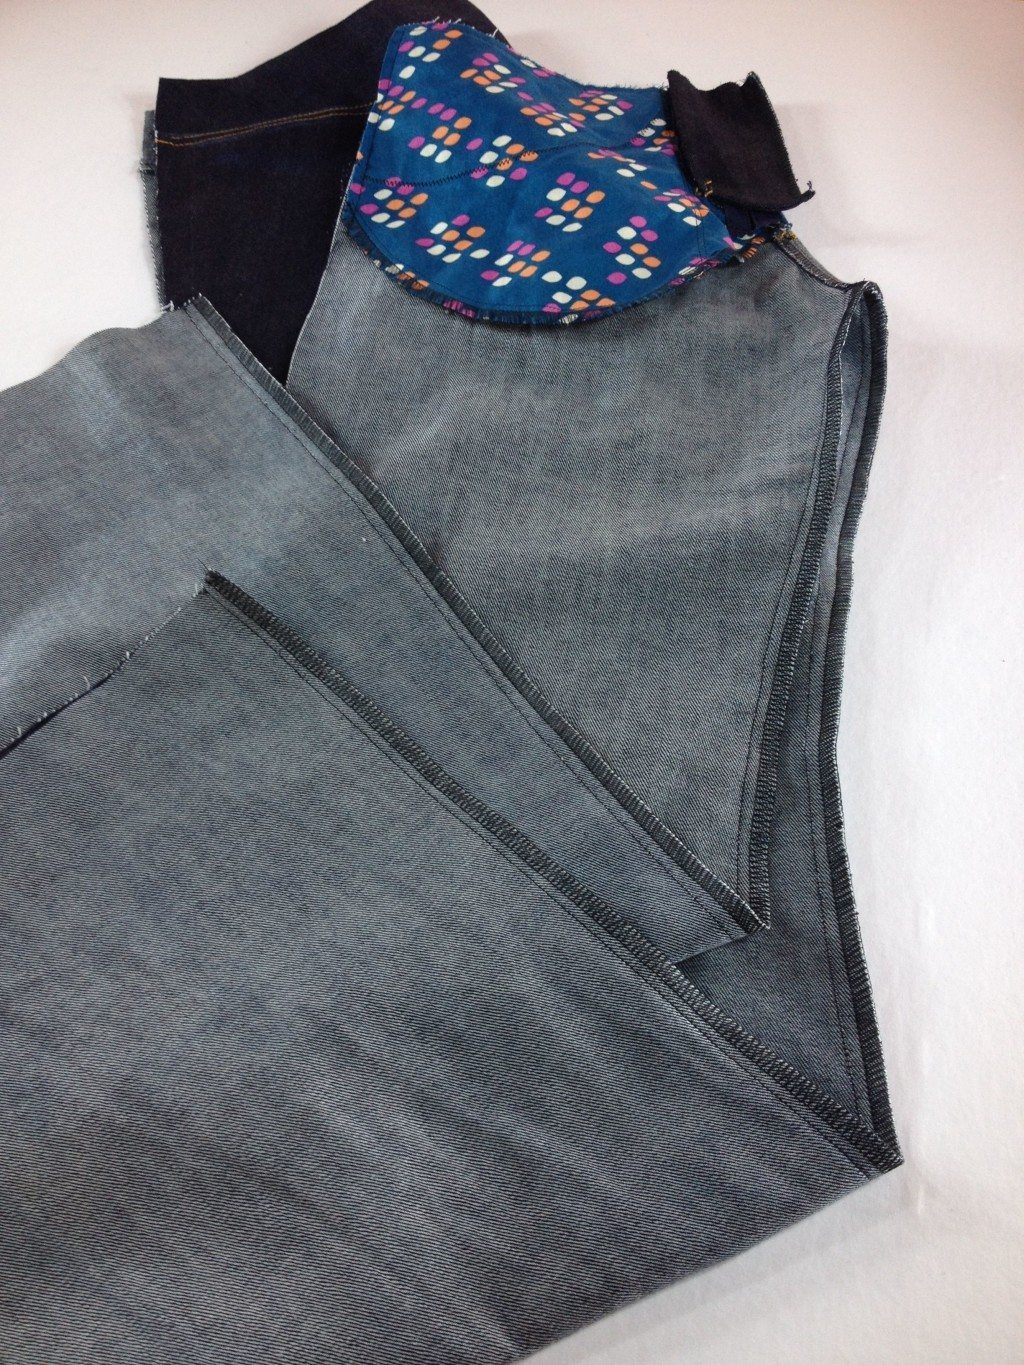
- Serge (or zigzag) finish the side seam.
Serge side seam.
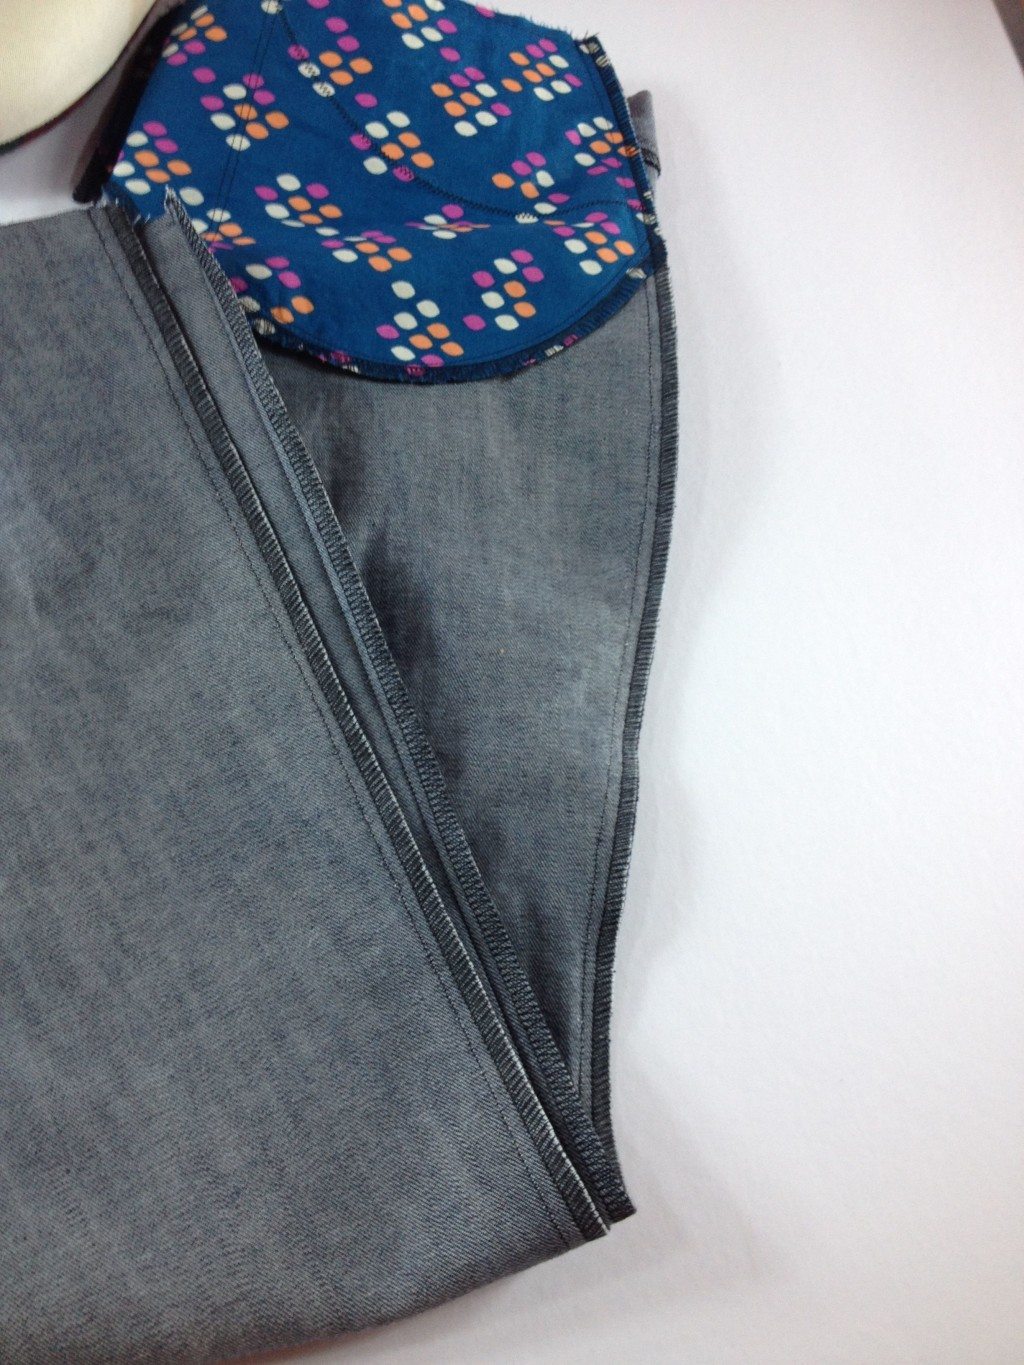
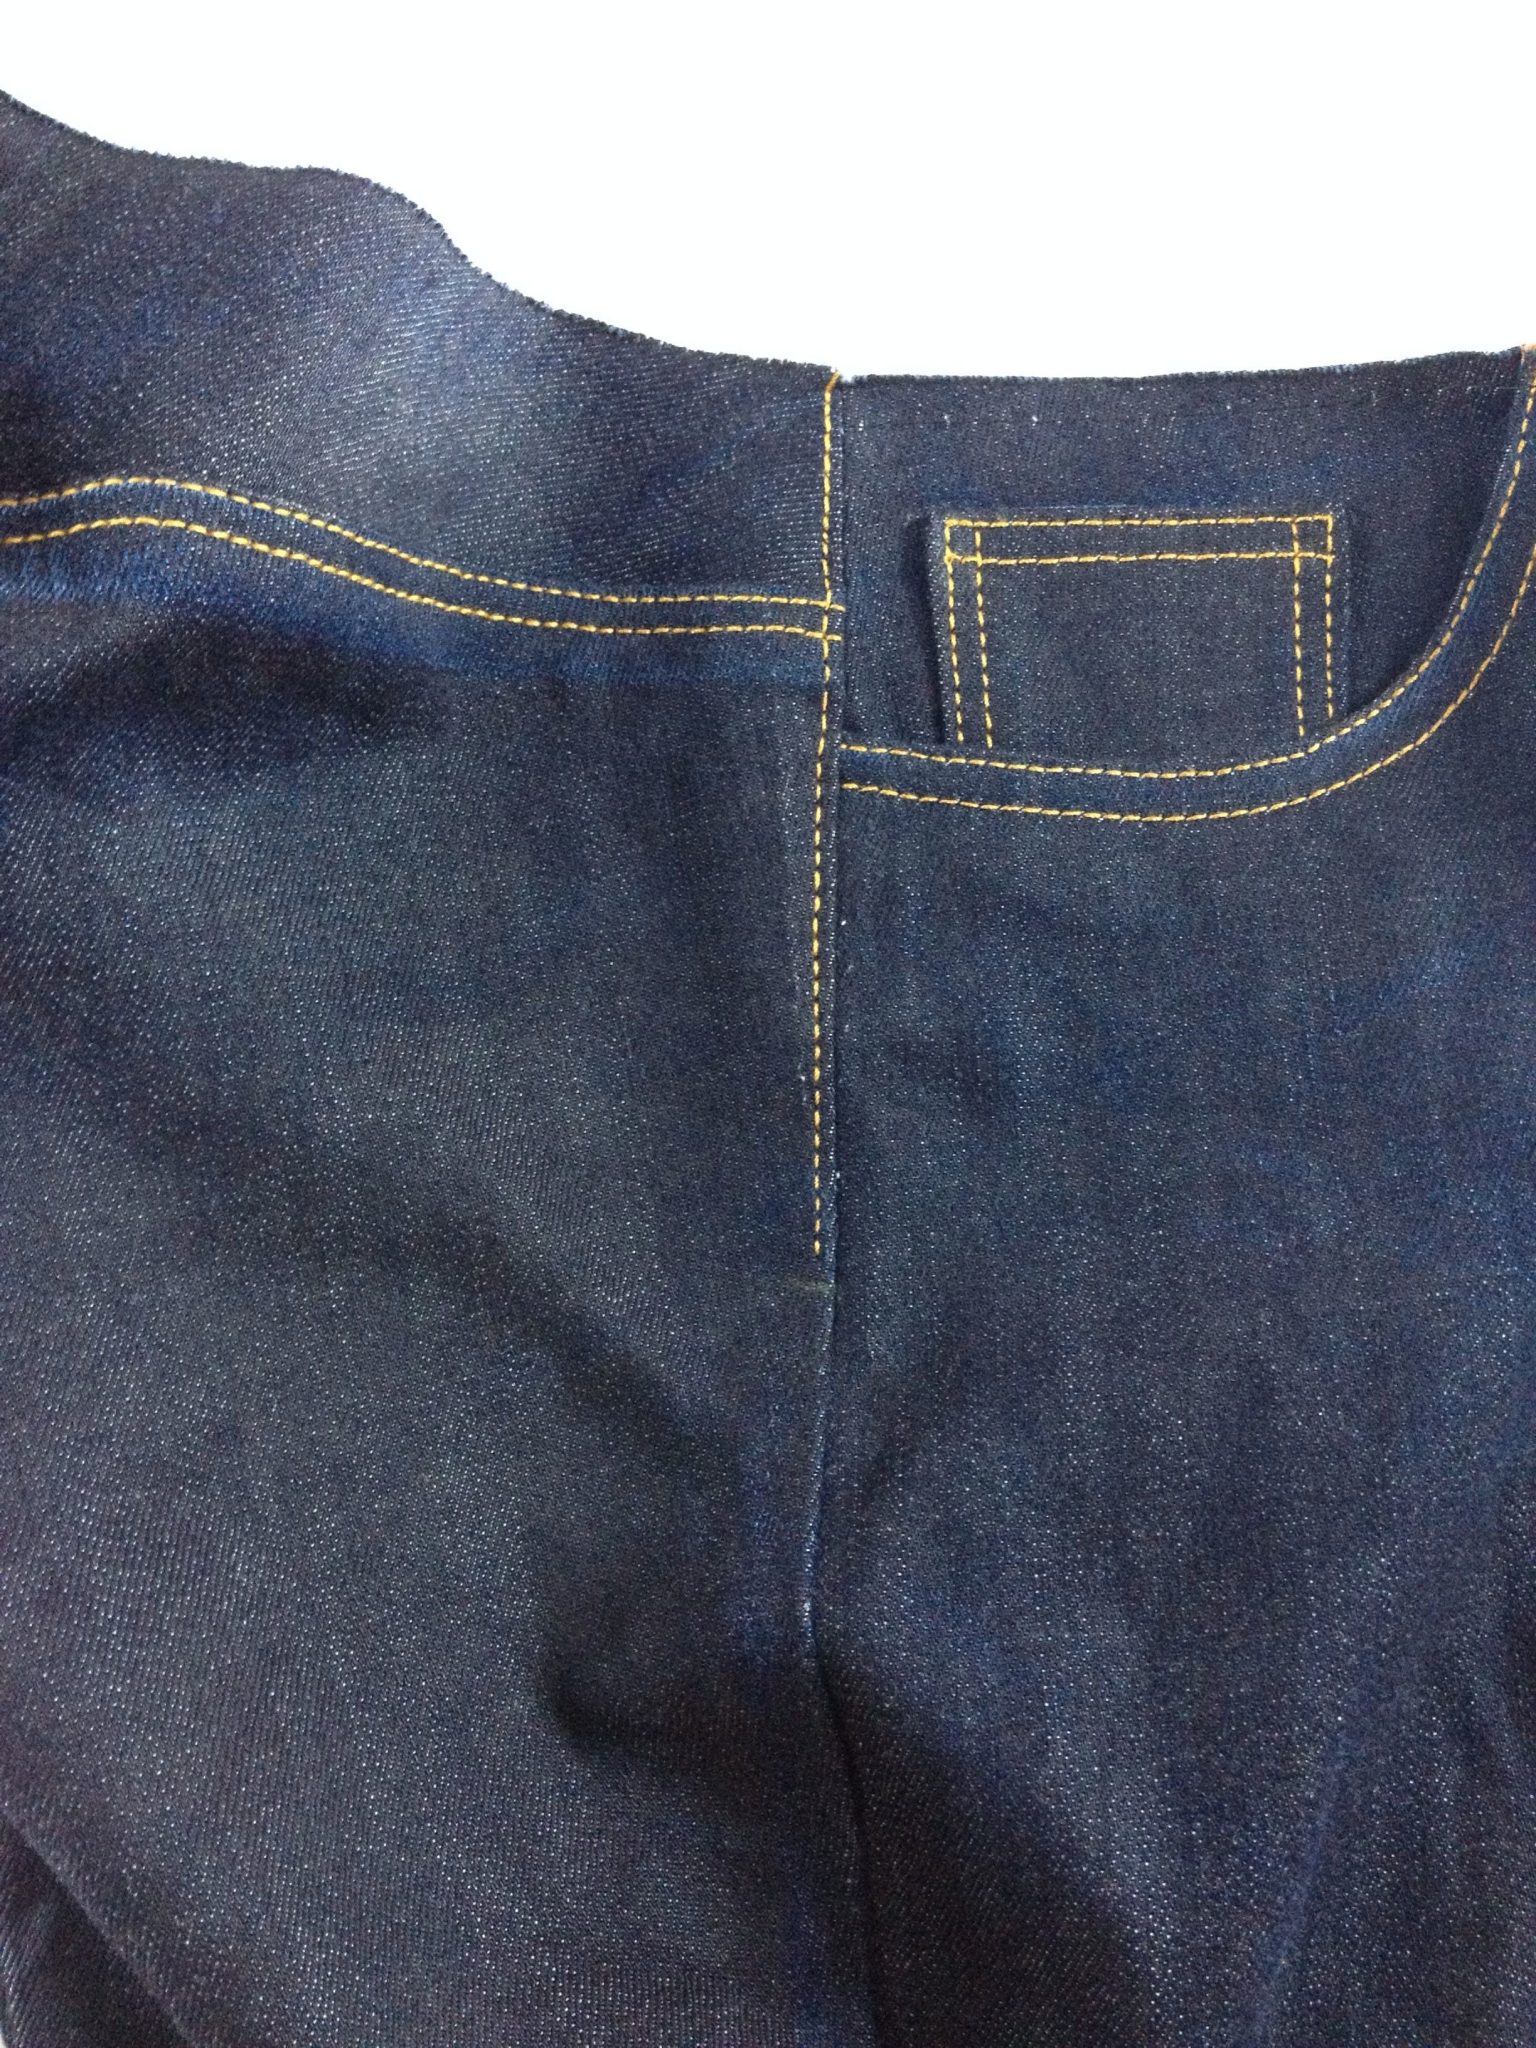
- After you repeat for the other side seam, you are ready to topstitch. If you notice, the topstitching for the side seam doesn’t go all the way down. It usually ends at the bottom of pocket only. This is mostly because the leg is too narrow to get in there. Here I mark where the pocket ends and only topstitch to that point. Optionally, you could do a little decorative zigzag at the end of the topstitch line. I didn’t do it for this pair, but I did do it for my last pair.
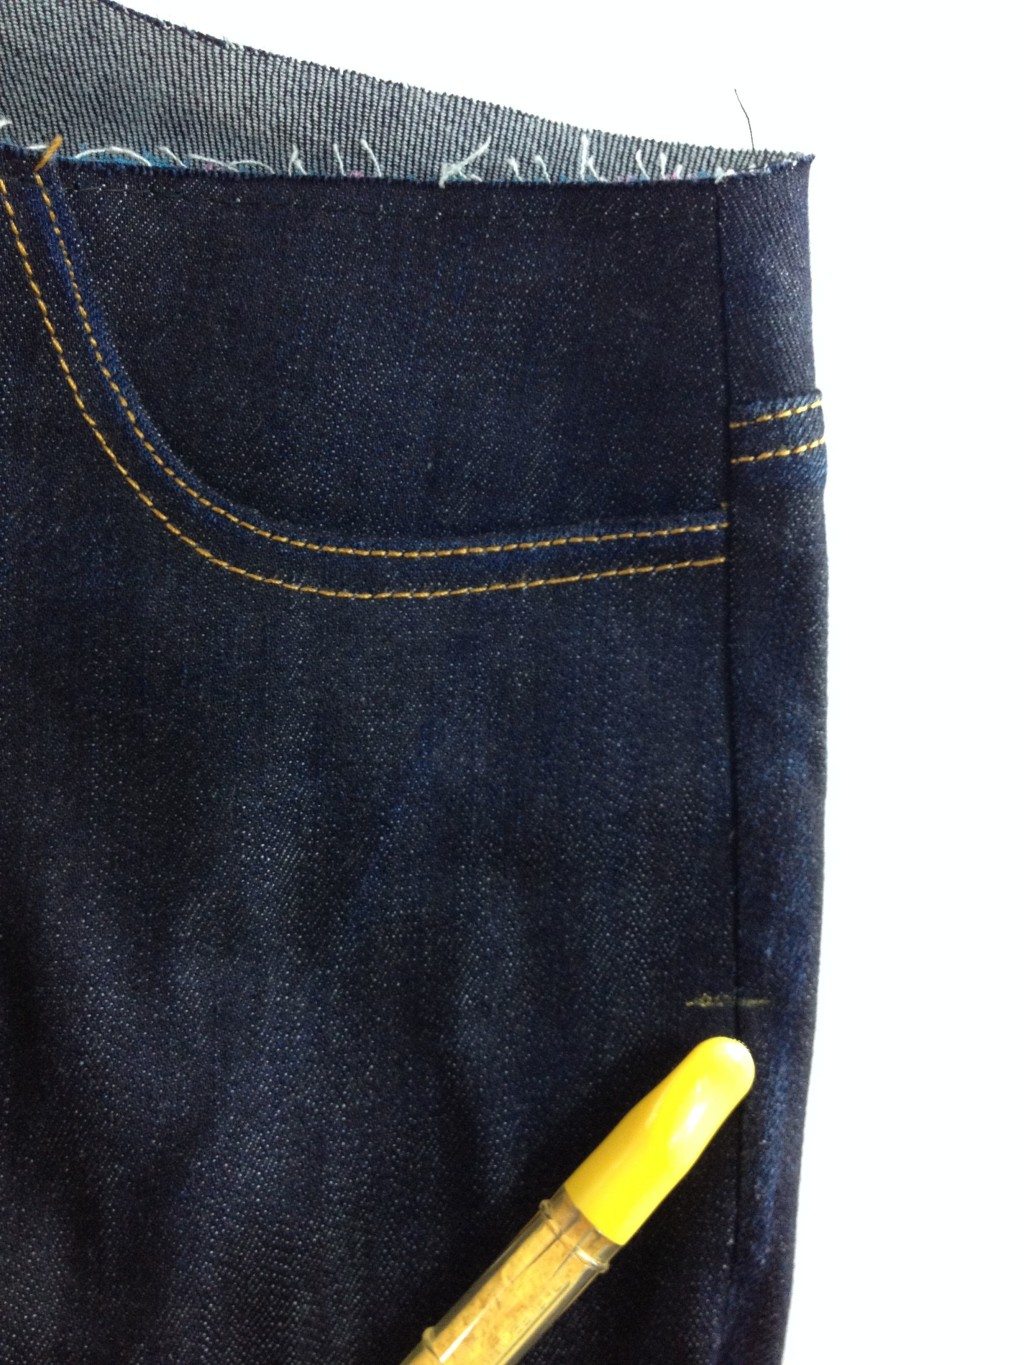
Mark where the pocket ends.
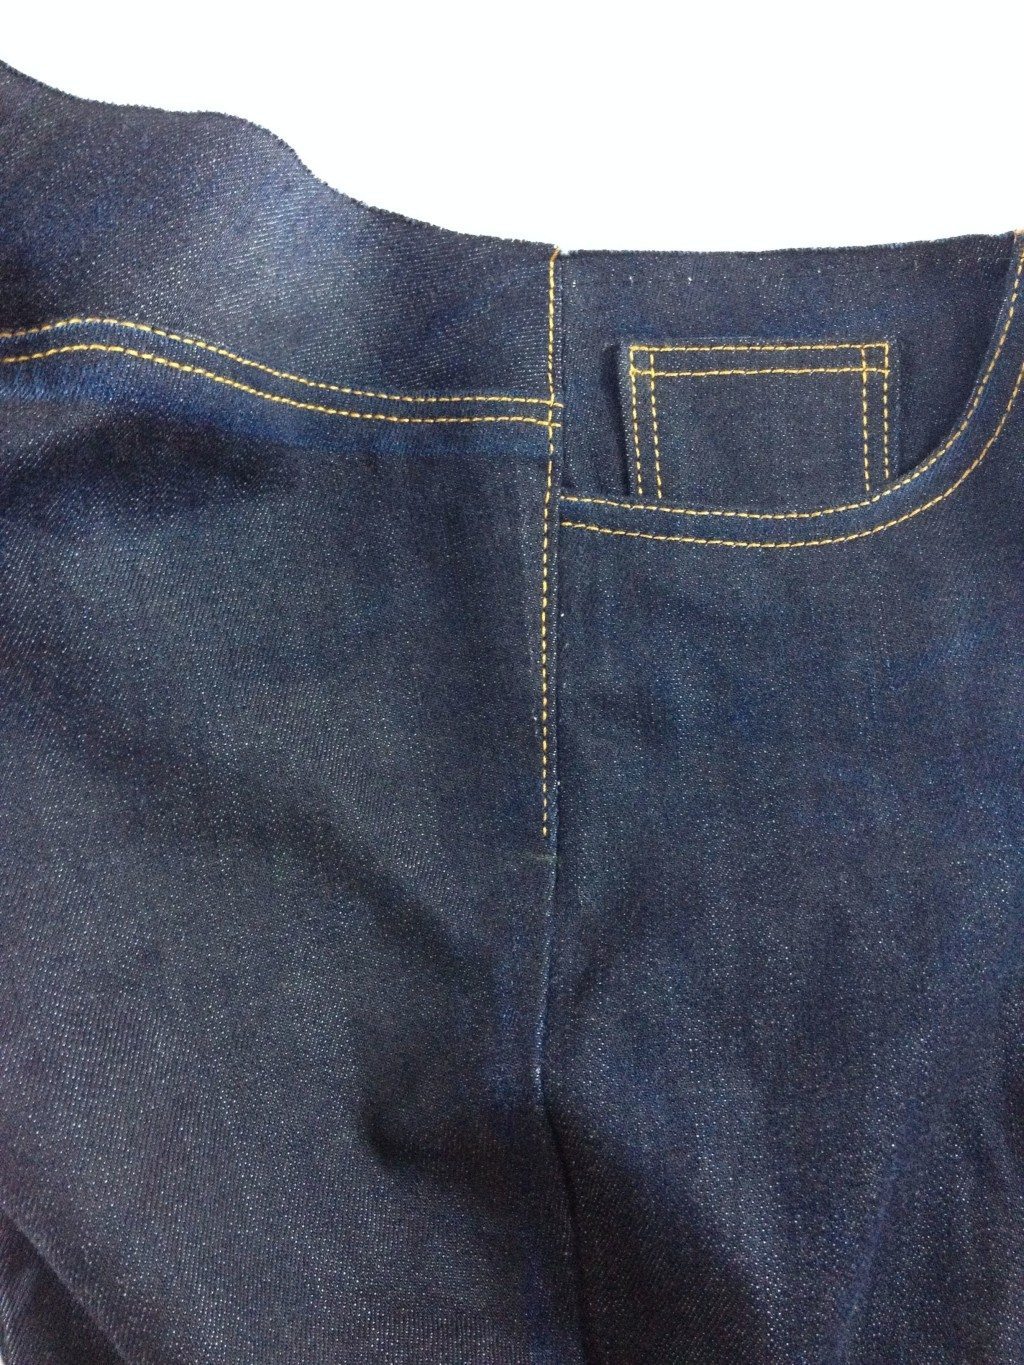
And that’s where I topstitch to.
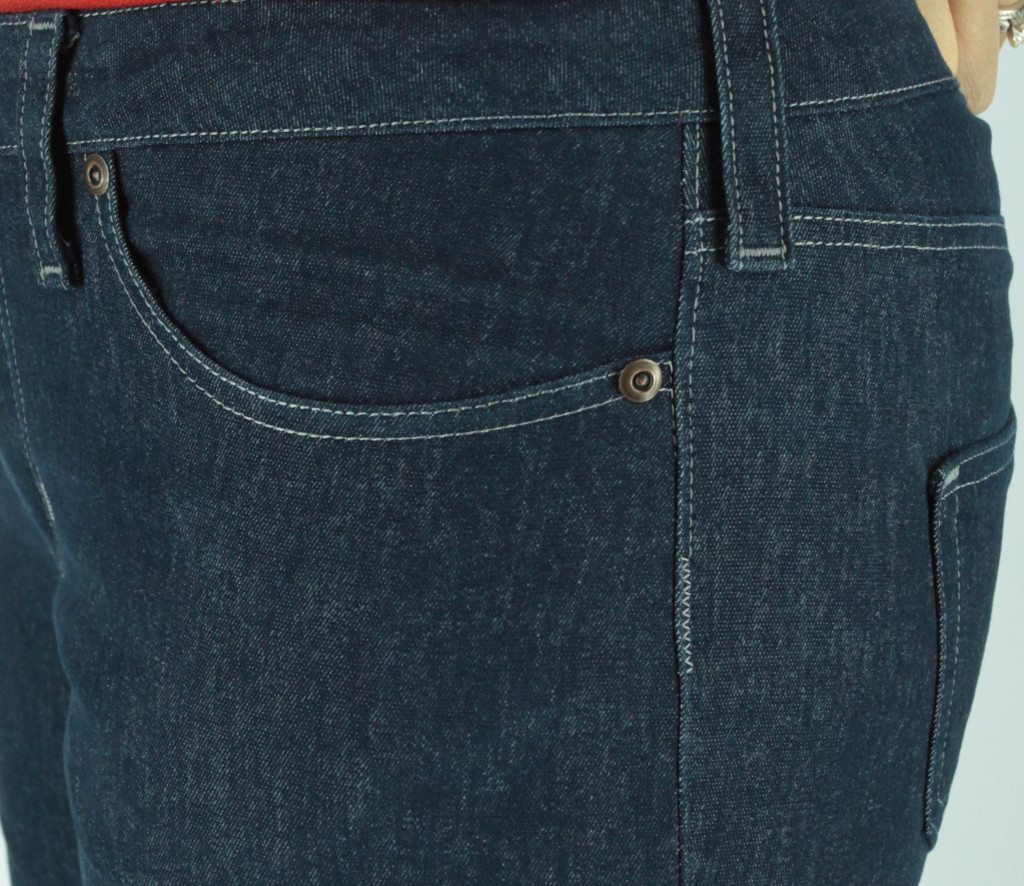
Optional decorative zigzag stitch below the side seam topstitch.


Sewing Waistband
That wasn’t awfully complicated, isn’t it? We can now move onto the waistband.
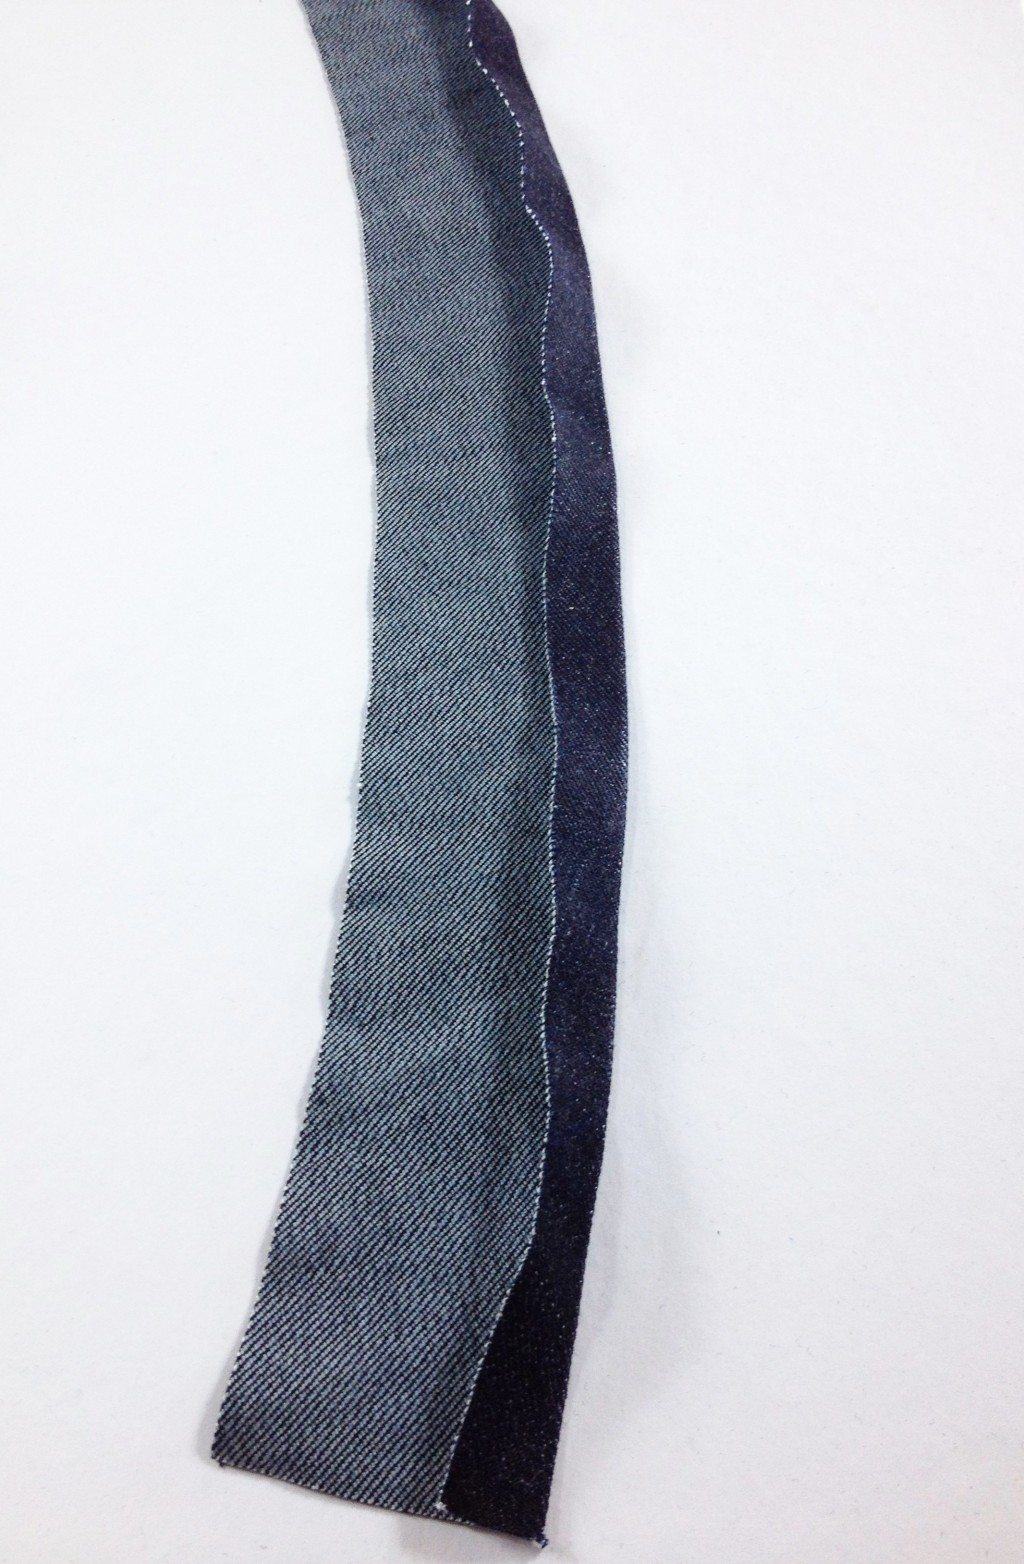
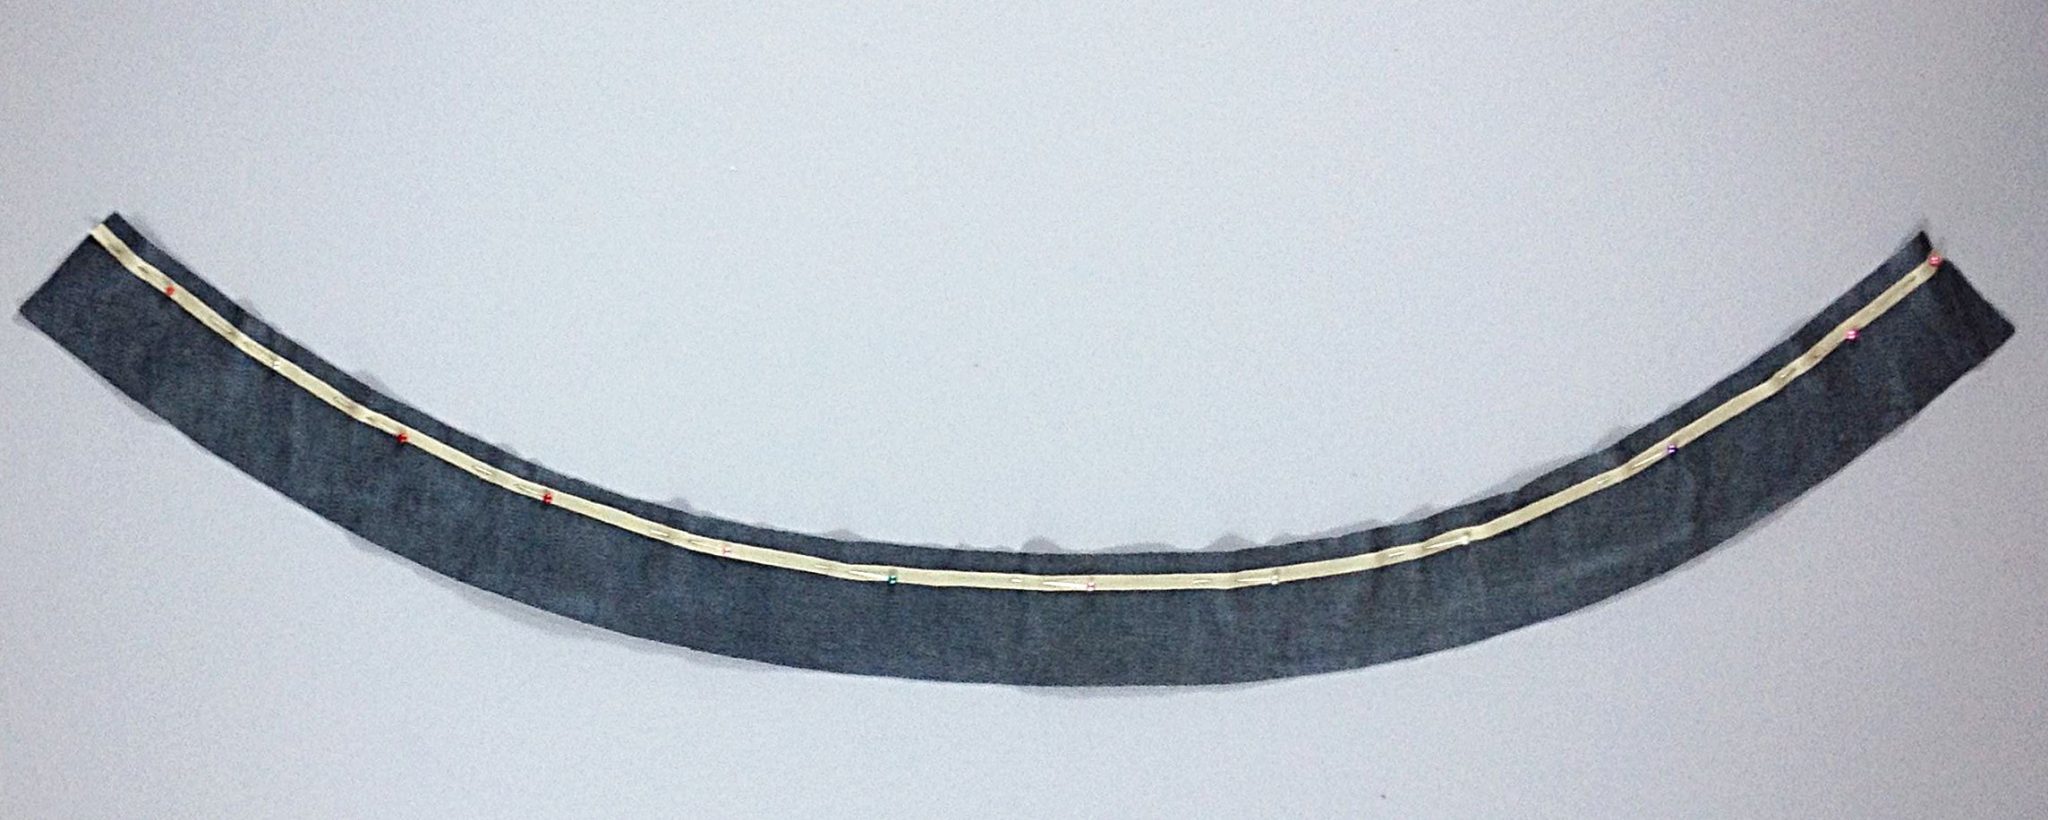
- You should have two waistbands cut. One is the outer waistband, and the other will be the facing. Now cut a piece of twill tape as long as the top of the waistband and pin to the wrong side of the waistband at the seam line. In fact, I have a whole roll and I just started pinning onto the top seam line of the waistband and didn’t cut it until I was done. This piece of waistband is the outer waistband.

Pin twill tape to top seam line of waistband (on the wrong side)
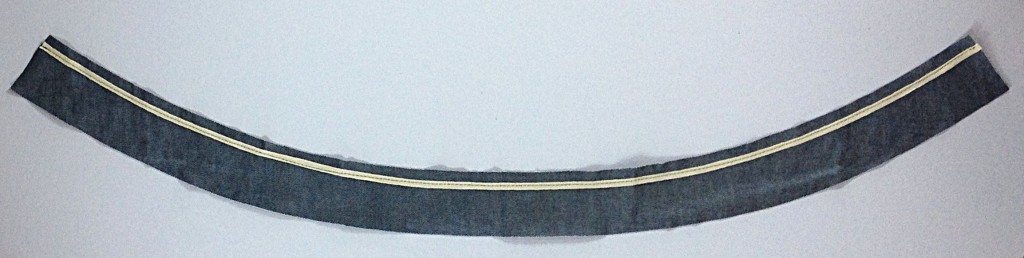
Twill tape basted on the top seam line of the waistband.
- Then we work on the waistband facing. Press the bottom seam allowance up along the waistband. The seam allowance is 1/2″ (1.25 cm). Remember that the bottom is the longer edge.
Press the bottom seam allowance of the waistband up.
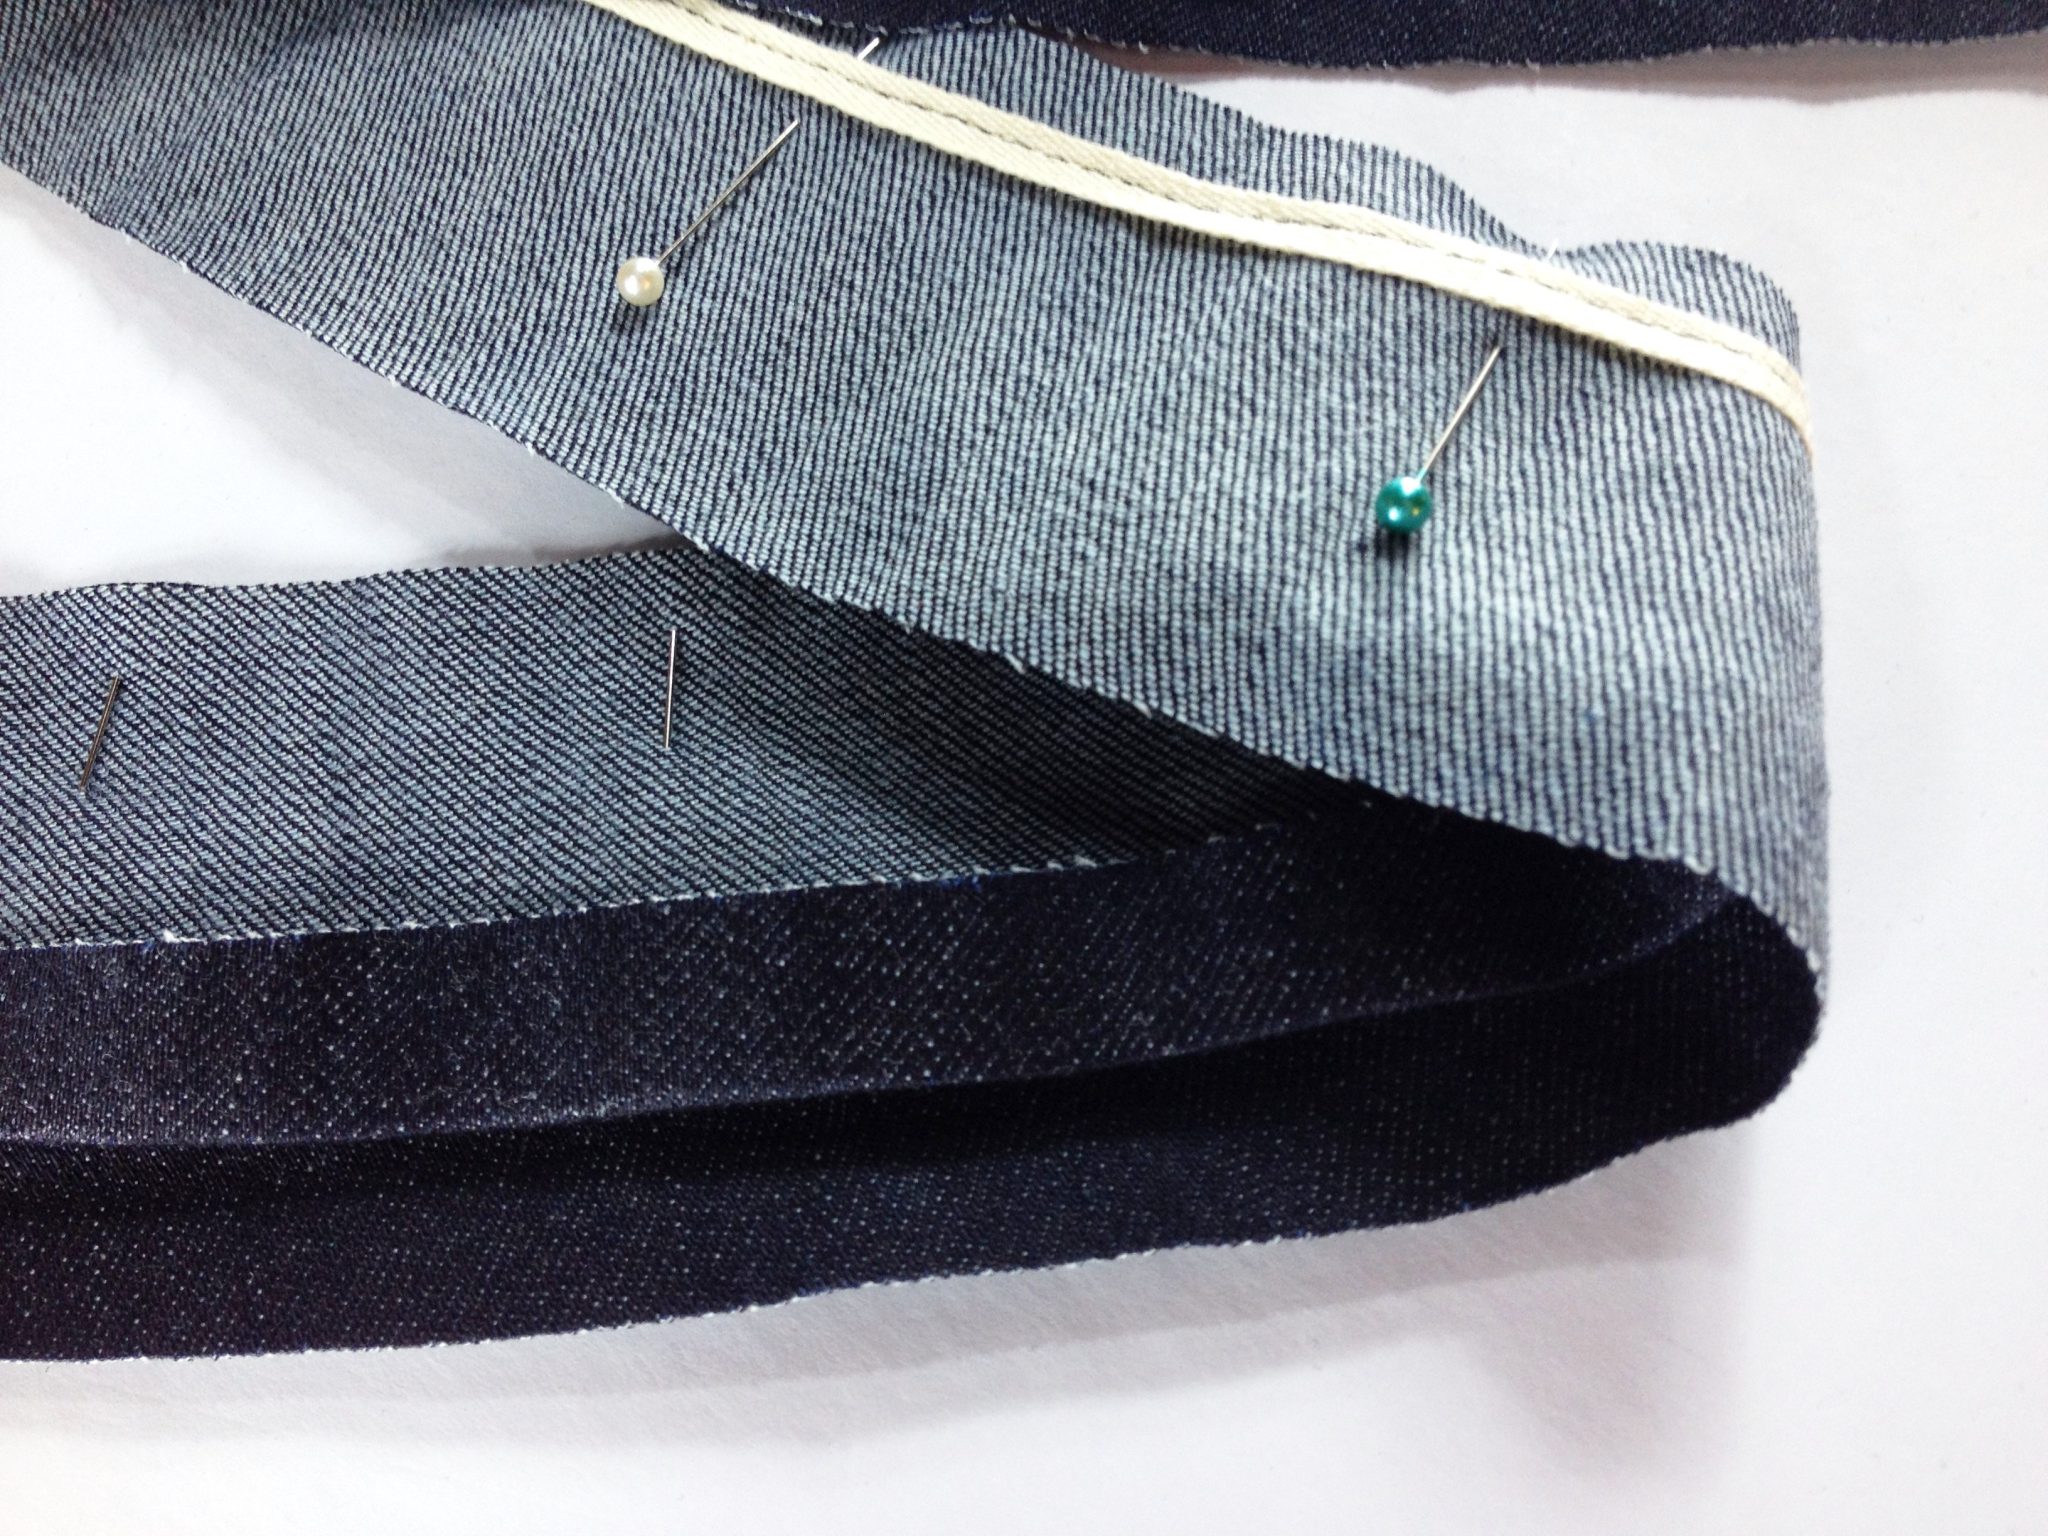
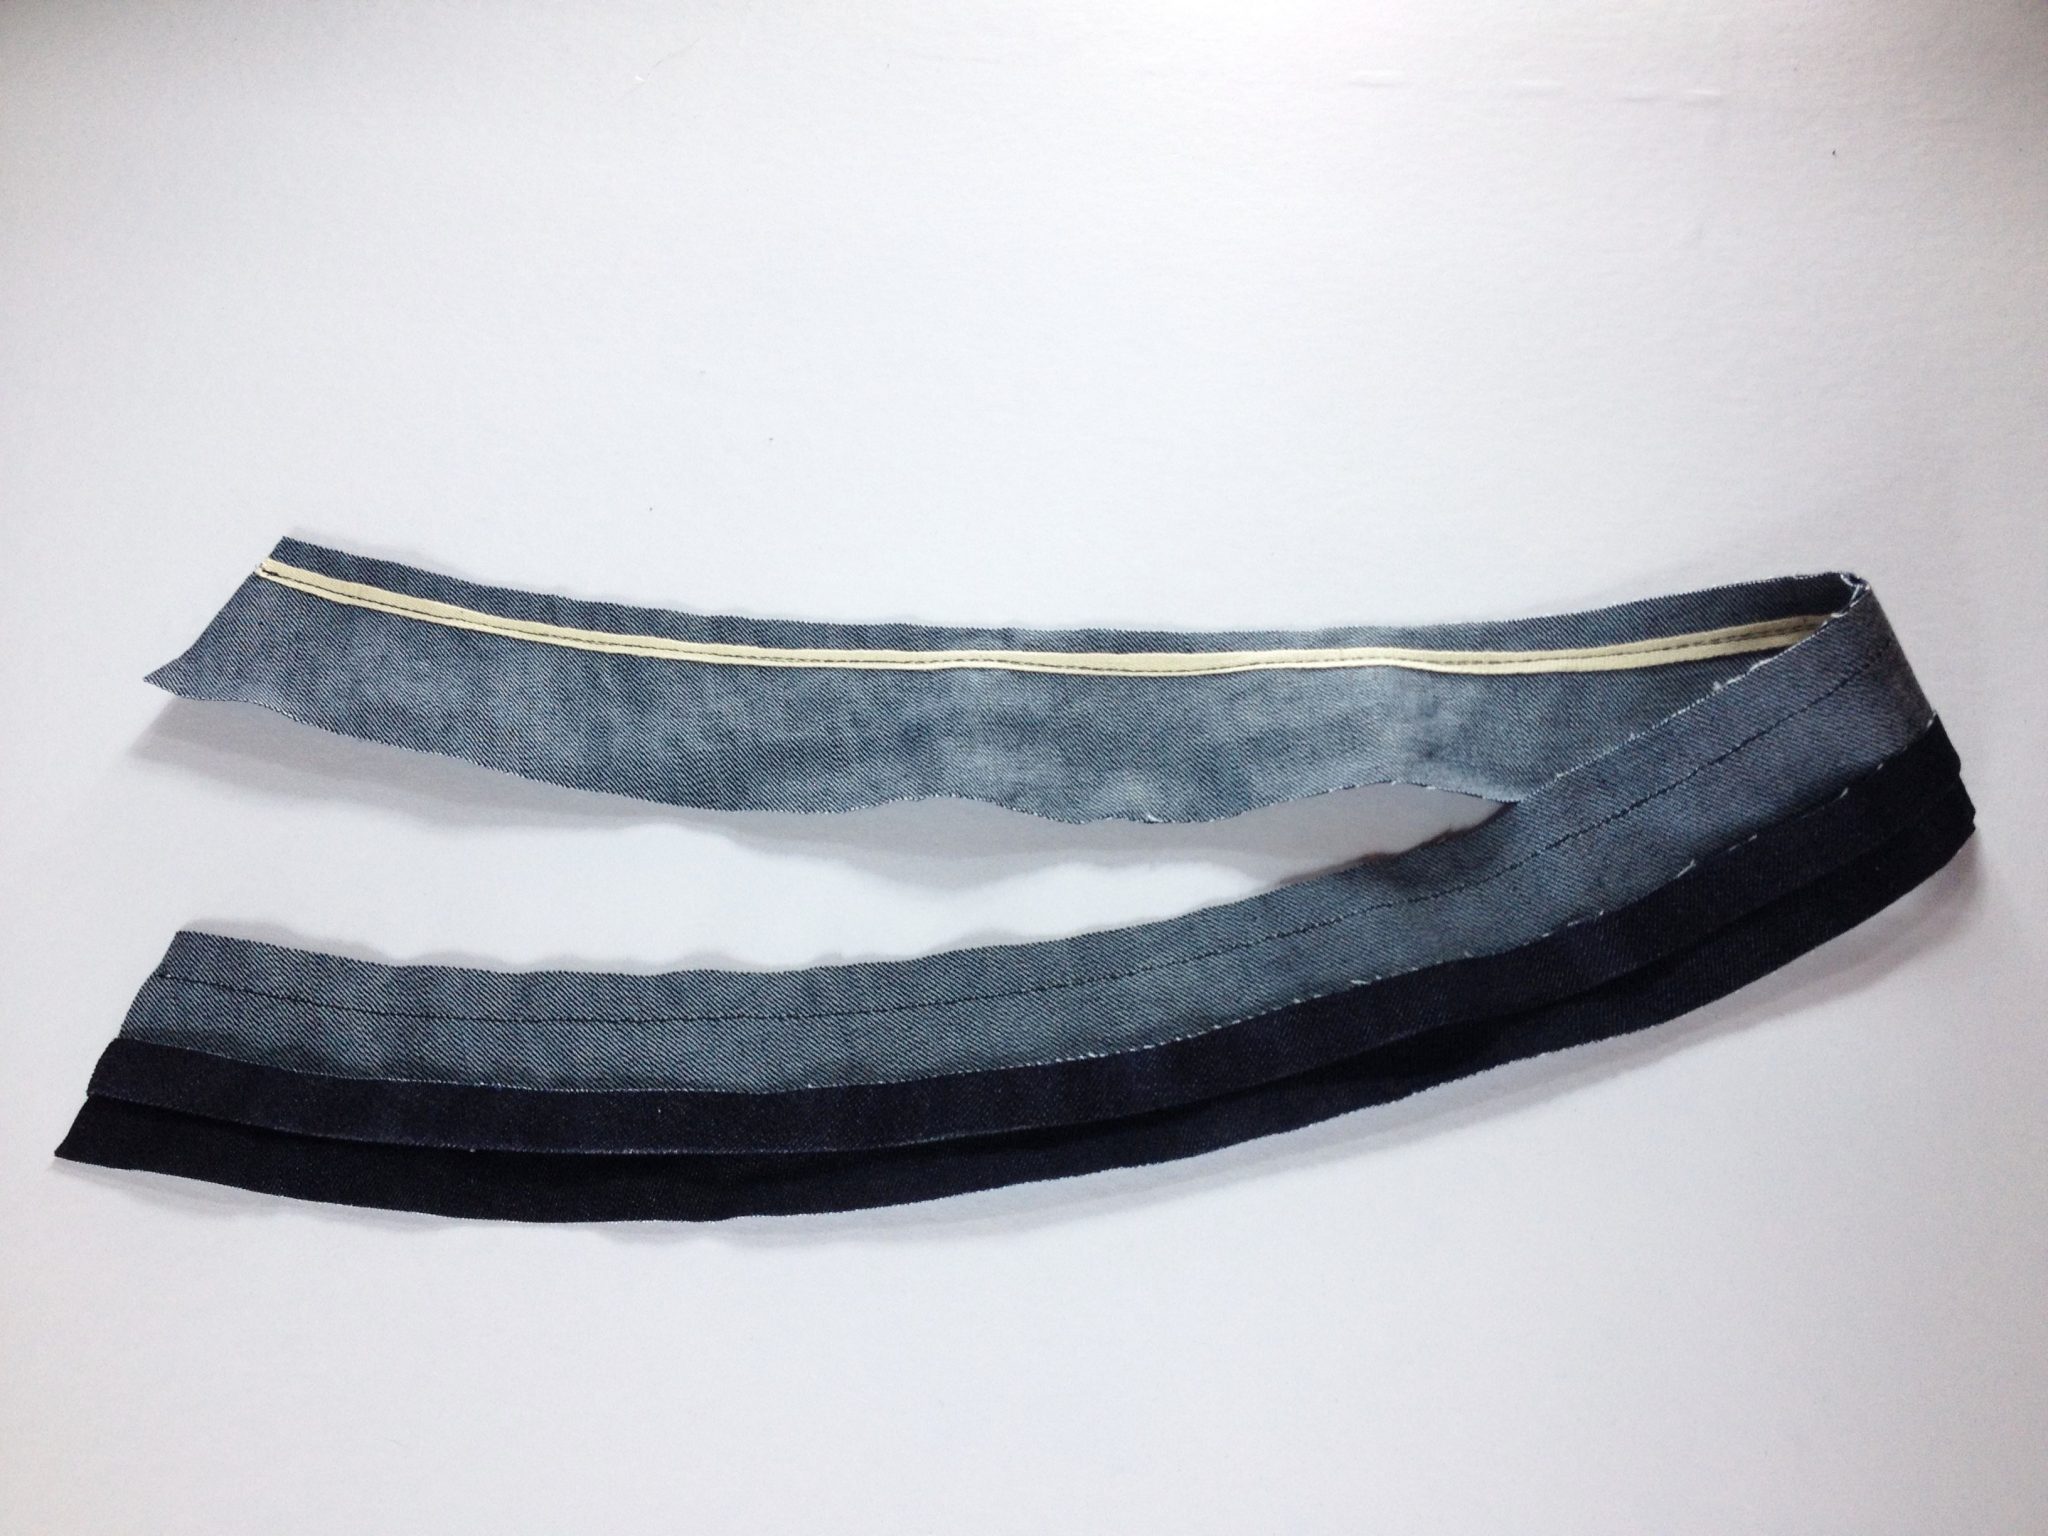
- Stitch the two waistband together along the top. You will be stitching through the twill tape.
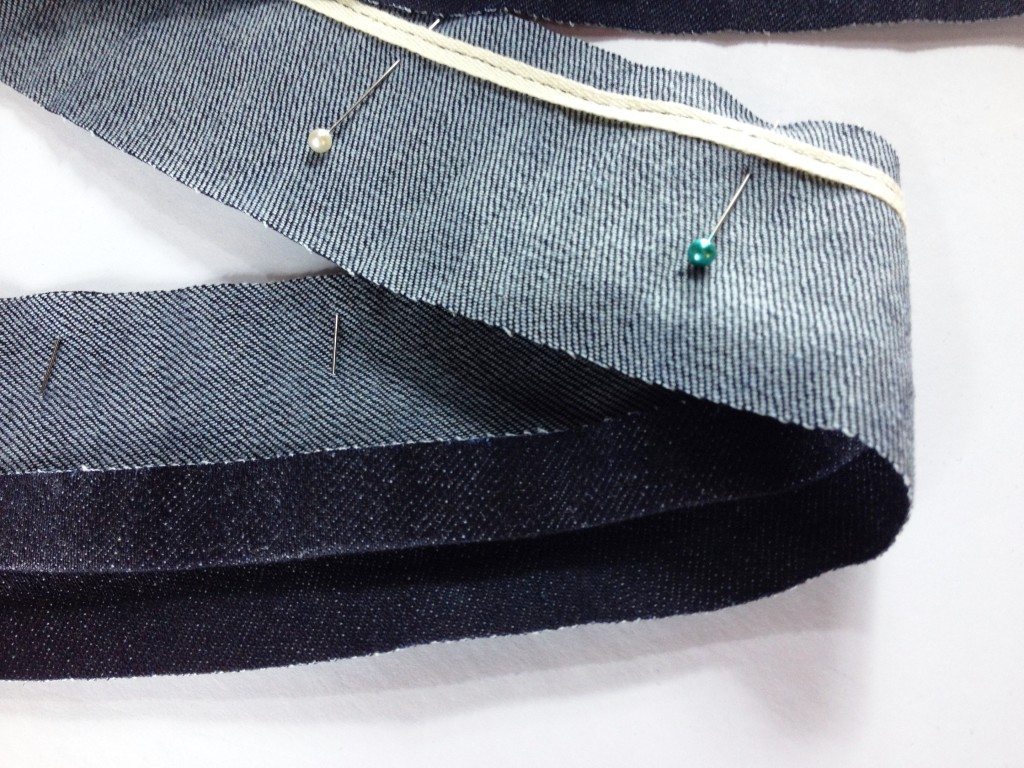
Pin the two waistbands together along the top.
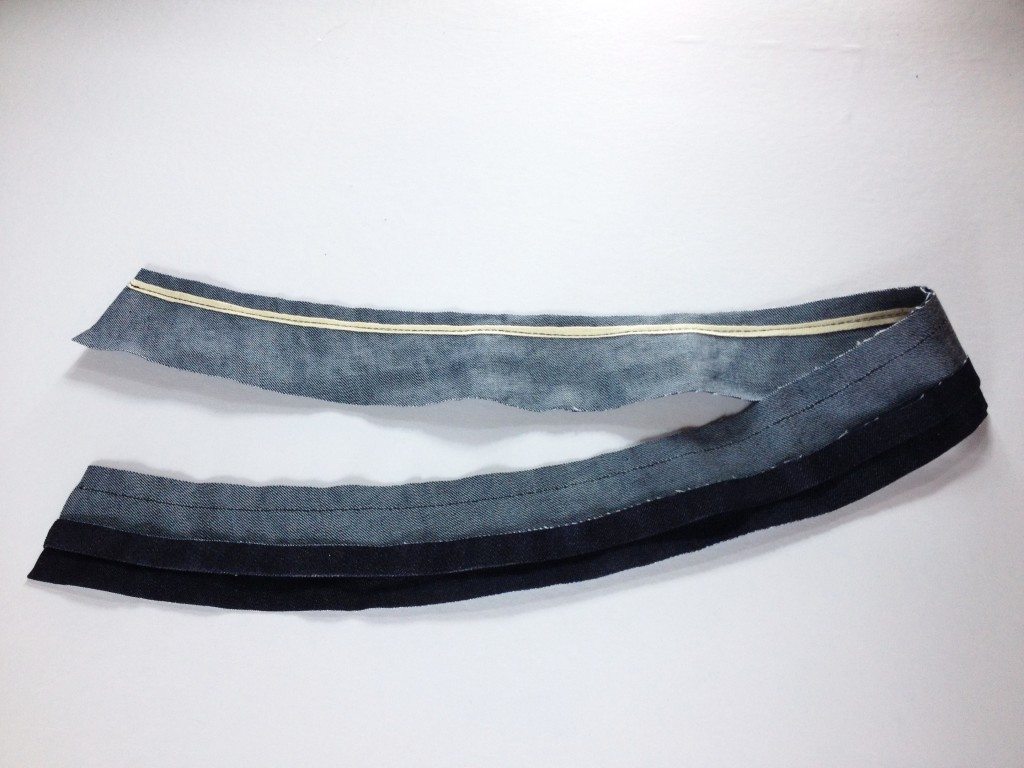
Then stitch the two waistbands together.
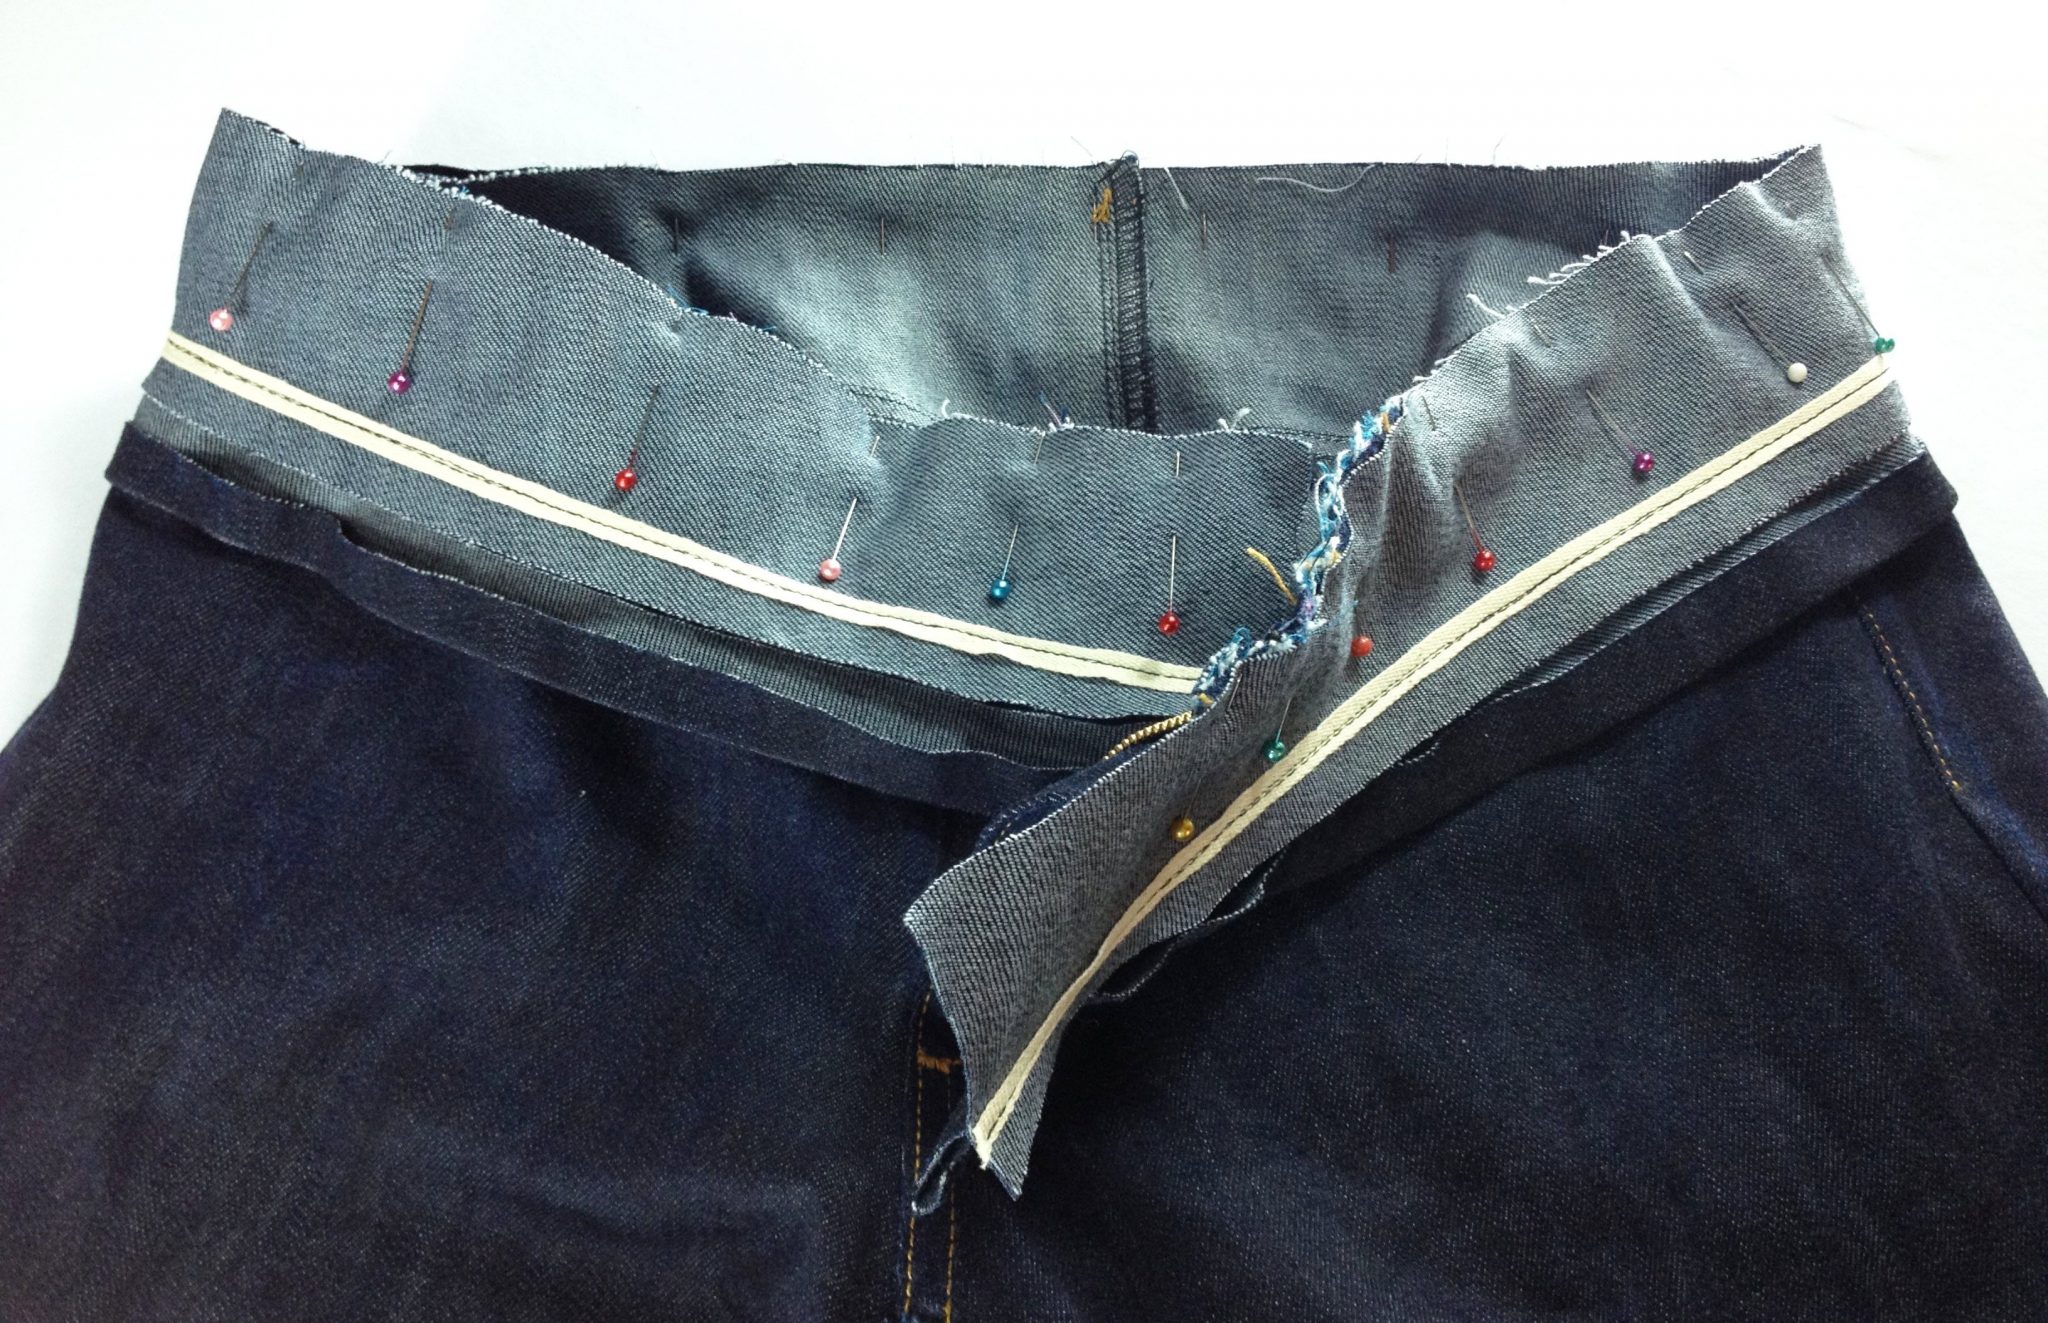
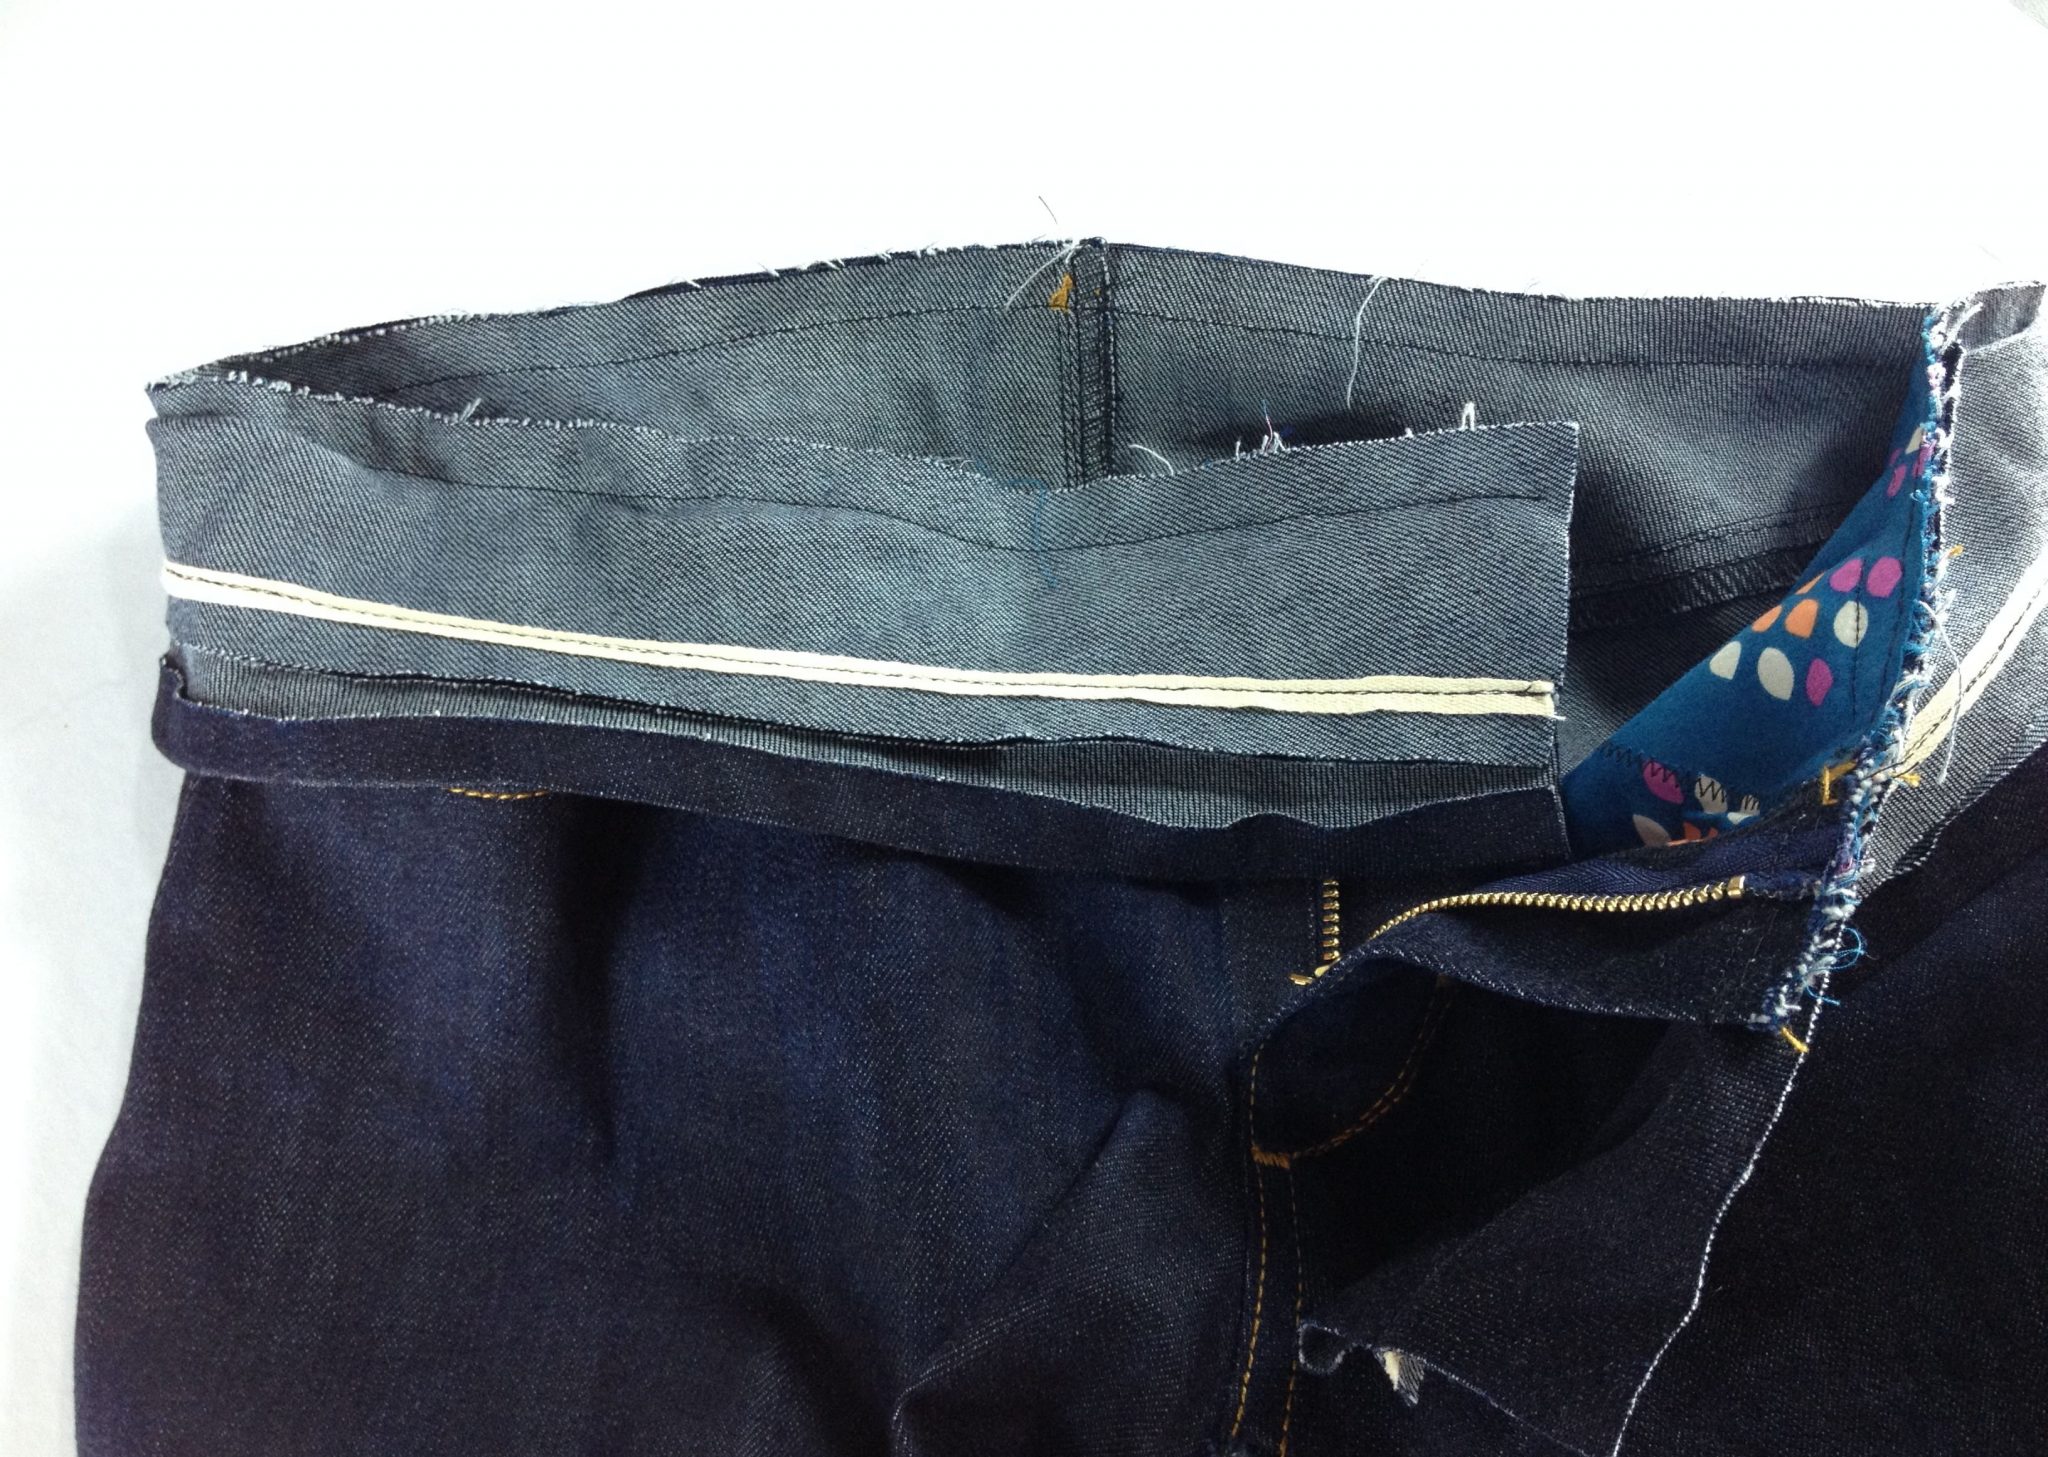
- Pin the non-folded bottom edge of the waistband to the top of the jeans, with the right sides together. There will be excess waistband at the center front; let it be and we’ll trim that later. Stitch all the way around. Press the seam allowances toward the facing.

Pin the non-folded bottom edge of the waistband to the top of the jeans.
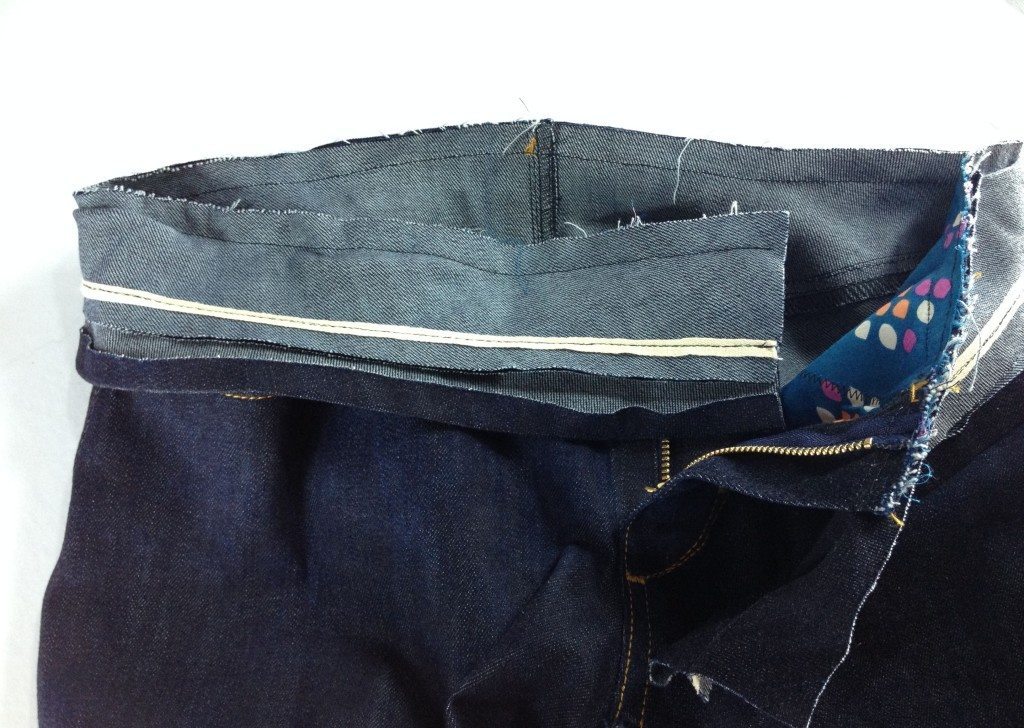
Stitched!
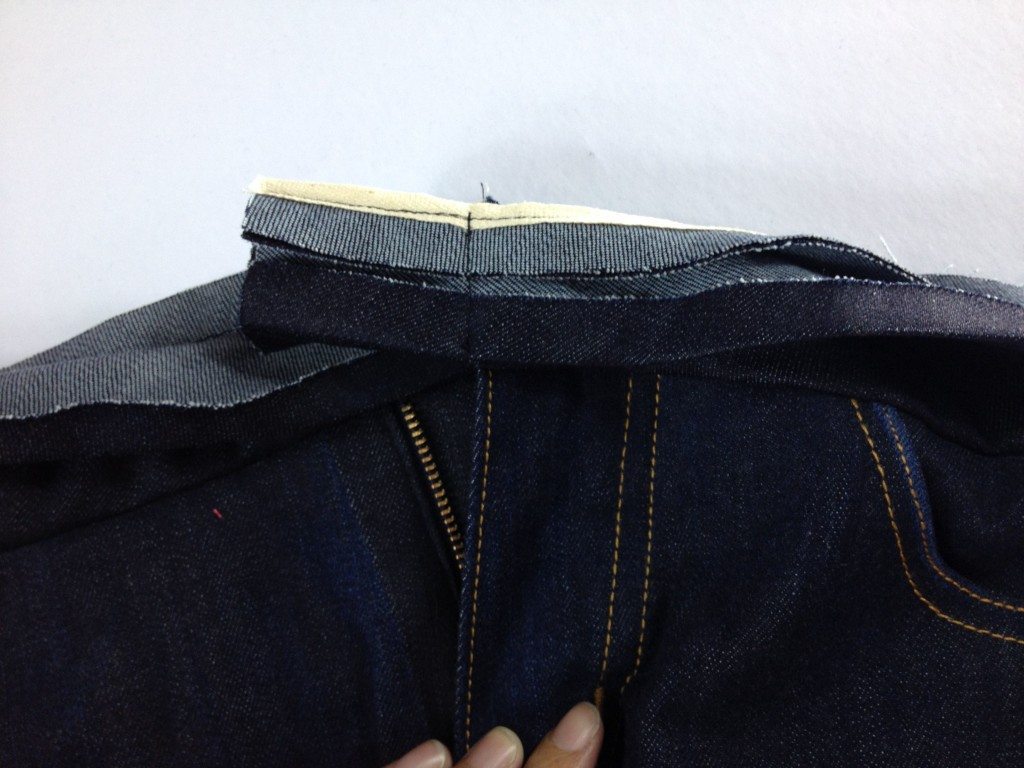
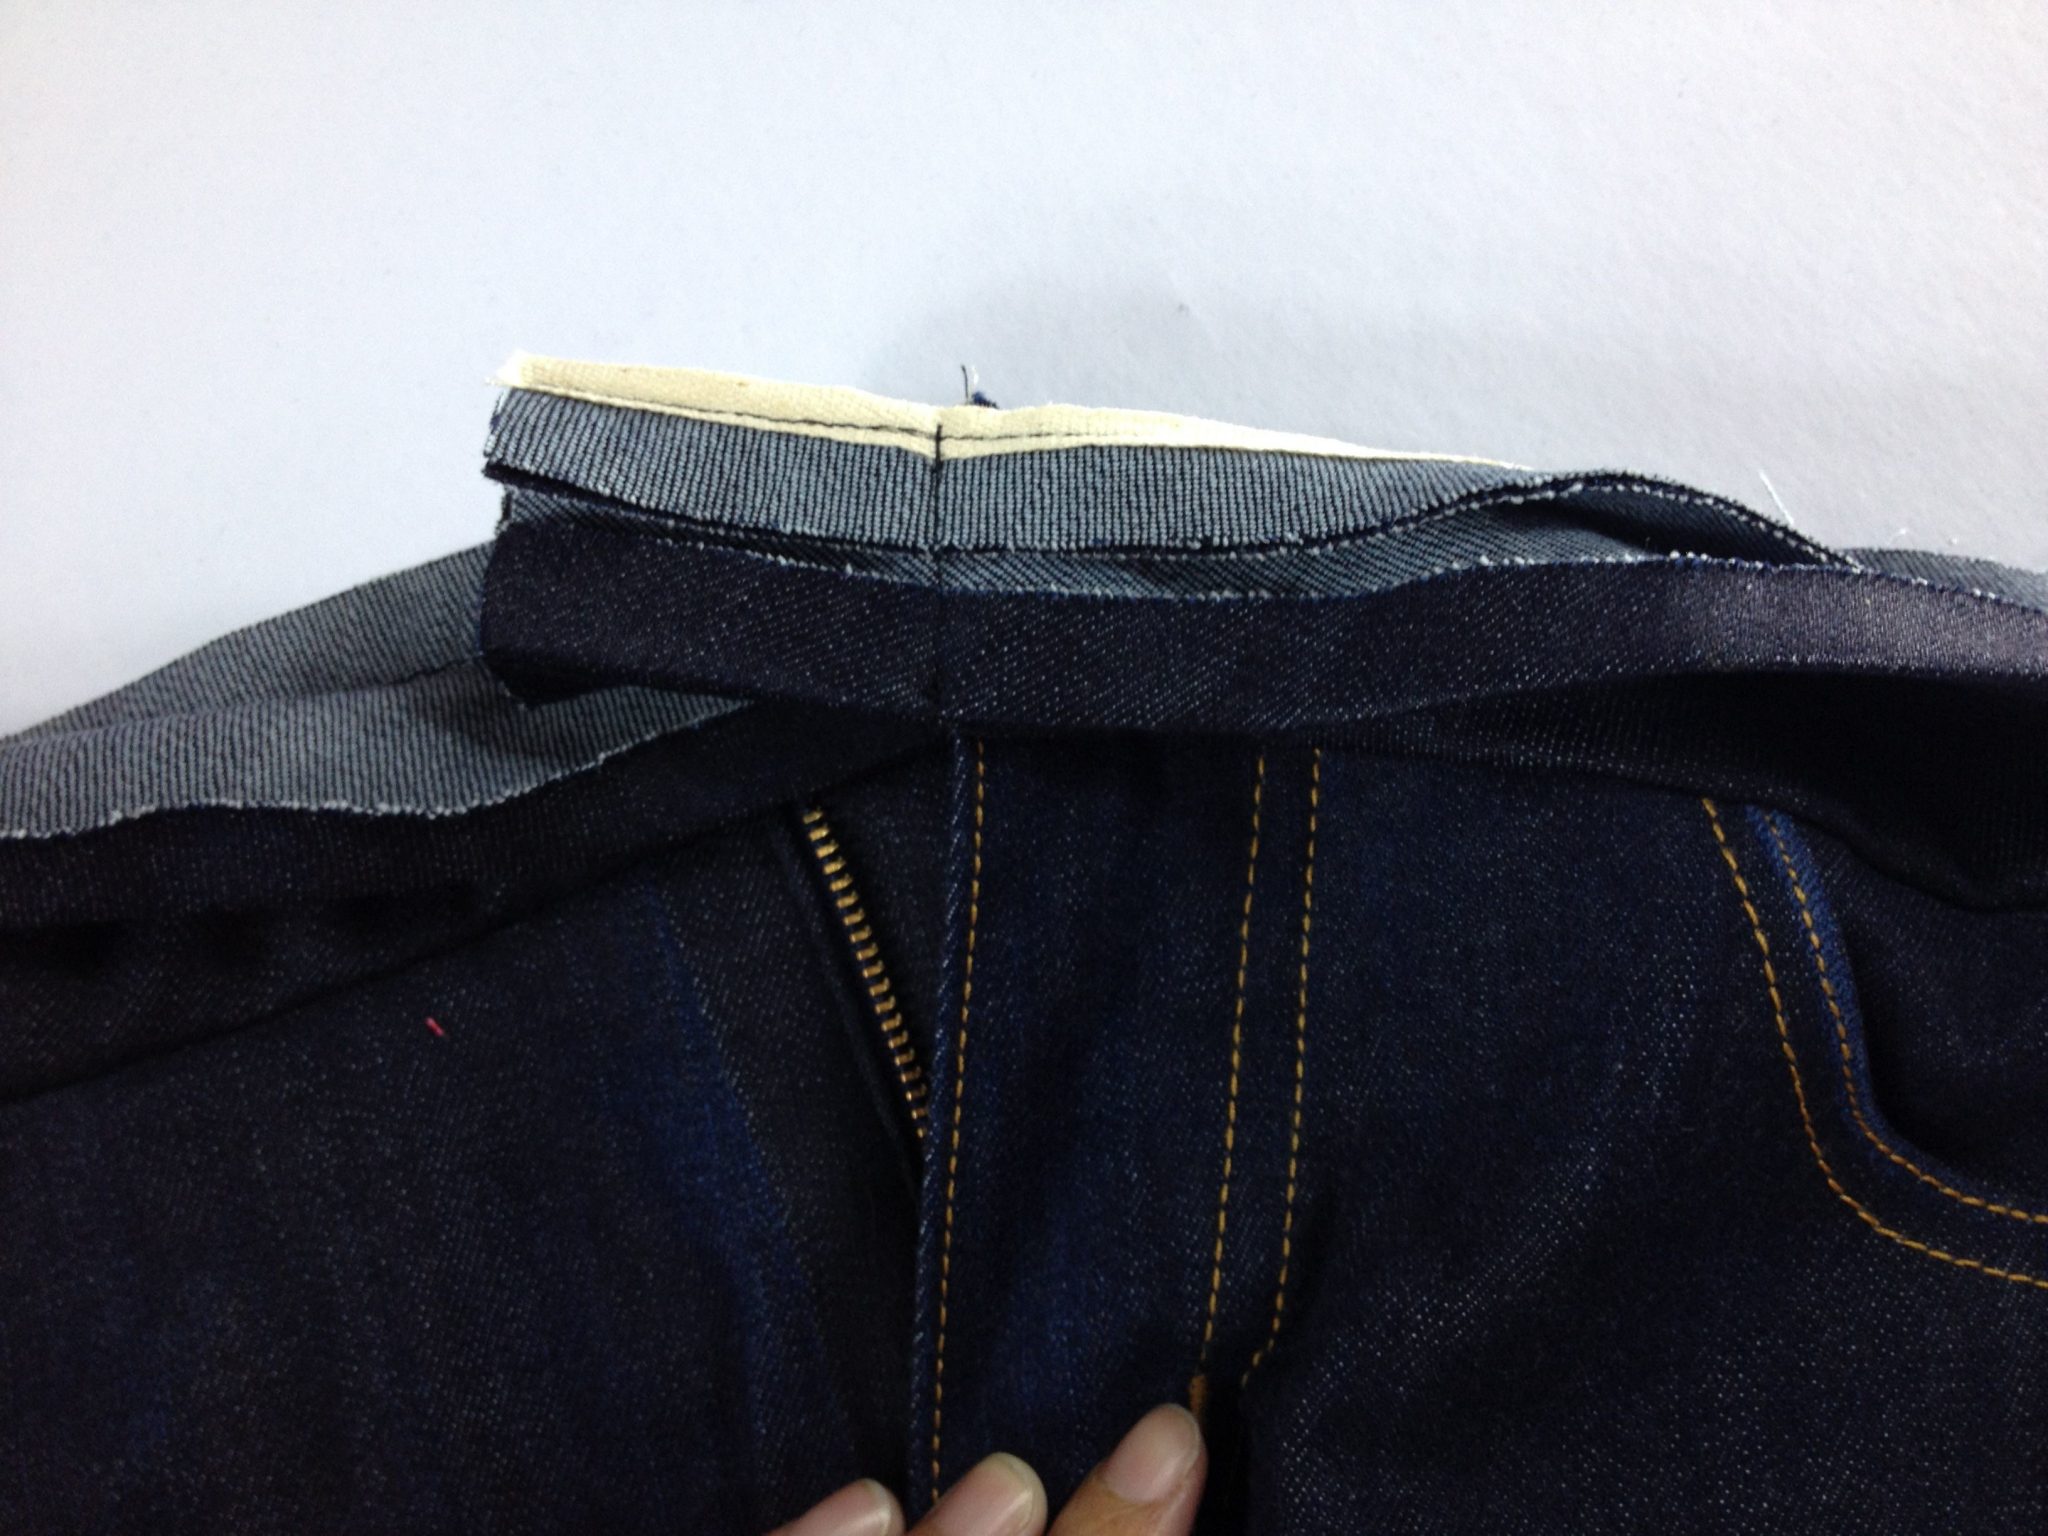
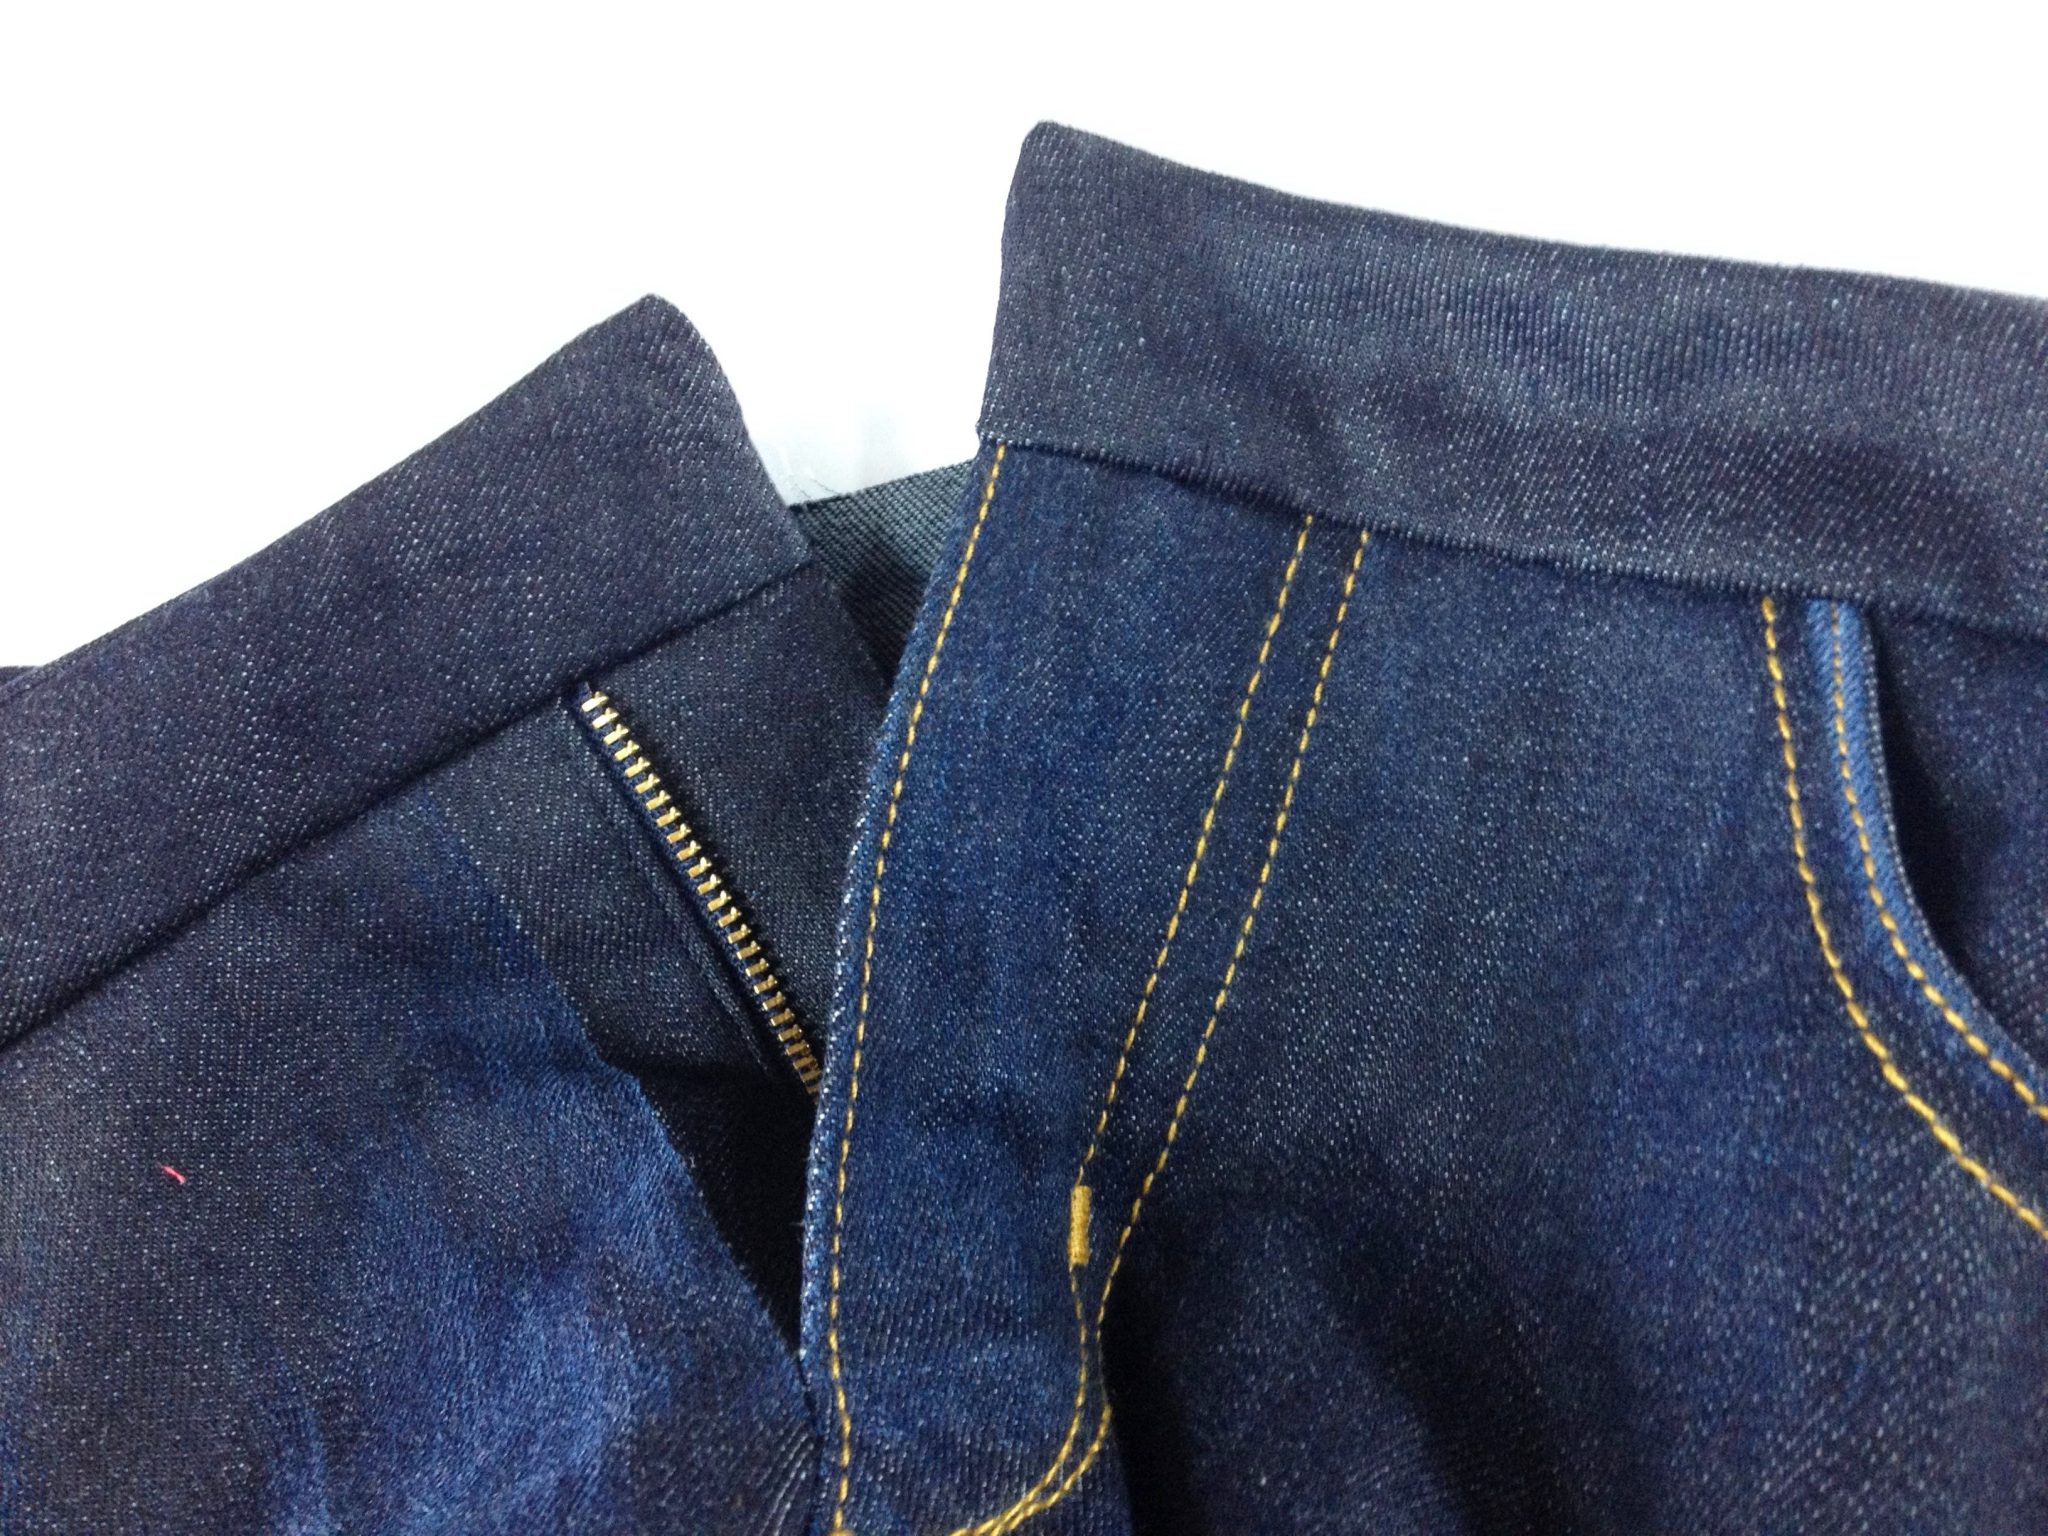
- For the front of the waistband, we need to stitch vertically in the fly area. Pin the outer waistband and waistband facing right sides together at the front fly edge. Stitch a line that is flush with the fly edge vertically and over the folds. You see that I also folded down the top waistband seam allowances.
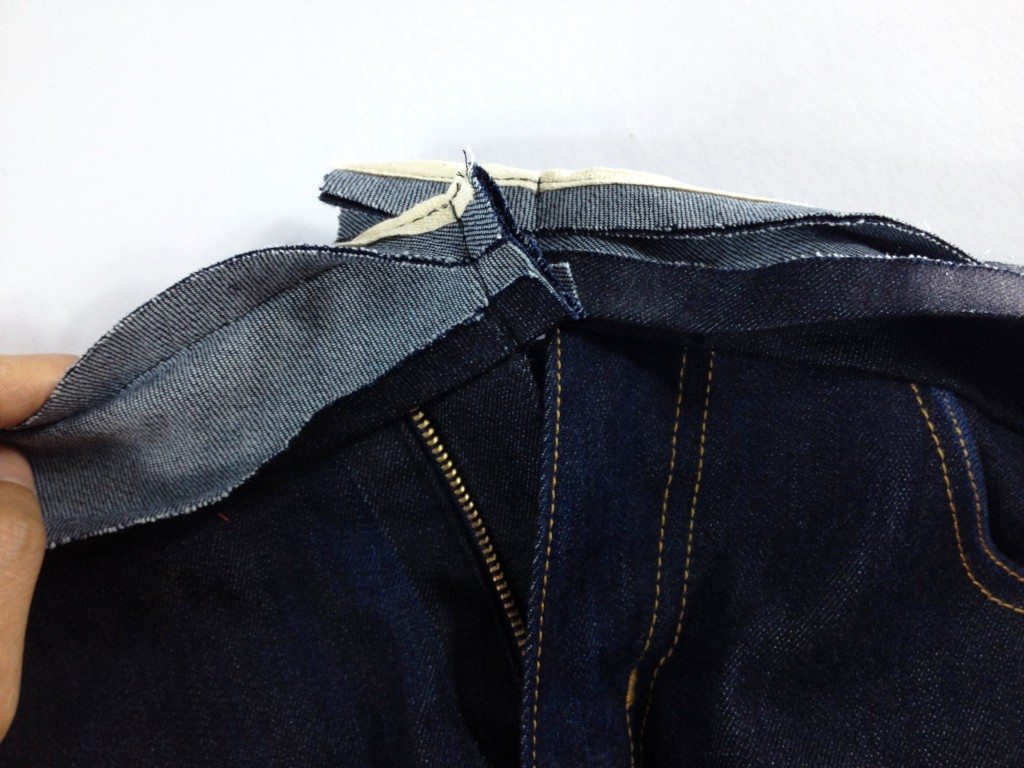
Stitch two waistbands together vertically at front fly edge, flush with fly.
Another angle – stitch two waistbands at fly front edge.
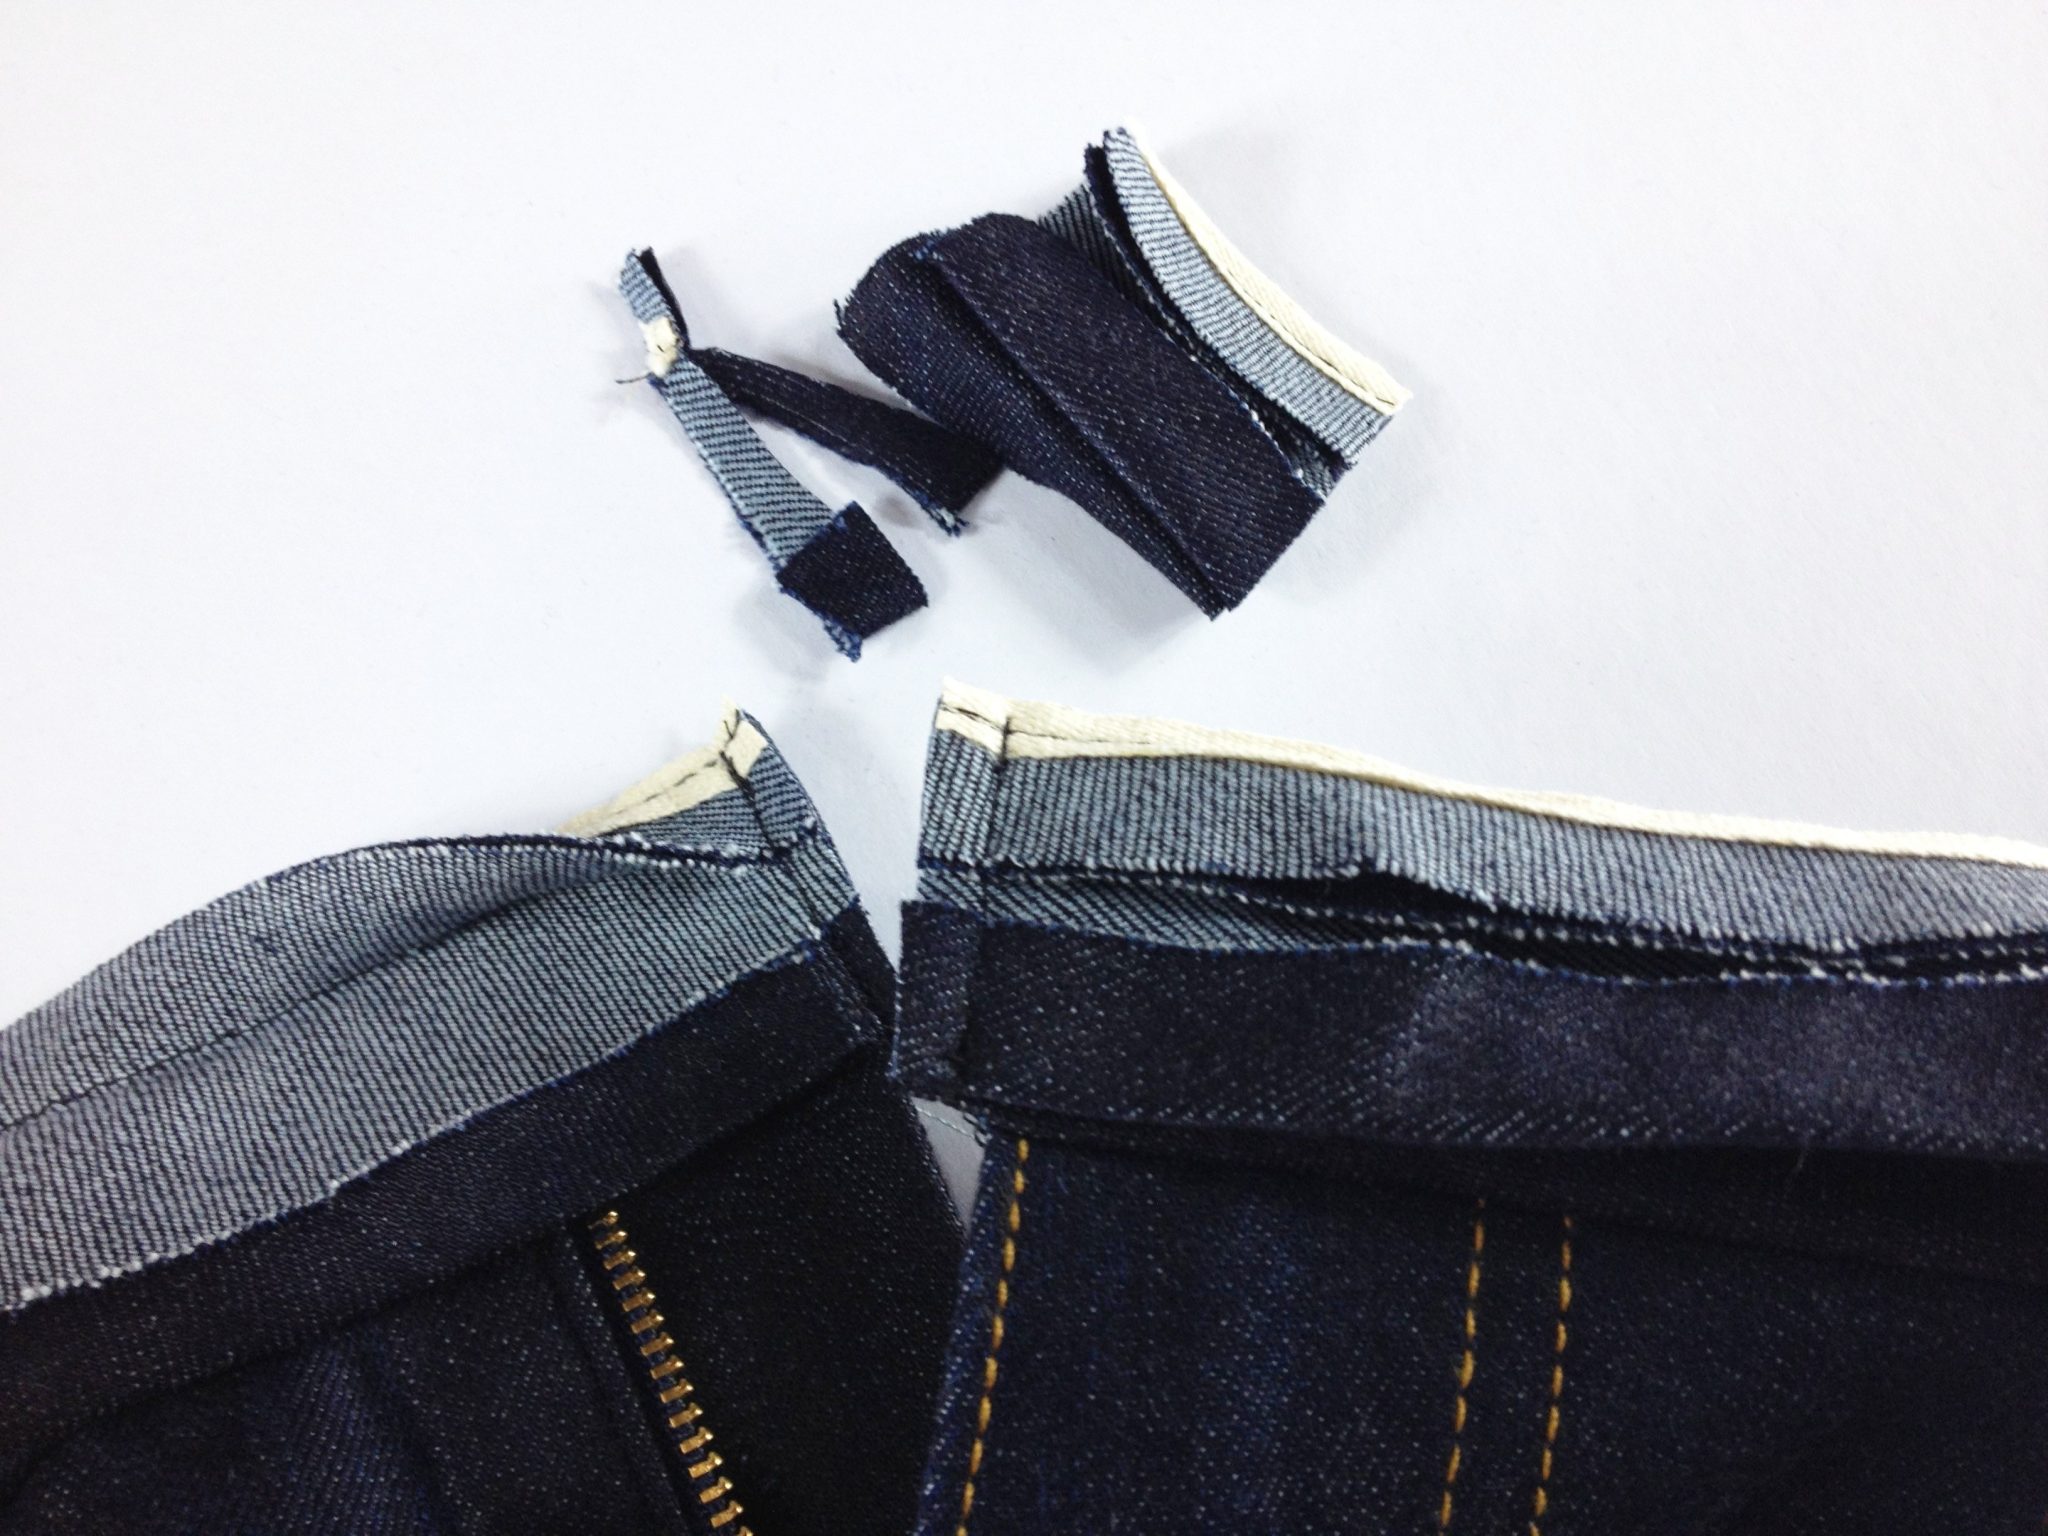
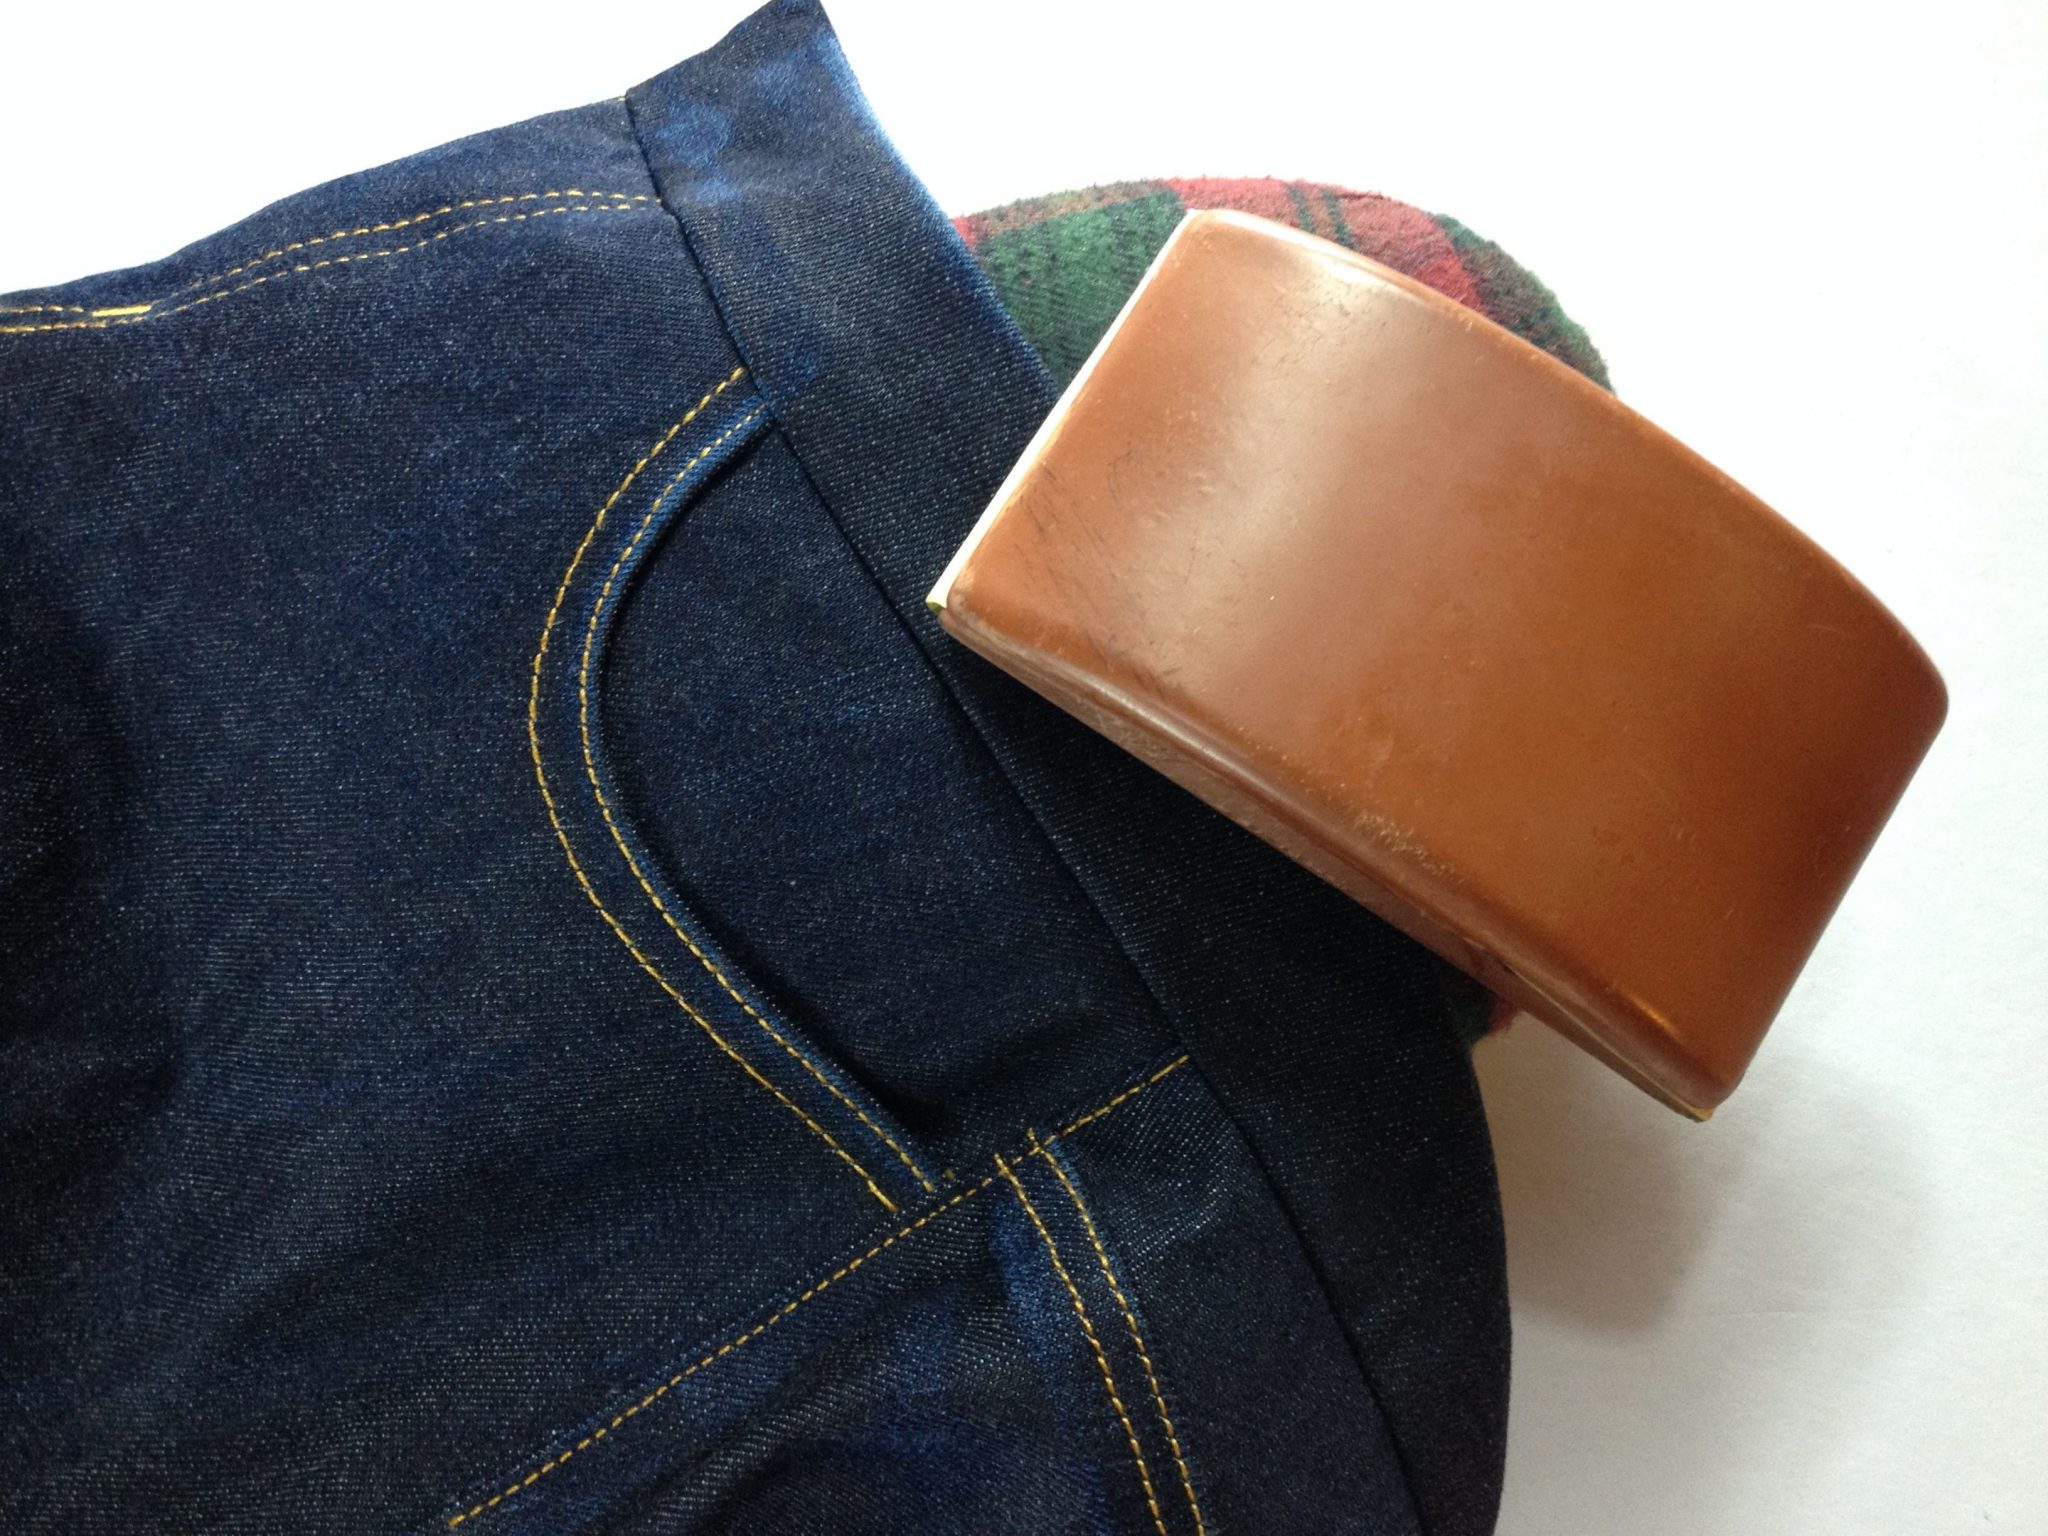
- Trim the excess waistbands.

Trim excess waistband.
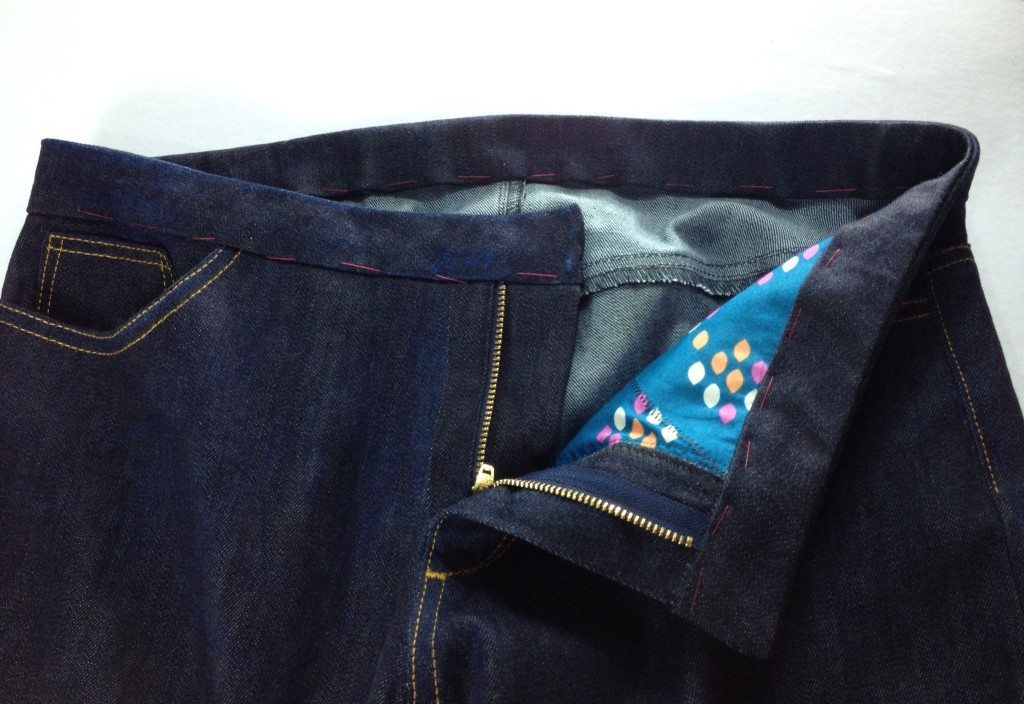
- Turn the waistband right side out.

Turn waistband right side out.
- If you are distressing your denim, now it’s time to go it. Watch out for the existing topstitching!

Distress waistband.
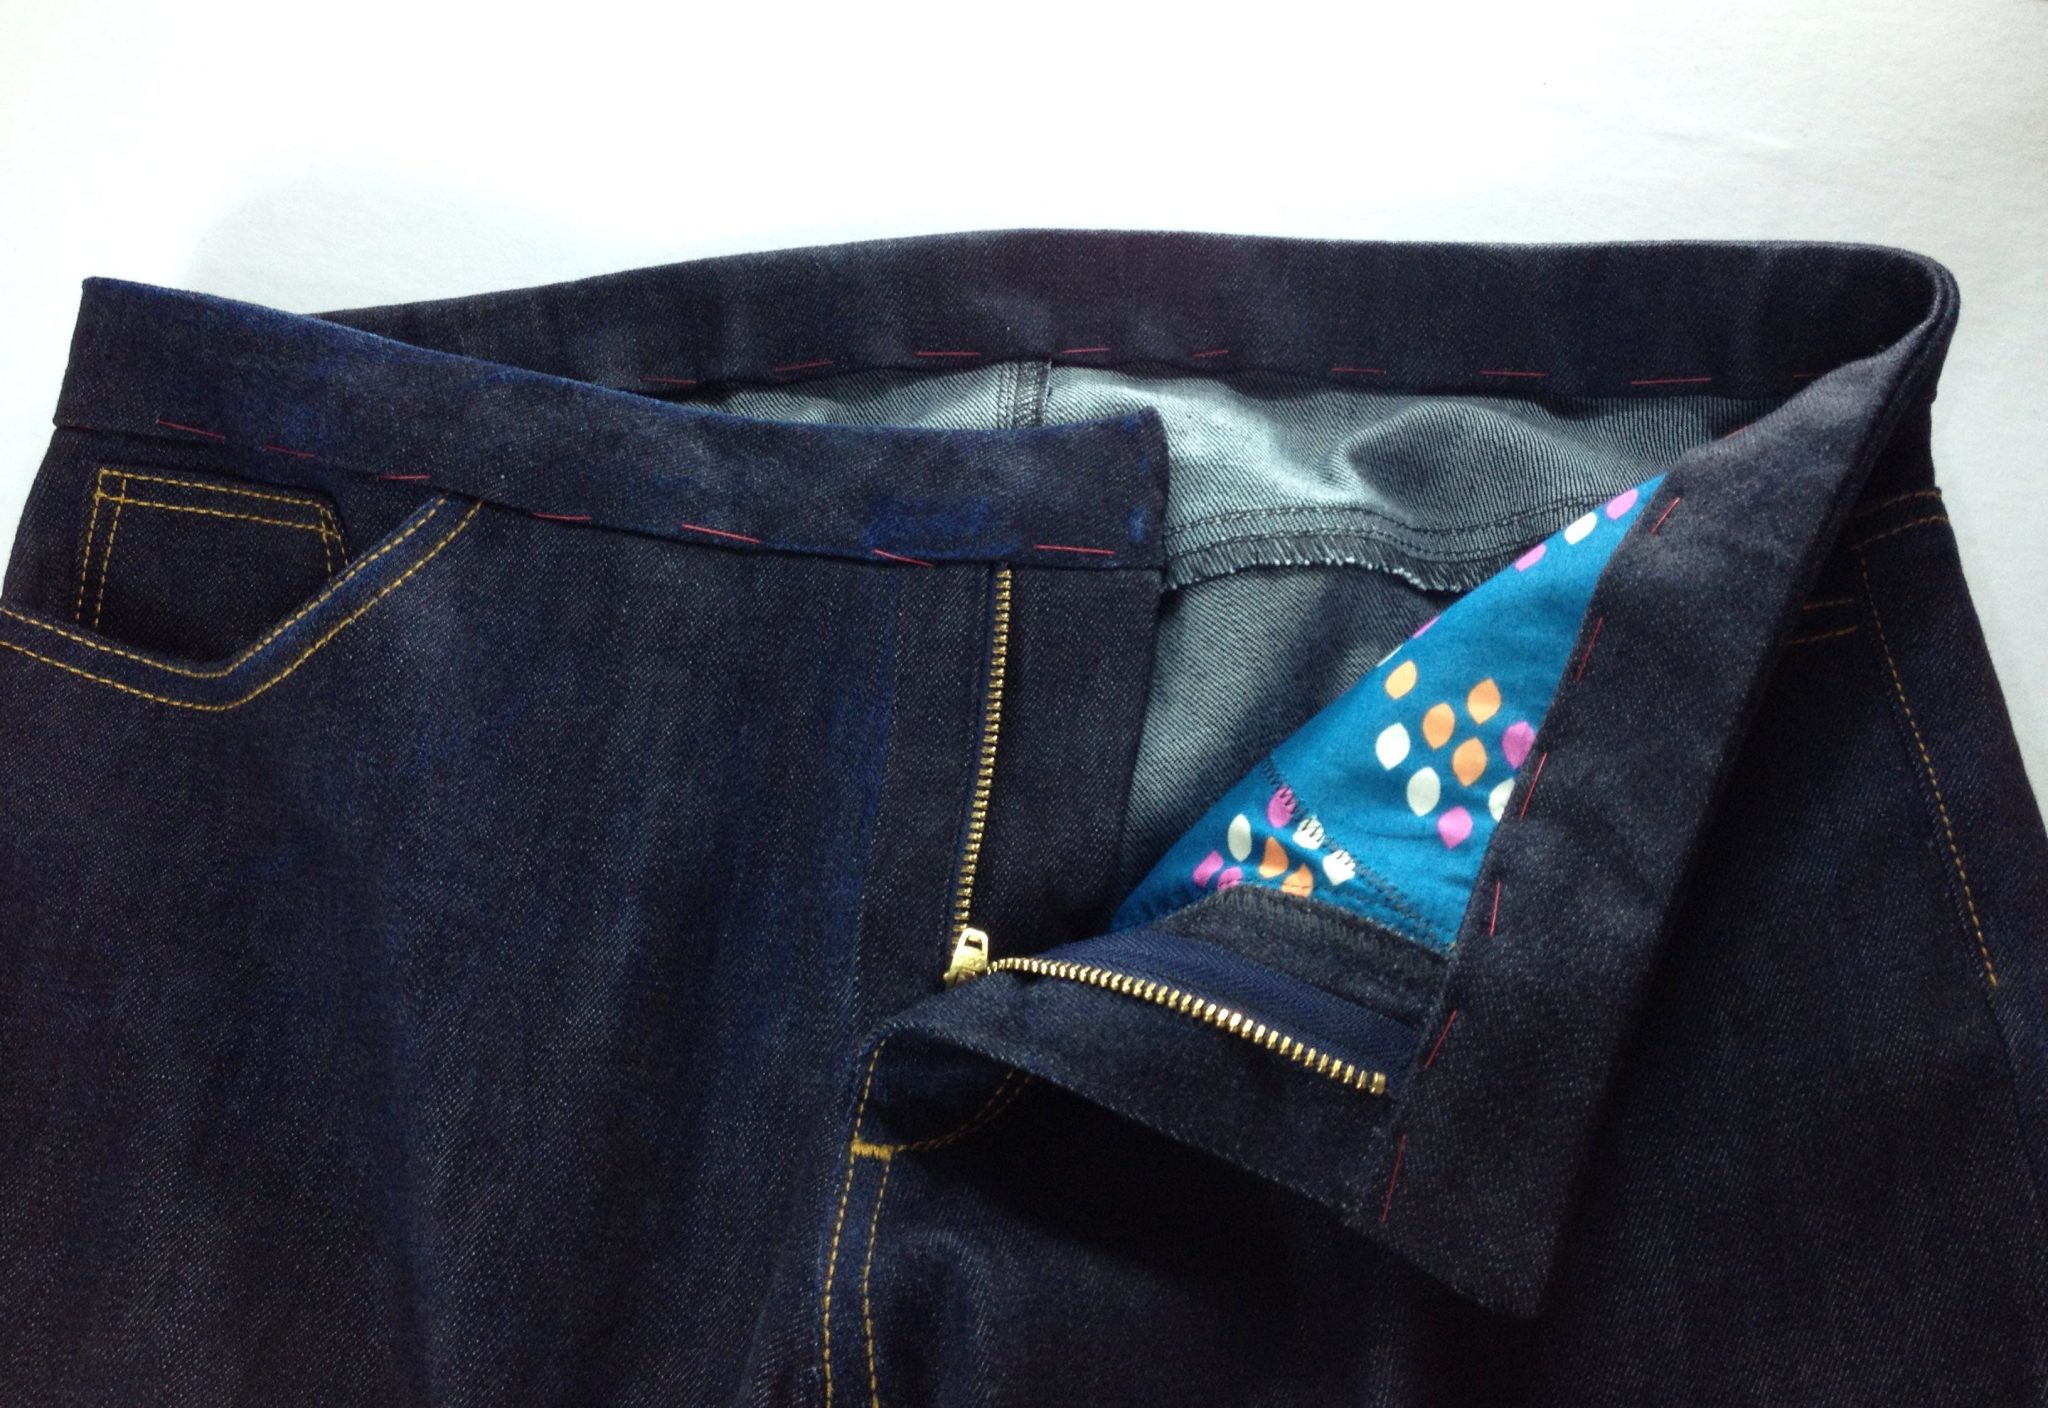
- On the inside, bring the folded edge of the waistband to the line of stitching and barely cover it. Pin the waistband in place. I also took the extra cautious and baste the waistband by hand to secure.

Pin the folded edge of the waistband.
I also basted the waistband – I didn’t want the waistband to shift during topstitching.
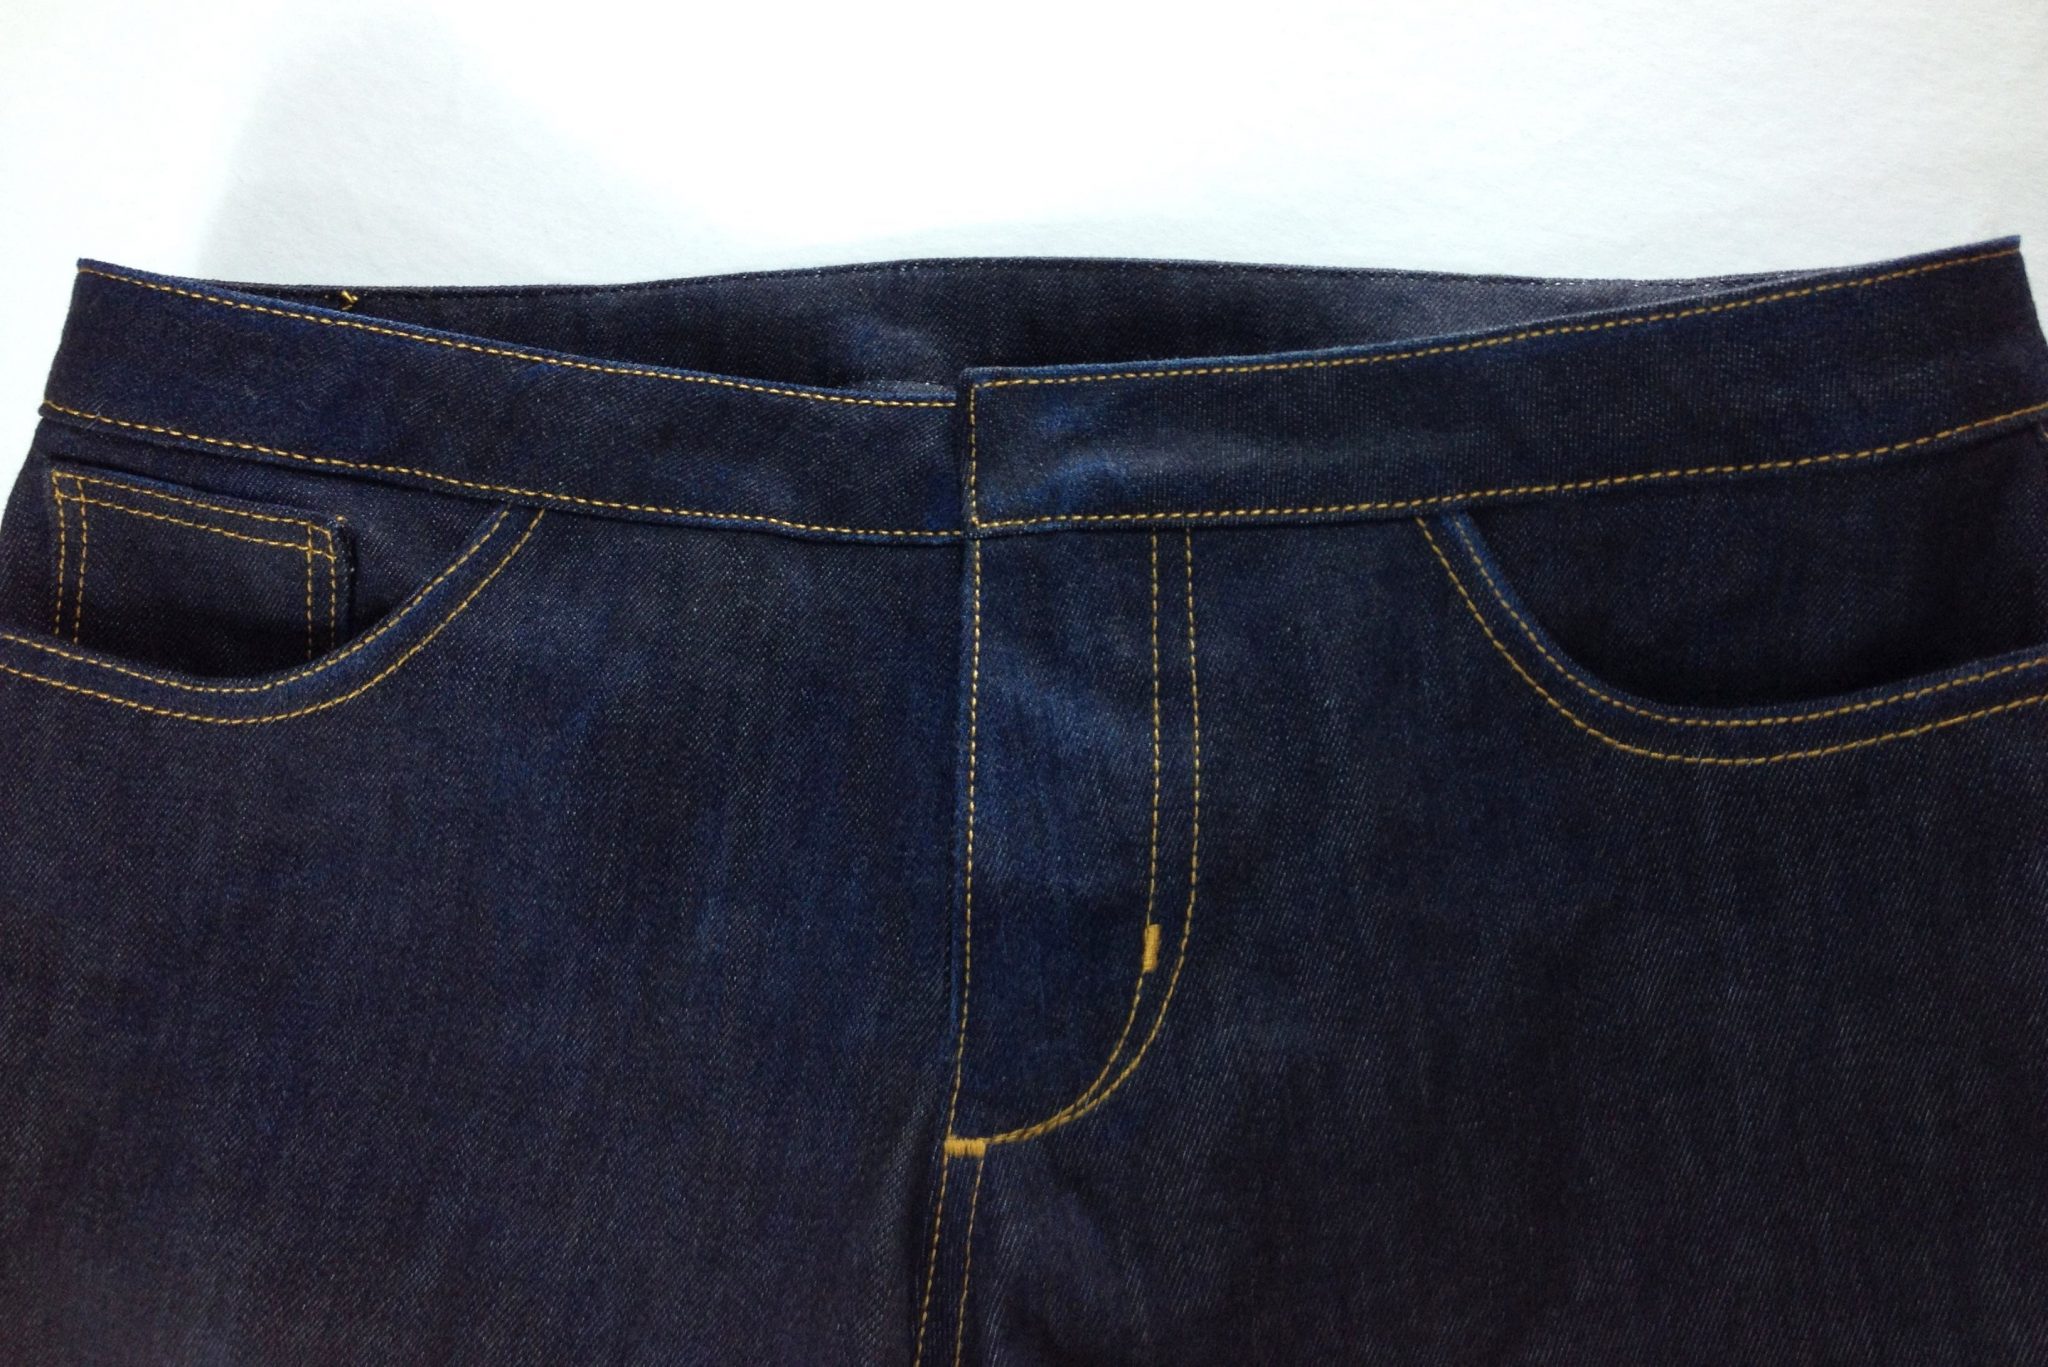
- Topstitch around the waistband – top, side and bottom – in one continuous line, pivoting at the corners.

Waistband Topstitched! (And basting removed.)
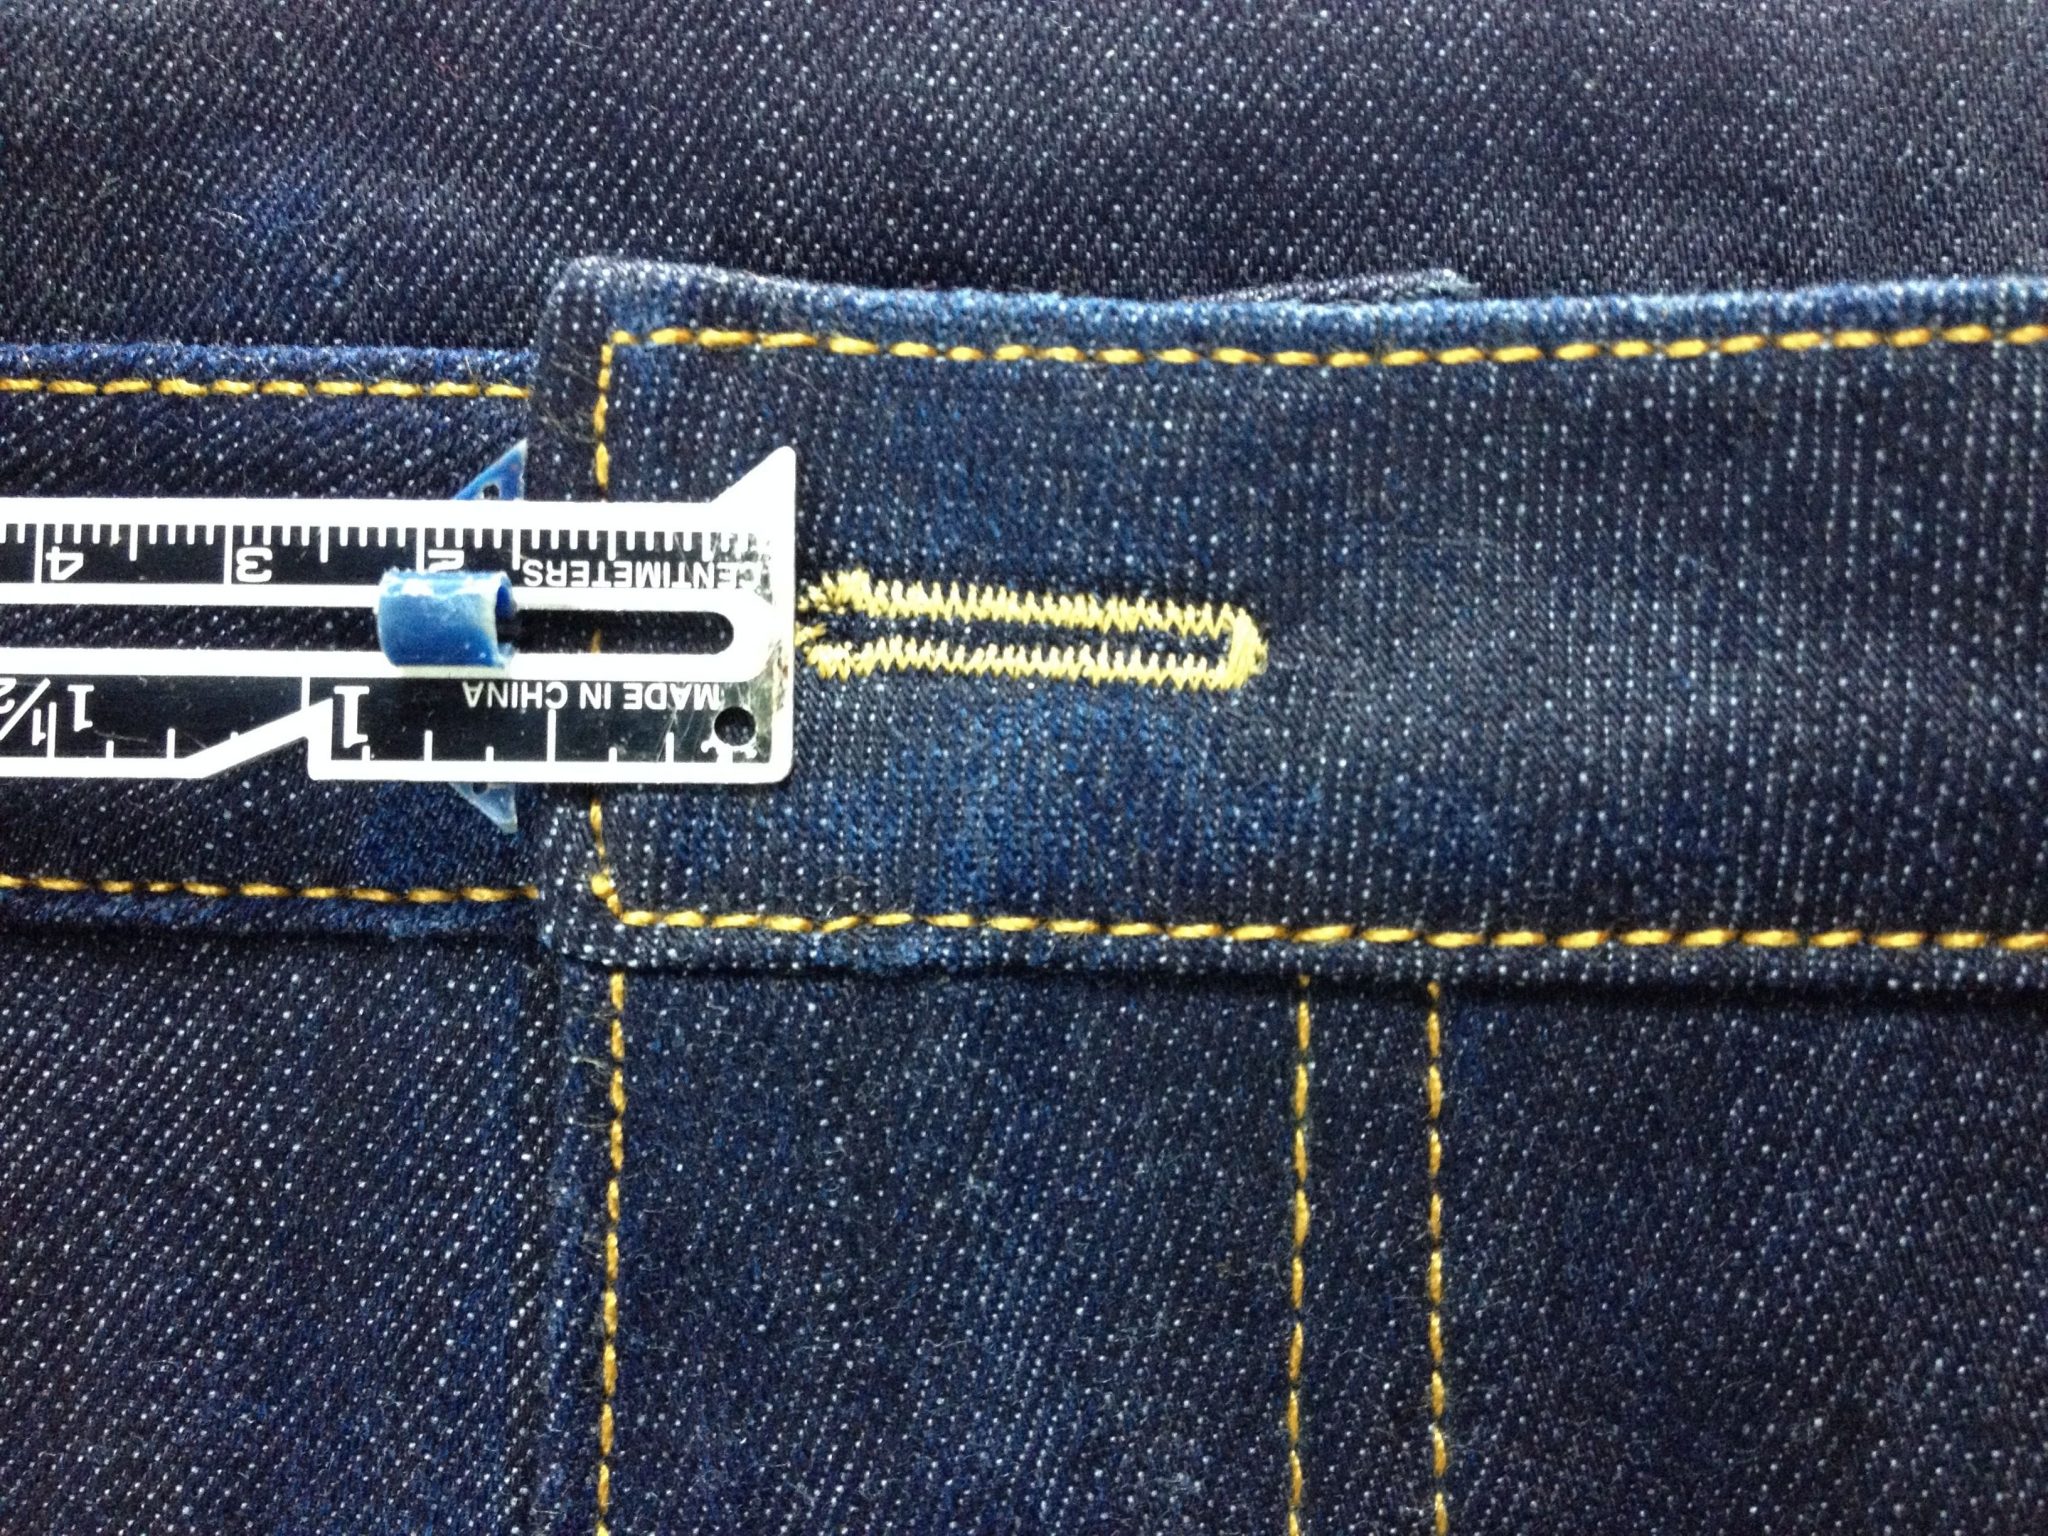
- Make a buttonhole. As mentioned, my sewing machine didn’t like me making buttonholes with the topstitching thread, so I used regular thread here. Test yours before doing it on the jeans!
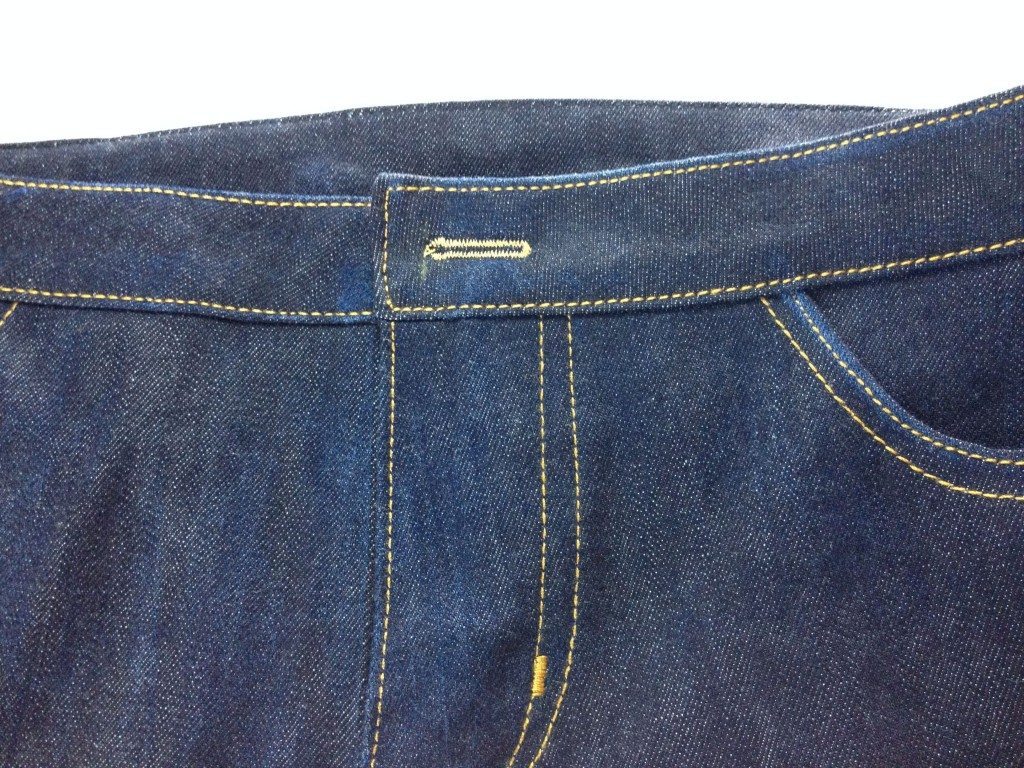
Buttonhole made.
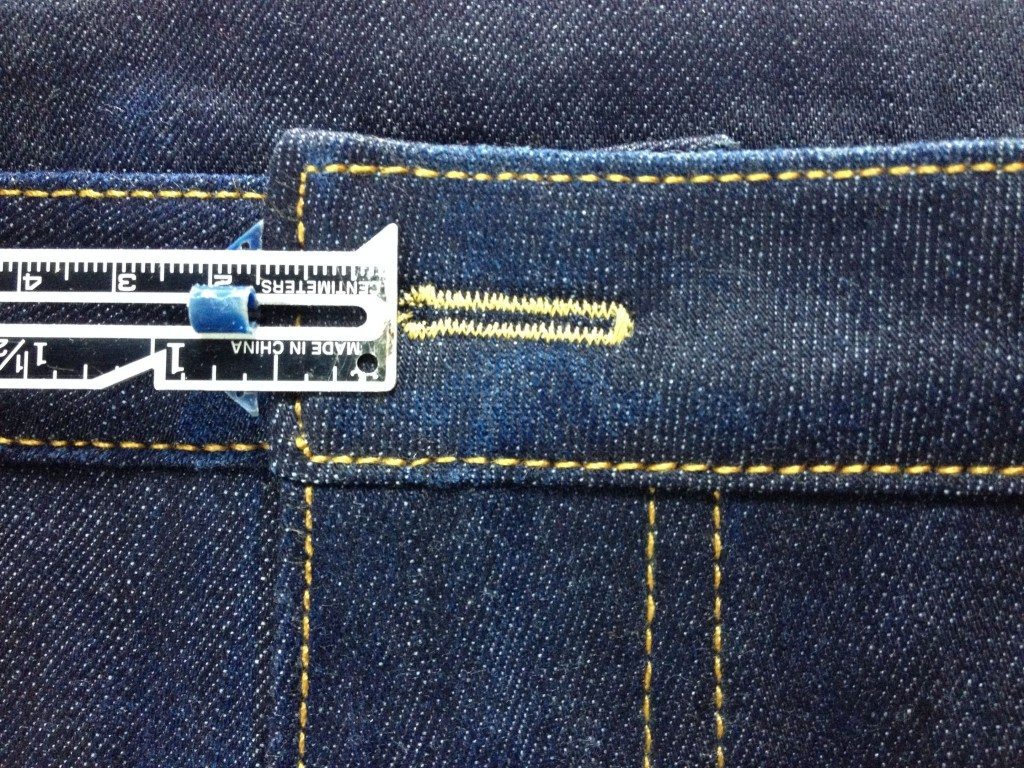
The buttonhole starts 3/8″ (1 cm) from the topstitching.
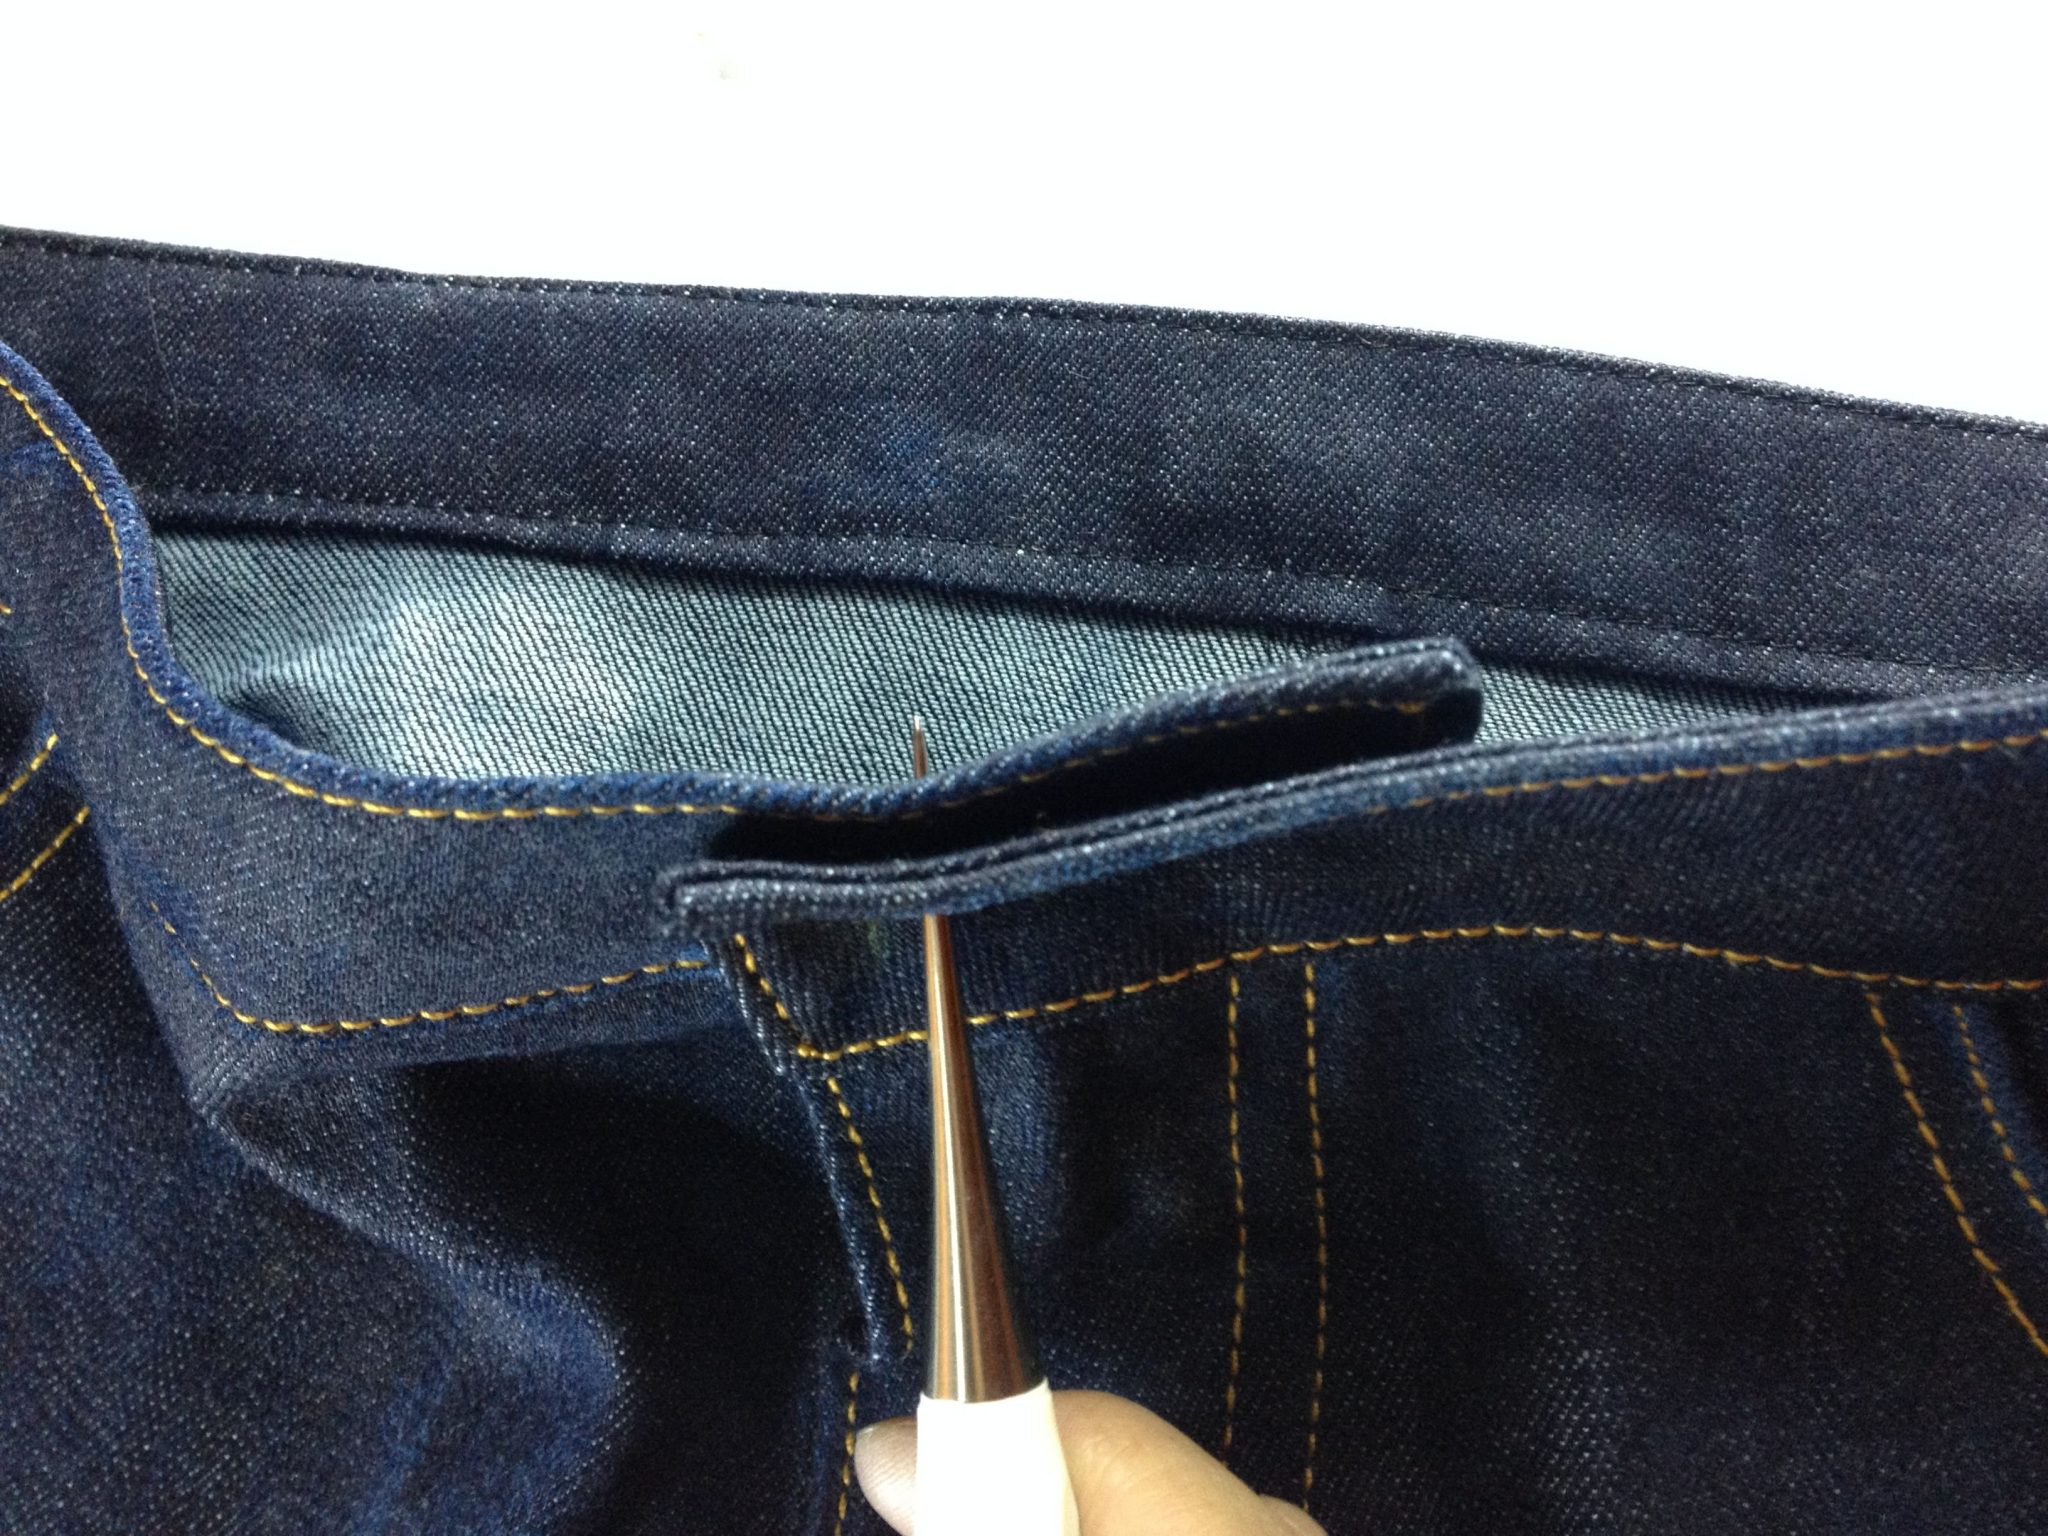
- To make a corresponding button, use an awl or a nail to poke through the buttonhole to see where the button should be placed. Conveniently, it also makes a hole so I can put the pin part of the button through. But note that the button should be placed toward the end of the buttonhole (the keyhole portion), not the center of the buttonhole.

Pin an awl or a nail through the buttonhole to find the spot where the button should be placed.
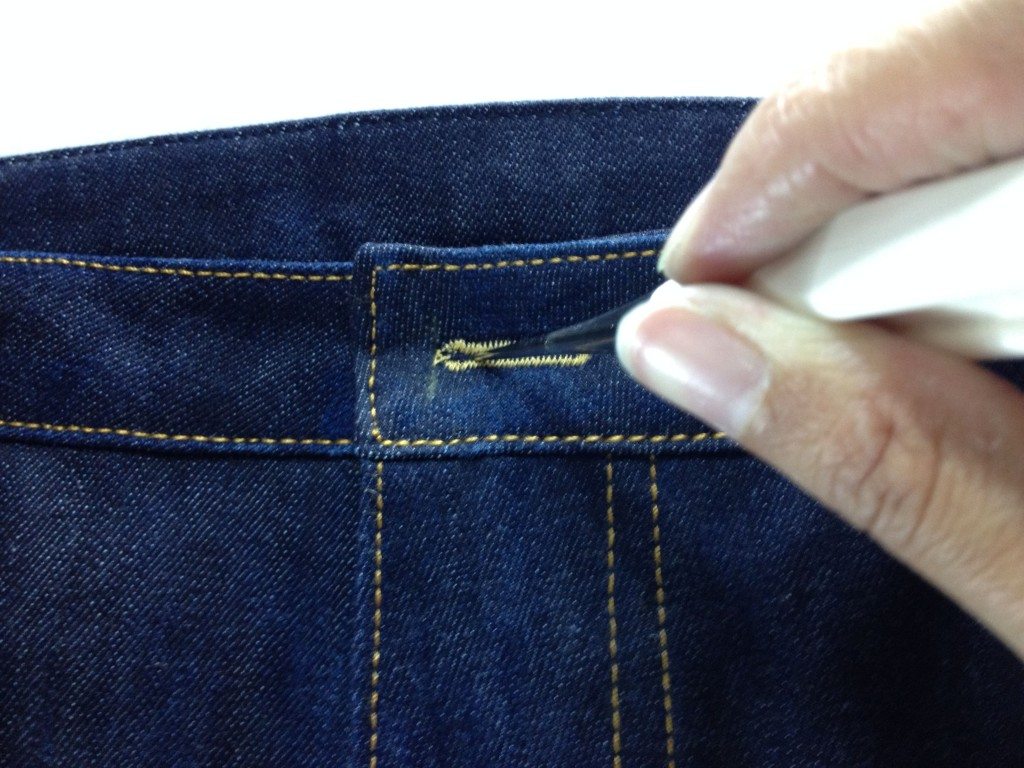
Where the awl/nail should poke through.
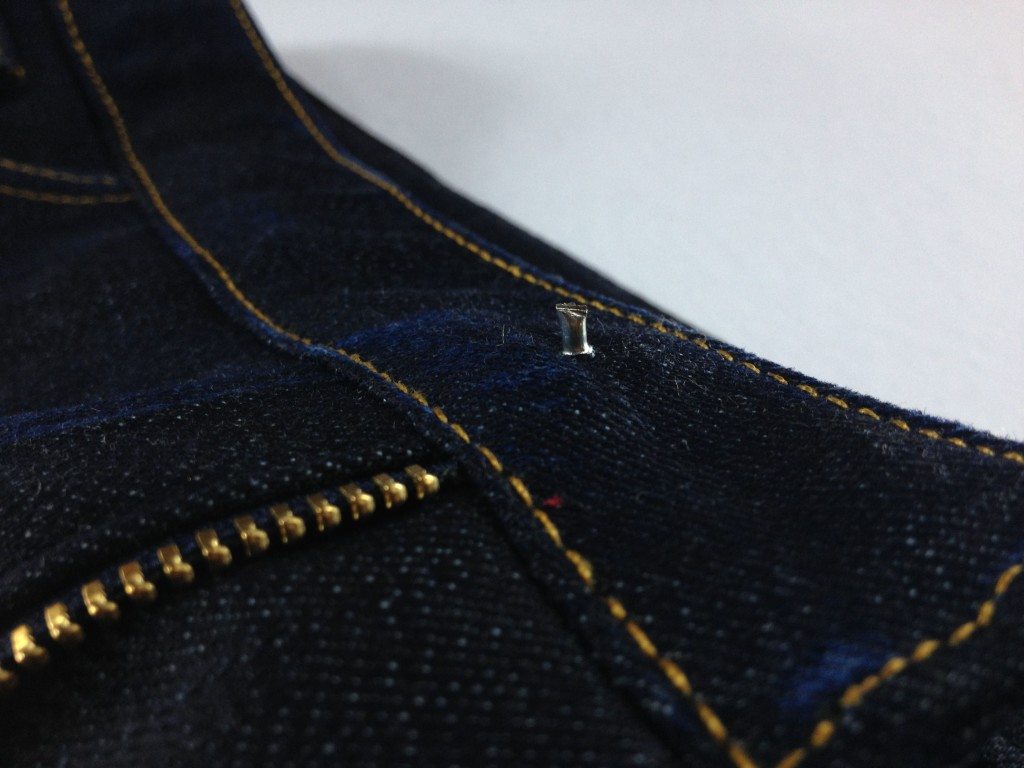
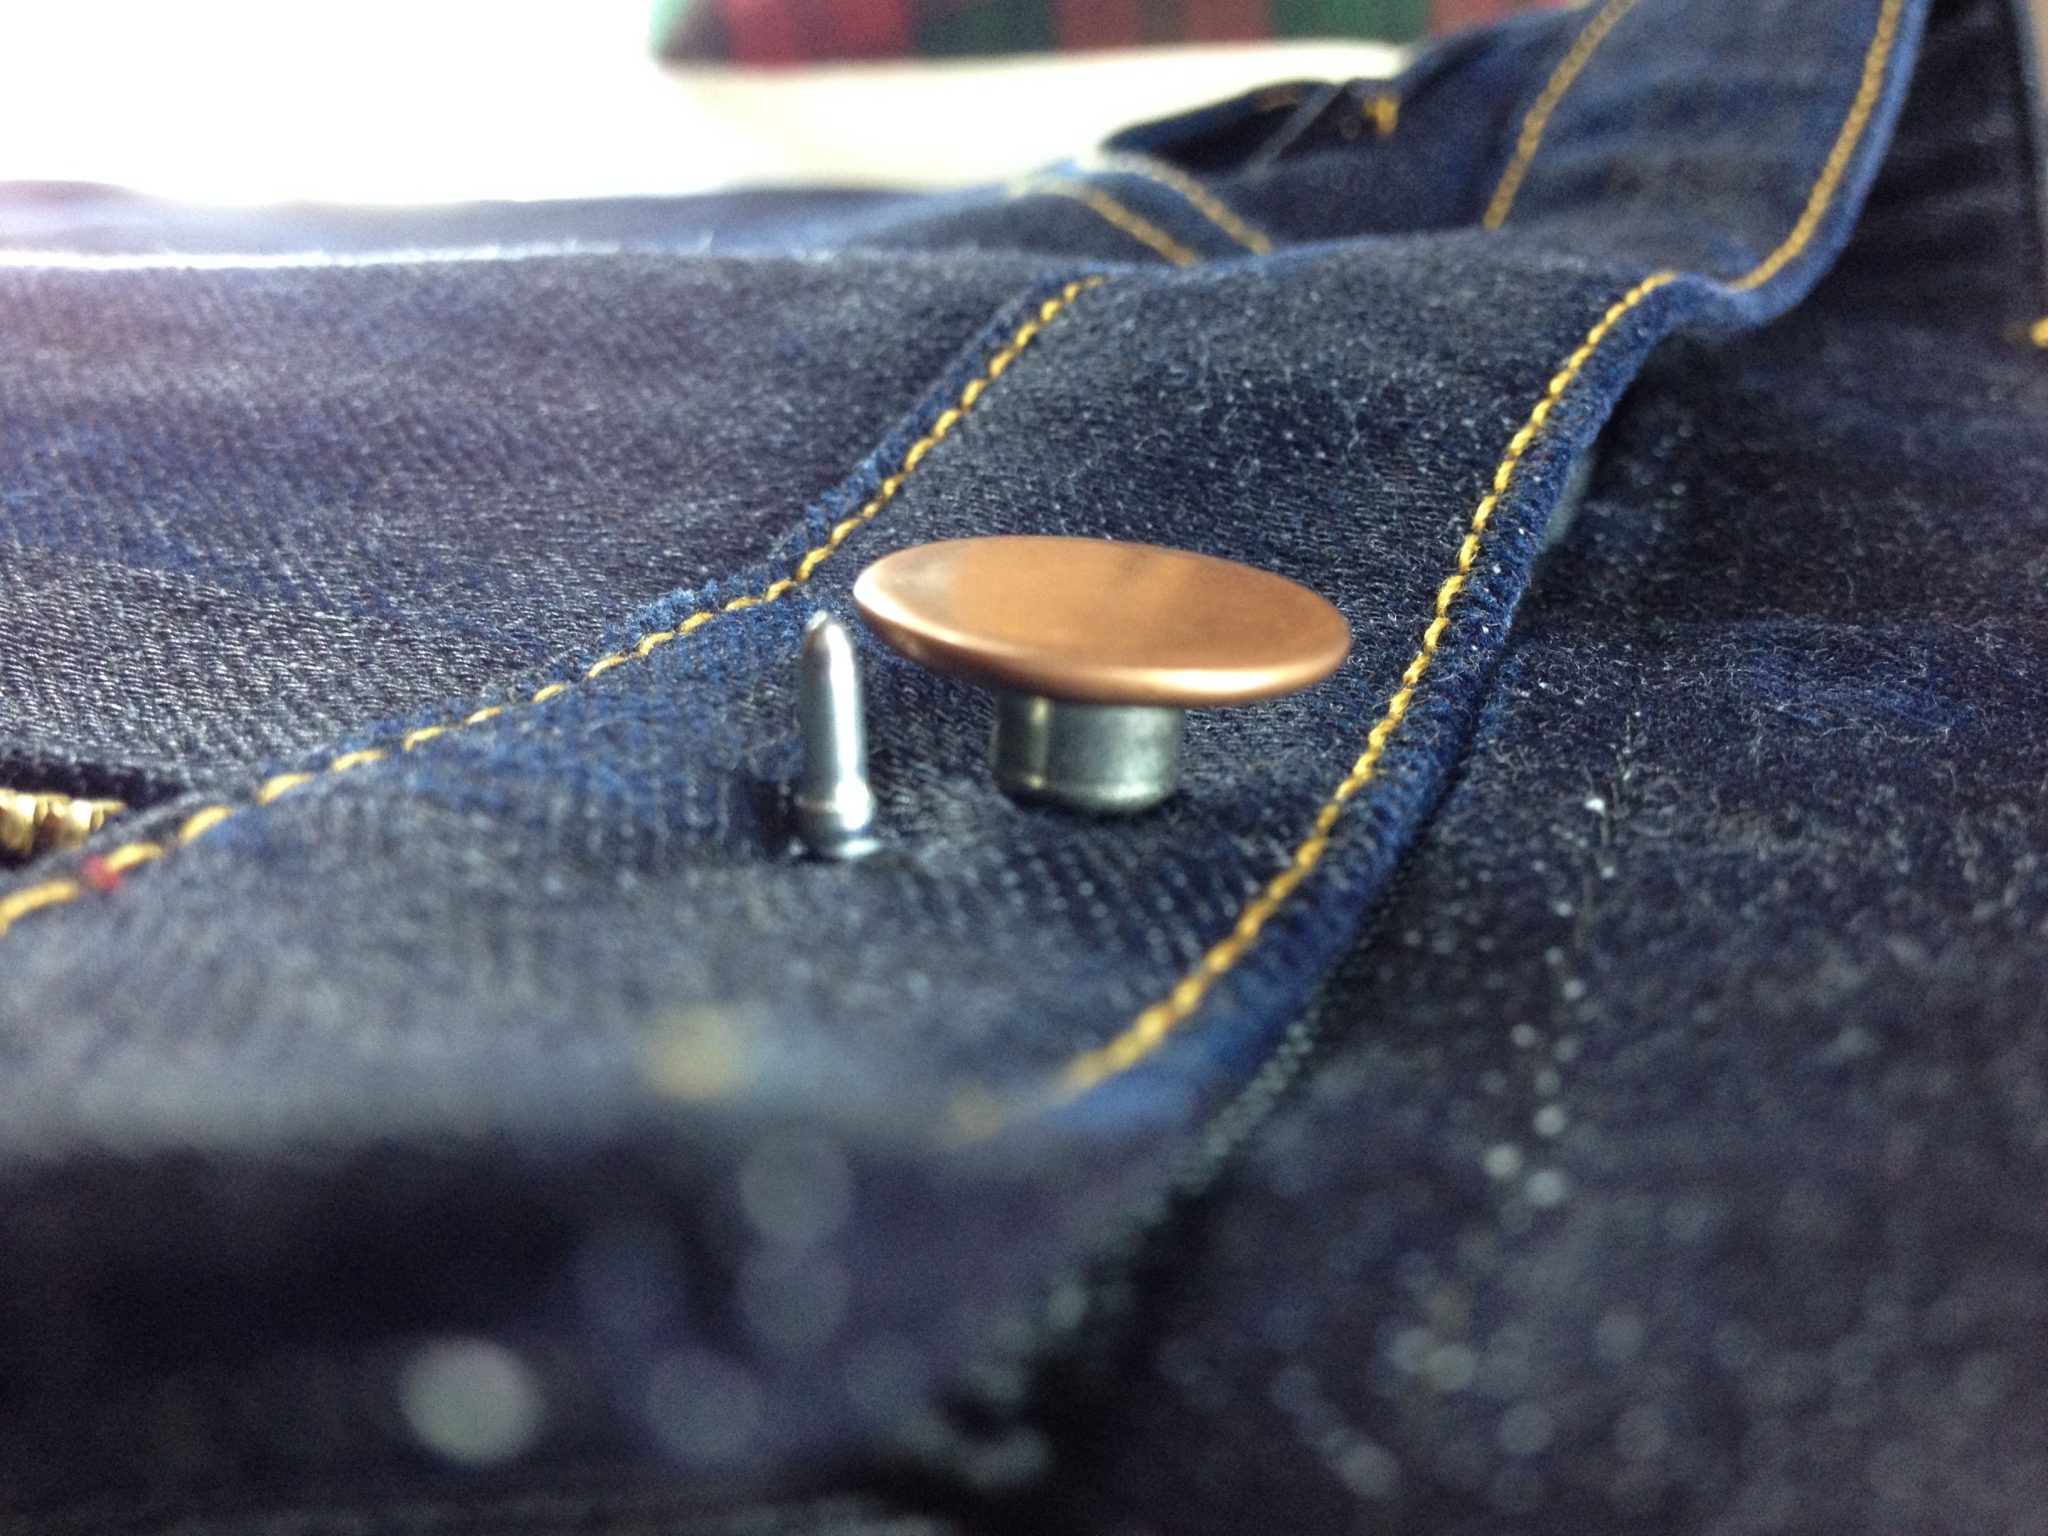
- Put the bottom pin of the button through the hole. You see that the pin is actually quite tall – taller than we want when you compare it to the button.

The pin of the button is taller than we want – placed next to the button to check.
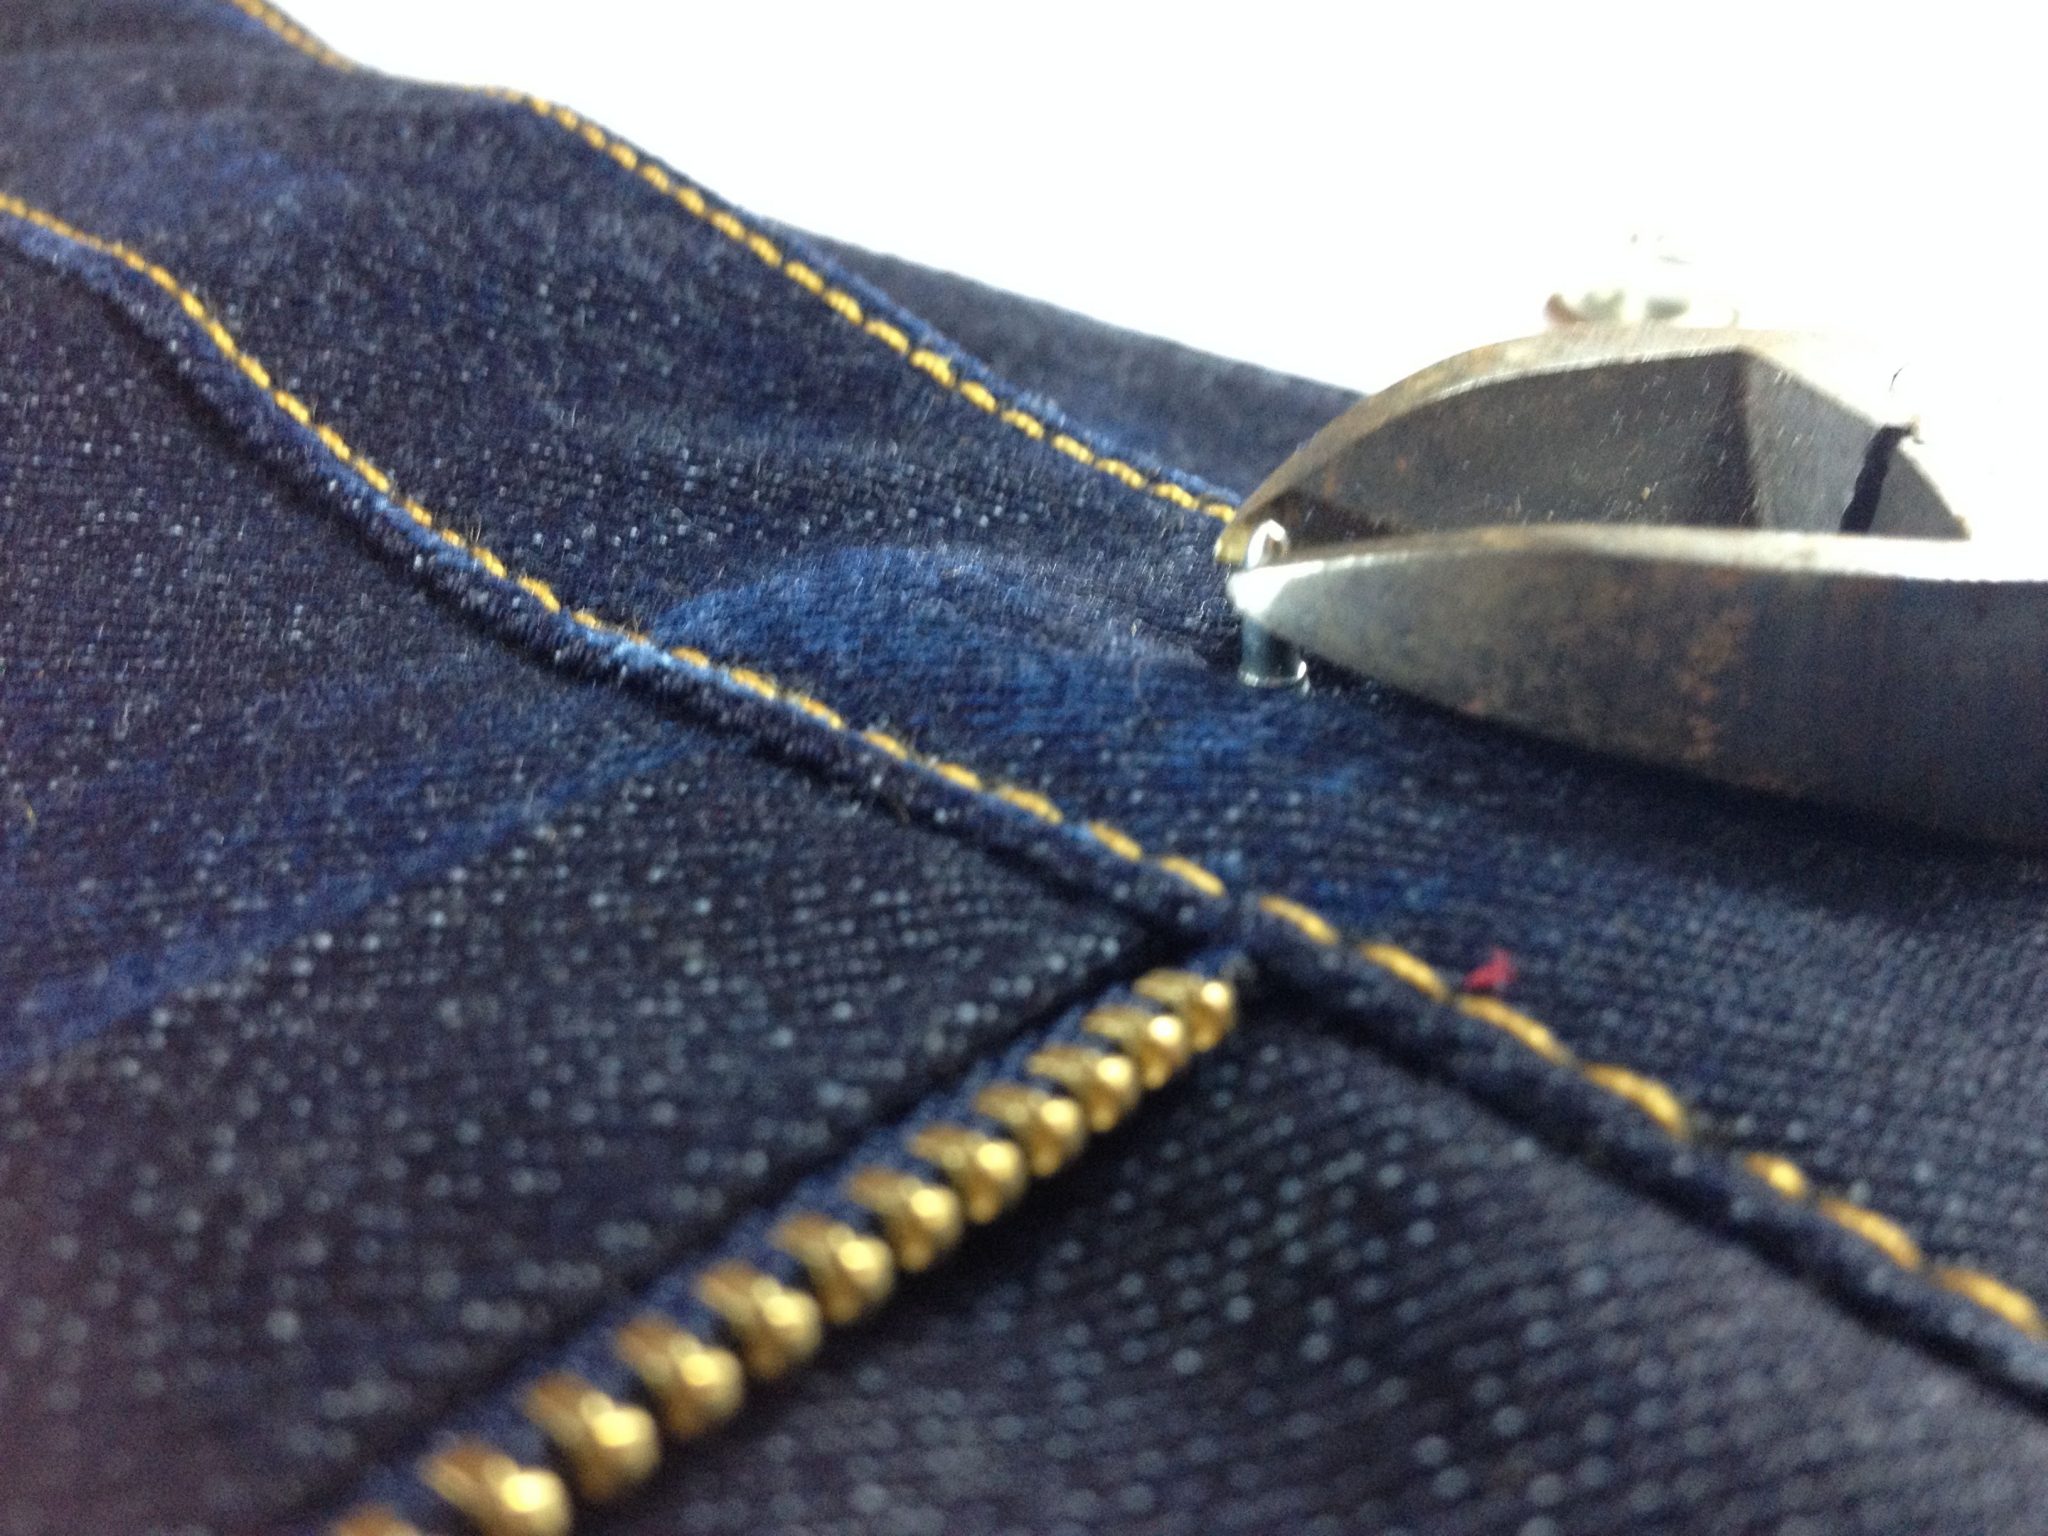
- So, we need to trim the pin a little. For me, I needed to trim about 1/8″ (3 mm). I also pinch the pin back to a round shape after cutting.

Cut 1/8 (3 mm) of the button pin.
Pin trimmed.
- Hammer the button onto the pin. To do that, I put some fabric down and put the button face down on the fabric. Then I put the pin, already through the jeans, into the hole of the button. I used a hammer to hit the bottom of of the pin in. I actually placed another layer of fabric on top of the pin before hitting it with the hammer. Be sure that you are hitting it straight down, so that it is not crocked. Pull the button a little to make sure it’s secured.
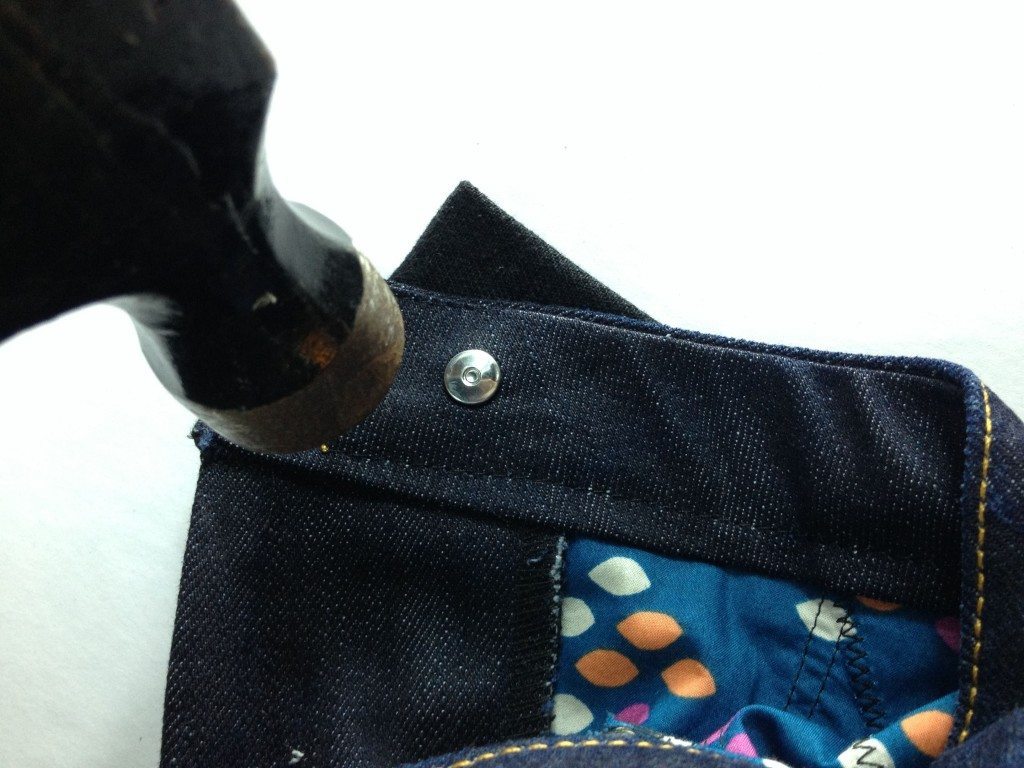
Hammering in!
I believe it’s working. Good.
- I haven’t cut the buttonhole yet since I put some Fray Check on (front and back of the buttonhole). We can cut the buttonhole later.

Put Fray Check on the back and front of the buttonhole.


That’s all for today. We are so close! Tomorrow we will finish up – we only have the belt loops, hems and back pockets left.
Here’s the schedule of the Liana Stretch Jeans Sew Along, be sure to look at other posts too!
Day 0: Get Ready!
Day 1: Intro, Material and Supplies
Day 2: Topstitching & Distressing
Day 3: Choosing a size & Cutting Test Garment/Muslin
Day 4: Fitting Part 1
Day 5: Fitting Part 2
Day 6: Sewing the Back
Day 7: Sewing Front Pockets
Day 8: Sewing Fly Front Zipper
Day 9: Sewing Back to Front & Waistband (this post)
Day 10: Hemming and Finishing

No comments yet.