4 Easy Ways to Tack Your Lining
Tacking the lining loosely to the garment is a technique used in several Itch to Stitch’s patterns. These tacks are called as “French Tacks”. (I just looked up how many “French” sewing terms there are. Apparently we have French canvas, French curves, French darts, French seams and French tacks. The French seems to have invented many sewing techniques and tools!)
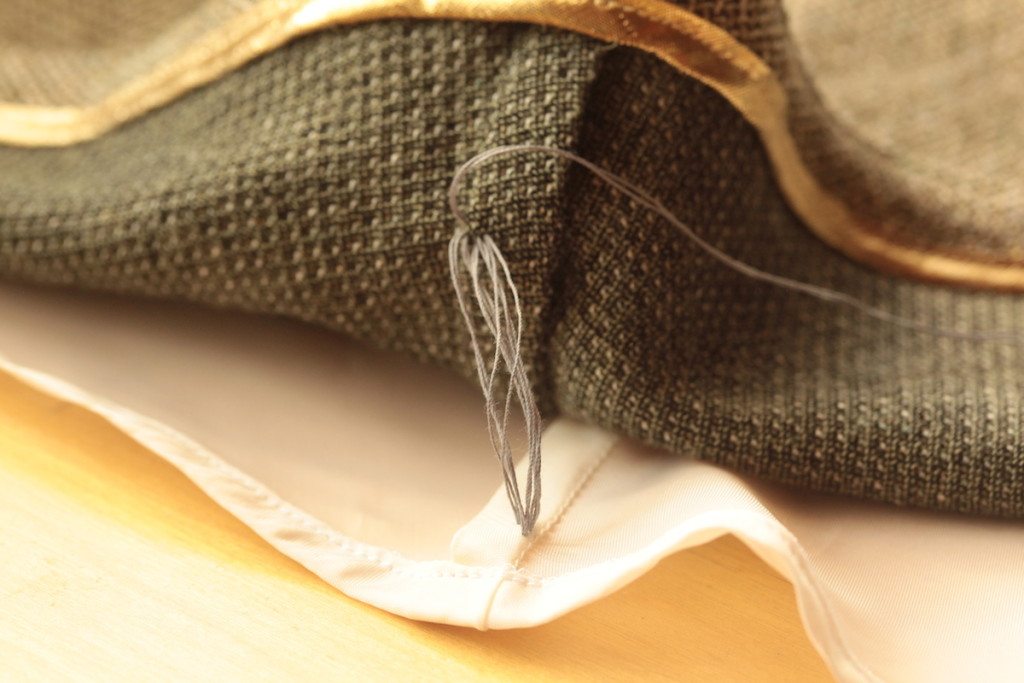
The purpose of French tacks is to hold two layers of fabric loosely together, usually at the hem of a skirt and skirt lining. They could also happen at the waist or at the bottom of the armholes. This way, the two layers can maintain some independent movement, yet they are still linked.
In store-bought clothes, linings for skirts or dresses are usually free-hanging, so you can see French tacks used frequently. I have seen skirt and dress patterns lined in a way that the inside is completely enclosed, just like most lined jackets. But I am not a big fan. I prefer them to be free-hanging, just like their ready-to-wear counterparts. This way, there’s no chance the lining creates visible pulls on the outer fabric.
These little chains of thread sometimes are used to build lingerie guards too. Lingerie guards are used to keep your bra straps in place.
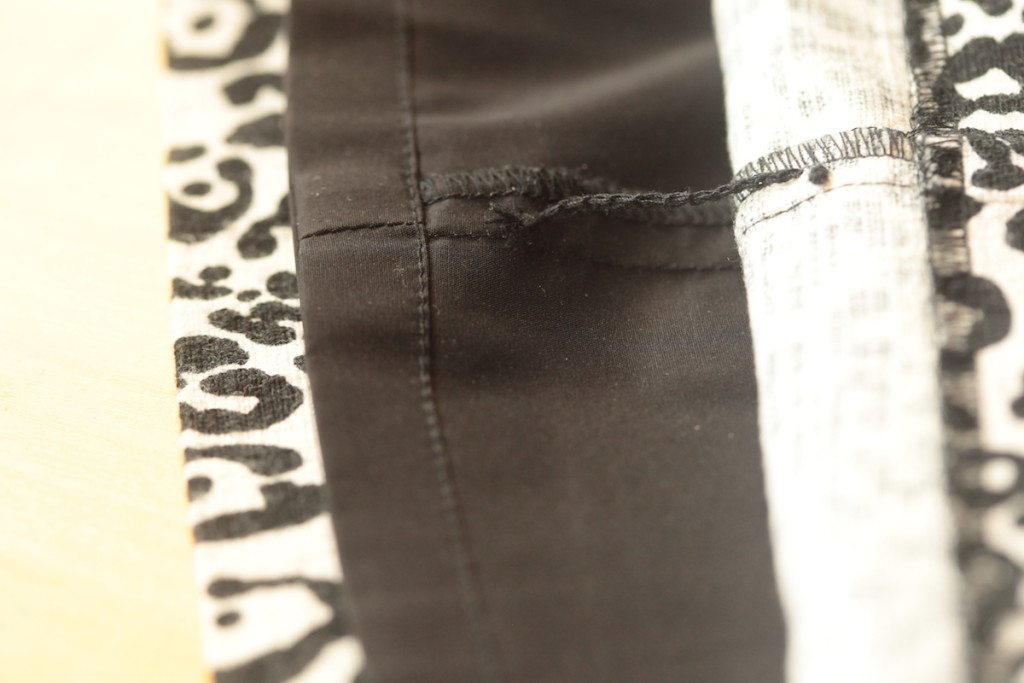
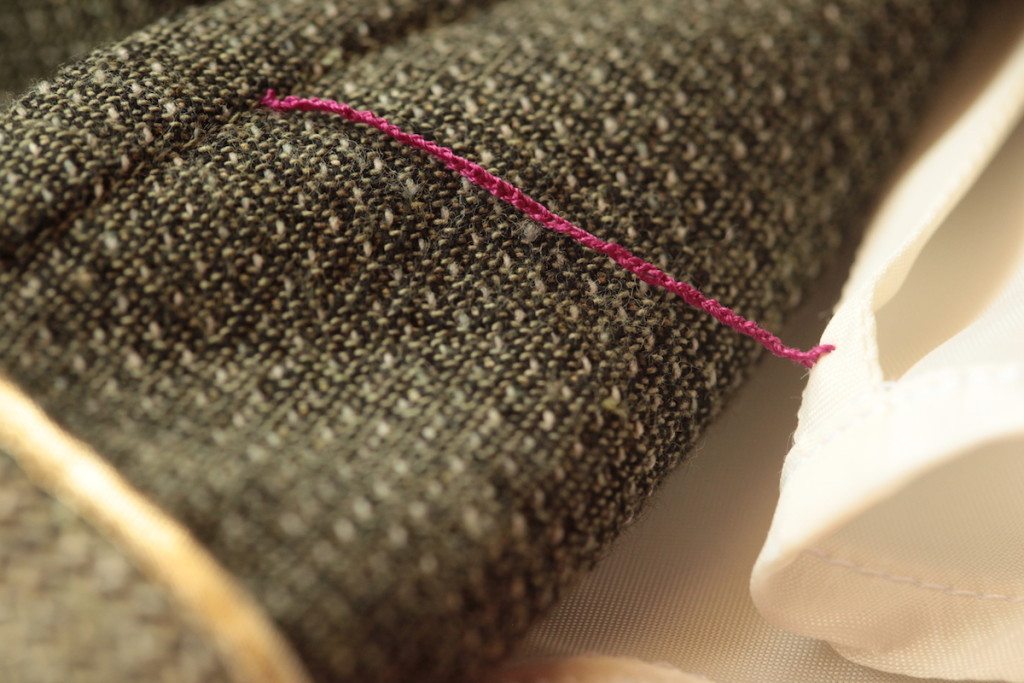
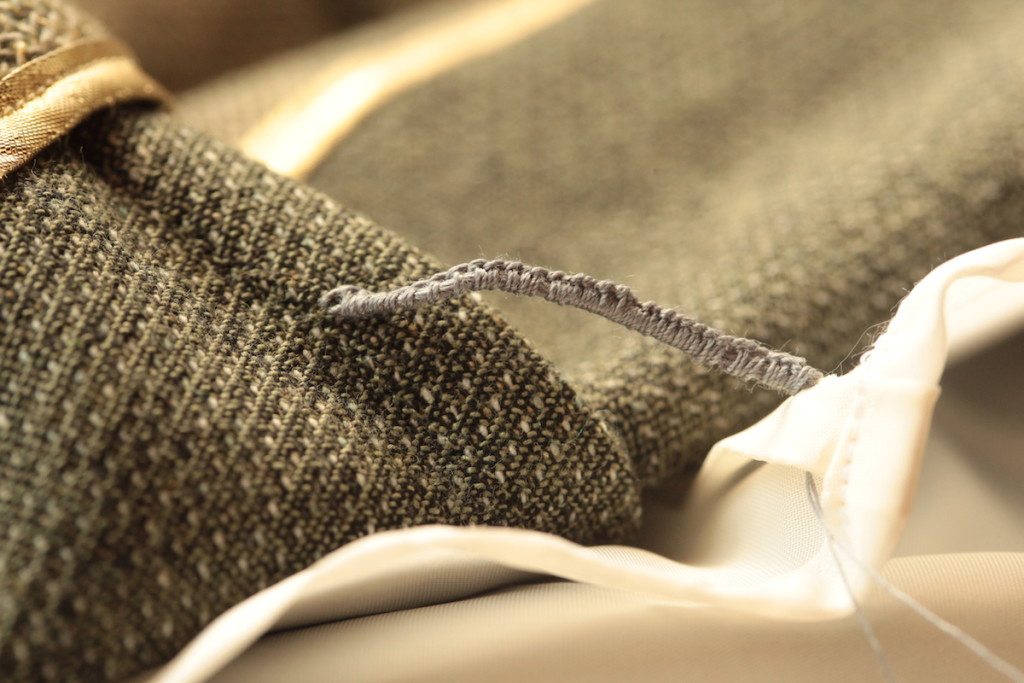
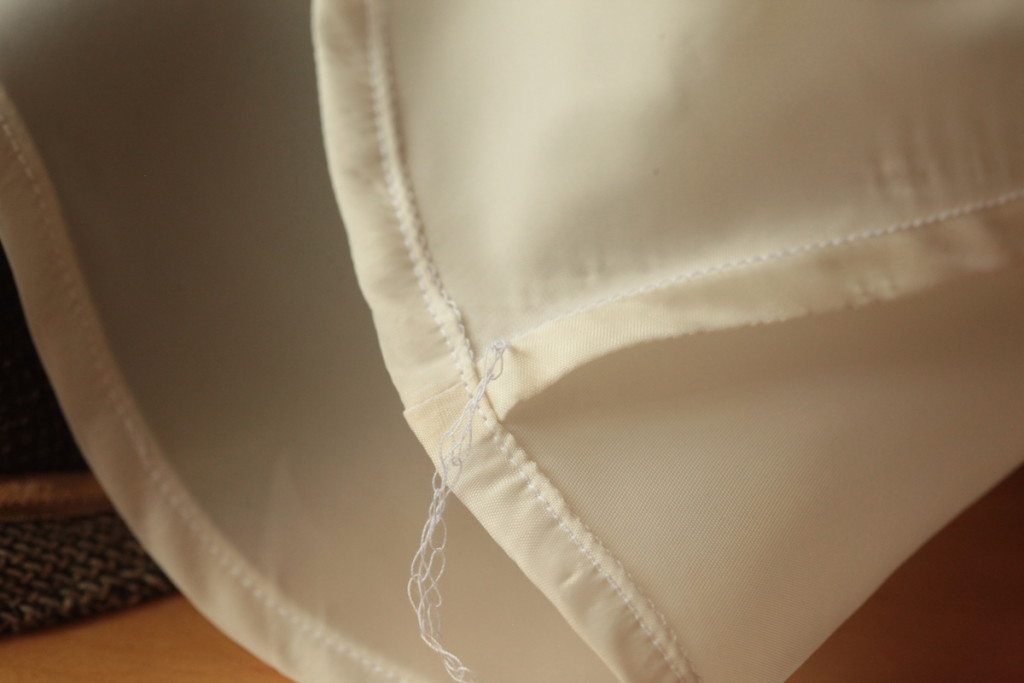
Here’s a French tack on my Ann Taylor skirt. A chain of thread connects the outer fabric and the lining at the hem.
I am going to talk about four ways to make French tacks (I made up these names for easy referral):
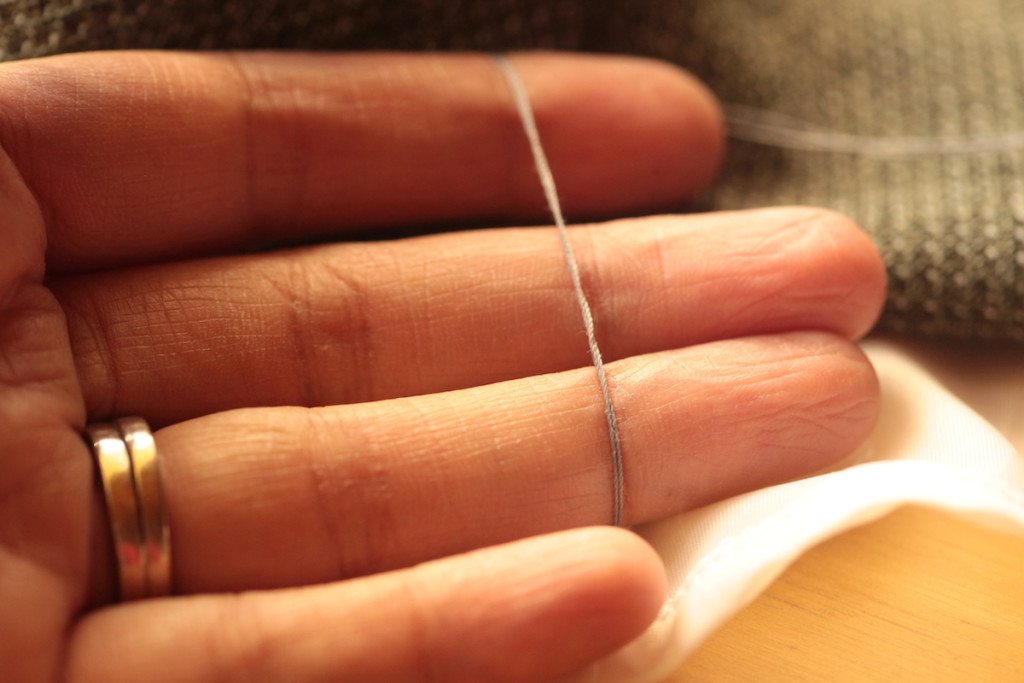
Before working on any hand stitches, you should run the thread through a bar of beeswax and press through some paper towel to remove the excess beeswax. You’d be glad you do this – your thread won’t tangle as easily.
Hand Crochet Chain Stitch
The hand crochet chain stitch is my favorite method. I think it’s fast and easy, and it consistently produces great result.
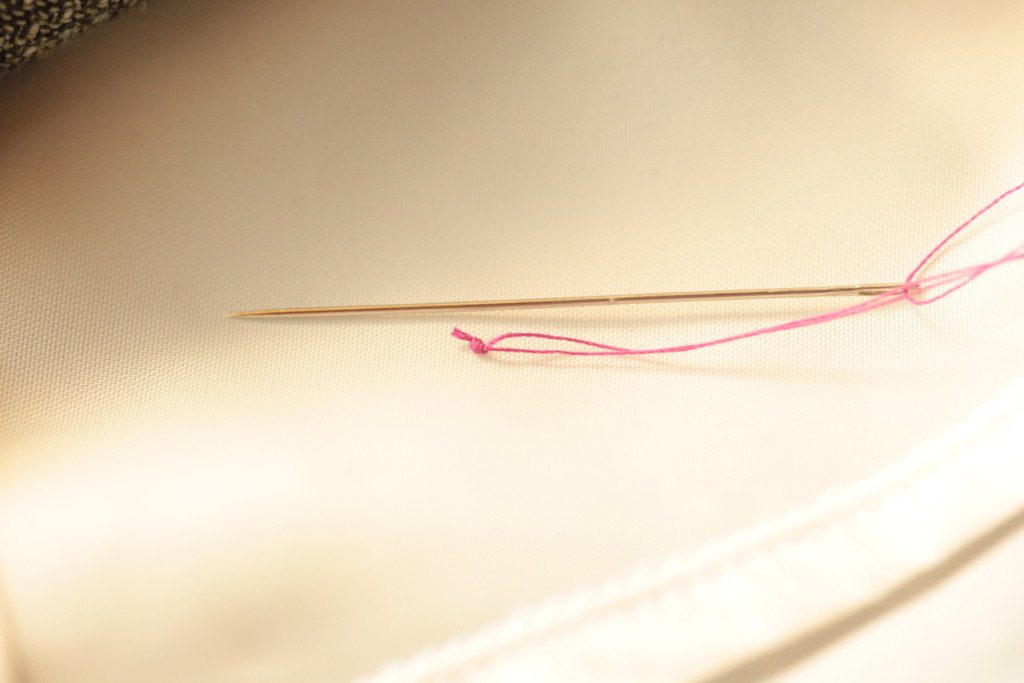
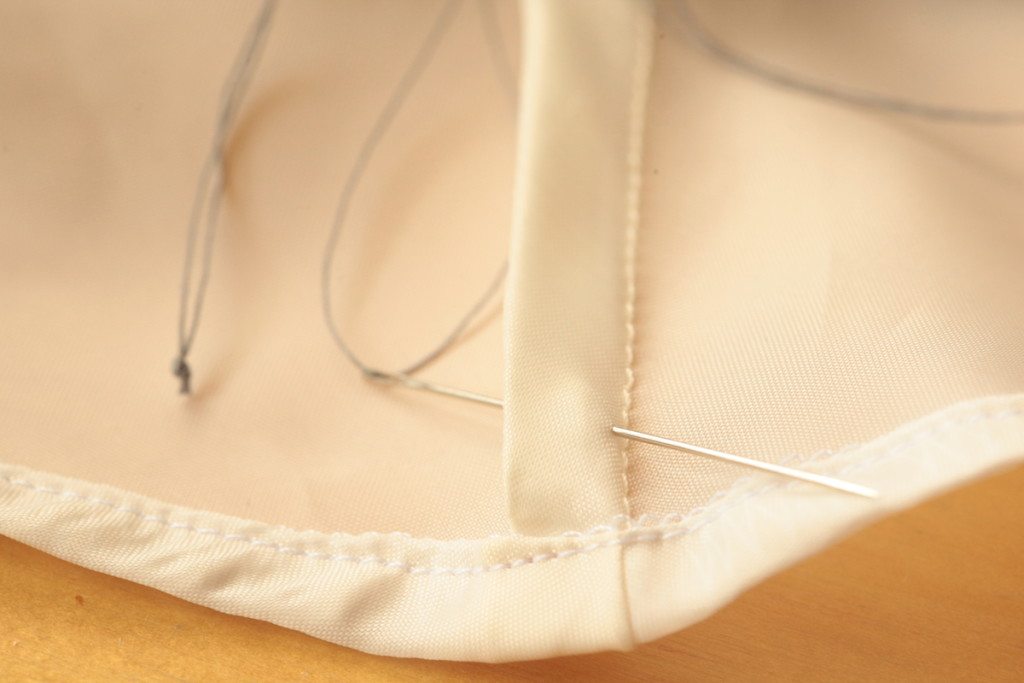
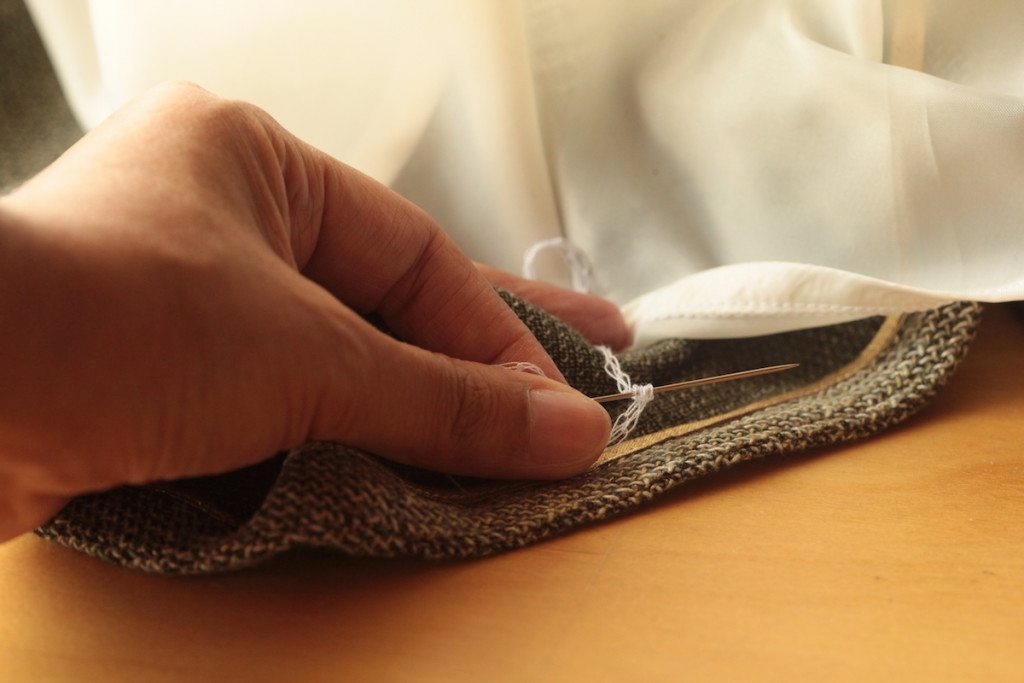
Thread your needle and use a double strands. Tie a knot the end.
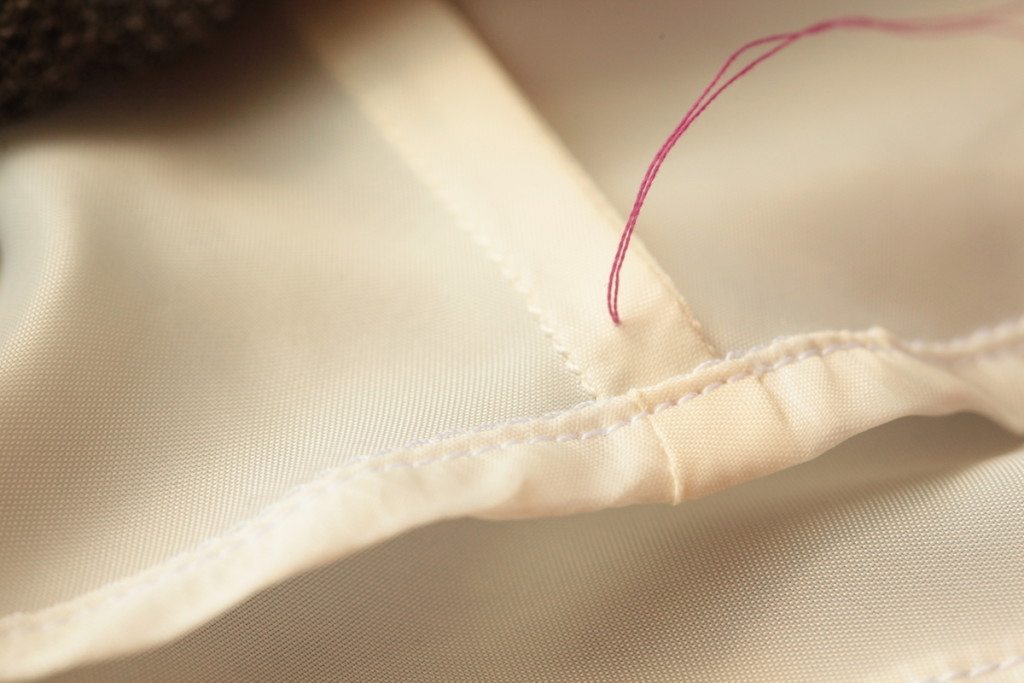
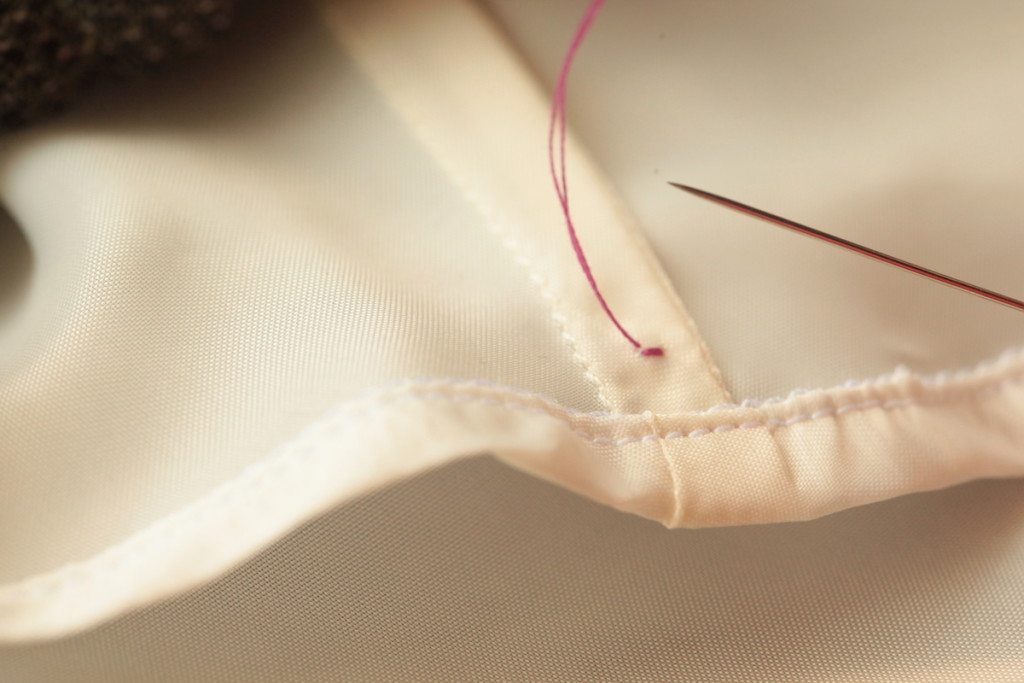
Take a stitch at the seam allowance of the lining close to the hem.
Take another small stitch to secure the thread.
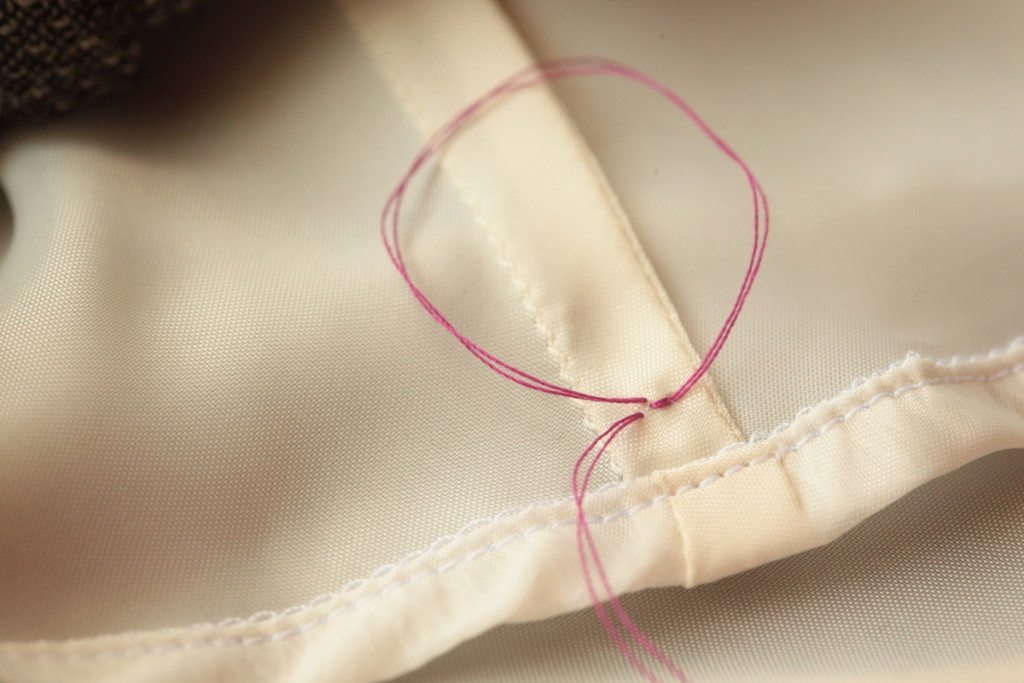
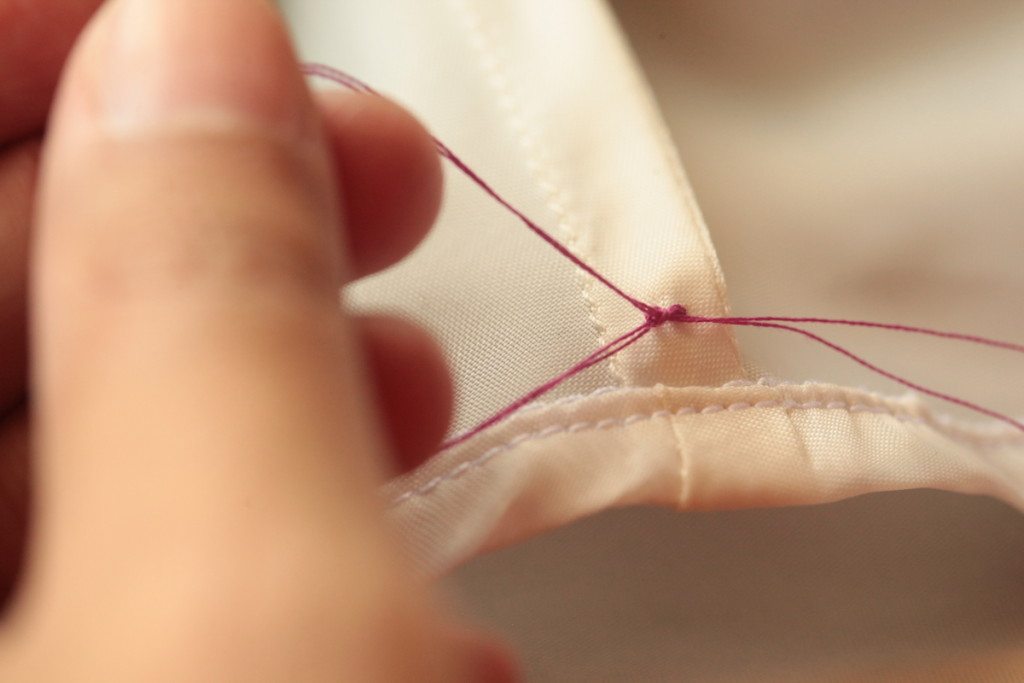
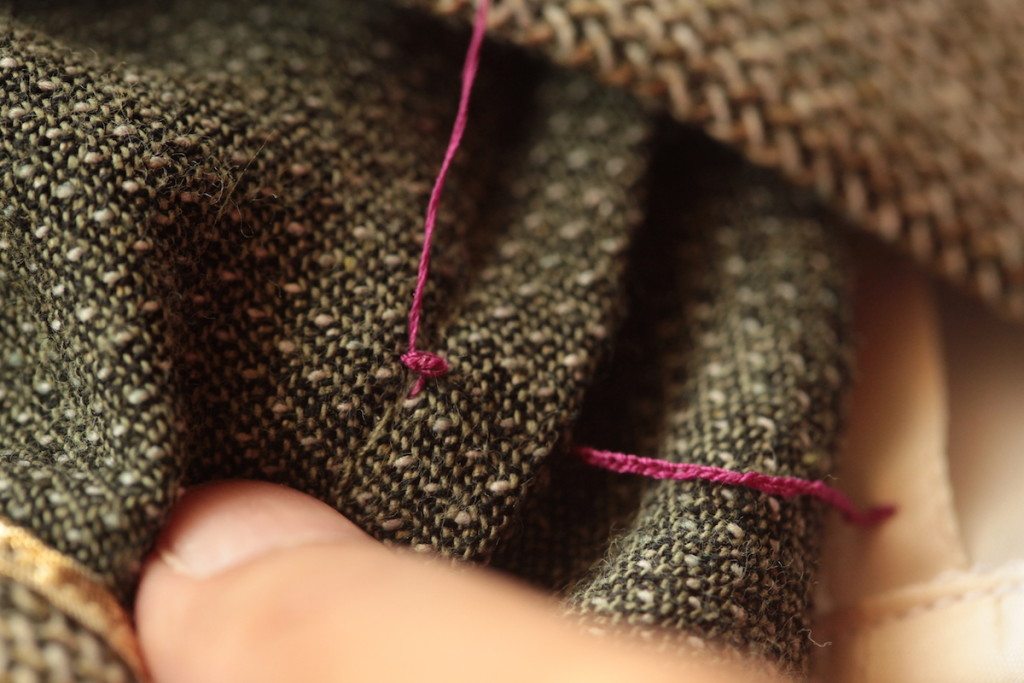
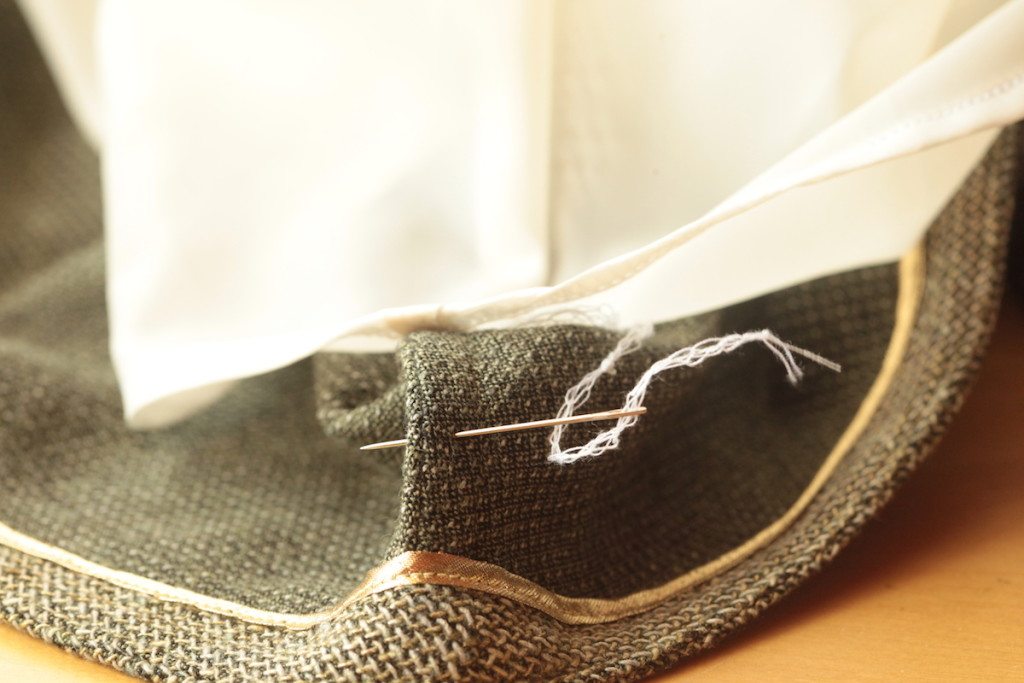
Take another stitch, but do not pull thread, so you have a loop.
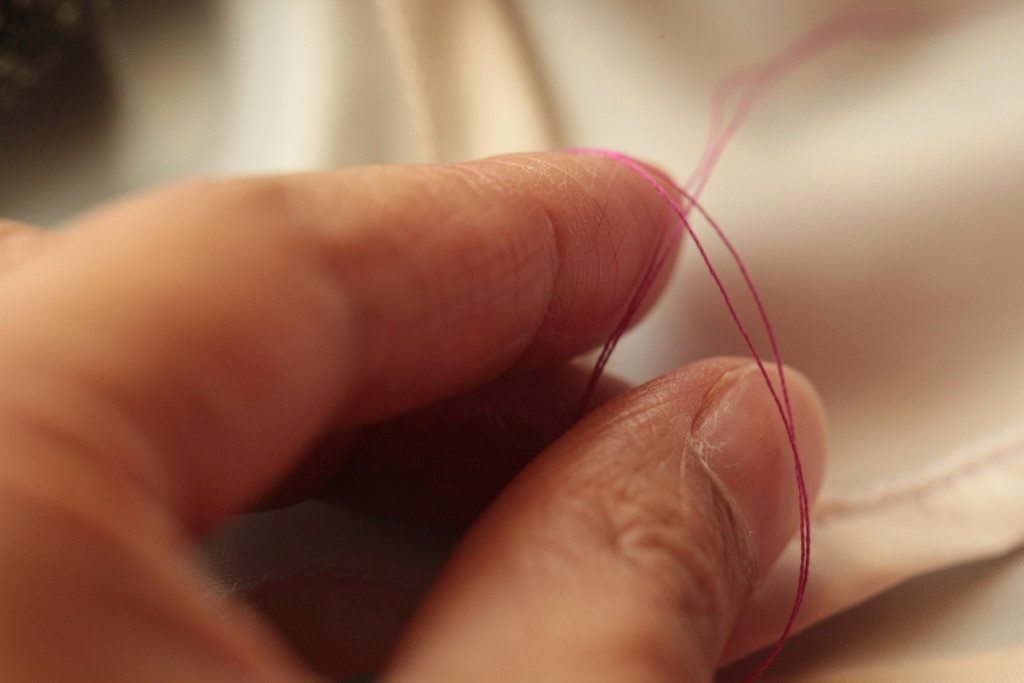
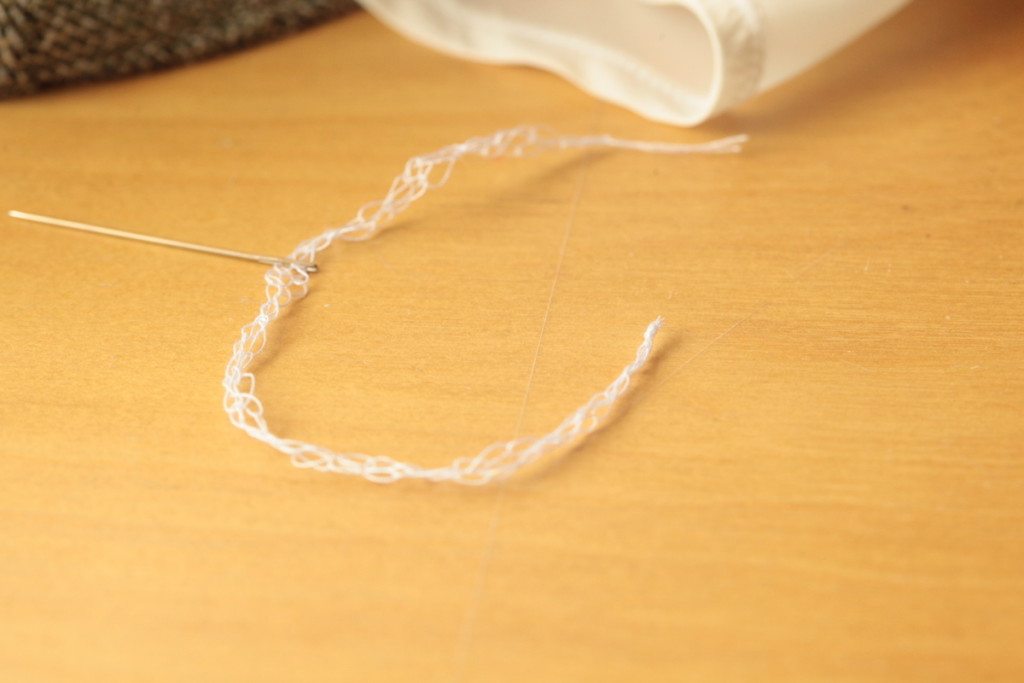
We can forget about the needle for the moment and focus on the thread only. We are going to hand crochet. Slip your thumb and your index finger through the loop and grab the thread tail.
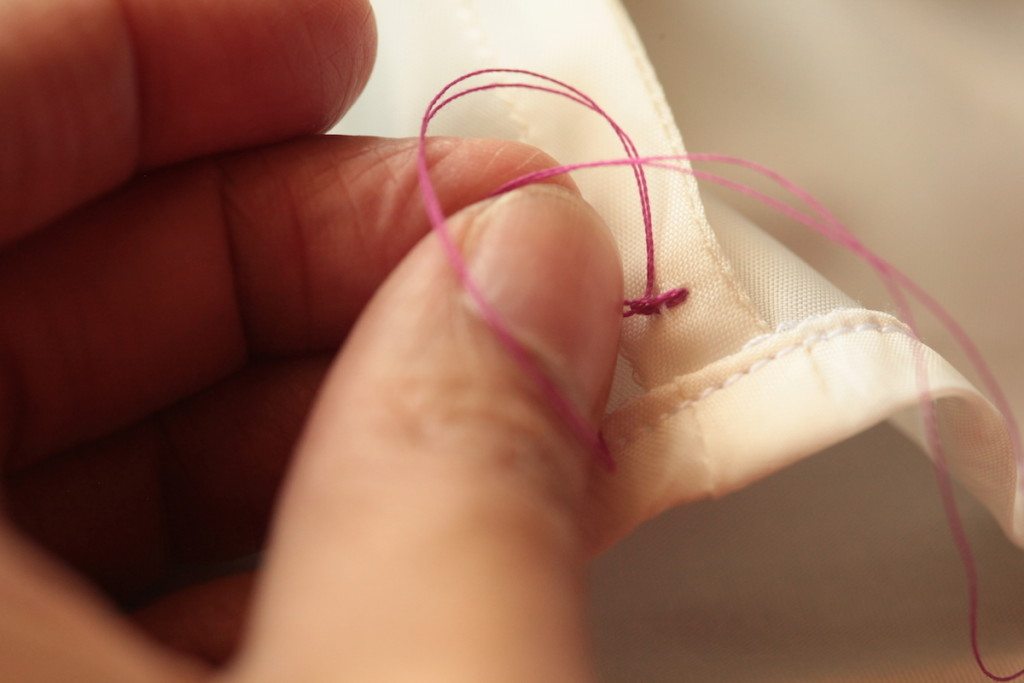
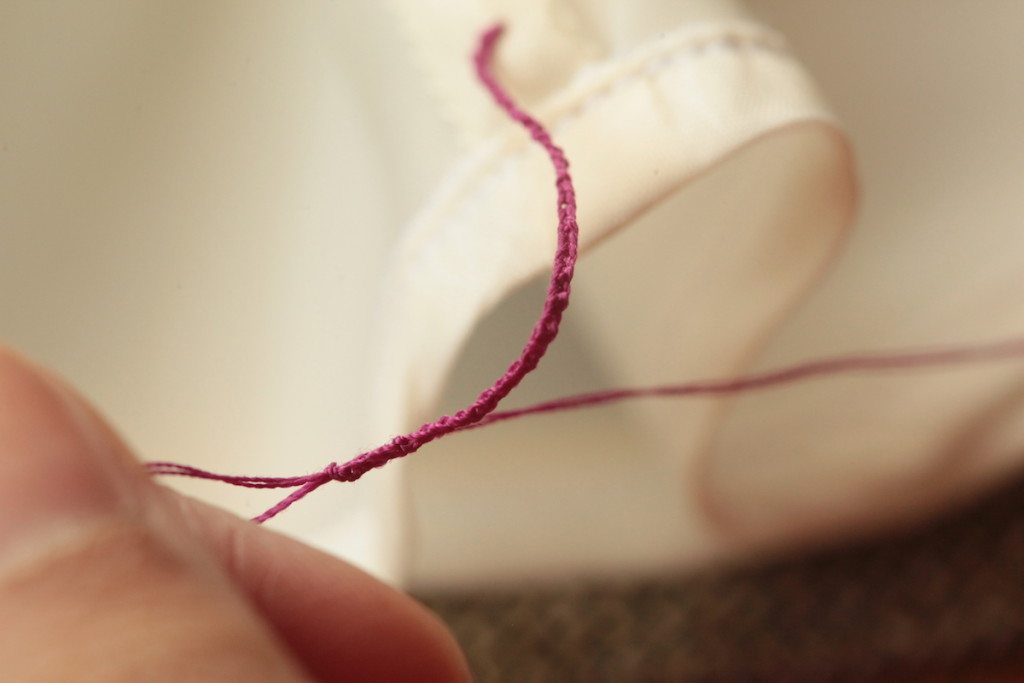
Pull the thread to tighten while making another loop.
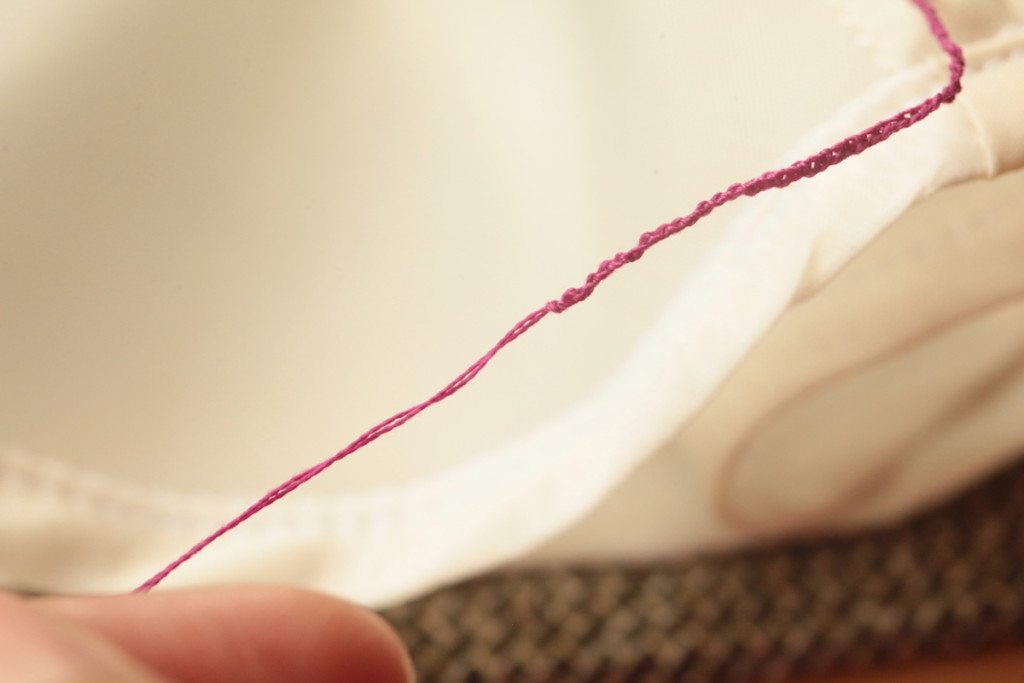
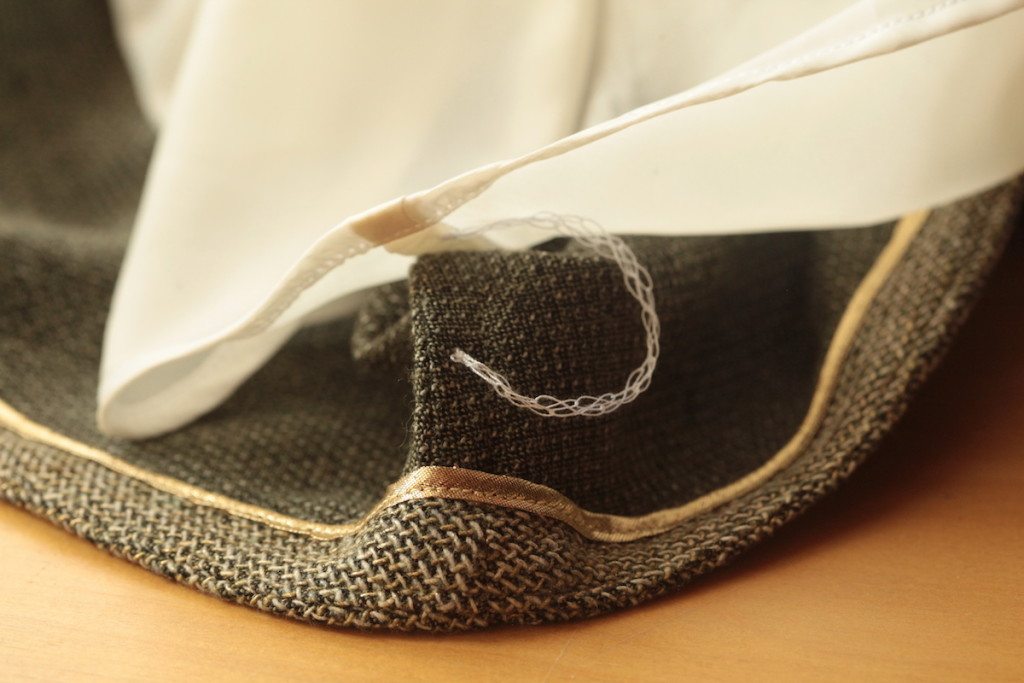
Repeat until you have a chain that is about 2″ to 3″ long (5 cm to 7.6 cm).
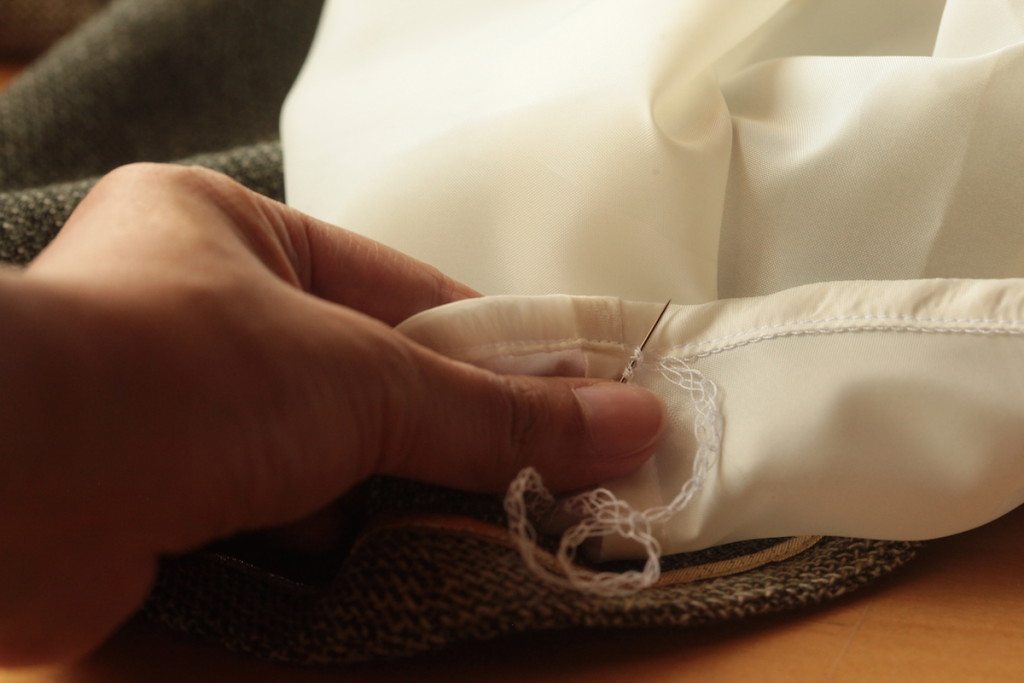
When it’s long enough, you can put the needle through the loop and tighten to close the loop.
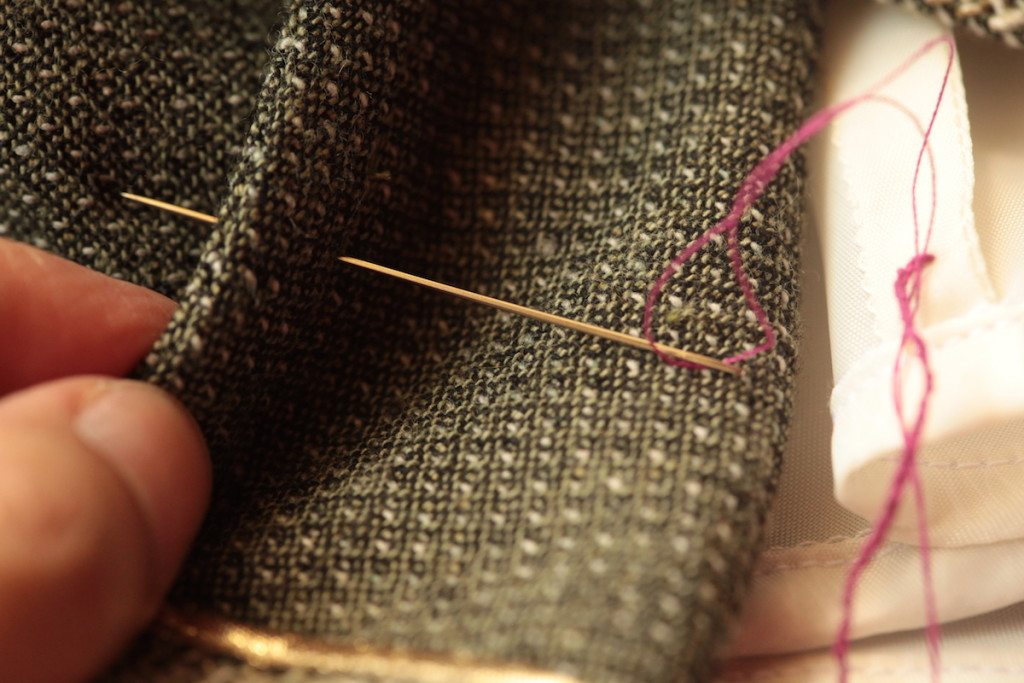
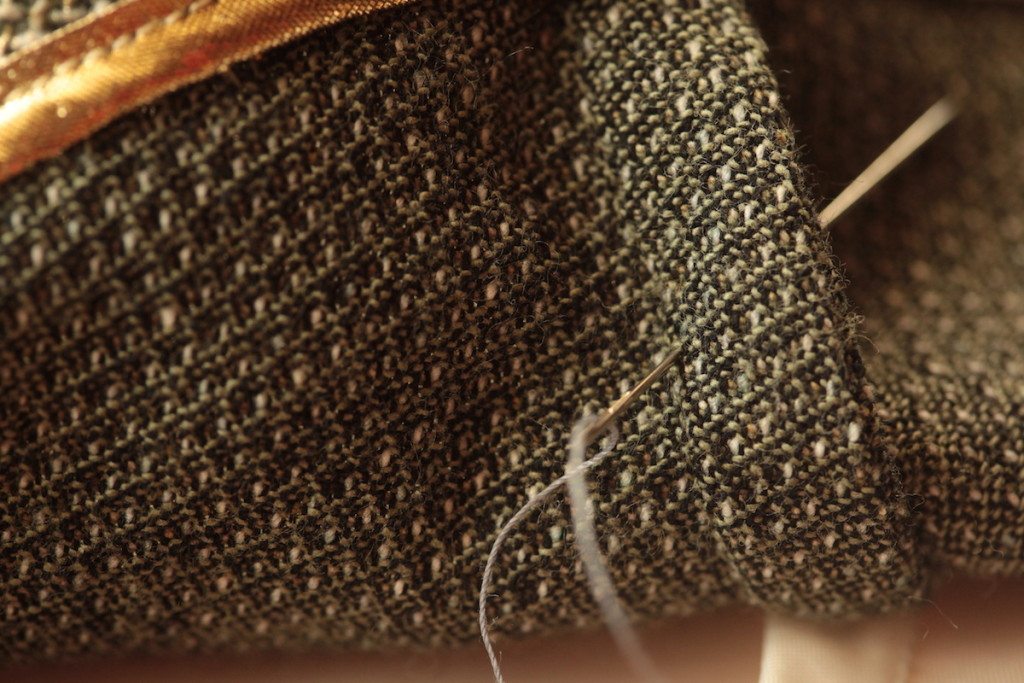
Take a couple of stitches on seam allowance of the outer fabric at the hem. Make sure it’s a spot that is close to the spot on the lining, so that when the skirt is worn, the chain stitch does not pull the lining/outer fabric.
Tie a knot to secure and you are done!
Blanket Stitch
The blanket stitch produces a thicker tack. I think it looks pretty, but for me, it takes a little longer time.
Use a double strand of thread. Oh, make sure your thread is long enough. Five feet (1.5 meter) should be long enough. Knot the end of the thread. Take a stitch on the seam allowance of the lining at the hem.
Take a stitch on the seam allowance of the outer fabric at the hem. Again, make sure it’s a spot that is close to the spot on the lining, so that when the skirt is worn, the tack does not pull the lining/outer fabric.
But instead of pulling both fabrics together, you leave about 2″ to 3″ (5 cm to 7.6 cm) of thread in between.
Take a stitch at the lining again, and then at the outer fabric. Go back and forth four or five times, leaving the same length of thread in between each time.
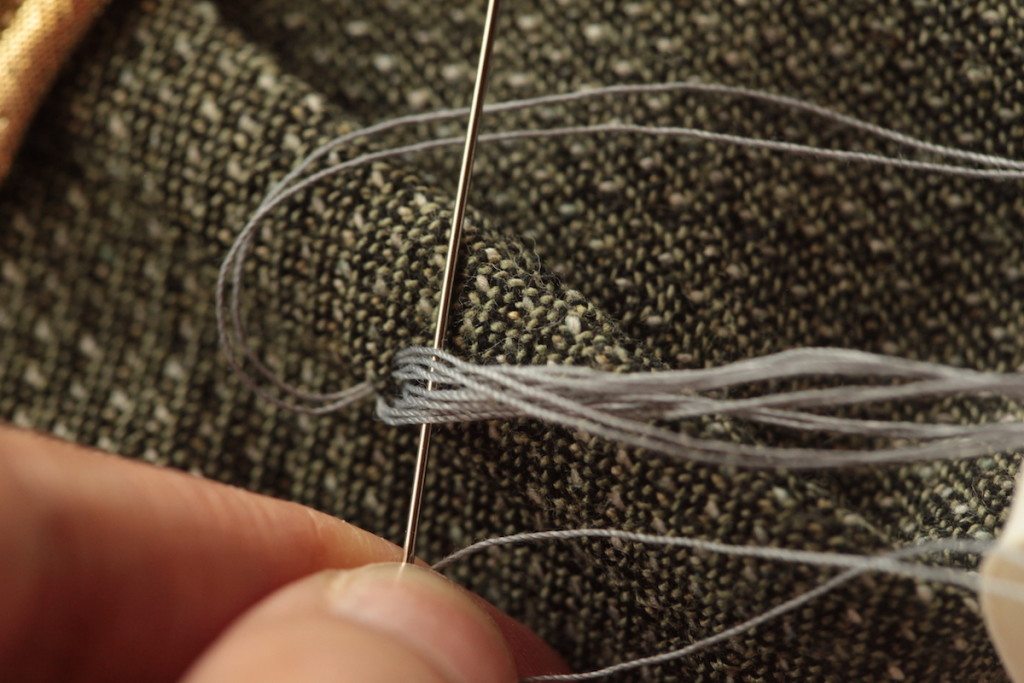
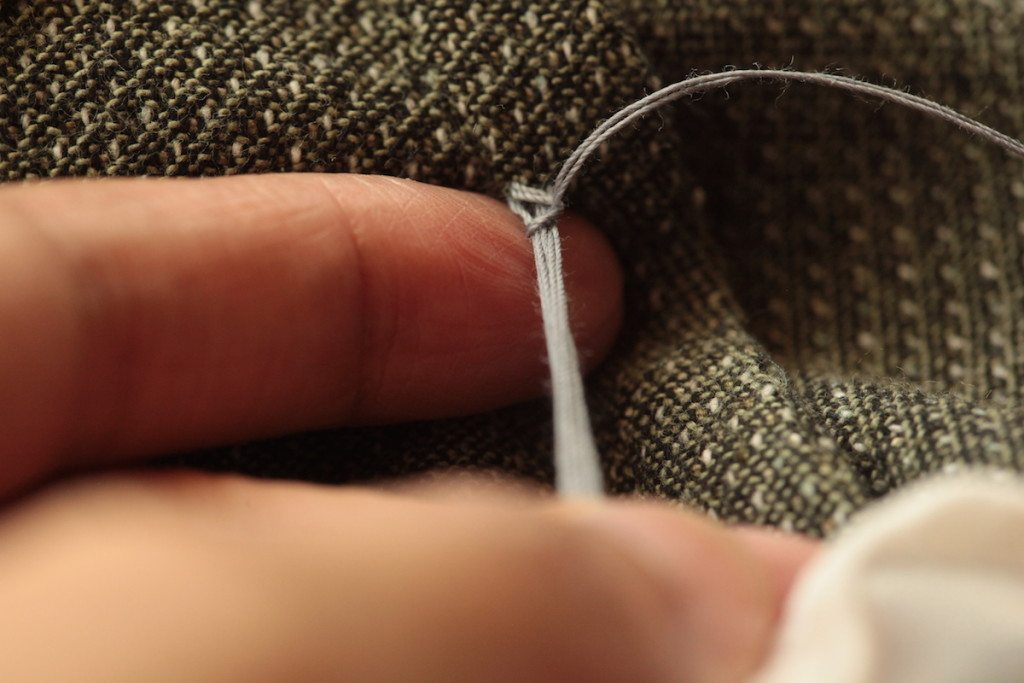
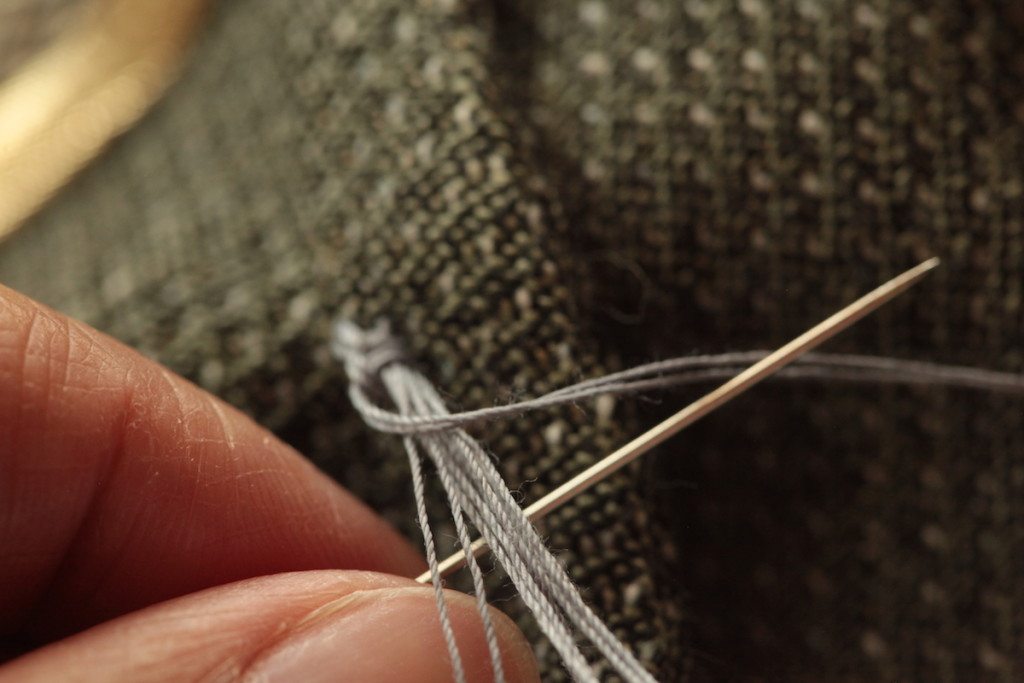
Now we are ready to make some blanket stitches on this bunch of thread. To make the blanket stitch, we put the bunch of thread horizontal; we will work from the left to the right. Keep the free thread trail to the top, so when you work on the stitch, it actually creates a loop. Move the needle from below and behind the bunch of thread and up through the loop. It’s really hard to understand by describing; a photo is worth a thousand words.
Pull through.
And tighten.
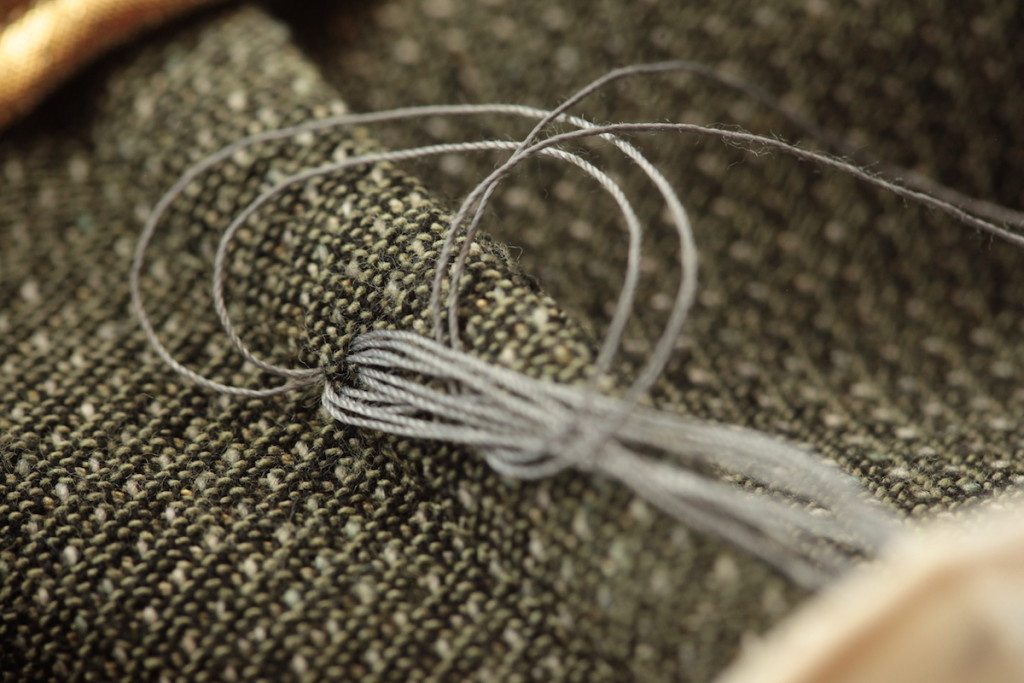
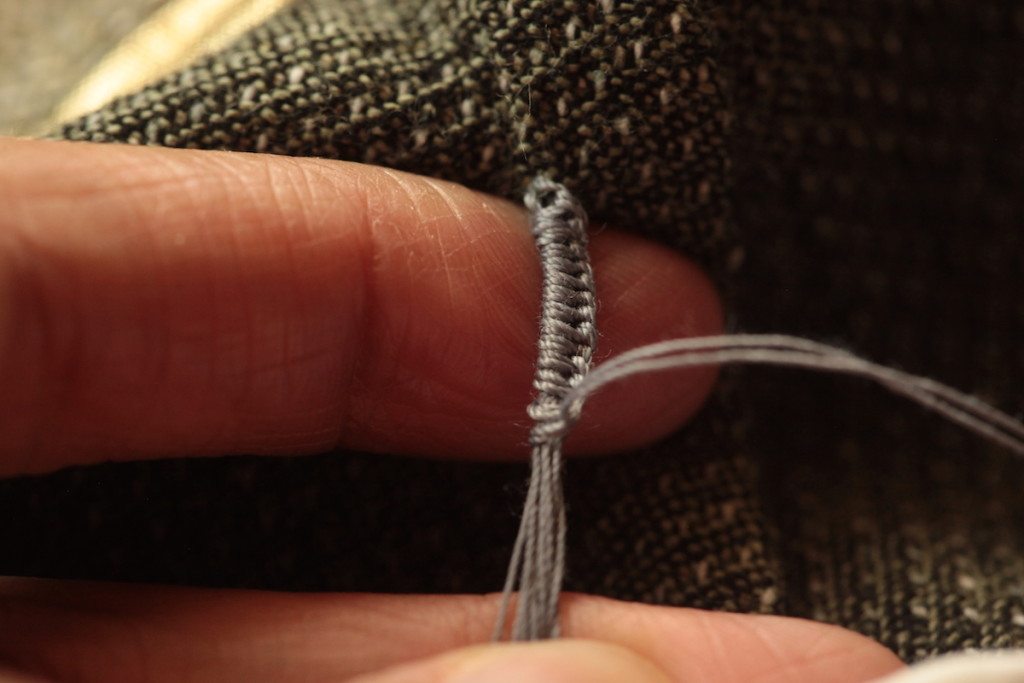
Repeat this motion to create more stitches.
Several more stitches and it looks like this. Isn’t it neat?
You repeat until the entire length of the thread is covered by the blanket stitches. Take a stitch on the seam allowance to secure. Tie a knot and you are done!
Tear-away Machine Stitch
The tear-away machine stitch method is done entirely on the sewing machine. It produces the thinnest tack.
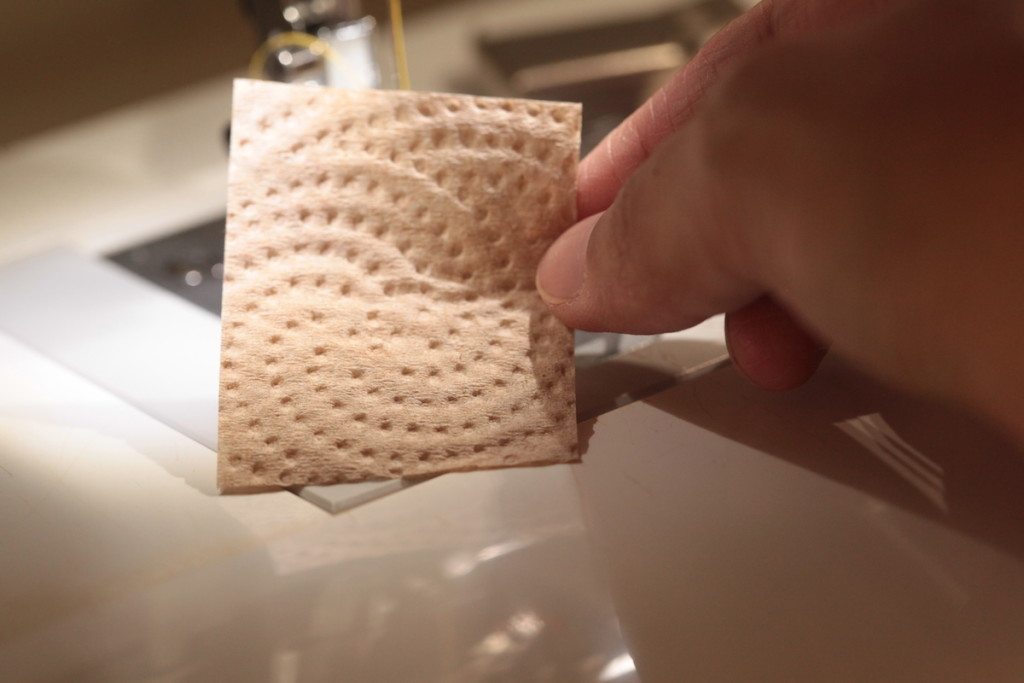
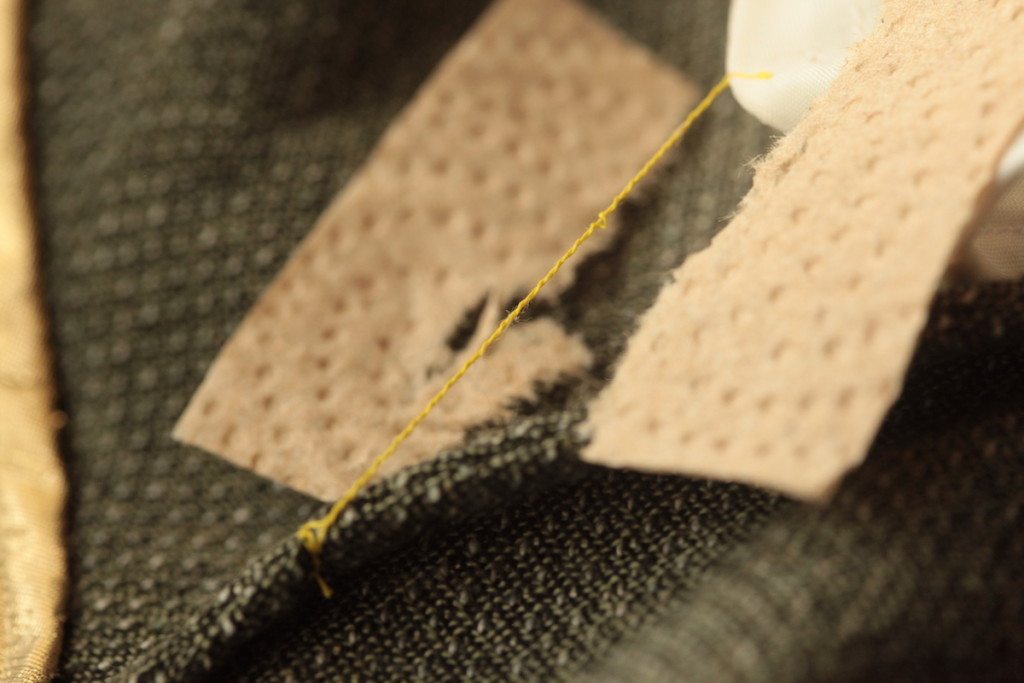
Cut a piece of paper towel about 2″ to 3″ (5 cm to 7.6 cm) long. It really doesn’t matter how wide, but an inch (2.5 cm) is good. You could also use tear-away stabilizer or water soluble stabilizer (if the garment can be washed). But paper towel is good, cheap and available. It does the job.
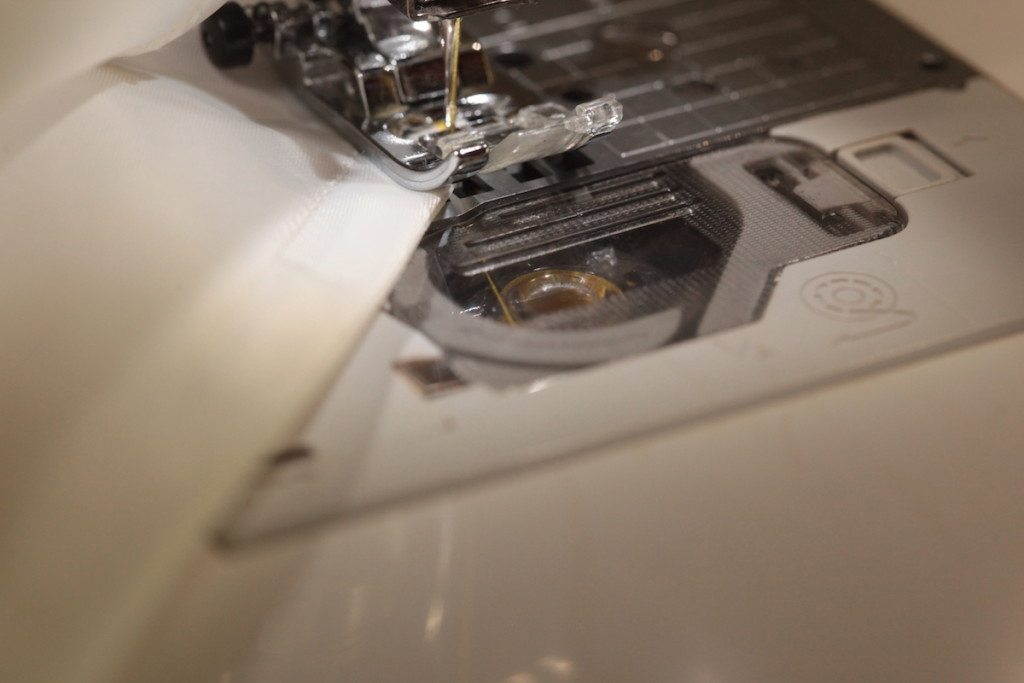
Take a couple of stitch back and forth at the edge of the seam allowance on the lining.
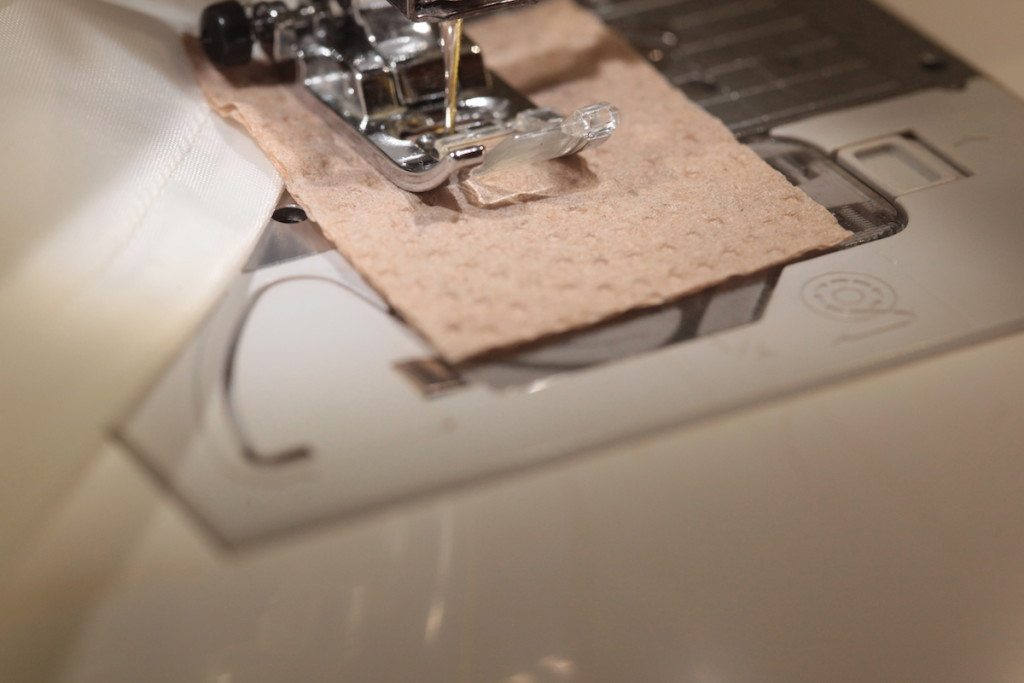
Continue to stitch but on the piece of paper towel.
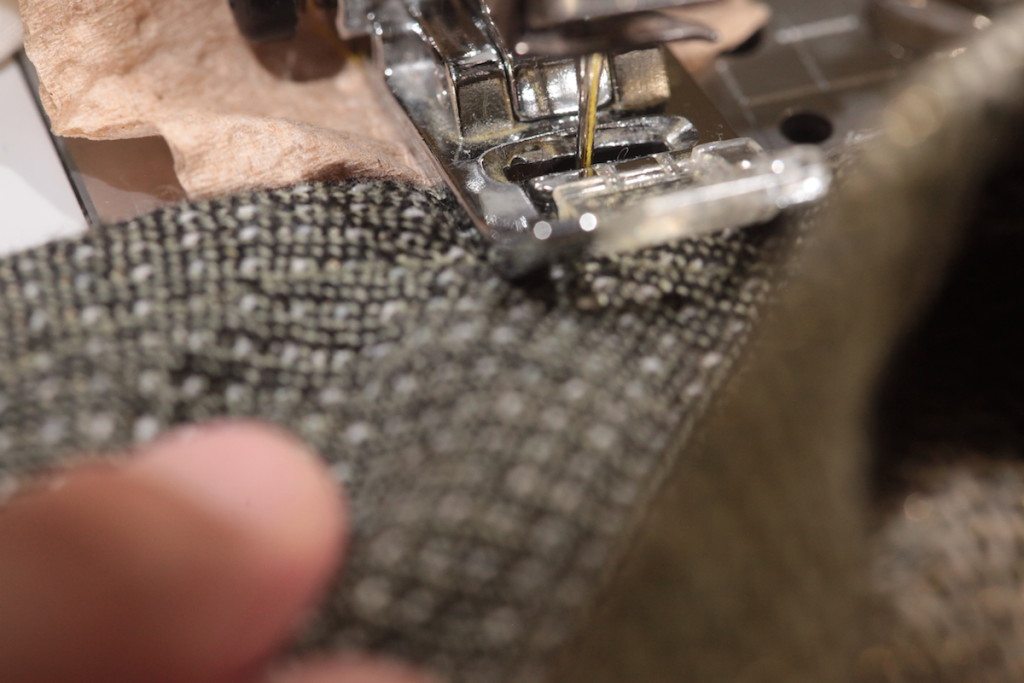
At the end of the paper towel, stitch onto the seam allowance of the outer fabric. Stitch back and forth to secure.
Tear the paper towel away and you are done!
Overlocked Stitch
The overlocked stitch is my least favorite, but it doesn’t mean you can’t like it. Essentially you are taking a chain of the overlock stitches and stitch onto your lining/outer fabric seam allowances.
Thread a chain of overlocked stitches onto your hand needle. I found that 4-thread overlock is too thick to go through most eyes of hand needles. Three-thread is do-able. Also, you will need to find a needle with a relatively big eye. Tie a knot at the end of the chain of thread.
Take a stitch at the seam allowance of the lining.
Tie a knot at the seam allowance. So now you have two knots and the lining fabric is in between.
At about 2″ to 3″ (5 cm to 7.6 cm), tie another knot.
Then take a stitch at the seam allowance of the outer fabric.
Tie another knot so that the seam allowance is sandwiched by two knots too.
That’s all!
I hope these methods of creating French tacks are helpful!


I just used this tutorial and the bra strap holder one to finish my dress. Both very well done! Thank you!
I only knew about the blanket stitch method, I like the sound of the hand crochet method and might try this next
I really appreciated your demonstrations and explanations. I am shortening bridesmaids’ dresses and need to replace those tacks I cut off when hemming them. I will do the hand crochet method with these dresses.
Thank you, I was trying to find information about this technique just a few months ago and it was elusive. This is descriptive and throurough
Thank you so much, I did not know any of this and was referred here from the Fisterra dress pattern. I chose the hand crochet chain stitch and it was very easy even though I didn’t put the thread through beeswax.
Thank you, wondered about different methods of doing these tacks. Working on a 3 layer bridesmaid dress and need to add the tacks back on now that it hemmed up x 3!.
Thank you for posting this. I’ve never seen the blanket stitch method, and am now dying to try it! Wonderful.
Great tutorials, thank you for sharing.
I have never used the tear away method. Usually I prefer the crochet method. Now that I see your blanket stitch method, I may actually like that one better. For sure it is more sturdy. Thanks for the info!
Very clear and helpful. Thank you.