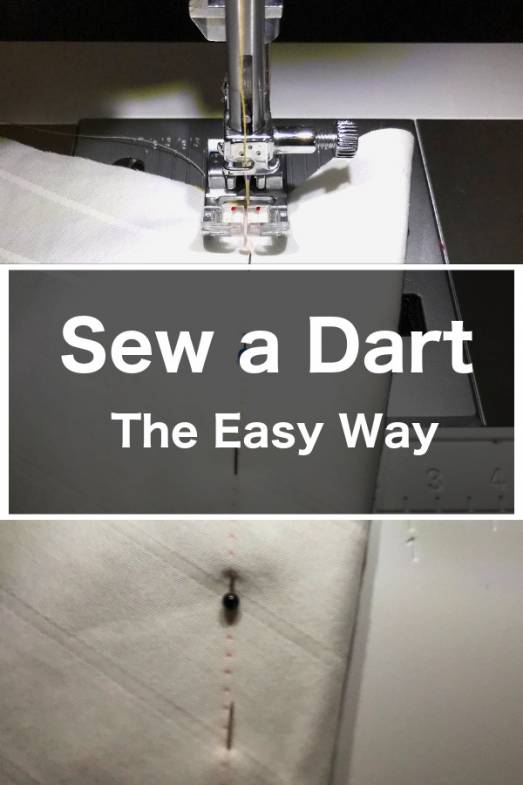
Sewing a Dart
Someone requested that I write about sewing a dart. This is not a topic I think about writing, so I appreciate feedback from you all.
I use this method *most* of the time. As you can see below, there’s some limitation. But we don’t have to go into all the other scenarios now. We will start with what works most of the time.
Here are some tools I use (affiliate links included):
This tracing wheel looks pretty spiky, does it? Actually I have several others that are less offensive looking, but this is my favorite one. It’s sturdy and precise. This one is made by Clover.
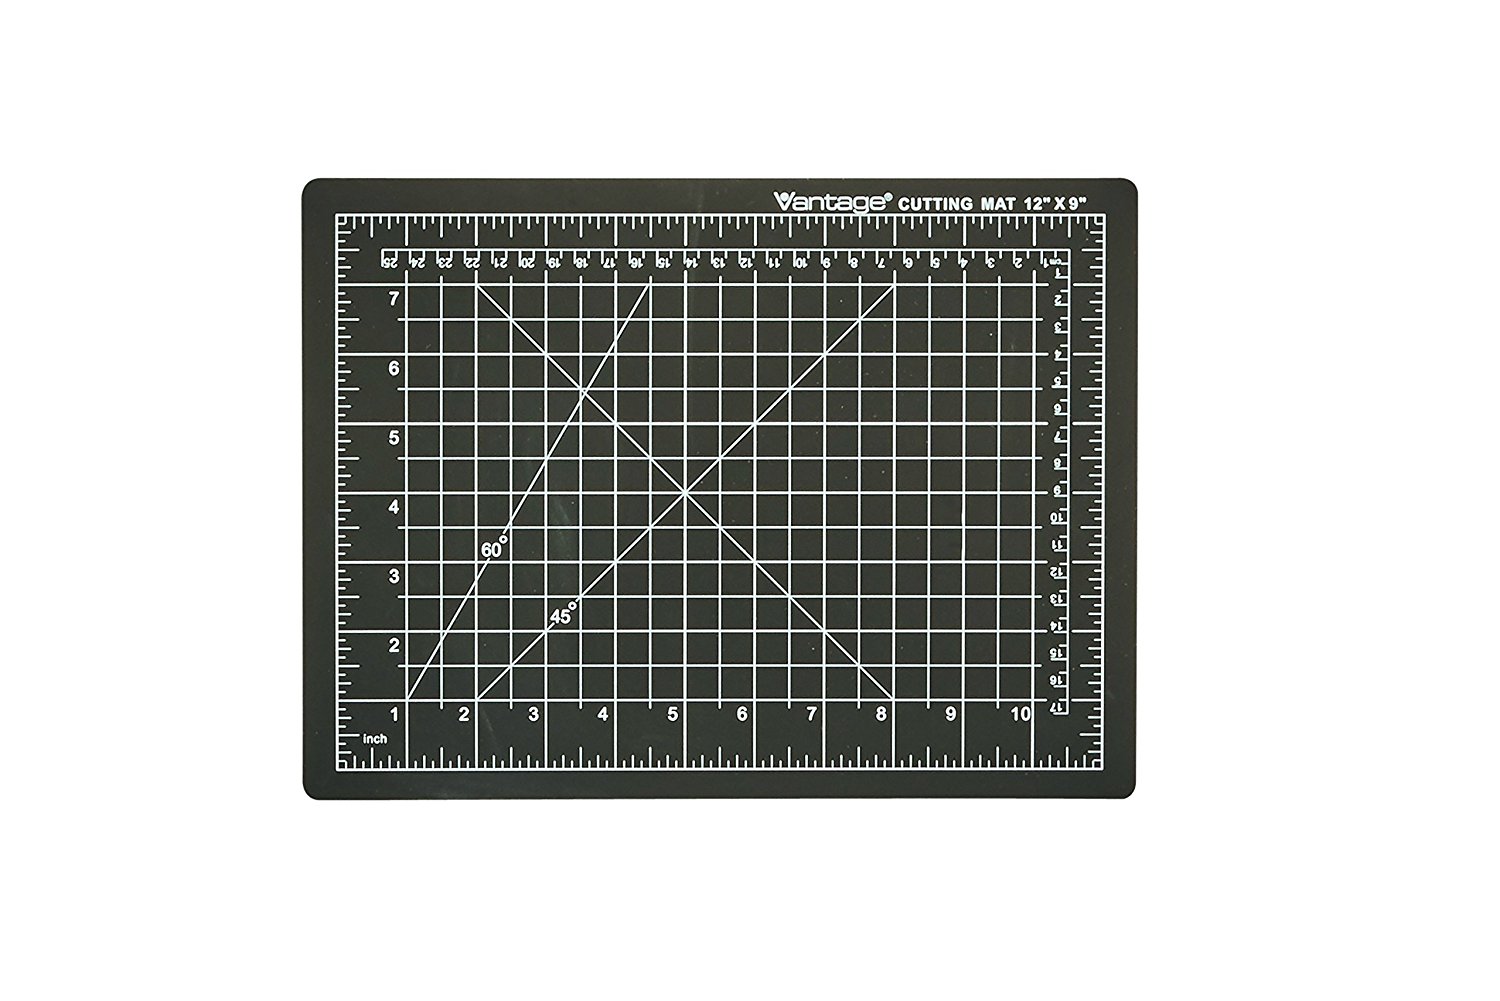
You don’t actually need a cutting mat, but I have one, so I use it. You could use just a small piece of cardboard as well. It’s just to protect your table. Or you don’t care about your table, then you don’t need to protect it at all.
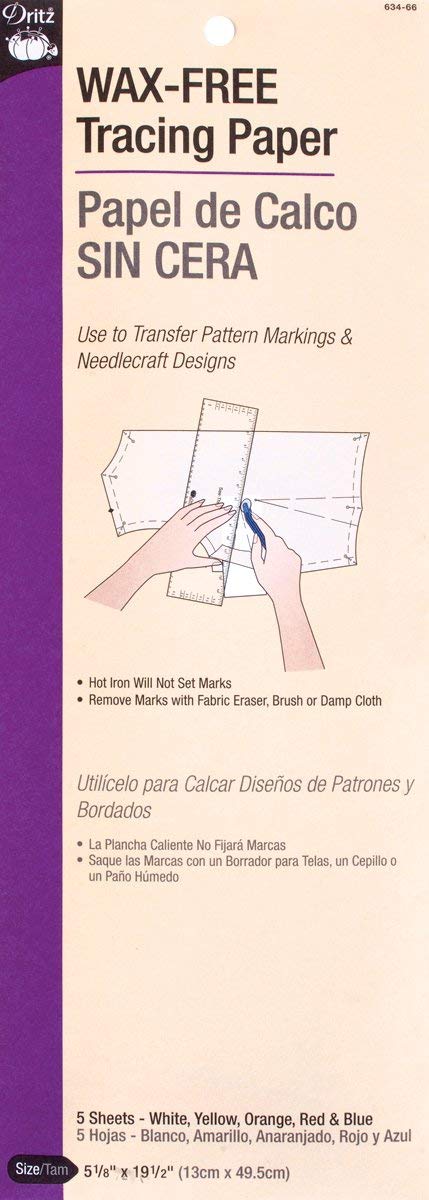
This is the one that I bought eons ago. Mine looks like it’s been through some rough time because it’s very old. Even when it looks old and ugly, it still work. I like this pack because it comes with different colors. You want to use the less conspicuous color on your fabric (as long as you can see the mark).
You will also need some pins. But you are sewing, so of course you already have some pins!
Let’s get started.
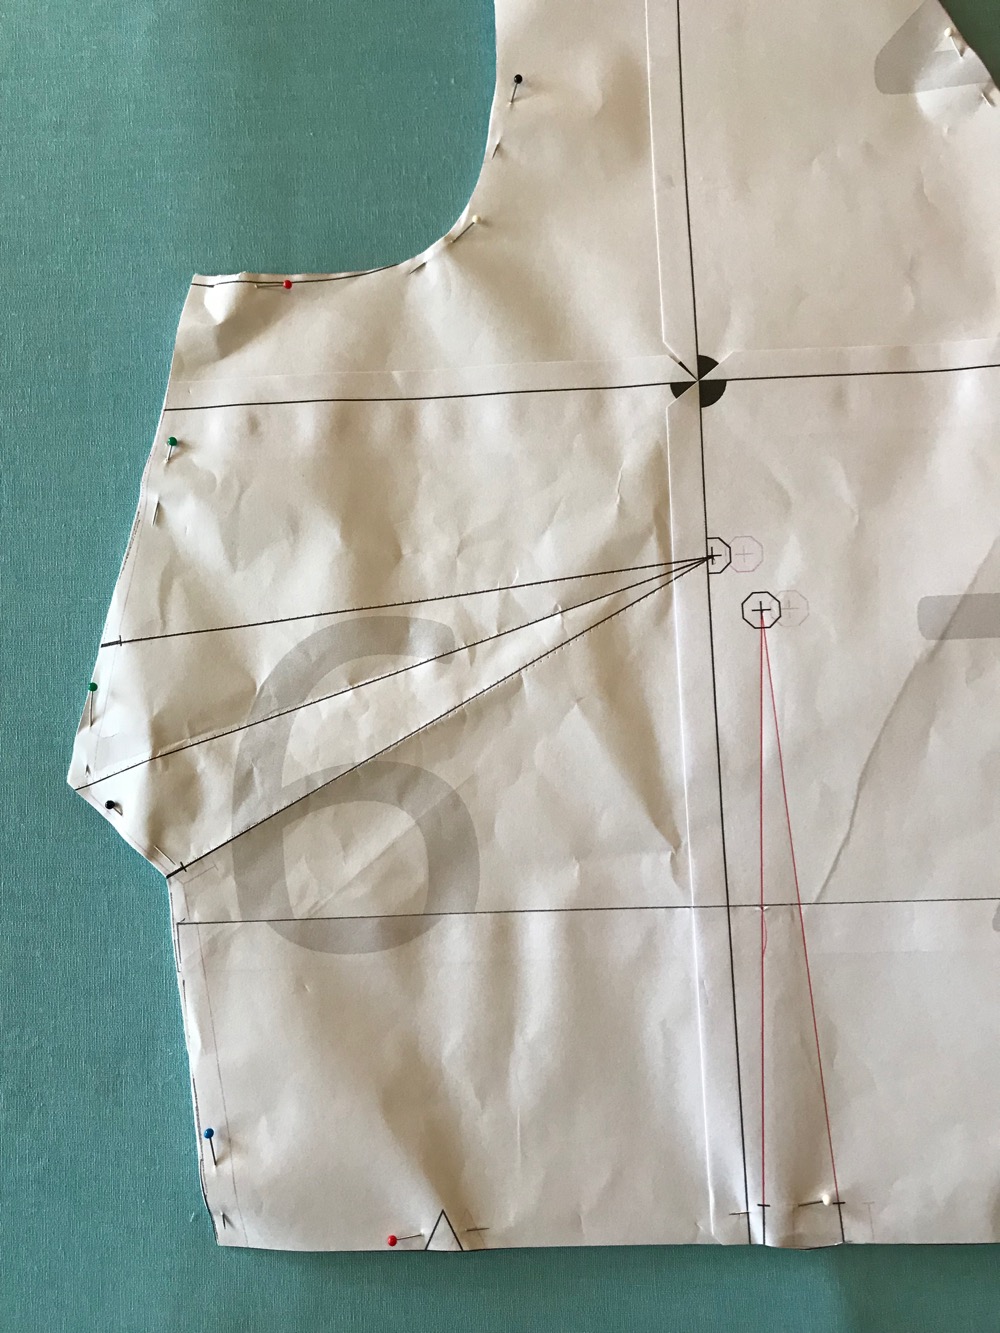
This is the dart that I am sewing. It’s a French bust dart (angled dart to shape the bust). But this method can be used for any dart. This dart of mine has 3 lines, but we don’t actually need the middle line; the middle line is not usually marked in patterns.
I already cut the fabric, which is currently still pinned behind the pattern. The fabric is cut double layered, with the wrong sides of the fabric together. It’s important that you don’t unpin the pattern immediately.
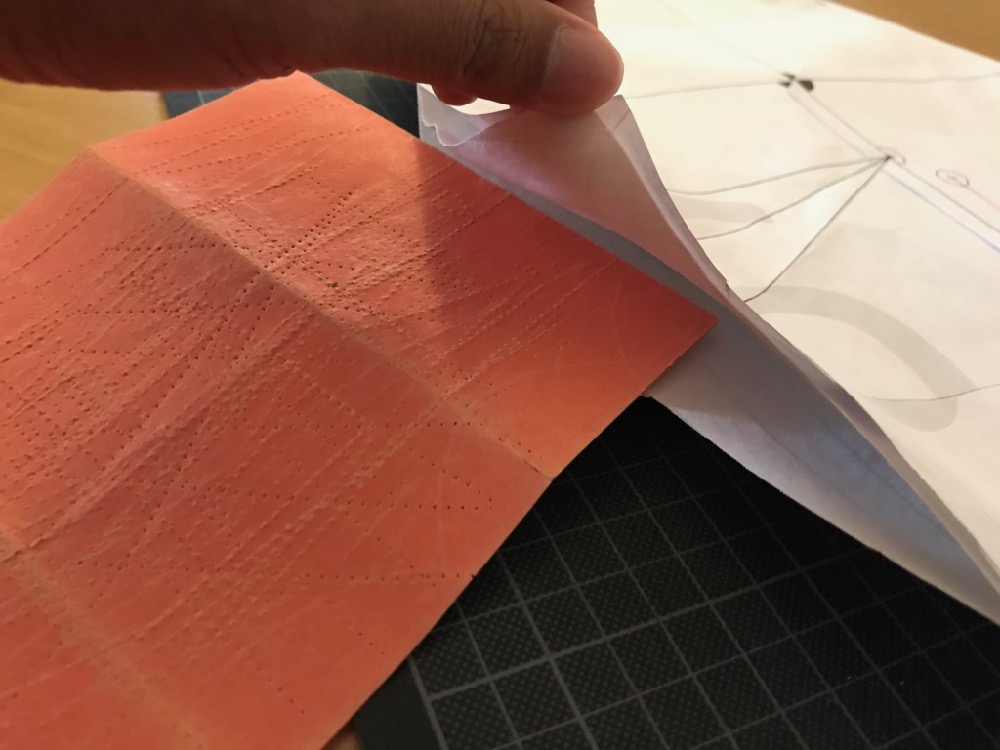
Here’s my tracing paper. I am a little embarrassed to show it to you because it looks gnarly. But peeps, I am really sewing here; it’s not some fake prop in the movies! I use the tools and they are living their fullest useful lives under my wing. Anyway, you see that it’s long and it’s already folded in sections when you buy them.
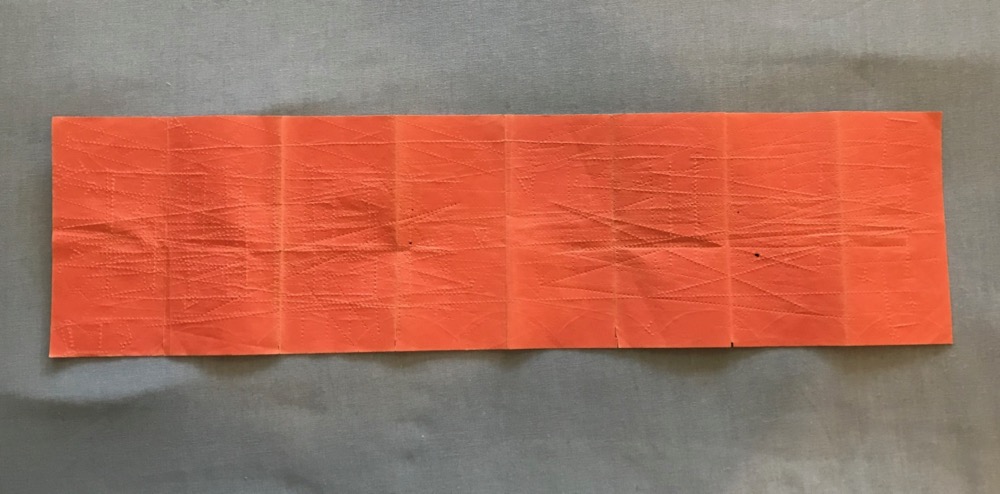
The side you see here has some colored powder (the opposite side doesn’t and it’s just white). I will need it folded with the color side out.
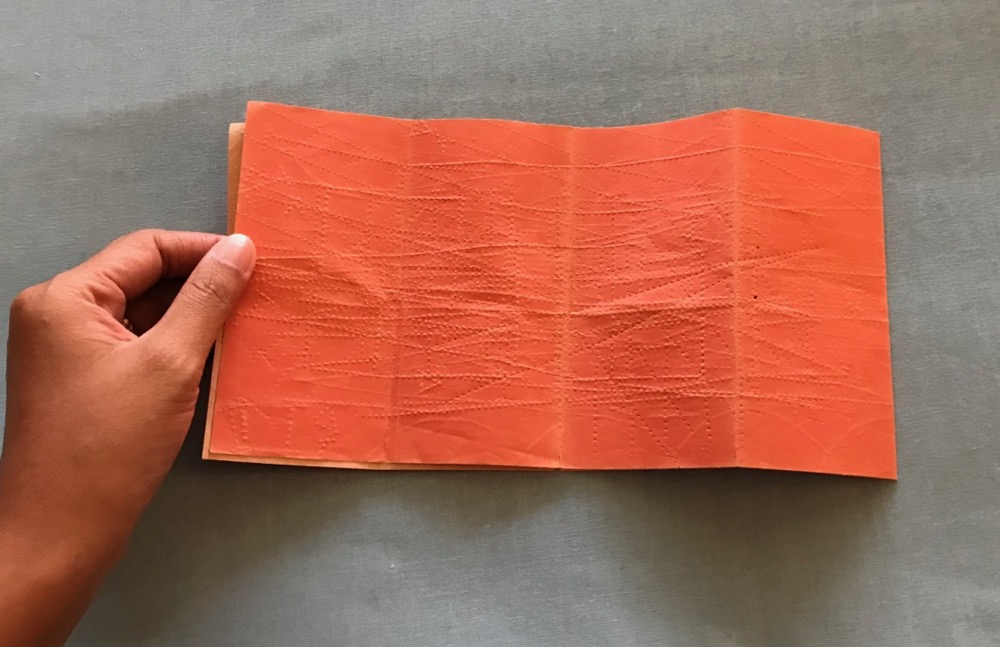
I remove just enough pins so that I can slip this double folded tracing paper in between the layers of fabric. Remember that I have the wrong sides of fabric facing each other? The result of this is that the color of the tracing paper is against the wrong sides of the fabric.
Time to trace! I only need to trace the dart legs (not the middle line). Be sure to put the cutting mat behind it so you don’t mark your table. Press pretty hard so the color will come through.
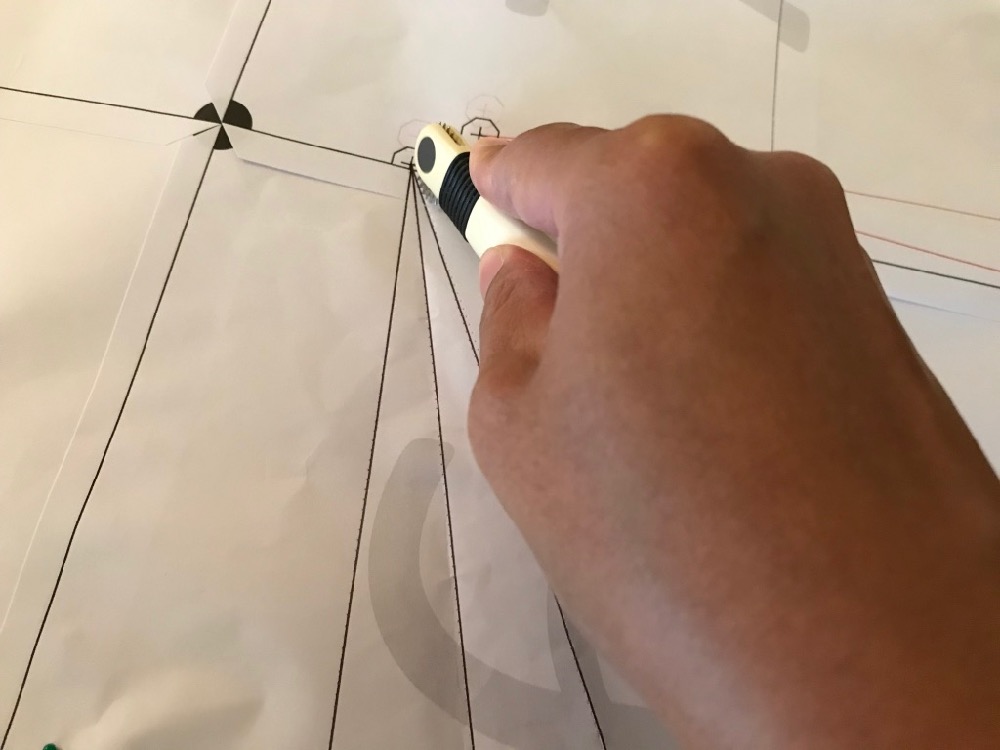
Keep going.
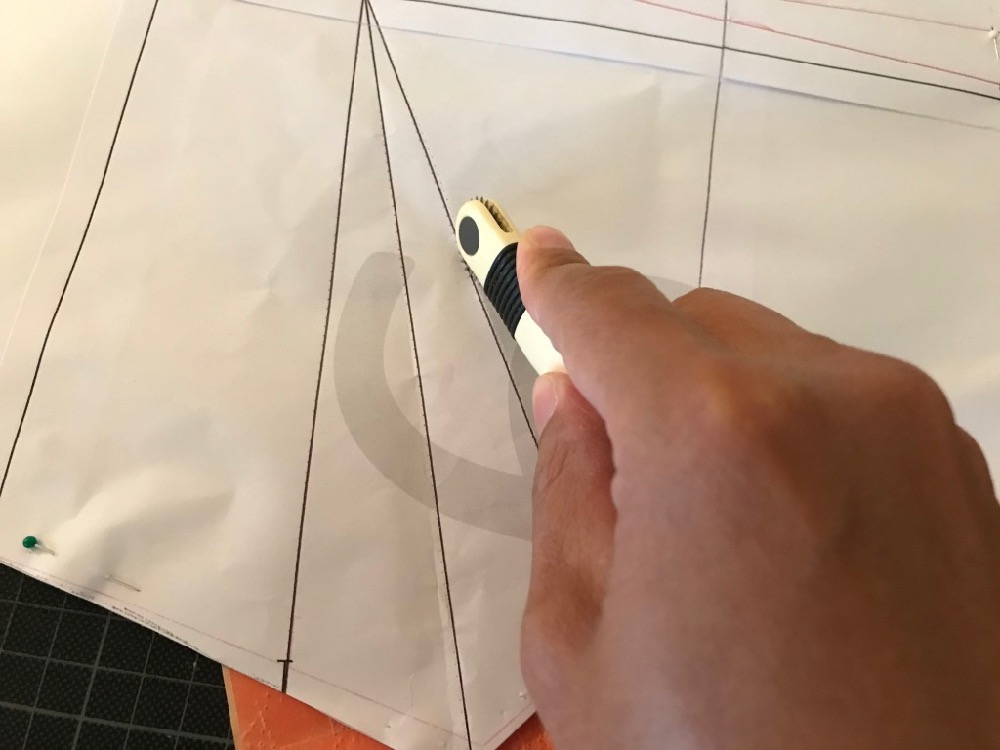
Now you can unpin the pattern (after you mark other notches and such). This is what you see on the wrong sides of the fabric.
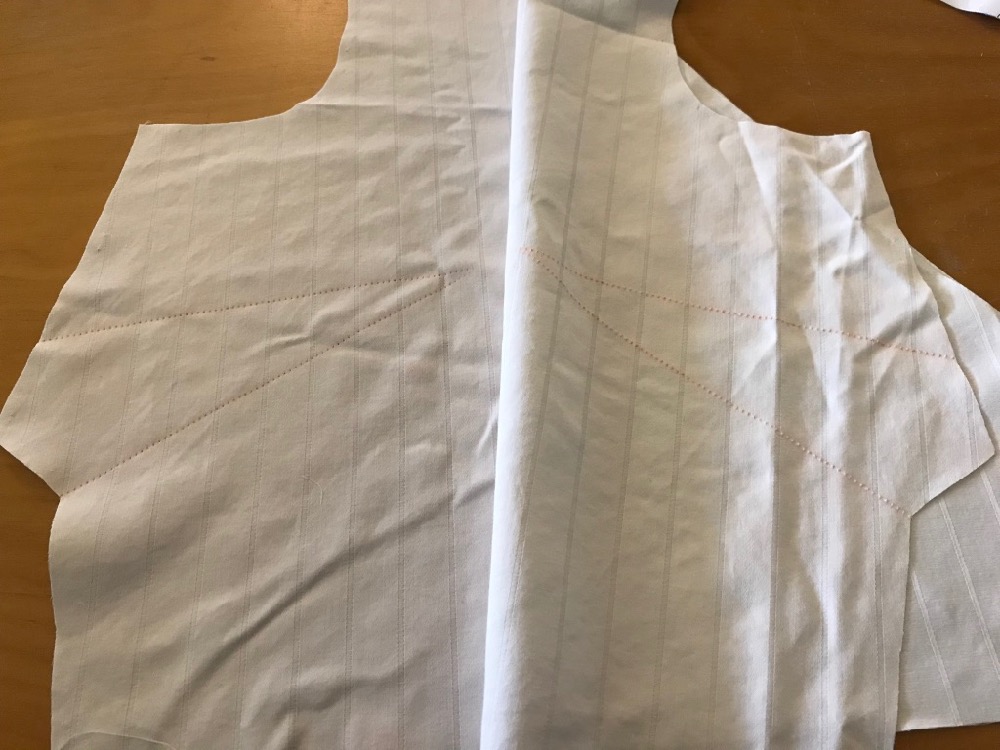
Tracing is now done. It’s time to pin that dart.
I put one pin (taking up only a couple of thread) at the dart point.
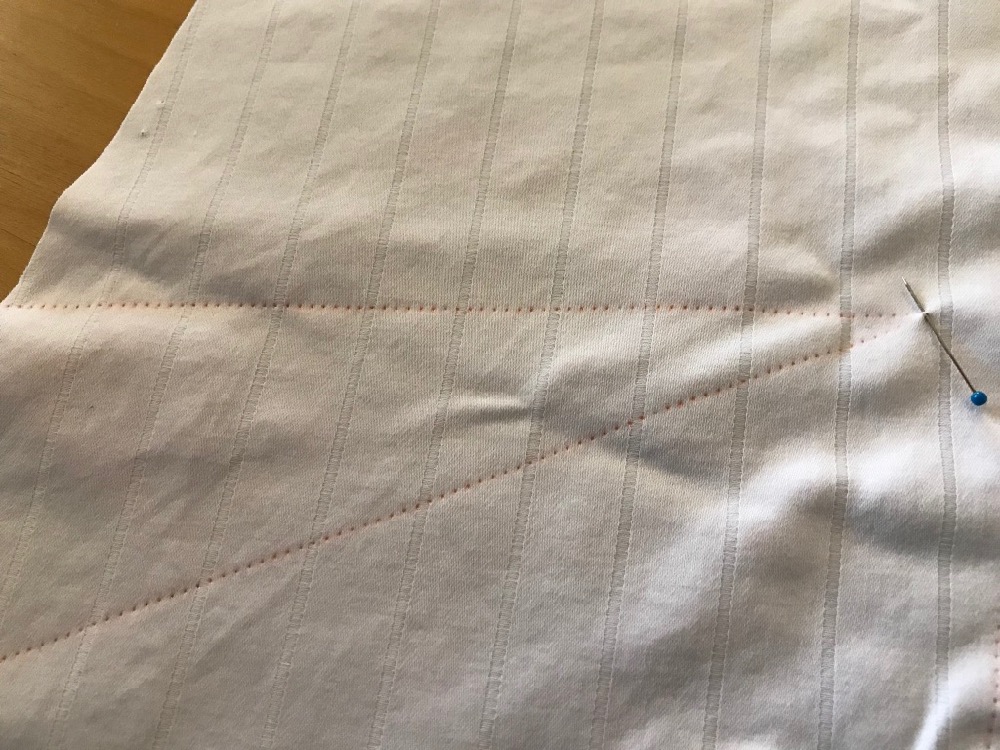
Then I fold the dart so that the dart legs are aligned. I put a pin through the lines. This is how it looks like after I put several pins down.
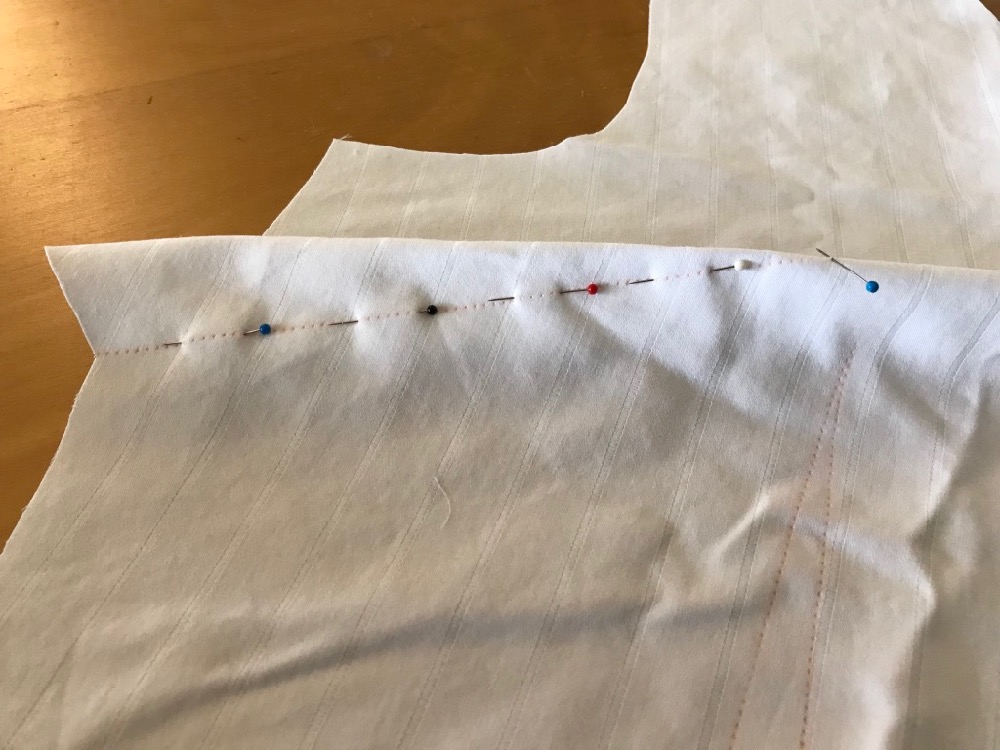
And this is the opposite side.
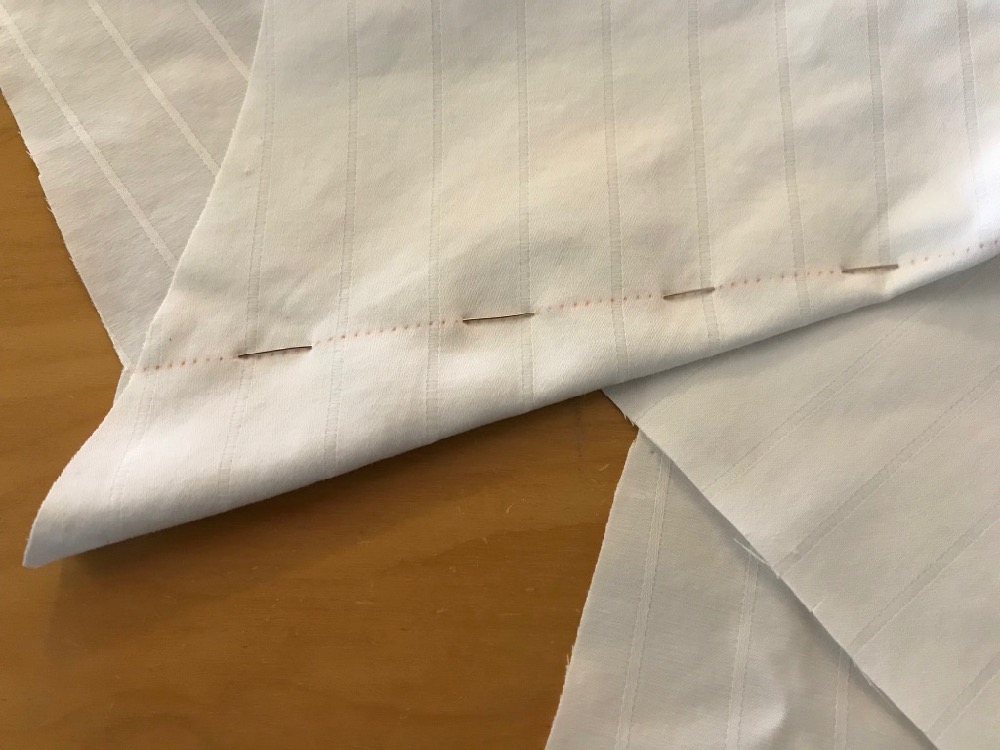
Take this to the sewing machine and start stitching from the dart legs to the dart point.
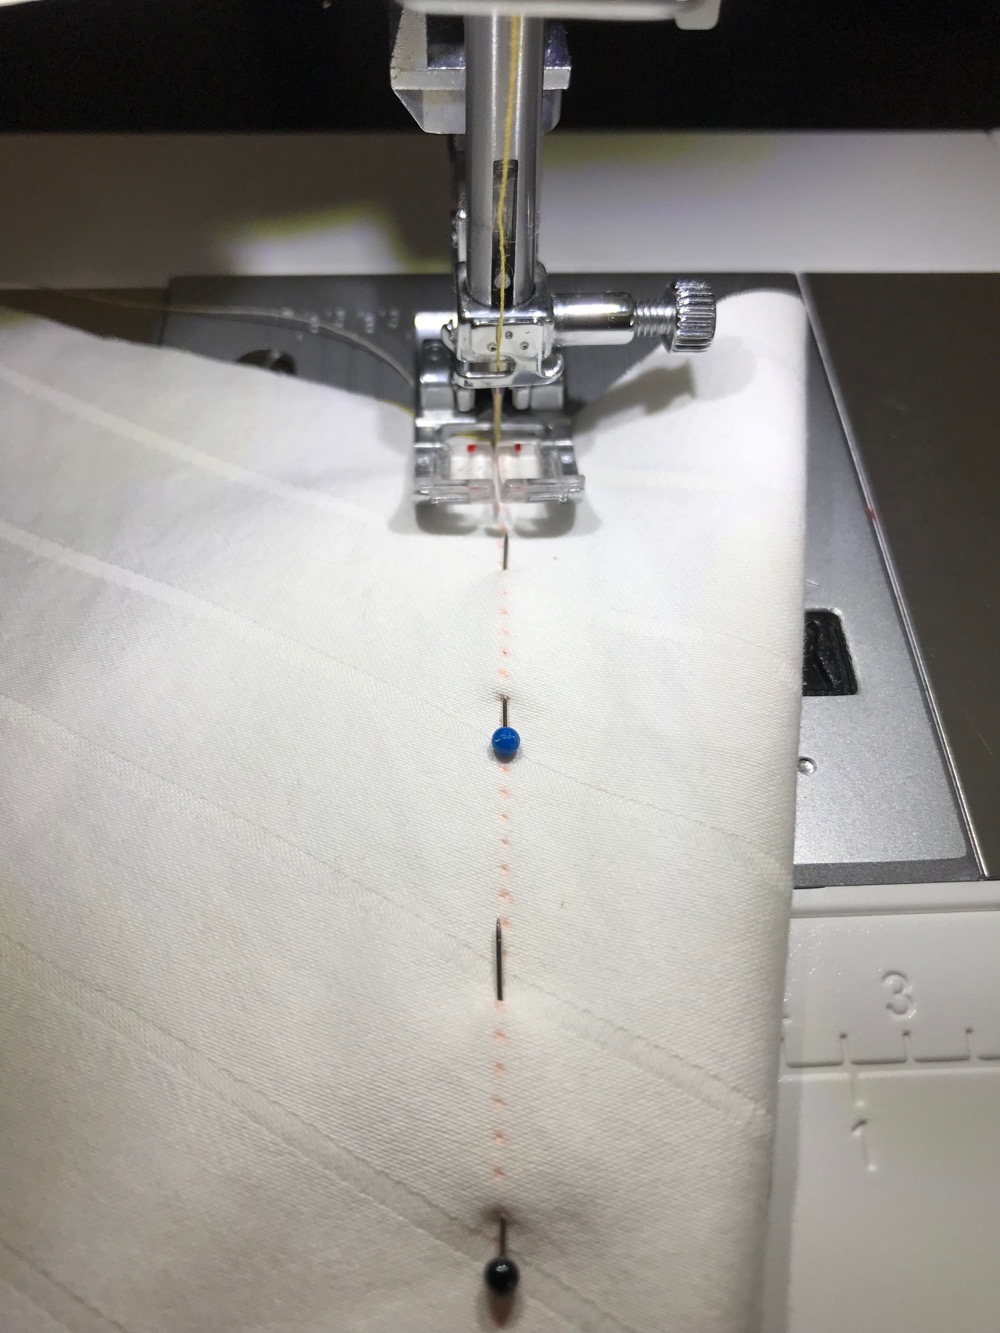
Remove the pins as you encounter them.
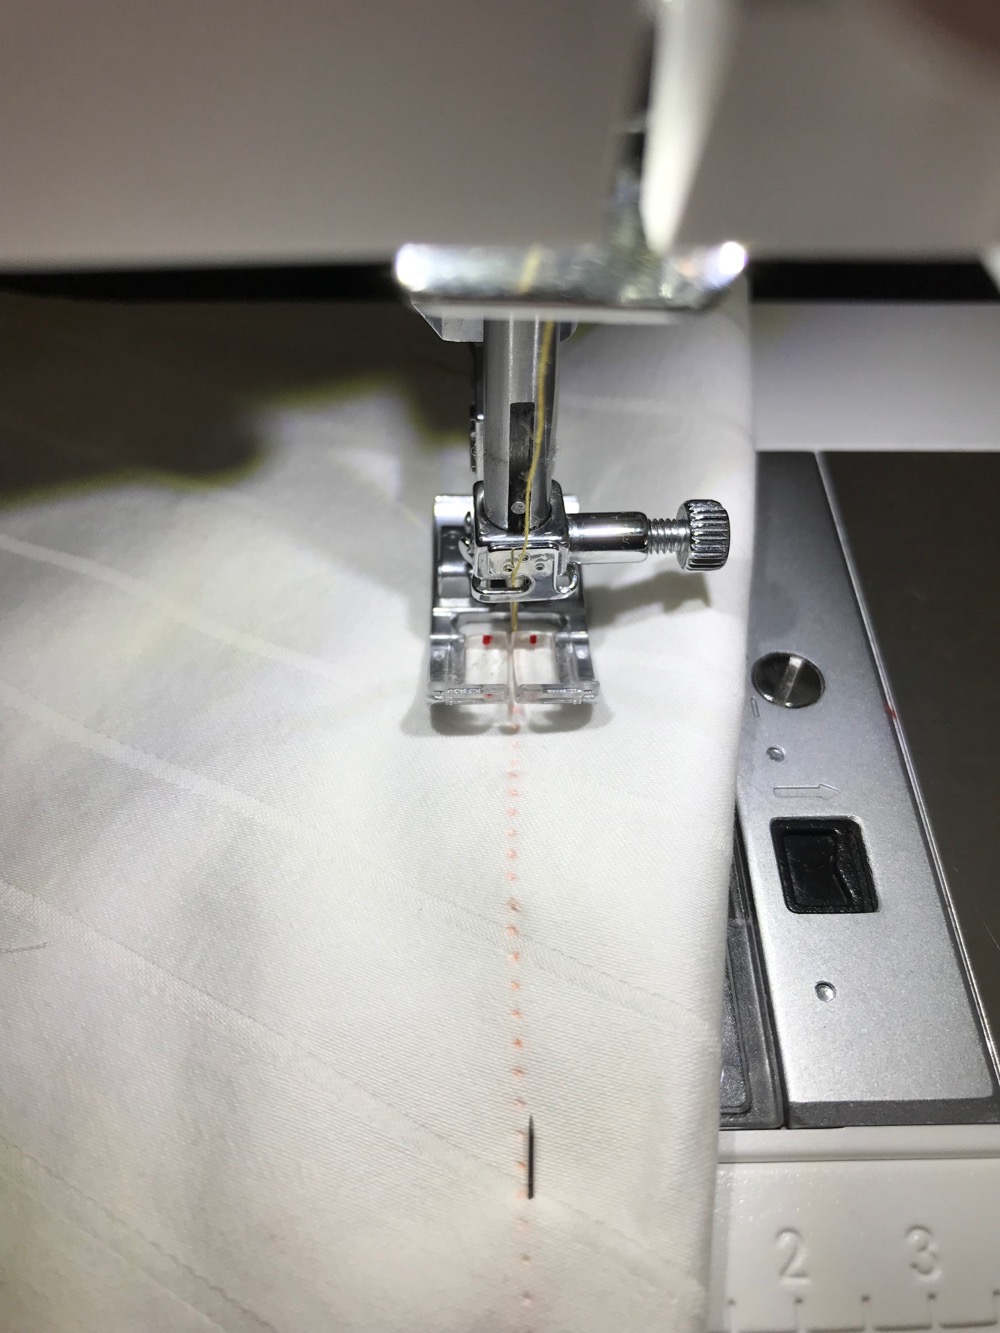
At the dart point, be sure you sewing right off the edge (not a sudden turn off the fabric).
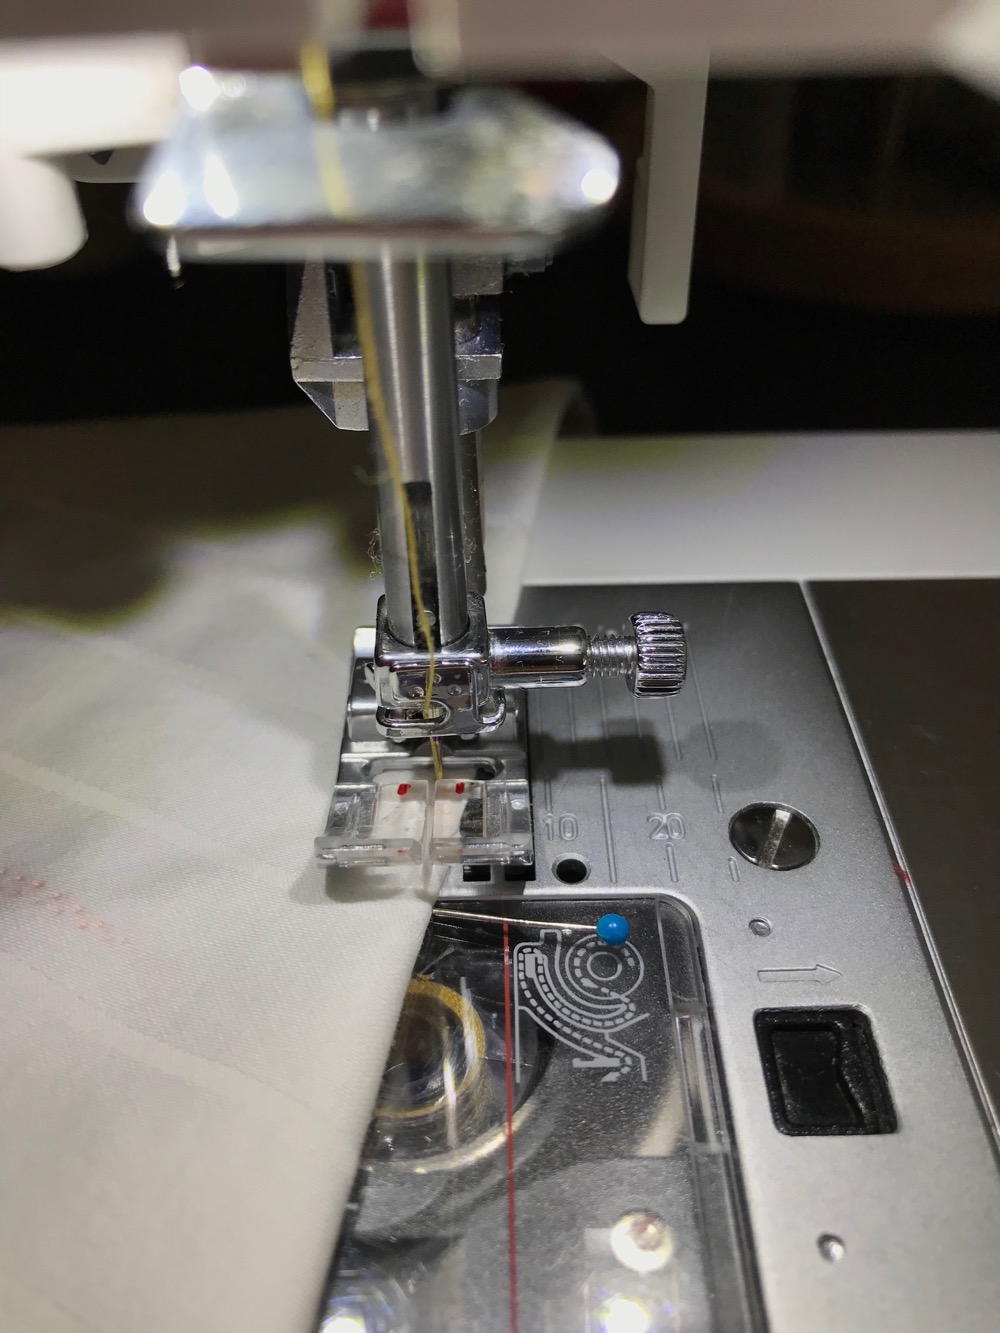
Leave both thread tails long, i.e., don’t cut it off at the dart point. It’s pretty easier to automatically cut your thread, especially with machines that have a thread cutting button.
I tie the two knots with the thread before I cut them off. Some people like to weave the thread ends inside the dart bulk. Feel free to do that if you want it to look neater.
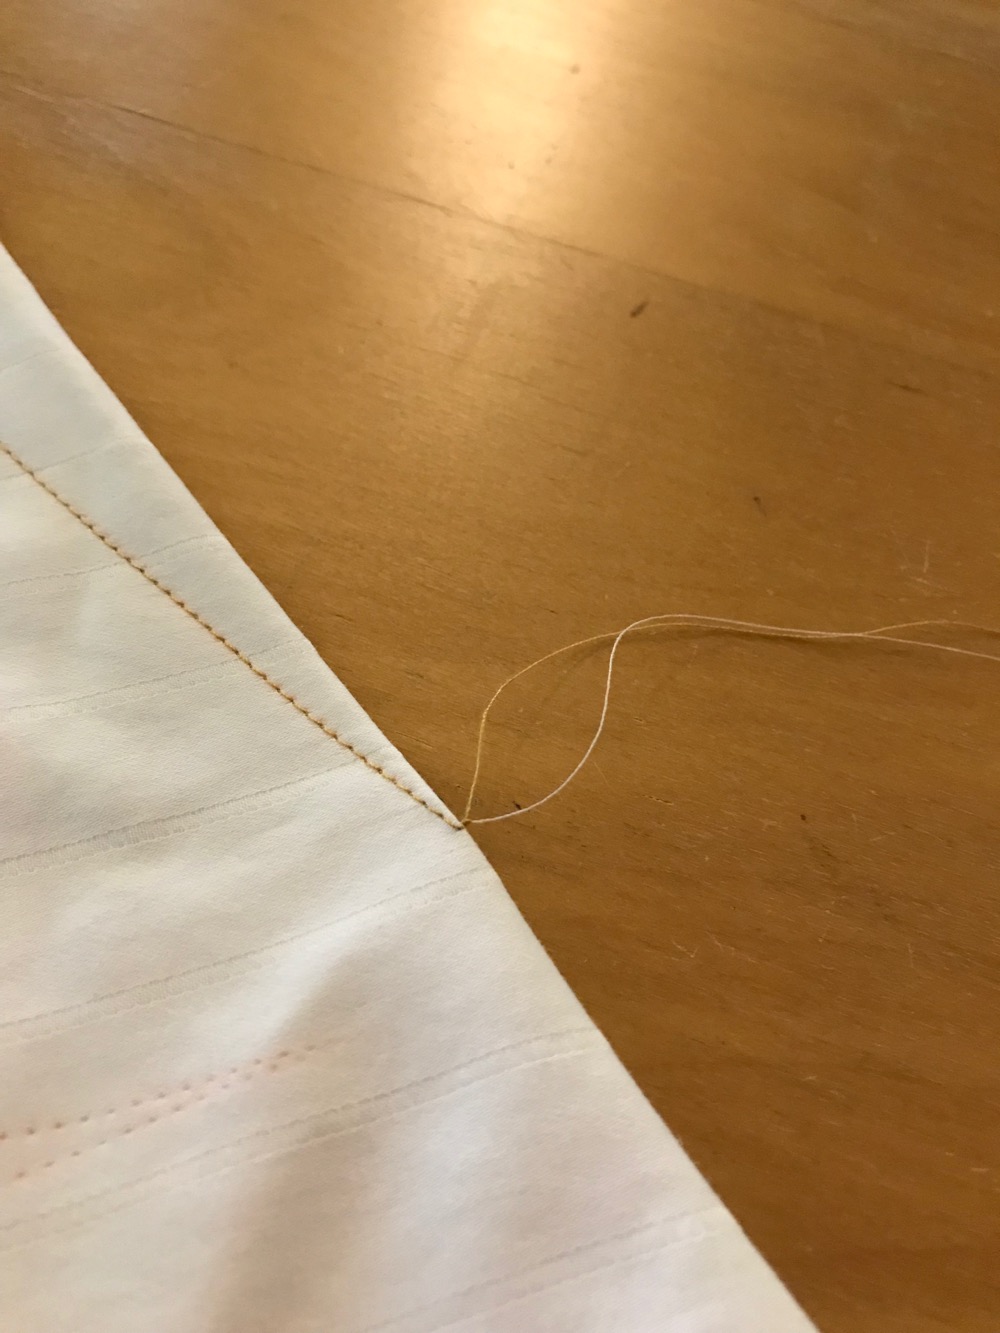
Then press the dart bulk up or down (or left or right) according to the instructions.
Some people ask if it’s more “correct” to press the bust dart up or down. I usually press it down, but I can also see the reason of pressing it up.
When it’s pressed down, the little “pocket” on the wrong side is point down, so you are not collecting dust in there.
But some argue that by pressing it up, there is a subtle ridge along the dart on the right side, and that will be pointing slightly downward.
So the correct answer is there is no correct answer. However, you should follow the instructions of the sewing pattern, because how the dart is pressed is the decision of the pattern maker. The dart bulk is different when it’s pressed up vs pressed down. Hence, the pattern maker already decided that for you.
There are of course many other fancy ways to sew a dart, but this is the simplest way. I hope it’s helpful!


When sewing a dart in stretch fabric do you use a straight stitch or zig zag?
I use a straight stitch. Usually, the dart is not a stressed area, so it works OK for me.
I was taught by my grandma, who was a pro dressmaker, to start at the point and stitch to the legs. Starting, by hand turning the wheel, your first stitch off the fabric then second on the fabric and continue down the stitching line. Leave the starting tails long enough to tie just as you did, Kennis. Of course she would always stitch several stitched of the beginning tails into the dart before trimimg. I do if it’s a fine garment but not for casual everyday wear.
This method avoids any bubble at the point. But, if you follow Kennis’ directions you shouldn’t get one.
I still use my grandmother’s teaching paper and wheel. That paper is so beat up. . . But it works perfectly. Thank you for your tutorials. They really improve my sewing quality 💕
Thank you this is straight forward even for a beginner like me.
I seen on Lifting Pins and Needles, Karina’s youtube about this the Dana Point top and after seeing it modeled on so many body-types…I knew I had to have it!
Thank you, can’t wait to sew it!
You are so precise! I usually rush this too much, but I can see how it is important to take one’s time about darts. Thank you for shoving me how to do this properly!