Because the installation of the front waistband on Sequoia Cargos & Shorts is not typical, in addition to the illustrated tutorial included in the pattern, this supplemental photo tutorial should help those of you how learn better by photos.
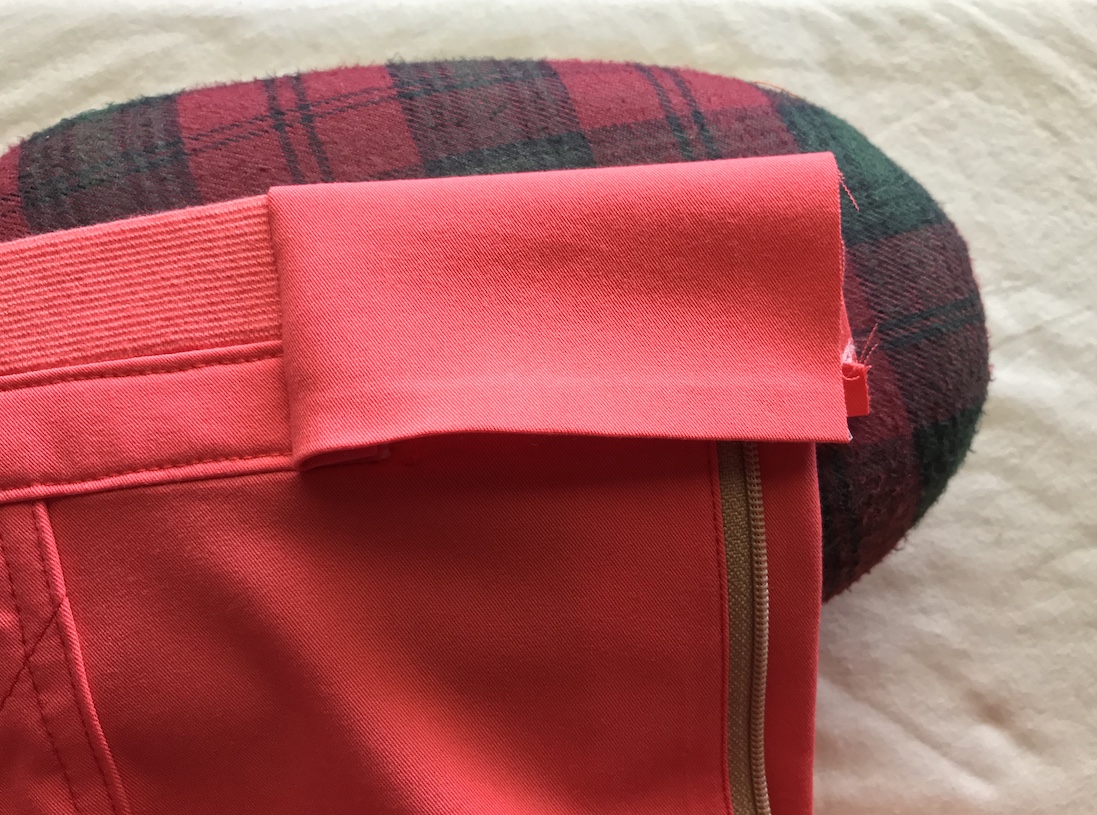
We’ll start with the Right Front Waistband piece. Note that yours should be fully interfaced. (I changed my mind about the interfacing after taking the photos for this tutorial). Also note that the “Right” in “Right Front Waistband” means the right-hand side, and it is as worn, meaning it’s YOUR right-hand side when you are wearing the pants/shorts.
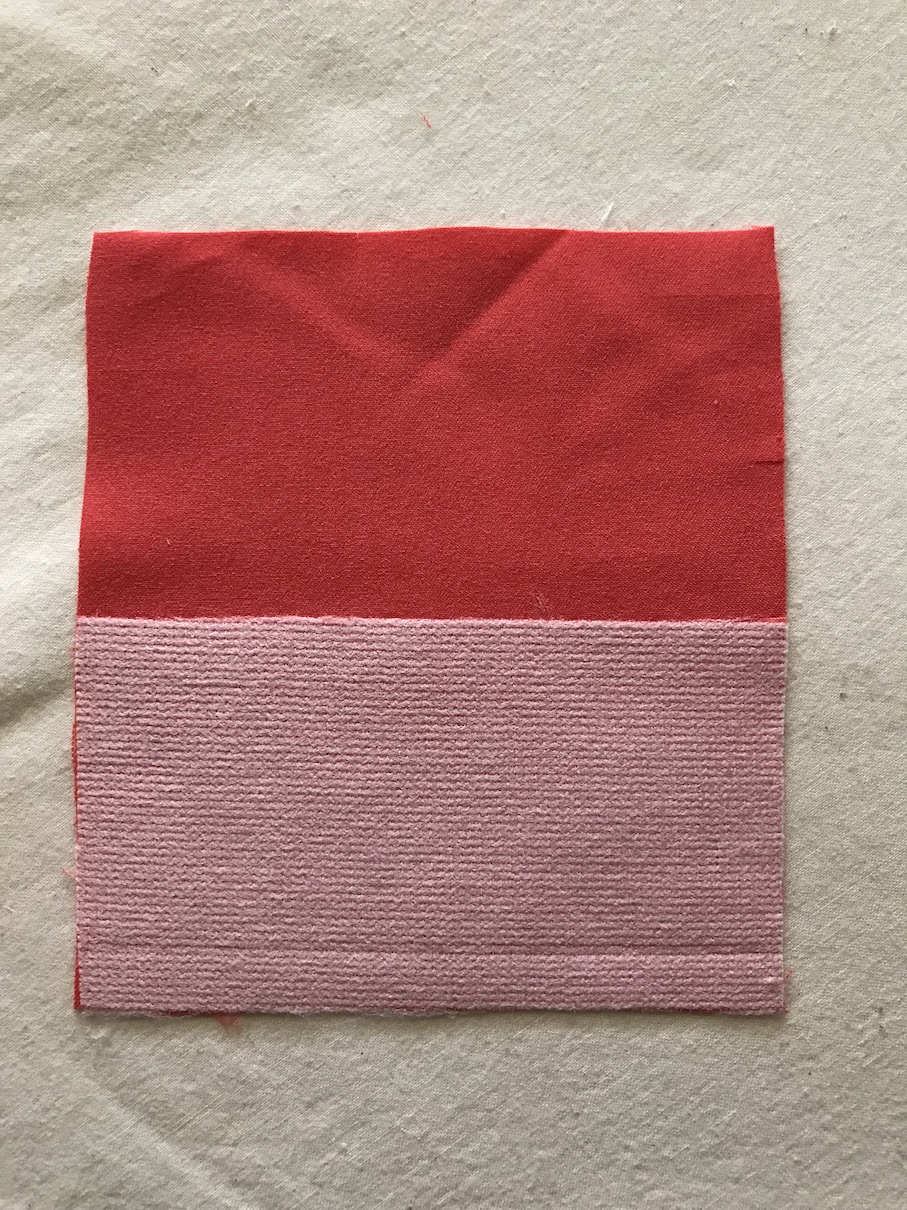
Press the seam allowances of the top and bottom of this Right Front Interfacing in. In this case, the seam allowance is 1/2″ (1.25 cm).
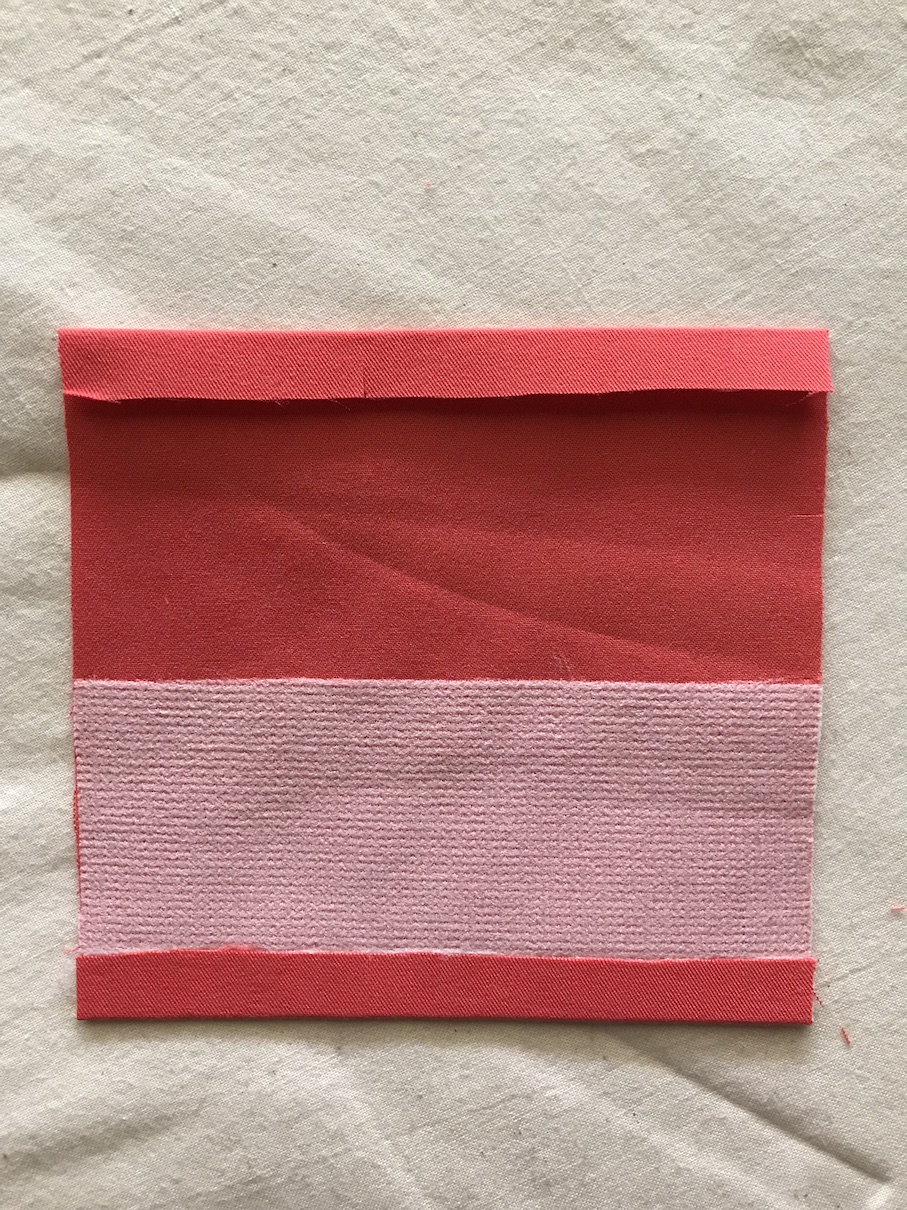
We are ready to go to the half-finished waistband (you should be done with step 63). Note that my ribbing looks a bit usual, but the stretch direction is indeed along the circumference of the waist.
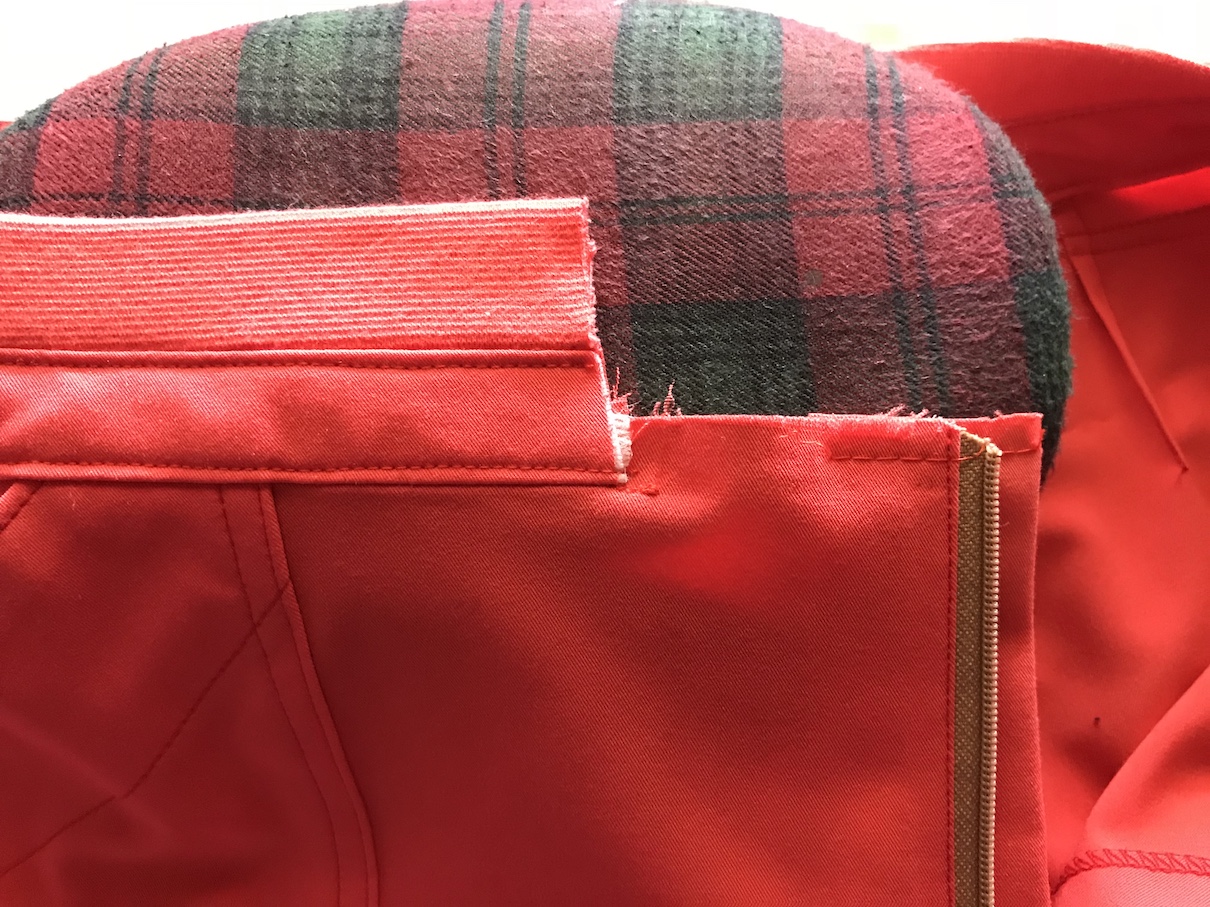
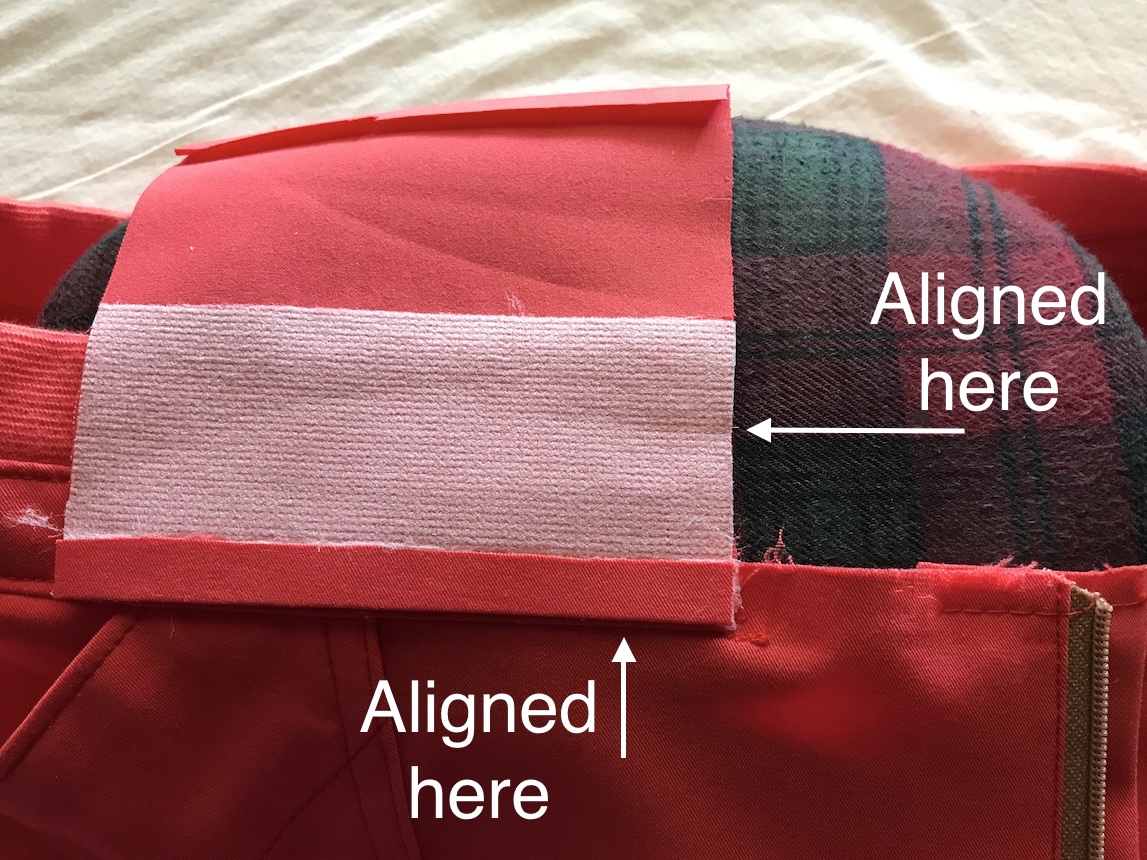
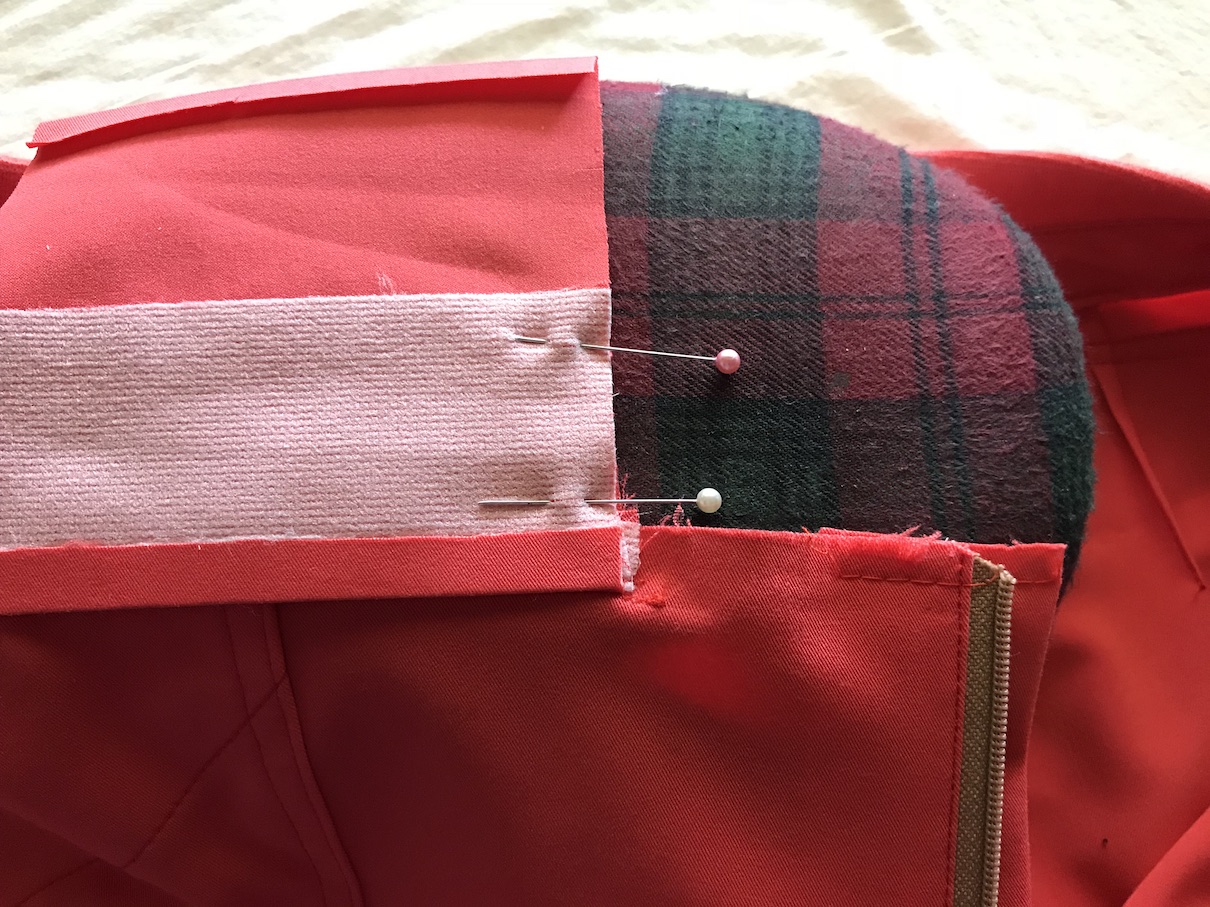
Place the Right Front Waistband on the Front Waistband (right-hand side, as worn). The pressed-in bottom seam allowance of the Right Front Waistband is aligned with the Front Waistband, and so are the raw edges.
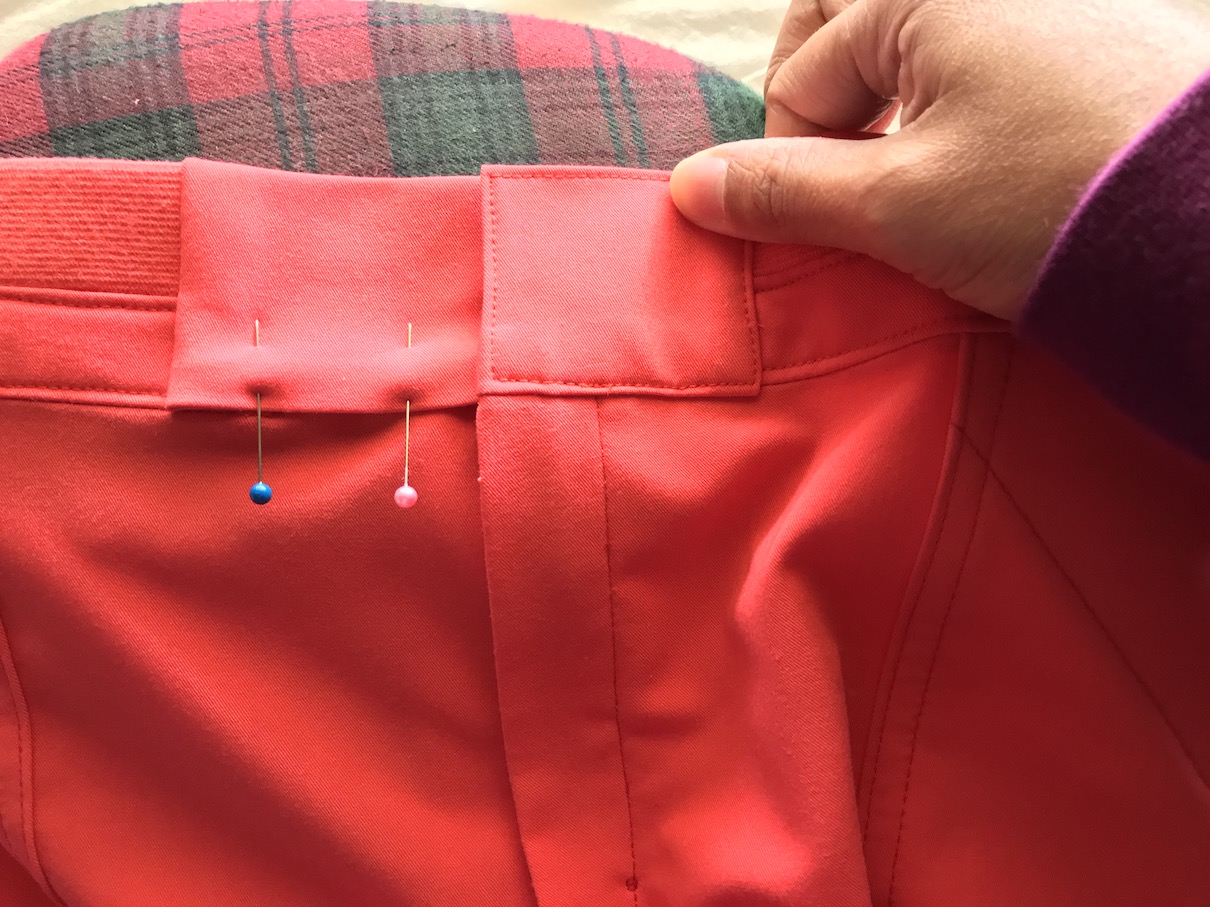
Pin pin pin.
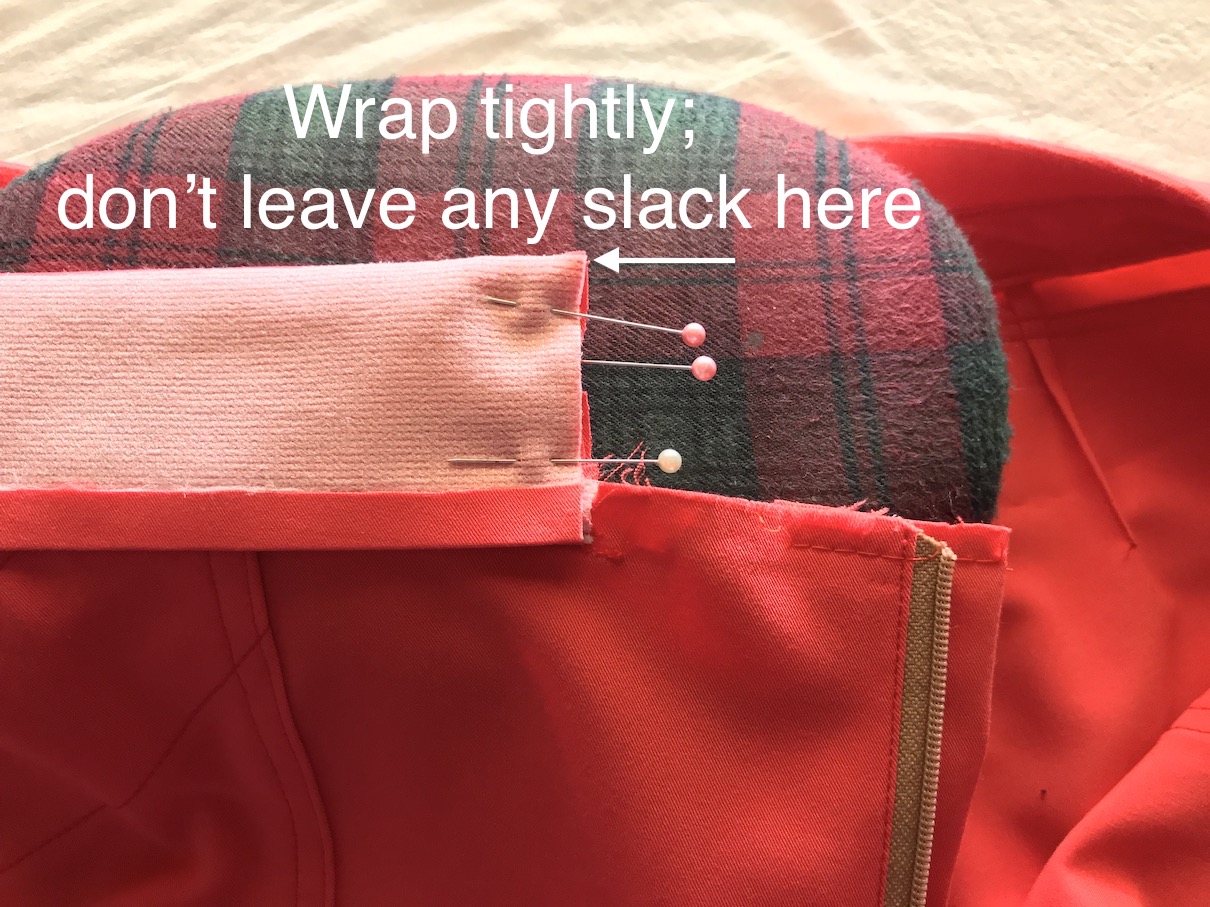
Wrap the Right Front Waistband on the Front Waistband completely. Be sure that you don’t have any slack at the top of the waistband; wrap tightly! Pin pin pin more through all layers.
This is how it looks like in the back. See the fold of the seam allowance is also aligned to the bottom of the Front Waistband?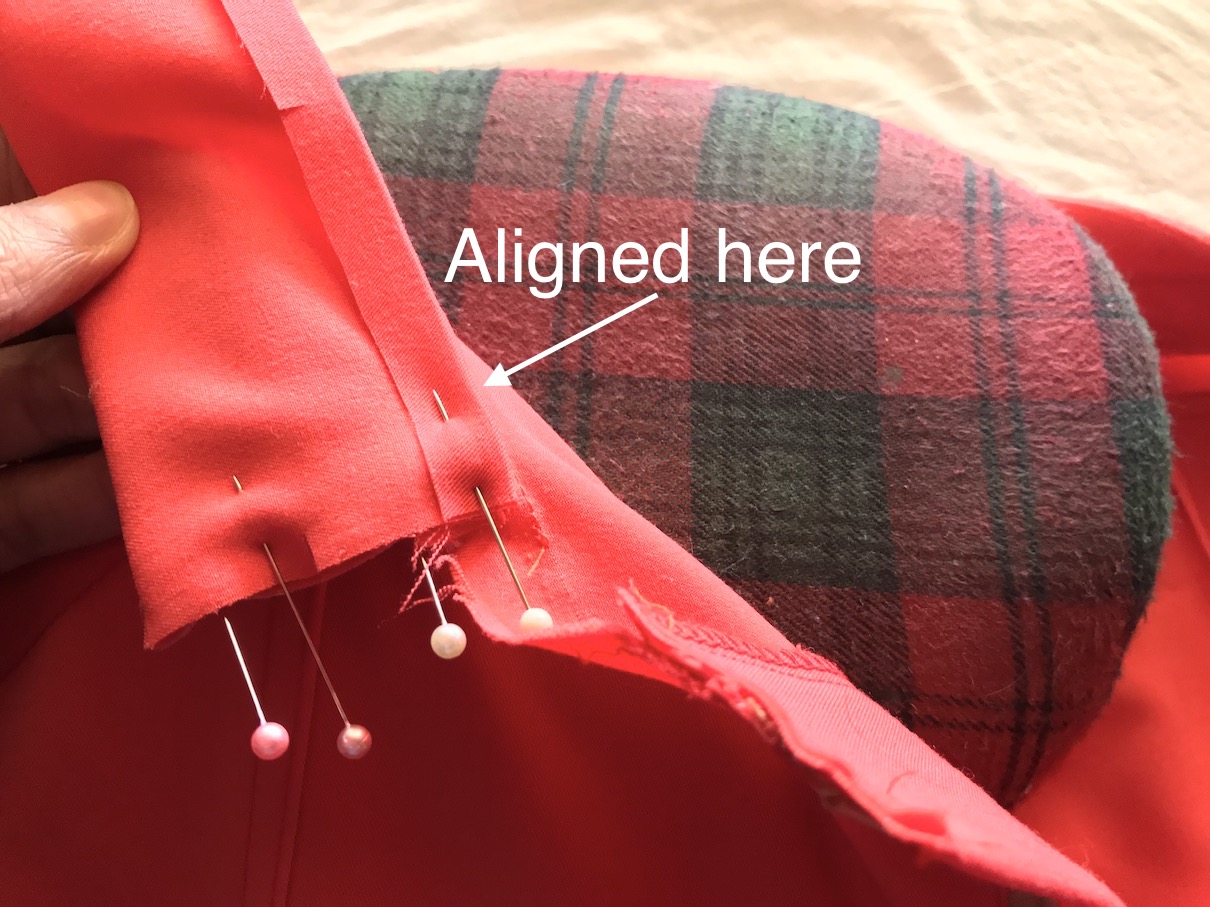
Stitch through all layers. The seam allowance here is 1/2″ (1.25 cm), just like everything else.
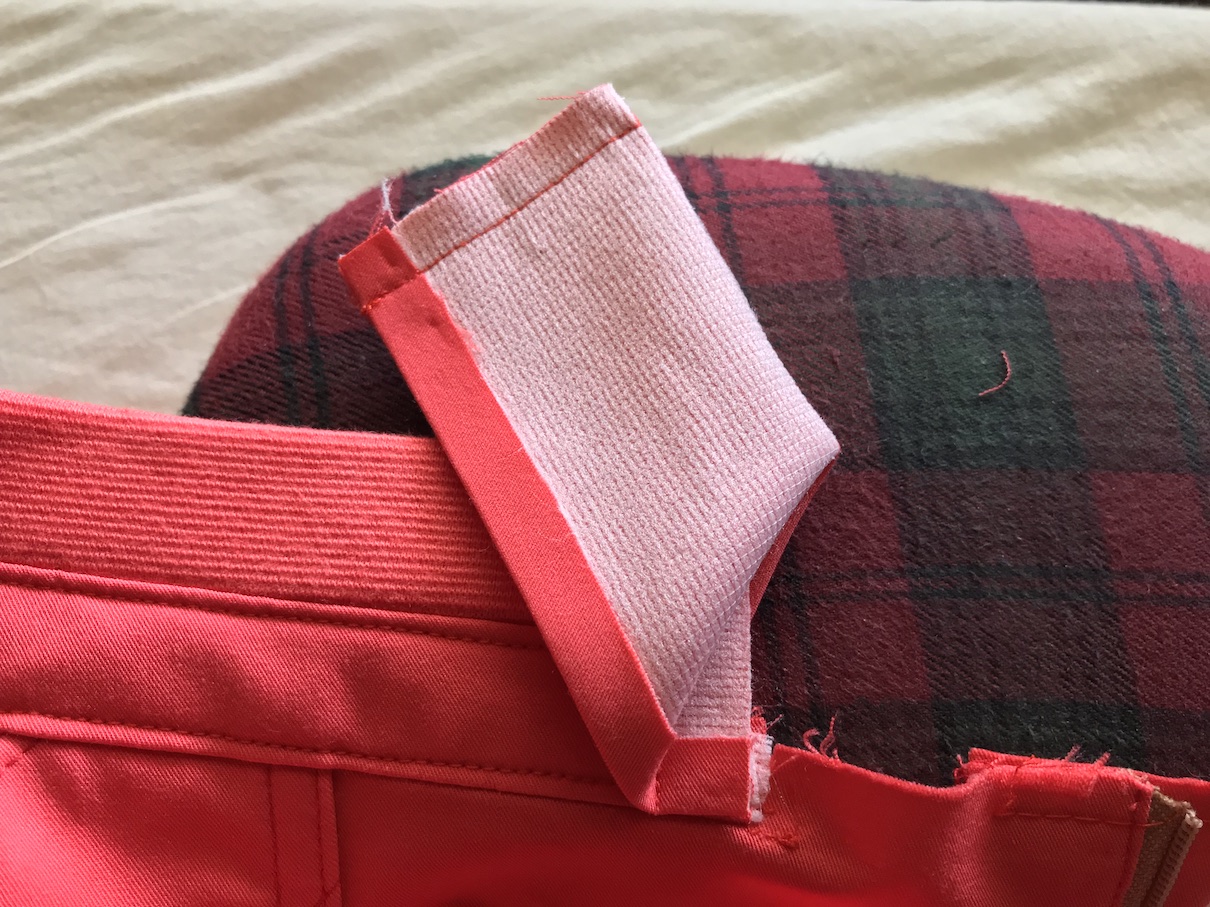
We then temporarily turn the Right Front Waistband right side out.
That is because I want to mark where the Right Front Waistband intersects with the Zipper Guard. Theoretically, it should have a 1/2″ (1.25 cm) seam allowance like everything else. But this seam is a little tricky. It will depend on how much your Zipper Guard sticks out, which is dependent on the width of your zipper tape. So to be extra sure, it’s better just mark it. Of course I use a erasable marker.
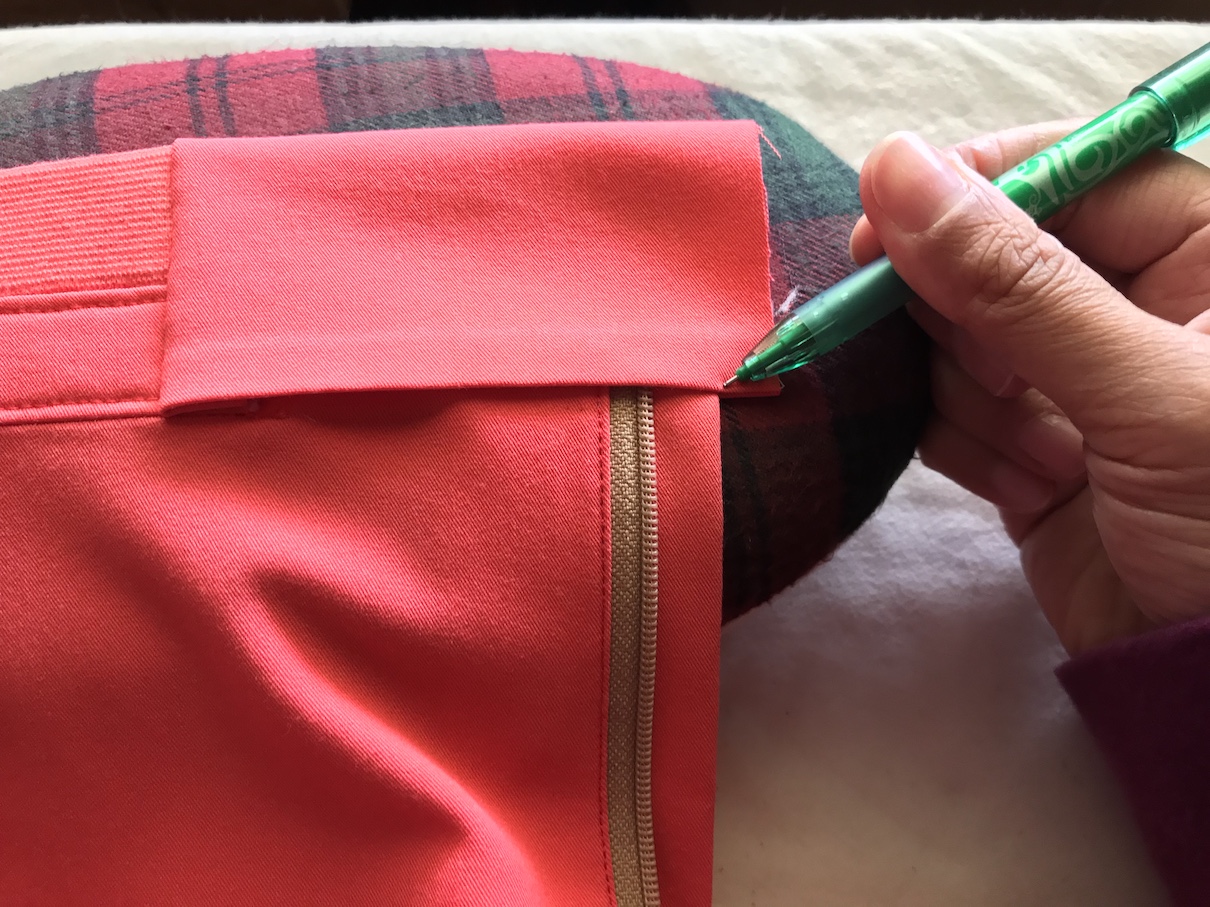
It turns out that mine is just a tad smaller than 1/2″ (1.25 cm) seam allowance. Now let’s fold the Right Front Waistband back.
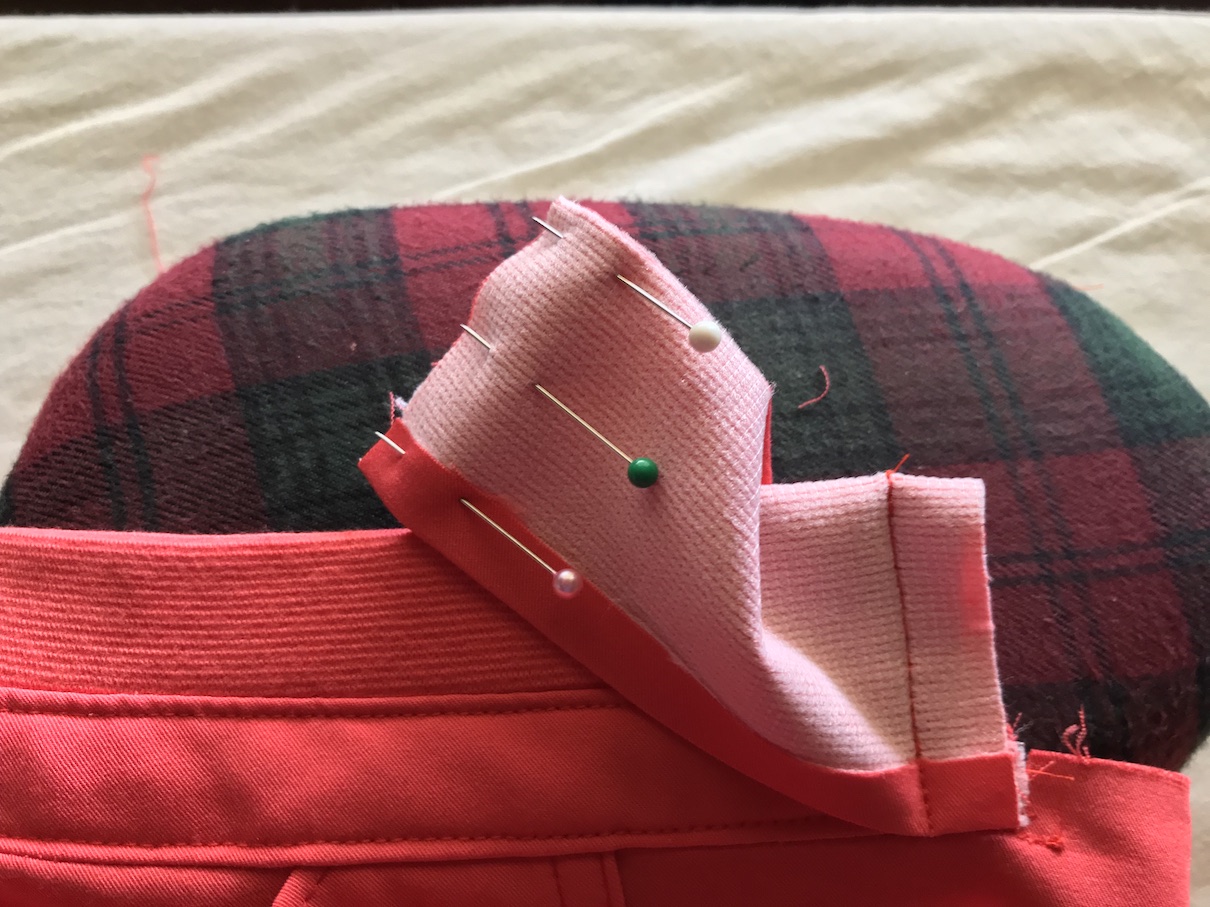
Pulling it out of the way, with right sides together, pin the two layers of the Right Front Waistband. Note that the bottom seam allowance remains folded.
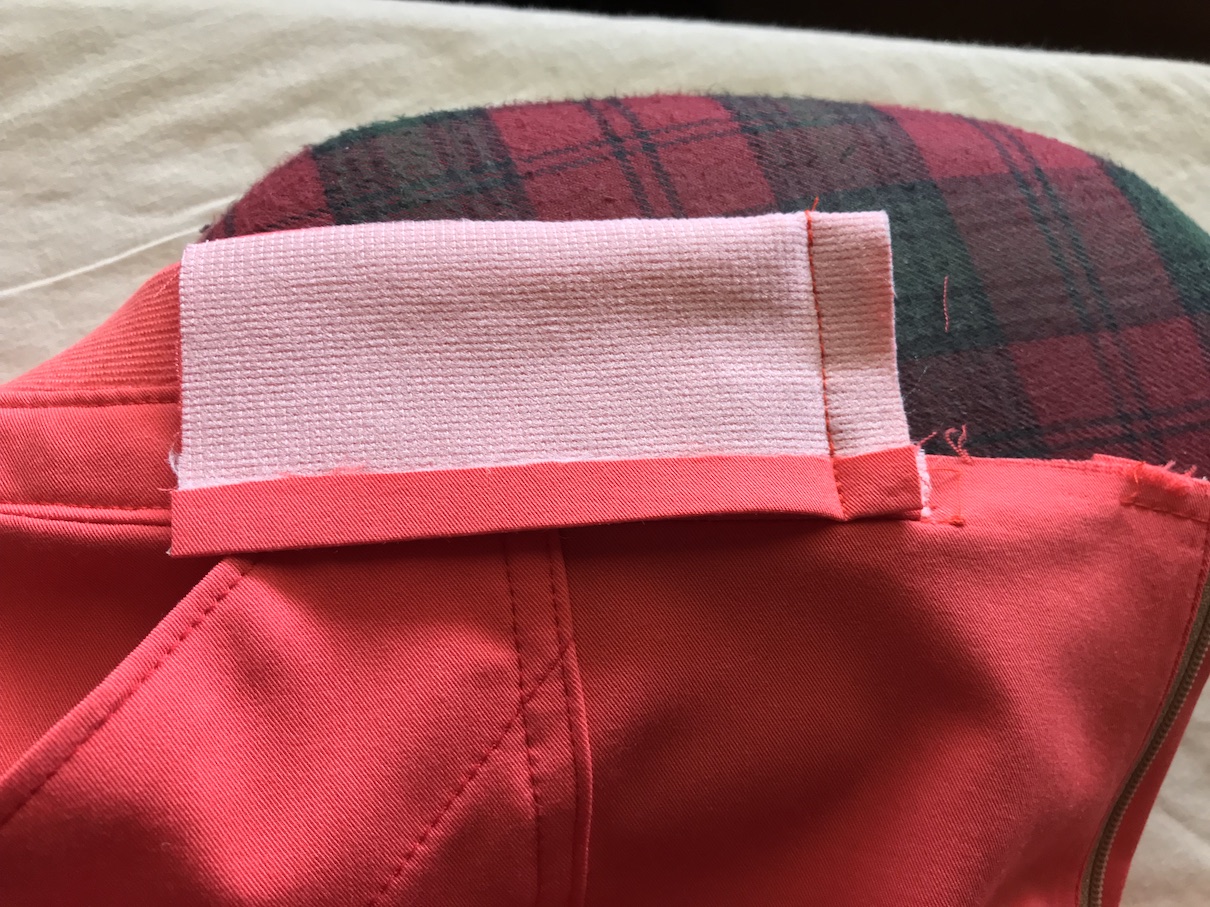
Stitch the layers together with a seam allowance that you marked early. For me, it is a little less than 1/2″ (1.25 cm).
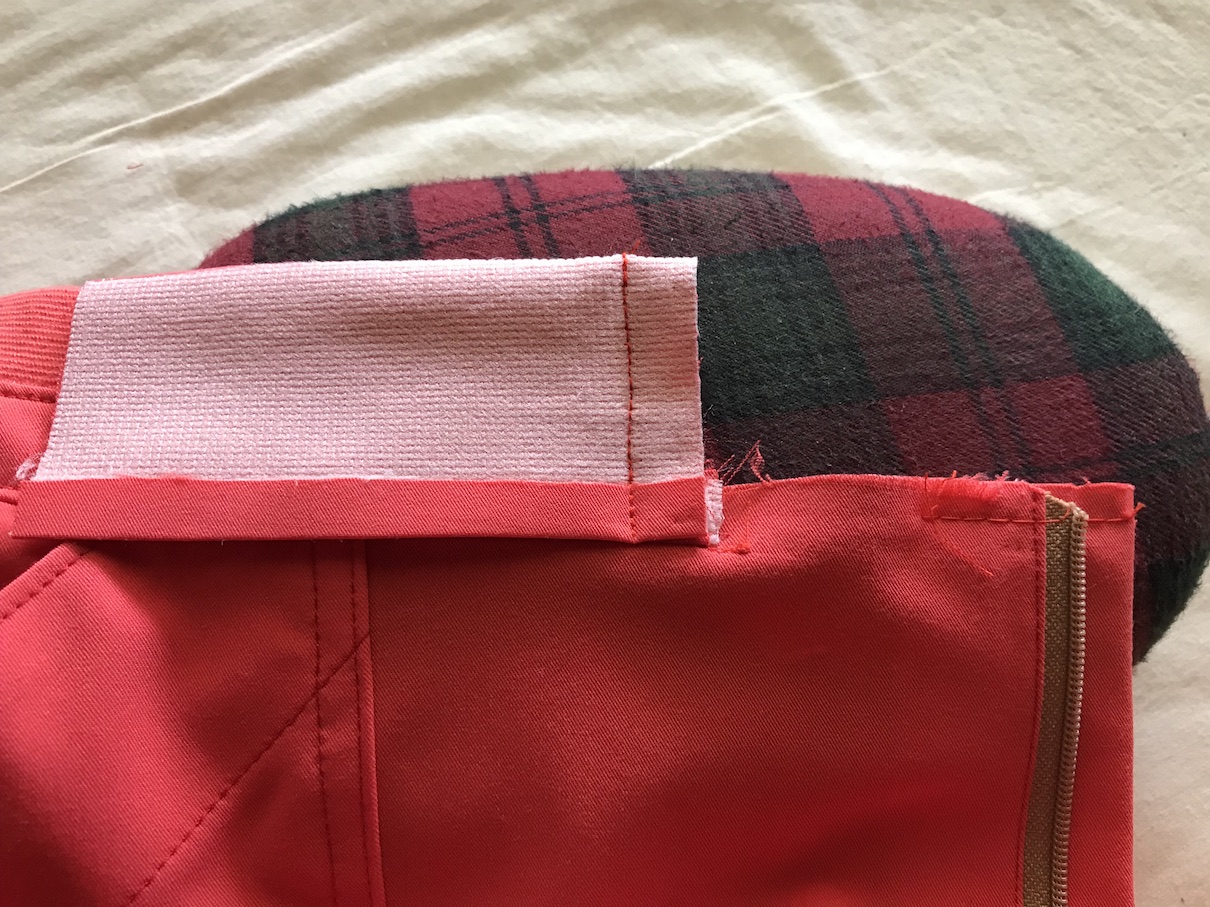
You can give that seam allowance a trim and turn the Right Front Waistband right side out.
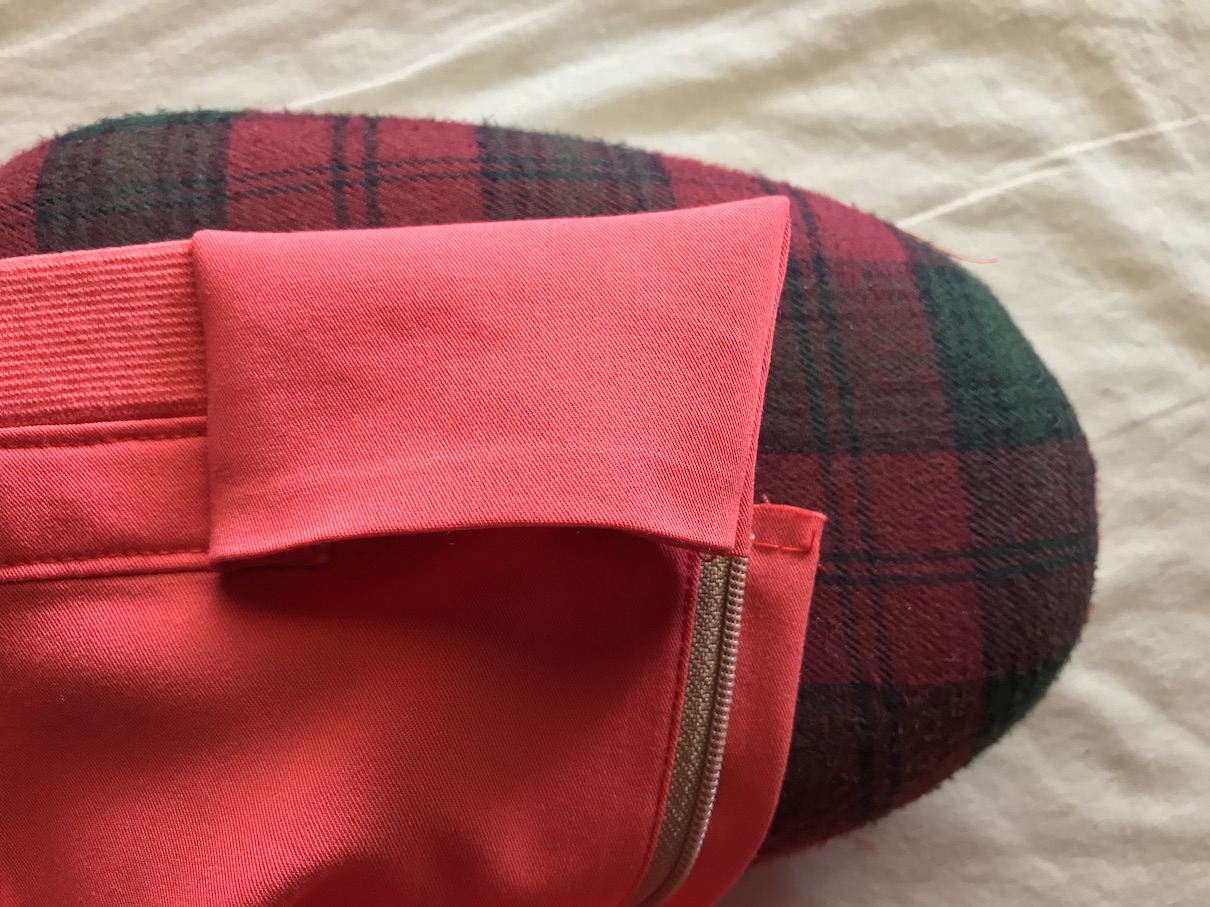
Let’s give it a nice press too.
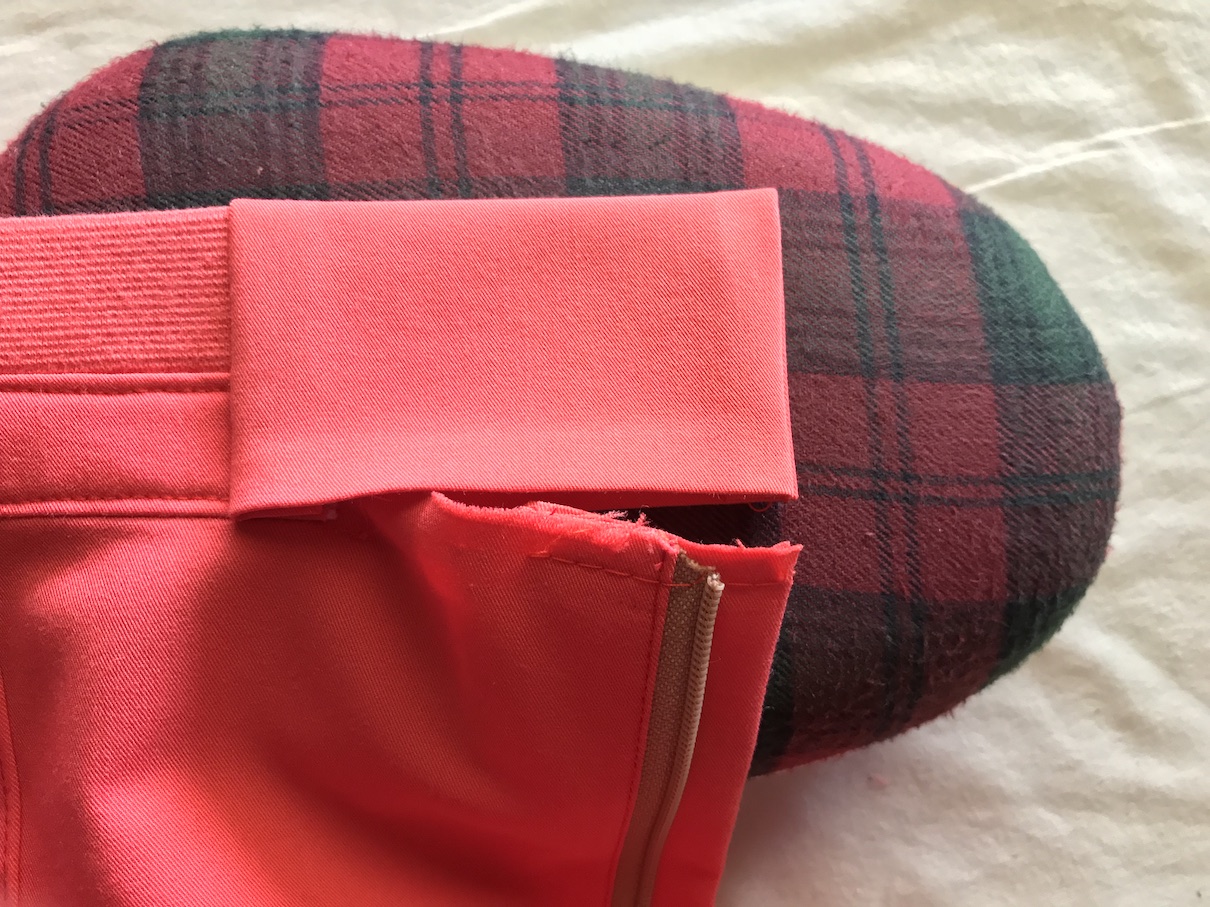
Now we are going to insert the Front/Zipper Guard portion inside the little pocket created. Of course, pin pin pin, through all layers.
The Left Front Waistband is done the exact same way (other than the fact that it’s a mirrored opposite—using the Left Front Waistband piece on the left-hand side of the pants/shorts, as worn). I actually already finished that side. It really doesn’t matter which side you do first. But anyway, this is my second side and I just want to be sure that the left-hand side and right-hand sides are the same height. Theoretically they should, but we are humans and they could be off by a little, so it’s better to check when you are making the second side.
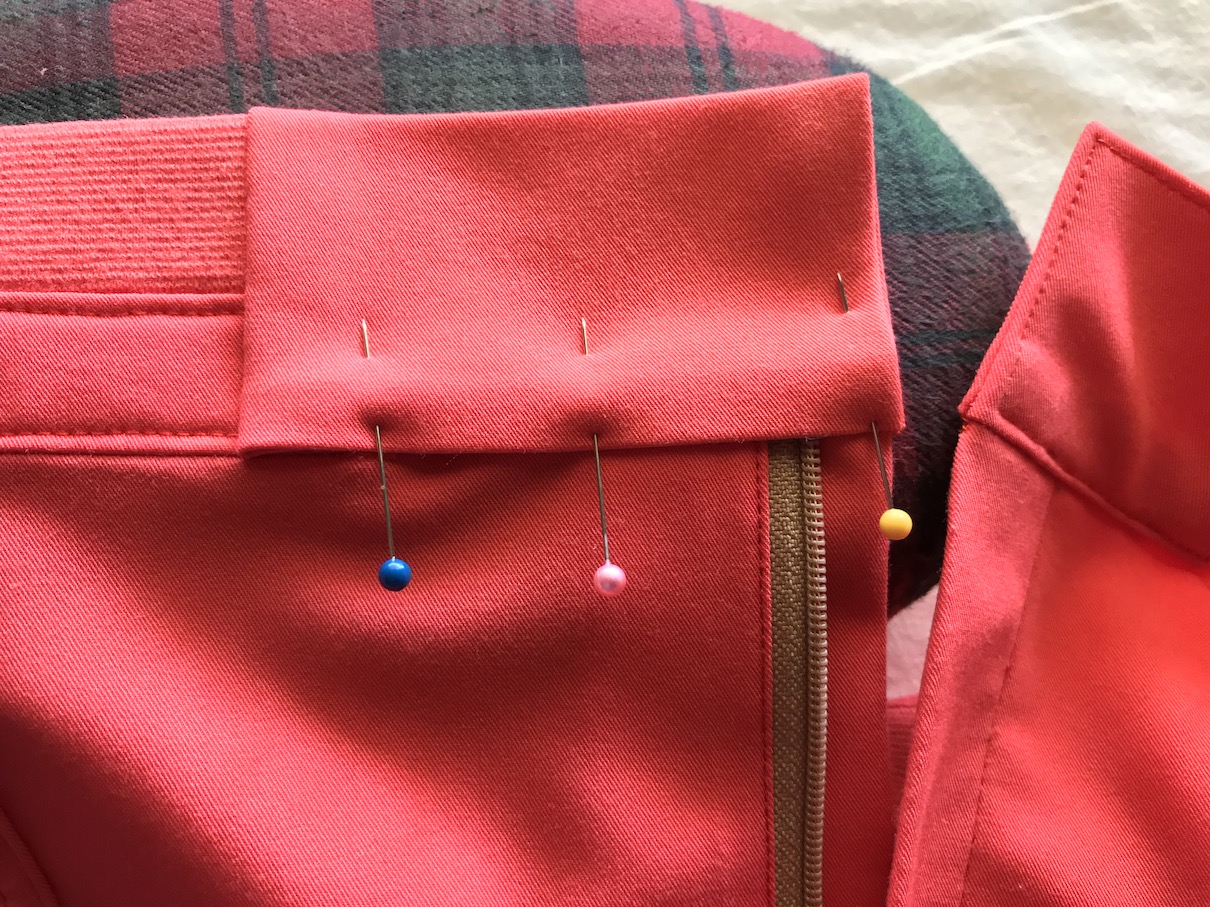
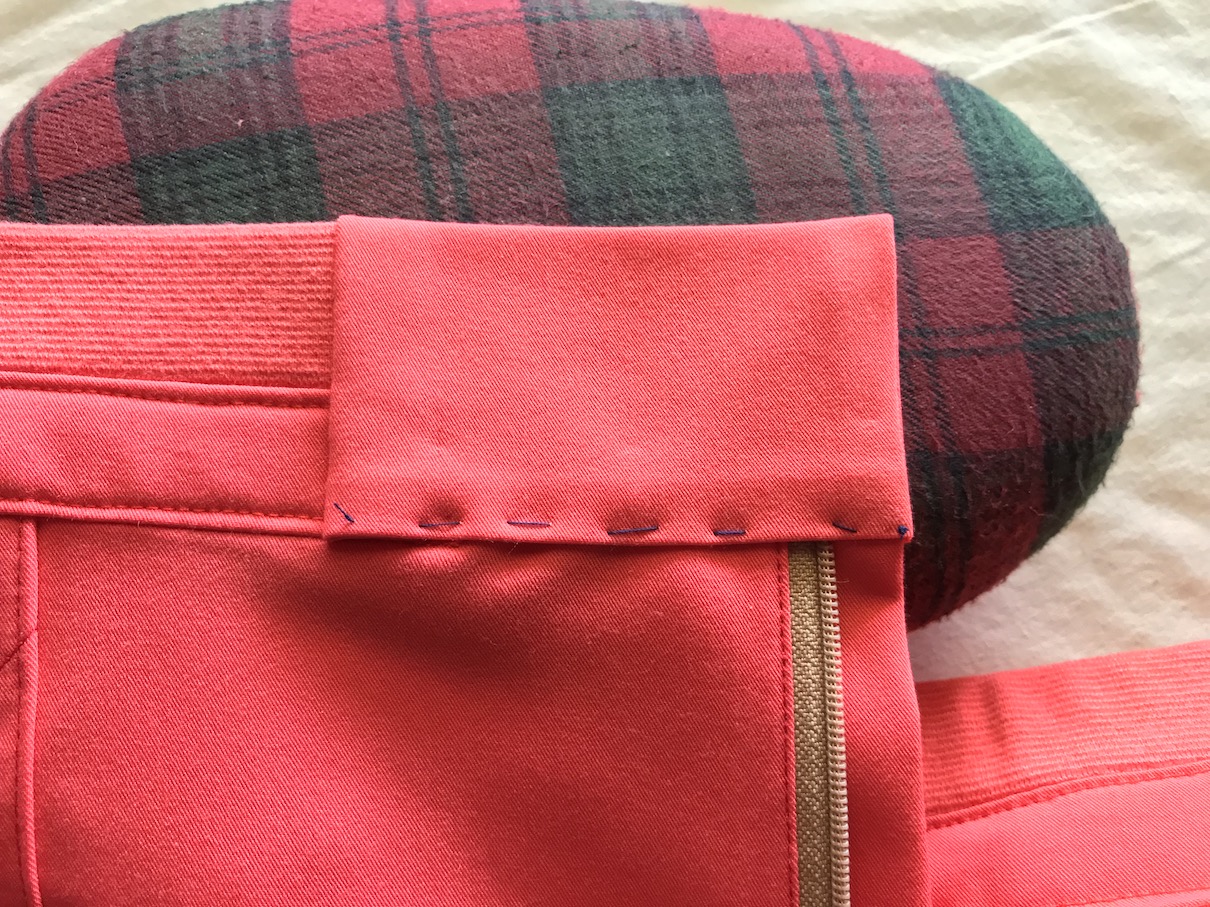
It’s good enough for me. So I baste along all sides of the Right Front Waistband. You could machine baste it, but I just use hand stitch; there are only a few stitches and this way I have more control. The basting stitch doesn’t look awesome, but who cares? I’ll take that out later. It’s really good idea to baste because are you dealing with so many layers.
Now let’s edge stitch all around to secure.
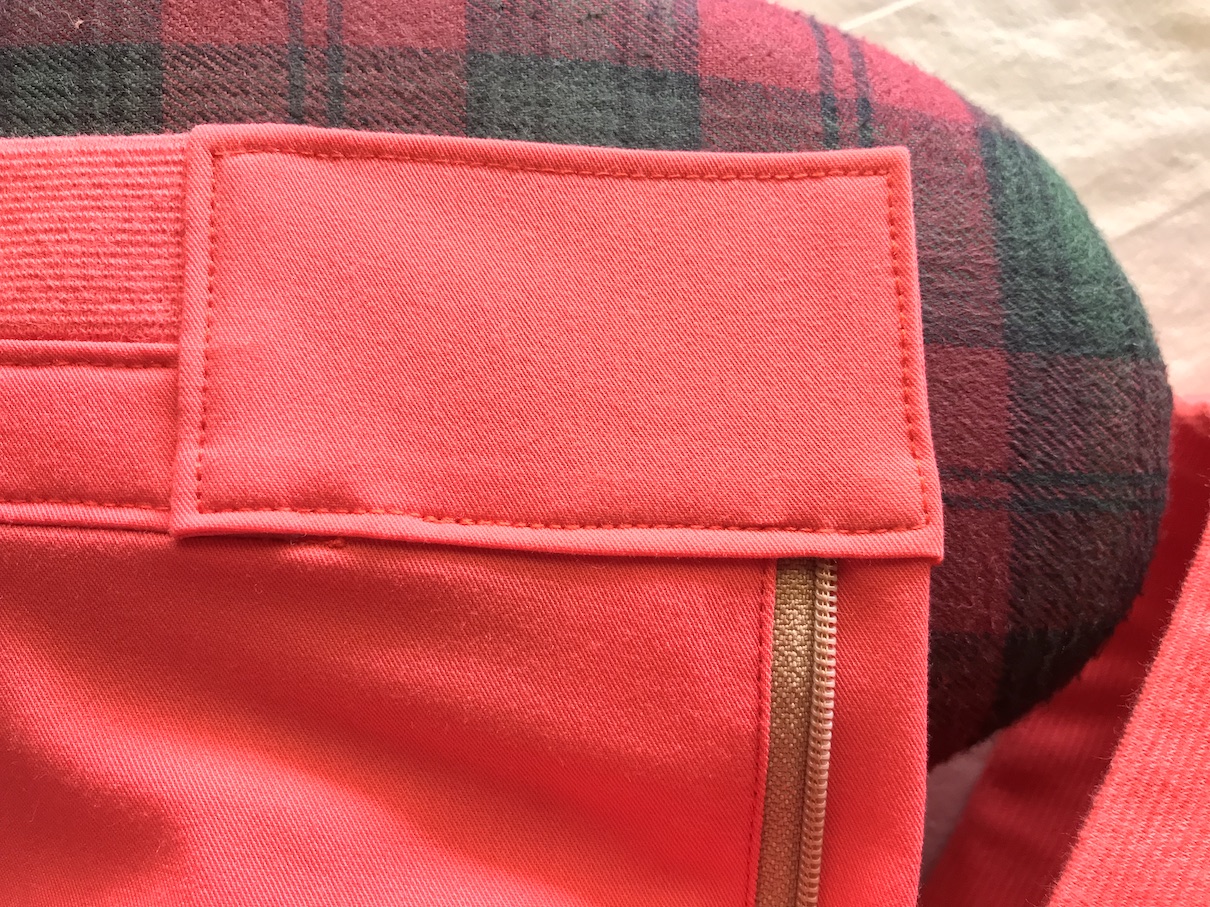
That’s it! You got it! Give it a little press with some steam, and it will look awesome. As I mentioned, the Left Front Waistband is the same deal. You think you can manage that?
