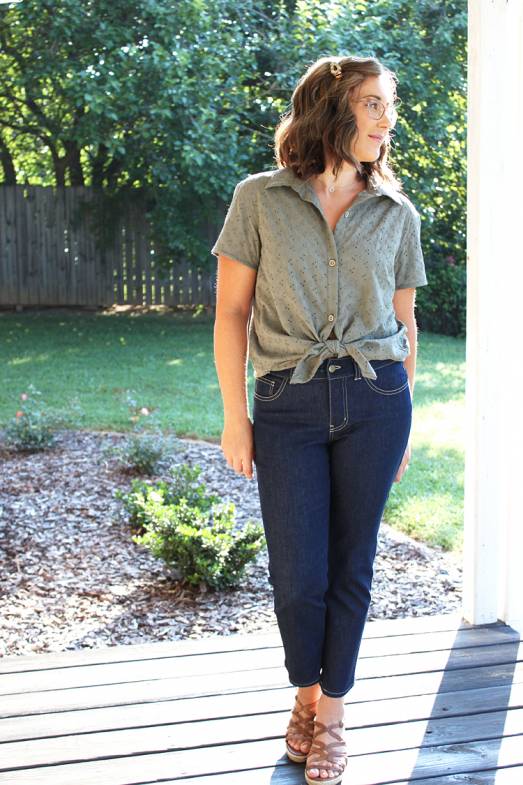
Montana Shirt + Liana Jeans by Heidi—Make It Wear It
In this post of Make It Wear It blog series, the talented and gorgeous Heidi is showing us her short sleeved eyelet Montana Shirt and her well-fitted Liana Stretch Jeans. These two patterns are 20% off for three days only (July 8-10, 2019), so be sure to grab your copy!
Special thanks to these fabric sponsors!

Sly Fox Fabrics is offering our readers 20% off all fabrics for three days only (July 8-10, 2019) using the code STITCH20.
Raspberry Creek Fabrics is offering 15% off your entire order through the end of July, 2019 using the code ITS15.
Let’s dive into the details of Heidi’s makes!
Hello, Itch to Stitch fans! I’m really excited to share my new outfit with you today, using Itch To Stitch patterns. I used the Liana Stretch Jeans and the Montana Shirt patterns to create this look.
Every time I sew one of Kennis’ patterns, I’m always really pleased with the fit, and the two patterns that I chose for this outfit were no exception!
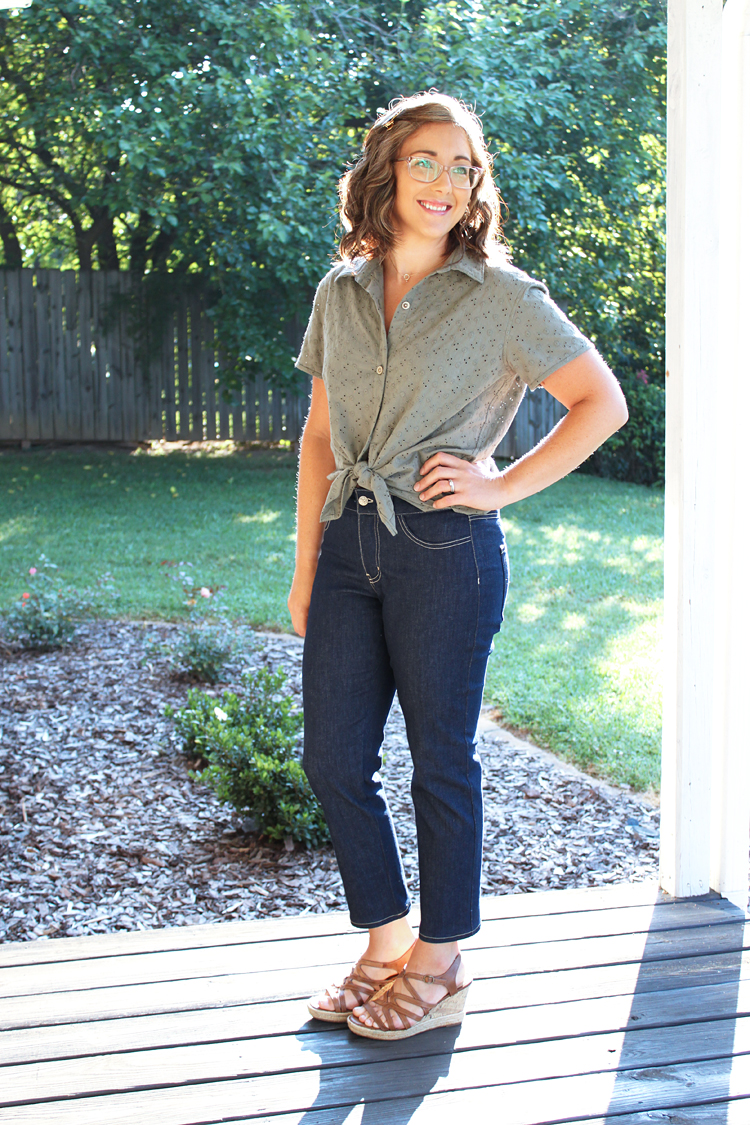
I had been wanting to make a pair of Liana Stretch Jeans for a very long time, so when I was invited to participate in this series, I knew immediately I was going to base my outfit around the jeans!
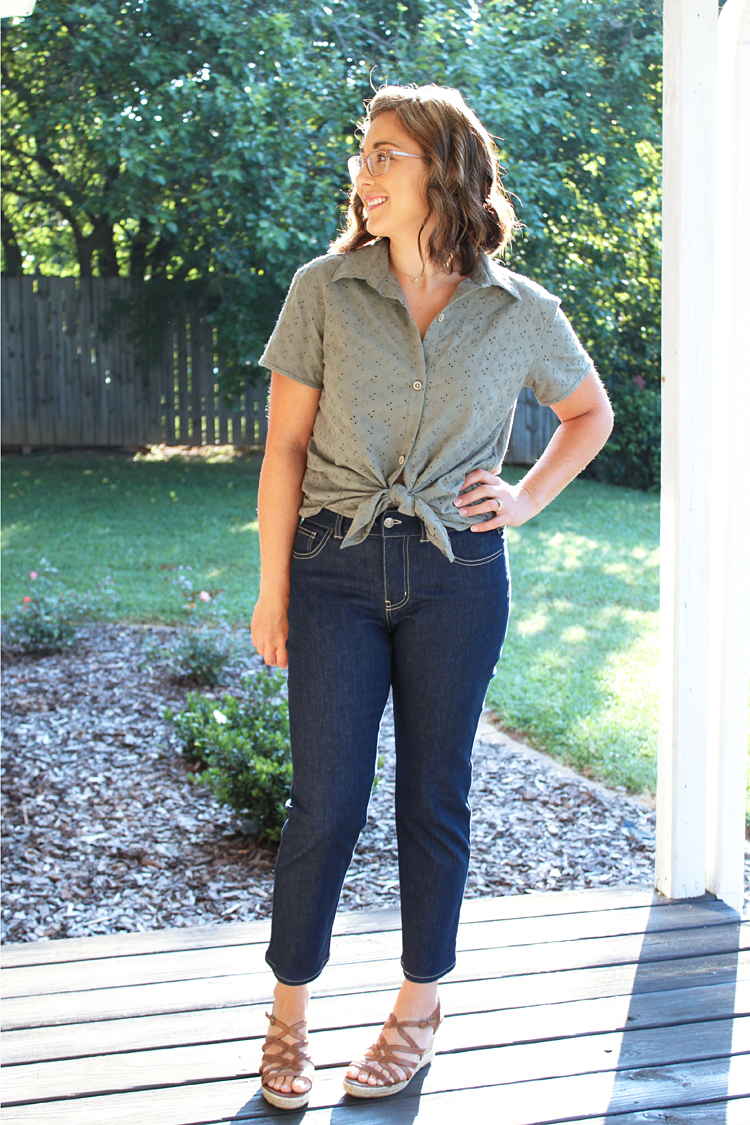
I made a size 4, graded to a 6 at the waist, based on my measurements and the fit is absolutely perfect! I did some baste fitting, but really didn’t change anything at all in the fit through the hips and waist. I did my normal low seat adjustment, and made the waistband 1/4″ taller simply by using smaller seam allowances at the top and bottom, because it made the waistband hit at the most comfortable spot for me. Next time, I will add about 3/8″ to the rise on the pattern pieces for a proper adjustment.
I made the straight leg version, but was looking for what can be called a “demi” fit, I believe?? It’s somewhere between a straight leg and skinny leg. To make this adjustment, I took in the inner leg seam only, from the knee down. Such a simple adjustment, and it ended up just perfect!
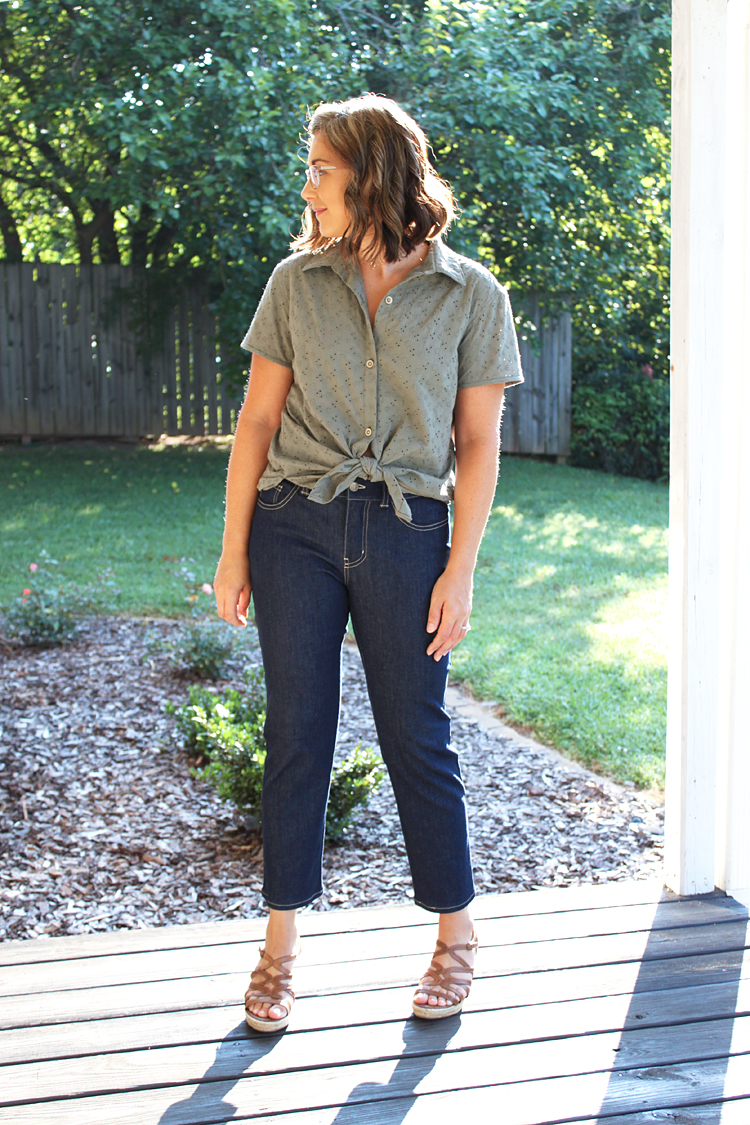
For a cropped ankle length on my 5’3″ frame, I took 4 1/2″ from the length at the bottom of the leg.
I’m really happy with the fit of these jeans!
I changed up the pocket pieces, by swapping them with another jeans pattern I have used in the past, but to be honest I’m regretting that decision a bit. 🙂 The Liana Jeans pockets are slightly smaller than these, and I think they would have looked better! I also attached them a bit too low for my taste, so I’ll be sure to note that and attach the pockets higher on my next pair.
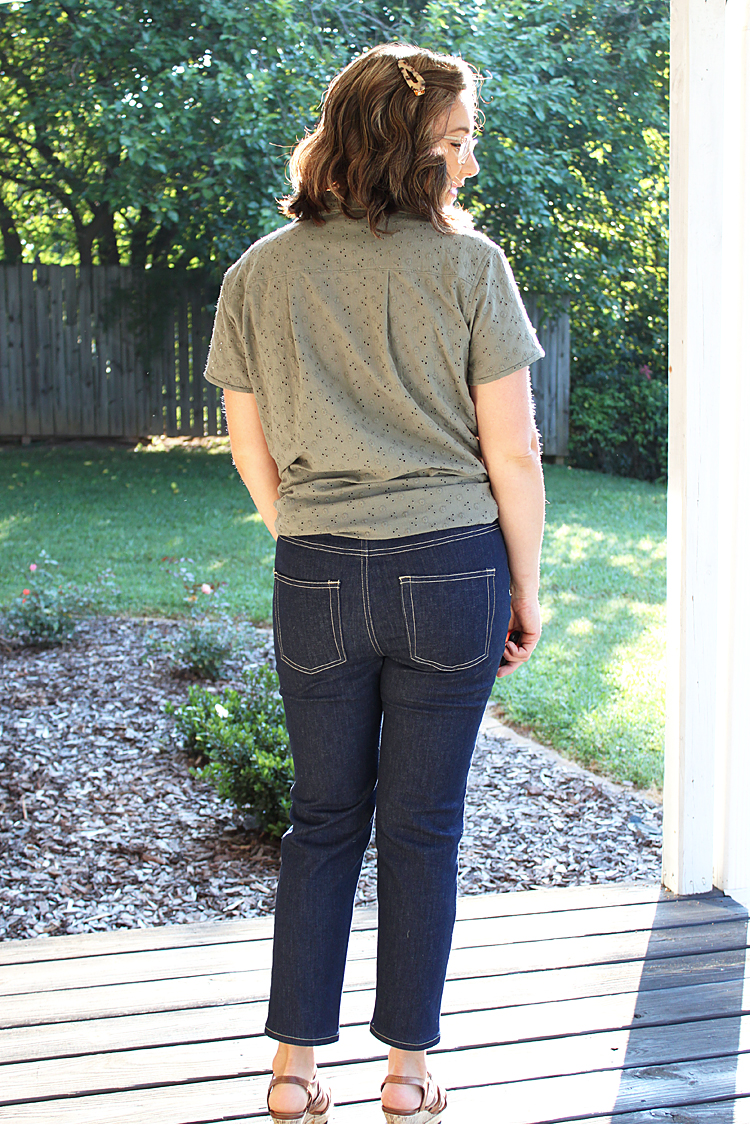
I used a Dark Indigo Medium Weight Cone Mills stretch denim from Raspberry Creek Fabrics for this pair of jeans (the dark indigo one has since been sold out, but the black one is still available). The stretch and weight is absolutely perfect for this pattern! It really feels super stretchy when sewing it, but the end result is just perfect.
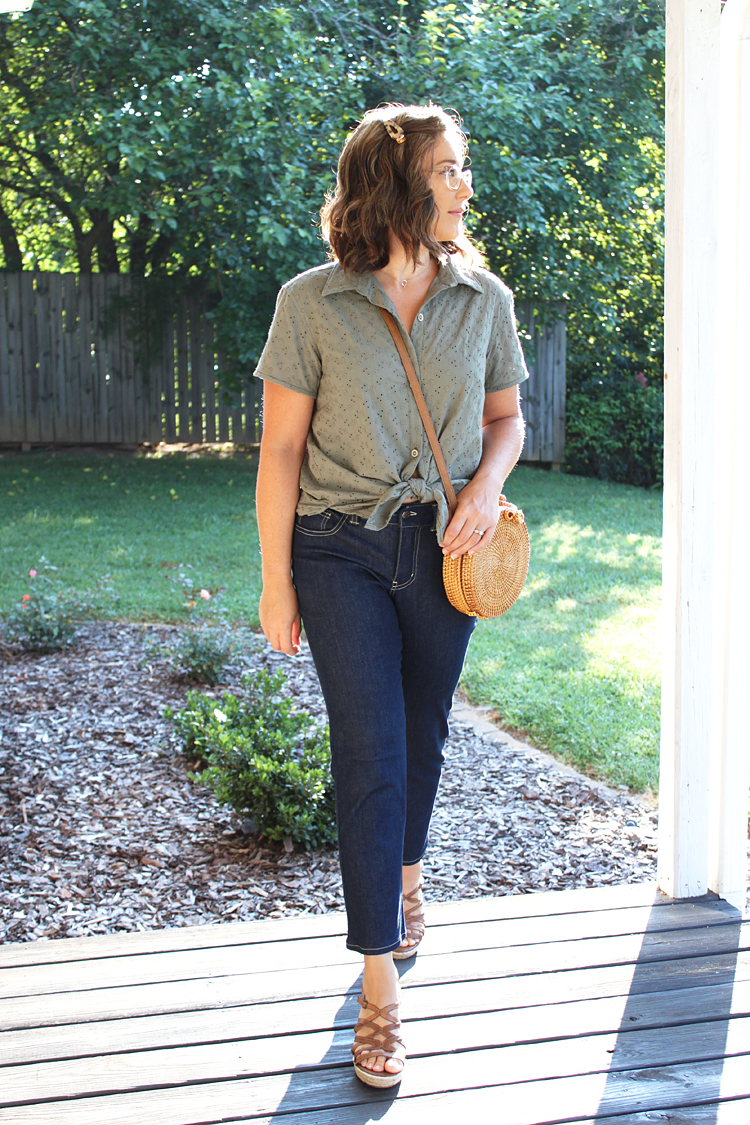
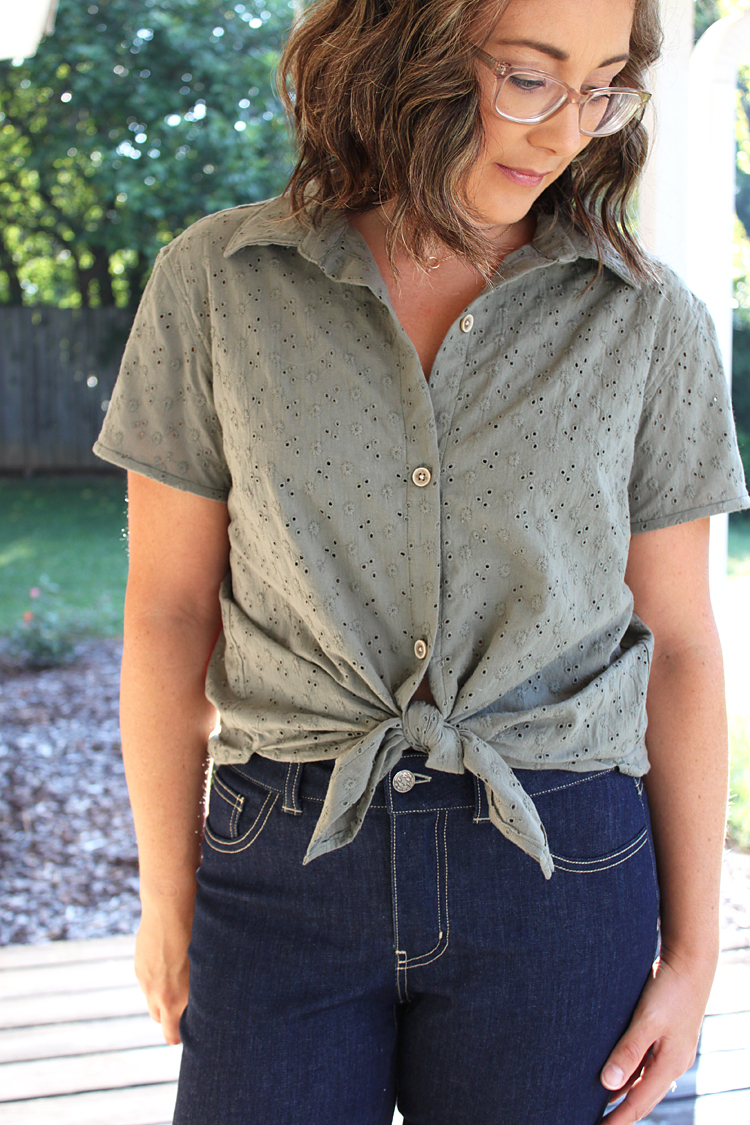
For the top half of this outfit, I went for a classic button up shirt. I was really excited to make the Montana Shirt when it released, but with my busy sewing schedule I had not yet had the time to make it, so again, this tour was the perfect opportunity!
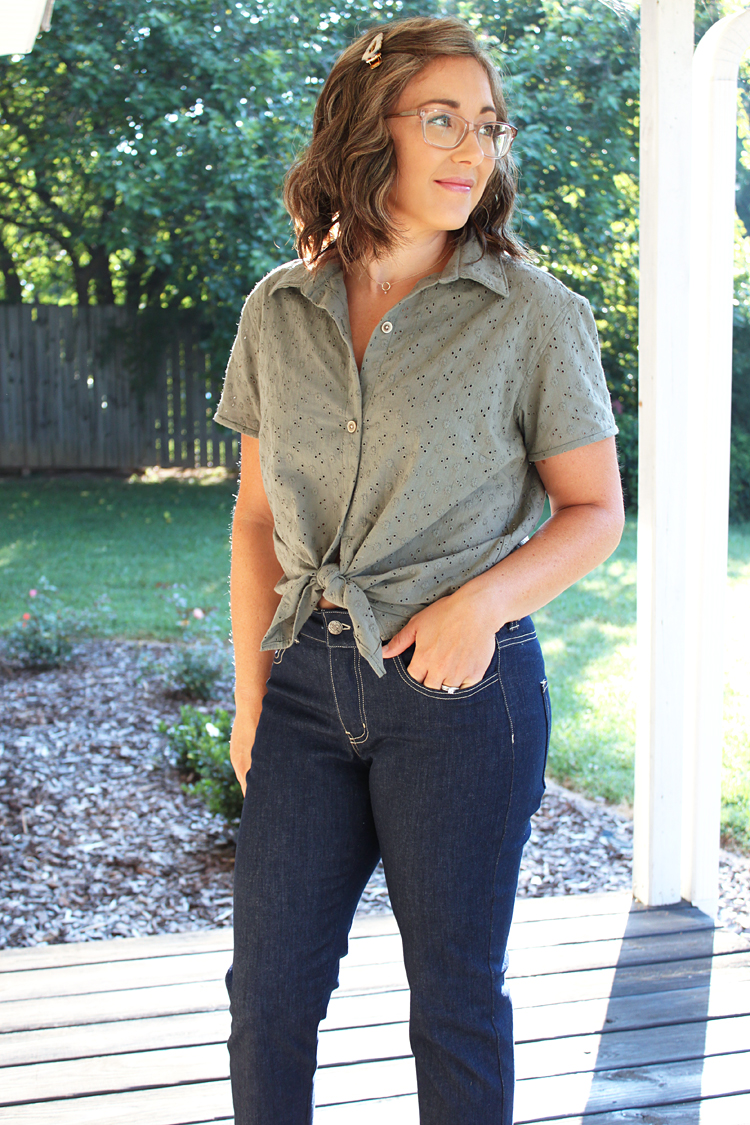
Originally, I planned to make the tie front option, but later decided to make the classic shirt view with a couple of twists. First of all, I added a curved shirttail hem, rather than a straight hem that is included in the pattern. I also added a side split in the hem.
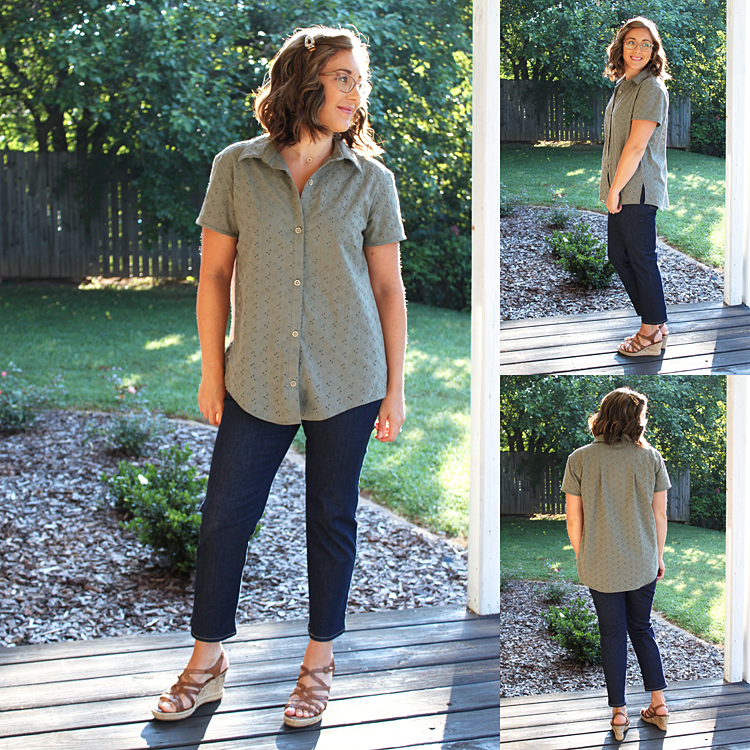
The reason for both of these changes was so that I would have the option to either tuck in my shirt, or leave it long and wear with skinny jeans or leggings. For a third option, as you see in this post, I wanted to be able to style it with the front tied up because that is my most favorite way to wear button up shirts at the moment!
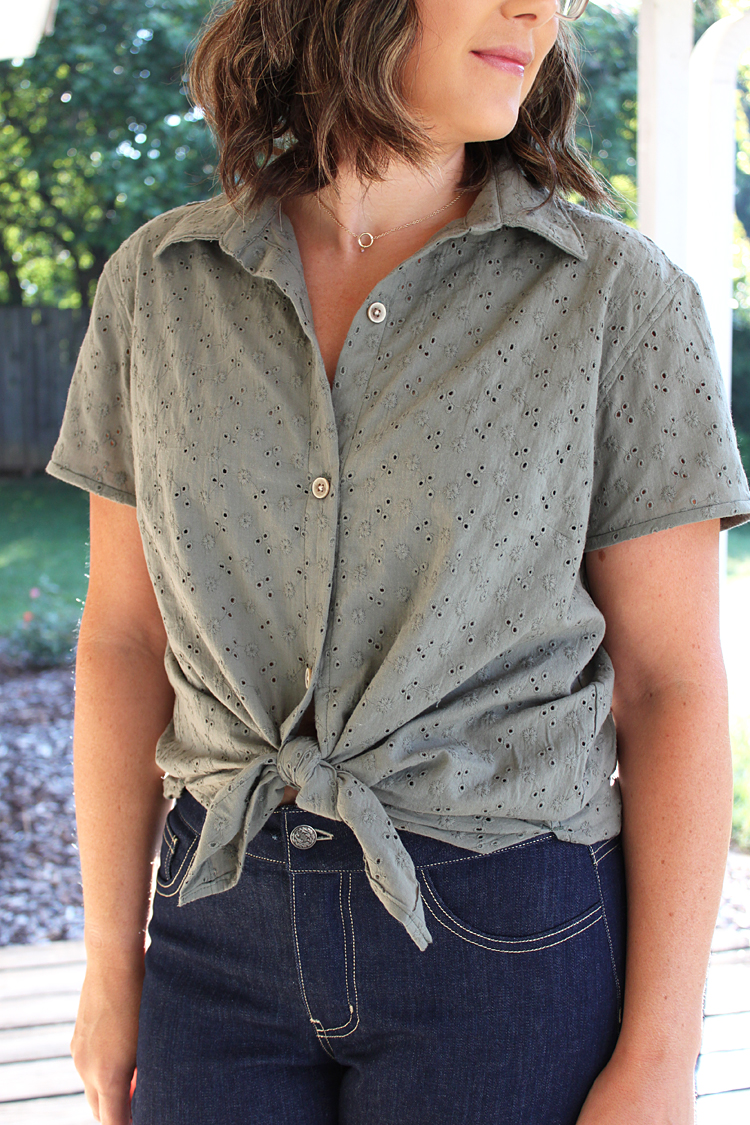
I also made the shirt with short sleeves, instead of the long cuffed sleeves that are traditional and included in the pattern. Originally, I had planned to make the long sleeves and just roll them, but we have officially been hit with our summer heat around here, and I just couldn’t bear to make a long sleeved shirt right now! 🙂
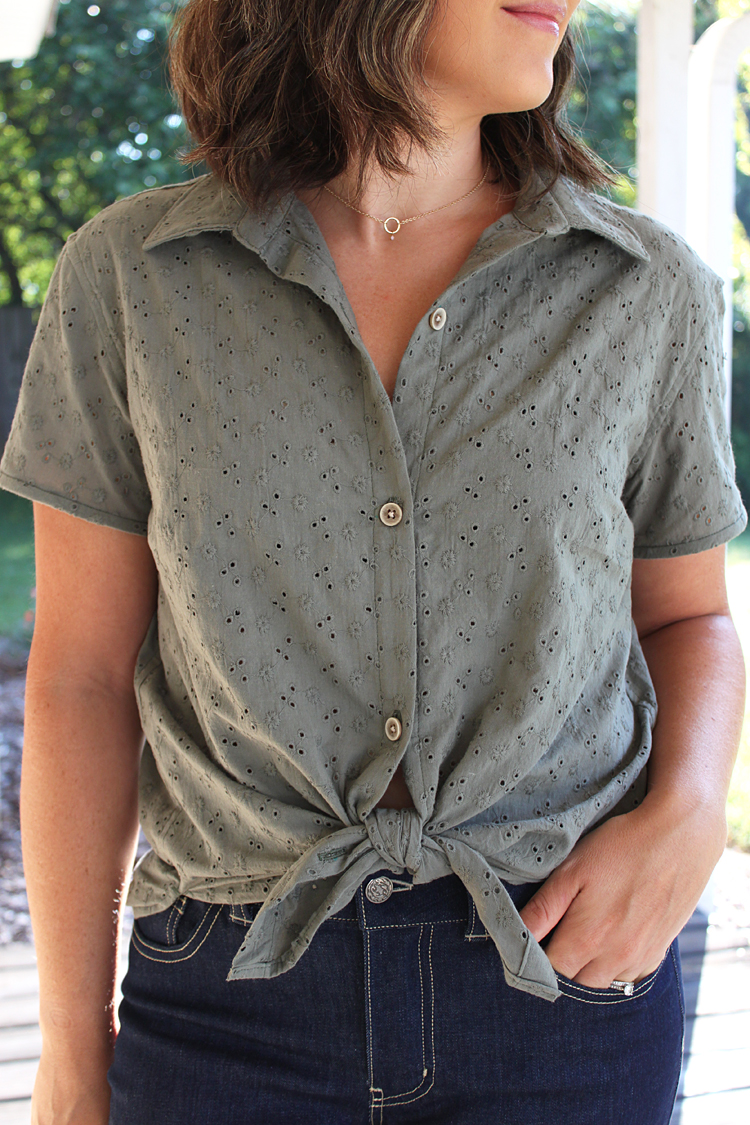
To make it short sleeved, I simply cut the pattern straight across, 2 1/2″ down from the top of the sleeve. To finish it, I used a piece of bias tape for a little added detail. I absolutely love how it turned out!
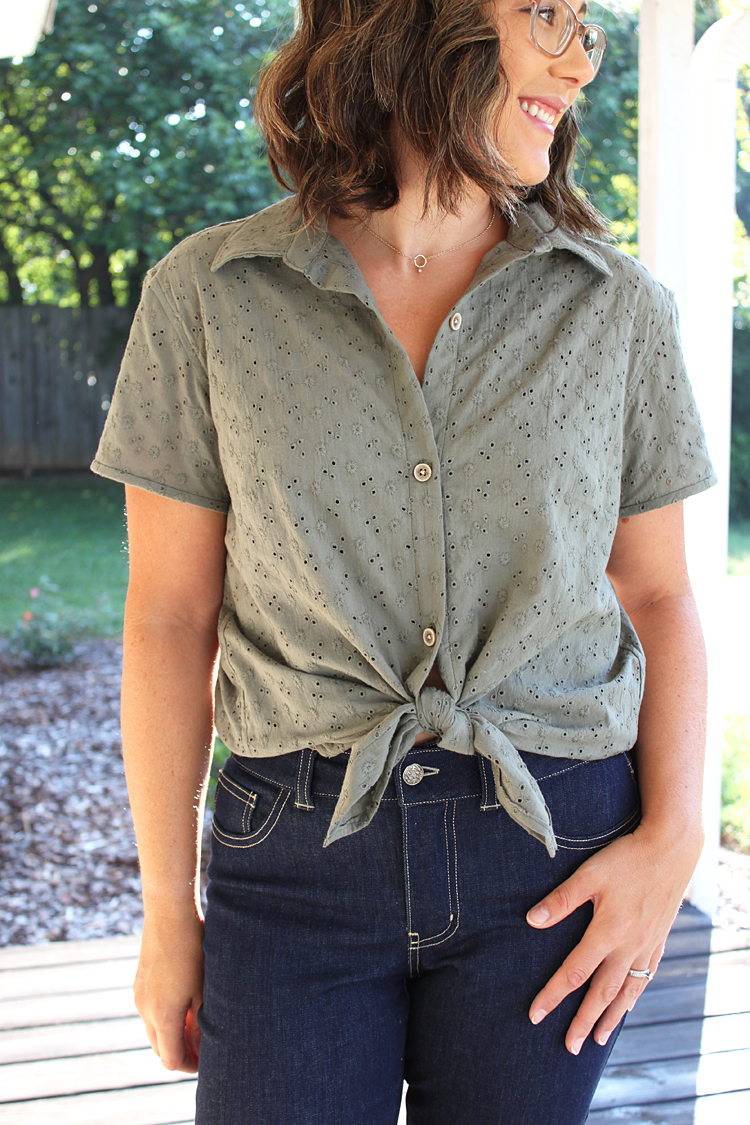
For the shirt, I made a straight size 4, which is a size down from what the size chart suggests for my bust measurement. But based on the finished garment measurements I decided to go with the size 4, and the fit is exactly what I hoped for!
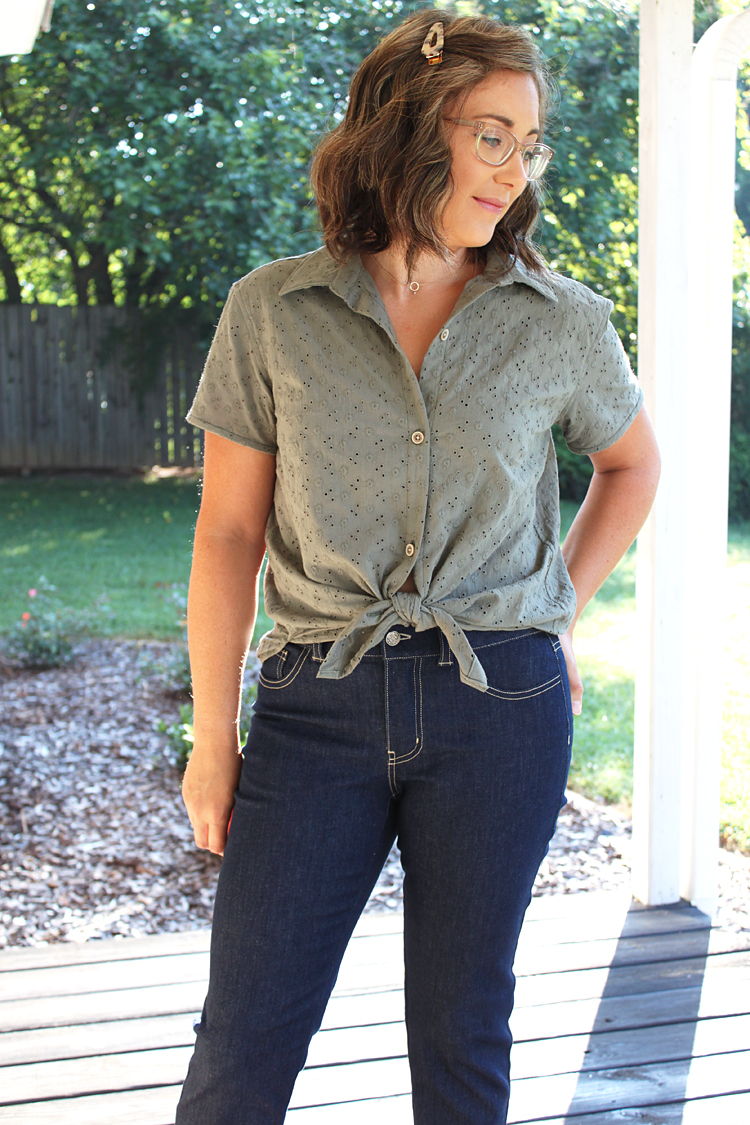
If I intended to wear the Montana Shirt untucked for the majority of the time, I would shorten the pattern by at least 2 inches, but that extra length is great for having an extra long (and extra cute) front tie feature.
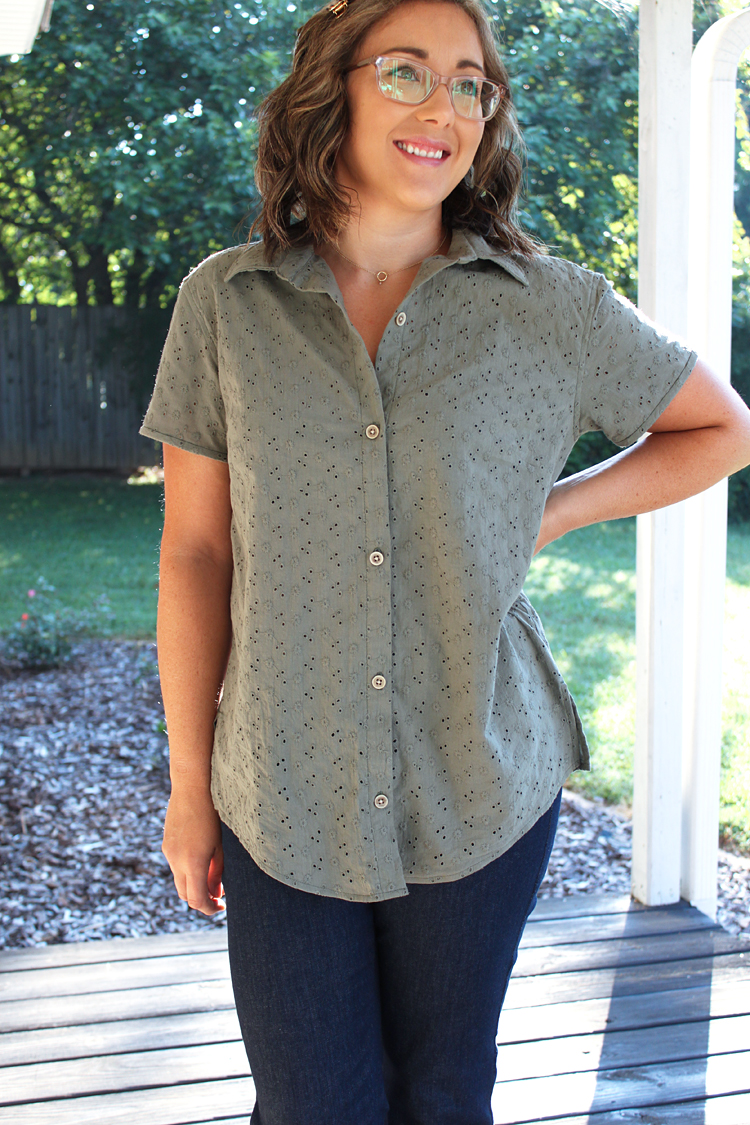
The fabric is a lovely dusty Olive Green Eyelet from Sly Fox Fabrics. This eyelet is perfect for a shirt! The cutouts are small enough that it is virtually opaque against the body. Even with it untied and loose, there is no sheerness at all!
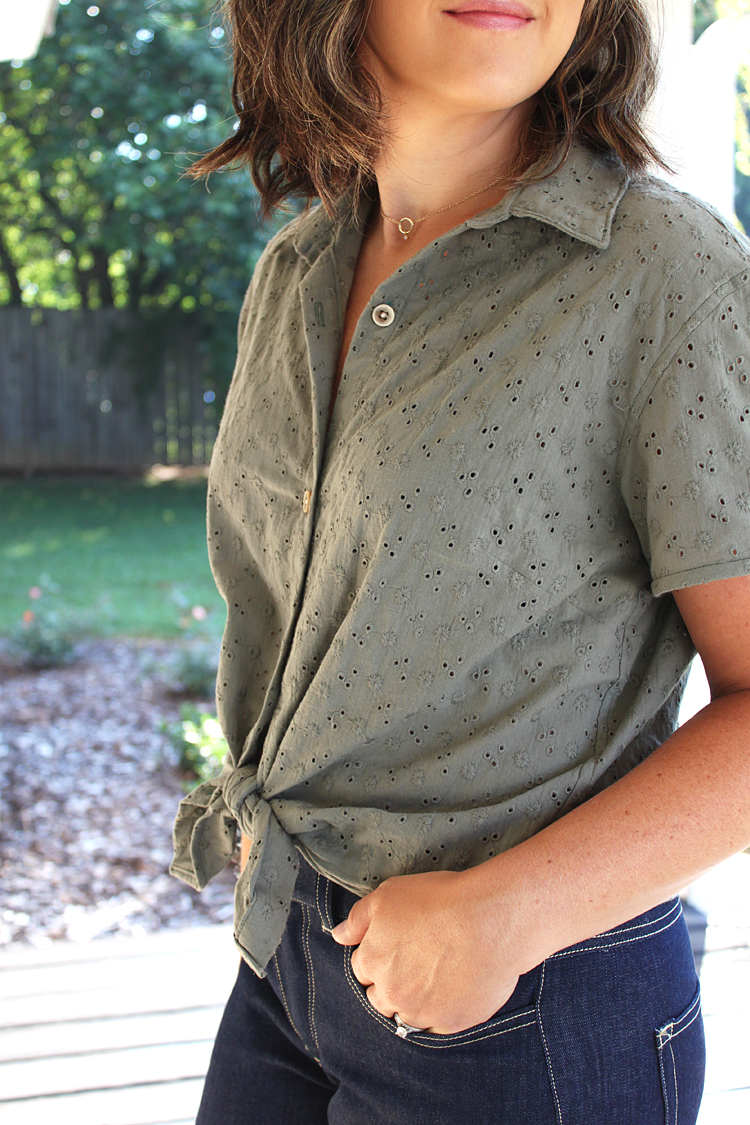
I was concerned about using interfacing with this fabric though, because of the cutouts. So I opted to use self-fabric for the collar and collar stand interfacing. The result was amazing! It produced a sturdy, but not overly structured collar, which is exactly what I prefer in a button up shirt. For the button placket I did use a lightweight tricot interfacing. I used black because I found it to be less obvious than white, and it is absolutely not noticeable in the finished garment.
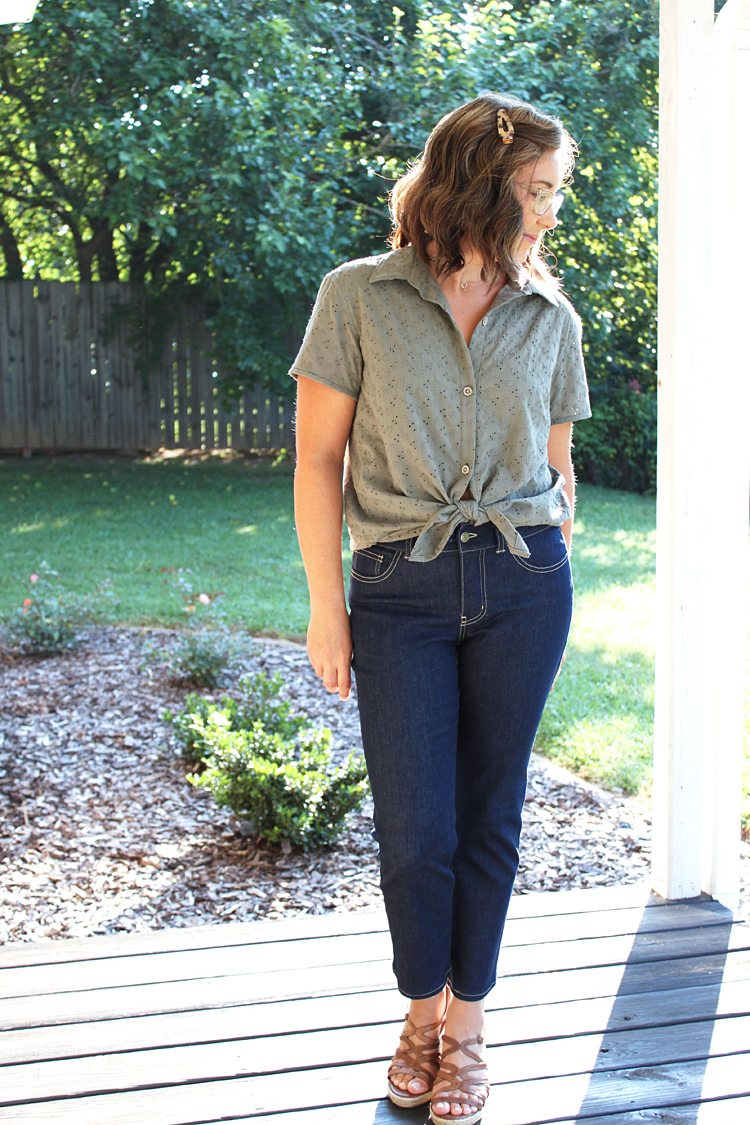
I found the sewing of both of these patterns to be incredibly smooth and enjoyable. The instructions for both were wonderful, and really led you through the process painlessly. I especially enjoyed the construction of the collar, it felt like in no time at all I was finished and it was beautiful!
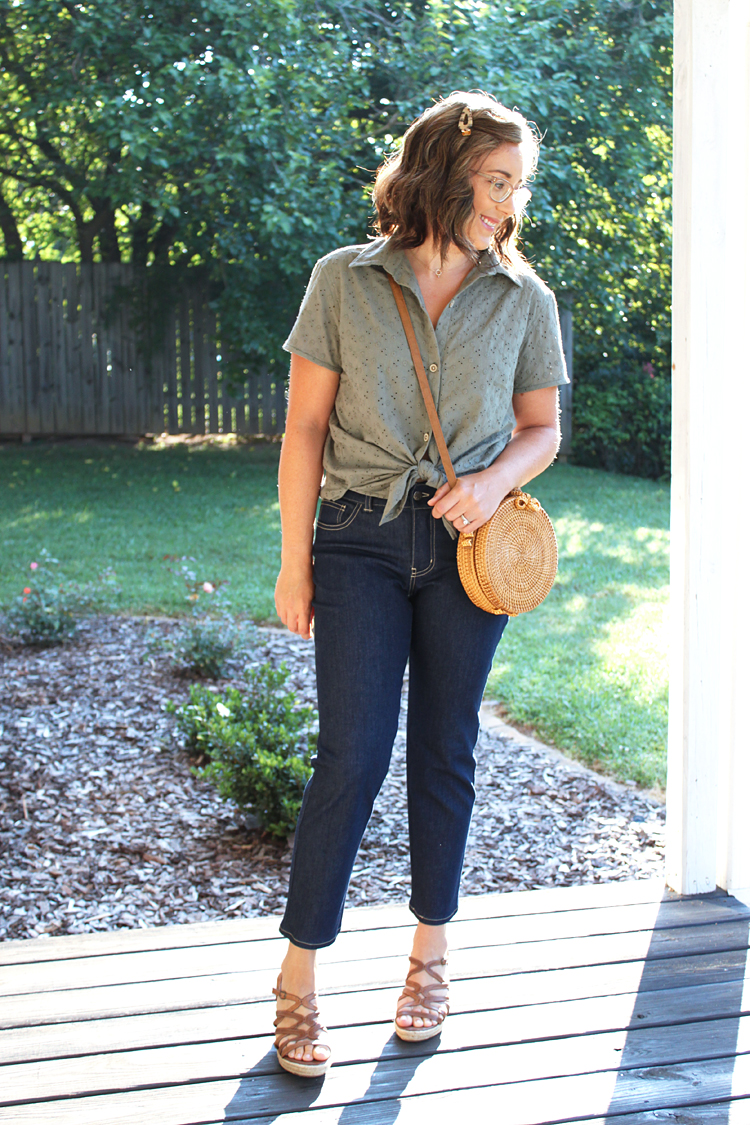
I’m super pleased and happy to have this new outfit join my wardrobe. I know both of these patterns will be repeat sews for me, especially when the temps cool down again!
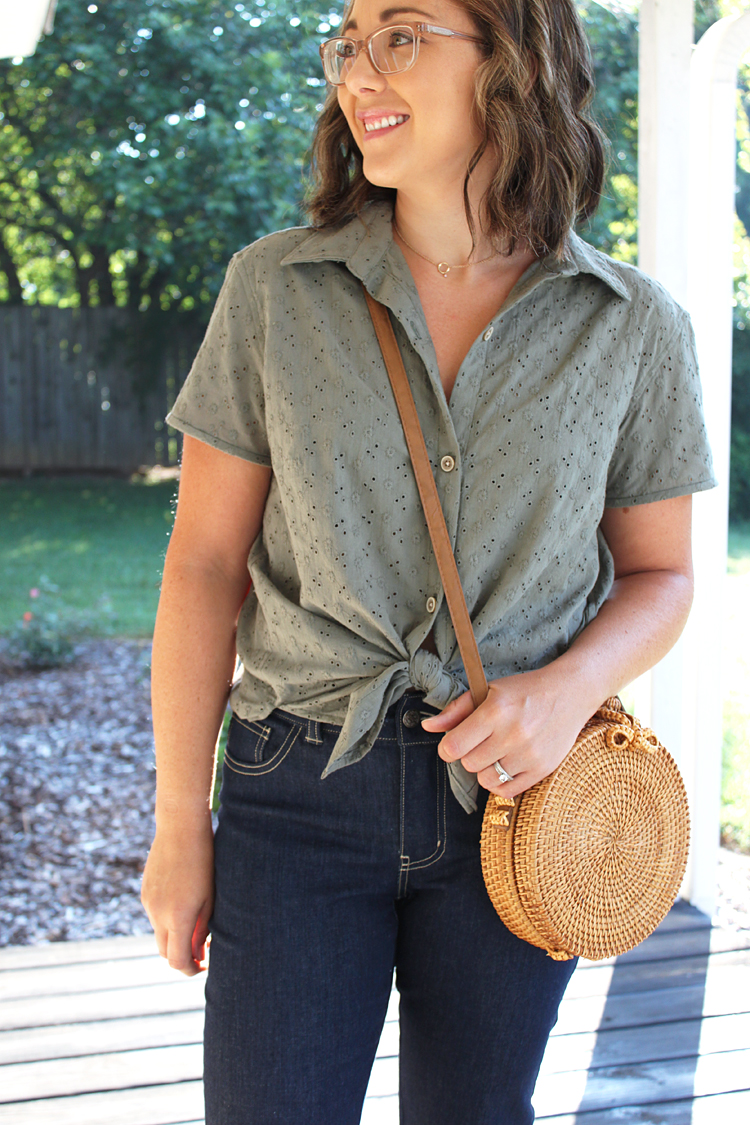
The fabric for this post was sponsored by Sly Fox Fabrics and Raspberry Creek Fabrics. The patterns were from my personal pattern stash. All opinions expressed are my own.
Interested in following the Make It Wear It blog series? You can follow Itch to Stitch’s blog on Bloglovin’ or you can also sign up below to get the Itch to Stitch newsletter. Either way, you’ll be notified when the first issue of Make It Wear It is up.


Thank you so much!
You did a beautiful job on those jeans!