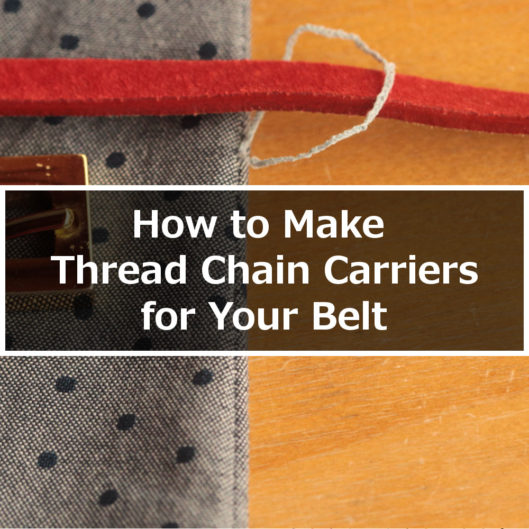
How to Make Thread Chain Carriers
A while back, I talked about making chain stitch when I discussed four easy ways to tack your lining. The lowly chain stitch is actually quite versatile. Besides tacking the lining down, I also use it to make carriers for bra straps and belts.
Because my pattern, Bonn Shirt & Dress, has a thread chain carrier for a sash, I thought it’s worthwhile to write a separate photo-heavy tutorial of using the chain stitch specifically for this purpose.
Obviously, the carriers don’t have to be just for your Bonn Shirt. You can put the carriers on any garment that you plan to wear a belt or a sash with. They can even be put on your ready-to-wear garment. They are good for keeping your belt/sash in place.
Let’s get started!
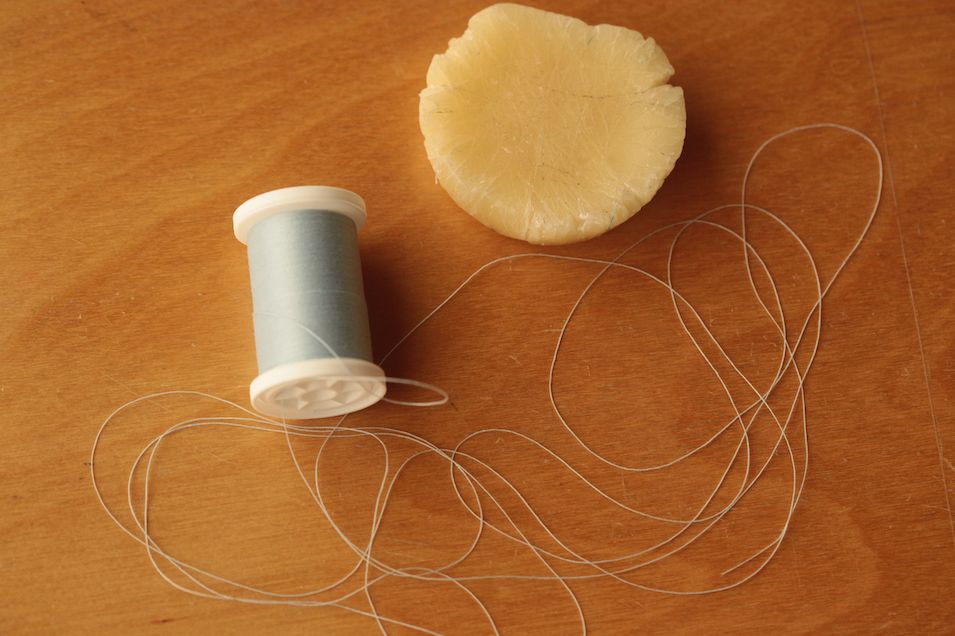
Before taking the first stitch, I prepare my thread. Trust me, you don’t want your thread all tangled in the midst of making the carrier. That’s why running it through the beeswax is a wise thing to do. You see my beeswax is very well-used; It’s not just a prop for photos! I actually use it often.
You are not going to need a long thread, but you don’t want to run out before you finish either. I cut one about 5′ (150 cm) long.
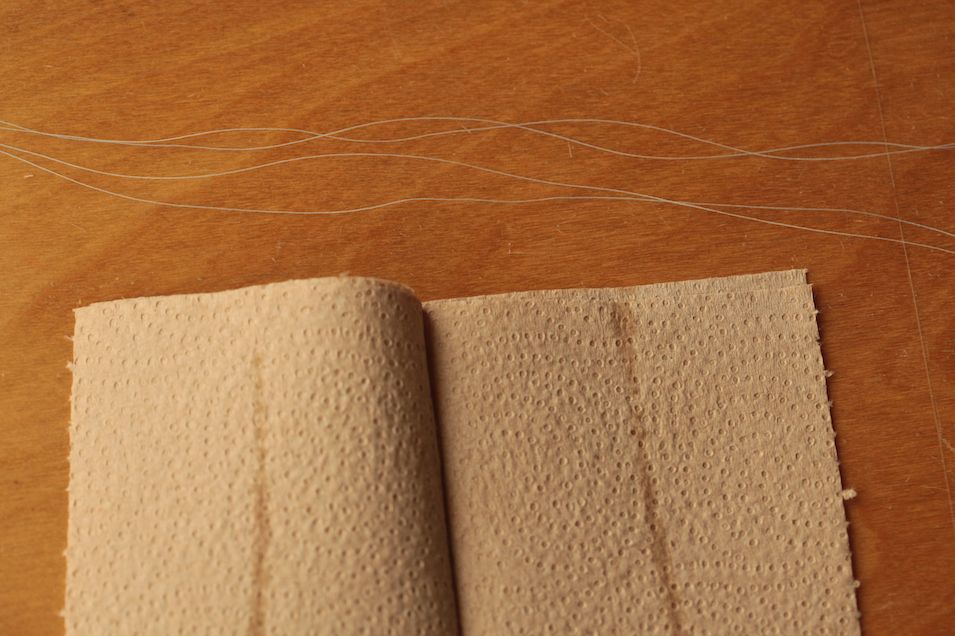
And don’t forget to press the thread between some paper towel to remove the excess wax. After pressing, the thread becomes a little stiffer.
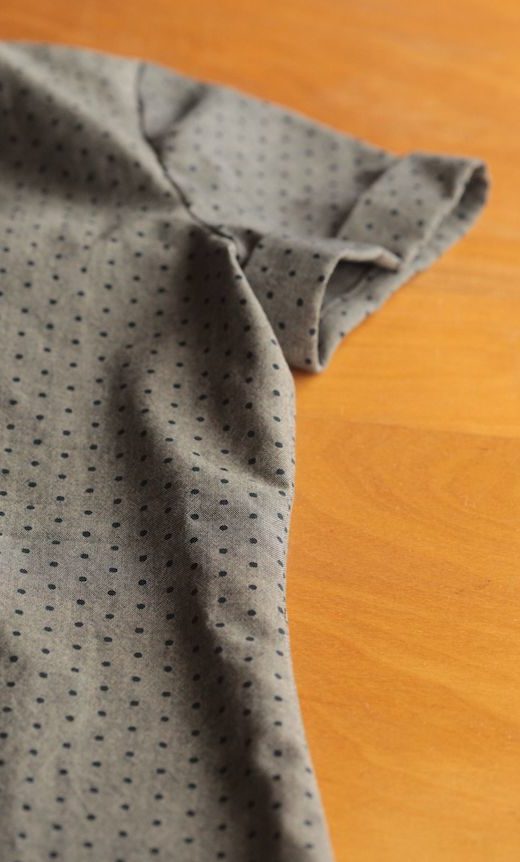
Next, I determine where I want the thread chain carrier on my clothes. You may want to put it exactly where the waist notch is (where the waist is supposed to be). But you may want it above or below that notch because 1) your waist is higher/lower than the pattern indicates, or 2) you just like to wear your sash higher/lower as a style choice.
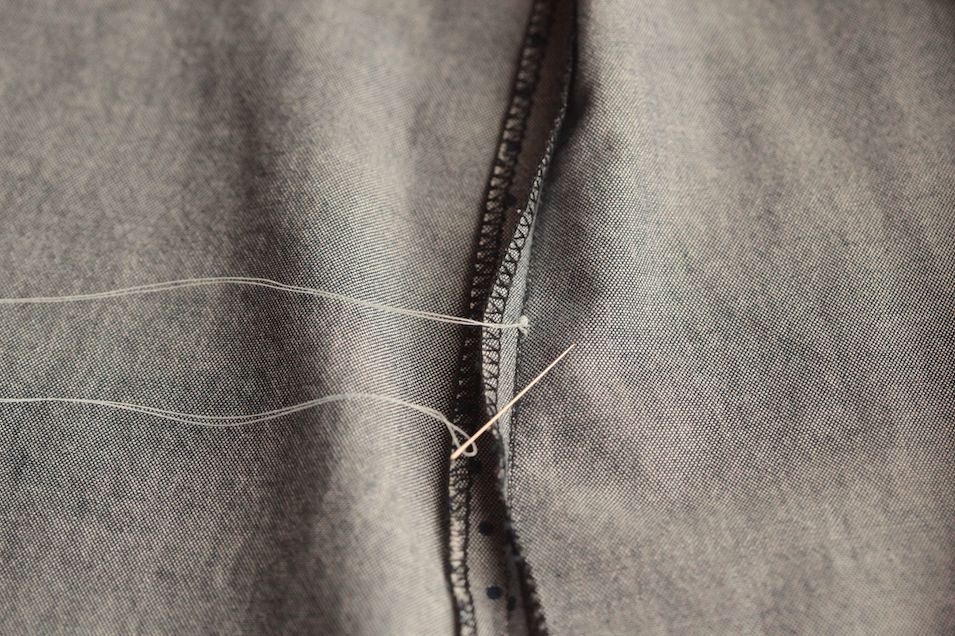
Then I anchor the thread where I want the carrier to be, tying a knot on the wrong side. Notice that I am using a double strand. You could use single or double; it’s up to you. Double, obviously, is thicker, but if you are using something like an upholstery thread, you may want to use single.
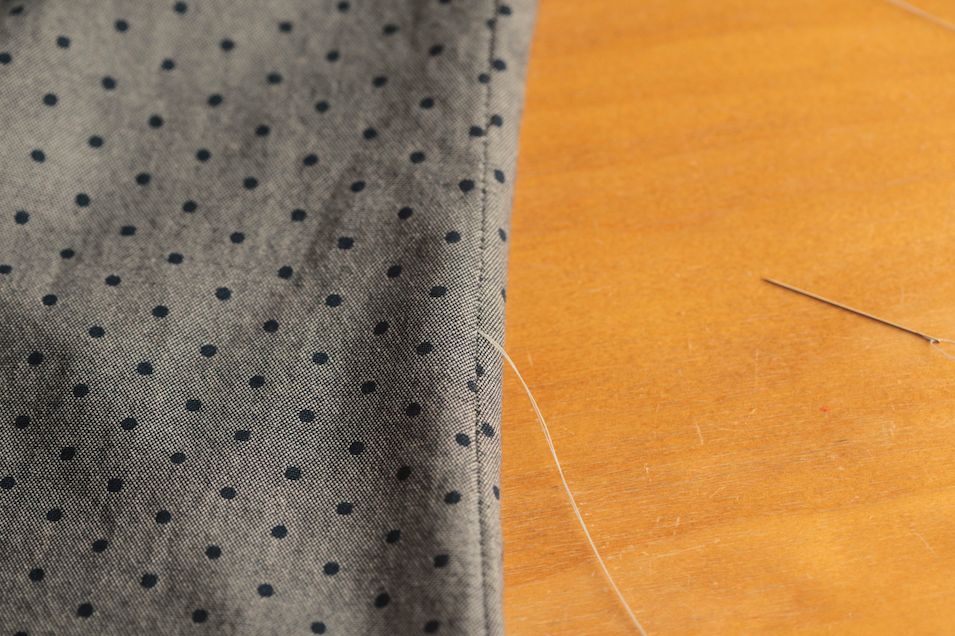
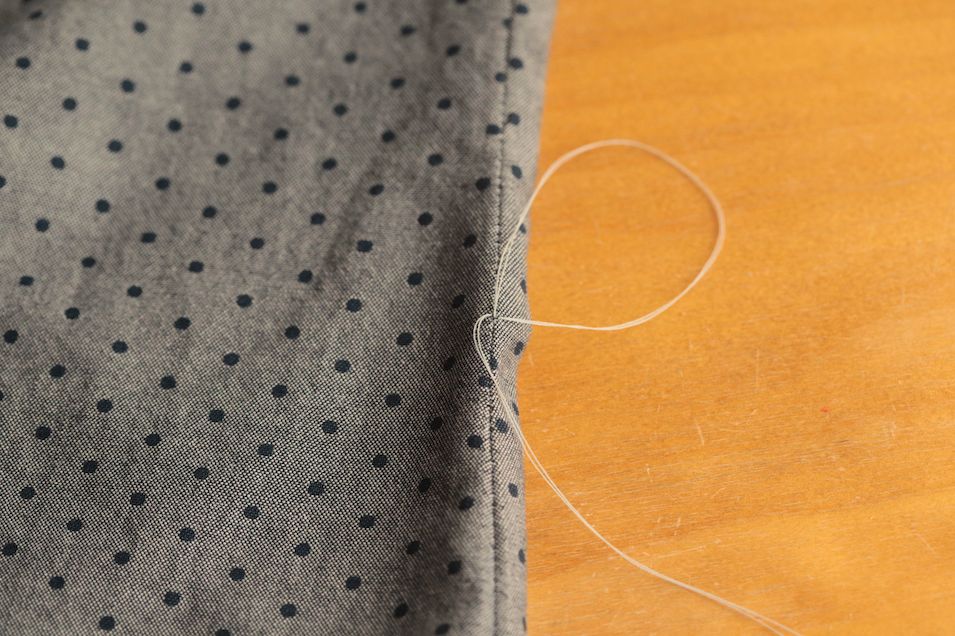
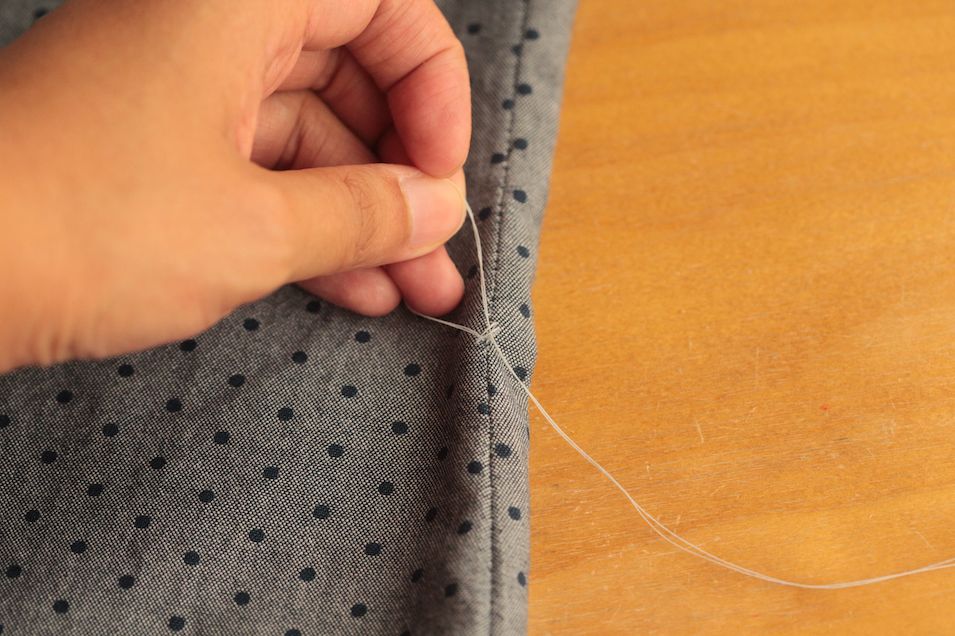
Then I take a small stitch pretty much in the same spot.
I pull it all the way through.
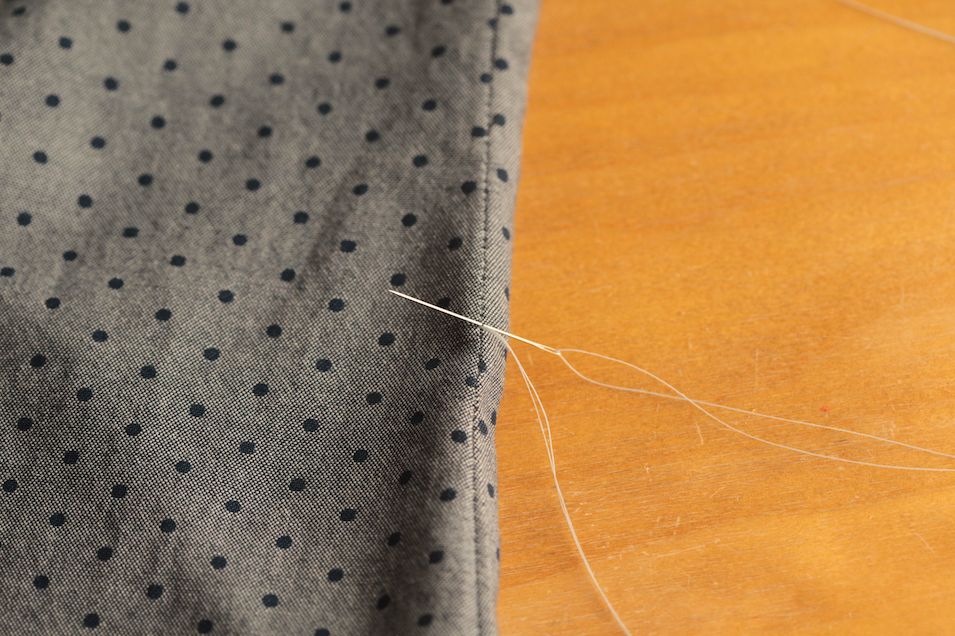
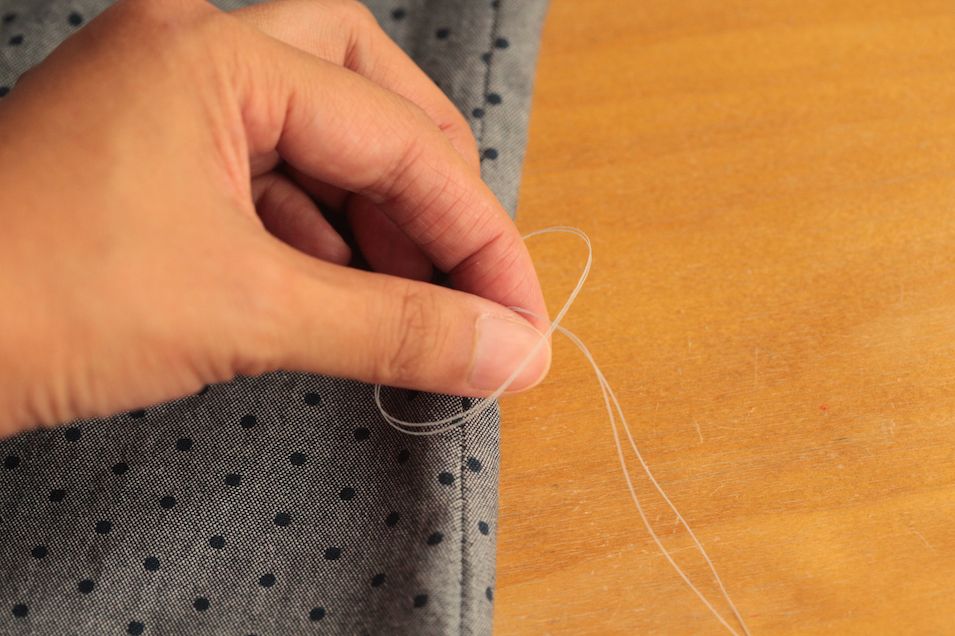
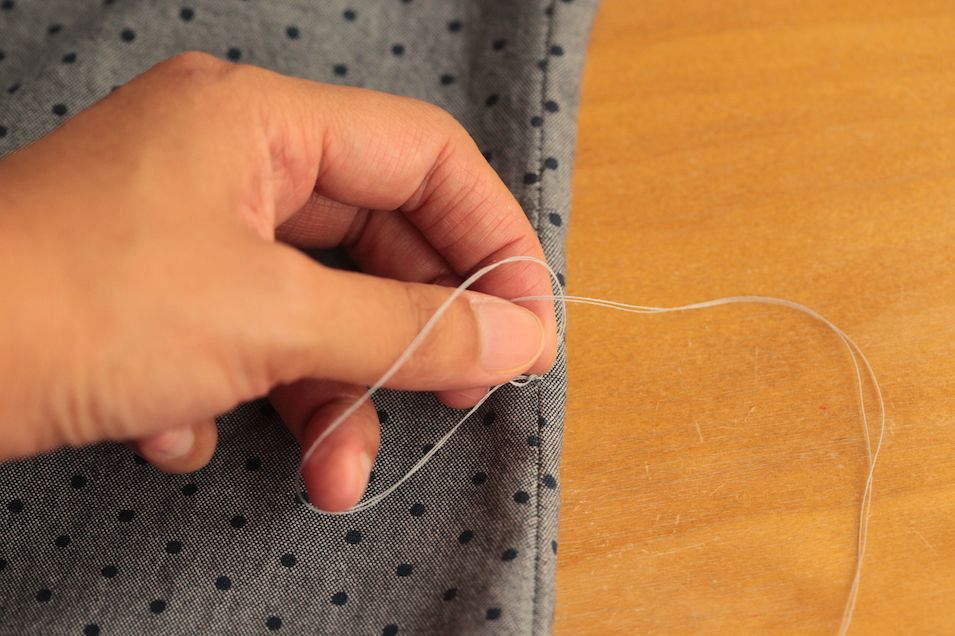
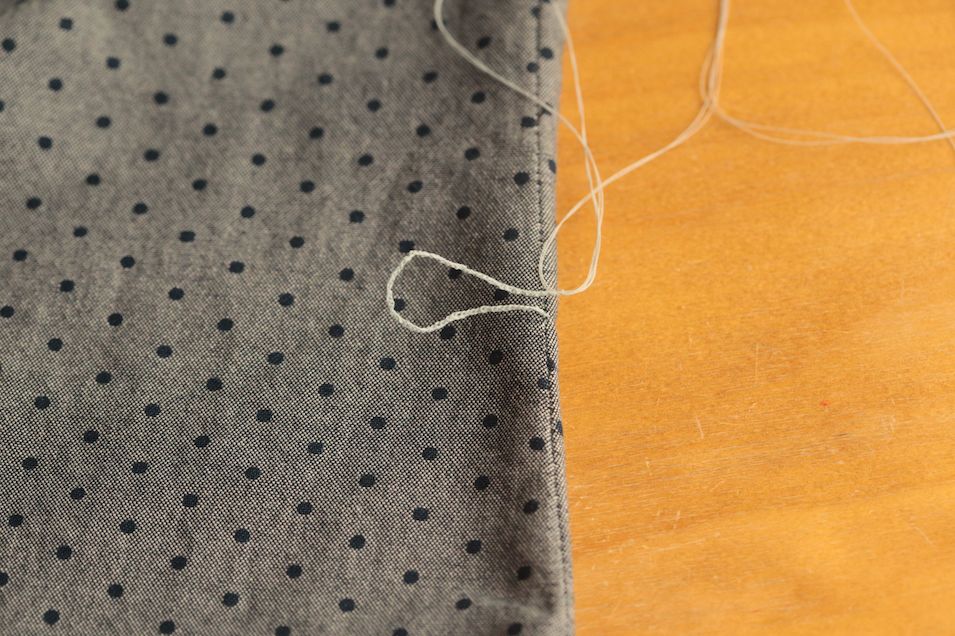
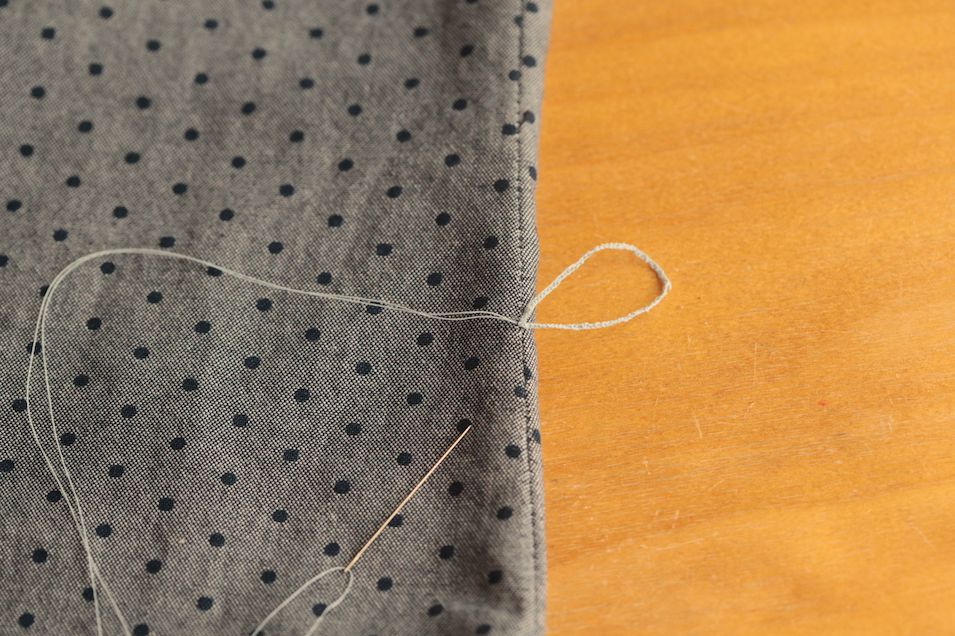
This is where the “chain action” actually starts. When I take a second stitch at the same spot, I do not pull the thread all the way through, leaving a loop.
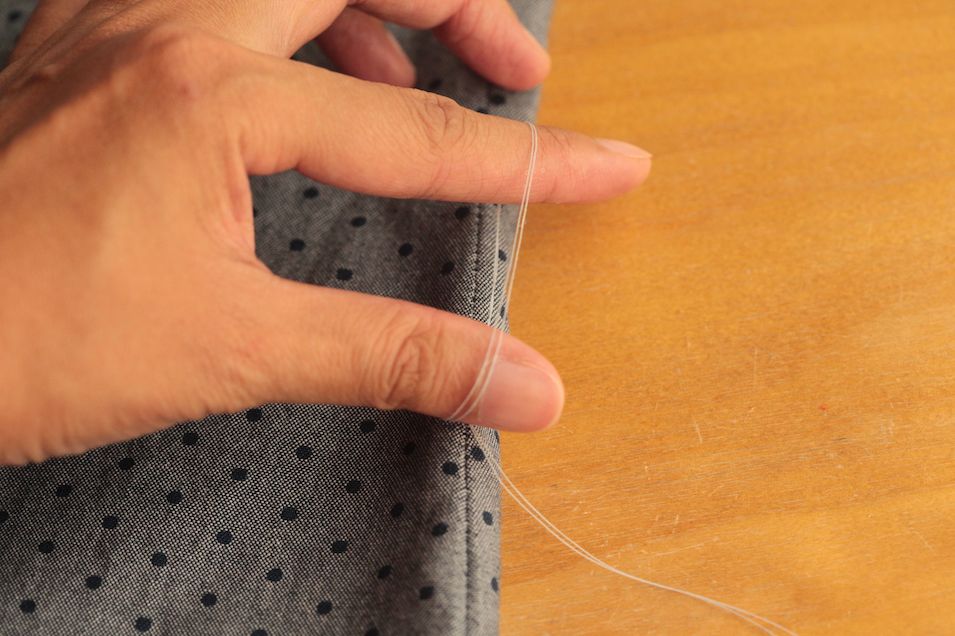
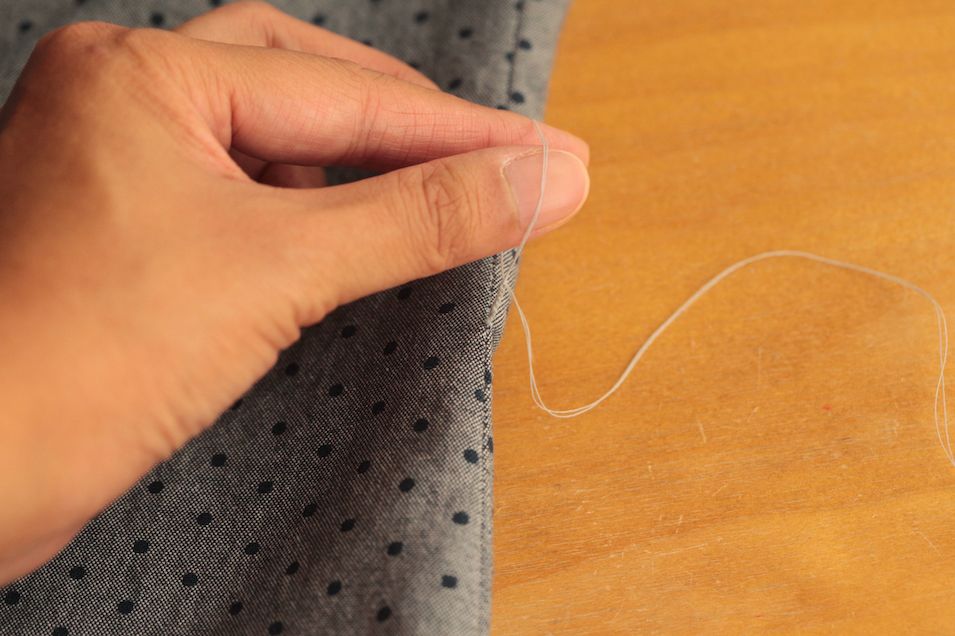
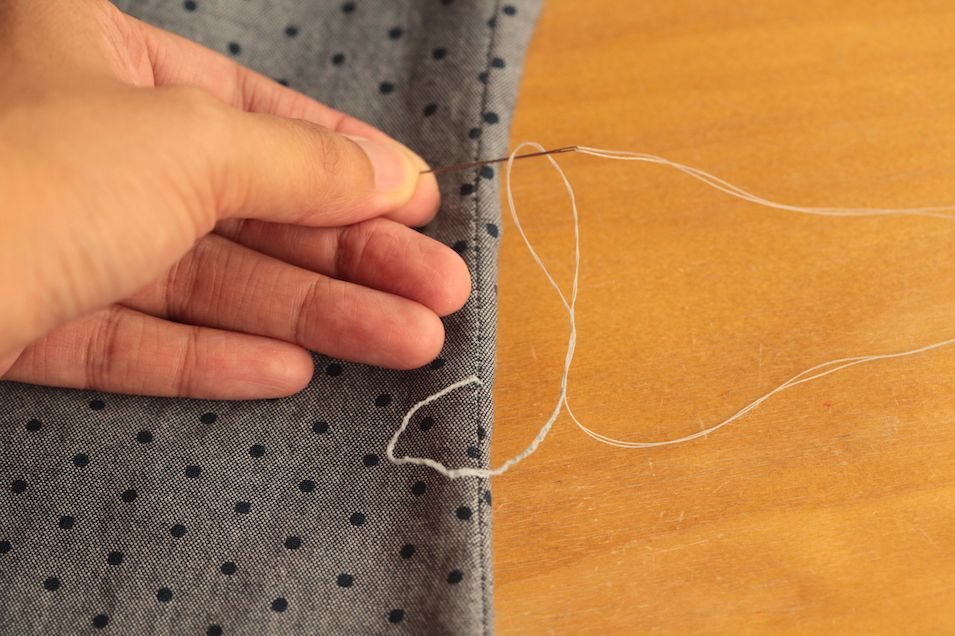
I put my thumb and my index finger through the loop to grab the tail of the thread.
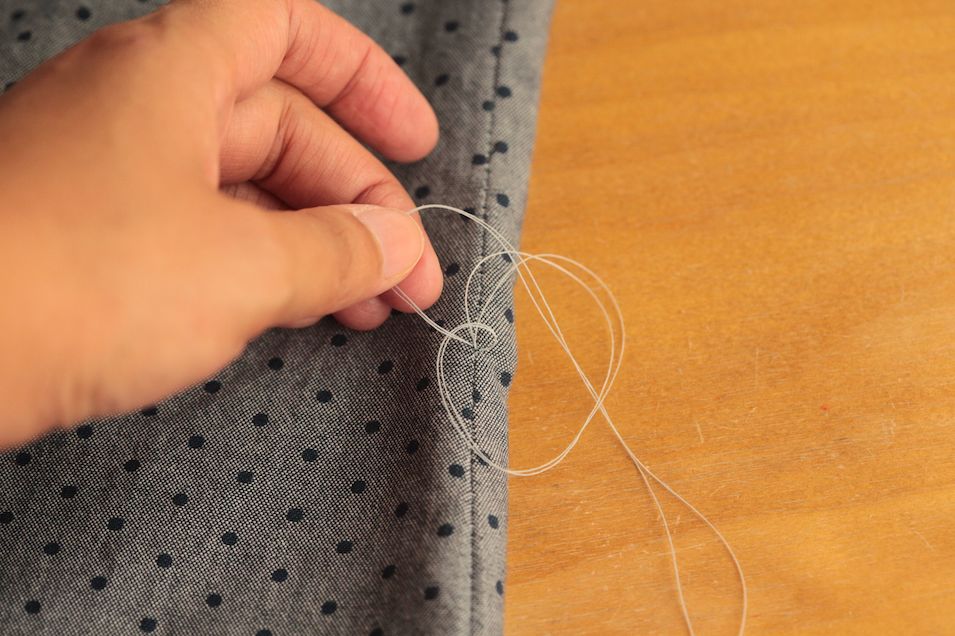
I pull it through and tighten the first loop, and at the same time create a second loop.
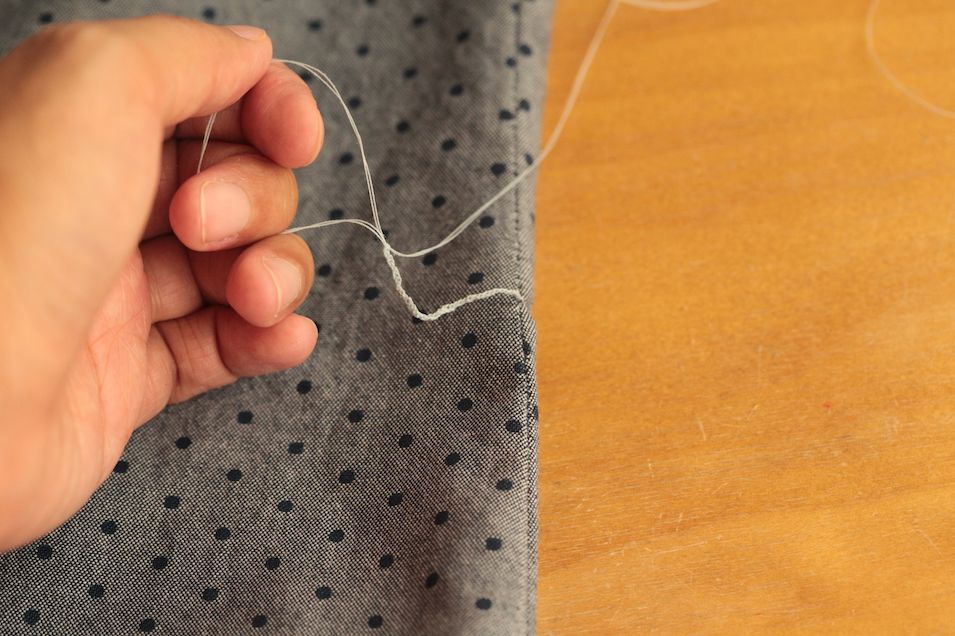
That’s the first chain. You are basically crocheting with your fingers. Keep doing this to add more chains.
It goes faster than it looks. In no time, a chain is created.
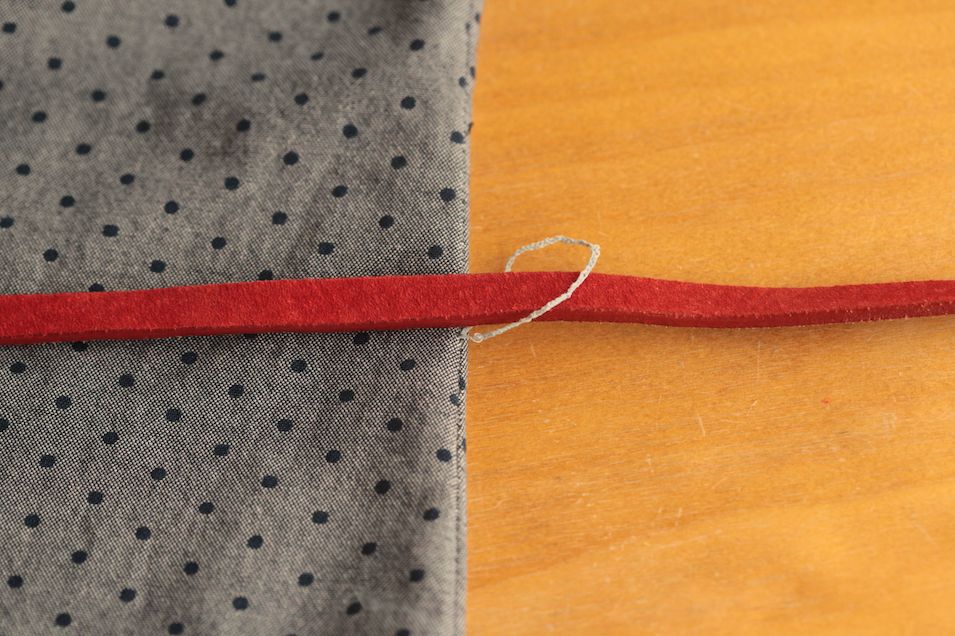
And then you want to see if the chain is long enough. Put the beginning and the end together and see if it will accommodate your belt or sash.
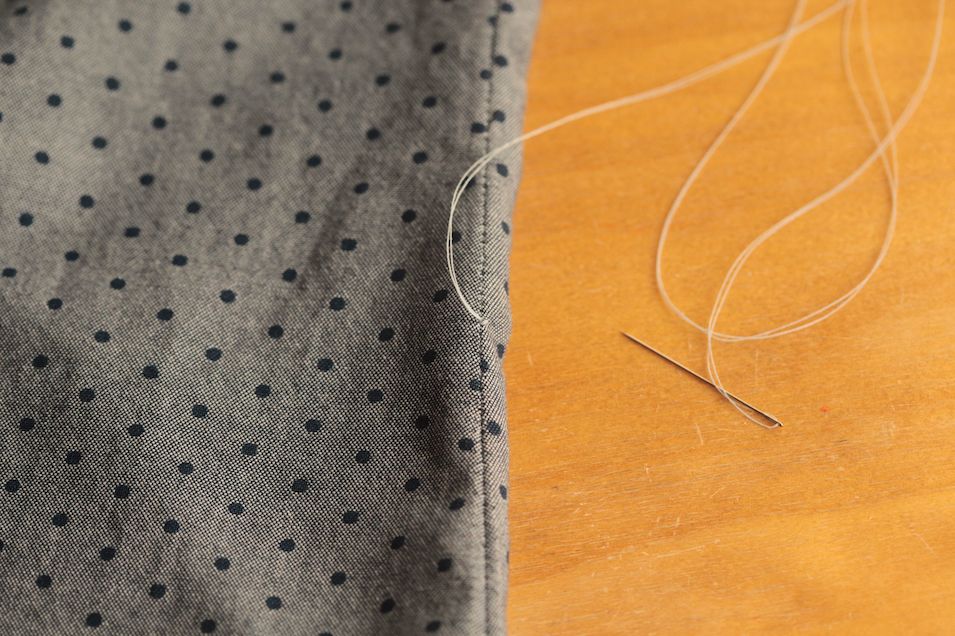
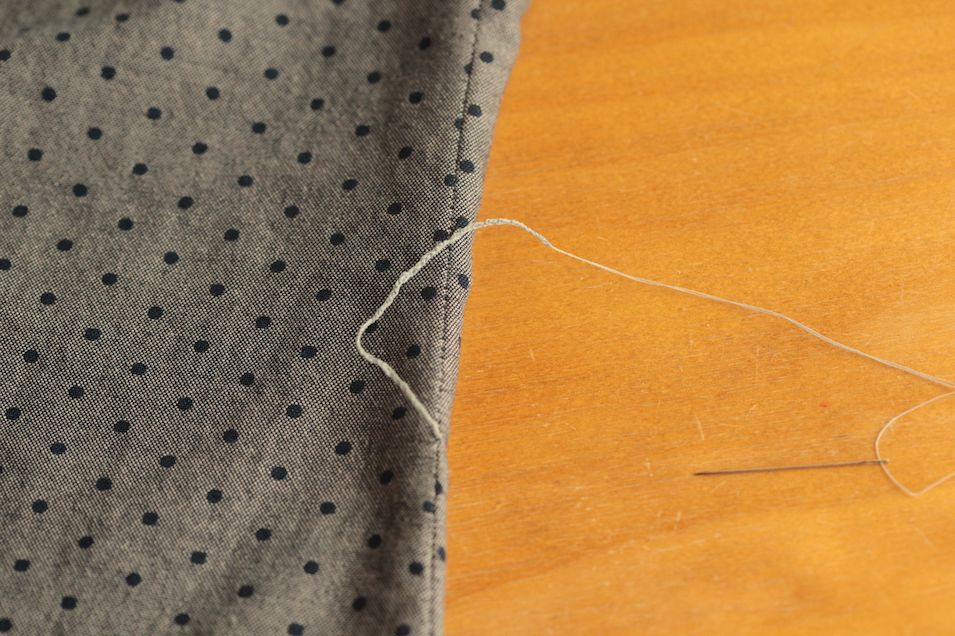
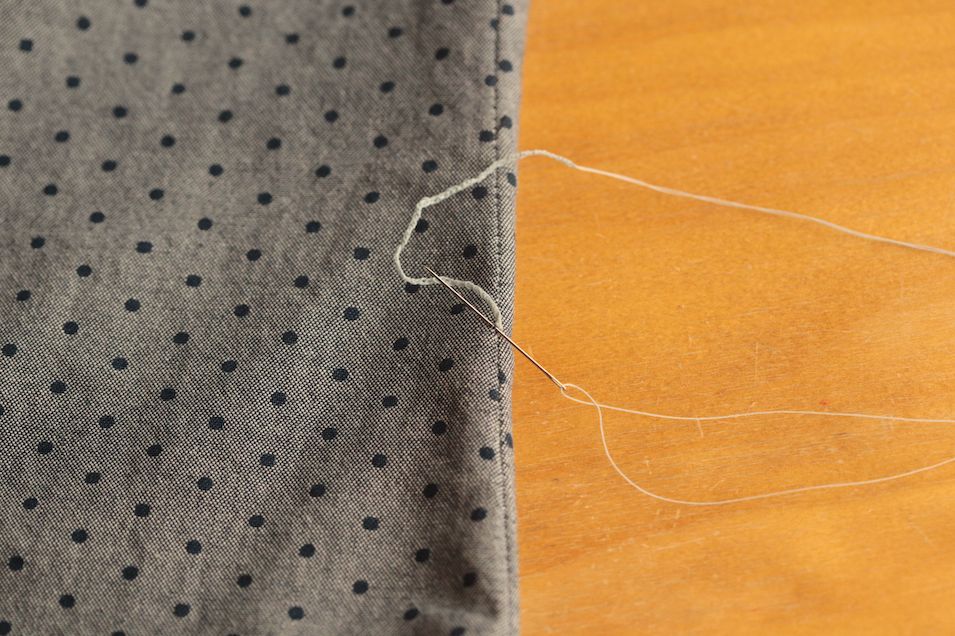
If it’s all good, then I can close the loop by putting my needle through the last loop and tightening it.
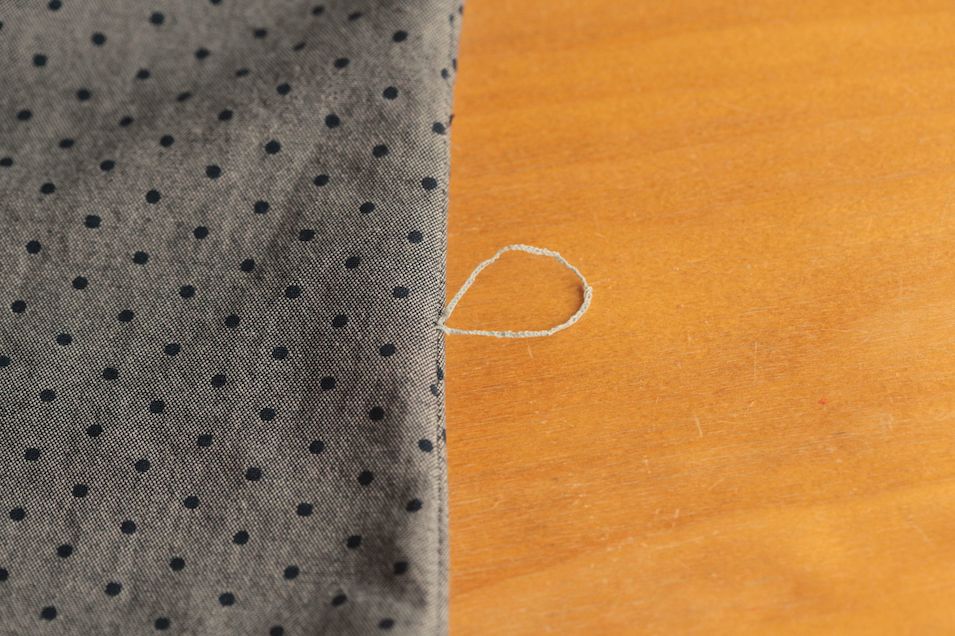
Voila! No more loop.
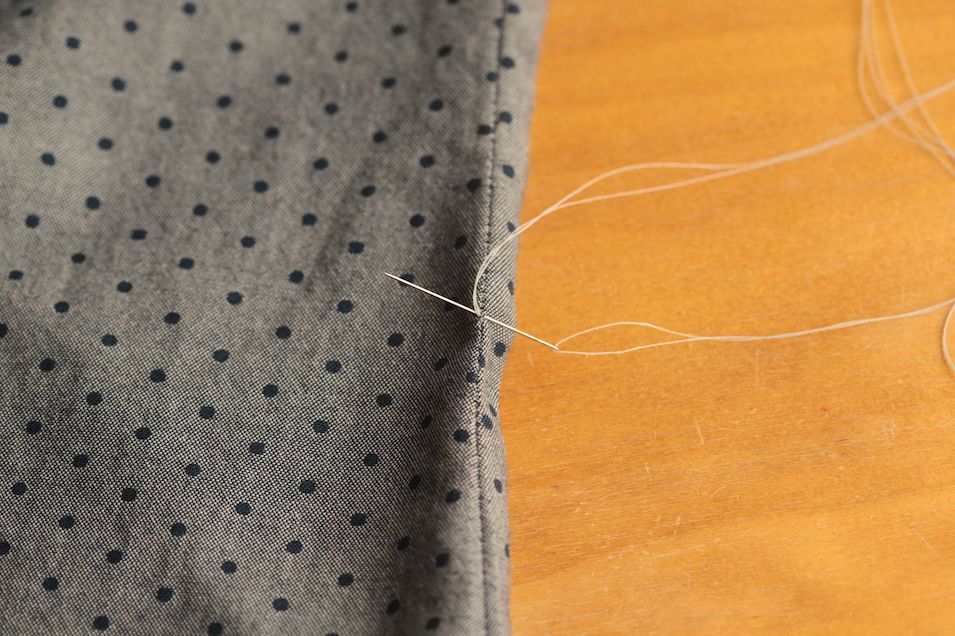
Then I take a small stitch at the spot where it all started.
Pull all the way until the chain stitch stops it. That’s the carrier!
Pull the thread tail to the wrong side and knot it to secure.
It’s as simple as that. Done with this one! Then repeat the whole process to make another one on the opposite side seam. Make sure it is on the same level.
(My carrier is a a little big for this belt, but I will likely use another belt that is wider.)
Hope this is helpful! Until next time, keep stitching!


Thank you so much for this excellent tutorial and pictures! Now I can wear the belt that came with my dress! I’m a very novice seamstress, and this tutorial was just what I needed. Thanks!!
Excellent tutorial! I had avoided these for awhile. Just added one to a robe and next up are my dresses that are missing the belt holder.
Thanks Kennis. Such a helpful tutorial and the pictures are really clear.