
Slam-dunk Contour Waistband: The Secret of Keeping Your Pants Up – Part 1
There are so many more tips and techniques I wanted to include in my Emily Culottes pattern, but the instructions would go from “detailed” to “ridiculously long.” No one likes to read hundreds of pages of pattern instructions. At least not me. So I decide to put them in my blog here. That way, everyone can benefit from them, since these tips and techniques are not unique to Emily Culottes; they are applicable to other patterns as well.
The first topic I’d like to cover is contour waistband. Yes, Emily Culottes feature a contour waistband that sits at your natural waist. I want to say I invent it, but I didn’t. You can see contour waistbands on many nice ready-to-wear garments. And there are many patterns out there use contour waistbands, especially designer patterns, such as these pants from Claire Shaeffer’s Custom Couture Collection and Alice + Olivia.
If you have been sewing garments for a while, you probably know contour waistband is a great feature. But have you really sat down and thought about what it all entails?
By definition, contour waistband is on the bias. It’s not possible to have a contour waistband all on the straight grain since it has a curved shape. Because it’s on the bias, it has lots of “give”–essentially, to a degree, it contrasts and expands. Last I looked, most of our waists are not straight-up-and-down, so a bias/contour waistband fits us better and makes us feel more comfortable. And it’s all done very subtly and elegantly. You don’t see the gathers all around like an elastic band. It just secretly follows the contour (!!!) of your shape.
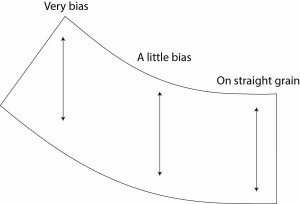
Contour waistband always includes a bias portion because of its shape.
Waistband, by no means, is the only part of a garment that takes advantage of the bias quality. Dresses are widely made on the bias. Think about the 1930s evening gowns that drape beautifully. Even sleeves can be made on the bias.
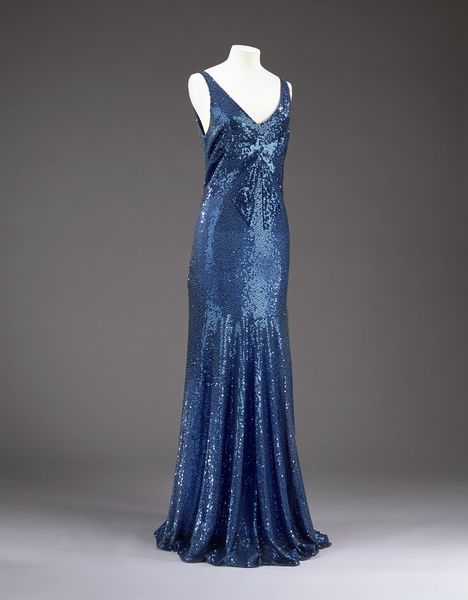
This 1932 Chanel Evening Dress is cut on the bias. (Credit: collections.vam.ac.uk)
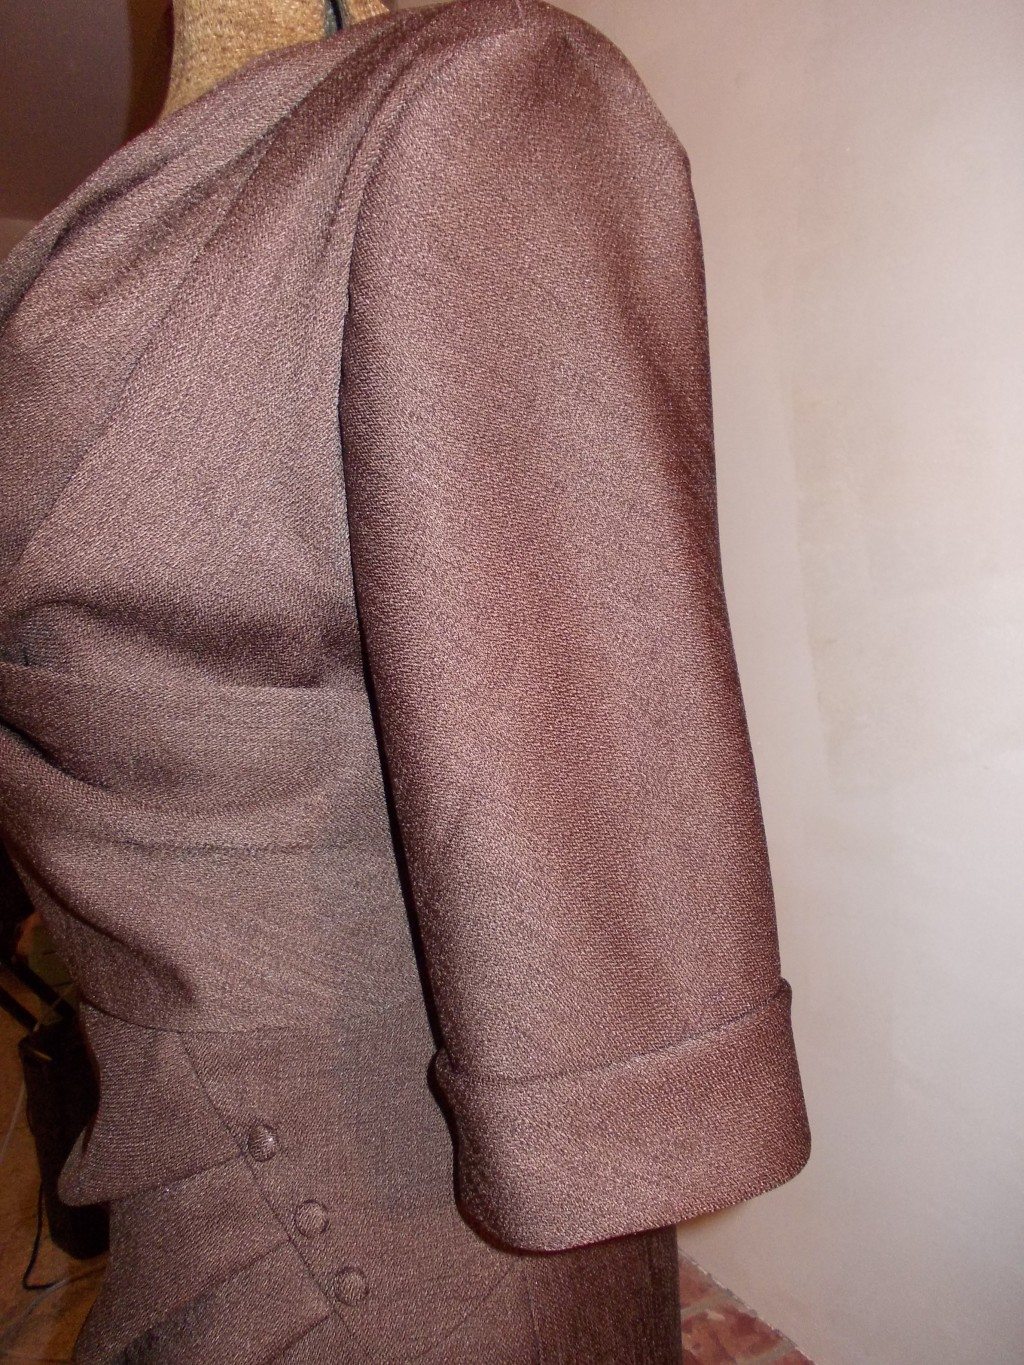
Sleeve cut on the bias (Credit: mezzocouture.com)
You might say “That’s terrific. Let’s use the bias grain on everything.” Well, with great power comes great responsibility. Because of this flexible nature of fabric on the bias, it can give you flexibility where you don’t want it too. In the case of a contour waistband, your pants or skirt might fall off your waist if there isn’t something to prevent it from expanding at the very top. What you want is a mostly flexible waistband that expands and contrasts according to your shape, but is restricted somewhere to prevent it from slipping down.
That’s where stabilization comes into play. Again, I didn’t invent this technique. I wish I did, but I didn’t. I am just putting it all together so you can see it in one place.
I did a little experiment. I have a set of contour waistbands here. The front measures 7 3/4″ (19.7 cm) and the back measures 7 1/4″ (18.4 cm) in the pattern pieces. Since these together compose half a waistband, the total waist measurement is exactly 30″ (76.2 cm). Note that the 3/4″ (1.9 cm) side seam allowances and 3/8″ (1 cm) back seam allowance are excluded in the measurements.
The measurement around the waist is 30″ (76.2 cm).
I sewed up several waistbands based on these pattern pieces. But I did not use any stabilization techniques. All of them are properly interfaced using the same type of no-stretch woven interfacing. They are also understitched like in a real waistband. I was very careful not to stretch the fabric while stitching.
The first one uses a very beefy denim with 2% Lycra. The resulting measurement of this waistband is 31 1/2″ (80 cm). A whooping 1 1/2″ (3.8 cm) larger than the pattern pieces.
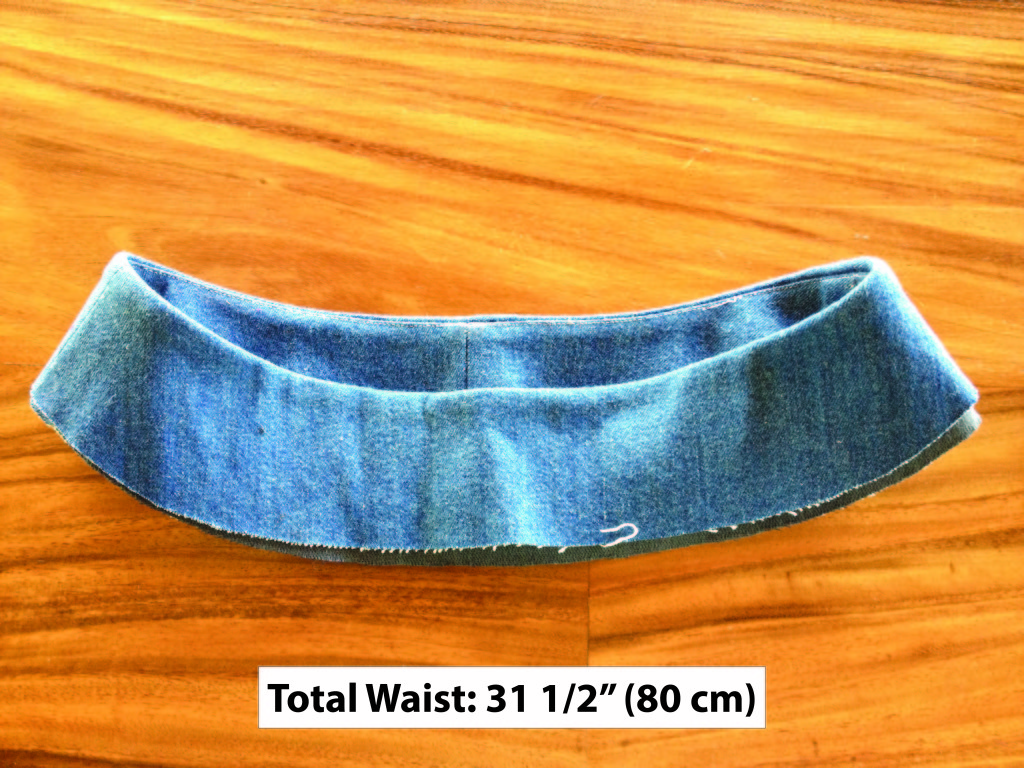
This denim waistband is stretched to 31 1/2″ (80 cm).
The second contour waistband uses a linen with no elastane in it. The weave is a lot looser than the denim above. The resulting measurement of the waist is 31 1/4″ (79.4 cm). Surprisingly, it stretches a little less than the denim, even though the weave is looser. My explanation is that this fabric doesn’t have lycra, and the denim does.

The linen waistband is stretched to 31 1/4″ (79.4 cm).
The last contour waistband uses a wool blend. Not only it has 2% Lycra in it, the twill/wale gives it a “spongy” feel. The resulting measurement is 31 3/4″ (80.6 cm). It’s 1 3/4″ (4.4 cm) larger than the pattern pieces, which is sufficient to make your pants sliding down half way to your hip.
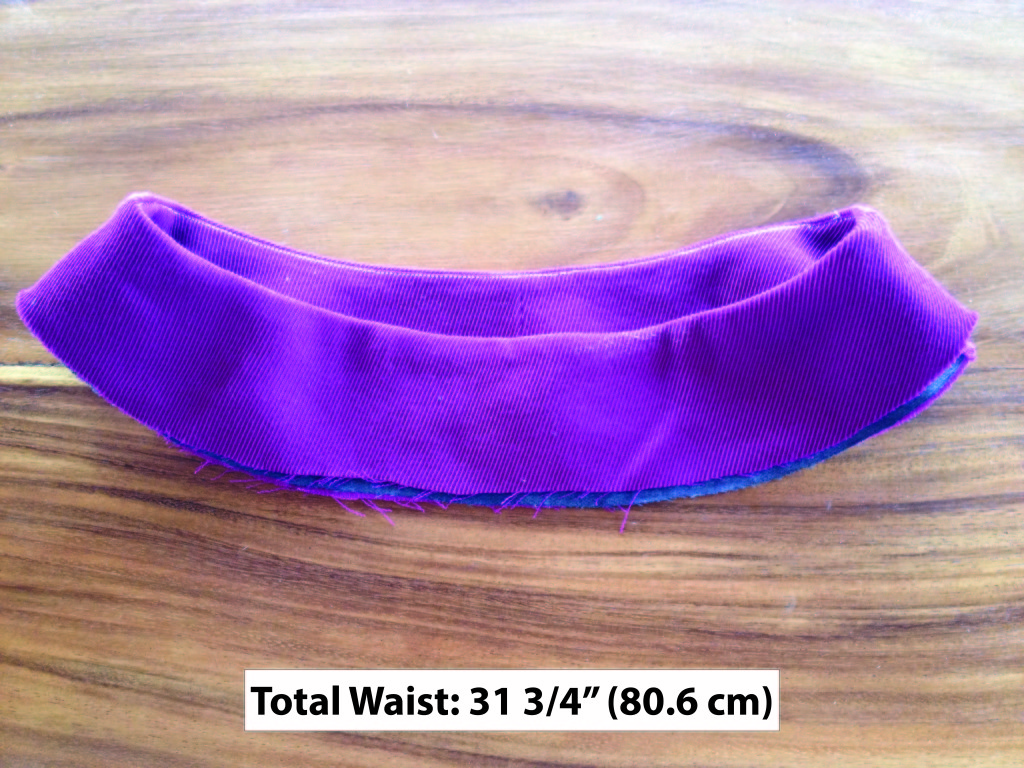
The wool blend with Lycra fabric has a spongy feel to it. The end measurement is 31 3/4″ (80.6 cm), an entire 1 3/4″ (4.4 cm) larger than the pattern pieces.
A 1/2″ (1.25 cm) of ease is about enough to accommodate movement and the difference between a full and empty stomach. A 1 1/2″ (3.8 cm) of ease will move your pants downward for sure. The conclusion of this experiment is that some control of the waist is necessary.
Since these are freshly sewn, so the stitches are nice and tight. The likelihood is that the waist will continue to expand when you wear them due to the heat and moisture of your body. The low-hung pants/skirt look is not necessarily bad if that’s what you are after (although it’s a problem if you don’t know how much it will continue to stretch). If you want your pants/skirt to sit up high on the waist but they end up on your hip, the look can be frumpy.
Now we have defined the problem. Let’s look at the solutions next.
Until next time, happy sewing!
Next: Slam-dunk Contour Waistband: The Secret of Keeping Your Pants Up – Part 2

Hi Kennis,
I have enjoyed the results of all your patterns. I especially love the vest one with all the grommets. I got to use my heavy duty grommet punch and it fits beautifully.
I am writing to ask if the Samara pants pattern includes a contour waistband pattern piece.
Thanks,
Wendy
Hi Wendy, thank you for your kind words and for your interest! The Samara Pants have a straight waistband. If you are interested in a contoured waistband, I suggest you take a look at the Emily Culottes (https://itch-to-stitch.com/product/emily-culottes-digital-sewing-pattern-pdf/). Have a great day!
Please is it possible to achieve the same contoured waist band with one piece fabric
You can put the front and back contour waistbands together at the side seam and cut the entire piece that way.
But what does this do to the Back grainline? Wouldn’t that throw the back grainline of the contour waistband completely off?
I read the post , I always face gappy waist bands with the skirts I make. Can you please tell me how the waist band became more in length when you sewed them up , did they stretch while sewing?
You are right! I forgot to address the why! The short answer is yes, the waistbands stretch while sewing. But let me address this in my next post when I talk about the solution.
Thank you for putting this article together. Seeing the samples and results is so helpful. I have a gored denim skirt that I faced directly at the waistline (no waistband) and it is quite a bit larger than I expected. Now I understand why. 🙂 I’m looking forward to the next installment to see the best way to remedy that problem.
I am glad this helps to explain the mystery!
LoVE the post.. Great info
Thanks Lorraine 🙂