
Liana Jeans Sew Along: Day 10 – Hemming and Finishing
You are going to see the fruit of your labor today! This is the last day of Liana Jeans Sew Along, and we only have some finishing touches left, namely, belt loops, hems, back pockets and flaps, as well as rivets, if you are using rivets.
Belt Loops
I don’t usually wear a belt with my jeans. I am sewing them anyway; the jeans just seem more complete with them. It’s up to you weather you do them. Let’s get started!
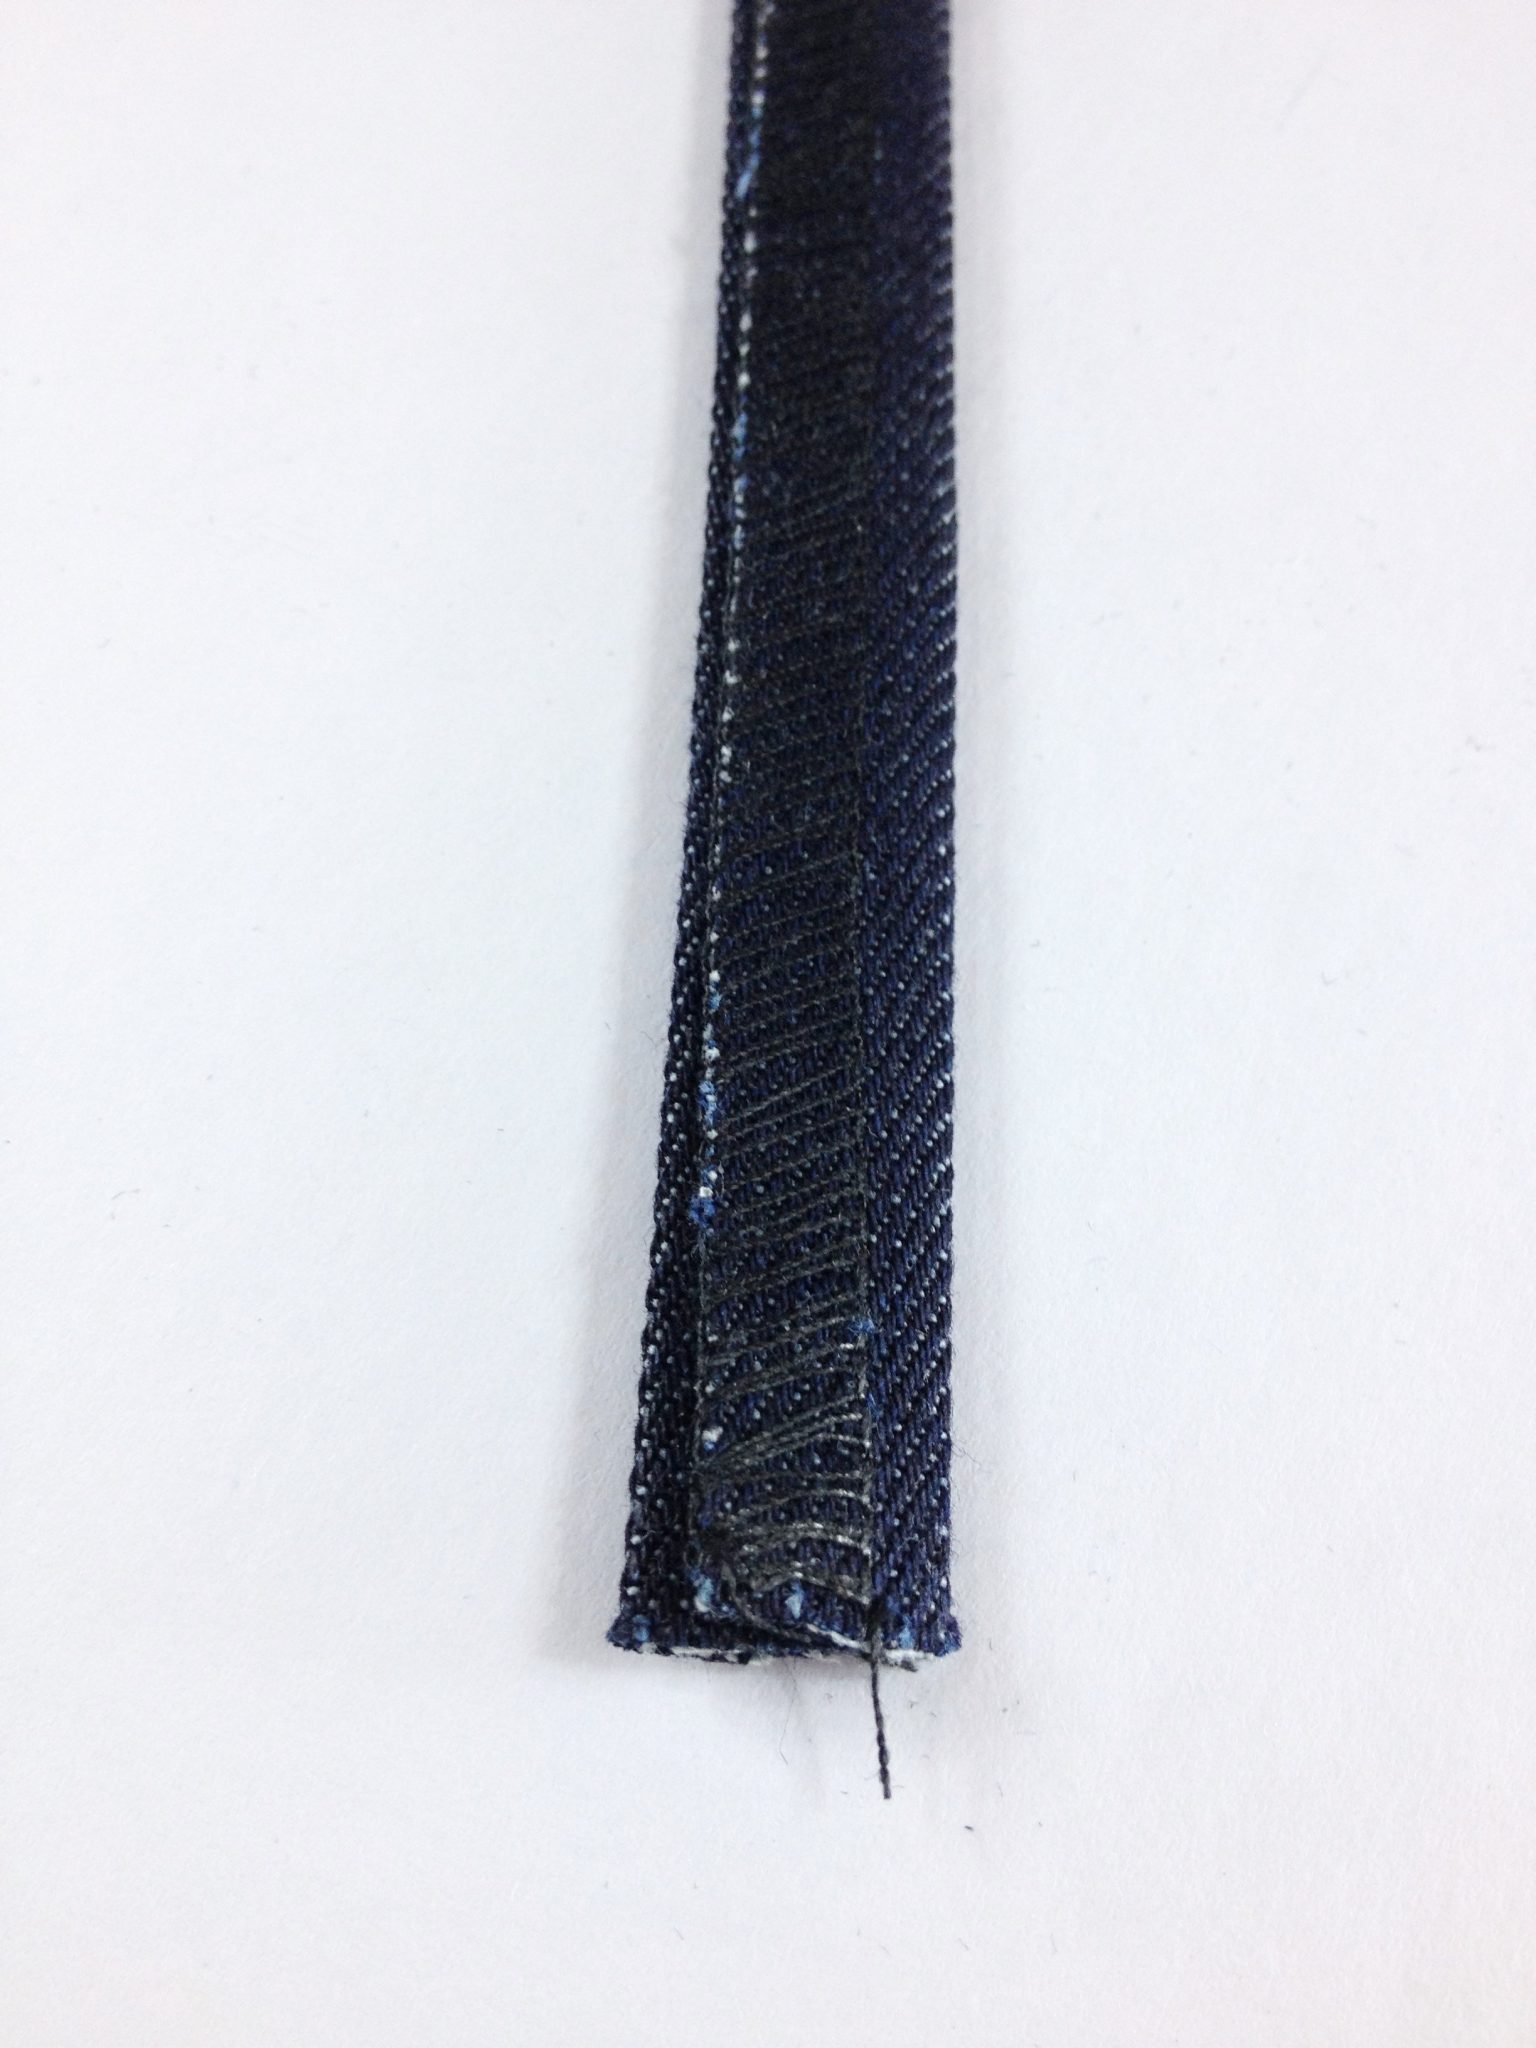
- Serge (or zigzag finish) one long edge of the Belt Loop piece.
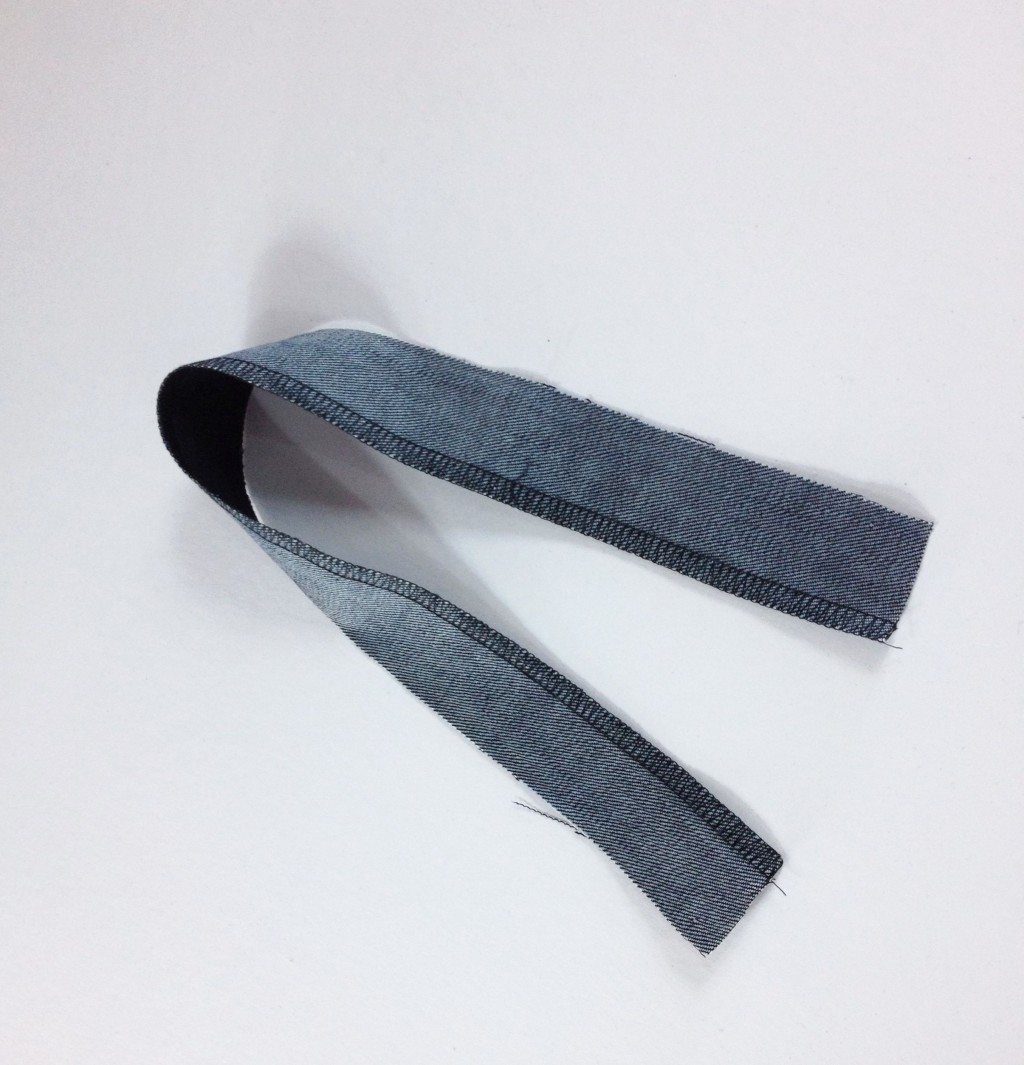
Finish one long edge.
- Fold and press the piece into thirds. The finished edge should be on the top and the raw edge should be enclosed.
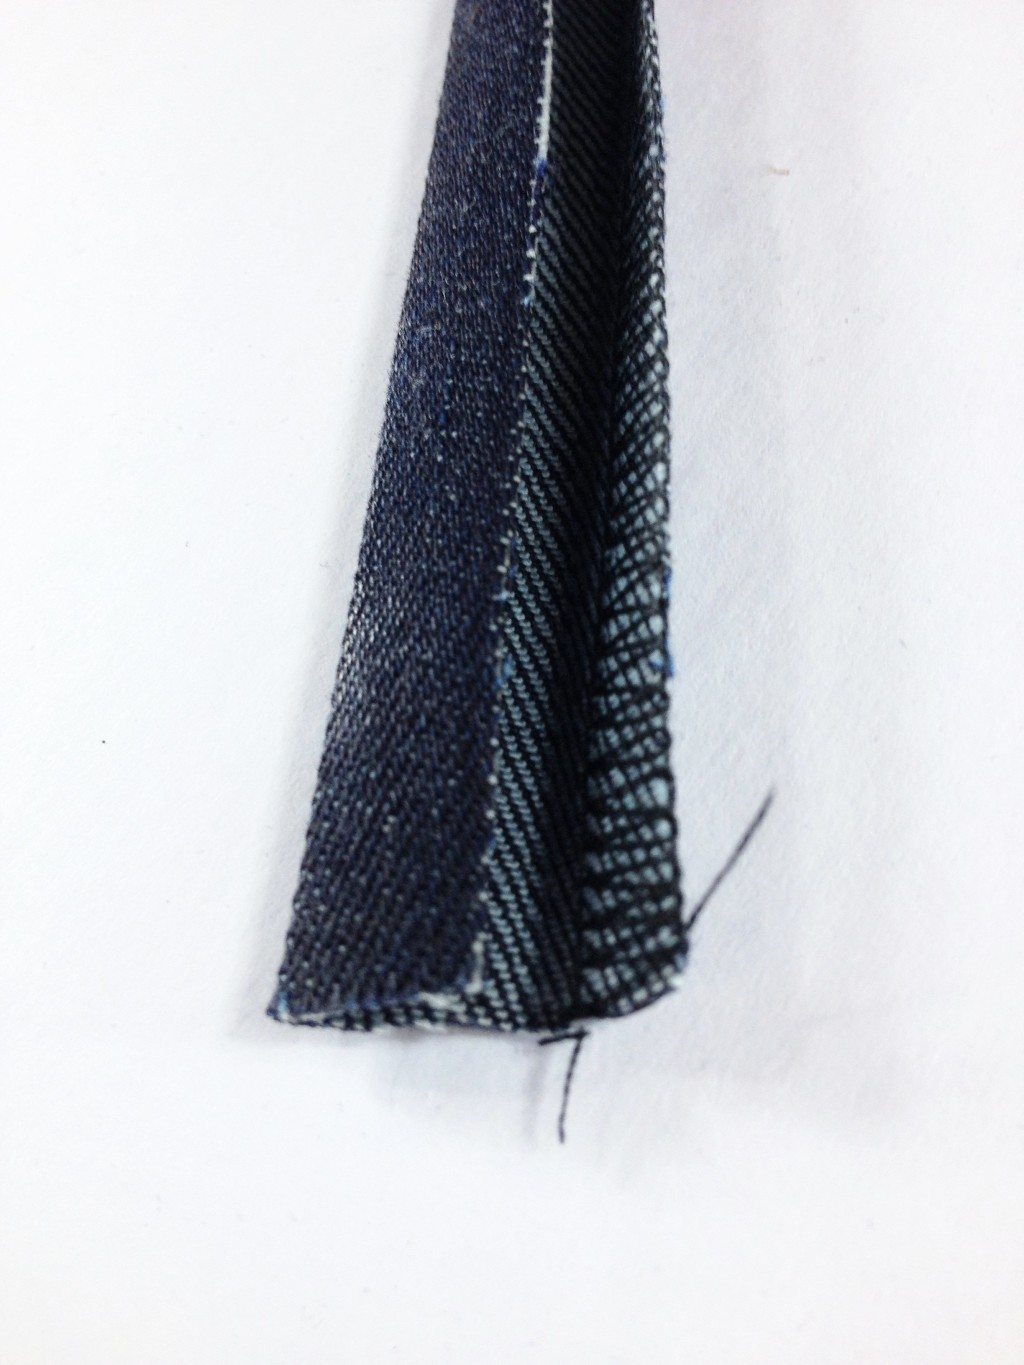
Fold in thirds.
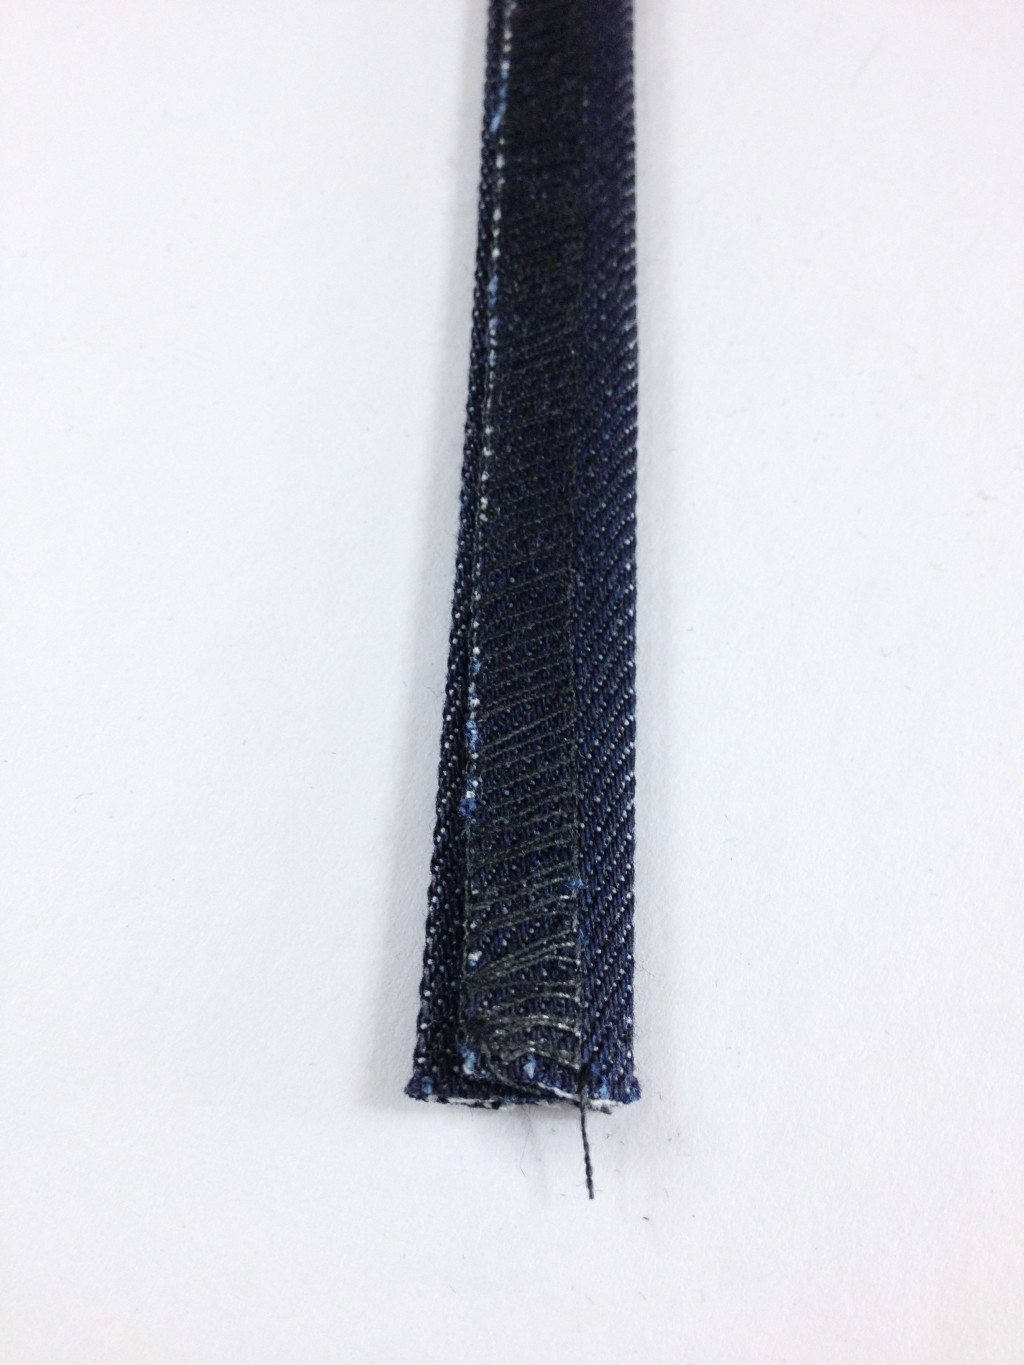
Folded and pressed!
- Topstitch both folded edges.
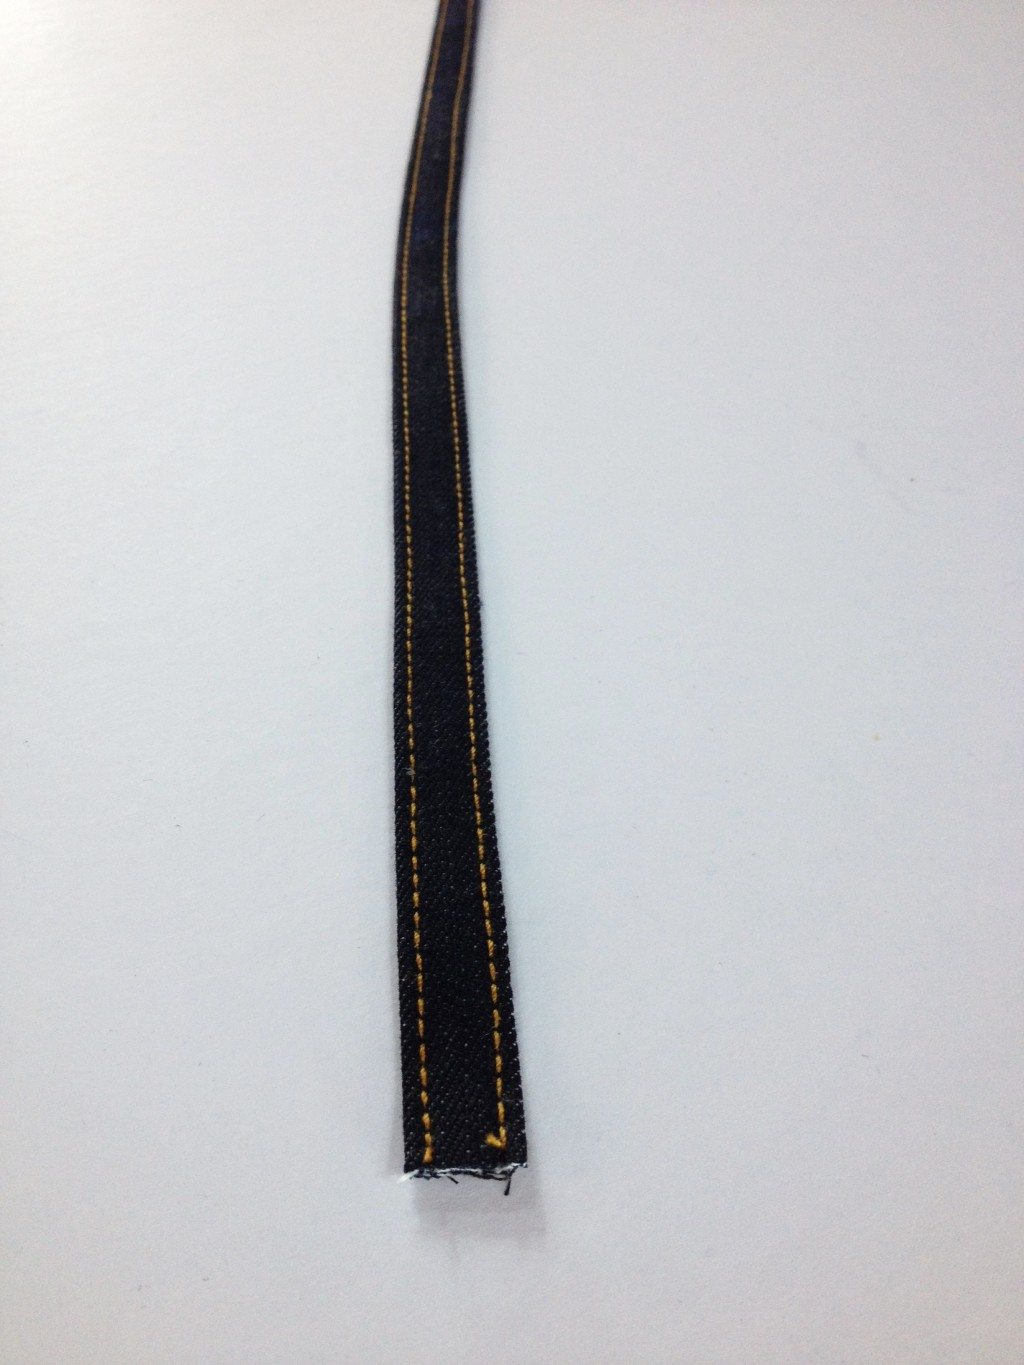
Topstitch on both folded edges.
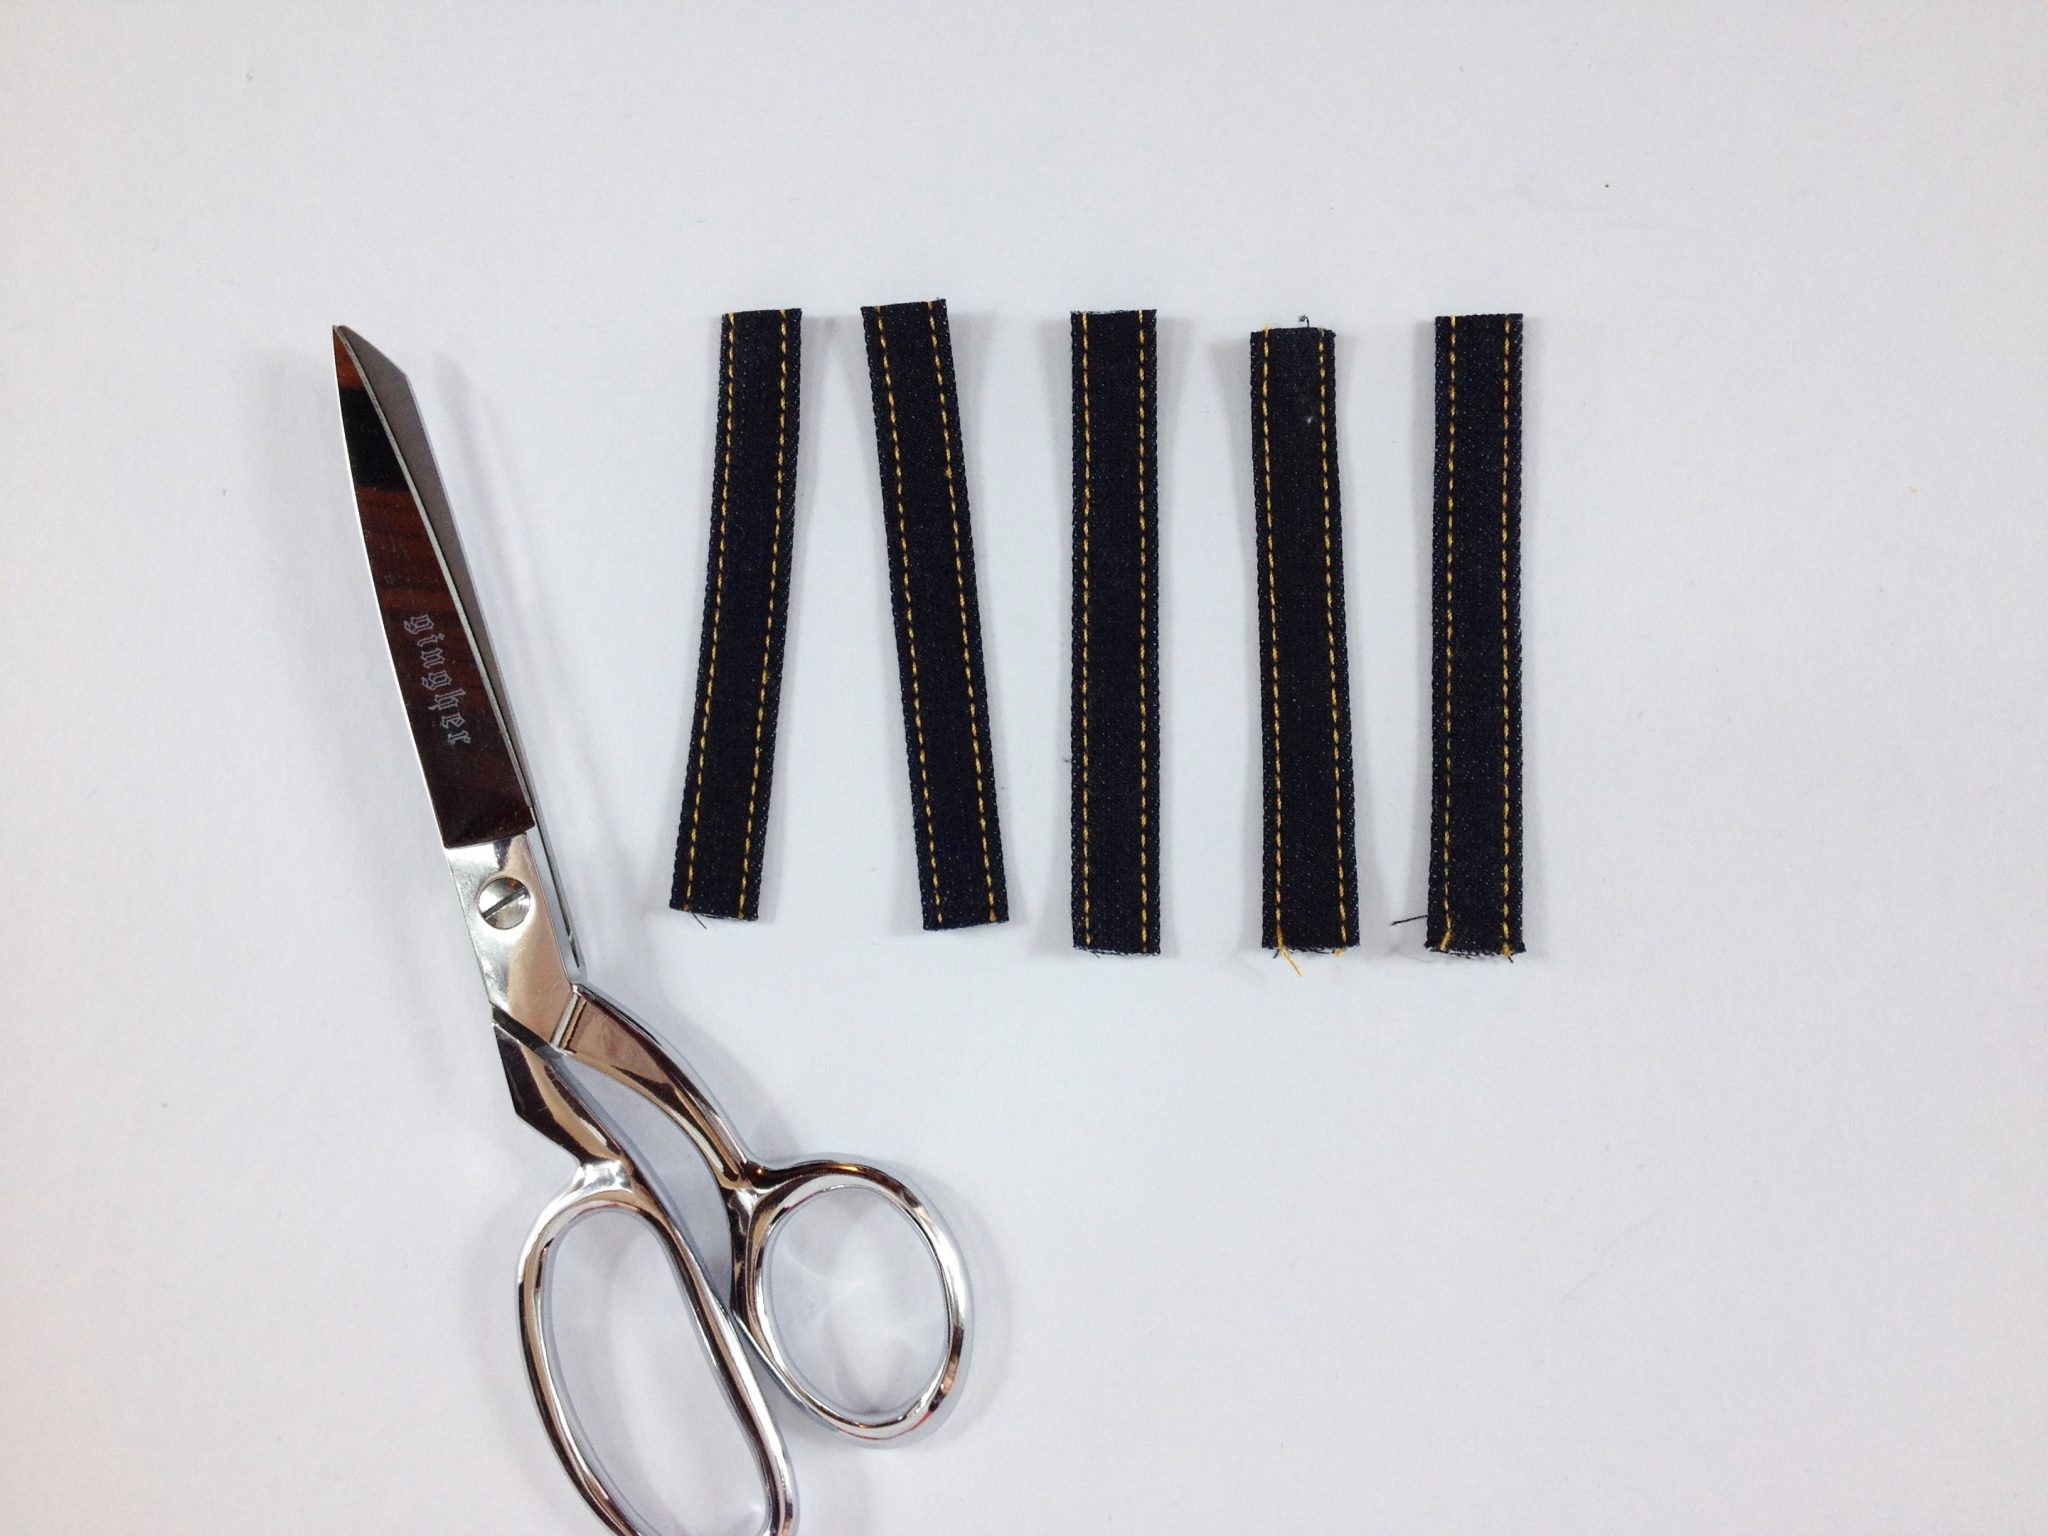
- Cut the piece into five roughly-equaled parts. That is about 3 7/8″ (9.8 cm) apiece. Don’t worry too much about being very precise; there will be excess to be trimmed later anyway (just don’t let one piece be super short and one super long).
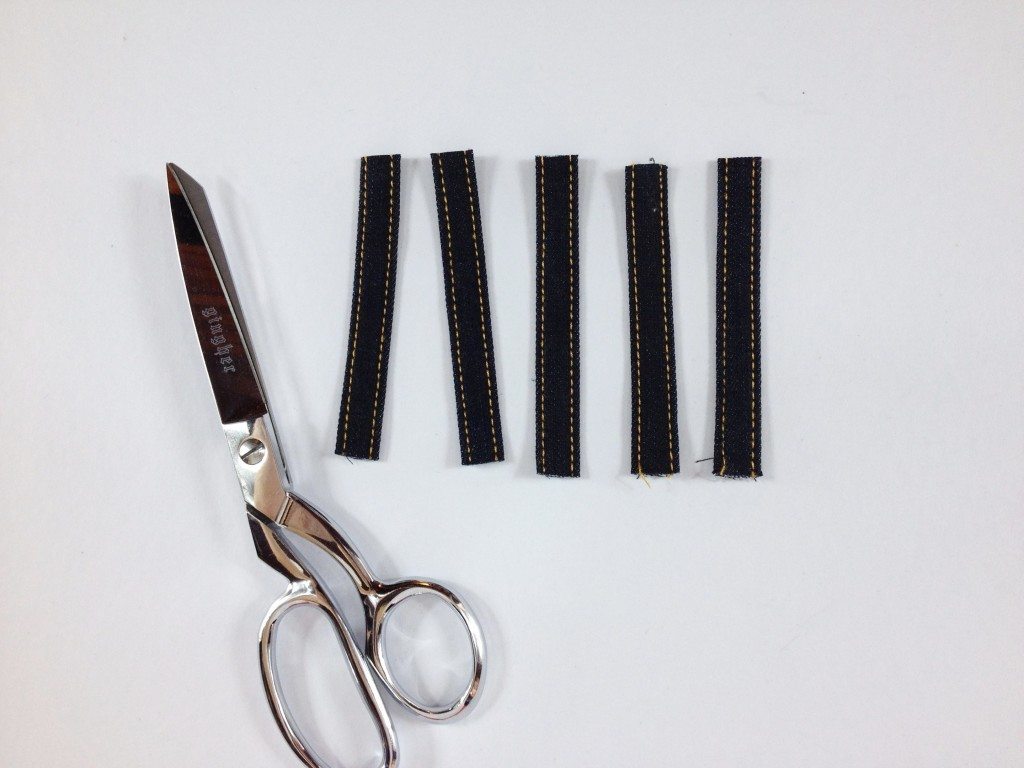
5 roughly-equaled parts.
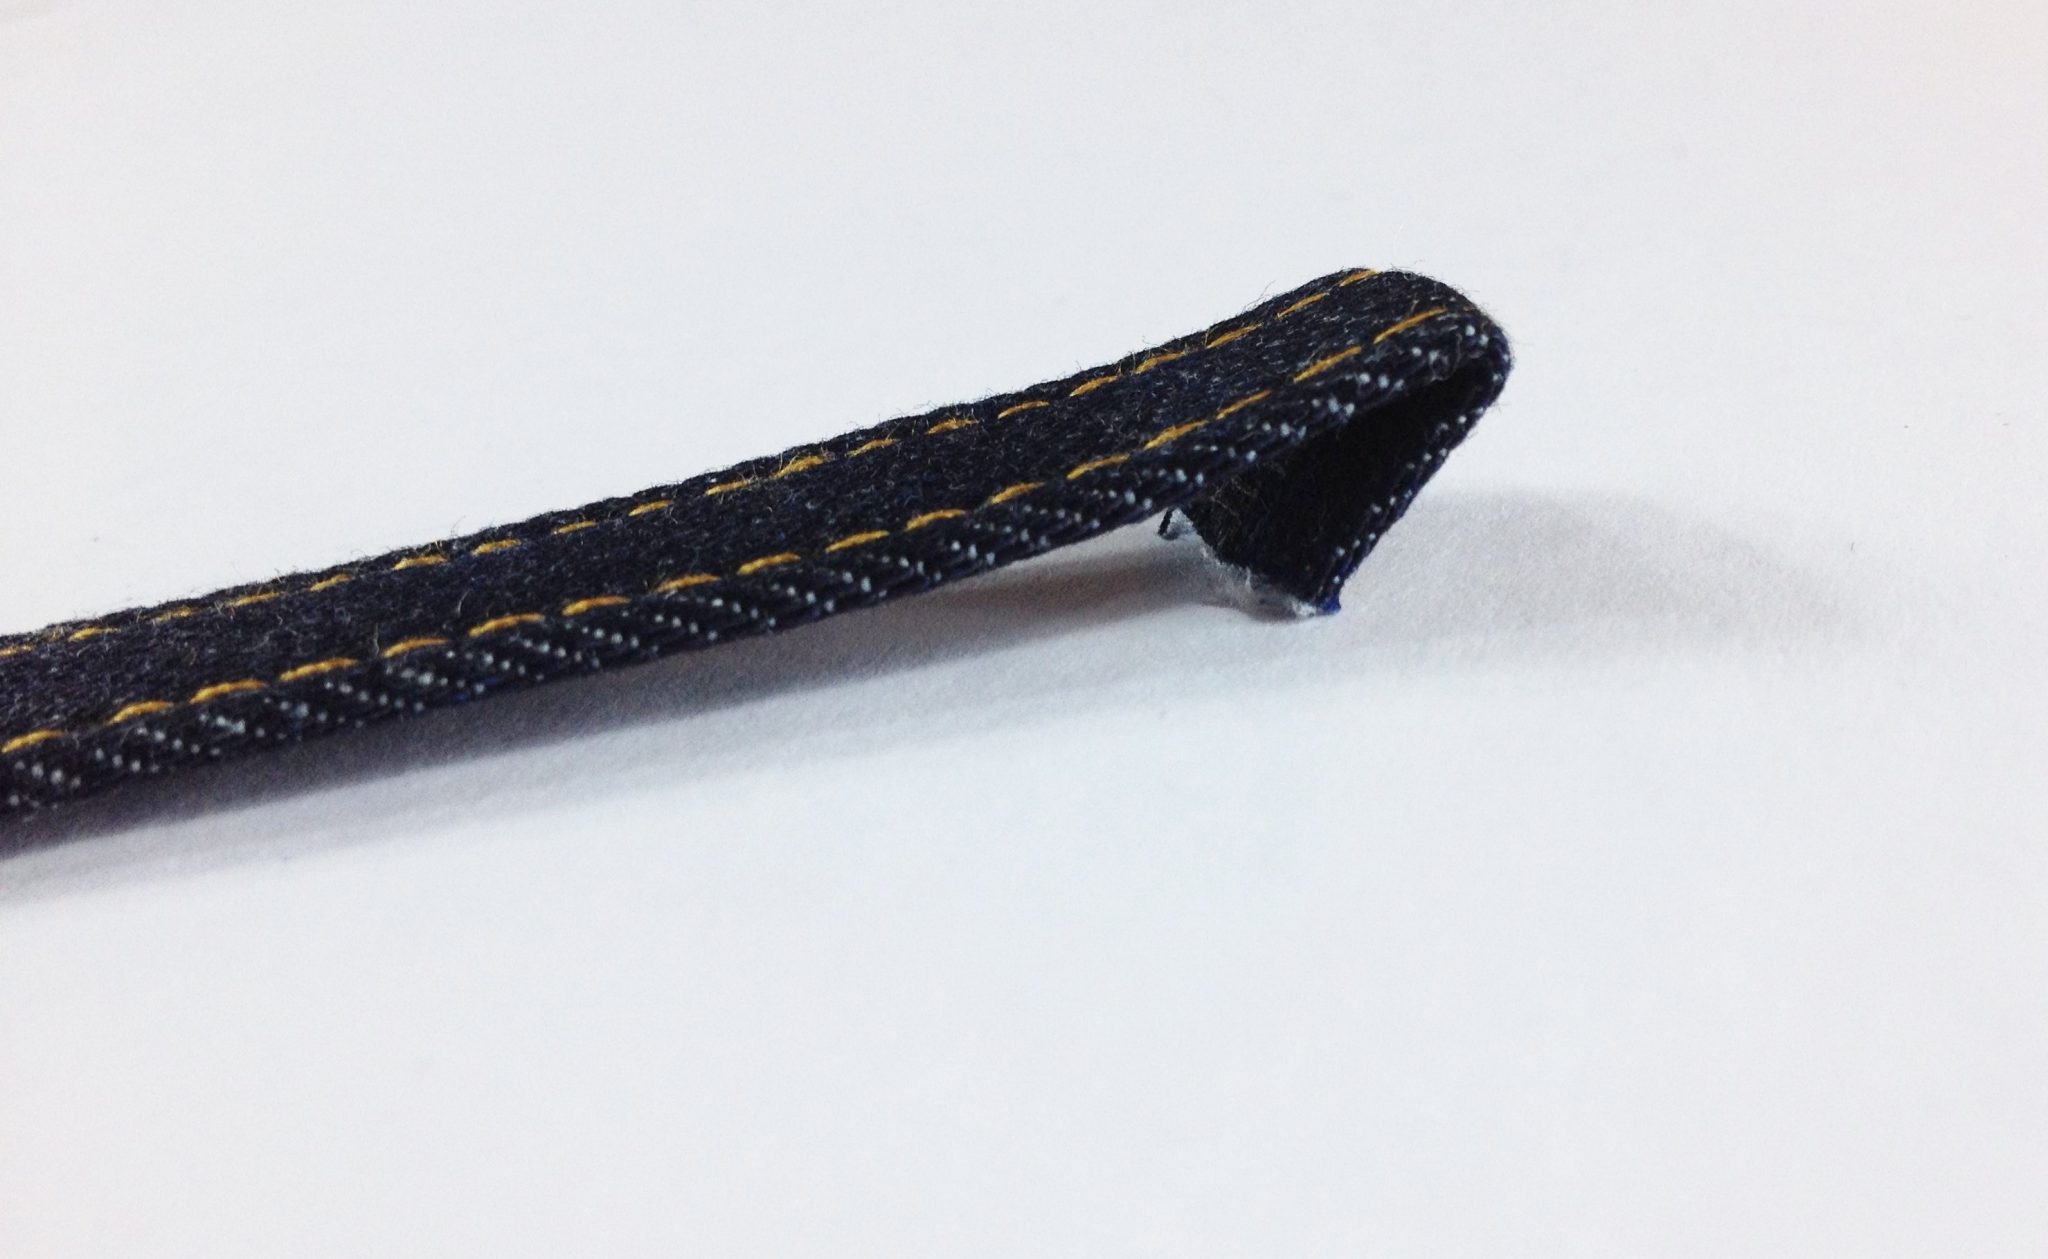
- Fold one short edge 1/2″ (1.25 cm) toward the back of the belt loop. Press.
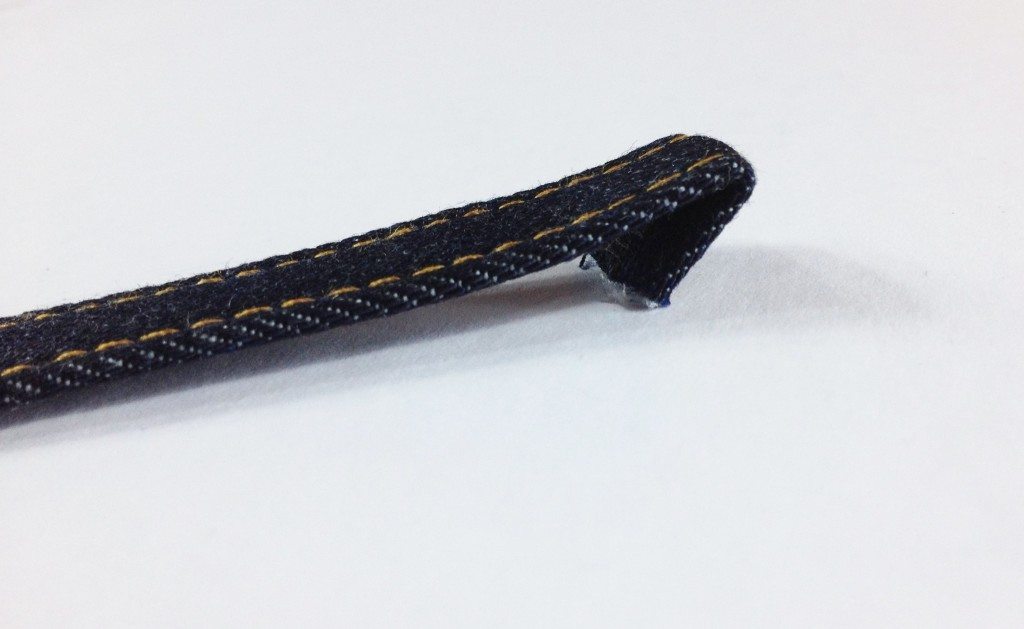
One end folded in.
- Put the belt loop on the jeans to see how long you want it to be. If you observe your store-bought jeans, the loops don’t just sit on the waistband; they extend way below. If the belt you wear with these jeans will be wide, make the loops longer, or vice versa. Then you fold the belt loop accordingly and press.
This is the length I’d like.
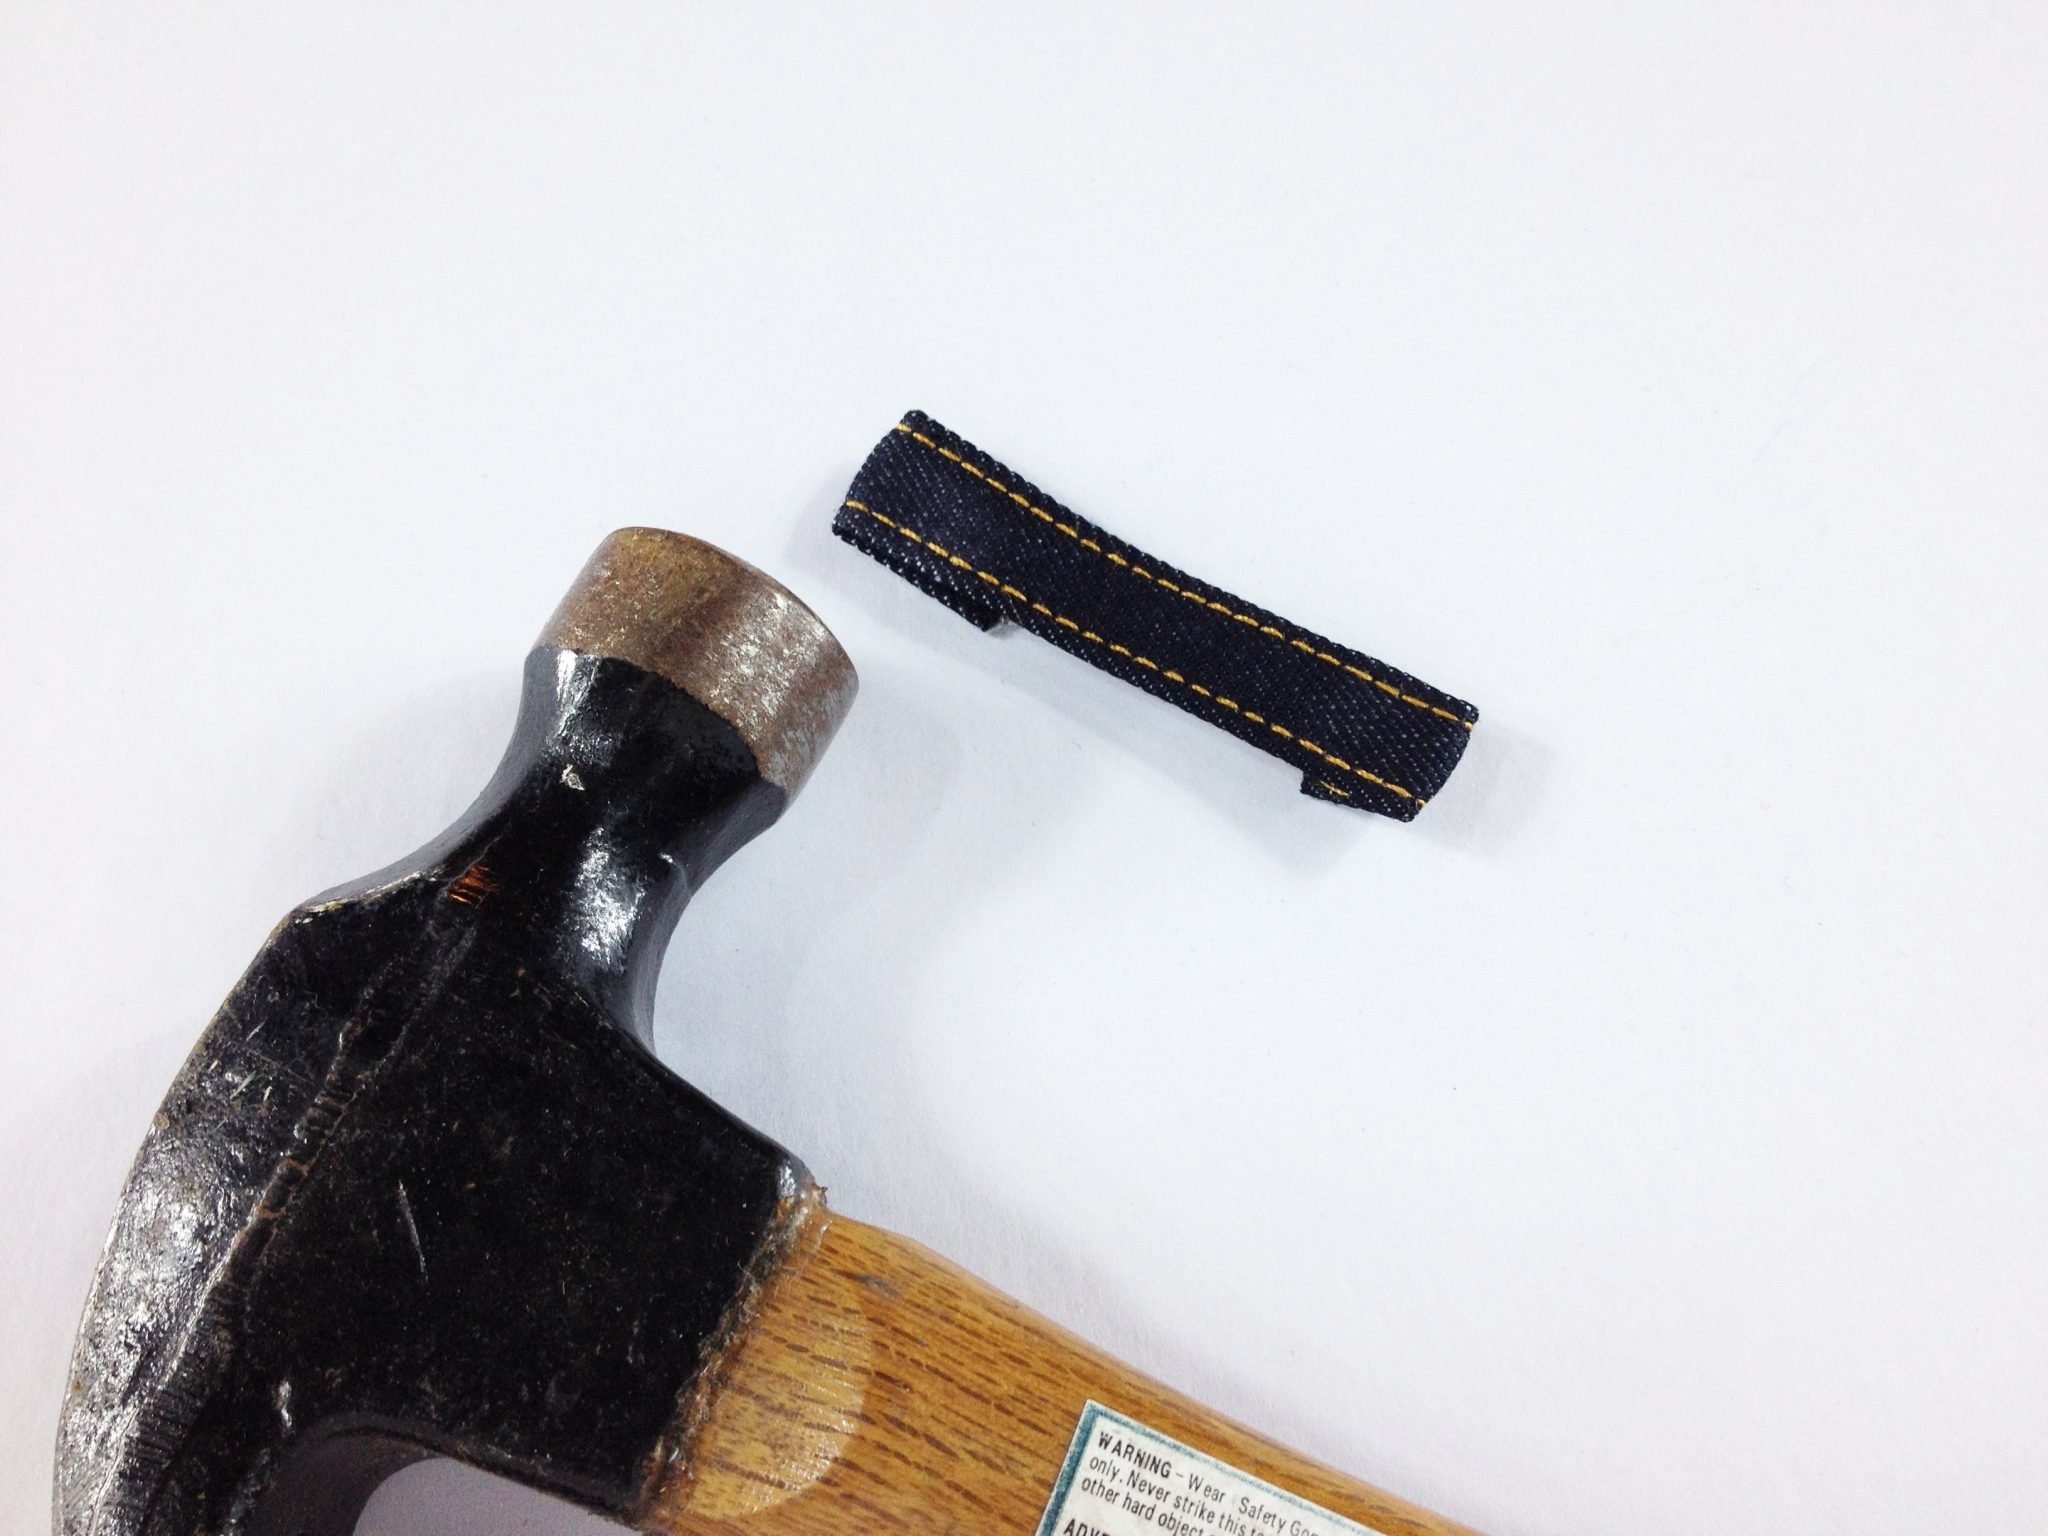
- Use your hammer to hit the belt loop several times (from the back so the topstitching doesn’t get ruined). There’s a lot of bulk, and if you are using a relatively thick denim, hammering it will help a lot.
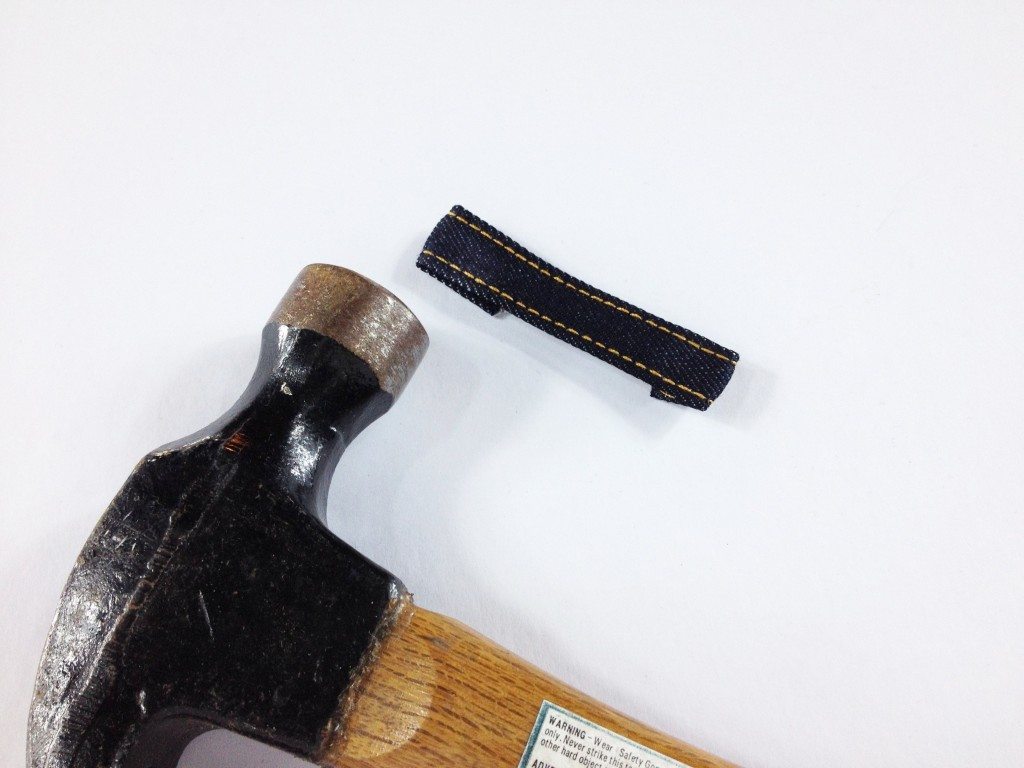
Hammered to reduce thickness.
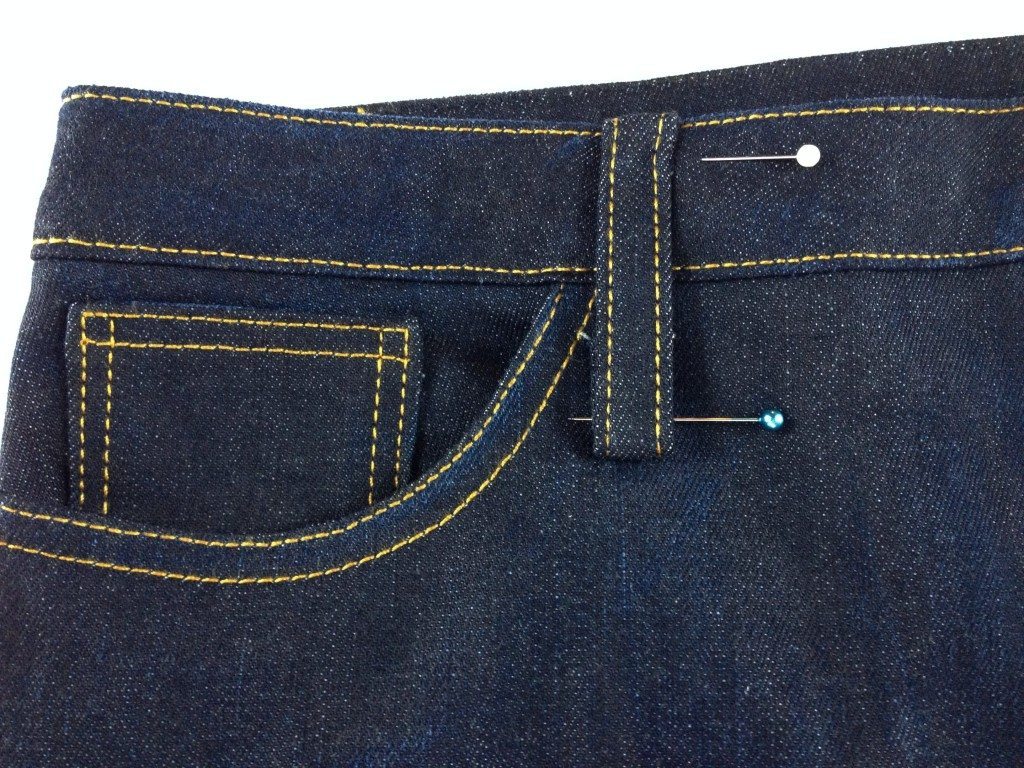
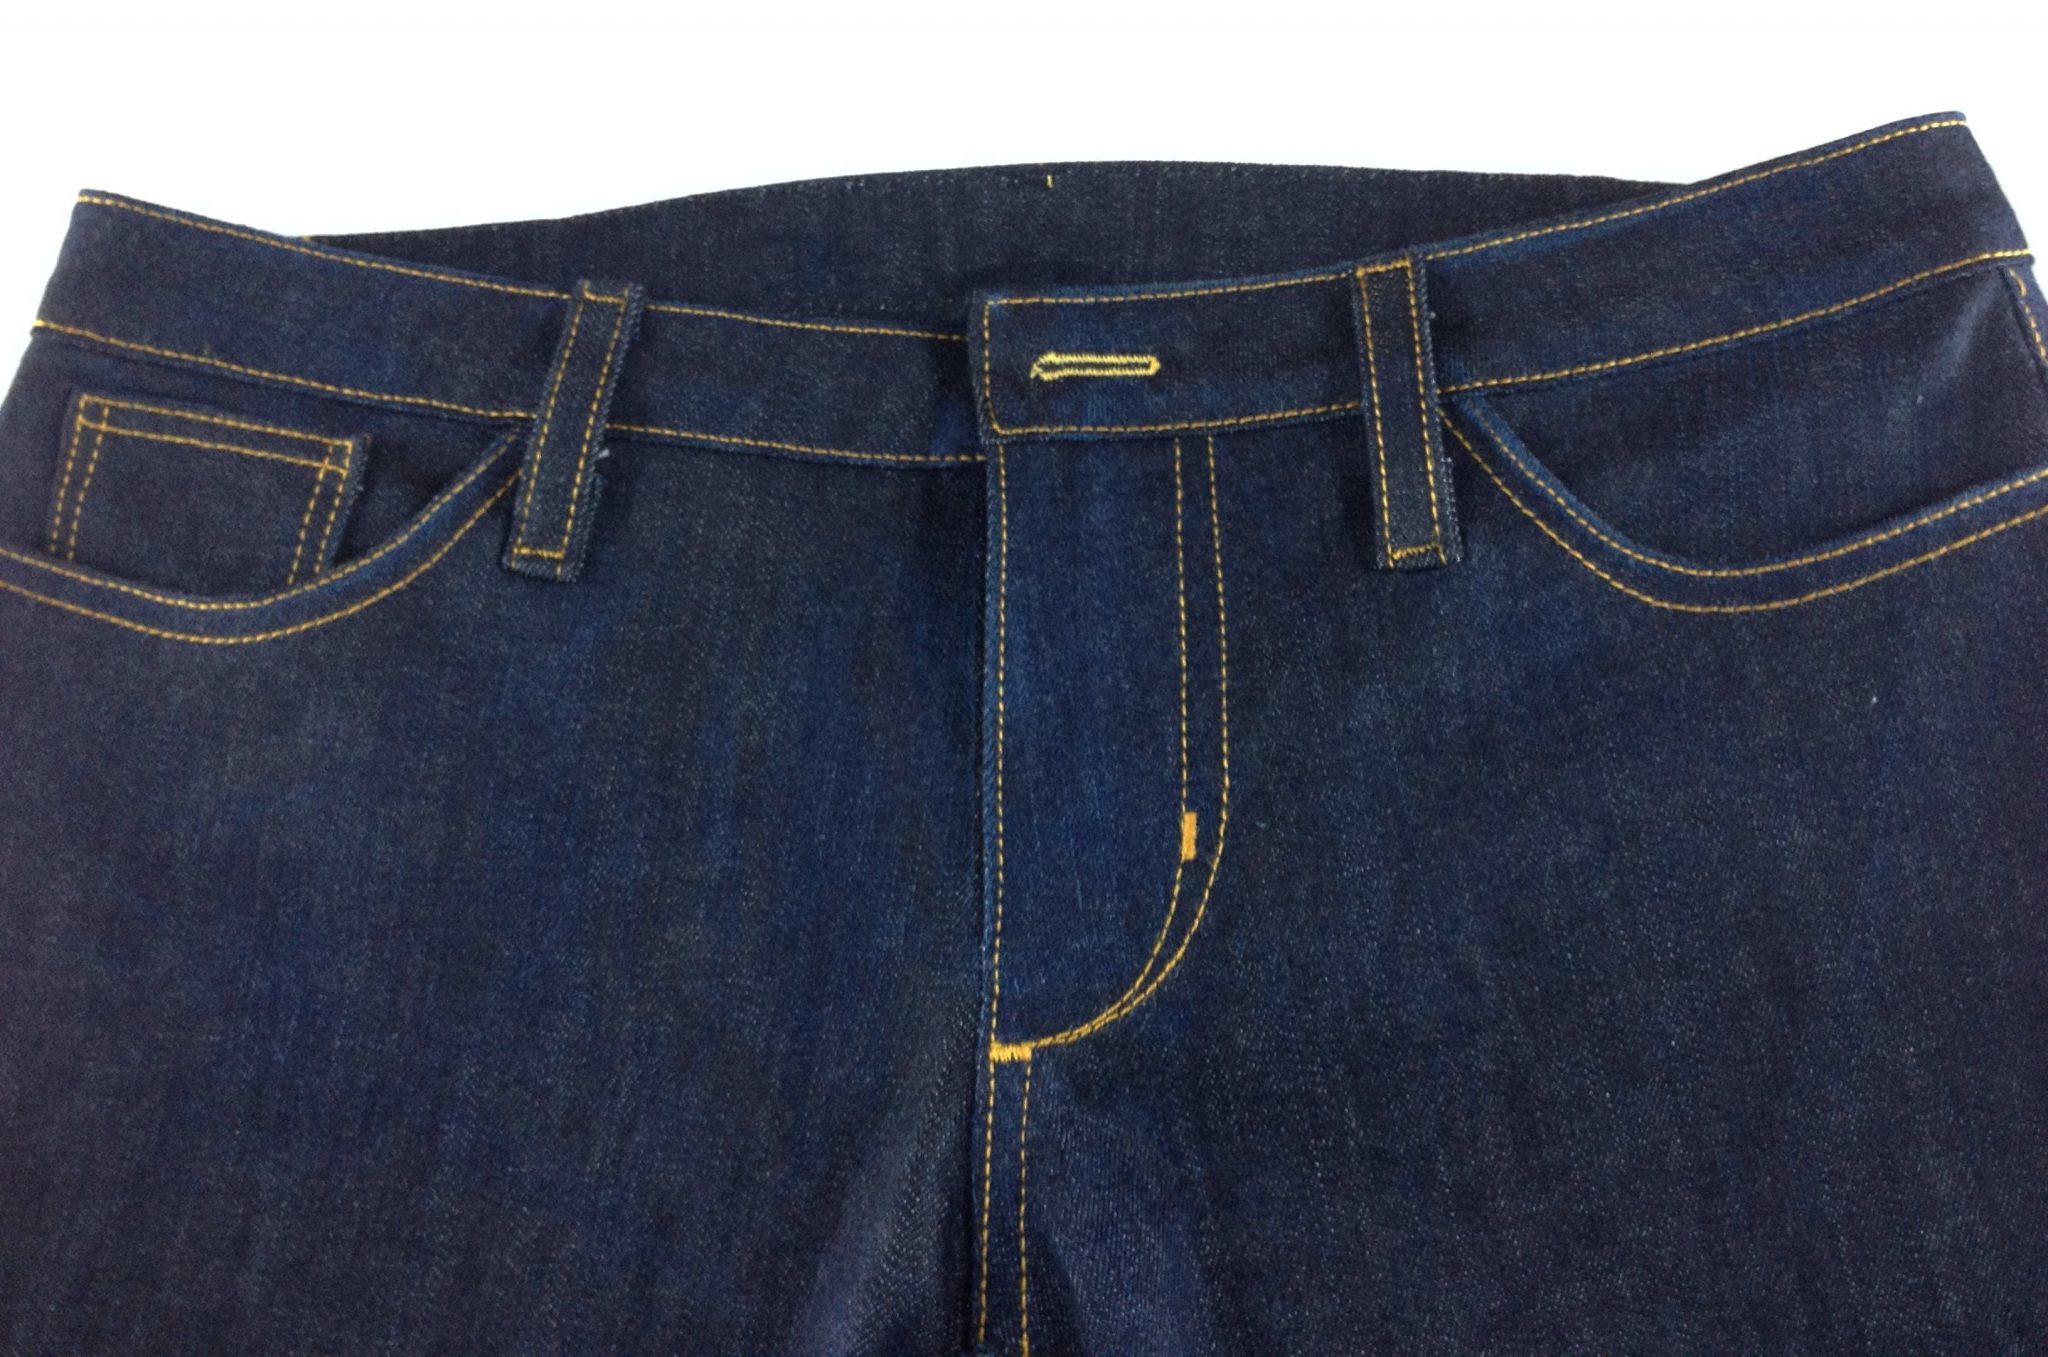
- Stitch the belt loop on the jeans. The first spot to put one is by the front pocket. Be sure to leave some room to install a rivet at the very edge of the front pocket opening. I use a zigzag stitch to stitch on the belt loop. I have also used a straight stitch (stitch back and forth several times) too. Experiment on a pieces of scrap – keep in mind that there are 10 layers of fabric here (that’s why we hammered it!), so in your test, you should imitate this thickness too. And remember the “trick” that I talked about when starting to stitch a piece so thick? I prop the press foot up so it’s leveled.
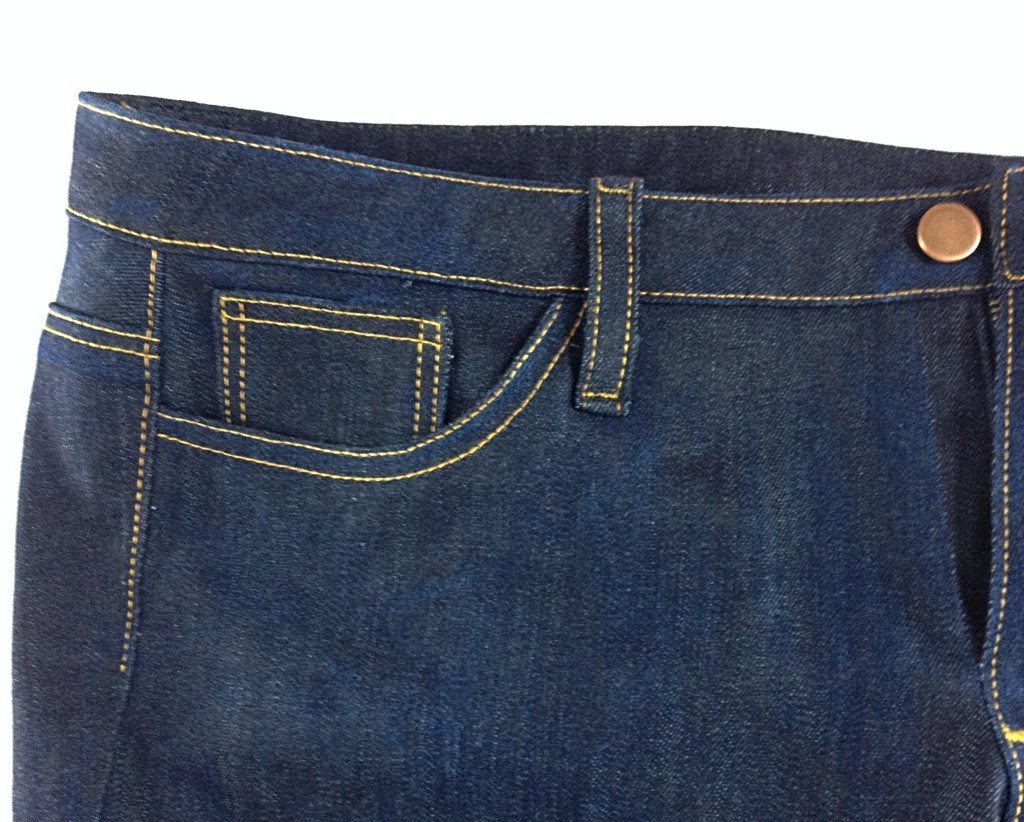
Stitch on both ends of the belt loop with zigzag stitches.
- Now repeat that process four more times, placing the belt loops by the other front pocket, center back and slightly behind the sides.
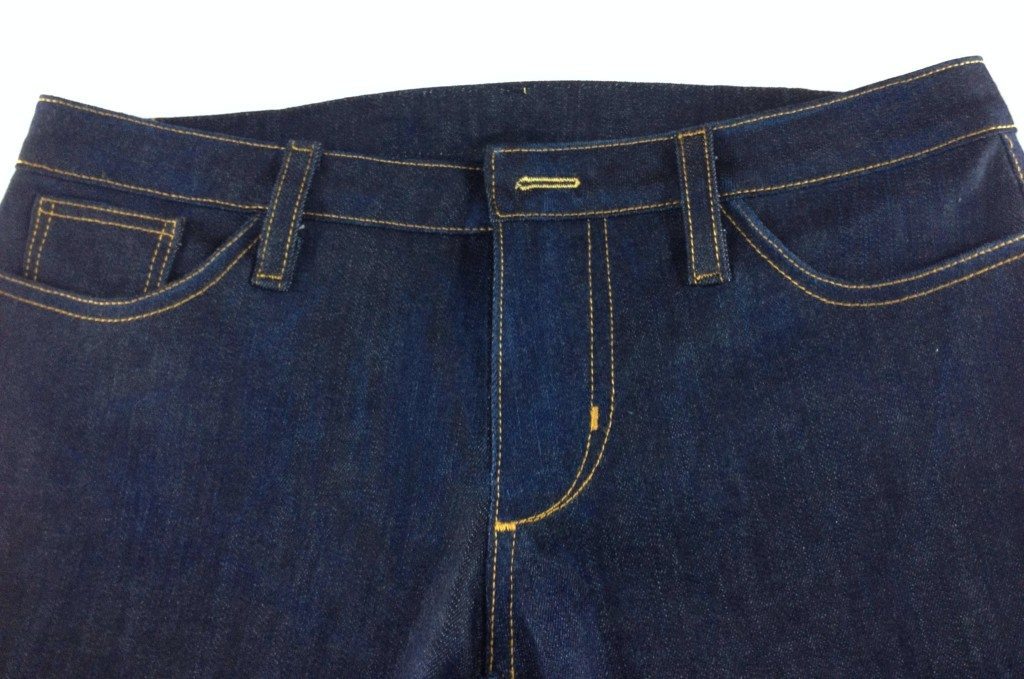
Belt loop placed by the other front pocket.
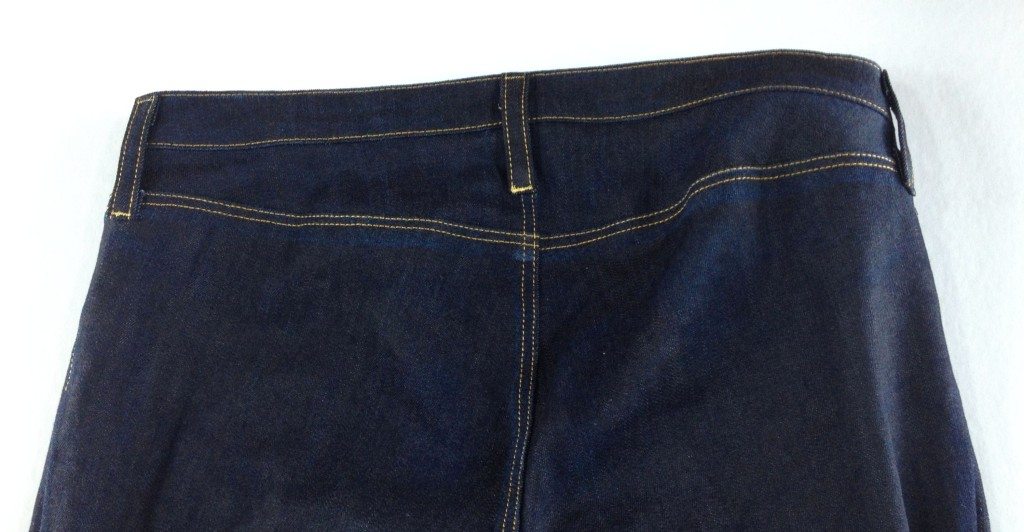
Also on the center back.
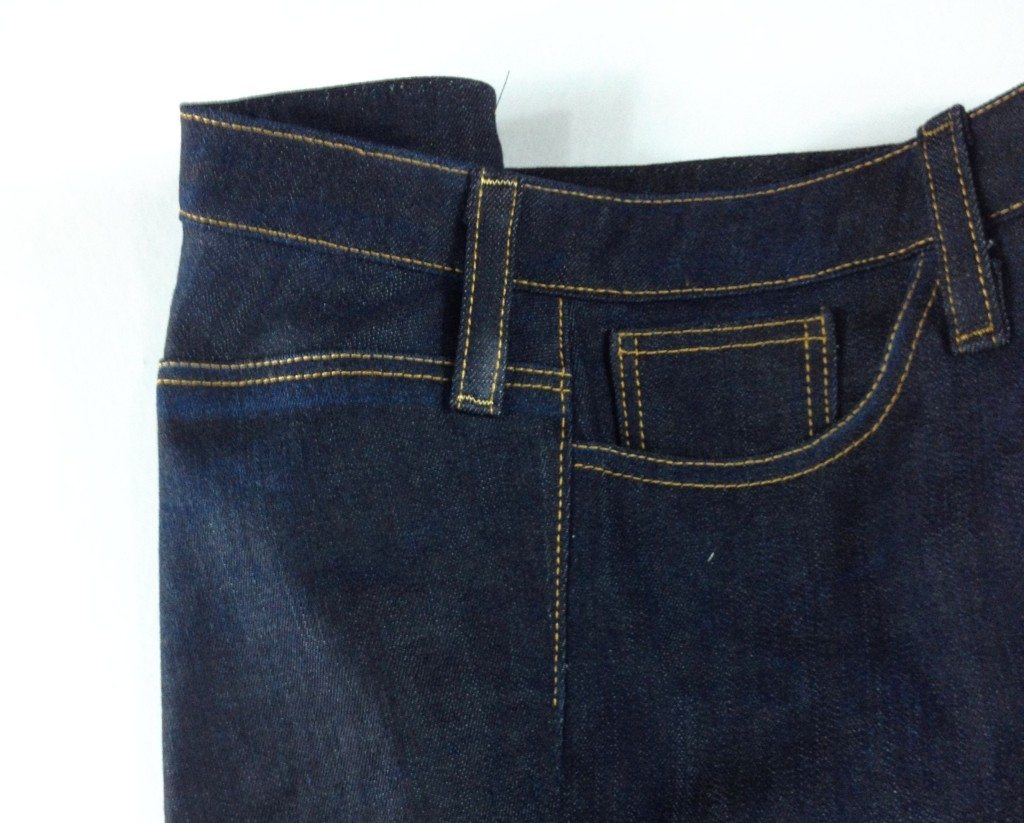
Another angle to show the belt loop placed slight behind the side.
- Finally, reach in with your scissors and trim some of the excess belt loop (be careful not to cut anything else!). You don’t have to trim all the way; just a little is fine.
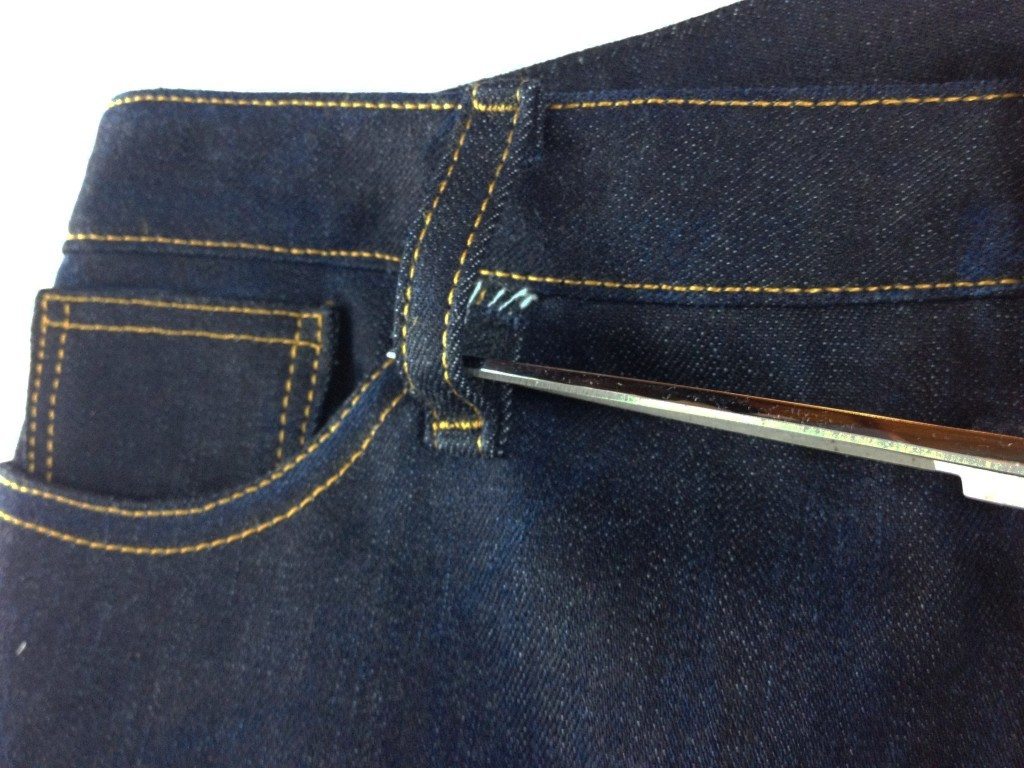
Trim excess belt loop.


Hemming
Some people like to do the double-folded hem, which you are welcome to do. I am doing it differently that I serge finish the raw edge and only fold once; this way the side seams are less thick.
- Serge (or zigzag) the raw edges of the hem.
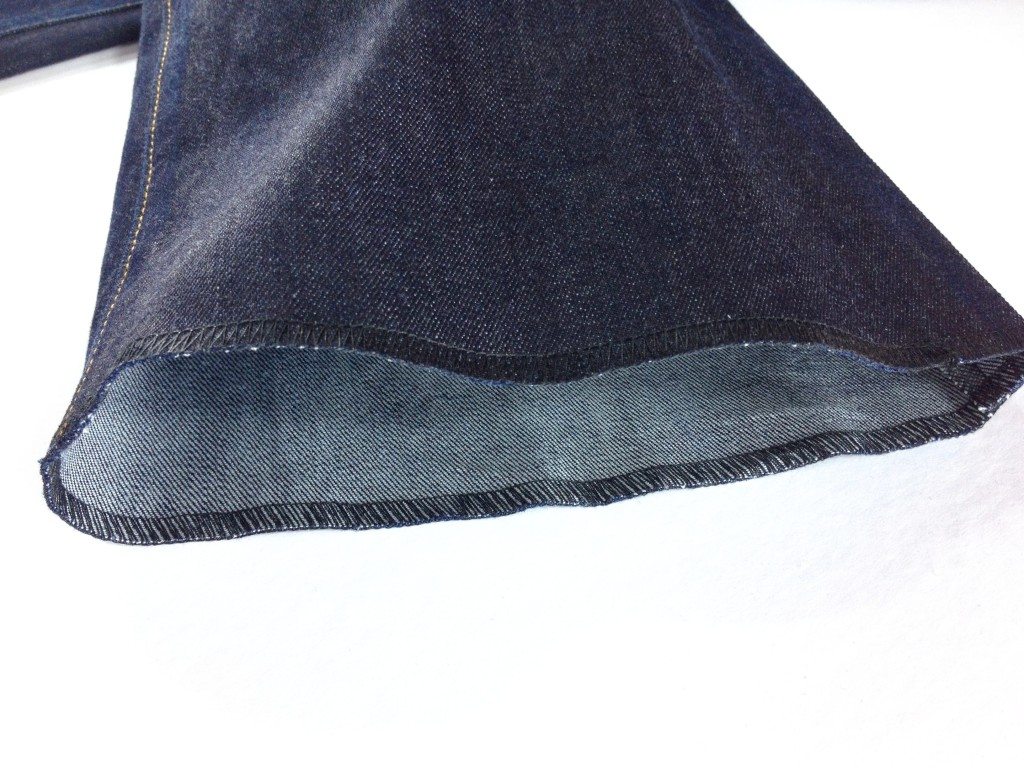
Serge finish the bottom raw edge.
- Fold up the hem allowance (1/2″ or 1.25 cm) and press.

Fold up the hem.
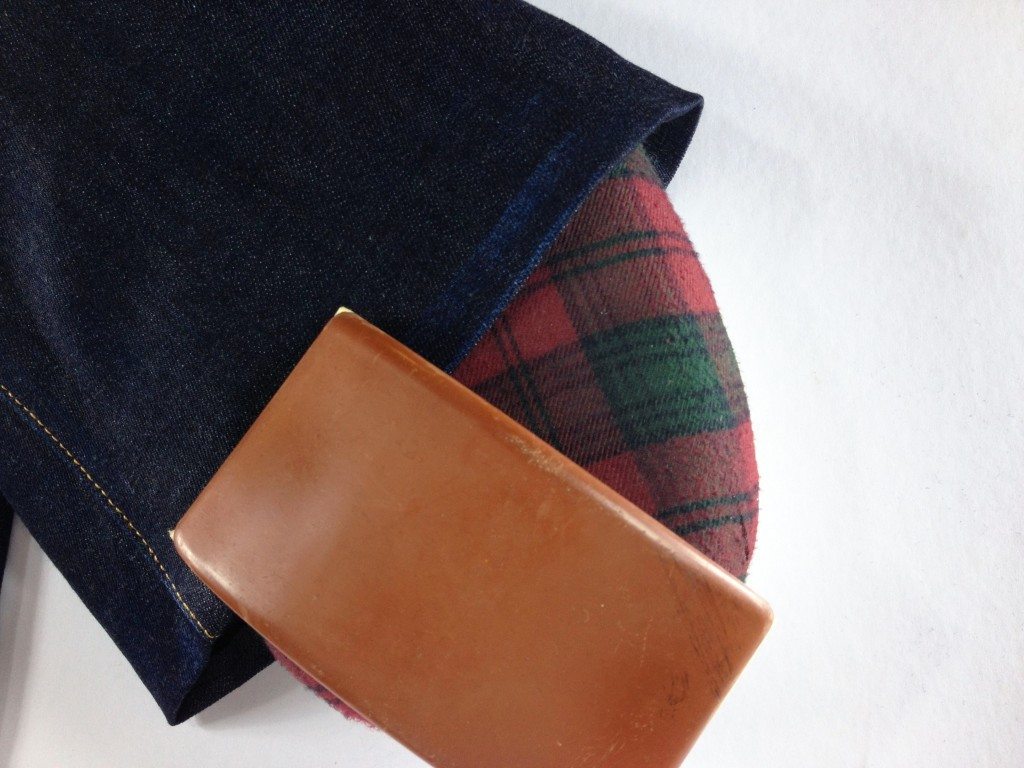
- I also hit the seams with the hammer a little.
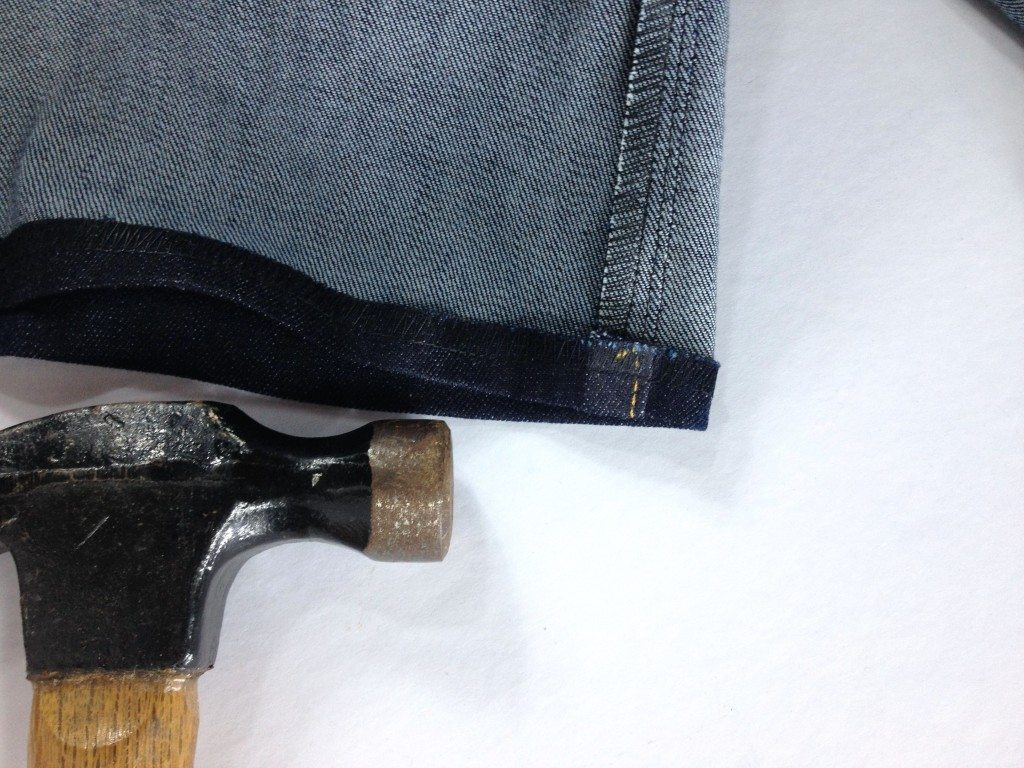
Reduce seam bulk by hitting it with a hammer (on the inside).
- Distress the hem area if you’d like.
Distress the hem area.
- Topstitch the hem. I decided to change things up a little and use two lines of topstitching. I think they go well with the dark wash of the denim and the bright topstitching! Look a bit retro to me.
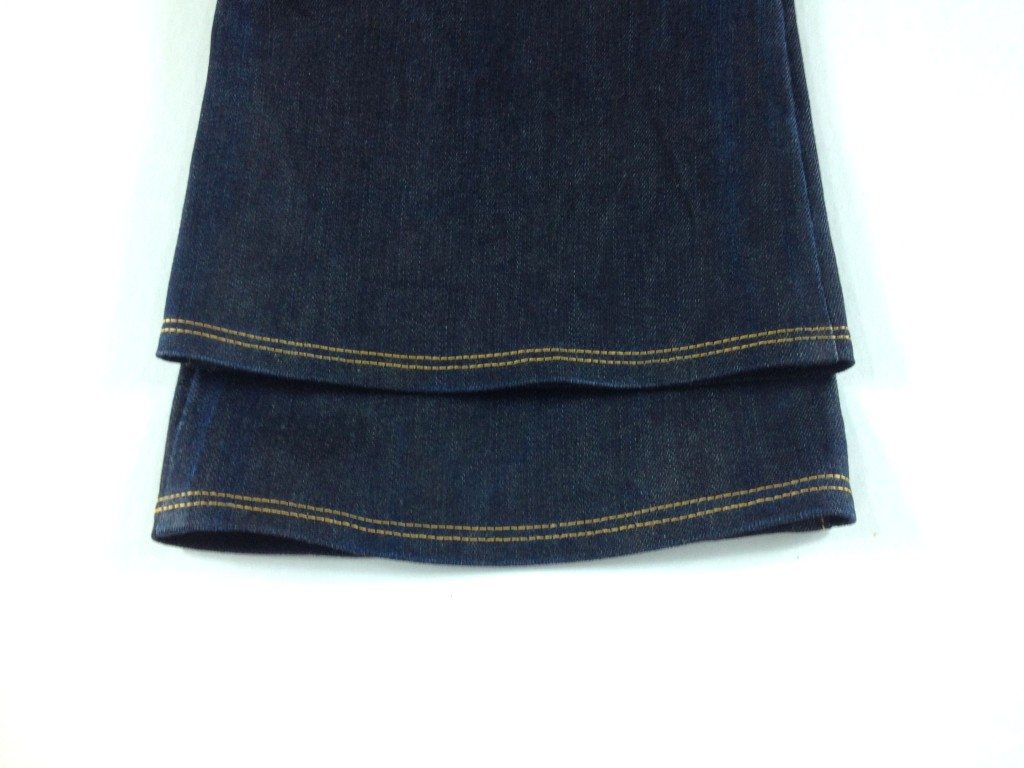
Double lines for the hems.


Back Pockets
We deviated from the pattern instructions and did not stitch the back pockets to the jeans yet. This is because I want to talk about the placement of the back pockets. It will be just a tiny bit more difficult to stitch them on at this point because the jeans can no long be laid flat, and you have to reach in and be sure you don’t stitch anything else along. So after you find your placement, for your next pair of jeans, you may want to follow the sequence of the pattern instructions and stitch the back pockets in the beginning.
Here are some points I keep in mind when placing the back pockets:
- The bottom point of the back pocket should be at the bottom of the derriere, where the jeans starts to curve under.
- The inner side of the back pocket (the side that is the closest to the center back) should be somewhat parallel to the center back. This way, the pocket will be slanted slightly and the bottom of the pocket will be pointed inward. The derriere will look smaller. In contrast, if the top of the pocket is parallel to the yoke seam, then your pocket would be slanted outward and the bottom of the pocket would be pointed to the widest part of your hip, which would make the derriere look bigger.
- In Liana Stretch Jeans, the dimensions of the back pockets vary for different sizes. Generally speaking, the bigger the pockets, the smaller the derriere. And vice versa.
- The ideal placement is to have the pocket centered over the fleshiest part of the buttock. If the pockets are placed too far part or too closed together, the derriere will look bigger.
- The center back seam is NOT the center of the two pockets. The two pockets need to be placed at equal distances from the center back topstitching (which is slightly off to the left), so visually they look correct.
I had my assistant (a.k.a. my husband) to help me place my back pocket. He used double-side tape to temporarily adhere the pockets on. I’d say he’s not a natural (the pockets are crocked), but I am glad for his help and this will do.
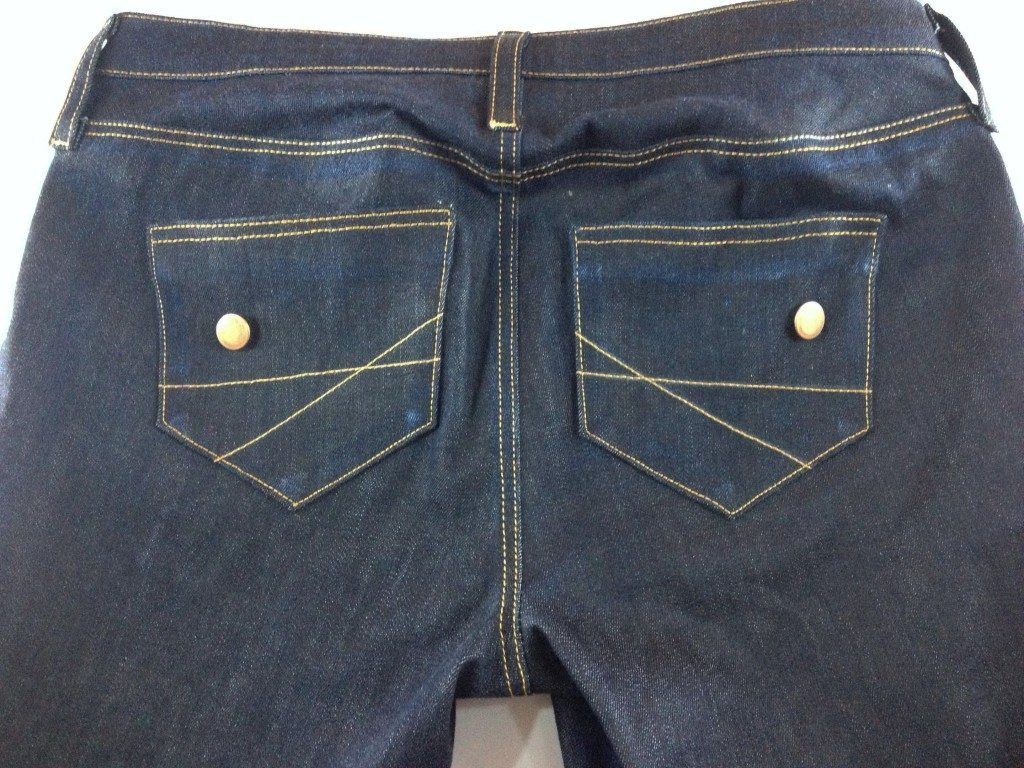
The pockets are definitely too far at the first attempt, and they are a tad low too.
Too far.
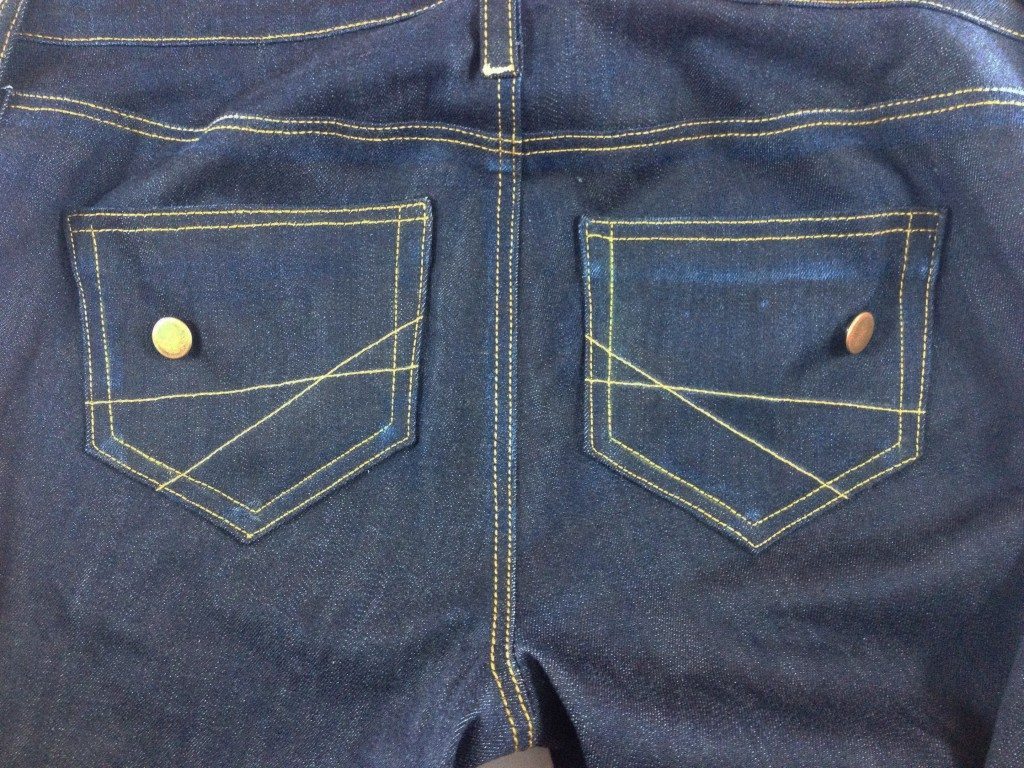
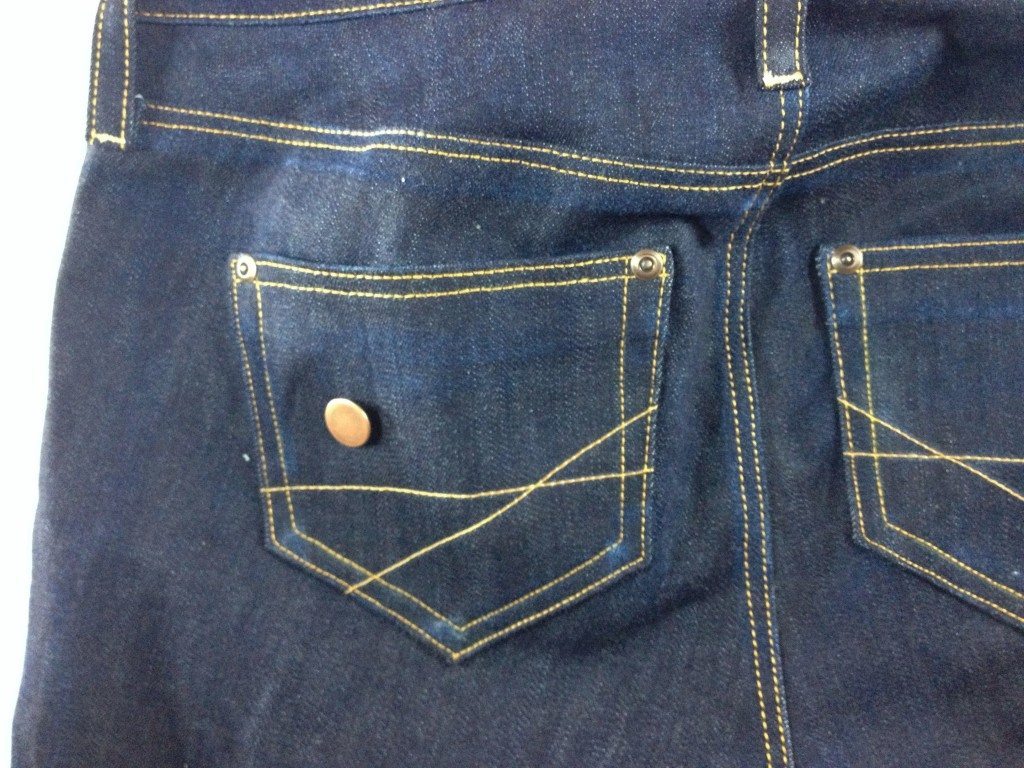
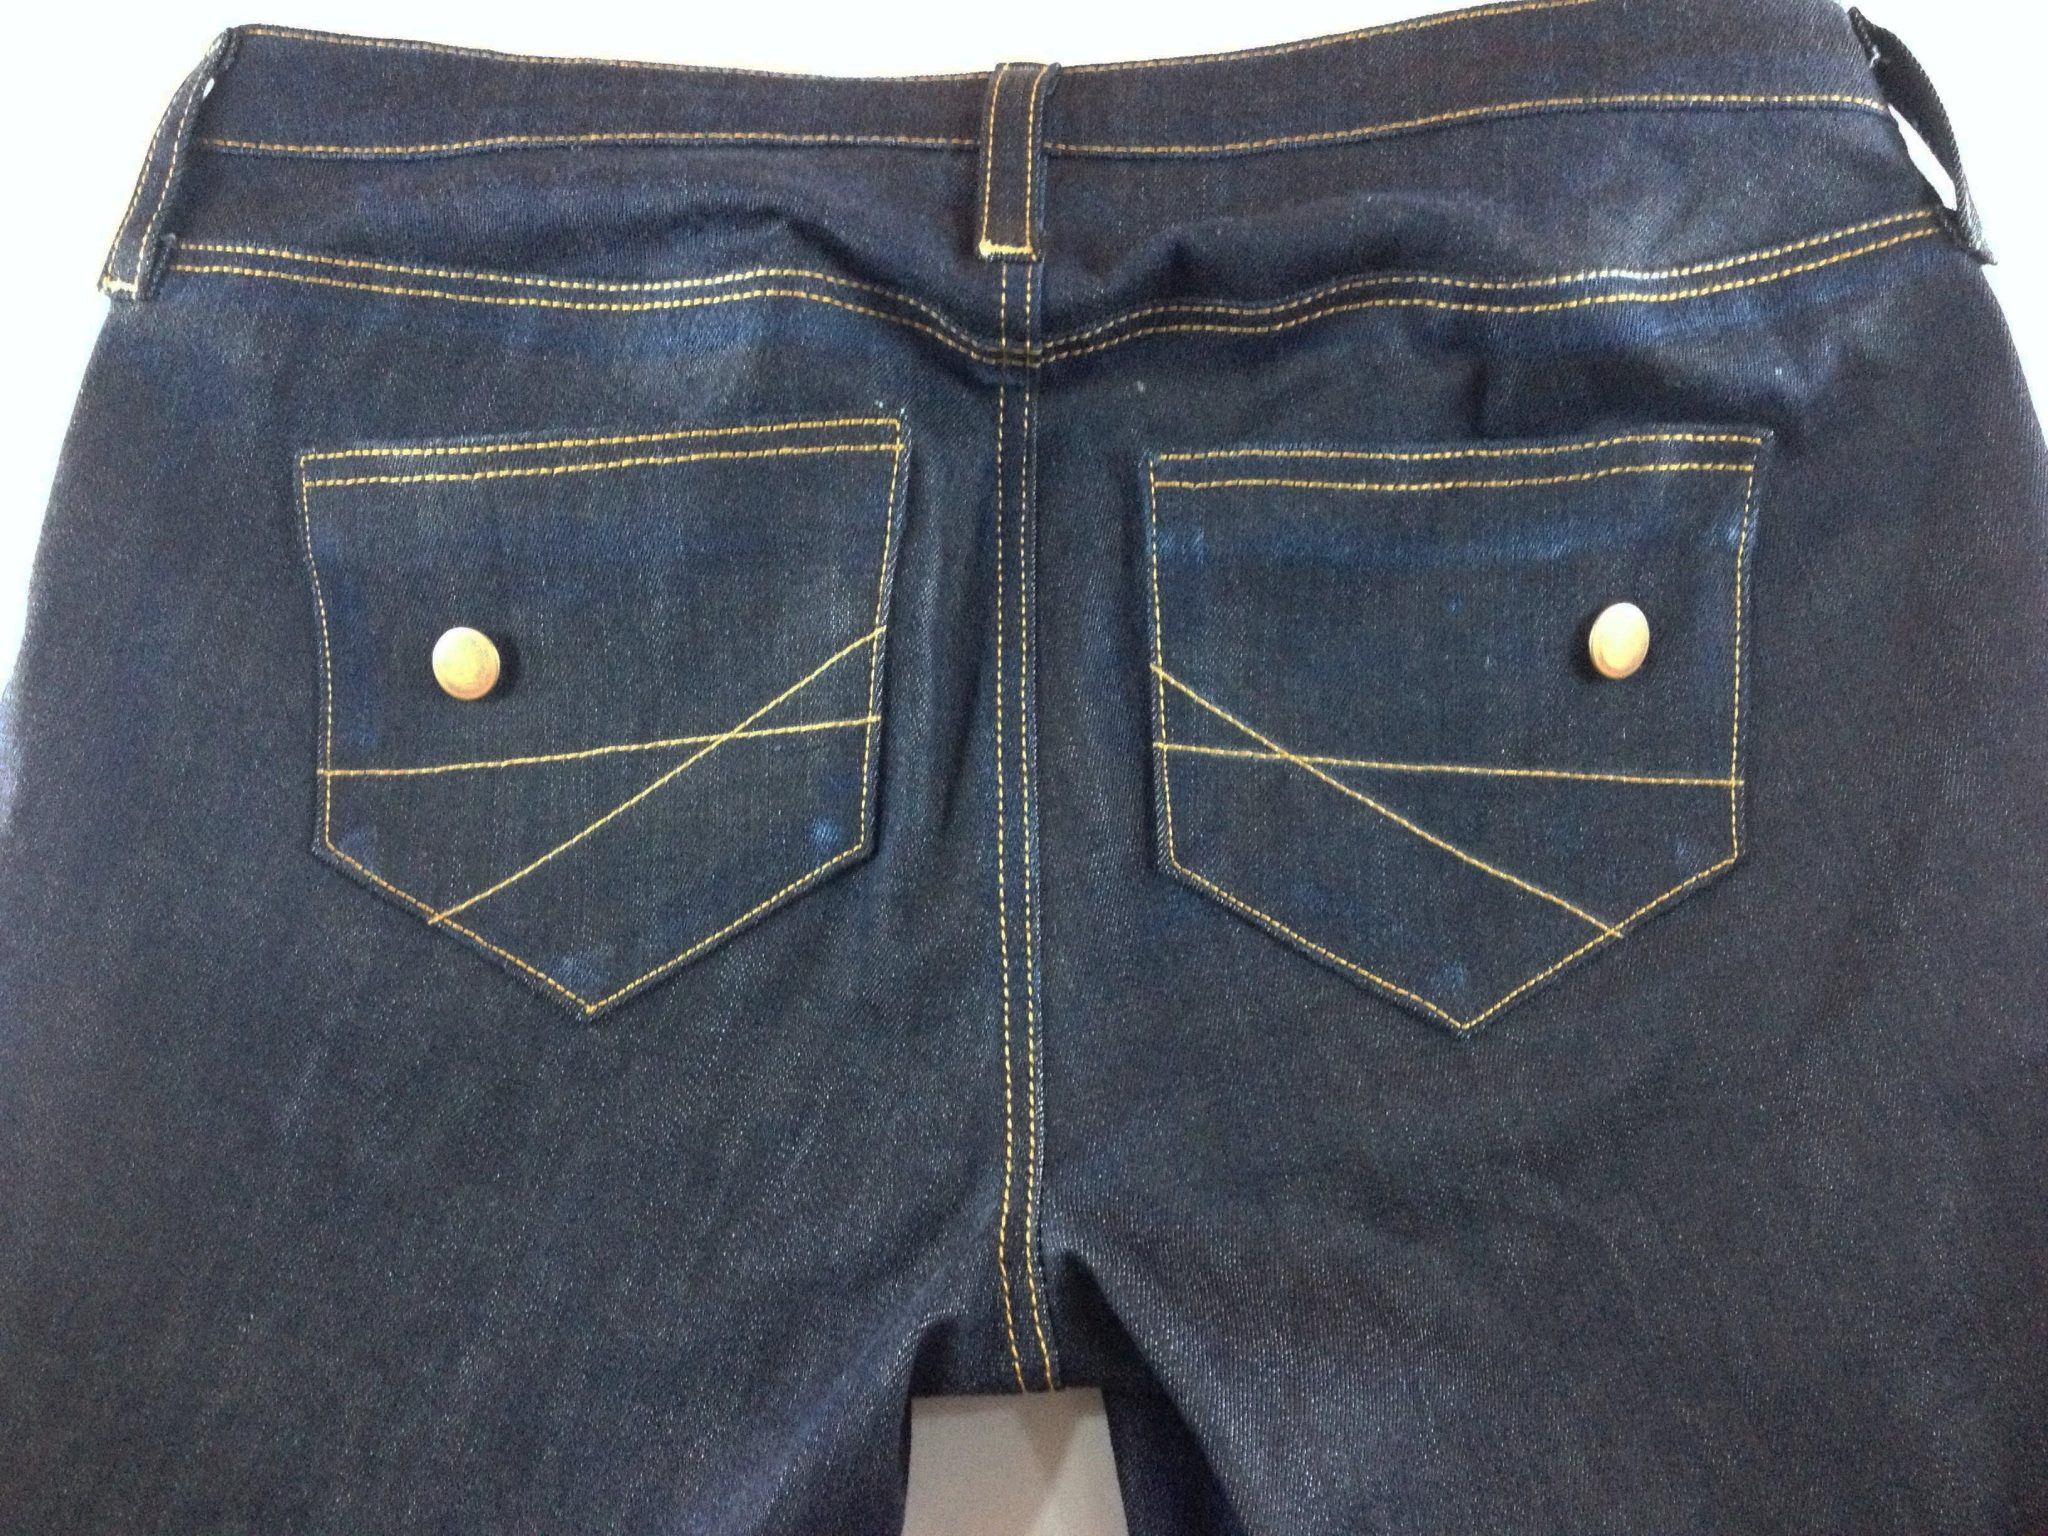
In the second attempt, even though the pockets are crocked, I think they are actually pretty good. He followed my instructions and placed the inner side of the pockets parallel to the center seam. And the pockets are also appropriately higher, so that the bottom point of the pocket is at the bottom of my buttocks. I like the right one’s placement.
About right (beside the fact the left one is crocked).
Now I am ready to stitch them on.
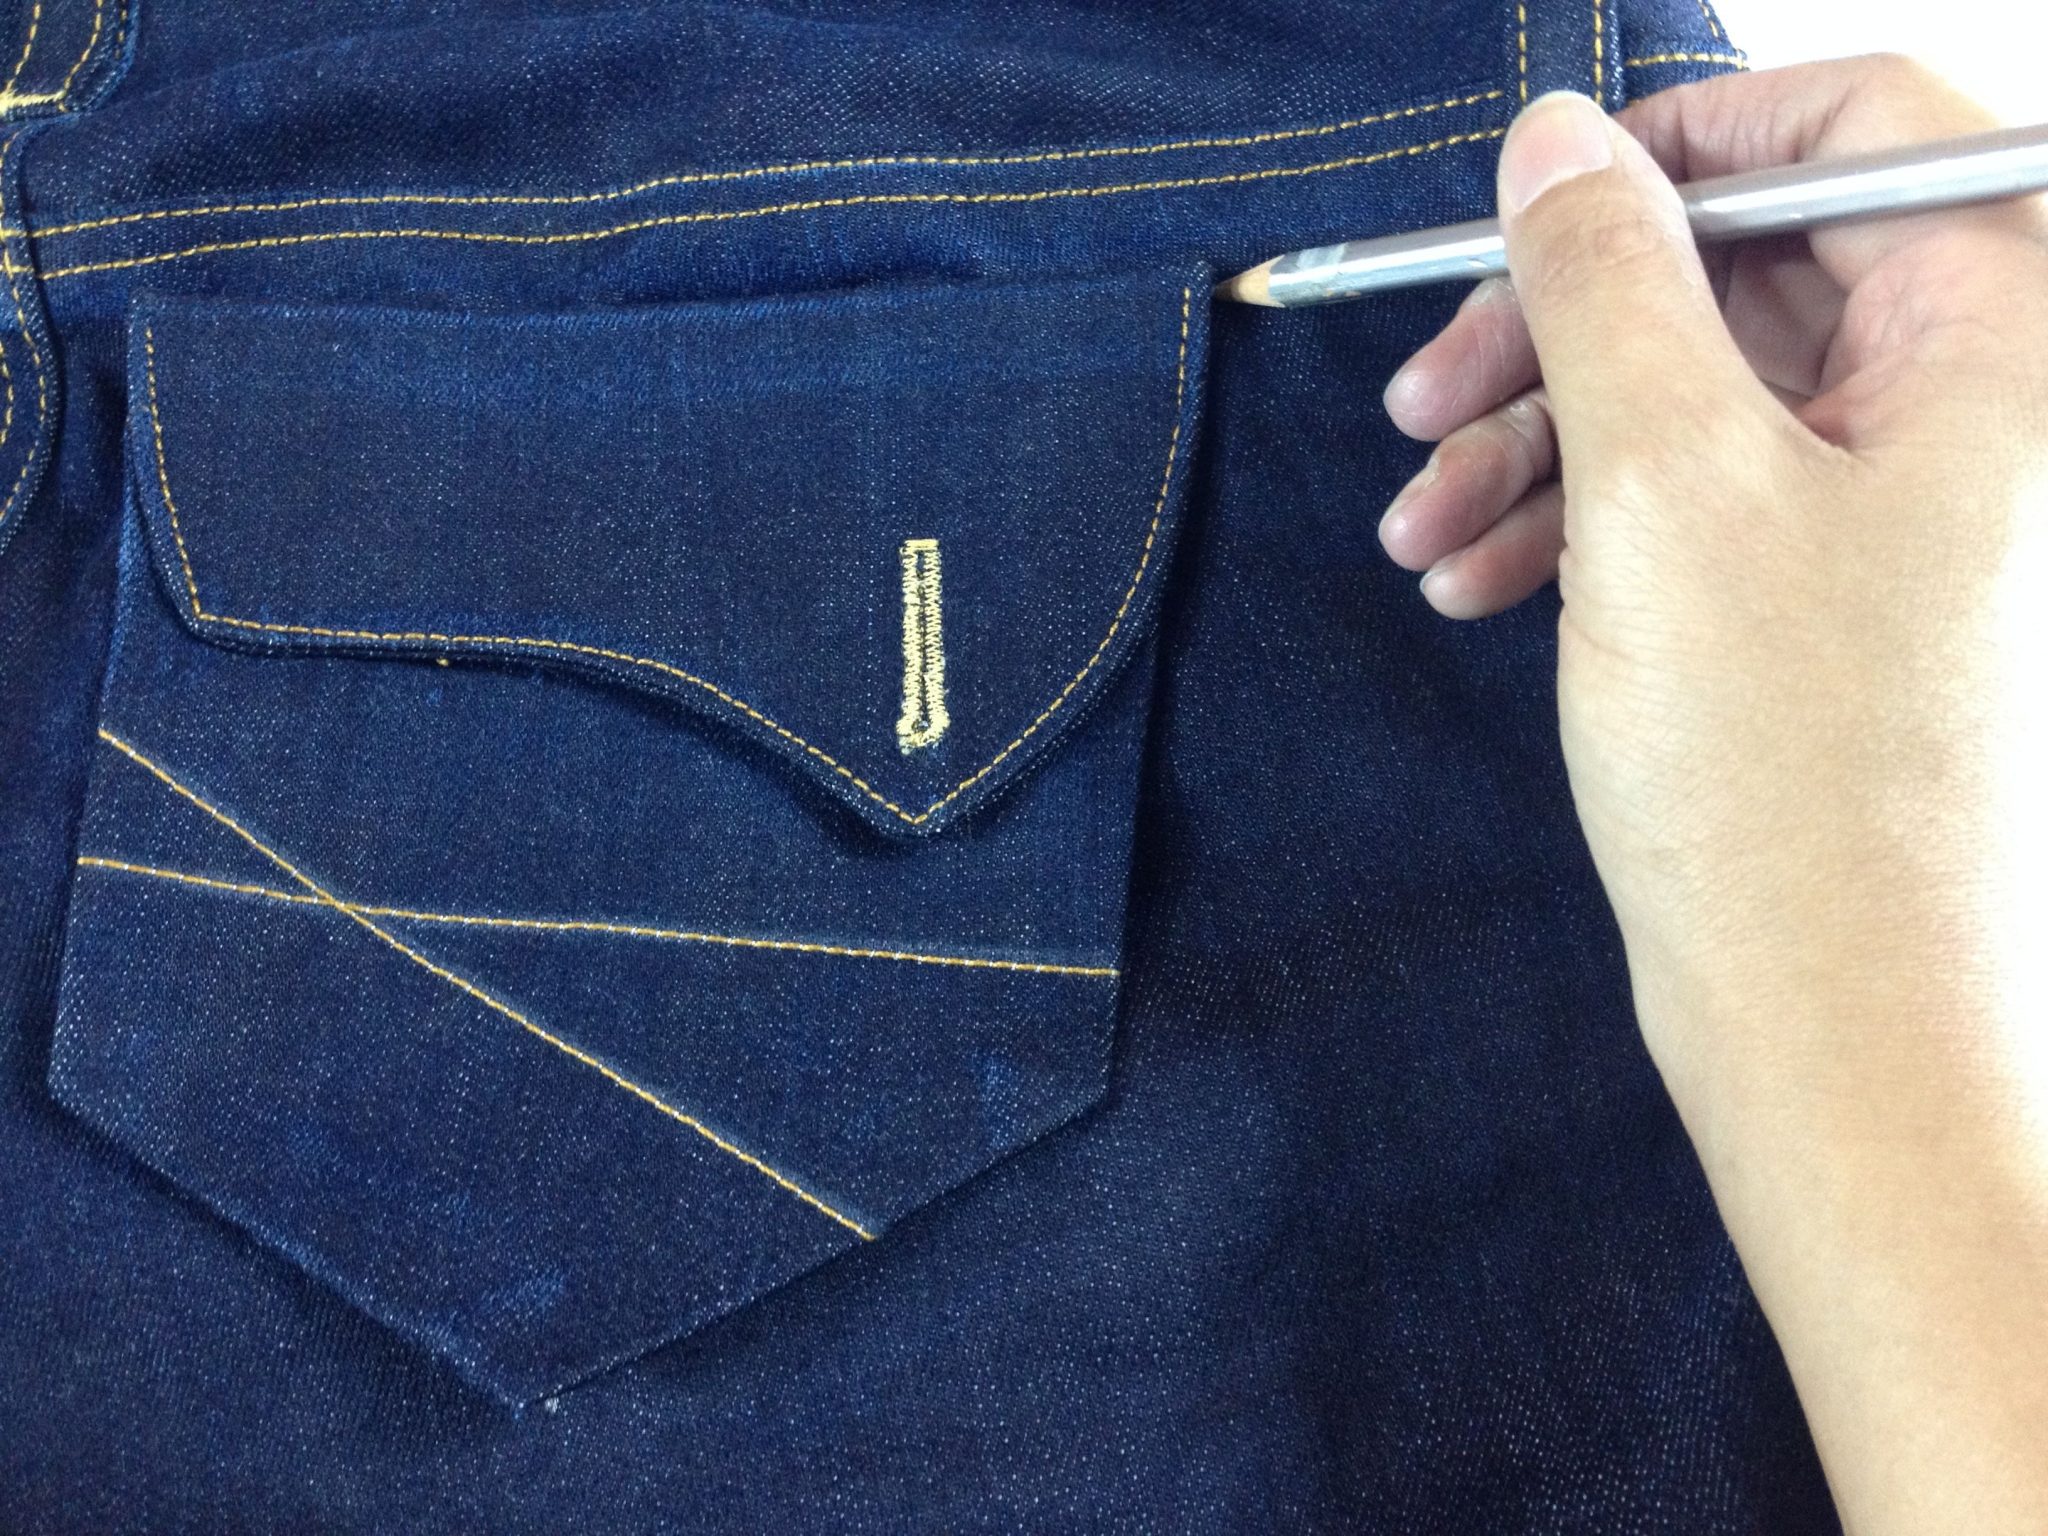
- Be sure to mark the placement of the pockets and the flaps.

Mark the placements of the pockets and the flaps.
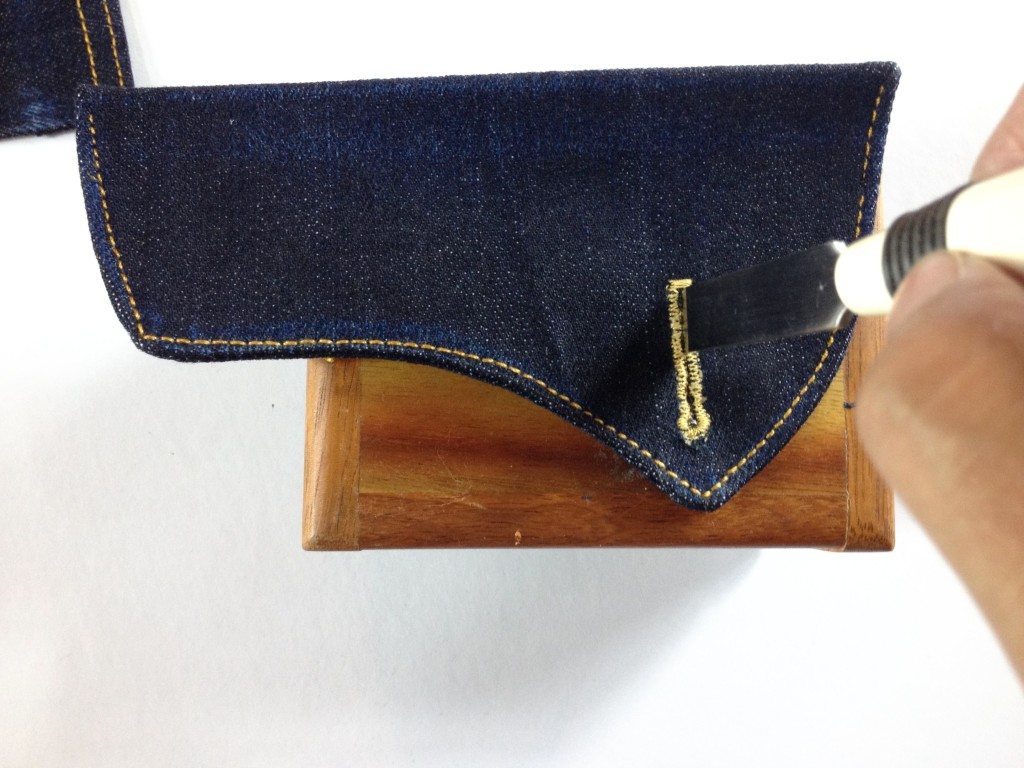
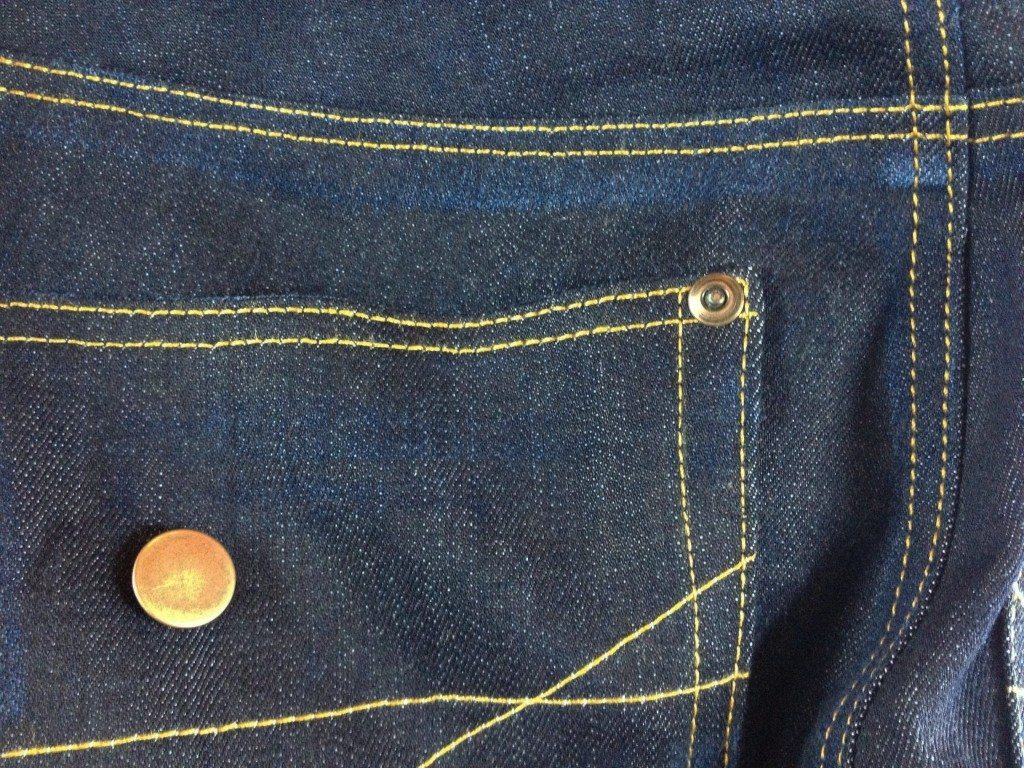
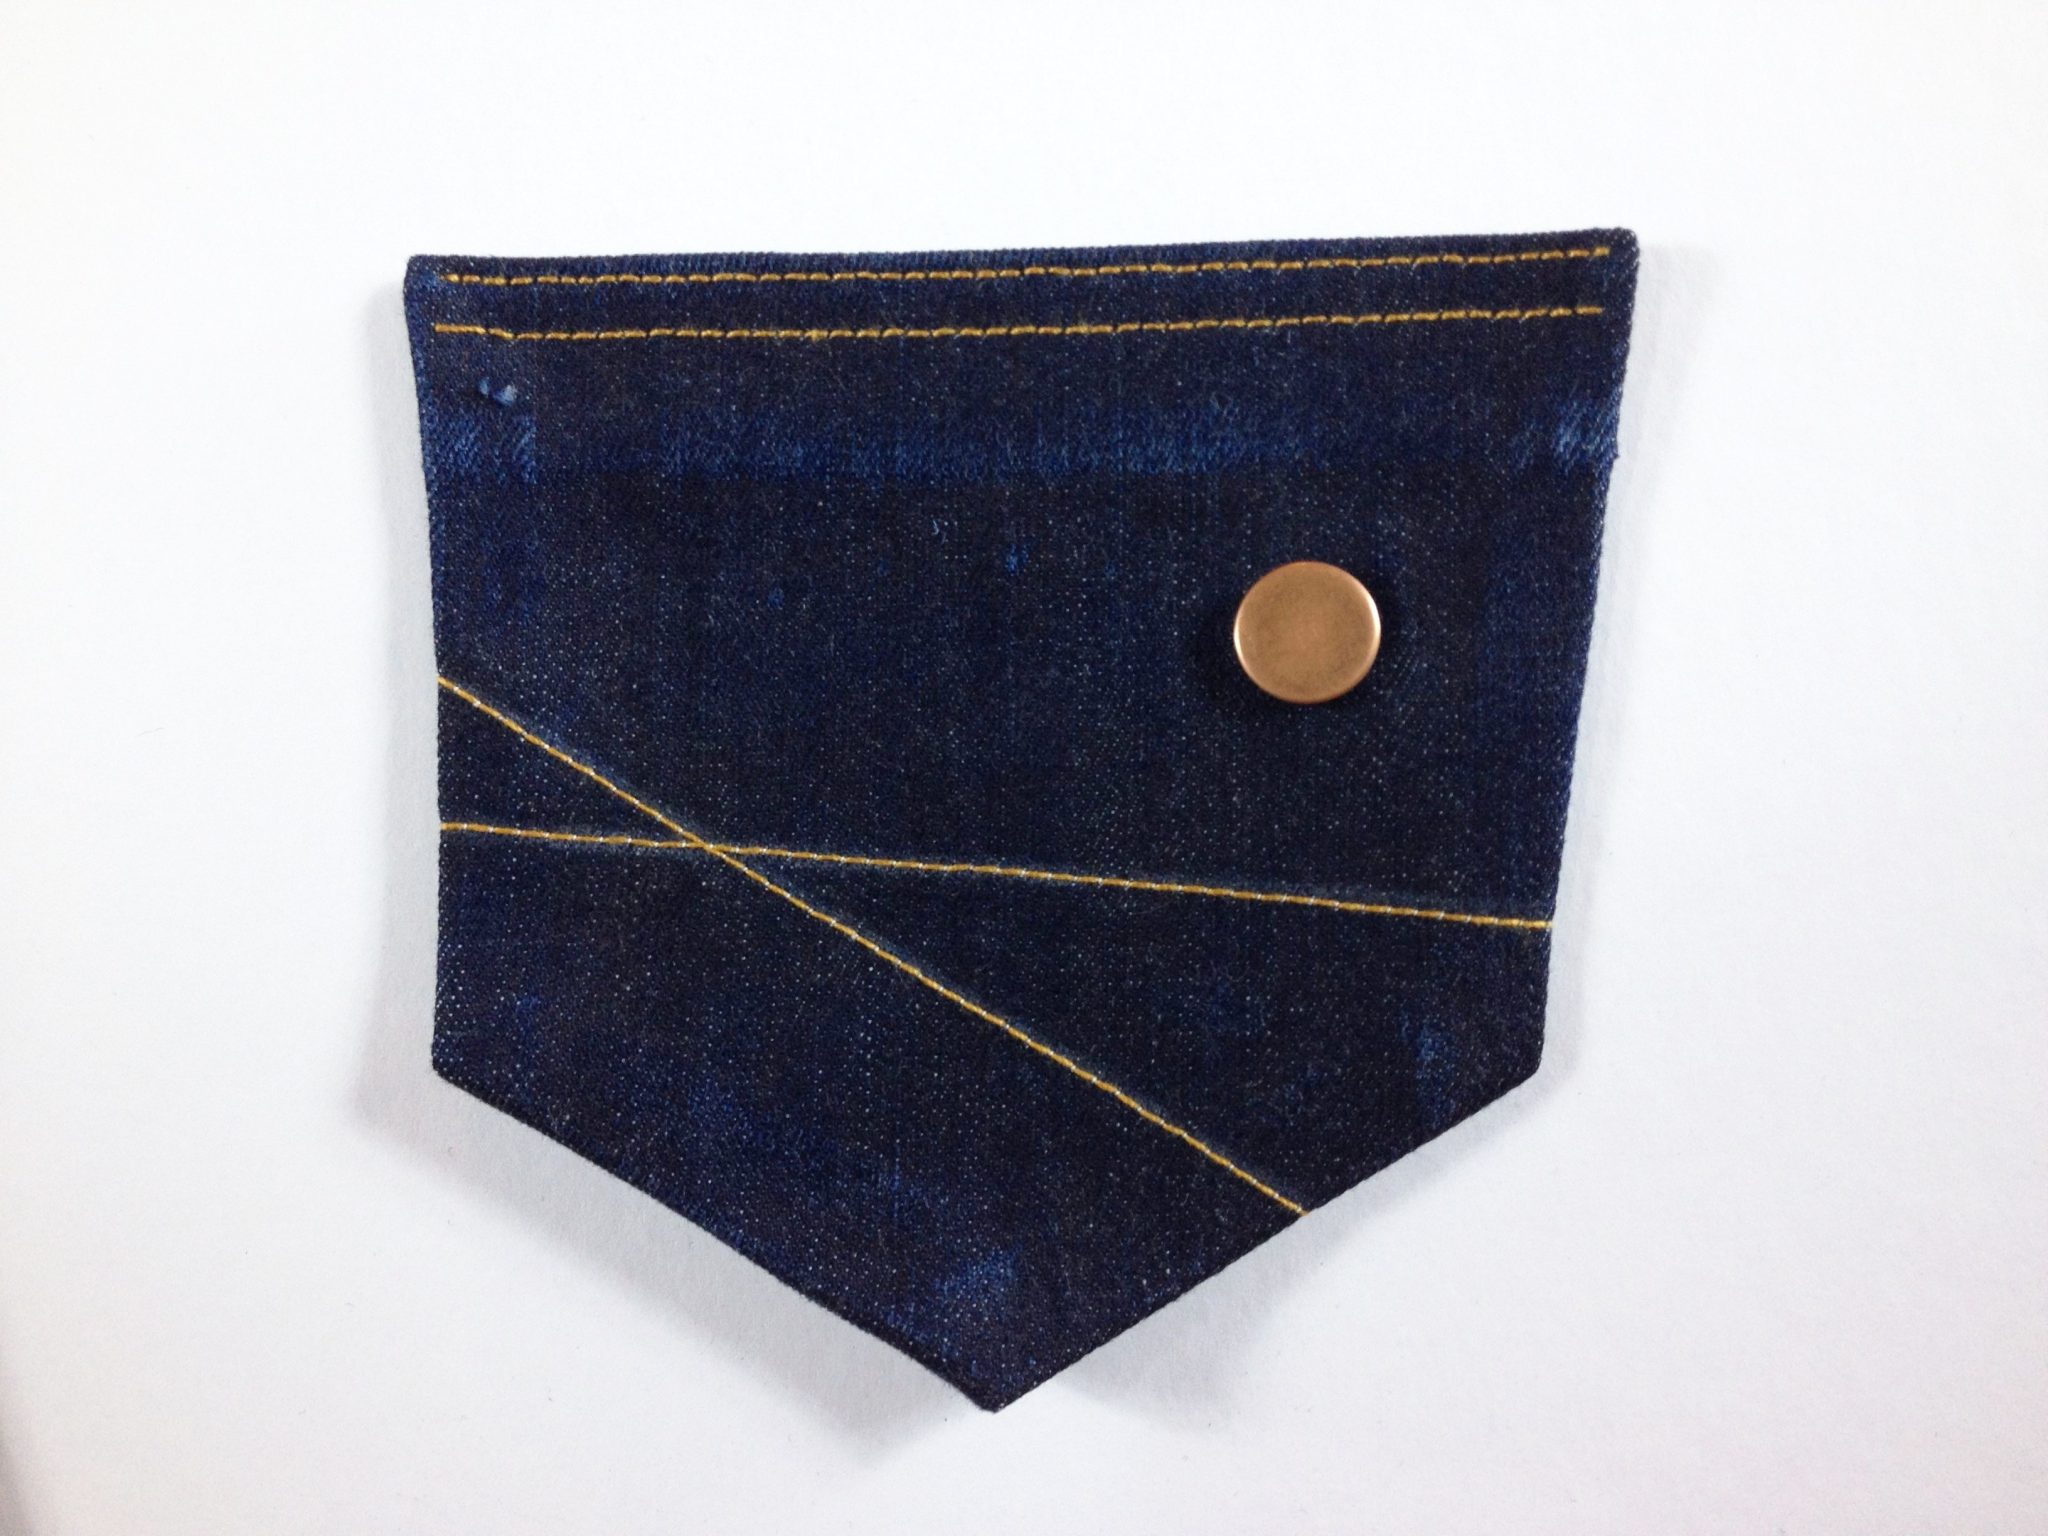
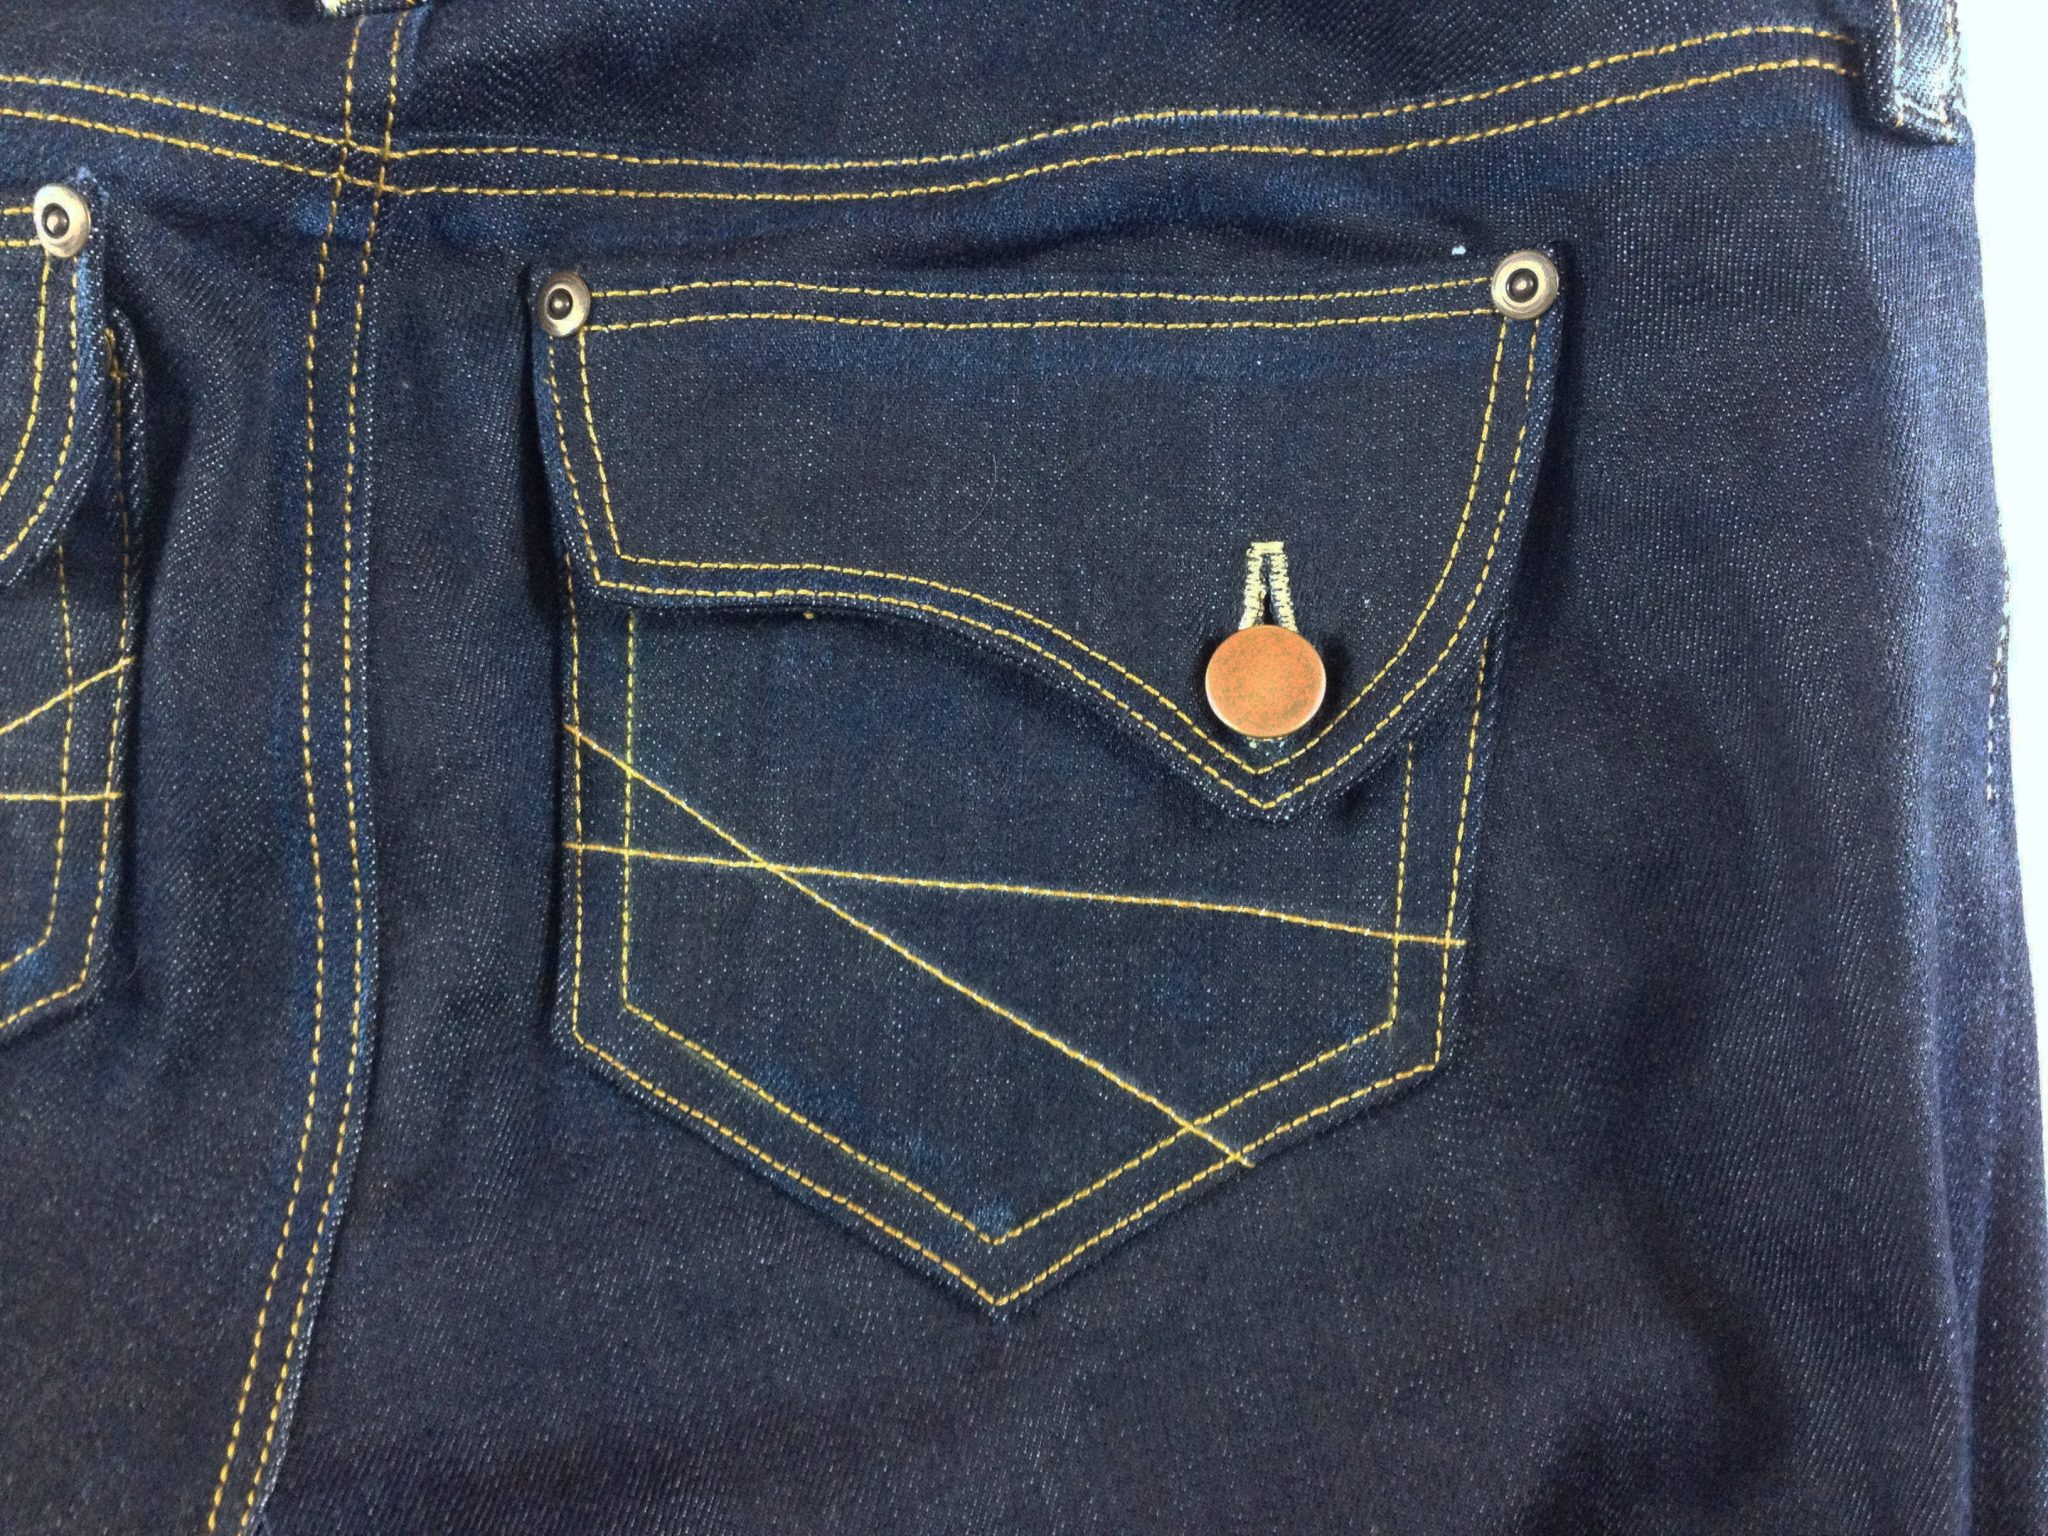
- It’a also time to put the buttons on the pocket. It’s easier to do it now than later. This is the same way as putting the button on the waistband; however, this is one layer of fabric only, so you will have to trim the pin of the button a bit more. Optionally, you can iron on a small square of interfacing onto the back of the pocket to strengthen the area.
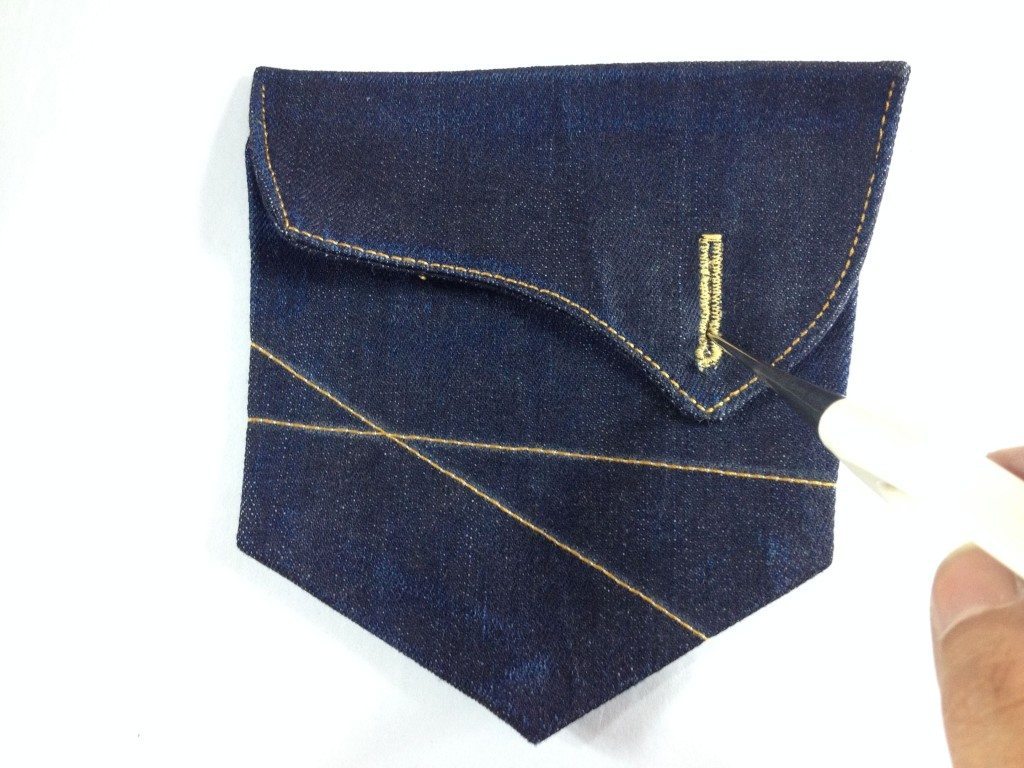
Use an awl (or a nail) to poke through the buttonhole to determine the placement of the button.
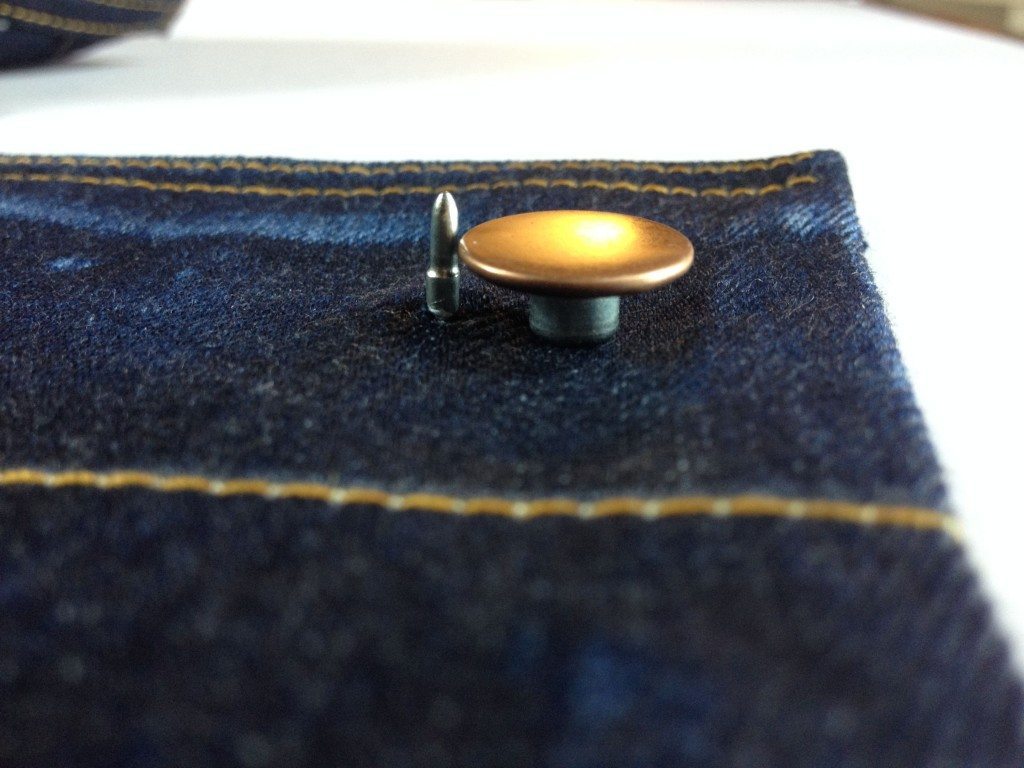
The pin is quite a bit longer than than the button.
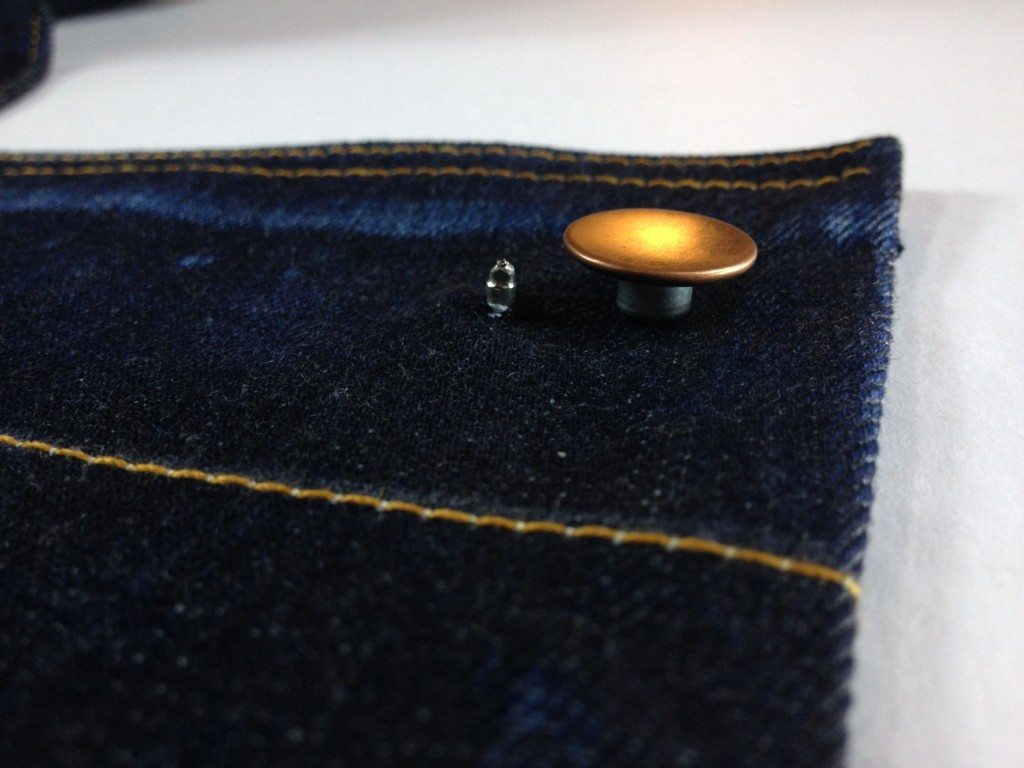
The pin is trimmed!
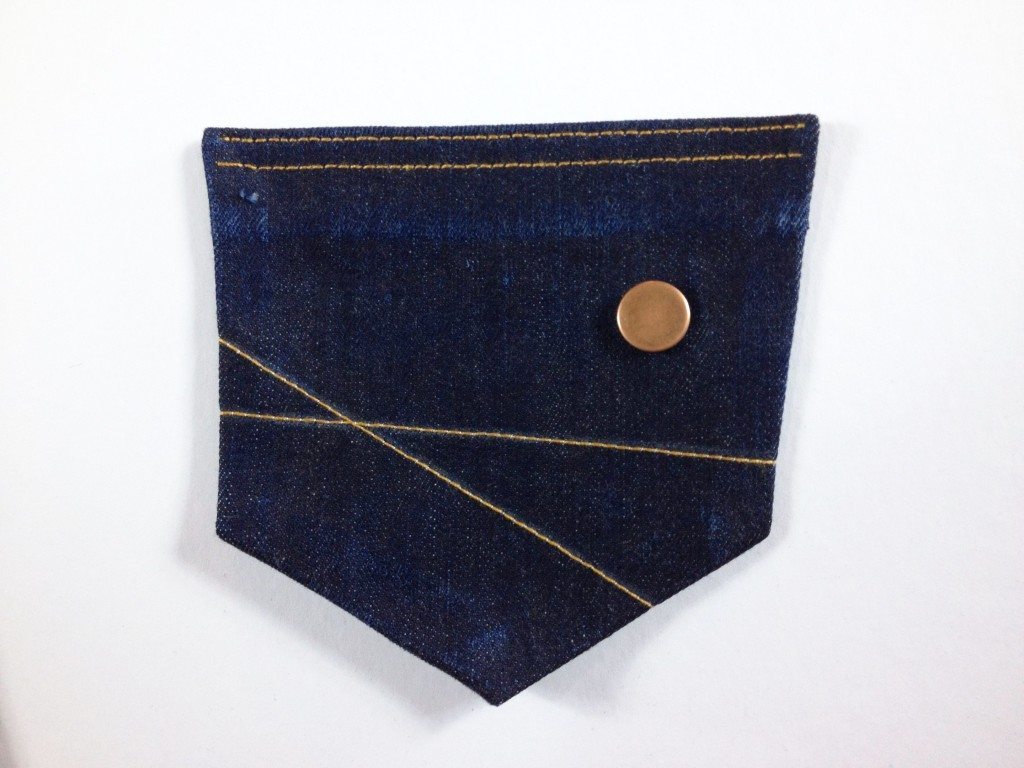
Hammered in!
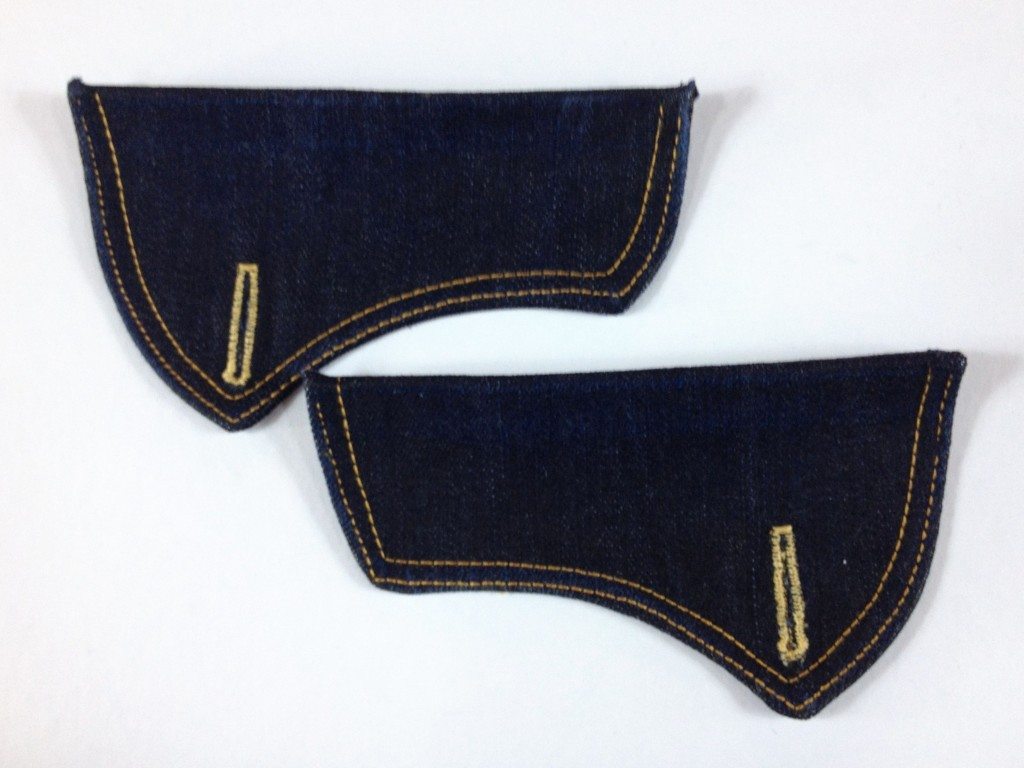
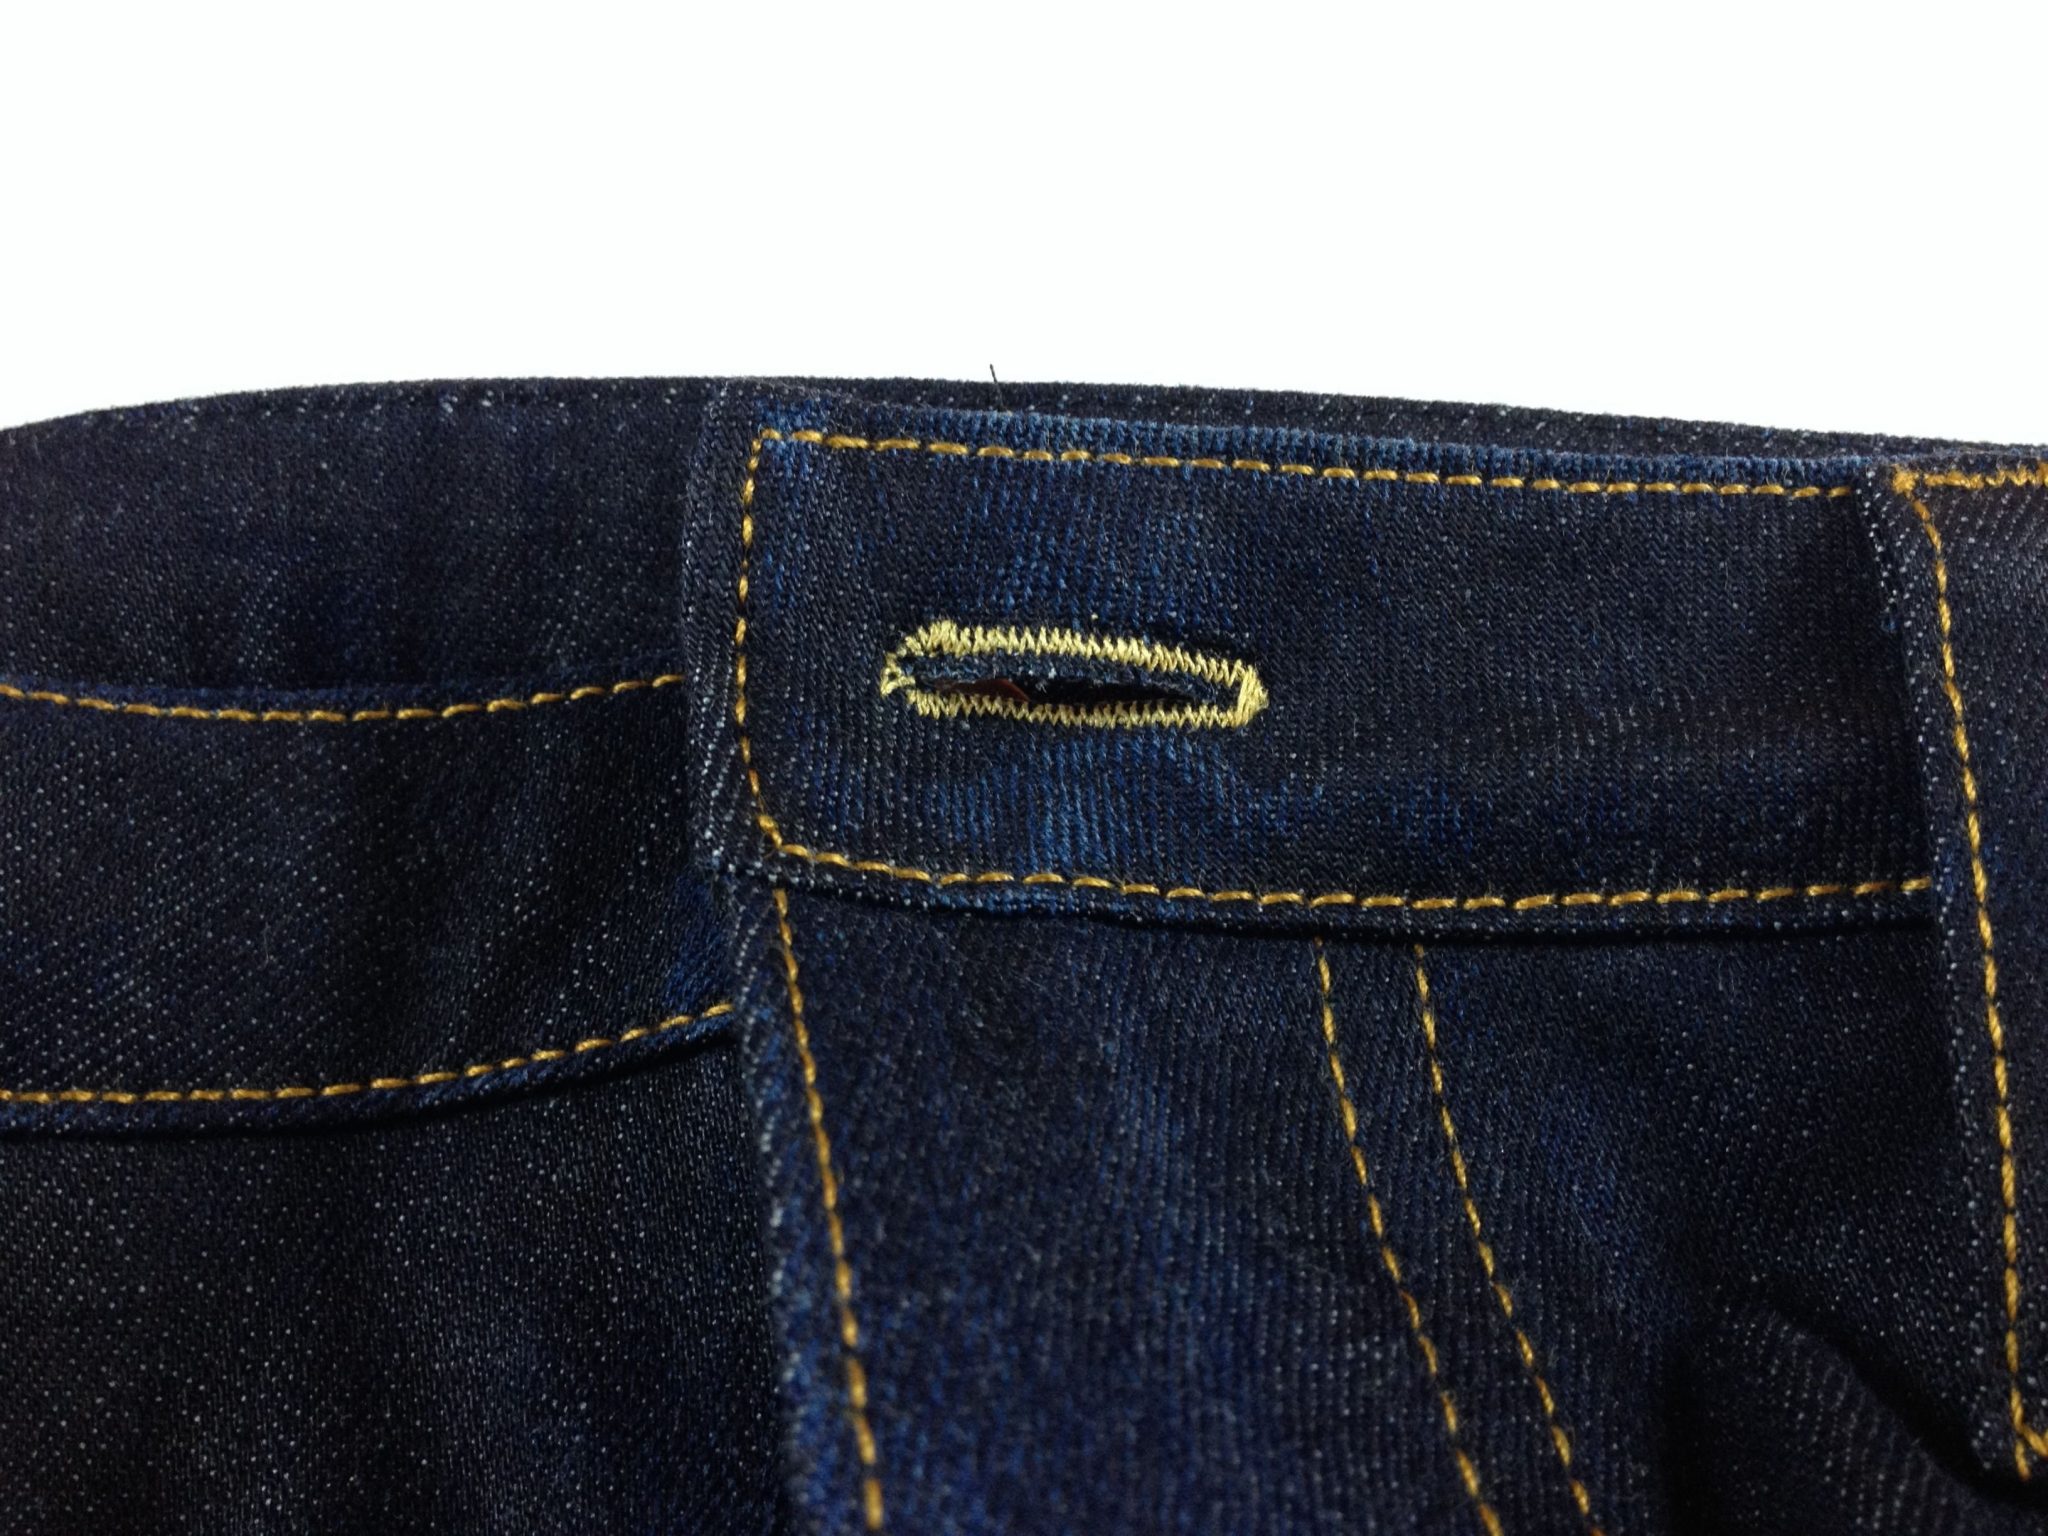
- It’s also time to cut the buttonhole open. I have a buttonhole cutter, but if you don’t, you can cut open with your scissors. Put a pin at both ends of the buttonhole so you don’t accidentally cut more! I also cut the waistband buttonhole at this time too.
Cut open buttonhole.

Waistband buttonhole cut too!
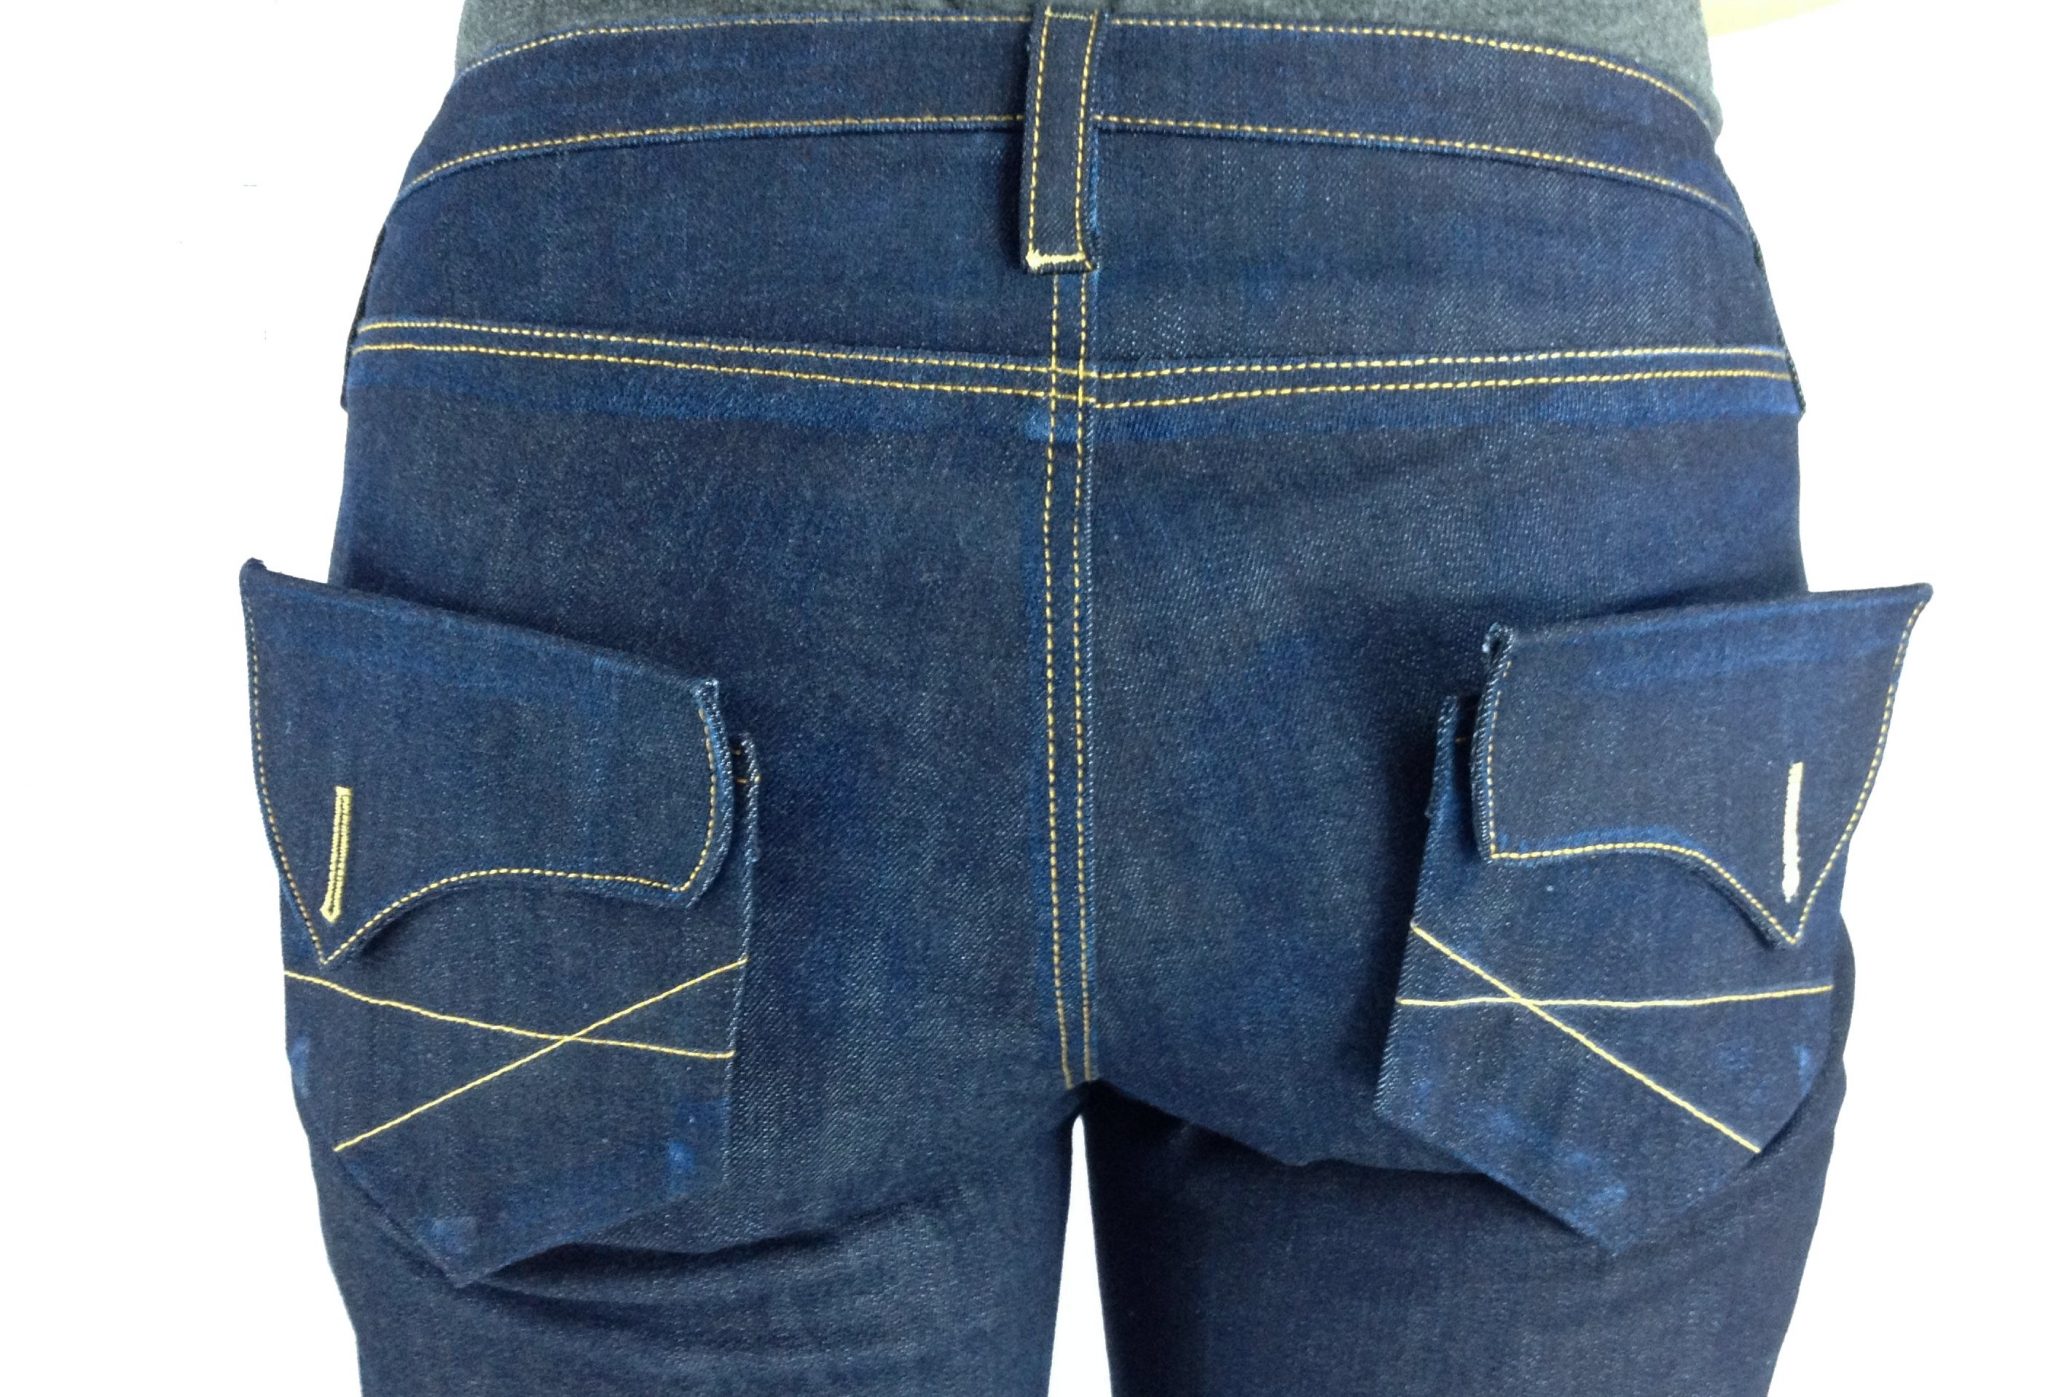
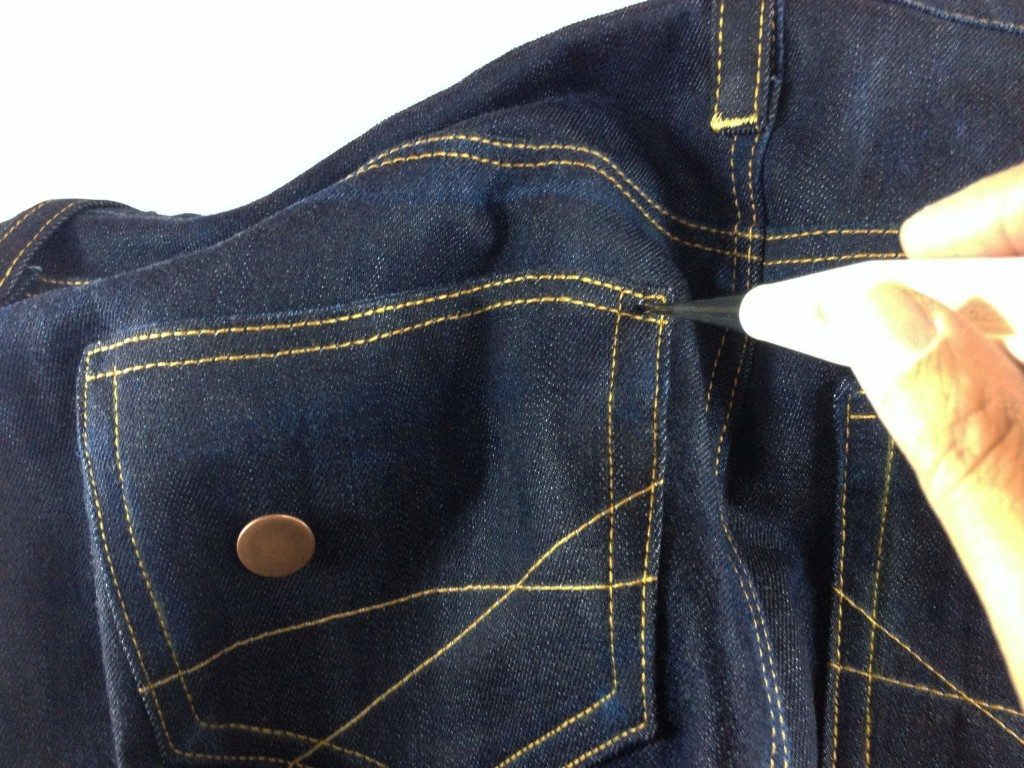
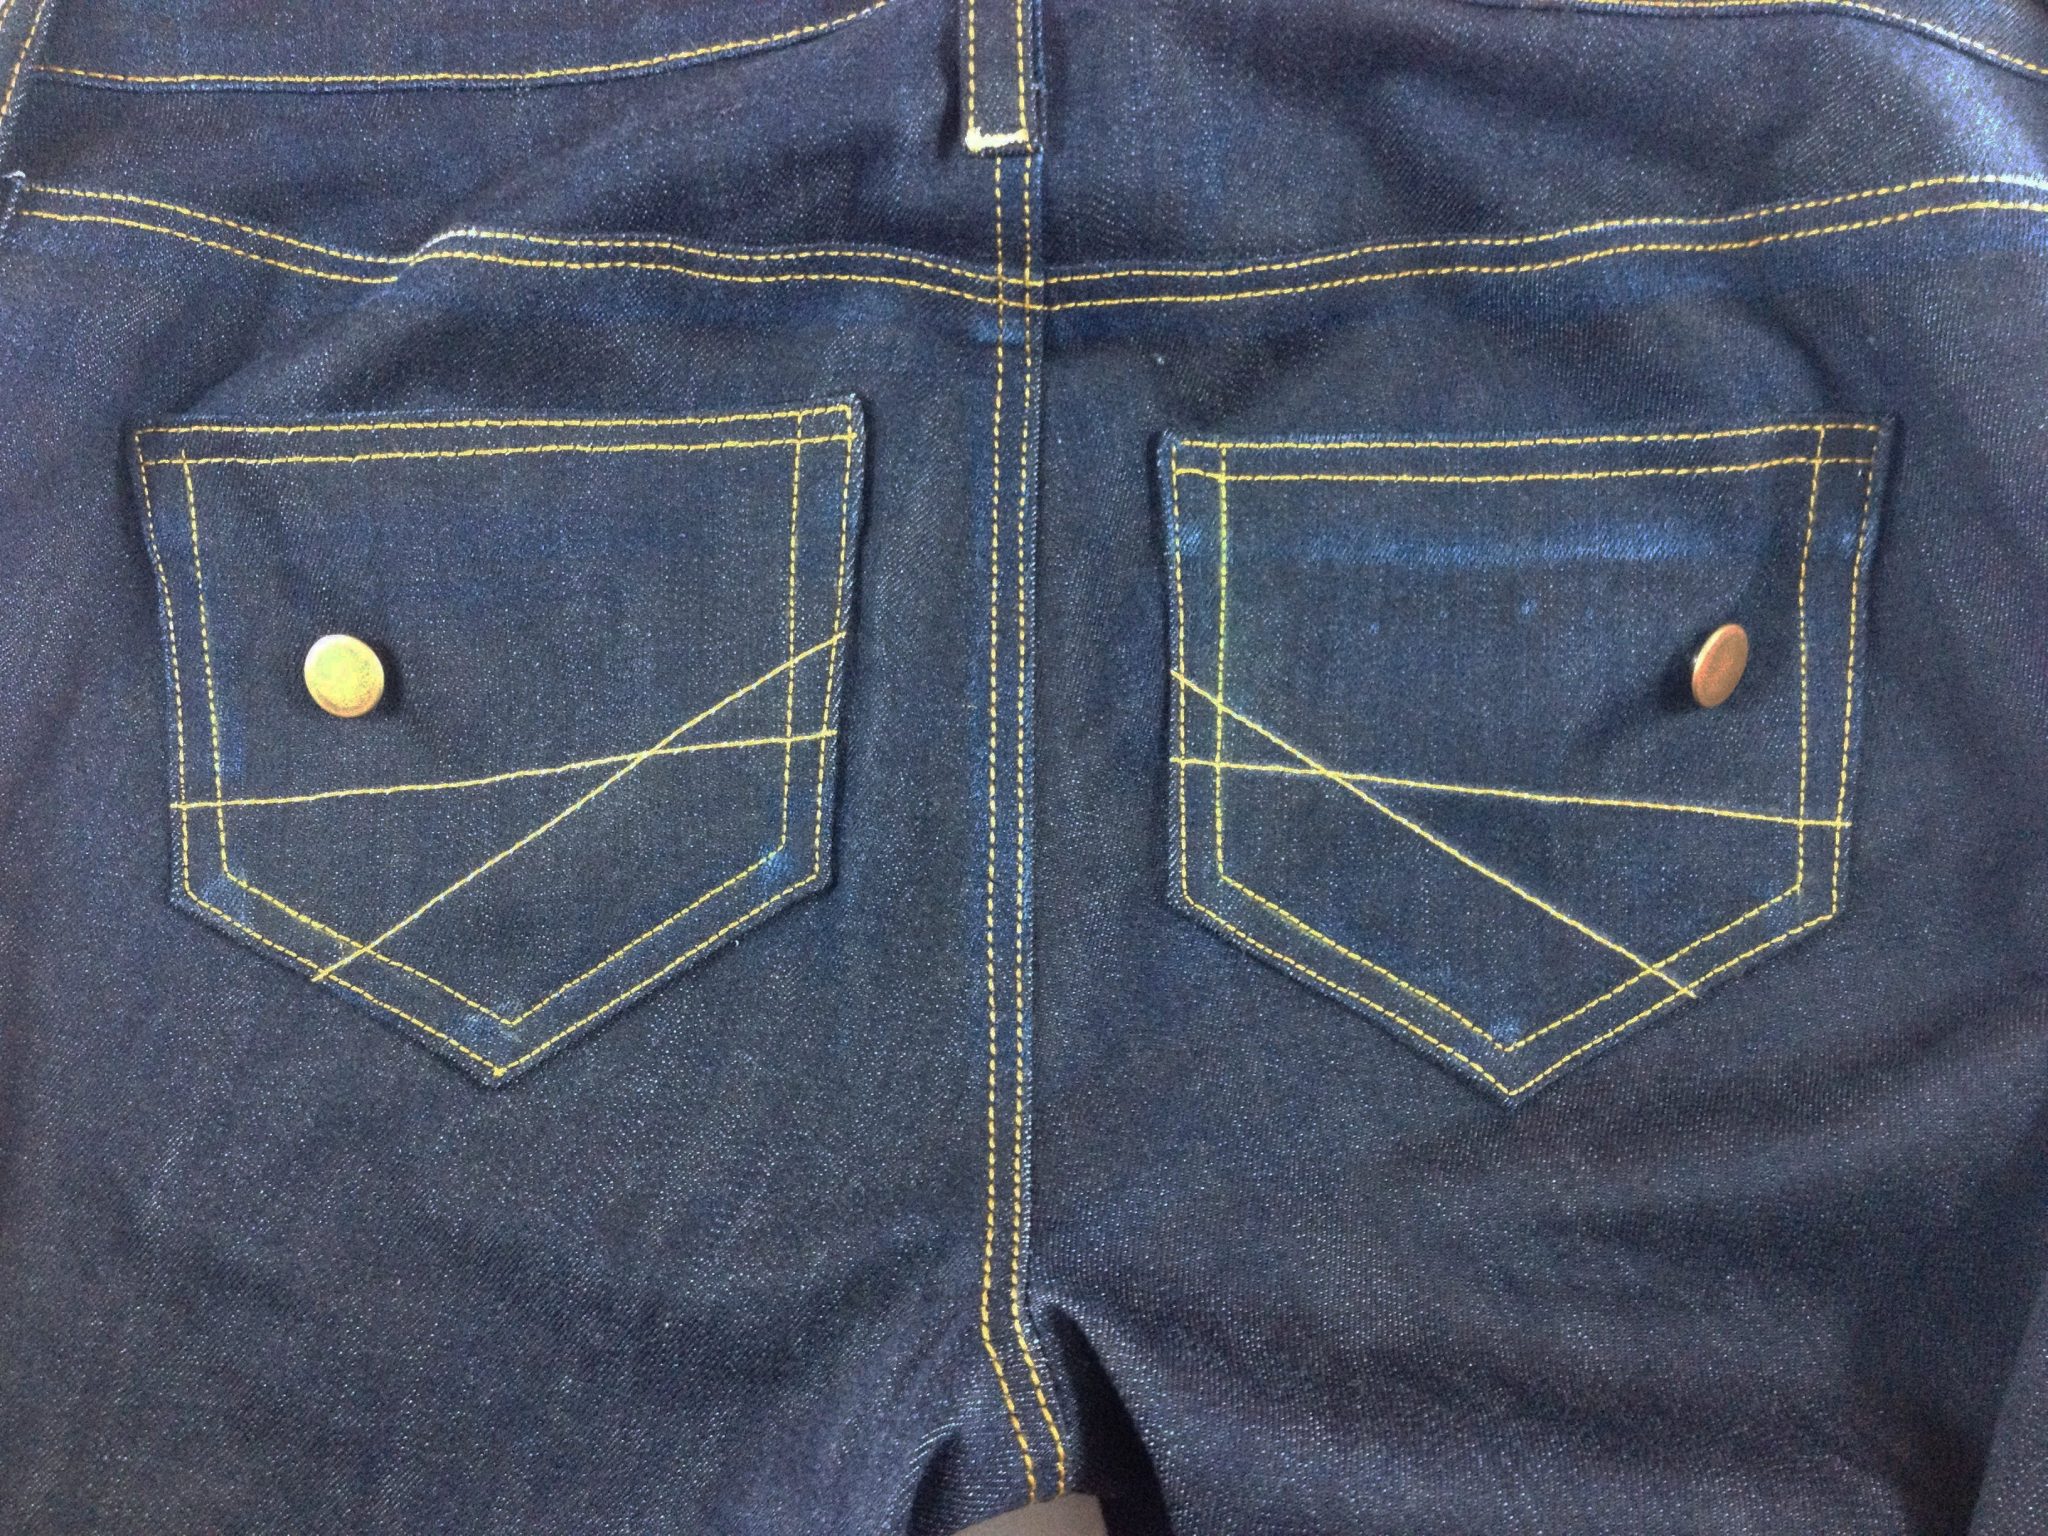
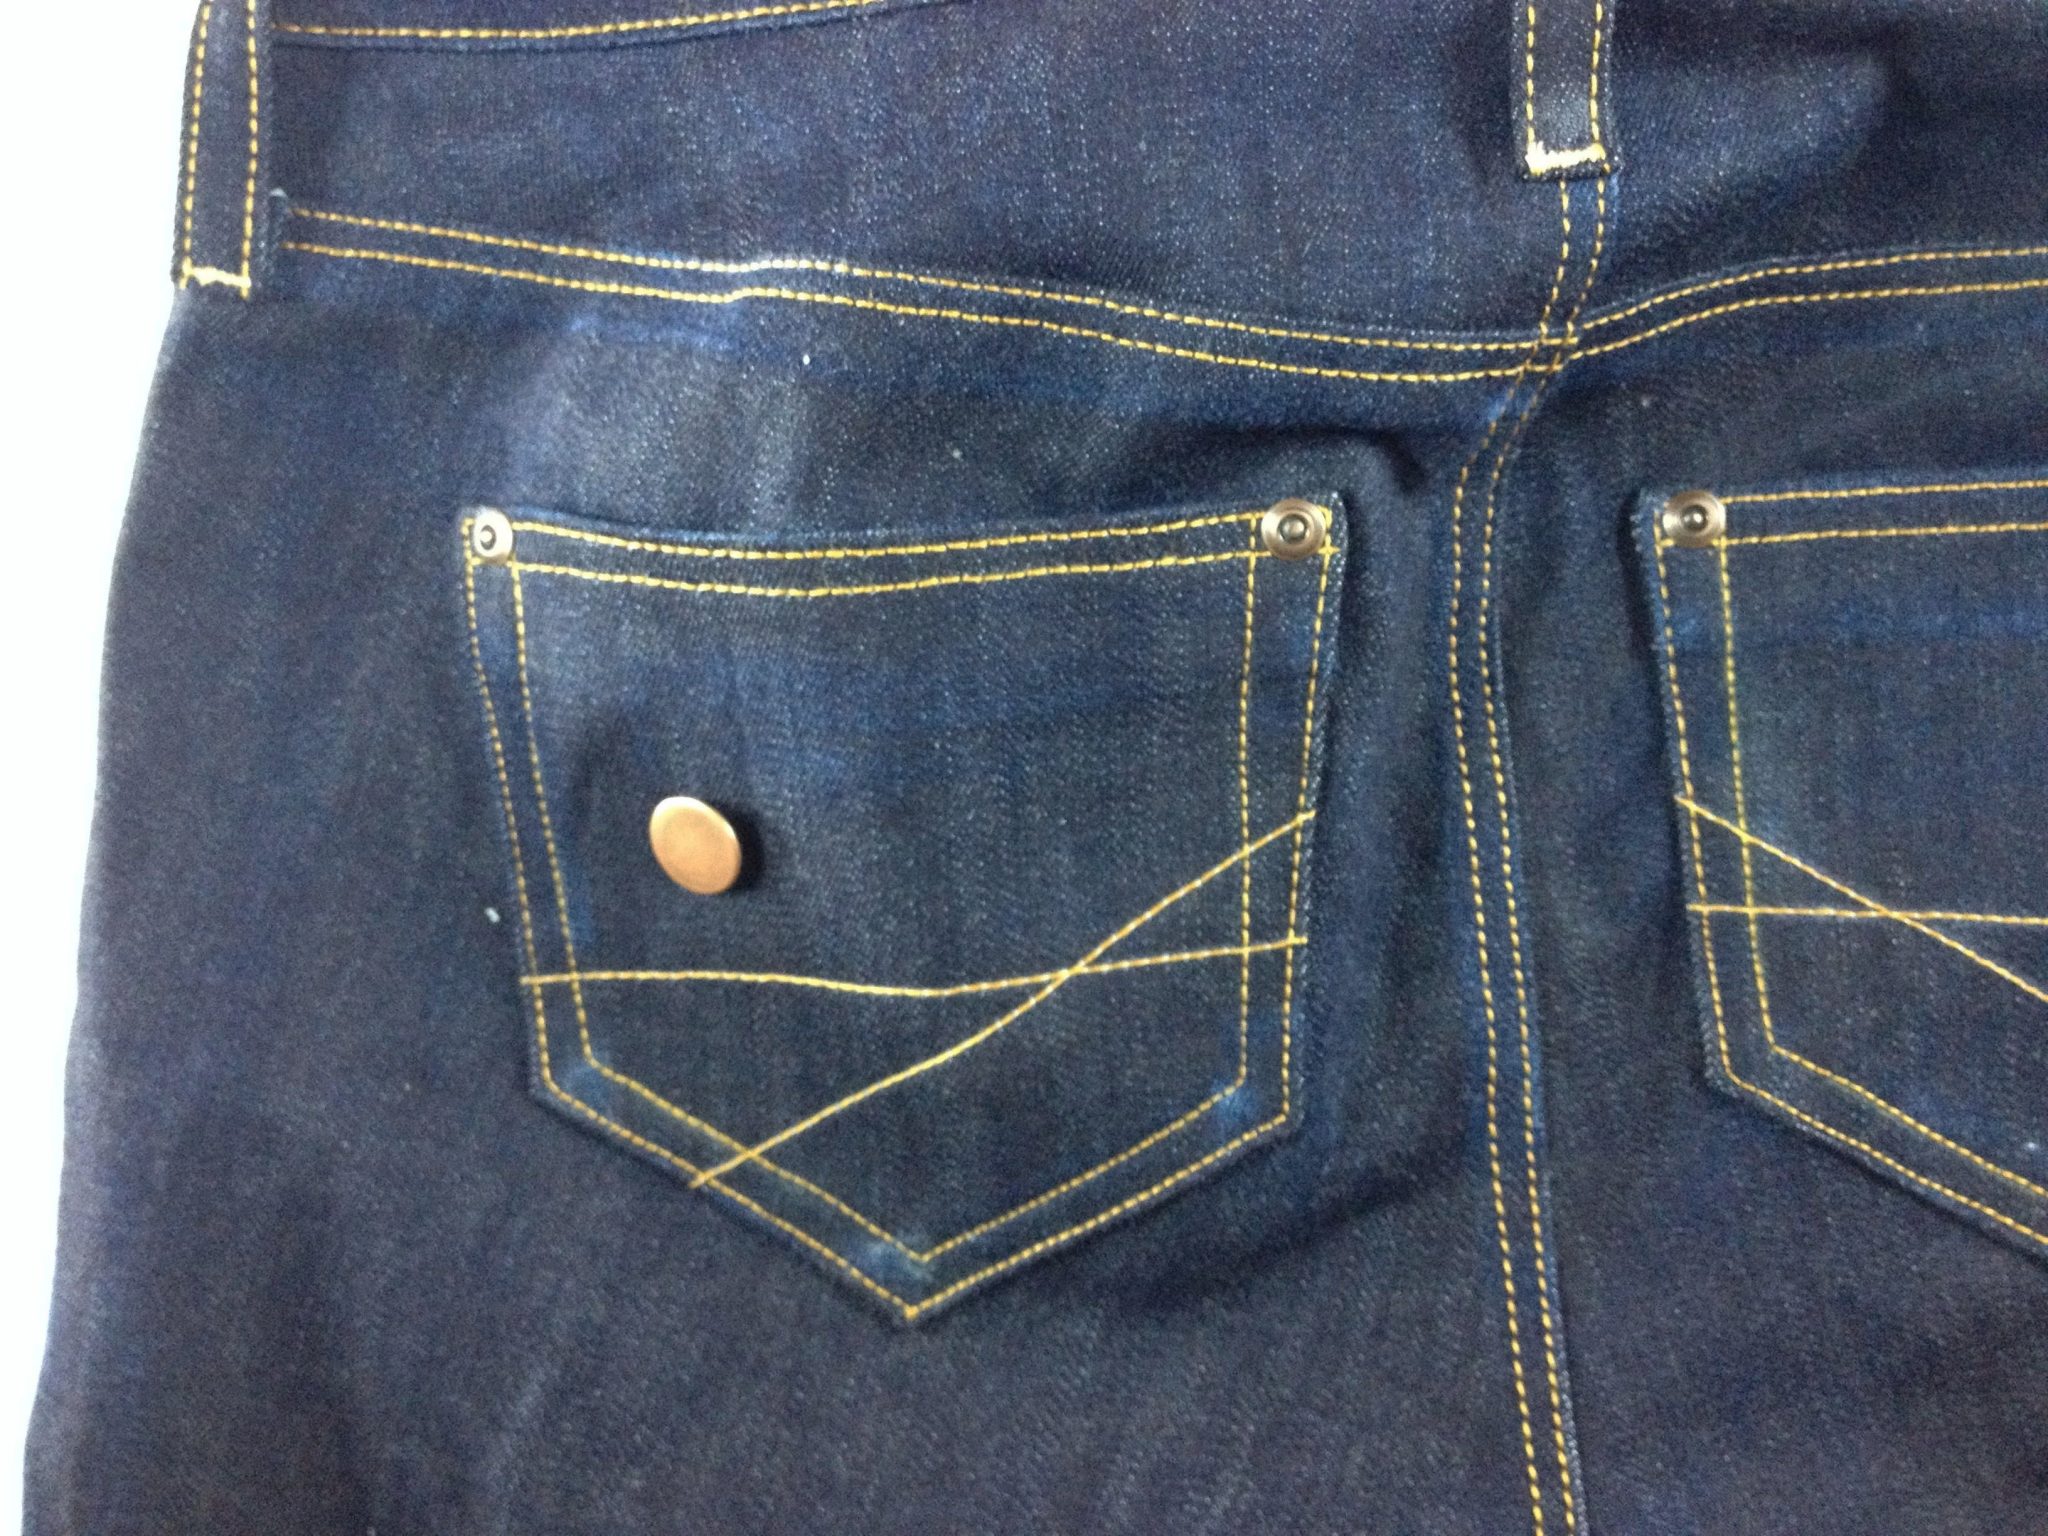
- The pockets are ready to be topstitched on. I mixed things up a bit and slanted my second line of topstitching – the two lines of topstitching are wider apart the top of the pocket but closer toward the bottom. It’s a style choice.
First line of topstitching for the back pockets
The second line of topstitching is slanted a little.
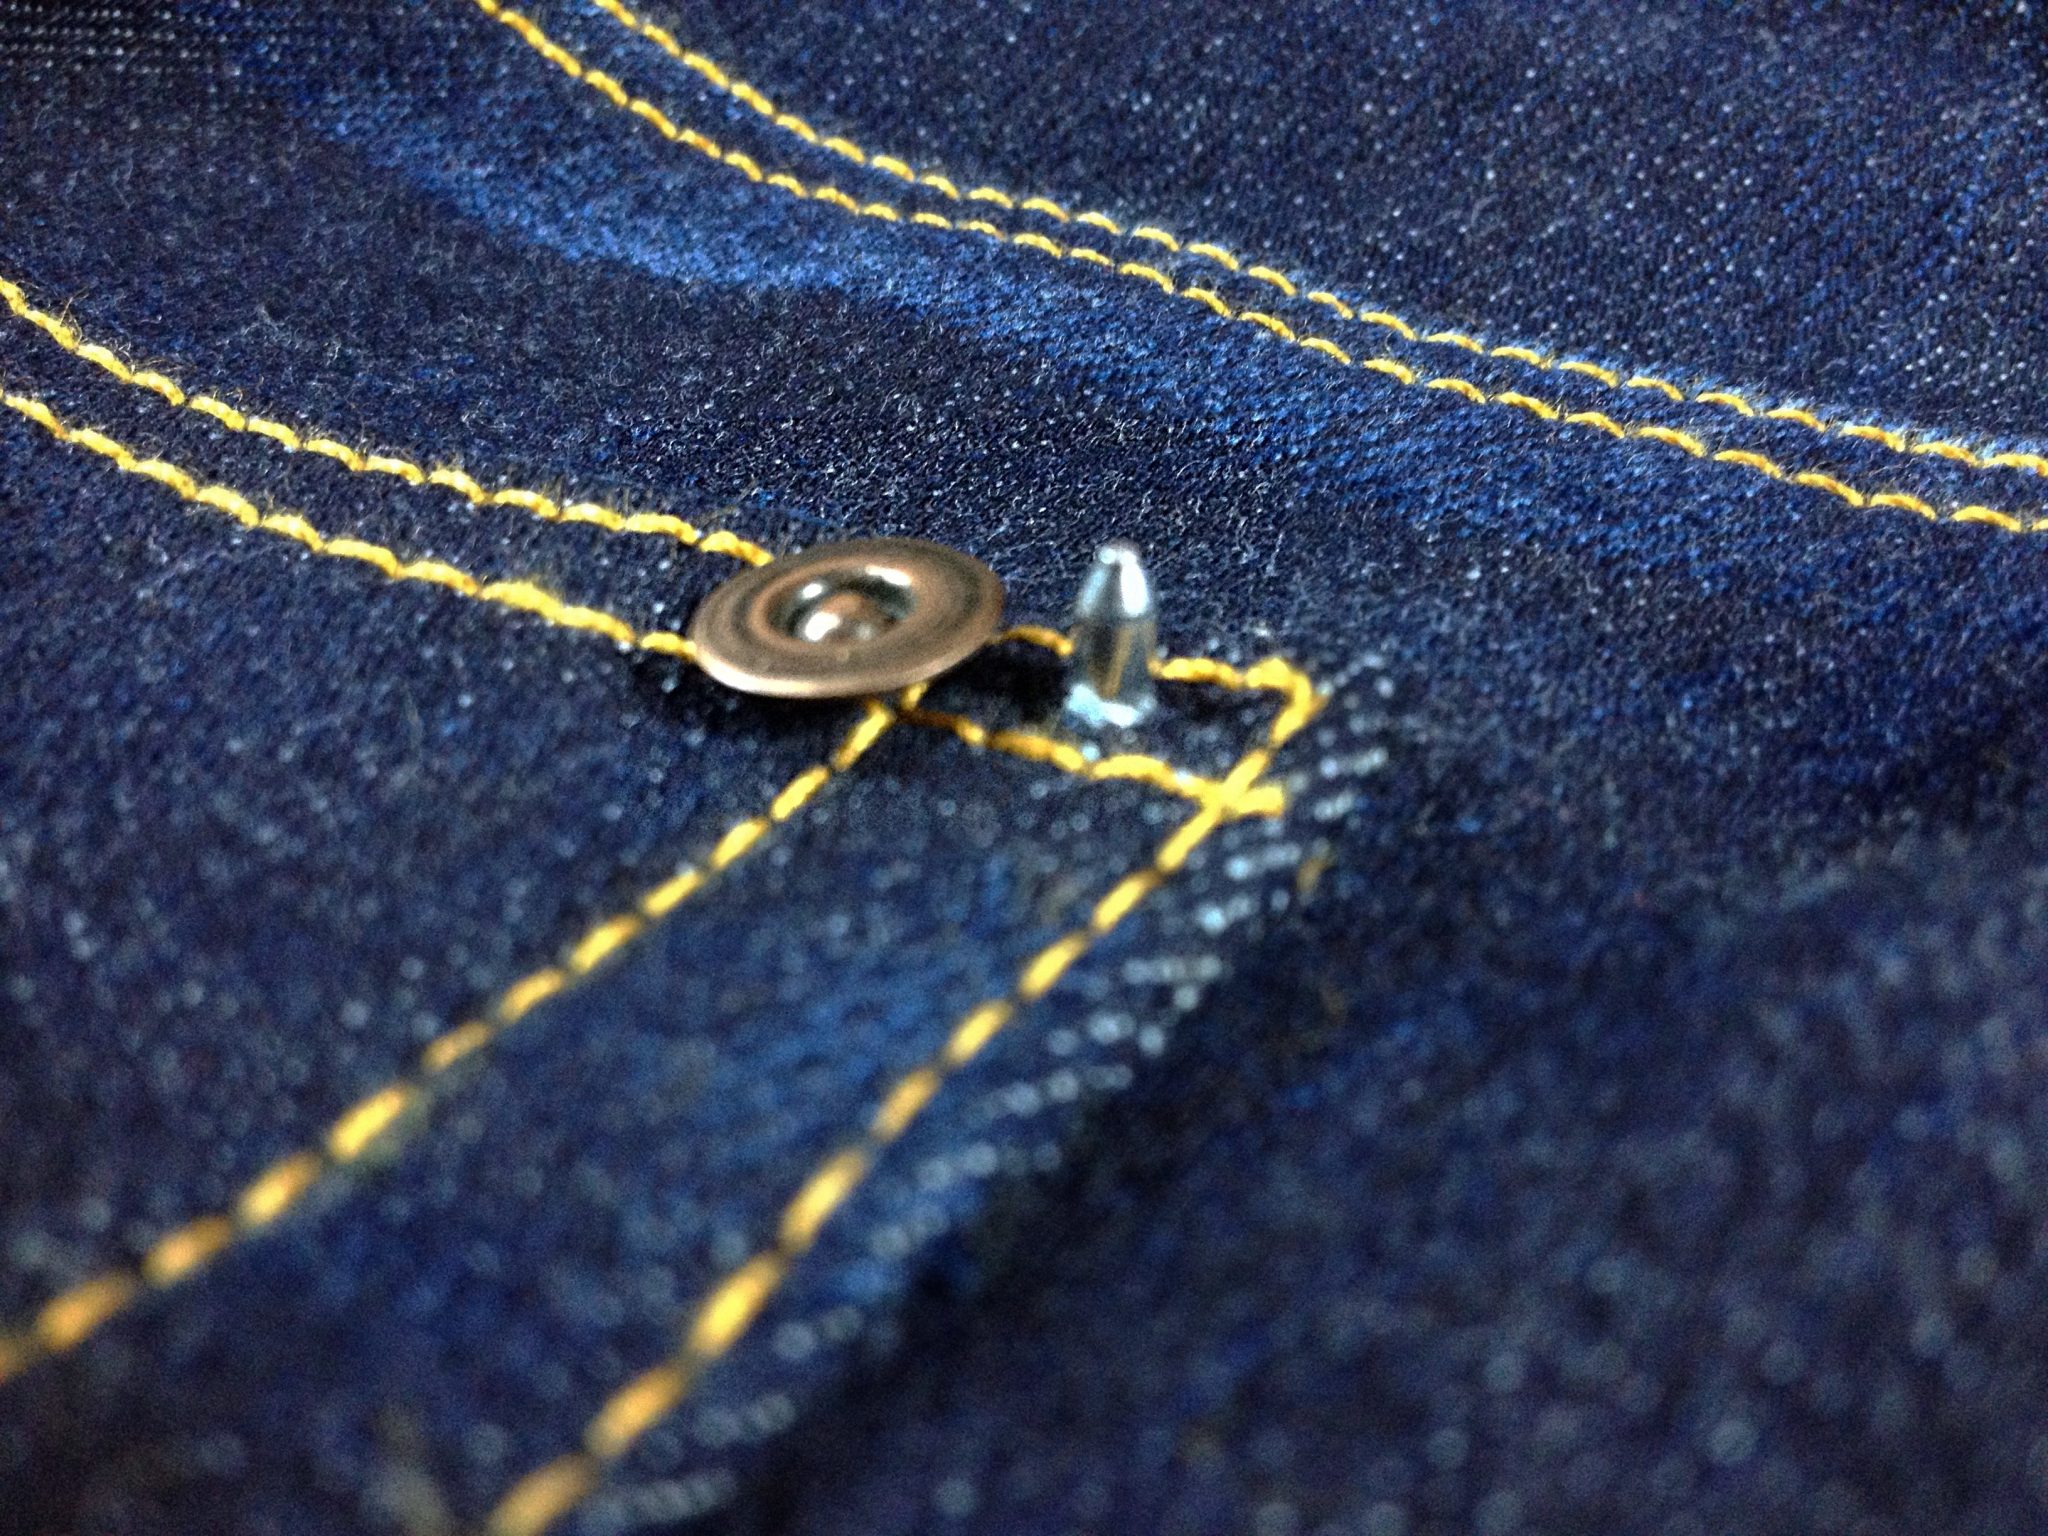
- Put the rivets on the top corners of the pockets if you are using them. If not, you can do bar tacks there. The rivets are installed exactly the same way as the jean buttons.
Use an awl to poke a hole first.

The pin is pretty long so we have to trim it.
Hammered in from the back and the rivets are installed!
Repeated for the other corners too.
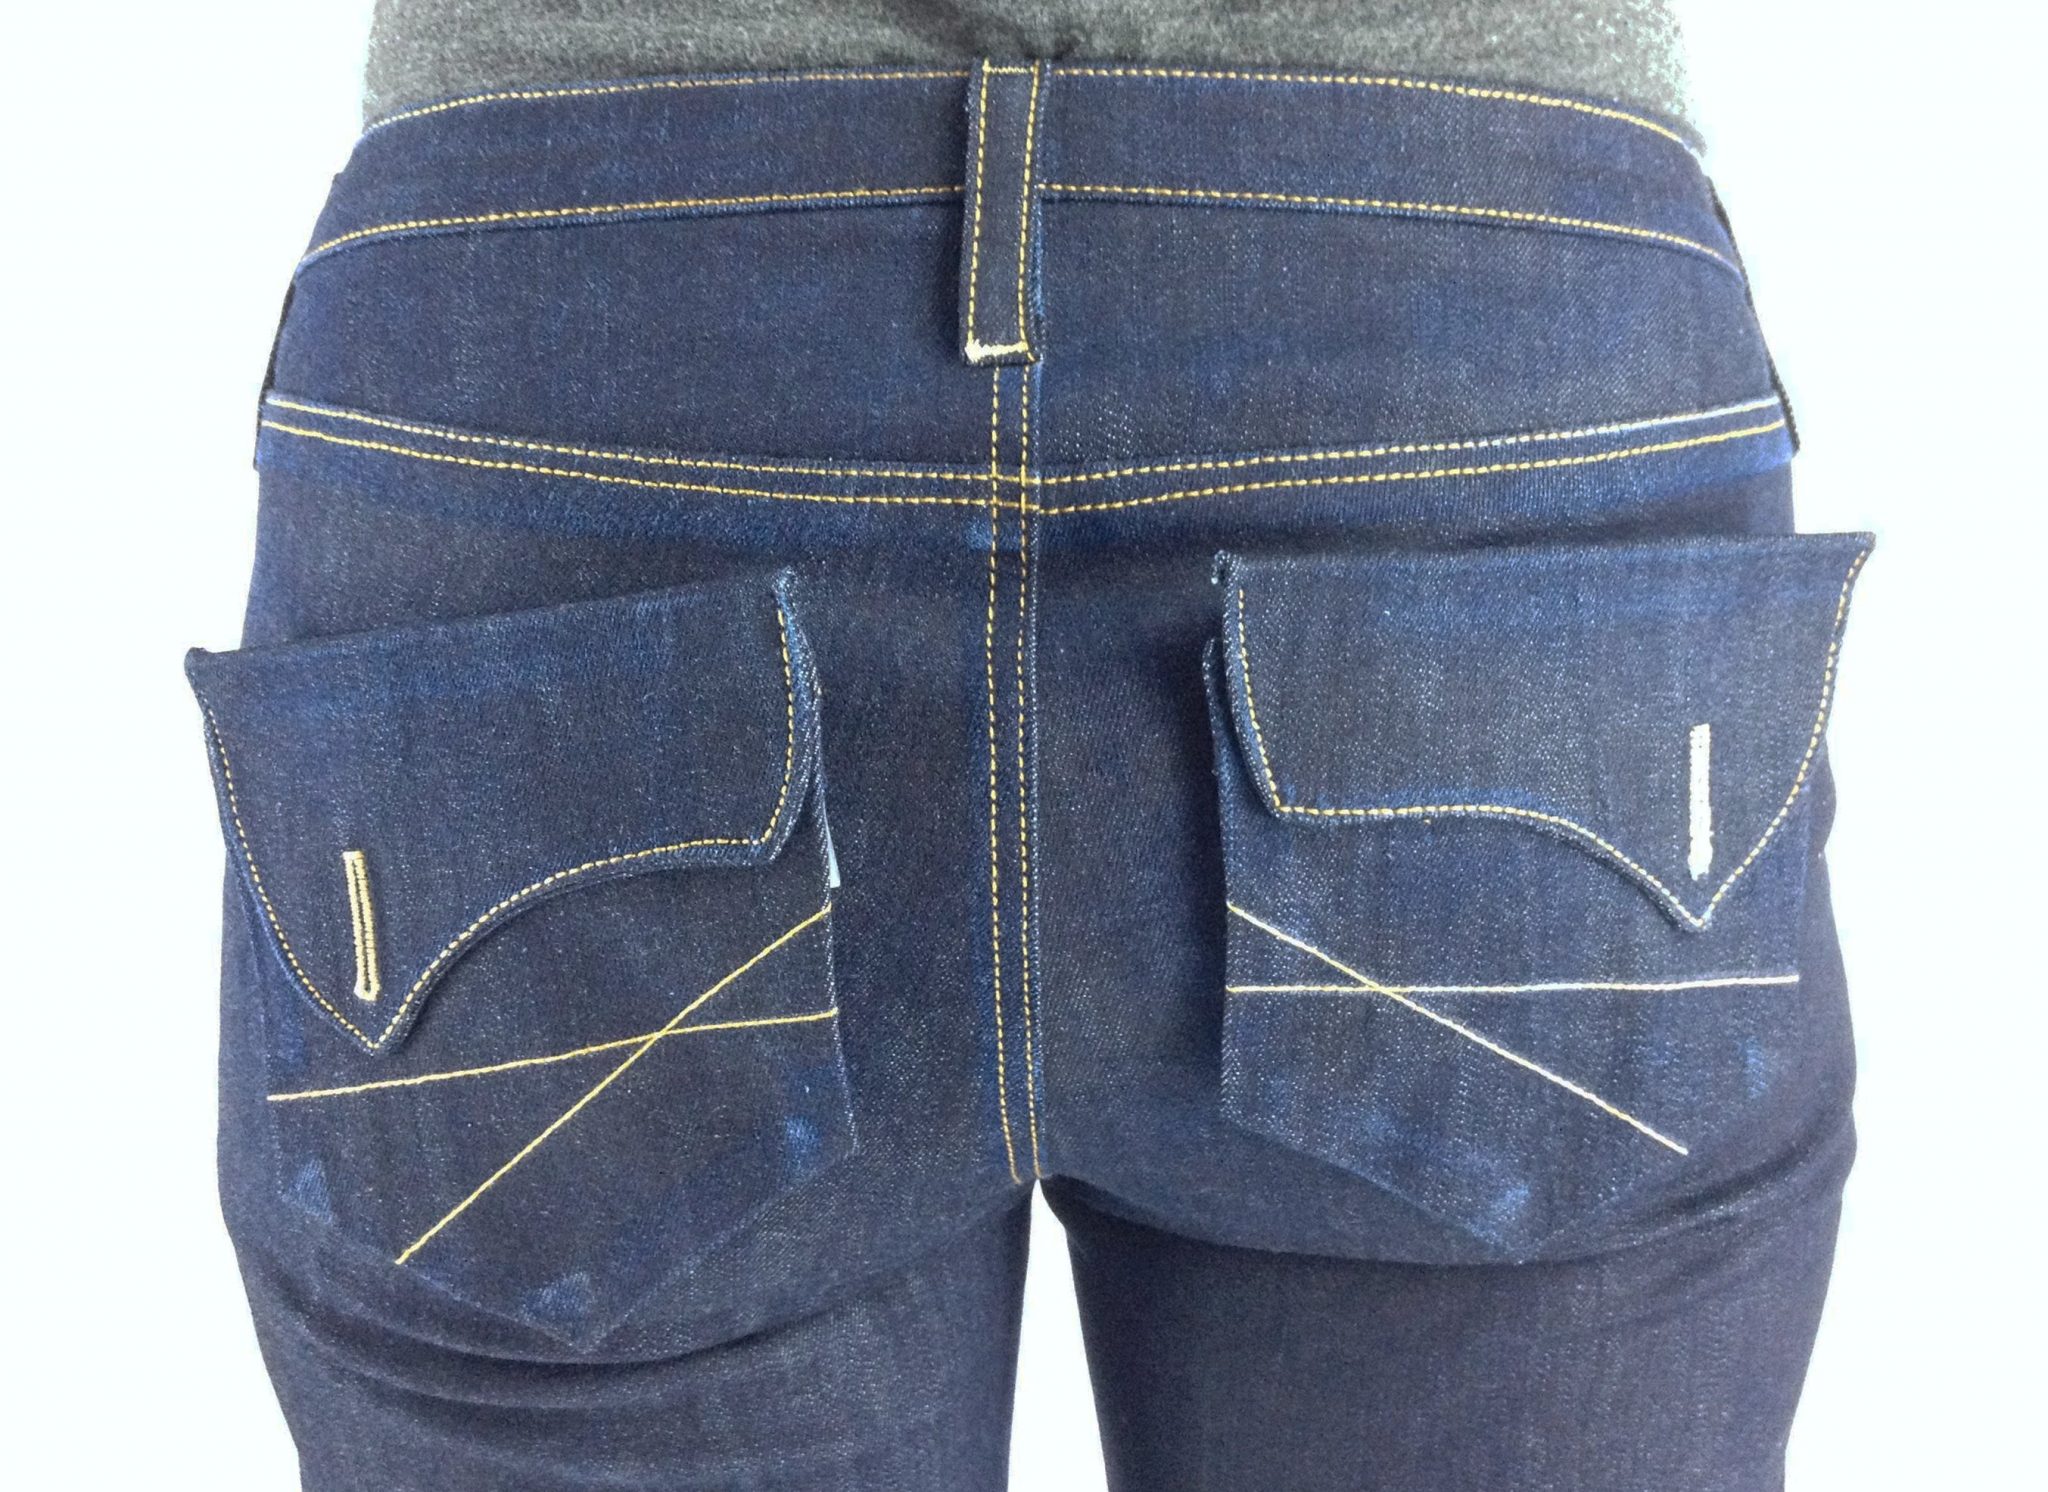
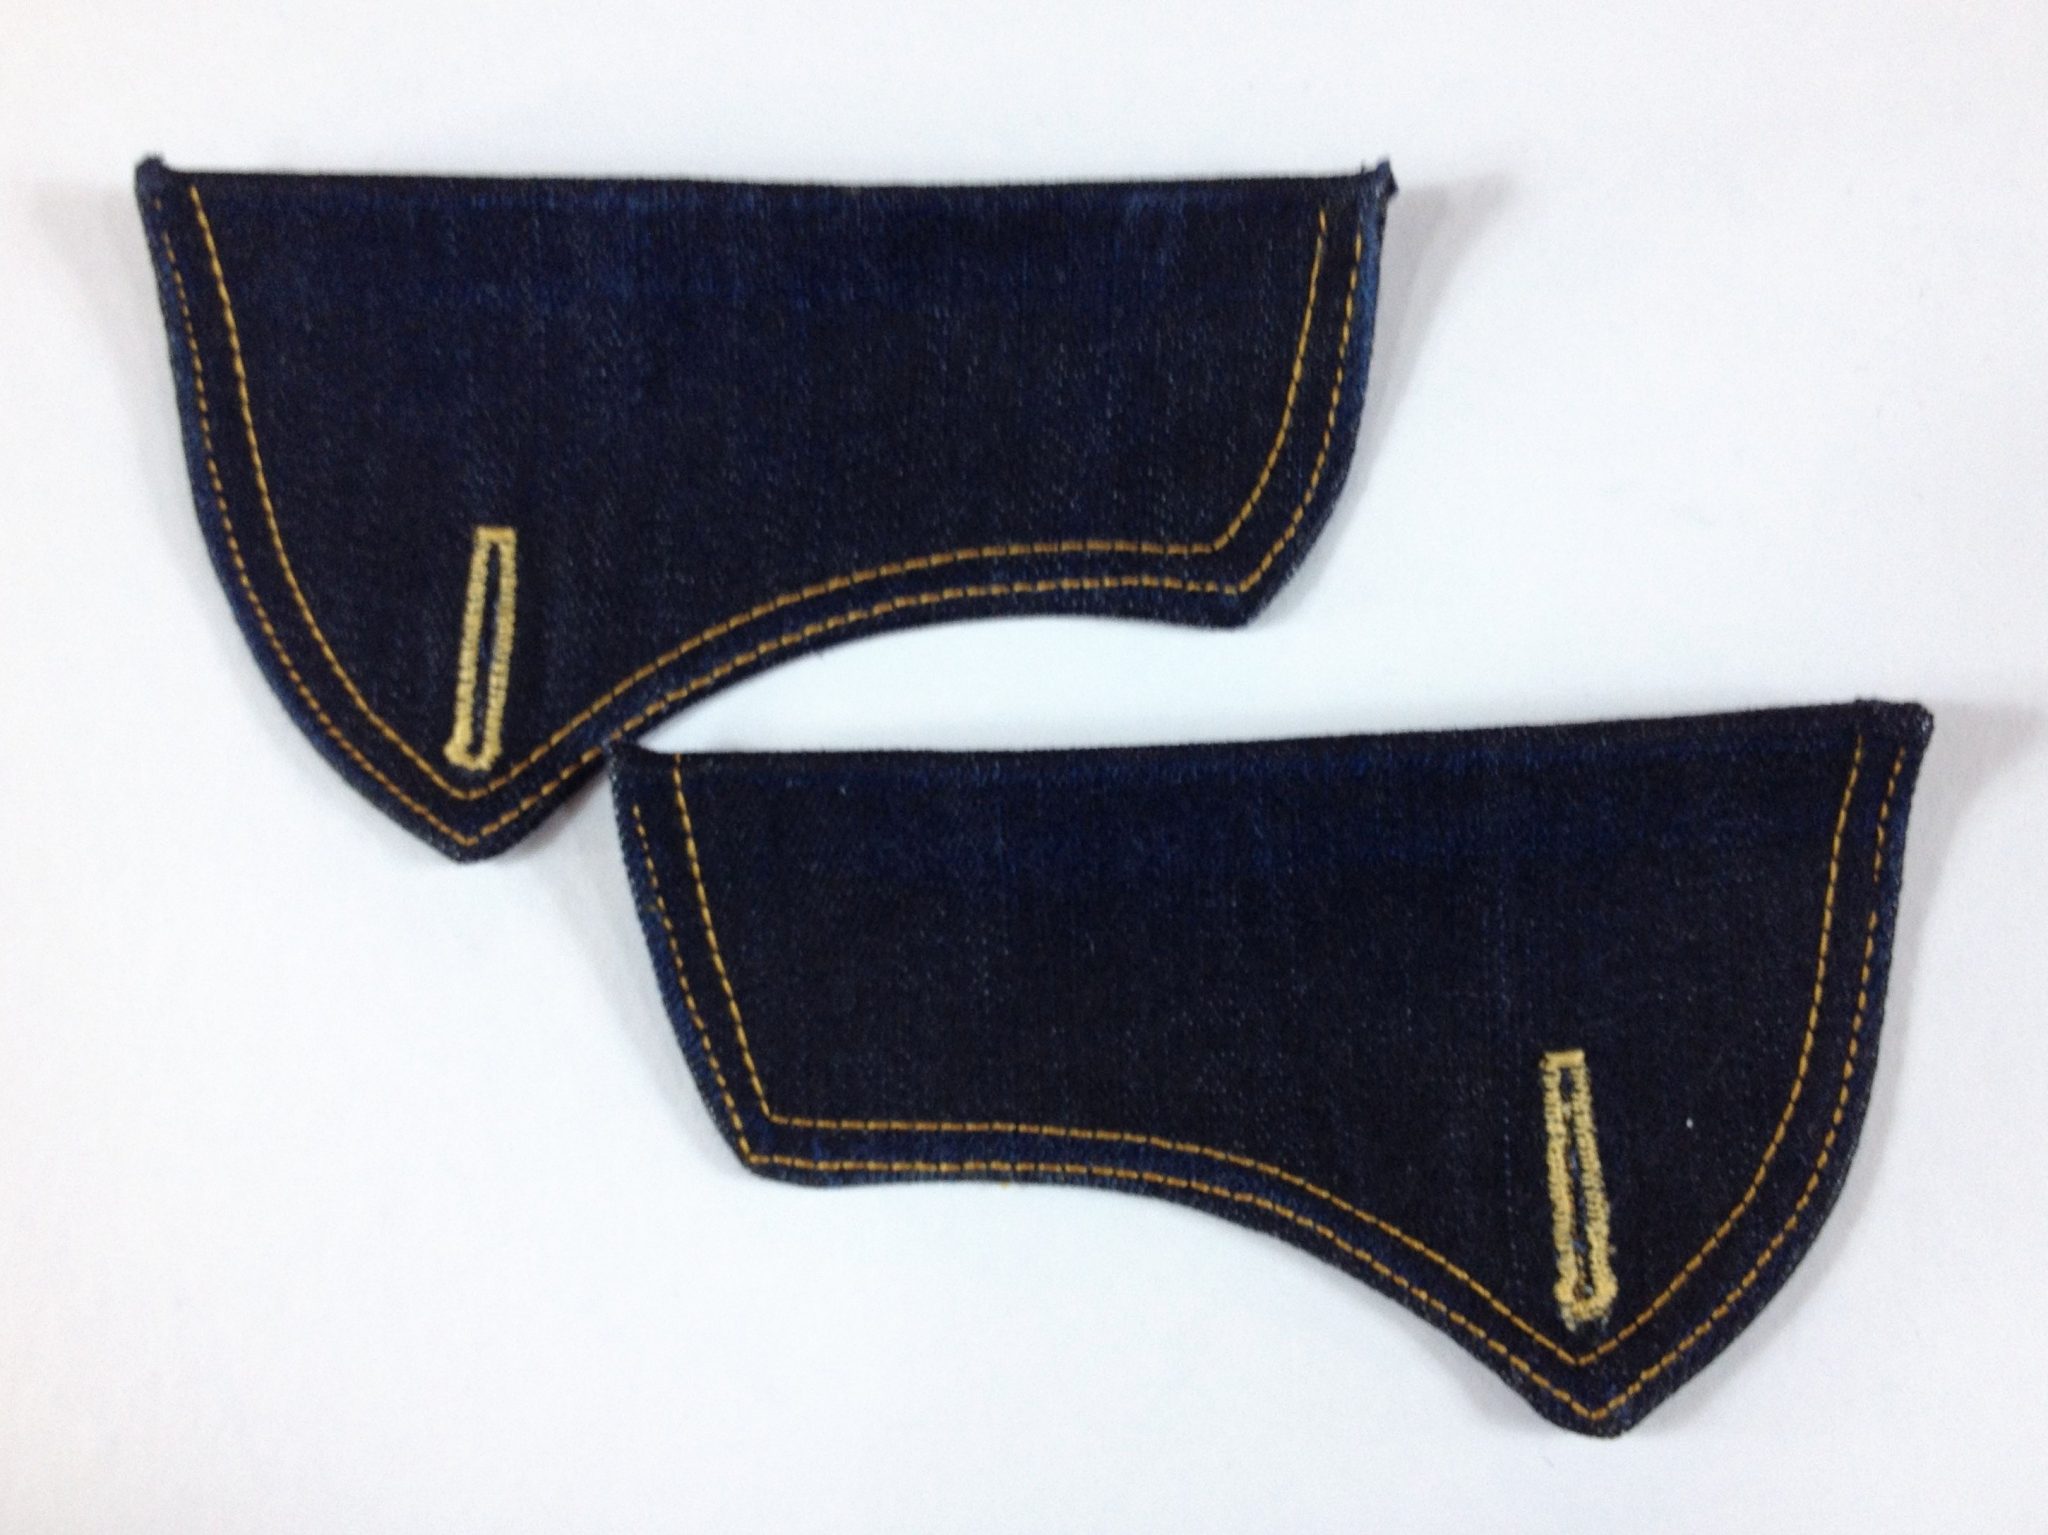
- Topstitch the flaps on too. At the last minute, I decided that I want another line of topstitching around the flaps, so that’s what I did!
Another line of topstitching (a style choice).
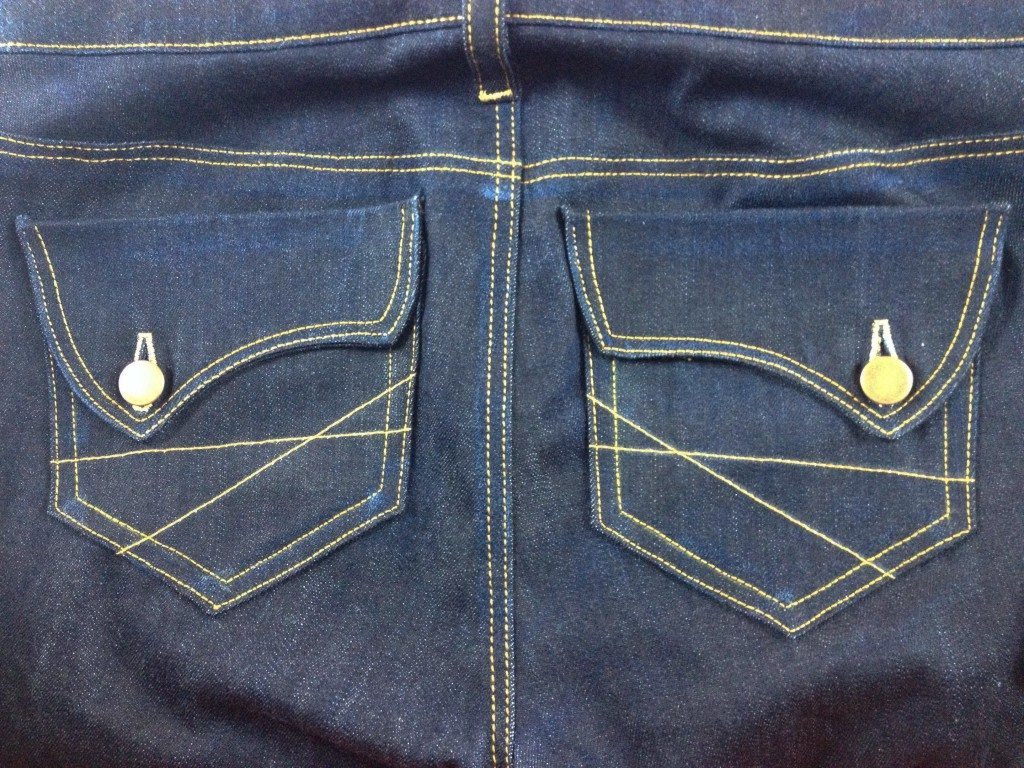
Button them so I know that they are placed correctly.
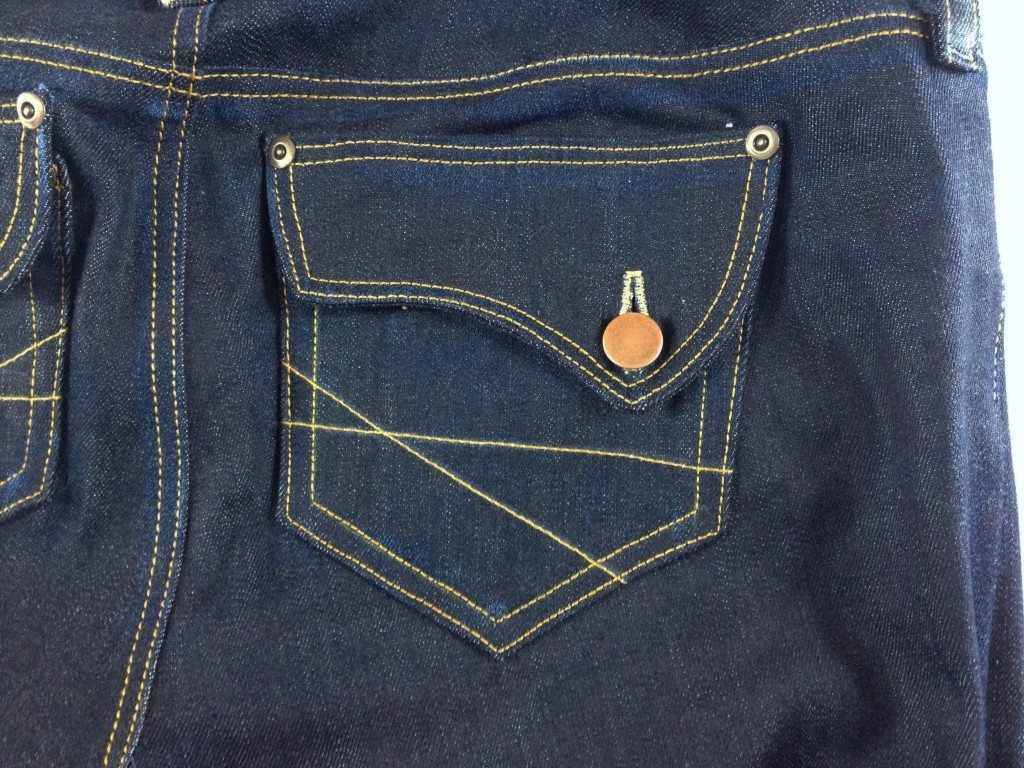
Topstitched and rivets installed.
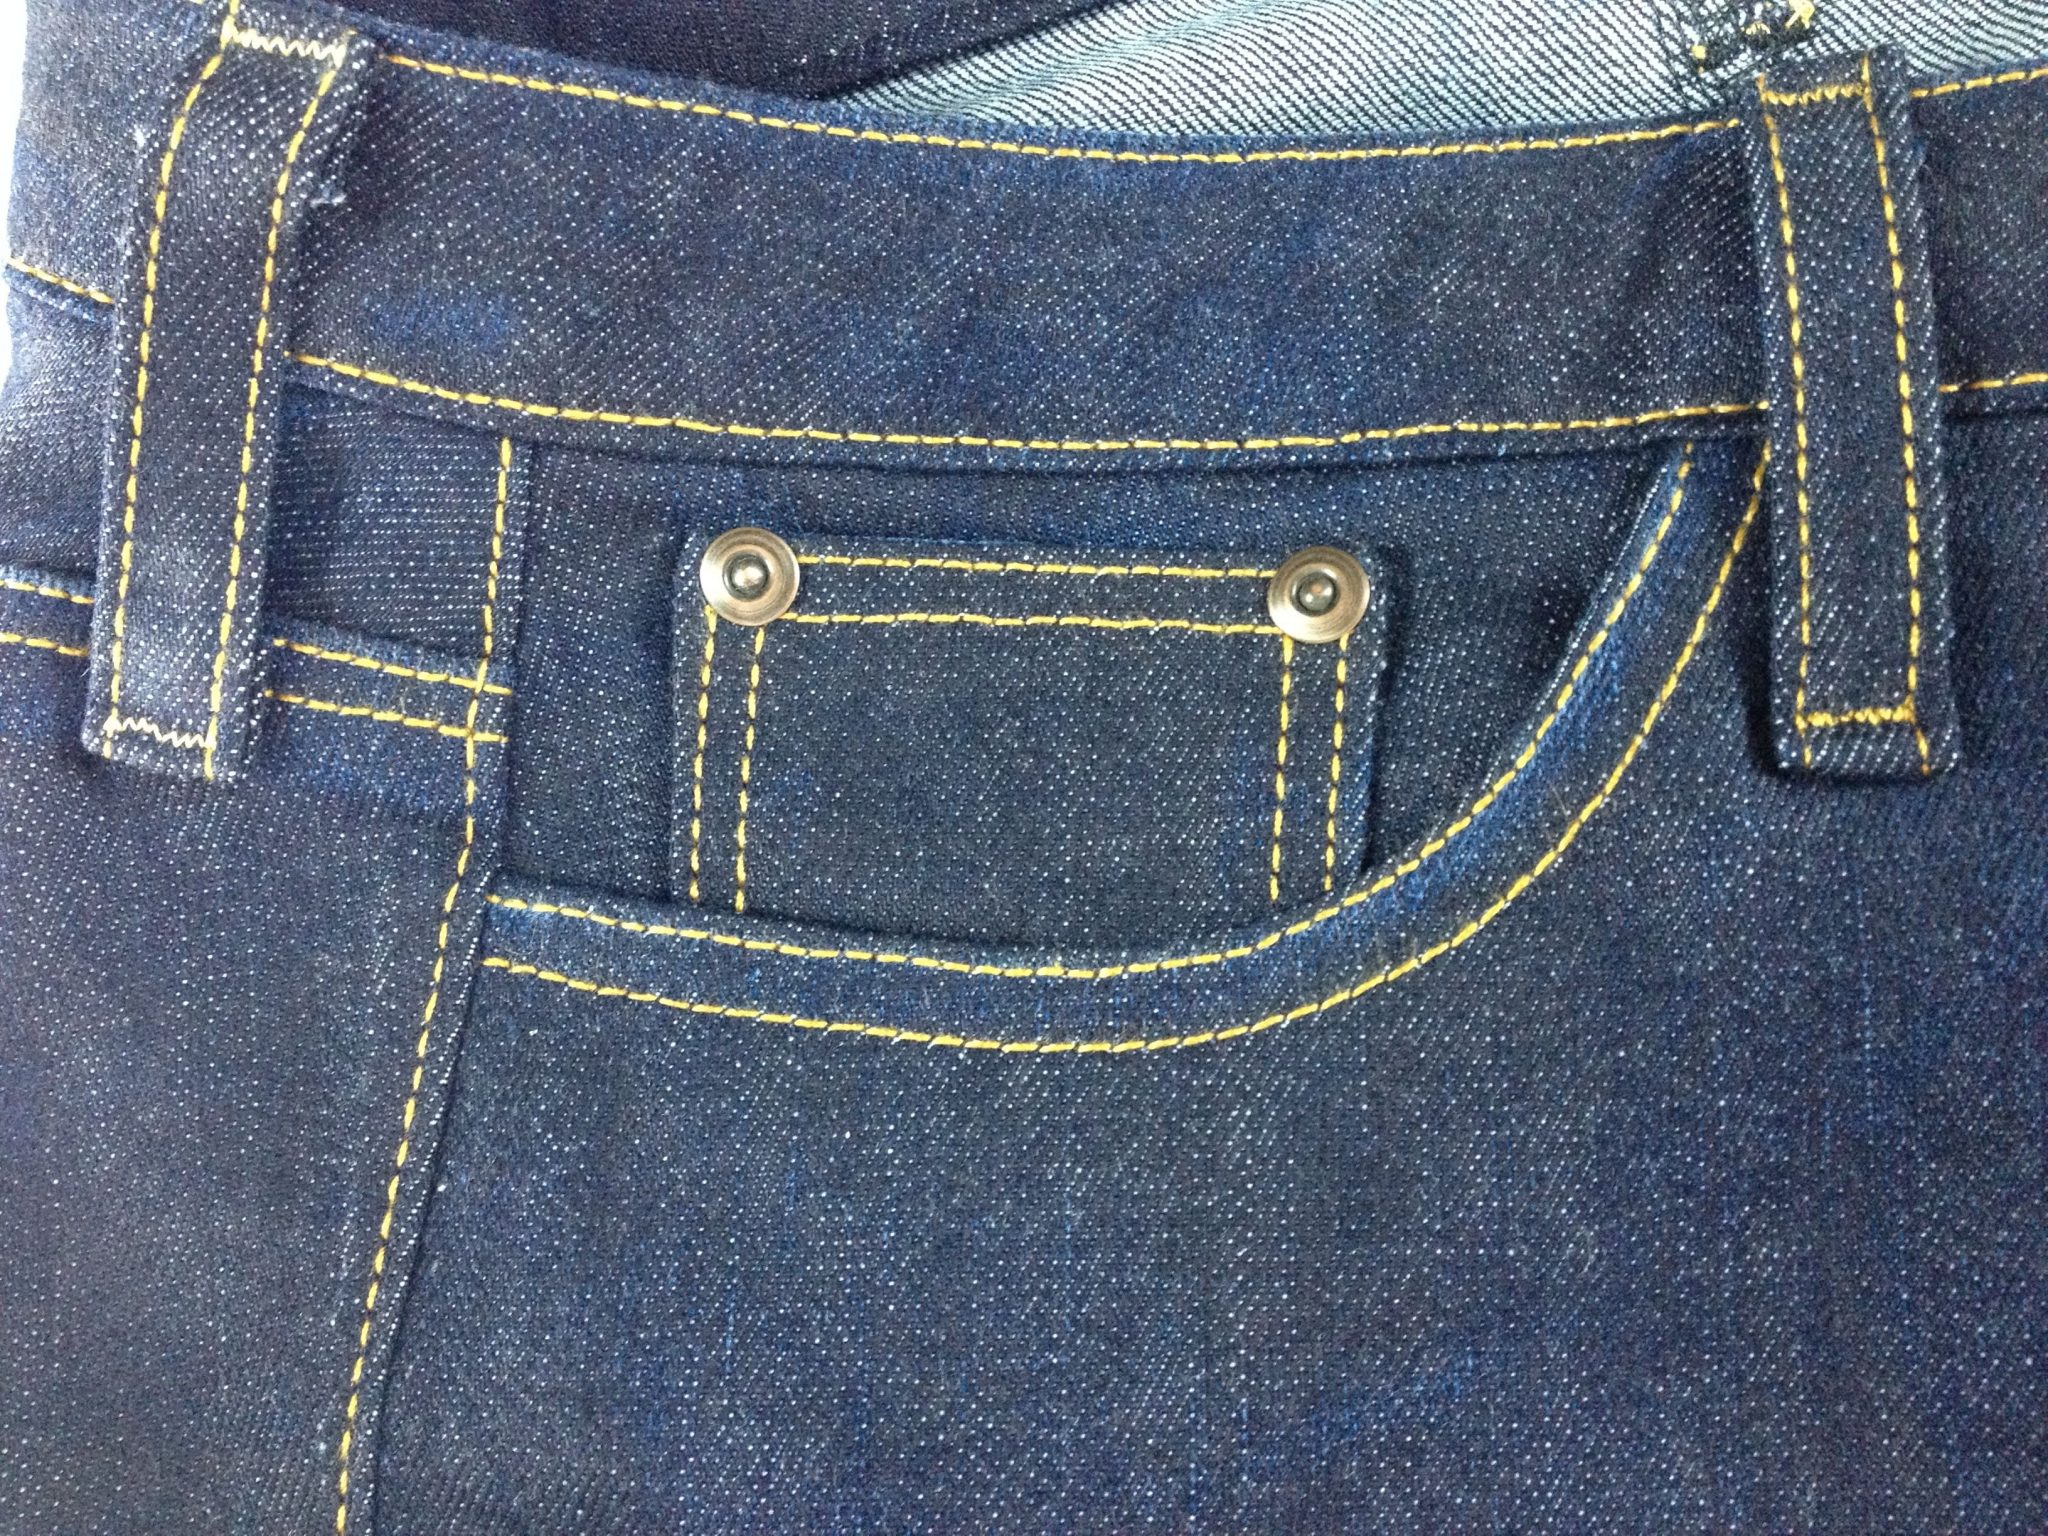
- Install the rivets at the corners of the front pockets and coin pocket too, if you so choose. For me, I discovered that I ran out of the same rivets so I didn’t have enough for the front pockets. They will have to wait.
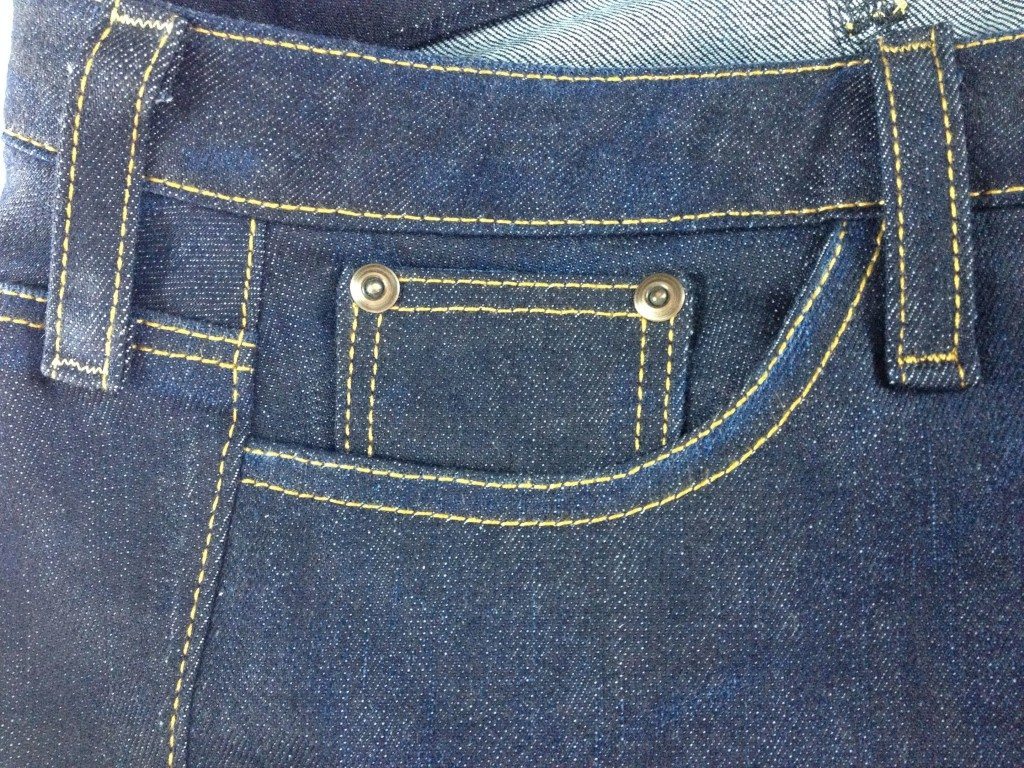
Rivets on the coin pocket.


We are done! Put on your jeans and admire them. Remember that this pair doesn’t have to be perfect. After you wear them for a while, you might find them fit better, or you may discover something you want to do differently the next time.
Here are mine. This pair is my favorite so far!

Finished Jeans
Thanks for joining this sewalong!
Happy stitching!
Here’s the schedule of the Liana Stretch Jeans Sew Along, be sure to look at other posts too!
Day 0: Get Ready!
Day 1: Intro, Material and Supplies
Day 2: Topstitching & Distressing
Day 3: Choosing a size & Cutting Test Garment/Muslin
Day 4: Fitting Part 1
Day 5: Fitting Part 2
Day 6: Sewing the Back
Day 7: Sewing Front Pockets
Day 8: Sewing Fly Front Zipper
Day 9: Sewing Back to Front & Waistband
Day 10: Hemming and Finishing (this post)

This sew a long was great! Thank you so much. I finished my second pair today and am going to cut out another pair this evening. These are great fitting pants. Your instructions and helpful sew a long make them pretty perfect!
I appreciate it!
I just found this sew along today. I’ve made several pairs of jeans about twenty years ago but never used stretch denim. I have barely sewn anything in the last twenty years but have been wanting to sew stretch jeans. Your sew along tutorial addressed my concerns and I am now planning to find stretch denim so I can go for it!
Love your jeans Kennis! They look great.
Thank you Judy!